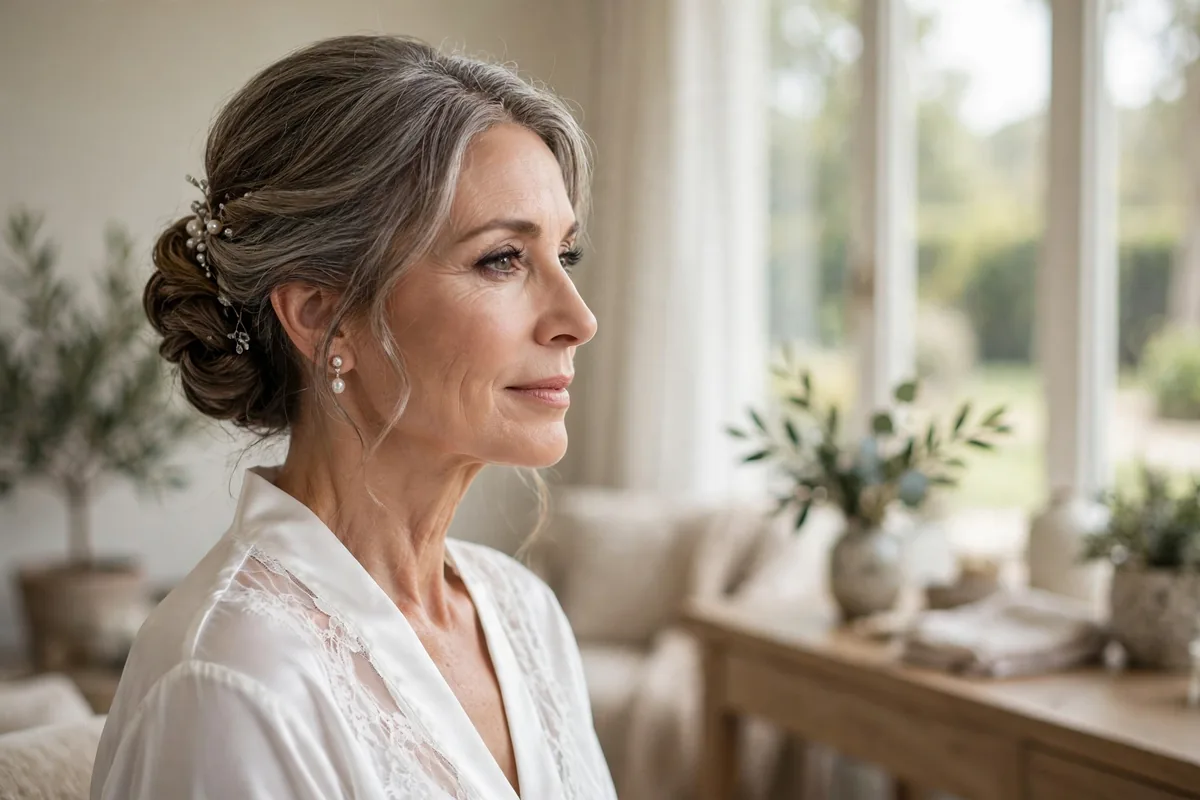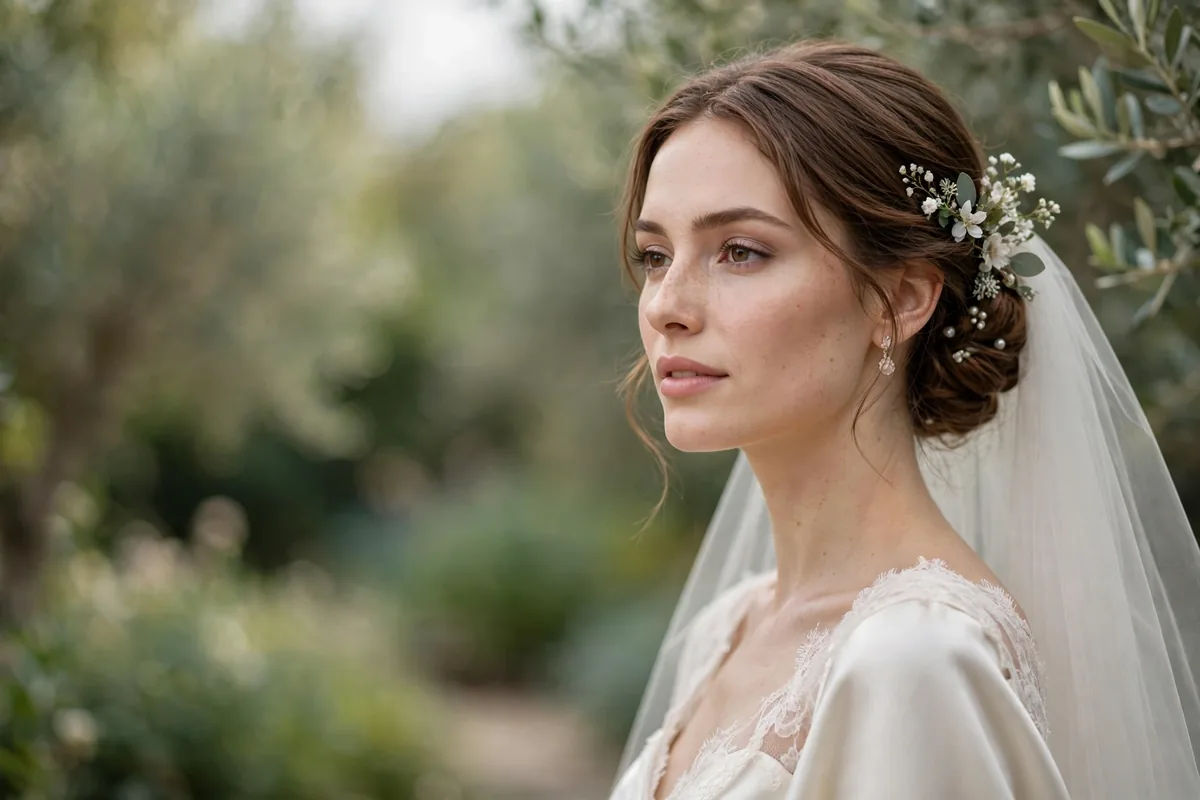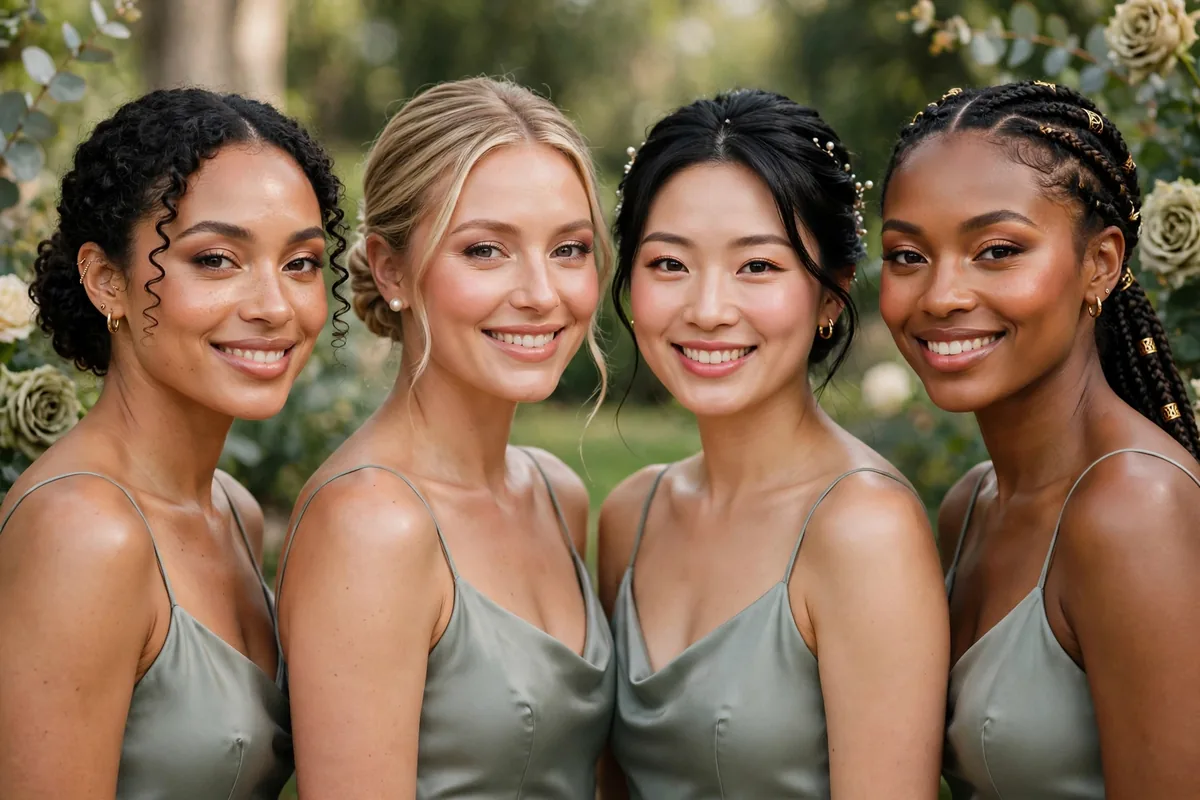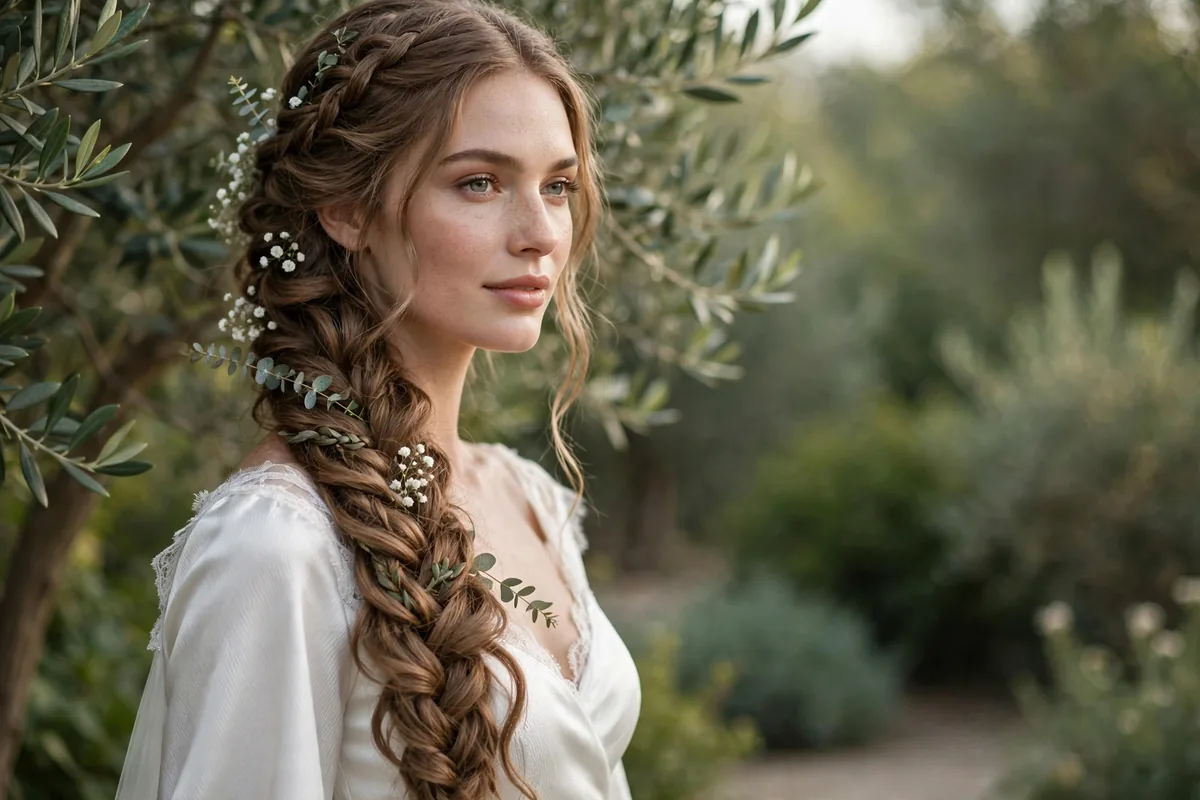
Long hair gives you every bridal option — the only challenge is choosing.
From romantic updos to cascading waves, long hair can do it all. The key is choosing a style that lasts 12+ hours and photographs from every angle.
Consider your dress neckline, veil plans, and venue weather — then pick your dream style.
Here are 15 showstoppers. Let’s get into it.
The Classic Chignon
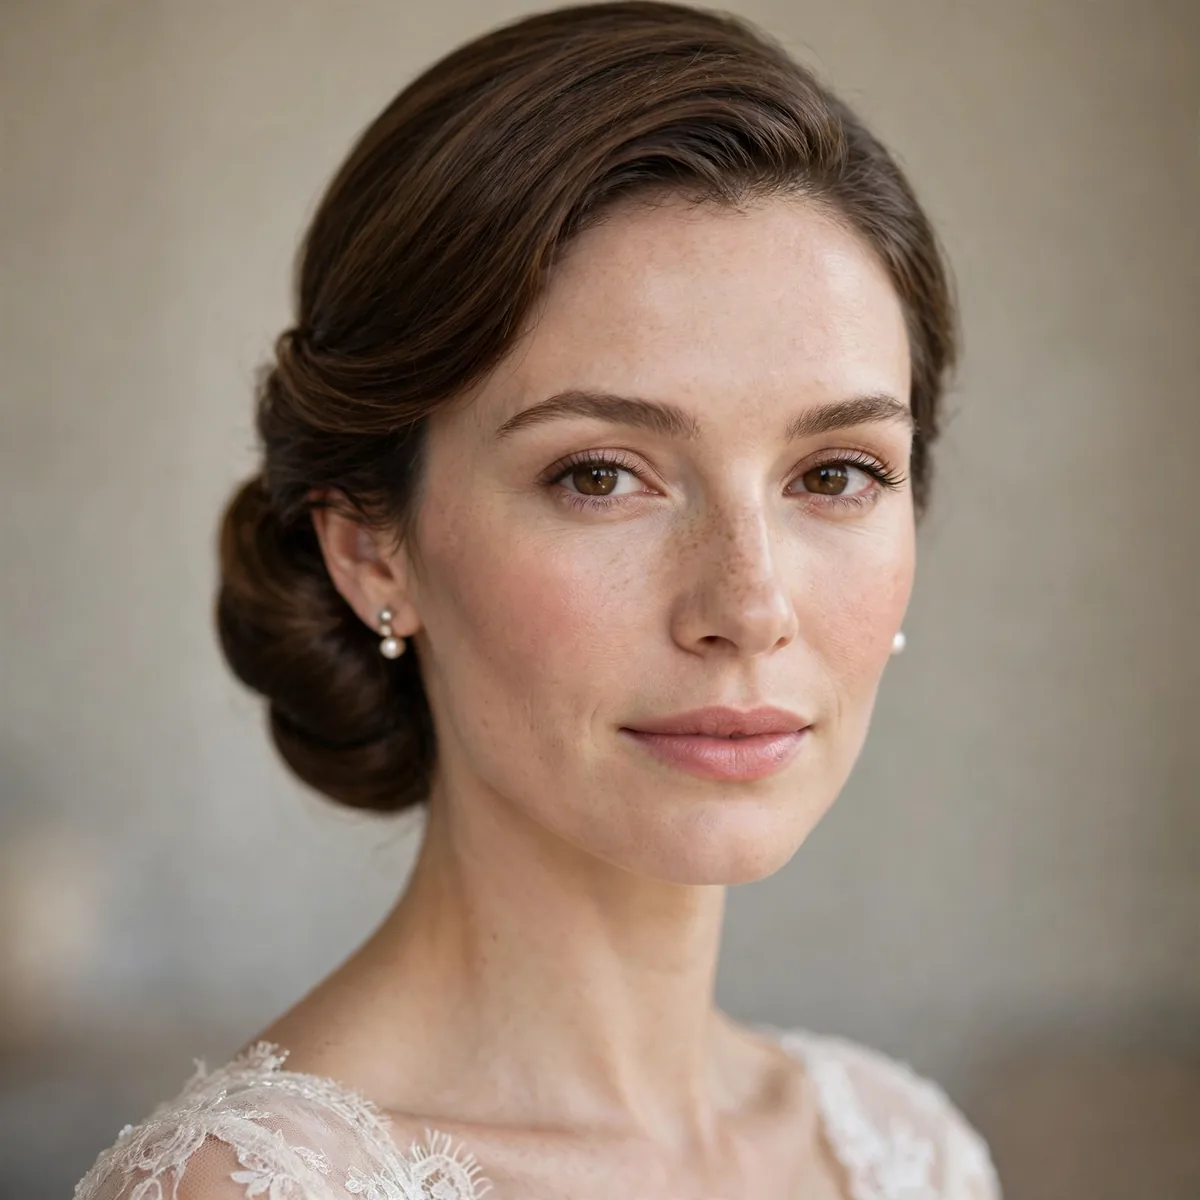
A low chignon at the nape is timeless bridal elegance — clean, sophisticated, eternal.
Works with veils, tiaras, and every dress neckline ever made.
A chignon holds best on day-old hair with texture spray worked through — freshly washed hair slips free of pins within hours. For fine hair, a mesh donut at the nape creates fullness; thick hair should be sectioned and pinned in stages to avoid a lopsided bun. Anchor with U-shaped hairpins rather than bobby pins — they grip more hair with less visible hardware. Position the veil comb just above the chignon so the two read as one seamless design.
The chignon flatters every face shape — soften a square jaw or round face with two face-framing tendrils, or keep it sleek for oval faces. It is the most weather-proof bridal style in existence: pinned close to the head, it shrugs off wind, humidity, and hugs alike. Confident DIYers can master a simple twisted chignon with online tutorials and a practice run, but book a stylist if you want intricate wrapping or a perfectly smooth finish.
Cascading Hollywood Waves
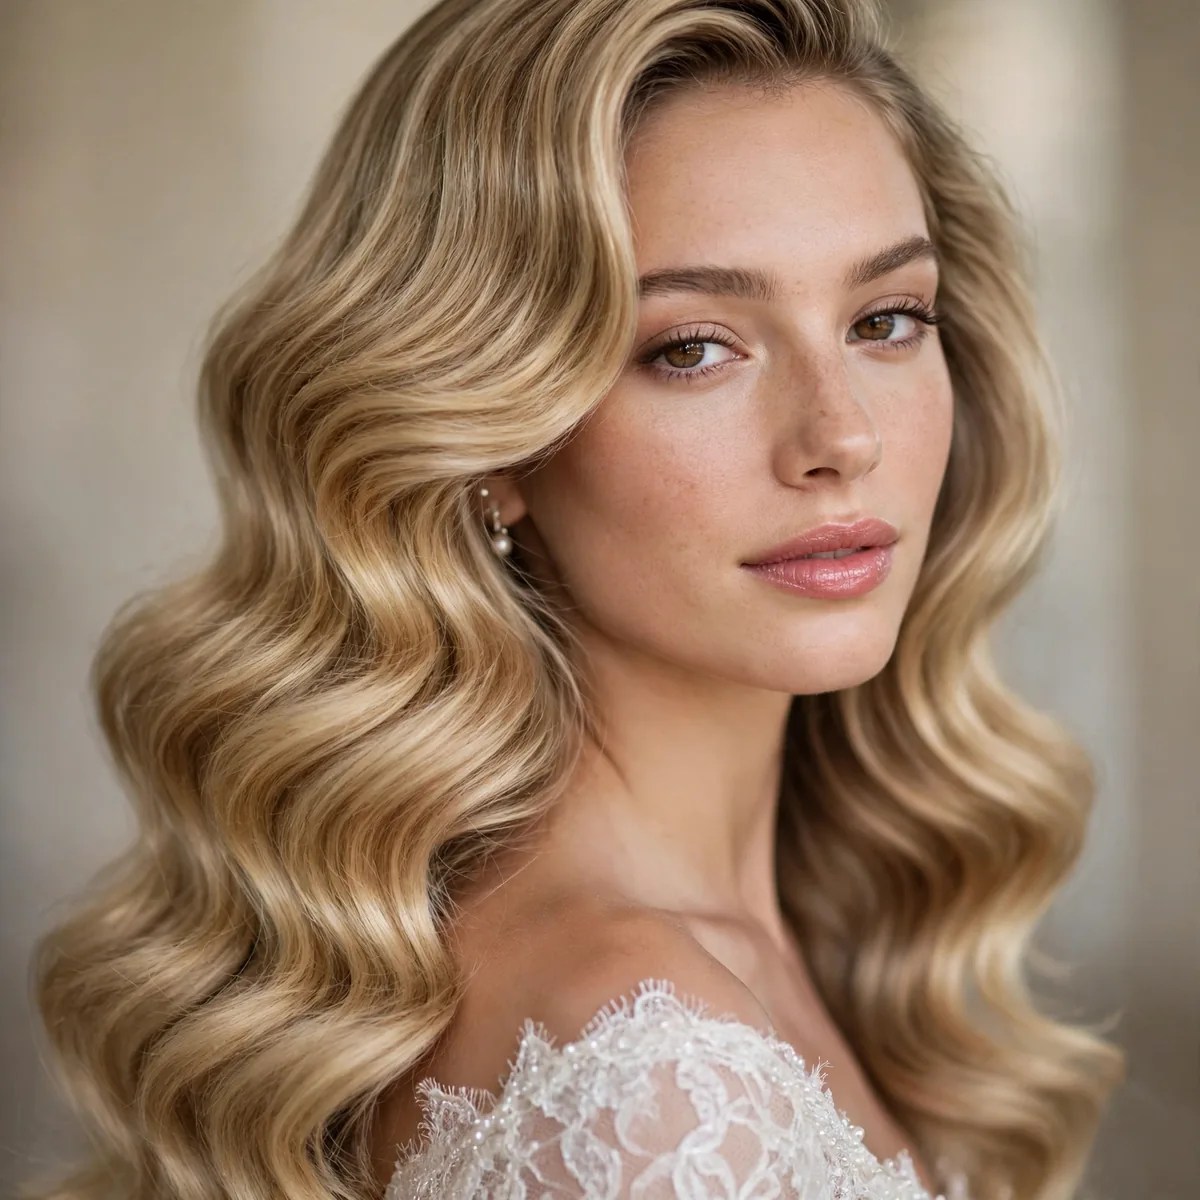
Glamorous vintage waves cascading over one shoulder — old Hollywood romance.
Set with hot rollers for waves that last all day and night.
Start with a smoothing blowout — mousse at the roots, a round brush, and a nozzle for direction — since frizz is the enemy of vintage polish. Set sections on medium hot rollers, all rolling in the same direction away from the face, and let them cool completely before removing; cooling is what locks the wave pattern. Brush through with a paddle brush, not fingers, to merge the curls into deep, uniform waves, then mist with a flexible-hold spray.
For all-day hold, pin each cooled curl to the scalp for ten extra minutes before brushing out — the added set time doubles longevity. This style loves a deep side part, which slims round faces and adds drama. Wear the veil beneath the waves at the crown so it does not crush them. Humidity is the enemy: finish with anti-humidity spray, travel with a silk scarf, and pack a curling iron for an evening refresh of the front sections.
The Braided Crown
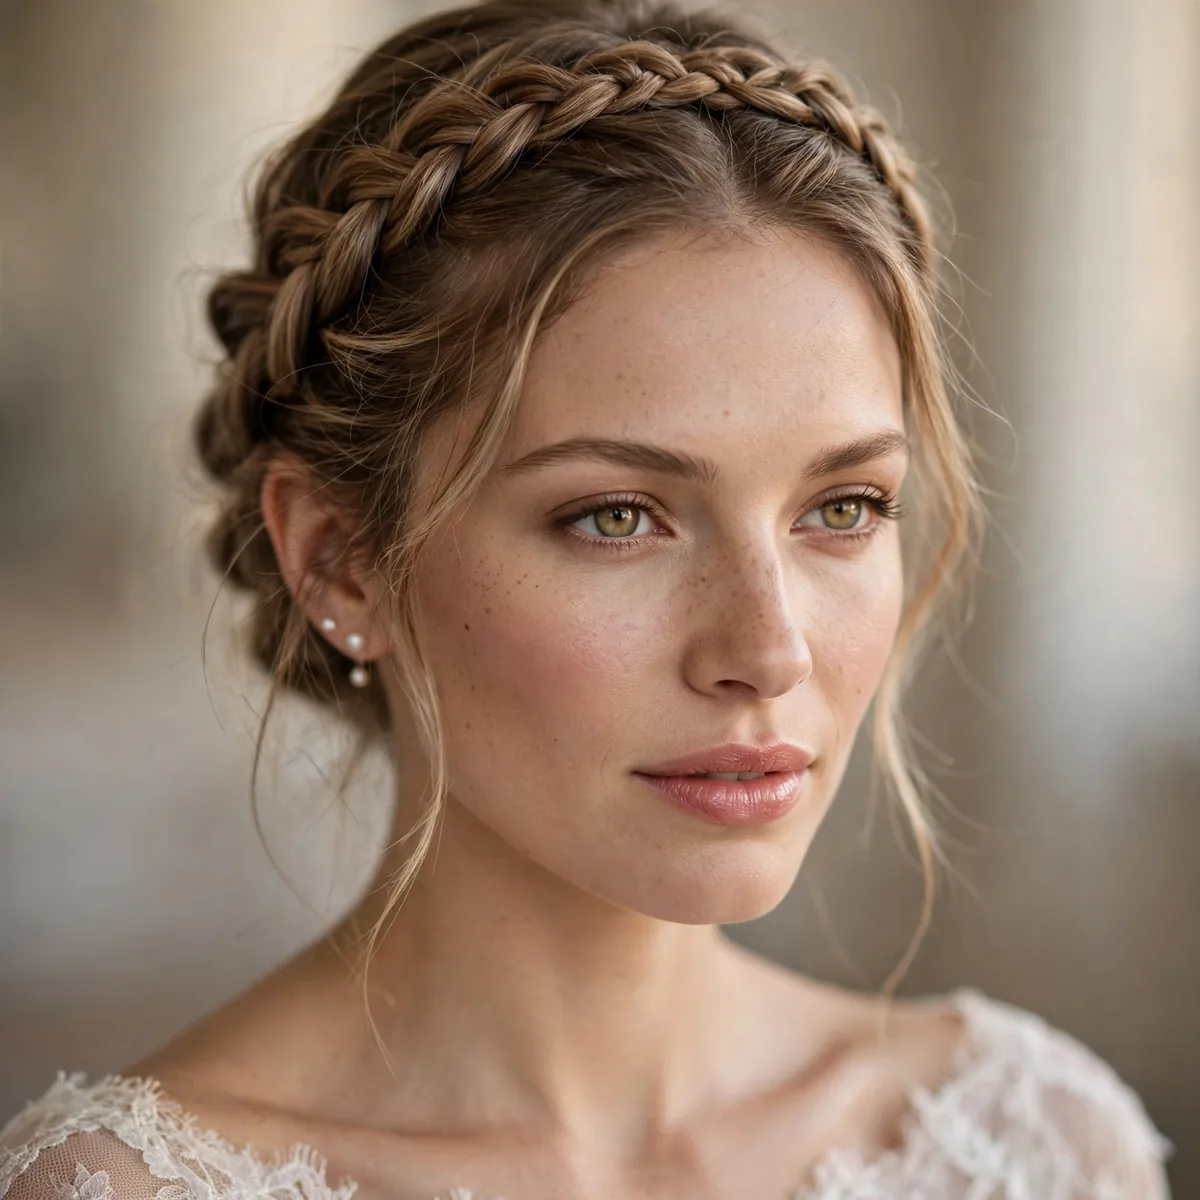
A braided crown is romantic and regal — perfect for garden and boho weddings.
Add small flowers or pins for a personalized touch.
Build the crown from two Dutch braids starting behind each ear — Dutch braiding (underhand) makes the braid sit proud of the scalp for maximum visibility. Pancake each braid by gently tugging the edges wider before pinning; a flat braid disappears into the hair. Cross the braids over the crown and pin every two inches with U-pins, tucking the tails underneath. Fine hair benefits from clip-in extensions added before braiding for a crown with real presence.
The crown’s height flatters round faces by adding vertical length, while the width softens long faces — a rare universally flattering shape. It pairs beautifully with a veil worn low beneath the braids, or skip the veil and let fresh flowers do the work. This is one of the most secure bridal styles; properly pinned, it survives dancing untouched. Skilled braiders can DIY it with a mirror setup and practice, but book a stylist for wedding-day calm.
Low Twisted Updo
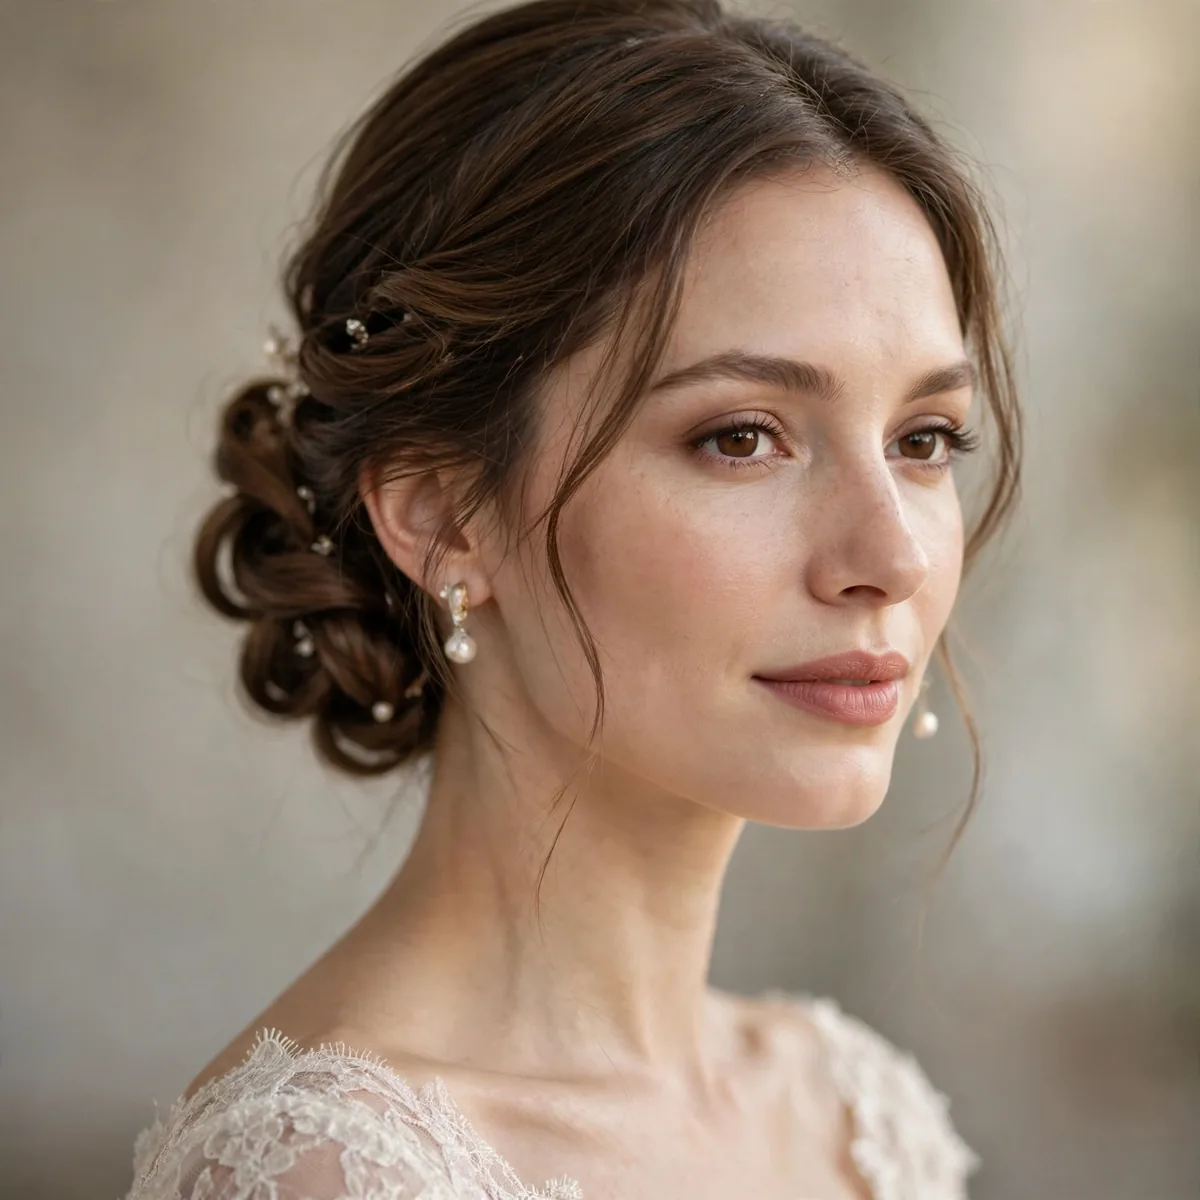
Soft twists gathered low — romantic texture that photographs beautifully from behind.
Leave face-framing pieces loose for softness.
Work in twisted sections rather than one mass: twist two-inch sections away from the face, pin each loosely at the nape, then arrange the twists into a soft cluster. Sea salt spray and texturizing powder are essential — they give the grip that lets twists hold their shape instead of unraveling. Pull a few loops gently outward after pinning for that undone, romantic texture, and finish with a medium-hold spray that flexes rather than freezes.
This updo was made for dresses with stunning backs — illusion lace, low drapes, and button details all stay fully visible. The softness flatters angular and square face shapes, balancing strong jawlines. Tuck the veil comb beneath the twist cluster so it peeks out below rather than sitting on top. Properly pinned twists are remarkably durable, holding through wind and dancing; just keep a few extra pins in the emergency kit for quick reinforcement.
Half-Up Waterfall Braid
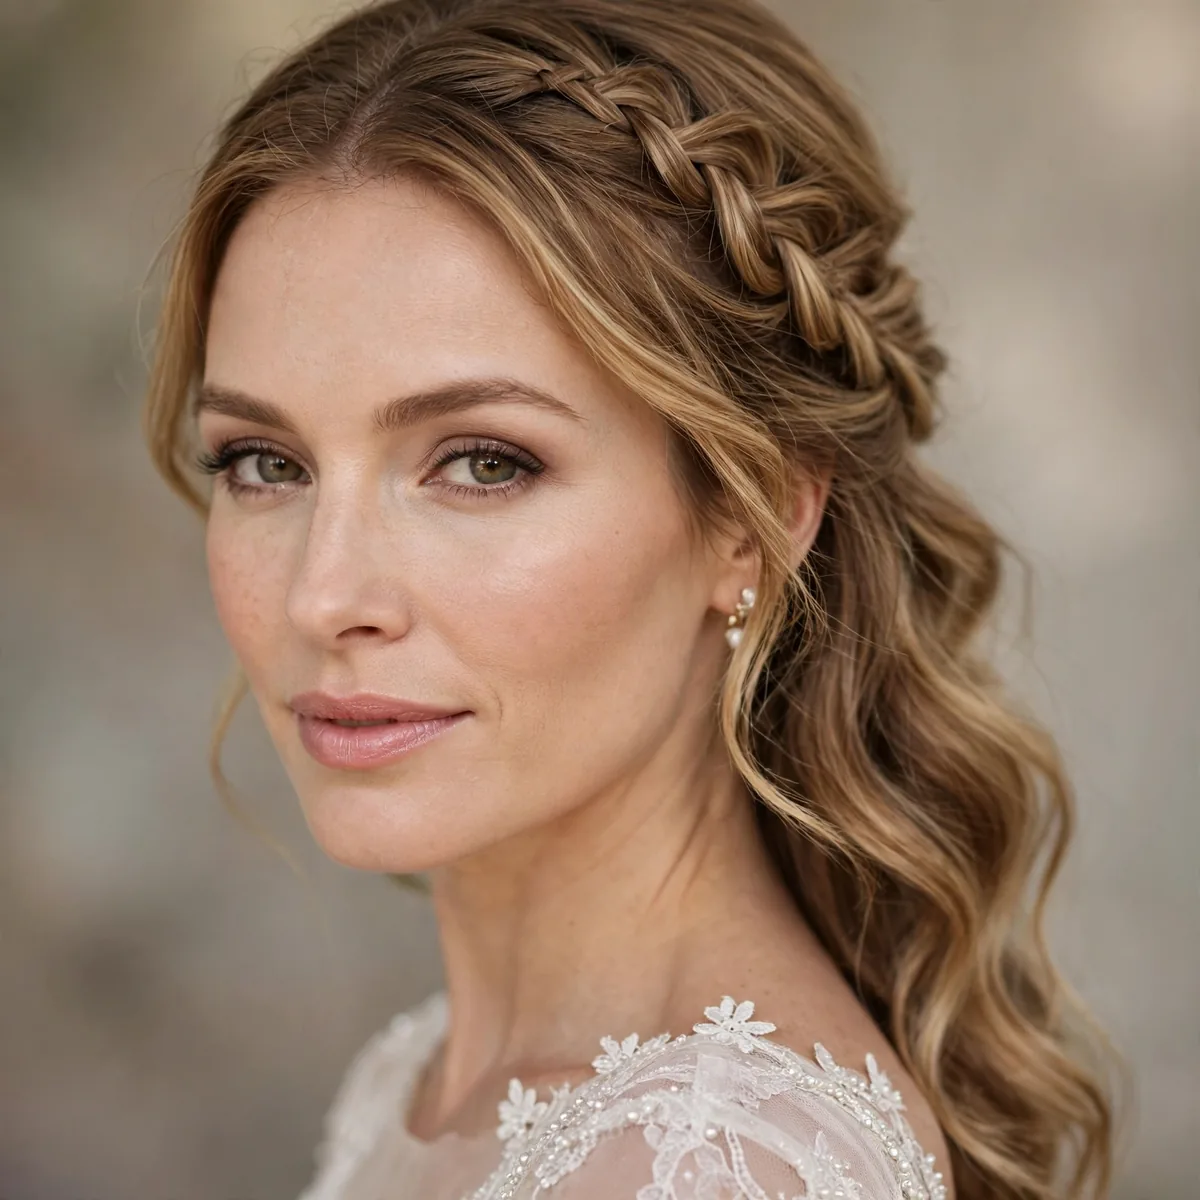
A waterfall braid across the crown with flowing waves below — the best of both worlds.
Ideal for brides who want hair down but styled.
Master the waterfall rhythm: braid three sections normally, but drop the bottom strand each stitch and pick up a new section of hair beside it — the dropped strands become the ‘waterfall.’ Curl the hair first with a large-barrel iron; the braid grips textured hair far better than straight. Secure the braid’s end with a clear elastic hidden under a wrapped strand of hair, and pin the tail discreetly into the waves below.
The half-up structure opens the face beautifully, making it ideal for round faces that need height at the crown. Skip heavy veils here — a small birdcage or fingertip veil tucked beneath the braid works, or let the style stand alone. Mist the braid with strong-hold spray, since the dropped strands loosen first. Fair warning for outdoor weddings: wind unravels waterfall braids faster than any other half-up style, so have a stylist on standby or choose this for calm-weather venues.
The Sleek Low Ponytail
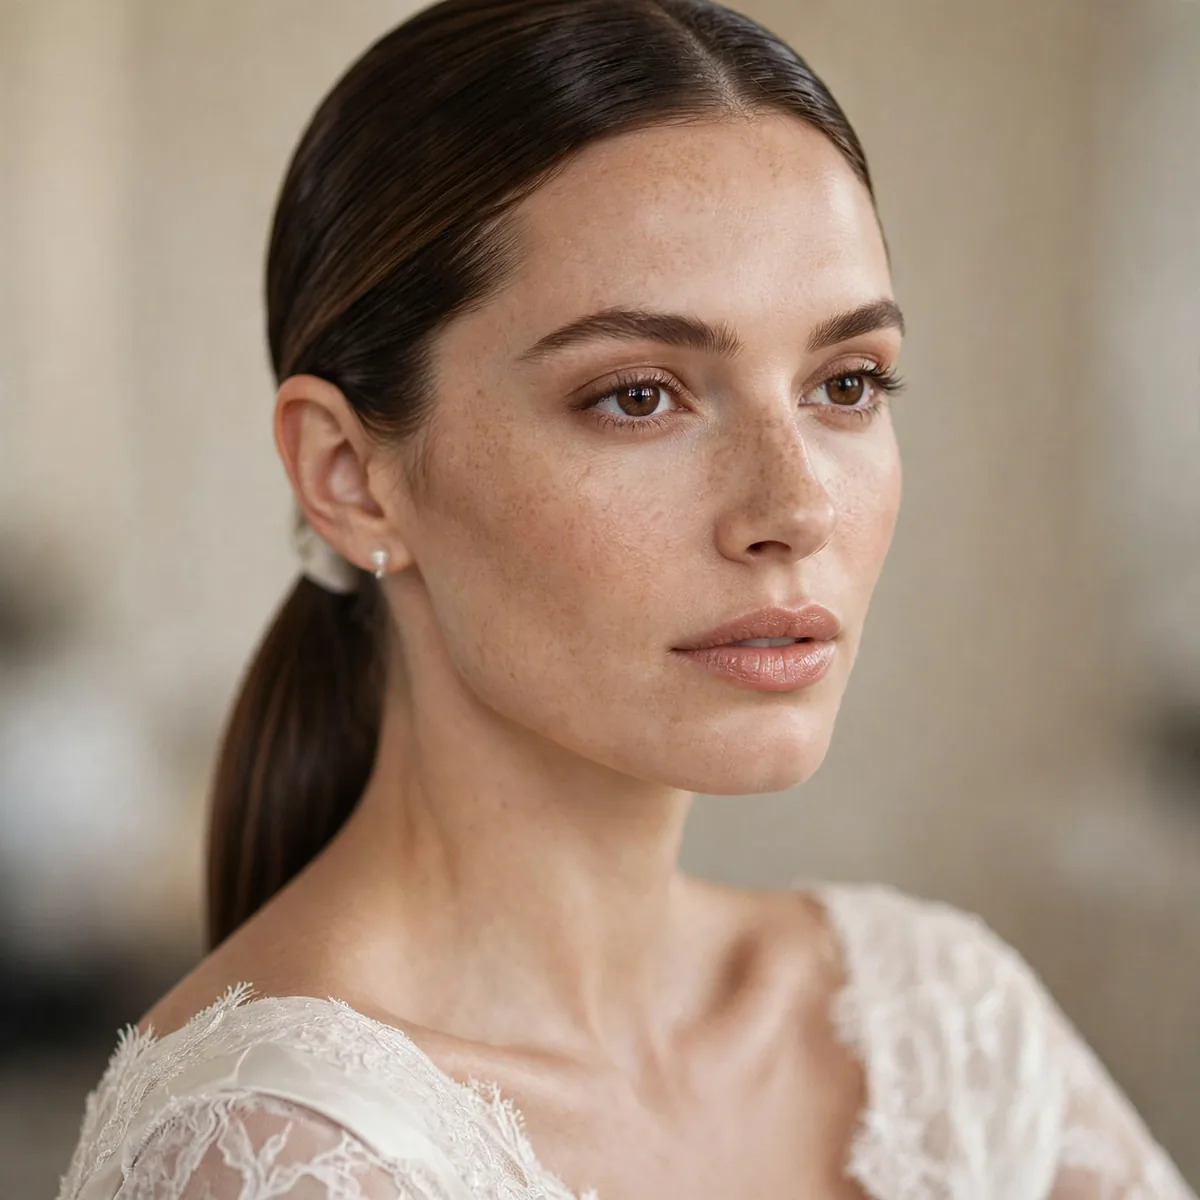
A polished low pony wrapped with hair — modern, minimal, incredibly chic.
Sleek styles need smoothing products and serious hold.
Glass-like sleekness starts in the shower: a smoothing shampoo, followed by a blowout with a paddle brush and a pass of the flat iron. Work a pea-sized amount of serum through mid-lengths and a touch of pomade over the crown to seal flyaways. Gather the pony at the nape, secure with a strong elastic, then wrap a one-inch section of hair around the base and pin underneath — the wrapped base is what elevates it from gym to bridal.
The sleekness spotlights bone structure, so it shines on oval and heart-shaped faces — soften with a deep side part if your features are strong. It is the perfect frame for statement earrings and high necklines, keeping the focus exactly where you want it. The style holds all day with minimal fuss; just smooth the crown with a dab of pomade at touch-up time. In humidity, an anti-frizz serum is mandatory — sleek turns frizzy fastest of all bridal styles.
Romantic Side Swept Curls
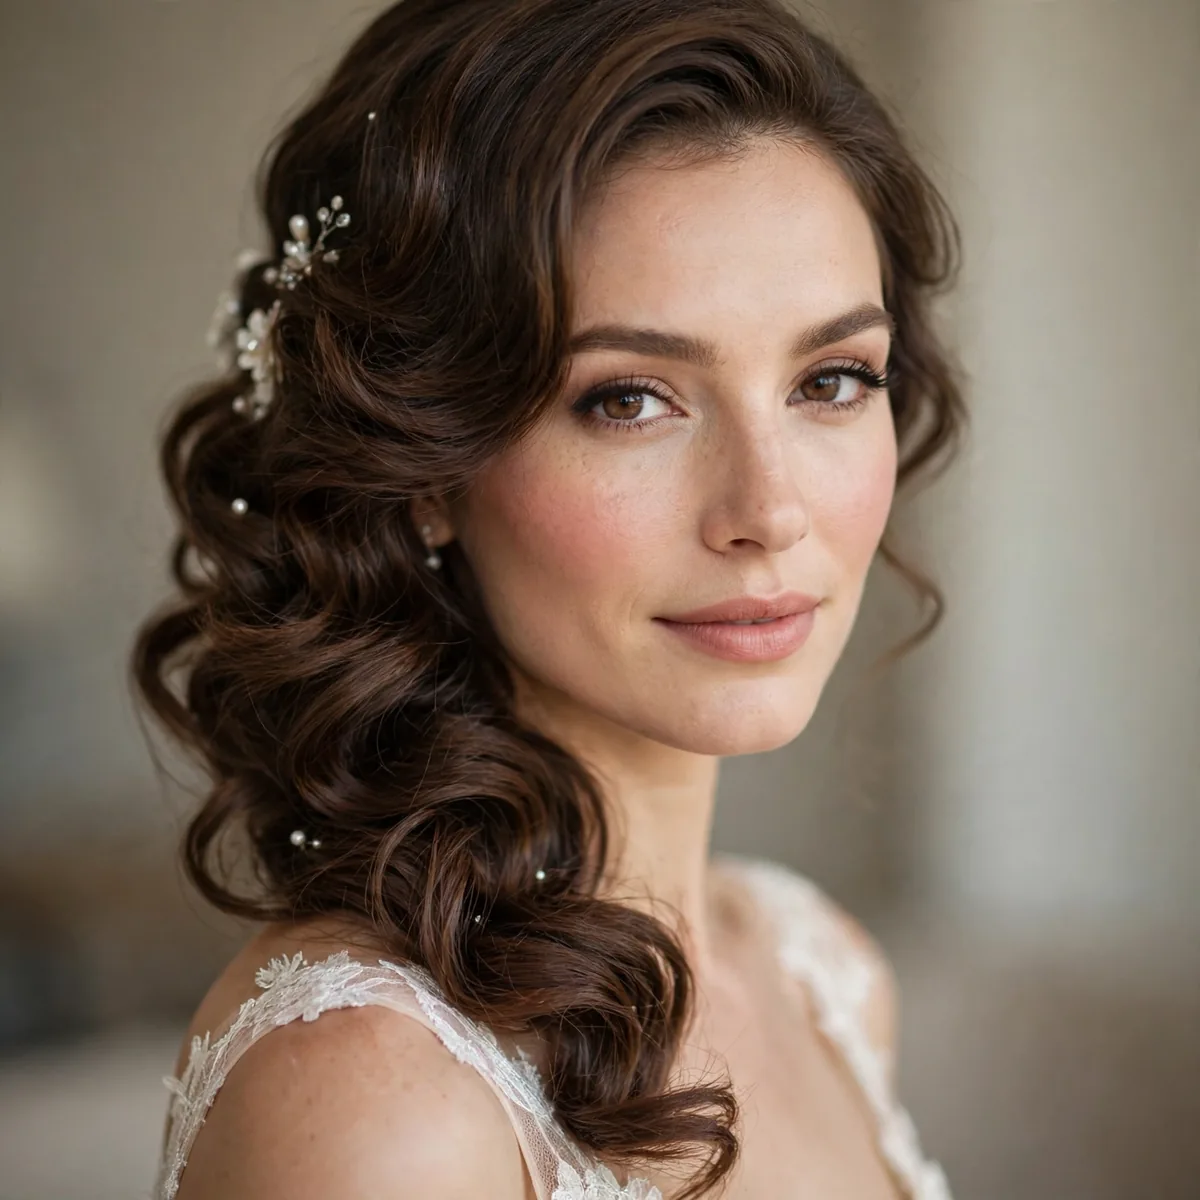
All the hair swept to one side in soft curls — dramatic and romantic.
The asymmetry photographs beautifully and shows off earrings.
Curl every section in the same direction — toward the side the hair will sweep to — using a one-and-a-quarter-inch iron for soft, touchable curls. Gather the hair over one shoulder, securing underneath with crossed bobby pins hidden in the curl mass, and let a few tendrils escape near the ear. The earring goes on the exposed side, where the bare shoulder and neck create the perfect stage. Mist with flexible spray so the curls move naturally.
The asymmetry is magic for round faces — the diagonal line visually slims and lengthens. It pairs perfectly with one-shoulder or asymmetric necklines, echoing the dress’s own drama. For longevity, the front curls need the most help; pack a travel iron for a quick re-curl before the reception. Outdoors, anchor the sweep with extra pins at the nape — wind loves to undo a side sweep, and a mid-ceremony restyle is nobody’s dream.
The Textured High Bun
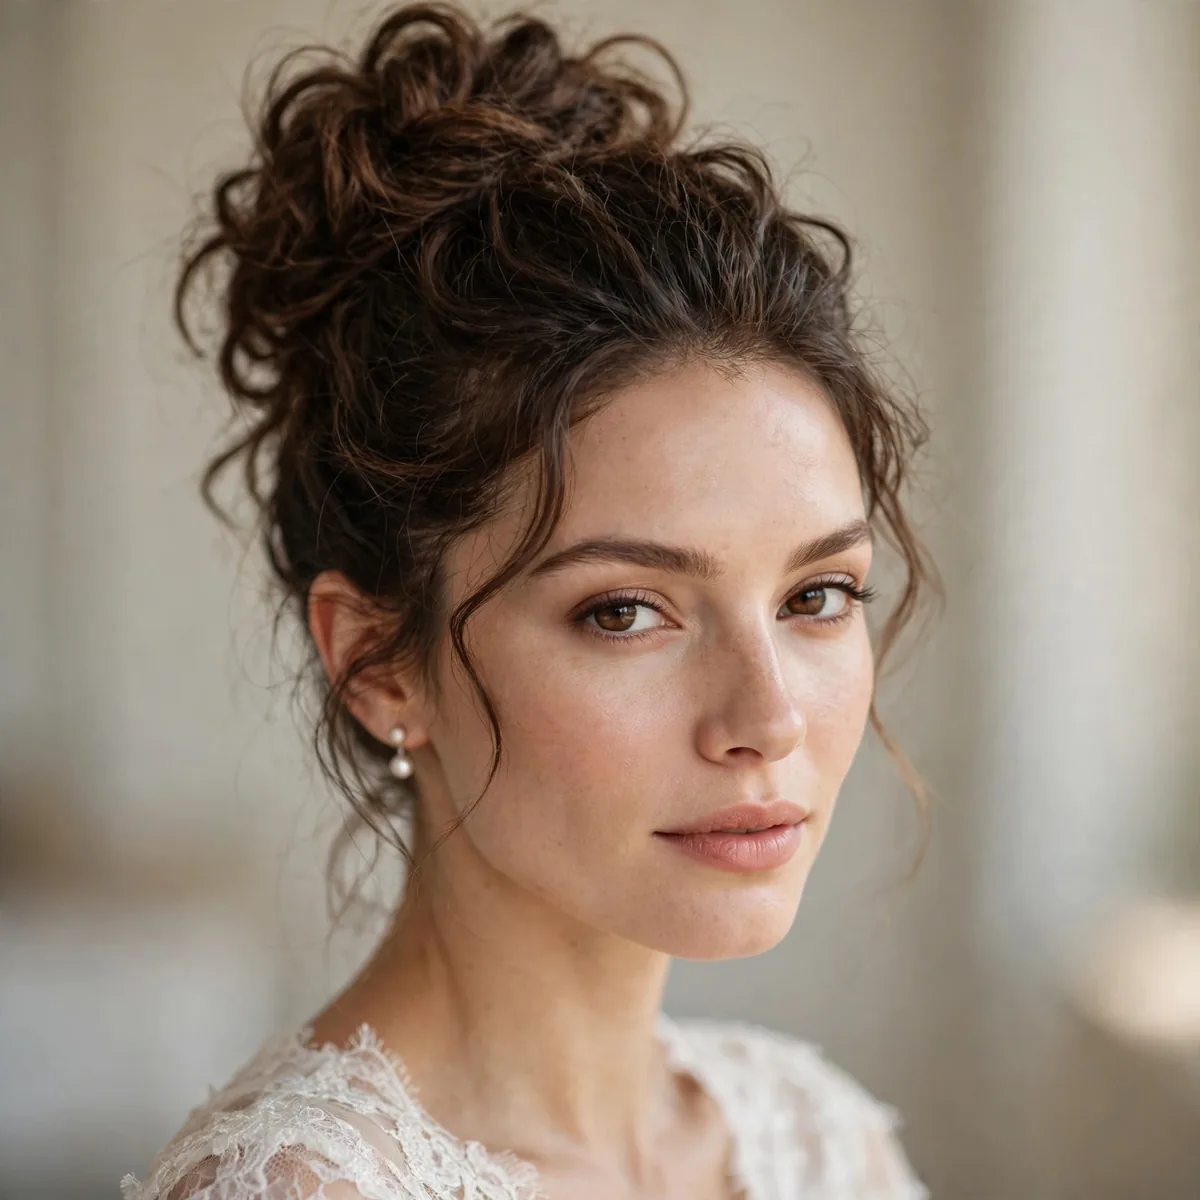
A soft, textured topknot — modern bridal with effortless vibes.
Balance with soft makeup; the bun is already a statement.
Texture is everything: work texturizing spray and a light tease at the crown before gathering hair into a high ponytail — the tease creates the airy volume that separates a bridal bun from a gym bun. Twist the pony loosely, wrap it around its base, and pin with the ends tucked. Then gently pull small sections outward for that perfectly imperfect finish. A strong-hold spray locks it, but keep the texture touchable, not crunchy.
The height elongates round faces and short necks beautifully — but very long faces should keep the bun lower and wider to avoid adding length. Skip the traditional veil or wear a short one beneath the bun; the topknot is the headpiece here. Pair with bold earrings, since the ears are fully on display. This is the most dance-proof bridal style there is: pinned high and tight, it will look identical at midnight.
Fishtail Braid Beauty
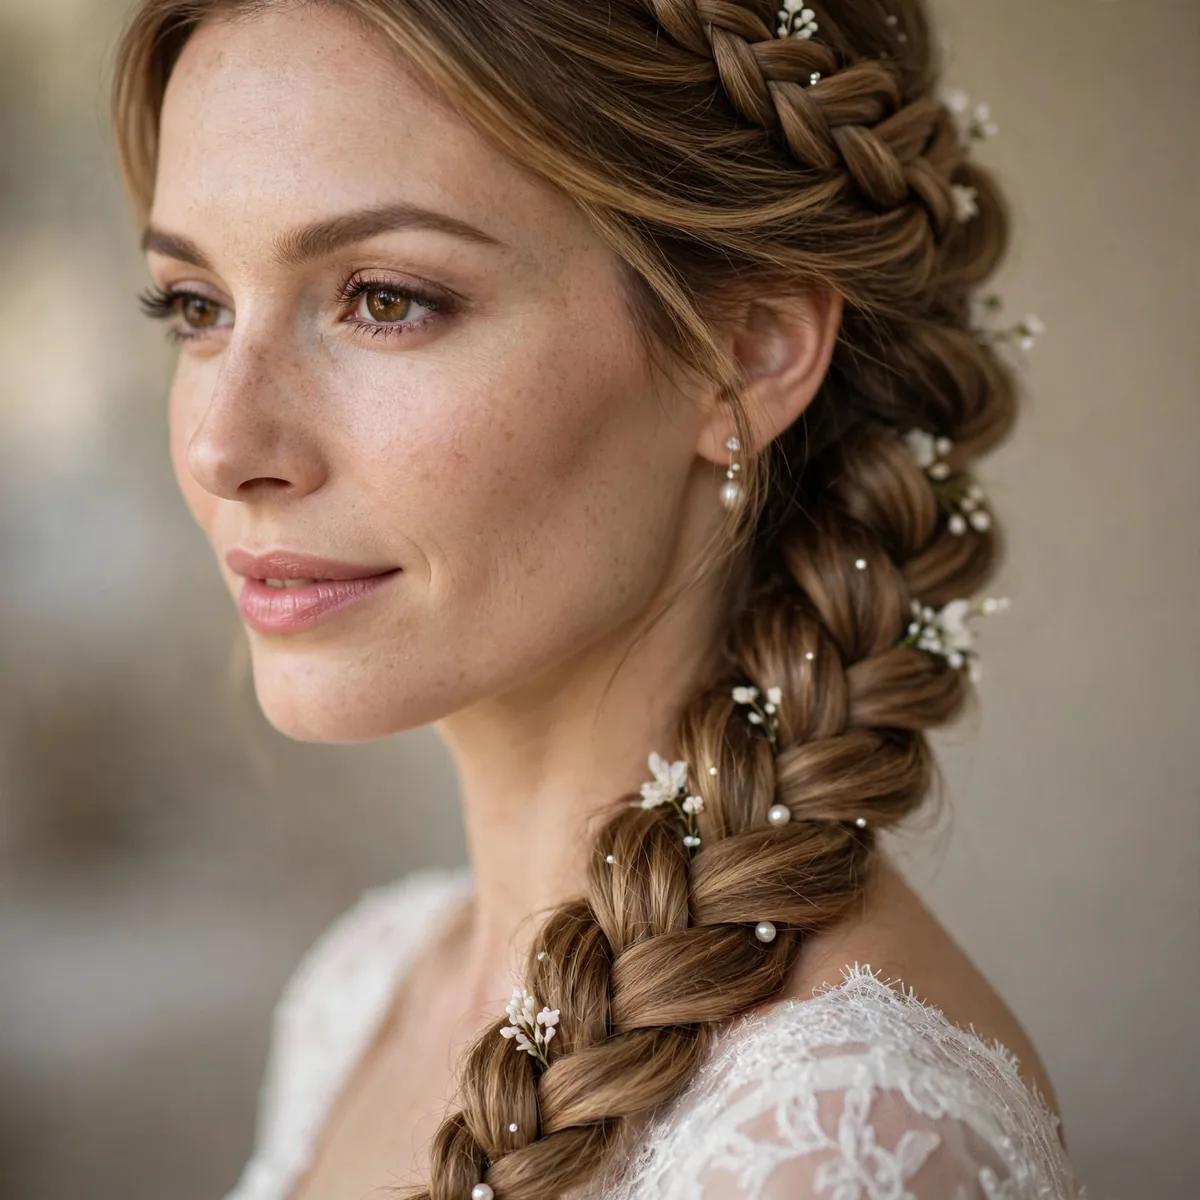
An intricate fishtail over one shoulder — boho romance at its finest.
Pancake the braid (gently pull it wider) for fullness.
The fishtail uses just two sections: take a thin strand from the outside of the left section, cross it over to the right, then mirror from the right — smaller strands mean a more intricate result. Work with texture spray for grip, and braid slightly looser than feels natural; you will pancake it wider afterward. Secure with a clear elastic, then gently tug each ‘stitch’ outward from bottom to top for that full, boho volume.
The fishtail’s softness flatters nearly every face shape, and its texture photographs like a work of art from behind — ideal for ceremonies where guests watch your back. Weave small flowers, baby’s breath, or pearl pins directly into the stitches for a garden-party finish. The style holds remarkably well once set with spray; if it loosens, re-pancake rather than re-braid. Made for outdoor, boho, and rustic venues — wind only improves its undone charm.
Vintage Victory Rolls
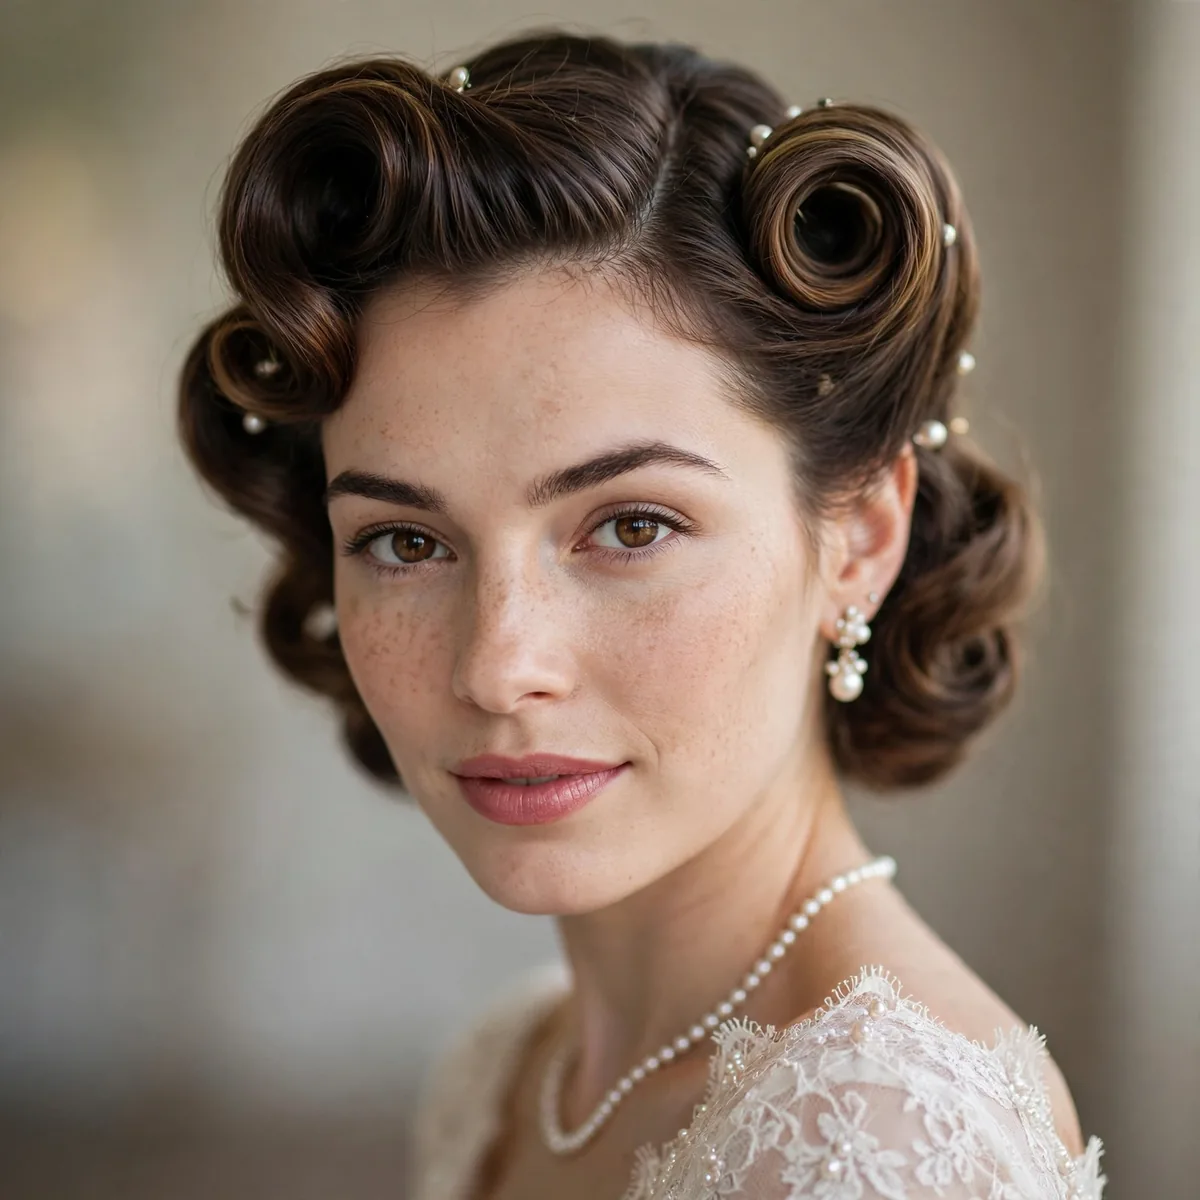
For retro-themed weddings: victory rolls with the rest in waves. Pure 1940s glamour.
This needs a stylist experienced in vintage work — book accordingly.
Each roll starts with serious backcombing at the base — the teased foundation is what the roll wraps around and grips. Smooth the top layer over the tease, roll the section around two fingers toward the scalp, and pin the roll’s underside with crossed bobby pins. Work with setting lotion on damp hair or a strong mousse on dry hair; vintage styles demand old-school product discipline. Roll both sides symmetrically, checking in a hand mirror as you go.
Do not hand this to a generalist — victory rolls are a dying art, so book a stylist with vintage work in their portfolio and do a full trial. The rolls’ height flatters round faces and short foreheads beautifully. Pair with a birdcage veil pinned just behind the rolls and the classic red lip; the whole look should feel like one era. Once pinned and sprayed, rolls are tanks — they will outlast the dance floor without a single touch-up.
The Knotted Updo
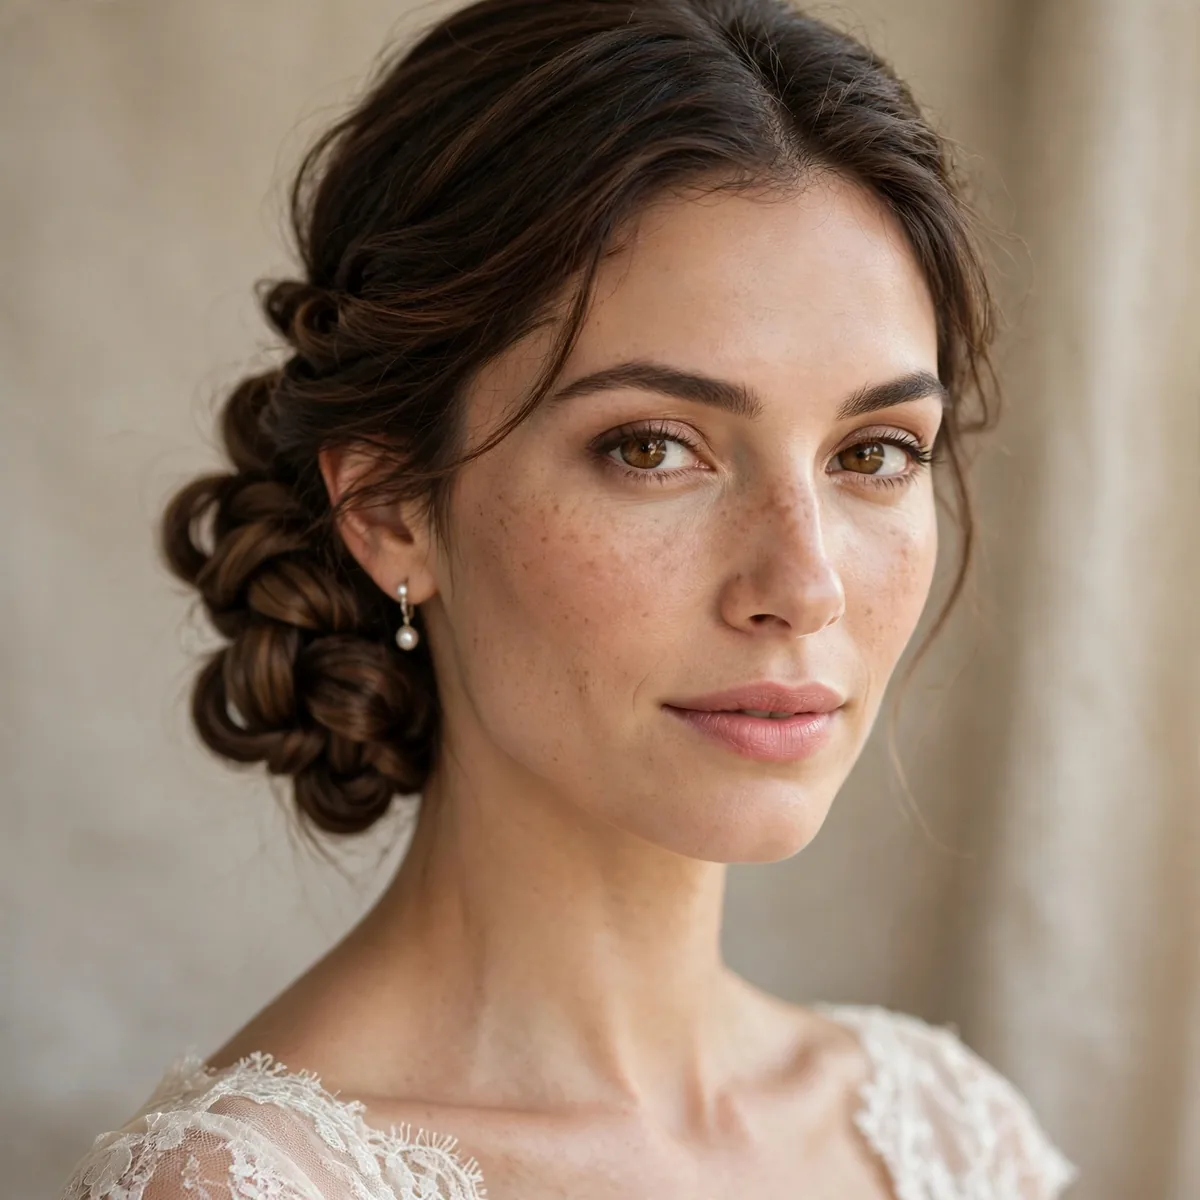
Soft knots gathered at the nape — modern, artistic, and surprisingly secure.
Looks intricate but holds better than many classic updos.
The knot is structural genius: divide the nape hair into sections, tie each in a loose overhand knot, and pin the knot’s center — the knot tightens on itself, which is why this style outlasts many pinned updos. Arrange three to five knots in a cluster, tucking ends underneath. Work with texturizing spray for grip, and leave the knots slightly loose; pulled-tight knots look severe, while soft ones read modern and artistic.
Medium to thick hair knots most beautifully — fine hair needs a little padding or extensions to give the knots substance. The sculptural shape suits minimalist, modern gowns and architectural venues perfectly. It flatters oval and heart-shaped faces especially, with the nape placement keeping the silhouette clean. Expect all-day hold with minimal maintenance; the self-tightening knots barely budge, even through an enthusiastic dance floor.
Woven Ribbon Braid
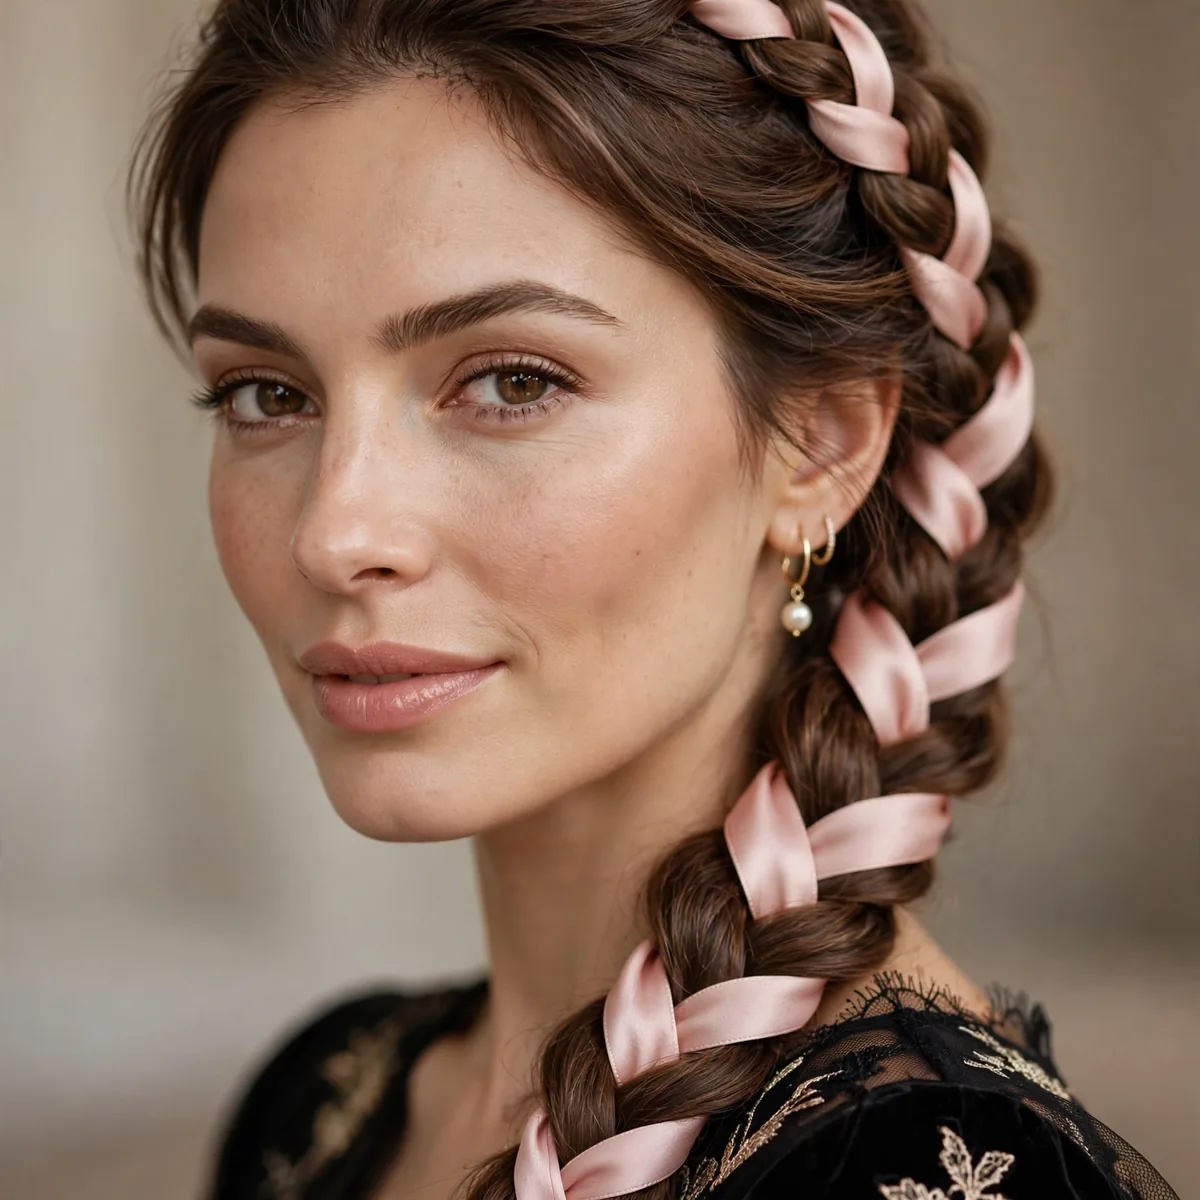
Weave a ribbon matching your palette through a braid — personalized and pretty.
Ivory or blush ribbon is classic; your wedding color is bold.
Choose a ribbon about half an inch wide — satin for classic shine, velvet for winter texture — in a length double your braid. Weave it as a fourth strand alongside your three hair sections, keeping gentle tension so the ribbon shows evenly. Tie the end in a small bow rather than an elastic for the prettiest finish. Match the ribbon to your palette exactly by bringing a fabric swatch when you shop; ‘close enough’ clashes in photos.
Any braid works — French, Dutch, or fishtail — but a side braid shows the ribbon to best advantage in photos. Anchor the ribbon’s top end with a small pin at the crown; ribbon is slippery and migrates without one. This is a wonderfully DIY-friendly style for bridesmaids to help with the morning of. The braid holds all day with a light mist of spray, and the ribbon stays crisp if you keep the tension even while weaving.
The Deep Side Part
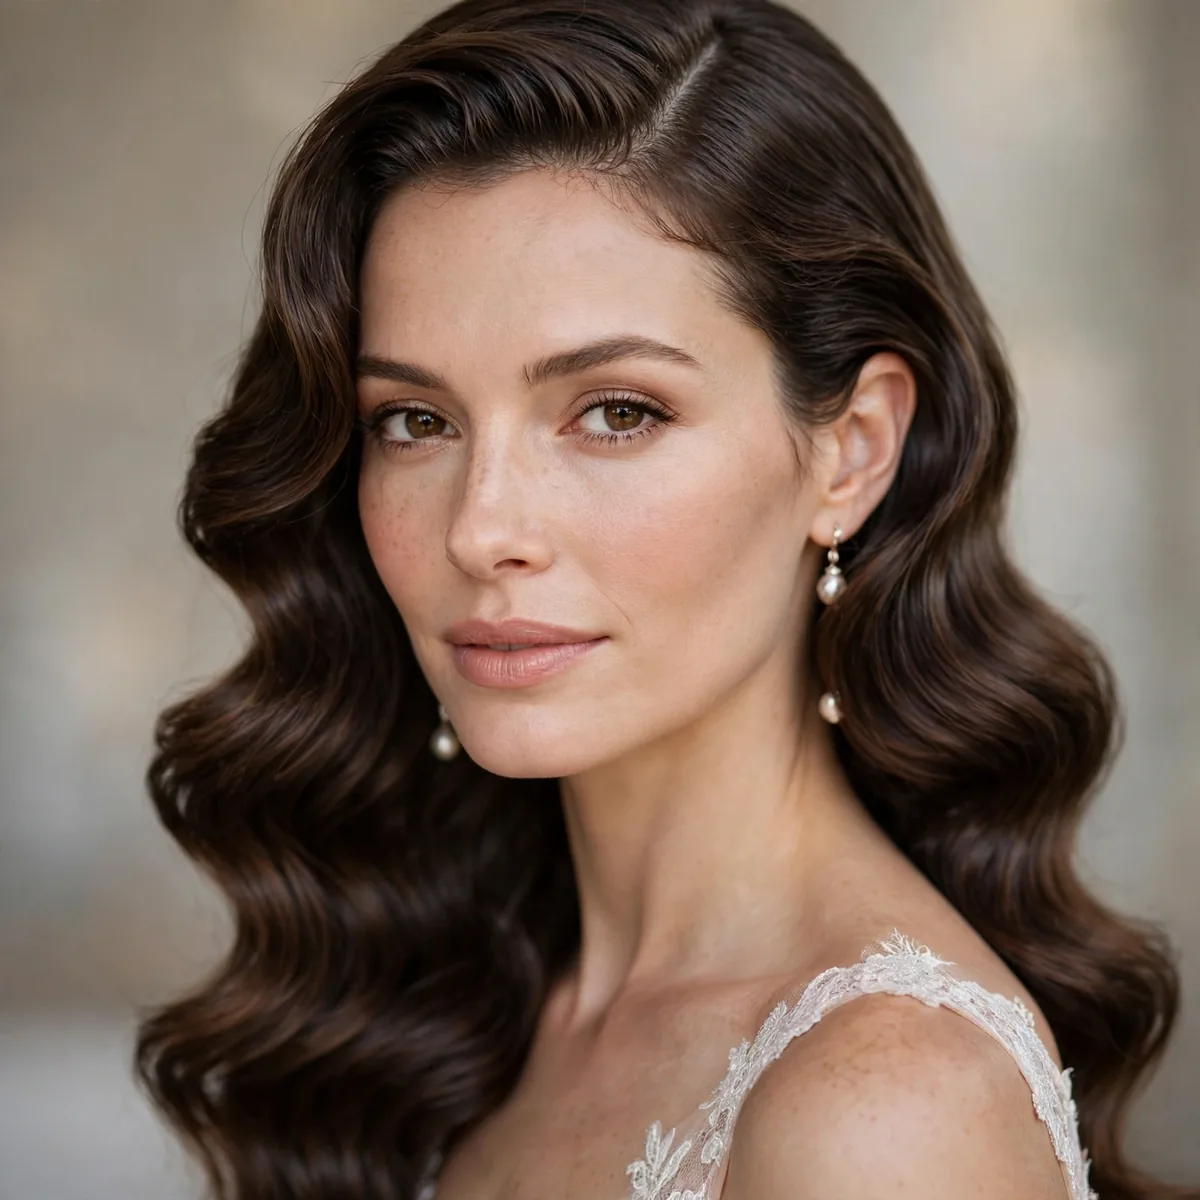
Sometimes simplest is best: a deep side part with polished waves.
The asymmetry adds drama to an otherwise simple style.
Place the part at the arch of the brow — too far over looks costume, too shallow loses the drama. Train a stubborn part with sectioning clips worn for an hour before styling; hair has memory and fights new parts. Smooth the heavier side flat against the head with pomade, letting the lighter side fall naturally. Ask your photographer which is your better side in test shots, then sweep toward it for portraits.
The deep part slims round faces and adds welcome asymmetry to long faces — it is the rare detail that flatters everyone. It upgrades any texture: polished waves, sleek straight lengths, or soft curls all gain red-carpet polish from the part alone. Any veil works, tucked on the heavier side. The part may drift by evening; a dab of pomade and a quick re-comb at the touch-up stop restores the line in seconds.
Floral-Adorned Waves
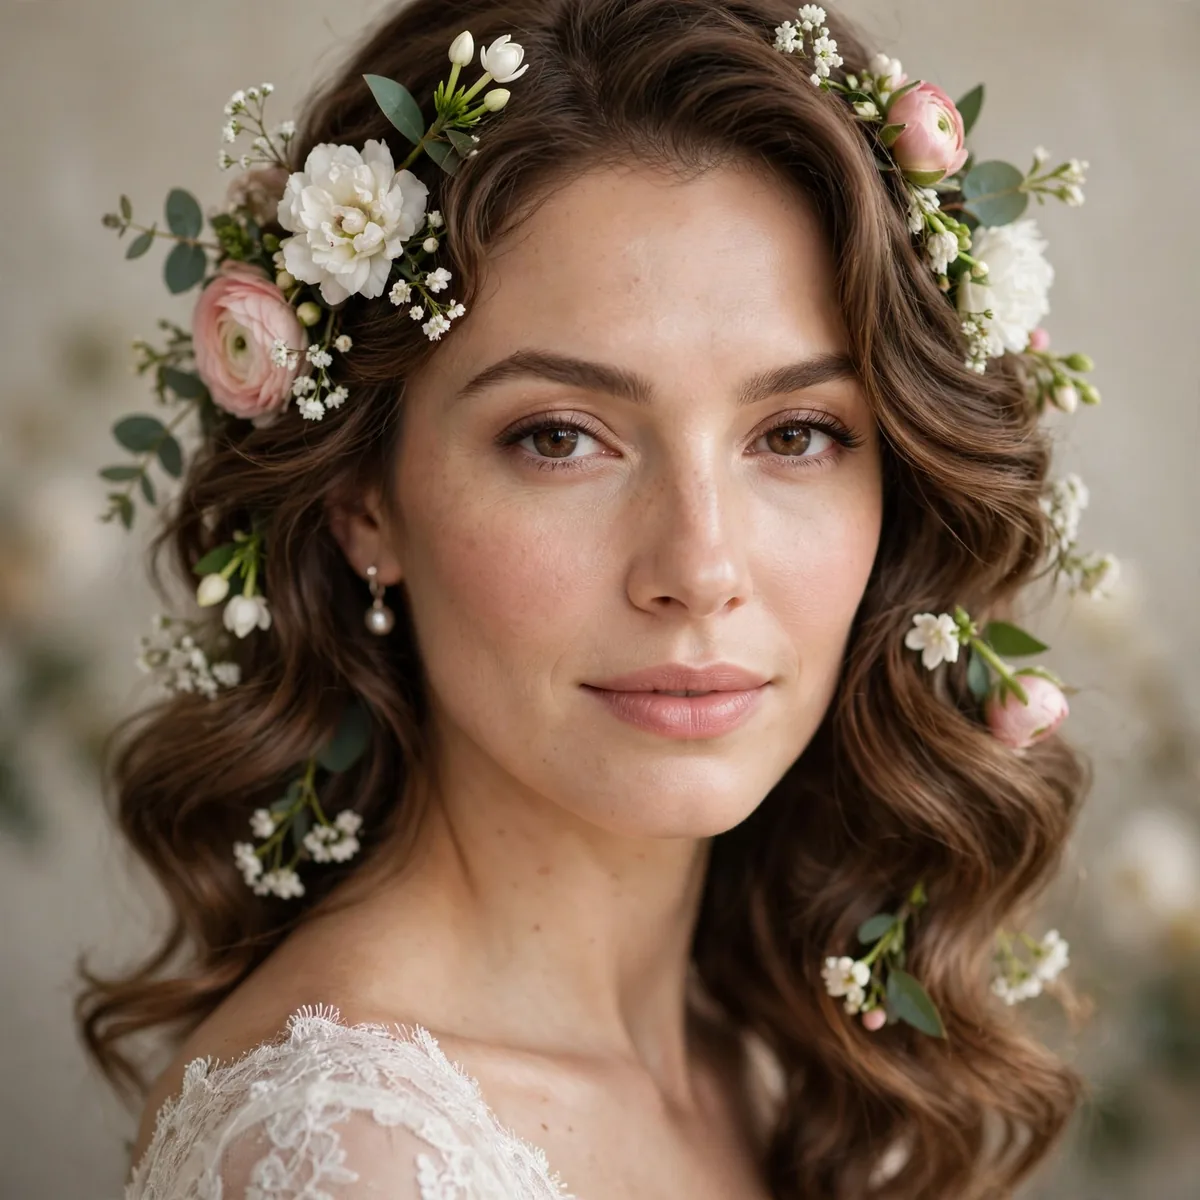
Loose waves with fresh flowers tucked in — garden wedding perfection.
Use hardy blooms (roses, orchids) that won’t wilt by cocktail hour.
Ask your florist to wire the blooms and add water tubes — wired flowers pin securely and stay fresh for twelve hours. Choose hardy varieties: spray roses, orchids, ranunculus, and waxflower outlast delicate sweet peas or gardenias. Cluster three to five blooms asymmetrically above one ear rather than scattering them evenly; odd numbers photograph more naturally. Pin through the wired stems with U-pins, crossing them for grip.
Check for pollen allergies before committing — a sneezing bride is no one’s vision. Waves grip flowers better than straight hair, so curl first even if you want a relaxed look. Skip the veil or choose a short one worn low; flowers and a long veil compete. Ask your florist for two or three spare blooms in water — a quick swap at the reception keeps the arrangement looking just-picked all night.
Trial Everything
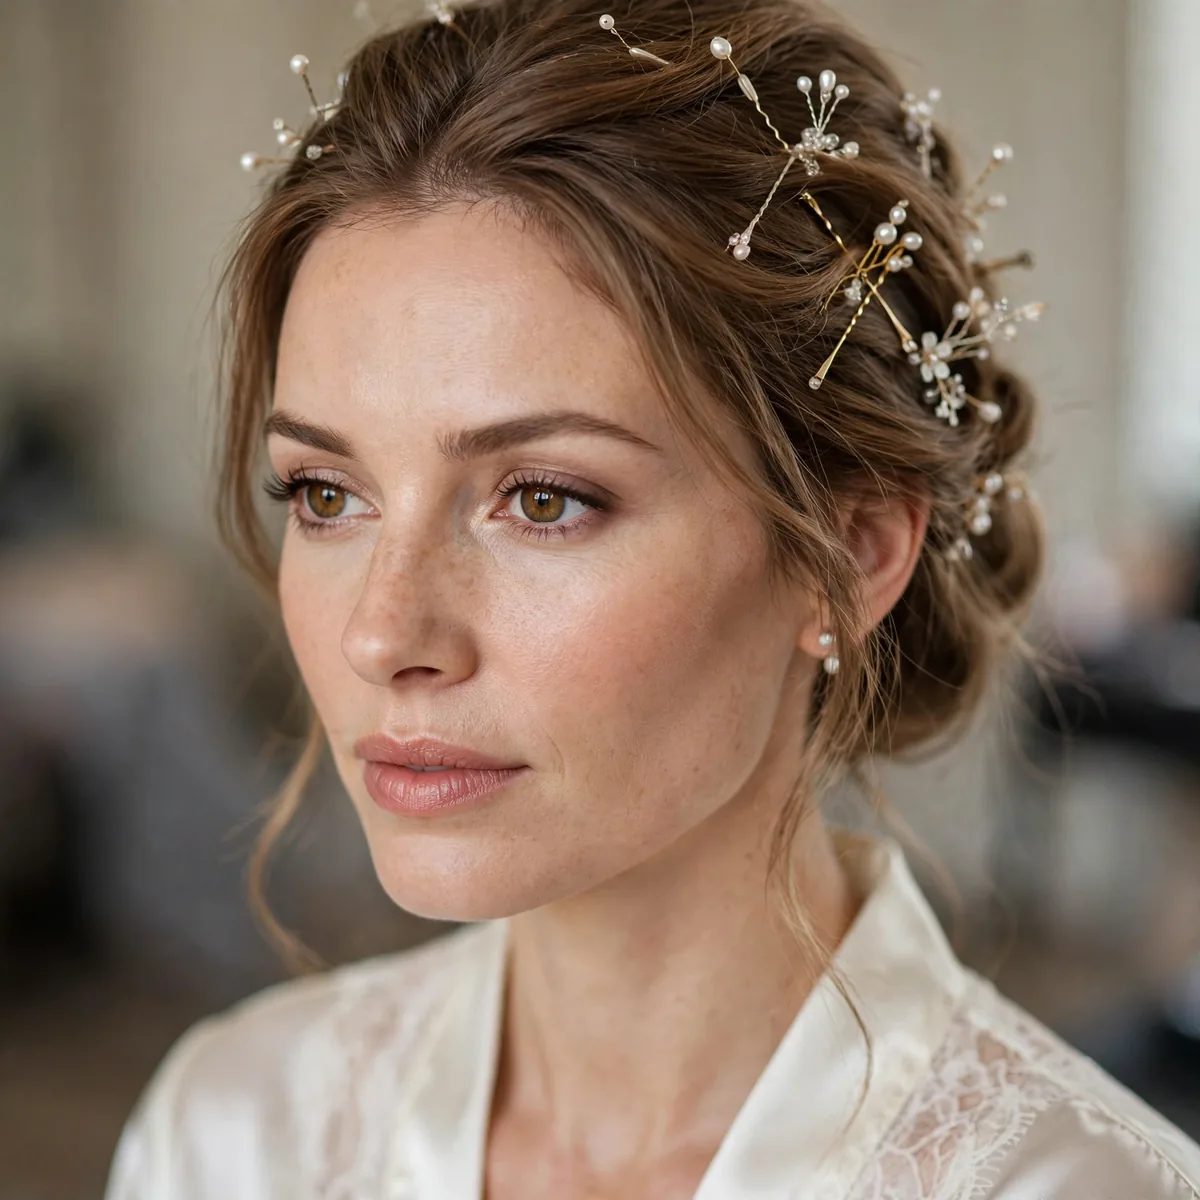
Trial your chosen style 4-6 weeks out — wear it all day to test longevity.
Bring your veil and accessories to the trial. For short hair, see our short hair bridal styles.
Treat the trial like a dress rehearsal: wear the style for a full eight hours, through wind, errands, and an evening out, to test real longevity. Bring your veil, headpiece, and earrings — and a photo of your dress neckline — so the stylist sees the whole picture. Photograph the style from every angle in daylight and flash. Four to six weeks out leaves time for a second trial if the first choice disappoints.
Communicate in specifics: bring three reference photos of the exact style, and say what you dislike as clearly as what you love. Note how the style feels — a headache by hour three means the updo is too tight for a twelve-hour day. Confirm day-of logistics in writing: arrival time, how long your hair takes, and who goes first. And always have a plan B style agreed; if humidity rebels, your stylist can pivot without panic.
Long hair, lifelong memories. Save these styles, and pair them with our timeless bridal makeup for the complete look.