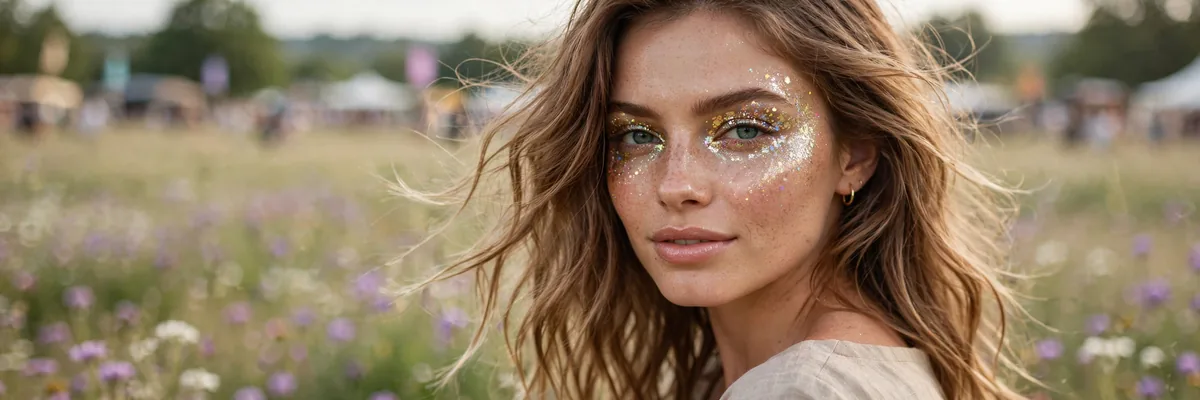
Festival glitter should last from first set to encore — these 20 looks come with the adhesion secrets that make it happen.
The glitter commandments: glitter glue always, apply with fingers or silicone tools, and set the surrounding skin so migration has nowhere to go.
Chunky glitters, fine shimmers, holographic magic — festivals are the one place where more is more.
Here are 20 ways to shine. Let’s get into it.
Glitter Lid Classic
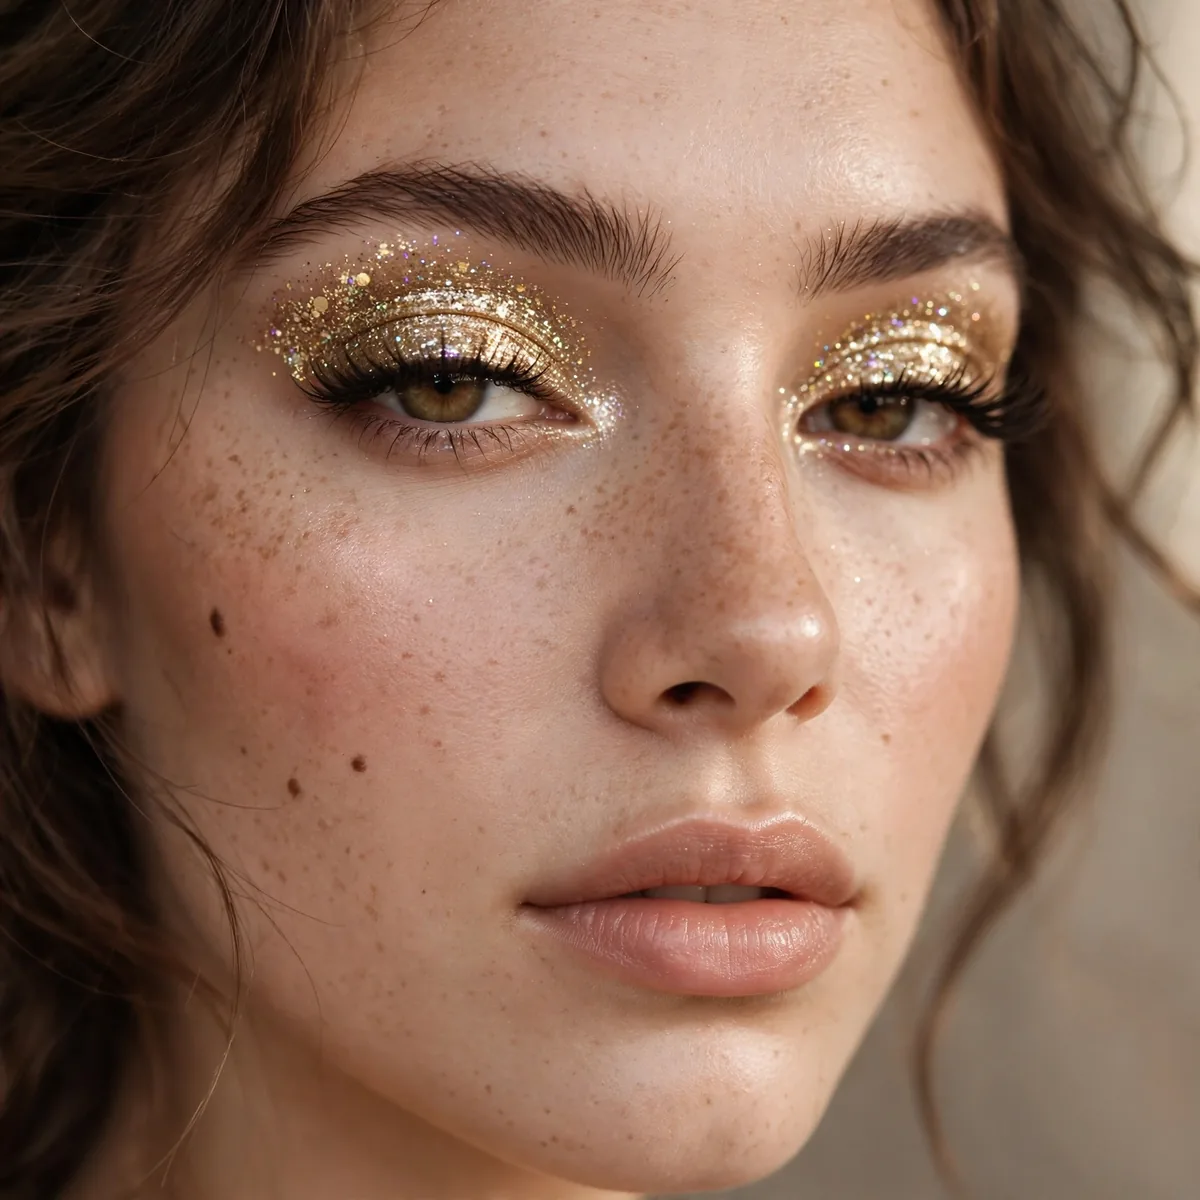
Pressed glitter over a sticky base — the festival fundamental.
Best for: the essential festival eye. Glitter glue is mandatory.
Press the glitter on with a flat synthetic brush or your fingertip — sweeping motions scatter it everywhere. Build the sparkle in thin layers over the sticky base, letting each layer set for a few seconds. The classic lid suits every eye shape, and the density is yours to control: sparse for daytime sets, packed for headliners.
Cosmetic-grade glitter is non-negotiable — craft glitter has sharp edges that can scratch the cornea. For all-day festival wear, seal the edges with a final mist of setting spray, which locks the particles without dulling their shine. The most common mistake is applying glitter after foundation; the fallout embeds in the base and ruins an otherwise flawless complexion.
Chunky Festival Glitter
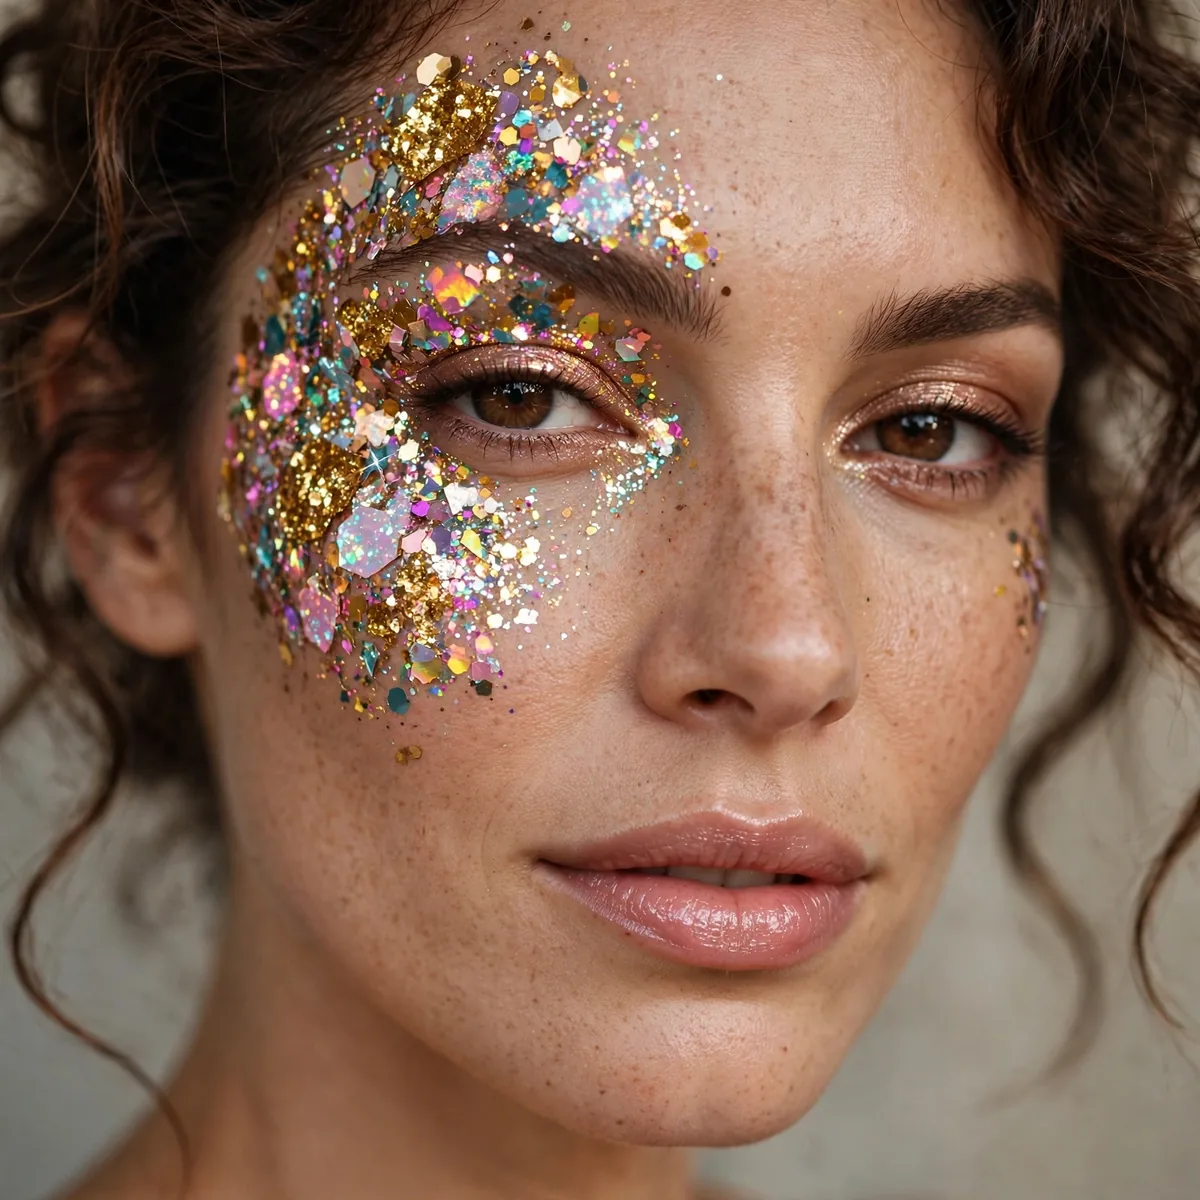
Large hex glitters in mixed sizes — the true festival texture.
Best for: maximum impact. Chunky catches light from across the field.
Mix hex sizes — large, medium, and fine — for dimension that single-size glitter can’t achieve. Place the biggest pieces first with tweezers, then fill the gaps with smaller particles pressed over glitter adhesive. The varied sizes catch light at different angles, creating that true festival texture that reads from across the field.
Chunky glitter demands a serious adhesive — standard glitter glue may not hold the heaviest pieces through dancing and heat. Press each piece firmly and give the adhesive a full minute to cure before moving. For removal, soak a cotton pad in oil cleanser and hold it over the area; the oil dissolves the adhesive without painful picking.
Holographic Magic
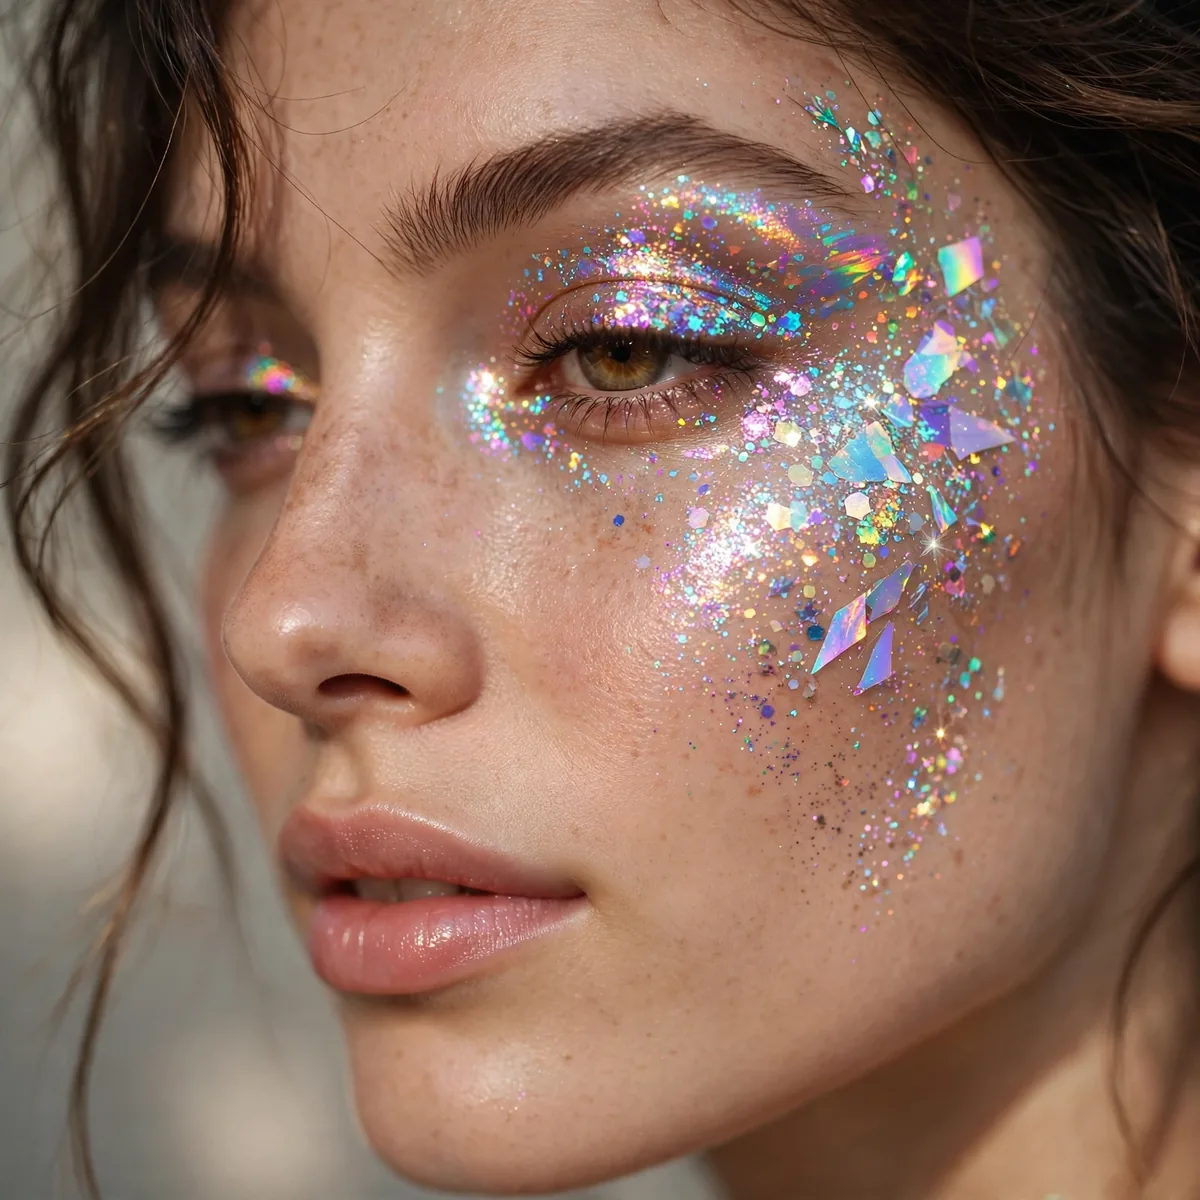
Holographic glitter that shifts rainbow — the most magical option.
Best for: the mesmerizing. Holographic moves like nothing else.
Holographic glitter shifts through rainbow tones as you move, so apply it where motion catches the light — the lids, cheekbones, and temples. A dark base underneath intensifies the rainbow effect; over bare skin the shift looks softer. The magic is in the movement, so this glitter rewards dancing and turning your head.
Night festivals are holographic glitter’s true stage — stage lights and lasers multiply the rainbow shift spectacularly. It suits every skin tone since the rainbow contains every color. The one caution: holographic particles are larger than fine glitter, so they need a stronger adhesive and careful placement away from the immediate lash line.
Glitter Under-Eye Accent
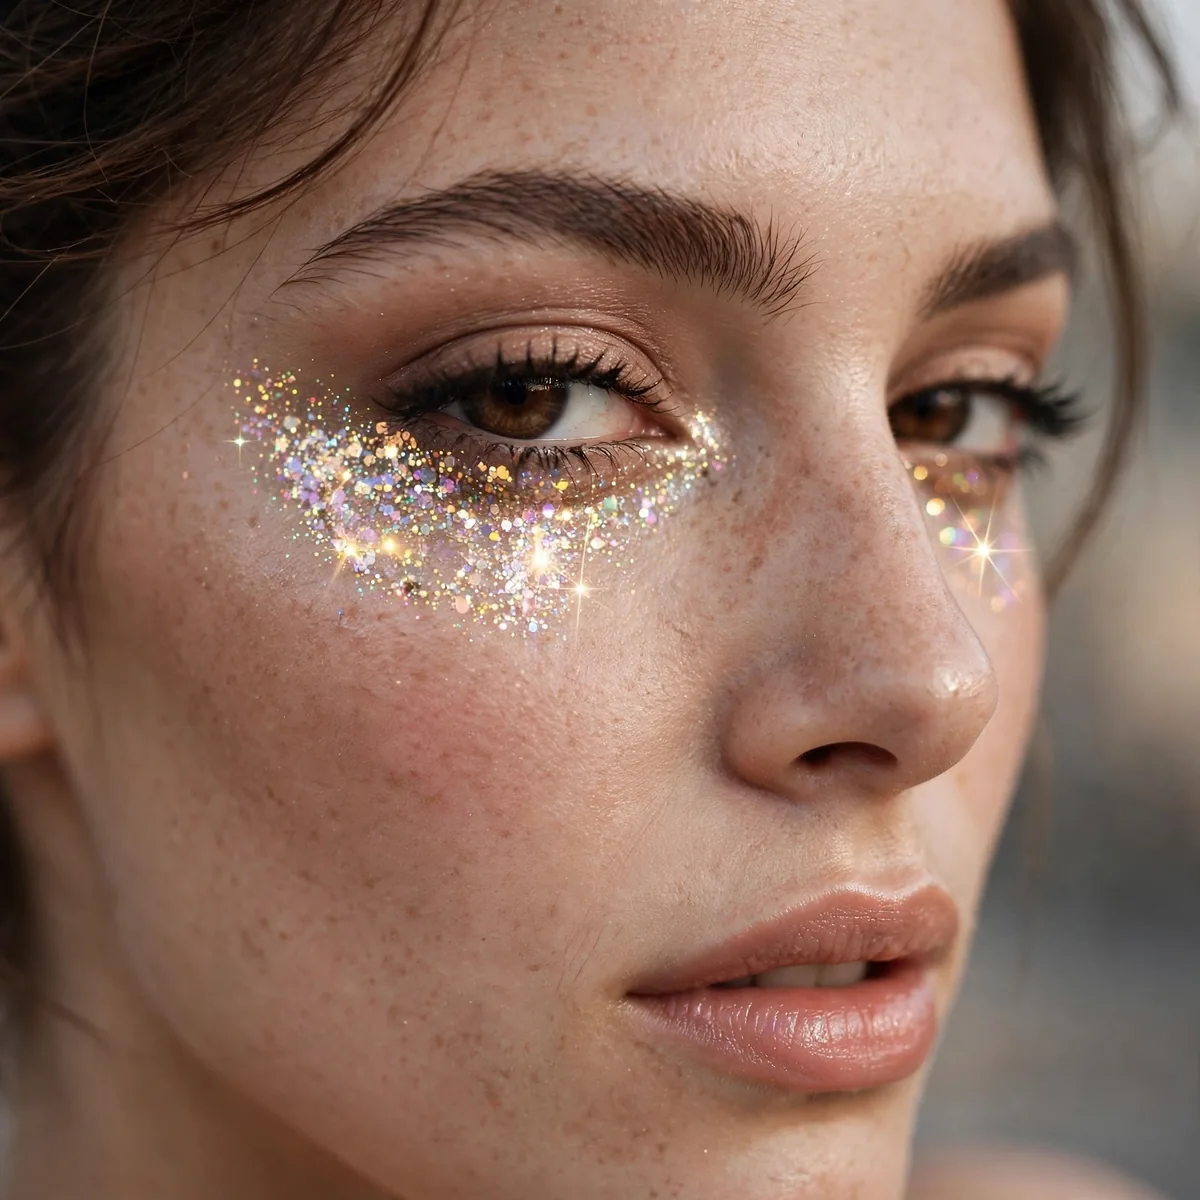
Glitter along the lower lash line — unexpected sparkle placement.
Best for: the detail-oriented. Lower-lash glitter surprises beautifully.
Apply the glitter with a small detail brush, keeping the placement tight to the lower lash line. The unexpected sparkle draws the eye downward in the best way, balancing a bold upper lid or standing alone. Set the under-eye area with concealer first — darkness beneath the glitter muddies the sparkle’s clarity.
This detail suits round and large eyes especially, adding interest to the lower lid without overwhelming. Use fine glitter rather than chunky pieces — the lower lash zone is delicate and large pieces migrate. For longevity, a waterproof glitter adhesive is essential here since the area waters; standard glue gives up within hours.
Biodegradable Glitter
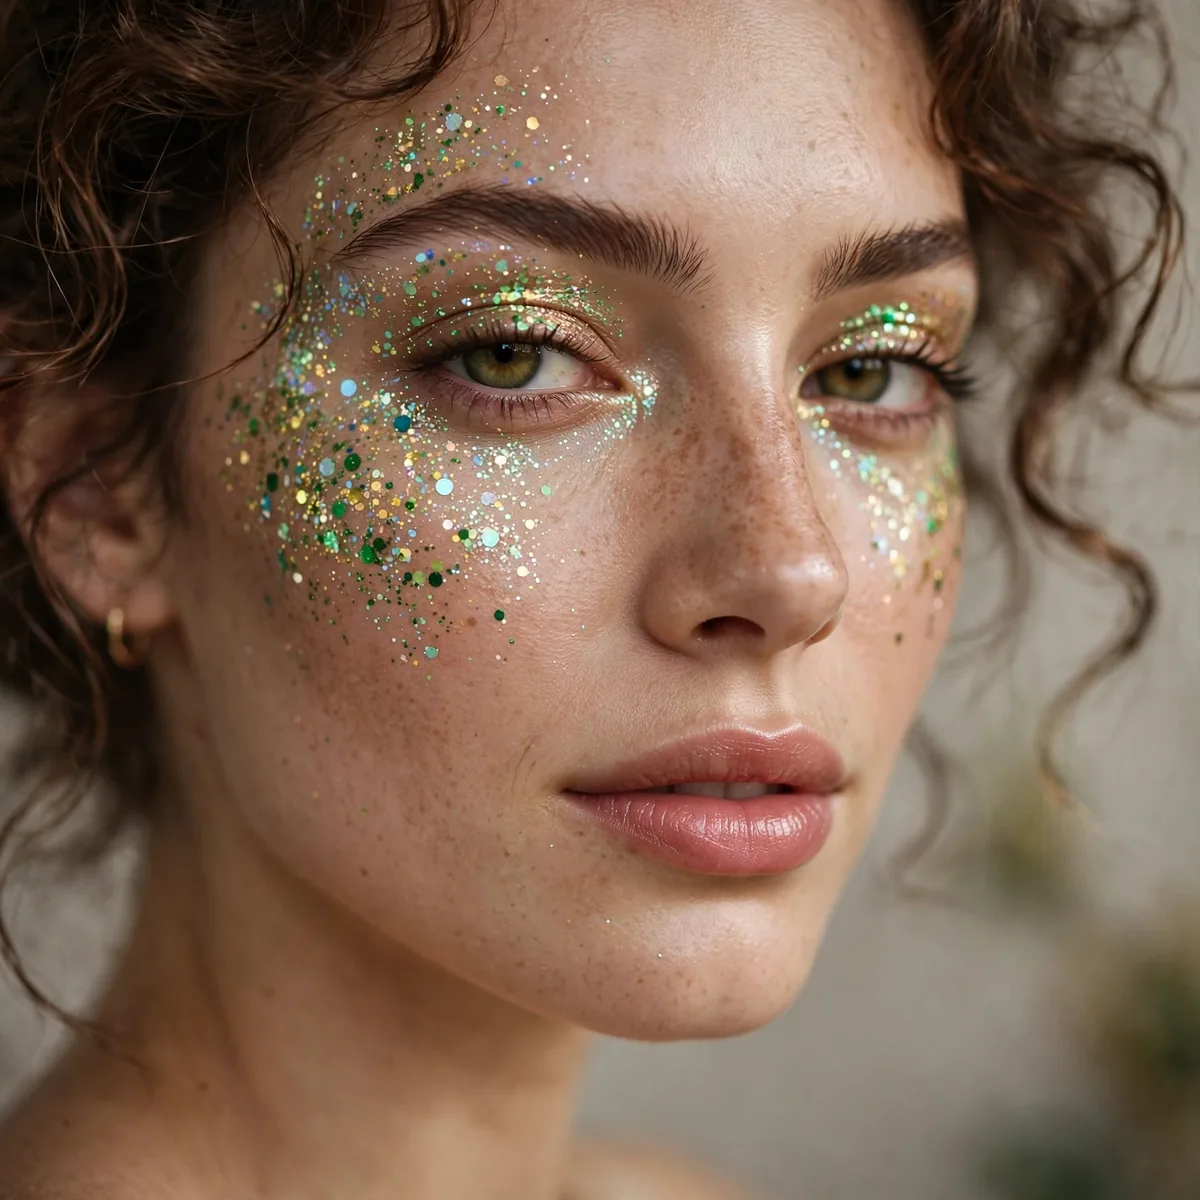
Plant-based glitter — shine without the microplastic guilt.
Best for: the conscious. The planet deserves festivals too.
Plant-based glitters made from eucalyptus cellulose perform nearly identically to plastic versions — same sparkle, same staying power. They break down in the environment within weeks rather than centuries, which is the whole point. Apply them exactly like regular glitter; the adhesive and technique don’t change, only the conscience does.
Biodegradable glitter suits outdoor festivals especially — fields, beaches, and forests where plastic glitter would linger in the ecosystem. The color range is slightly narrower than conventional glitter, but the essential golds, silvers, and holographics all exist. It’s the choice for festival-goers who want the sparkle without the environmental guilt.
Glitter Freckles
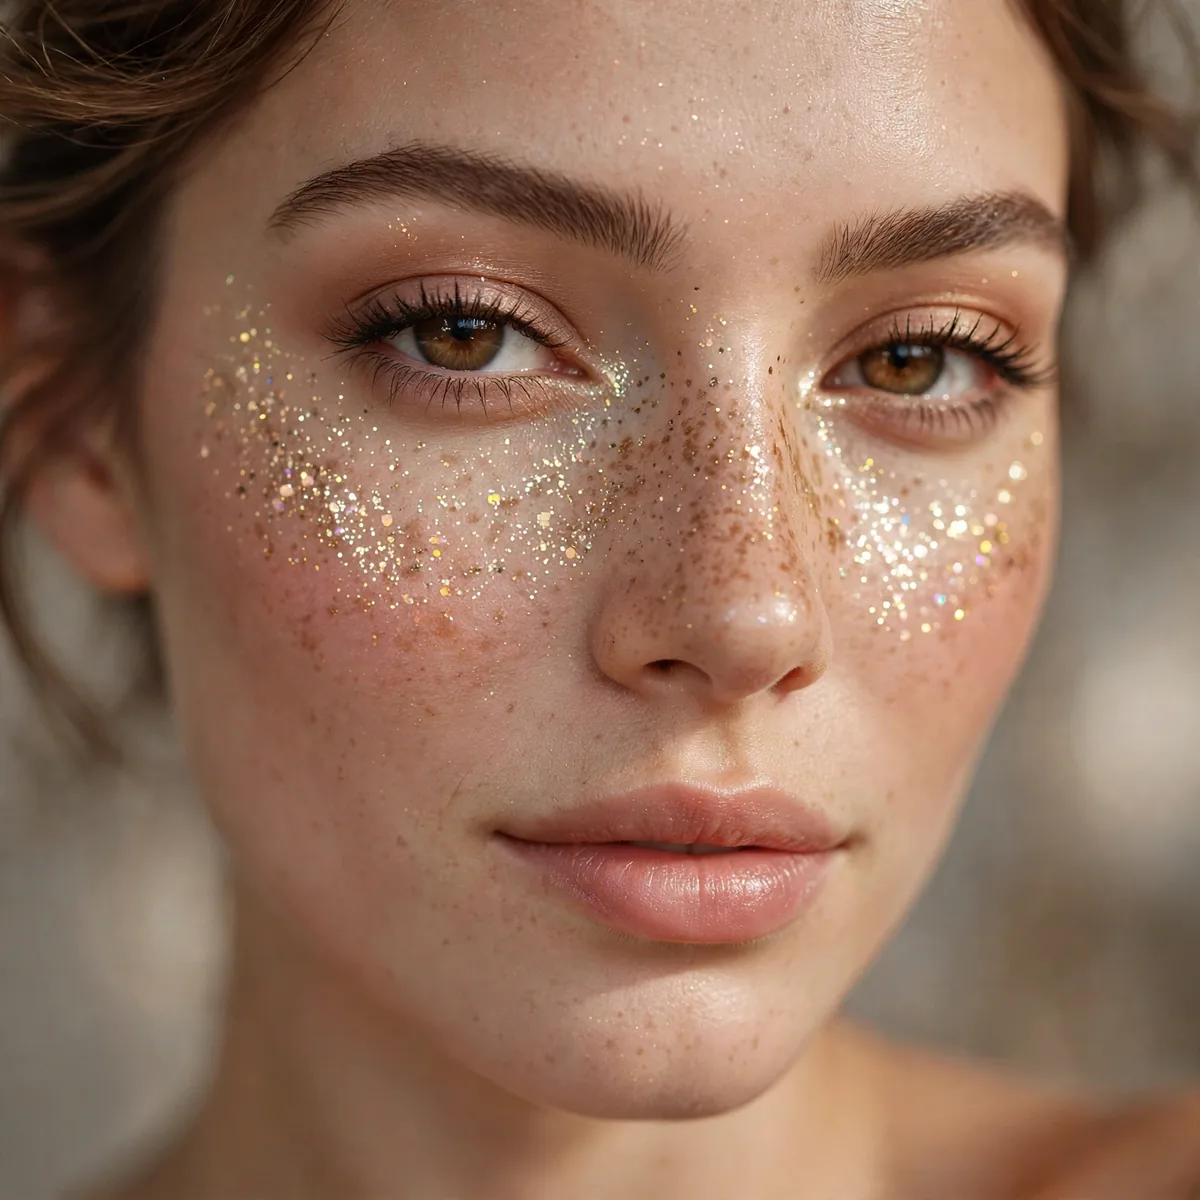
Glitter dotted as freckles — the cutest festival detail.
Best for: the playful. Glitter freckles are pure joy.
Dot the glitter across the nose and cheeks with a small dotting tool, varying the sizes for a natural freckle pattern. Real freckles cluster heaviest across the nose bridge, so concentrate the sparkle there. The playful detail suits summer daytime festivals and every face shape — freckles are universally flattering.
Gold and champagne glitter read most like sunlit freckles; holographic versions feel more fantastical. Apply them over sunscreen and a light base — heavy foundation underneath kills the fresh, youthful effect. The cutest festival detail photographs beautifully in sunlight, making it a favorite for daytime sets and golden-hour portraits. Keep the rest of the makeup minimal so the freckles stay the star.
Gold Leaf Accents
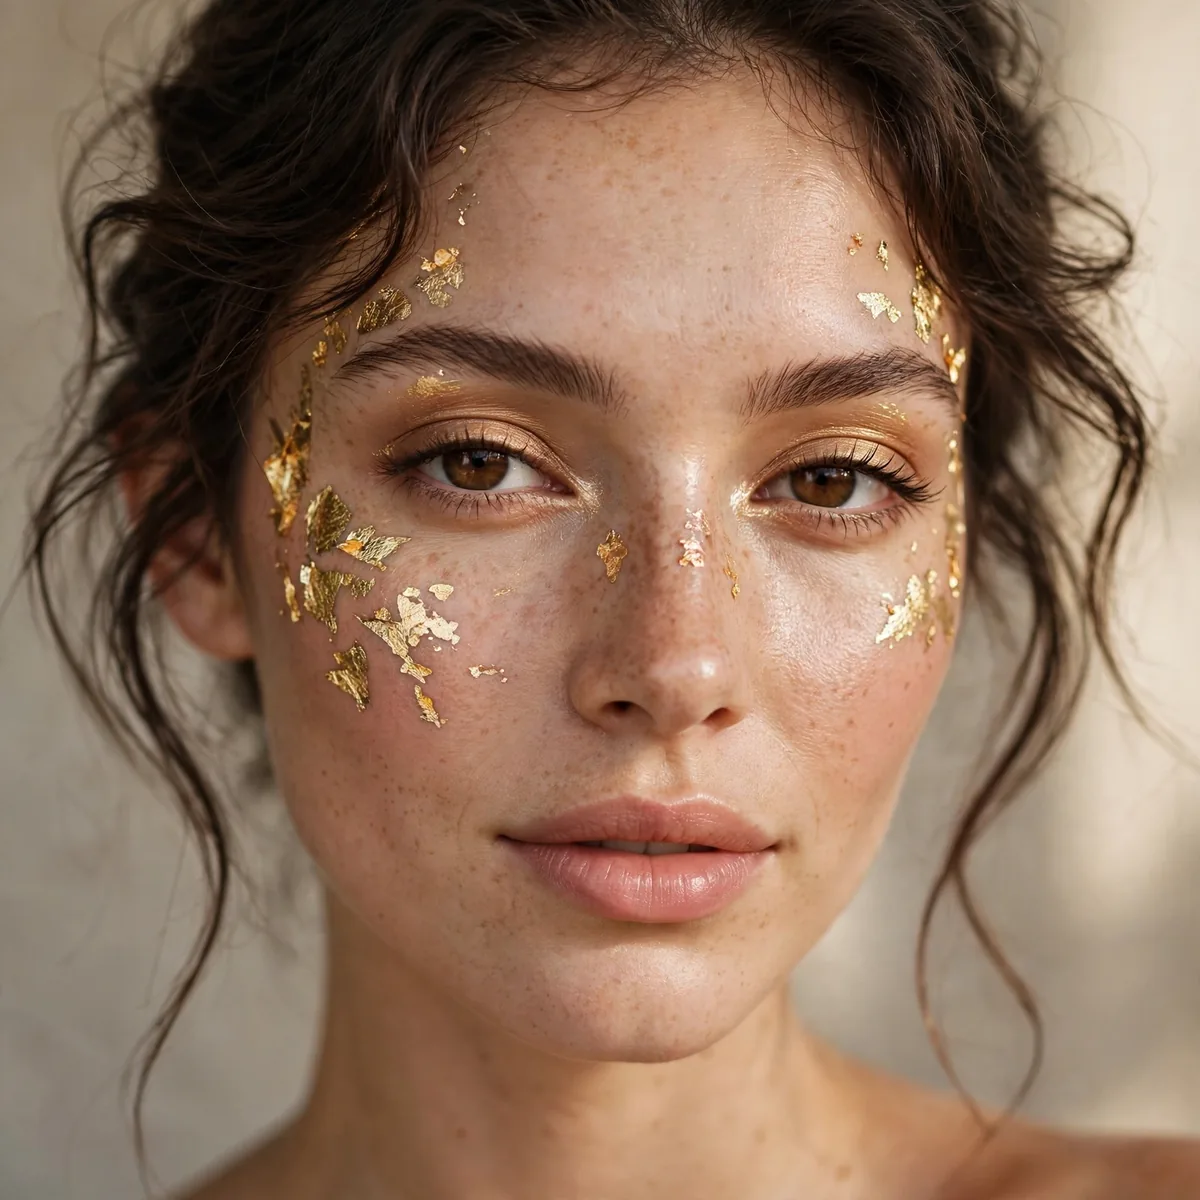
Real gold leaf pressed on skin — luxe festival art.
Best for: the luxurious. Gold leaf is festival haute couture.
Press gold leaf onto tacky adhesive with a soft brush, tearing it into organic shapes rather than cutting precise pieces. The irregular edges are what make it look like art instead of craft. Place it on the temples, cheekbones, or the outer eye corners — anywhere light will catch the metallic surface.
Gold leaf is the most luxurious festival accent — it reads as haute couture against glitter’s playfulness. It’s surprisingly affordable; a single booklet covers dozens of applications. The leaf is delicate, so apply it last and avoid touching it afterward; once placed, it stays put surprisingly well through an evening.
Glitter Brow Detail
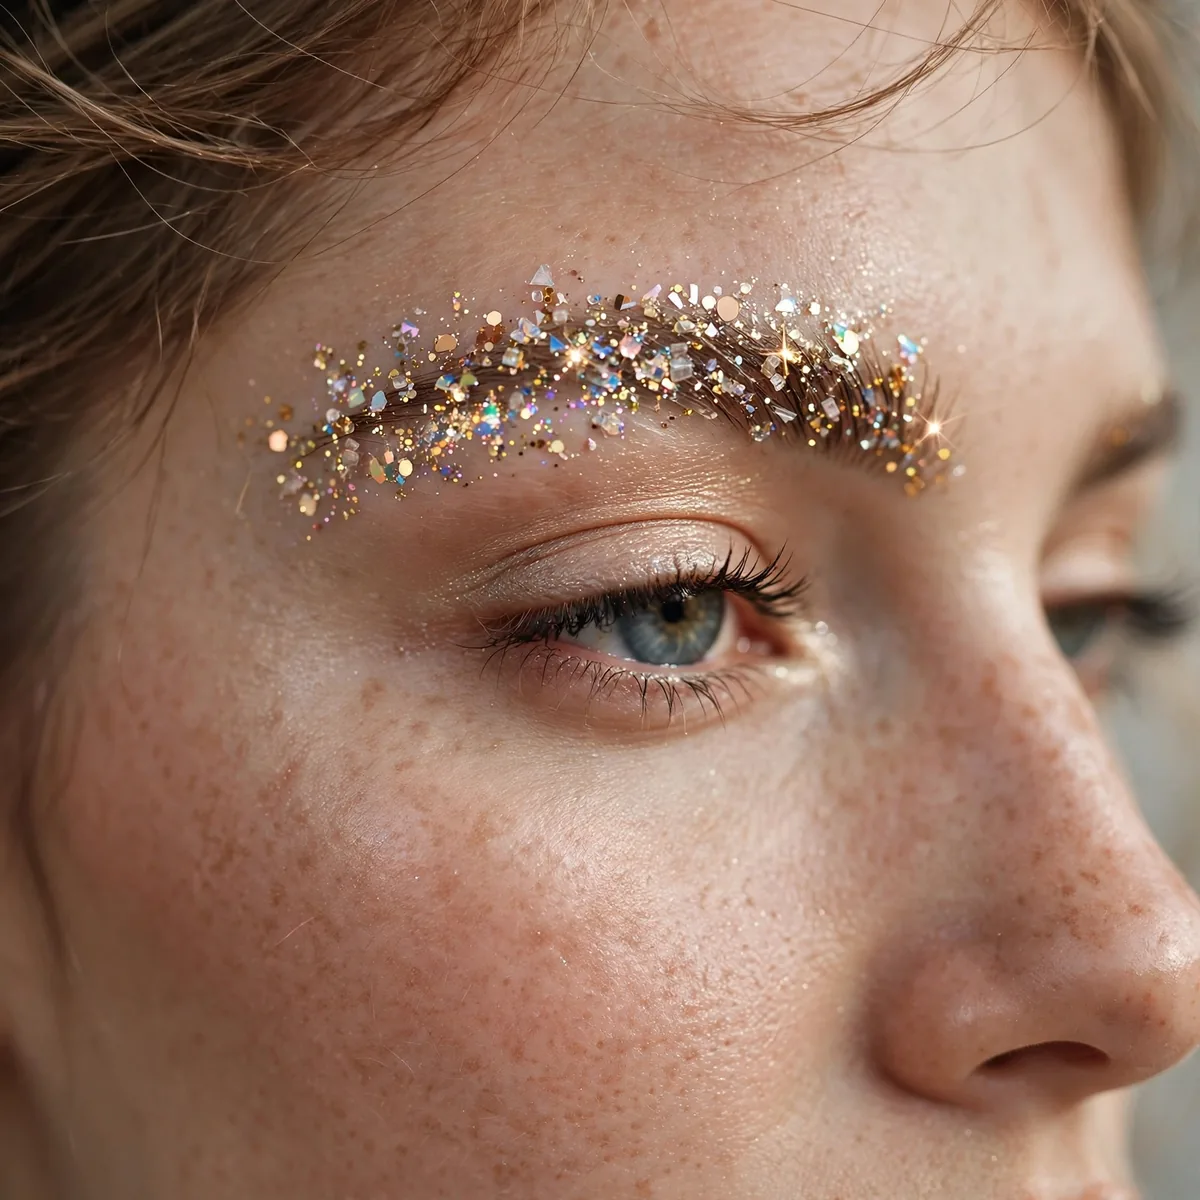
Glitter through the brows — the bold brow statement.
Best for: the fearless. Glitter brows are not for wallflowers.
Brush the brows into shape first, then press glitter through them with a spoolie loaded with glitter adhesive. The texture is bold — this is a statement, not a subtle accent. Keep the rest of the face relatively simple; glitter brows demand the spotlight and competing sparkle turns the look chaotic.
This fearless detail suits night festivals and editorial shoots where boldness is the brief. Groom the brows well first — glitter amplifies every stray hair. For removal, brush through with an oil-soaked spoolie before cleansing; the oil loosens the adhesive and the glitter slides out without painful tugging. It’s the fastest way to turn a simple eye look into a full festival statement.
Iridescent Glow
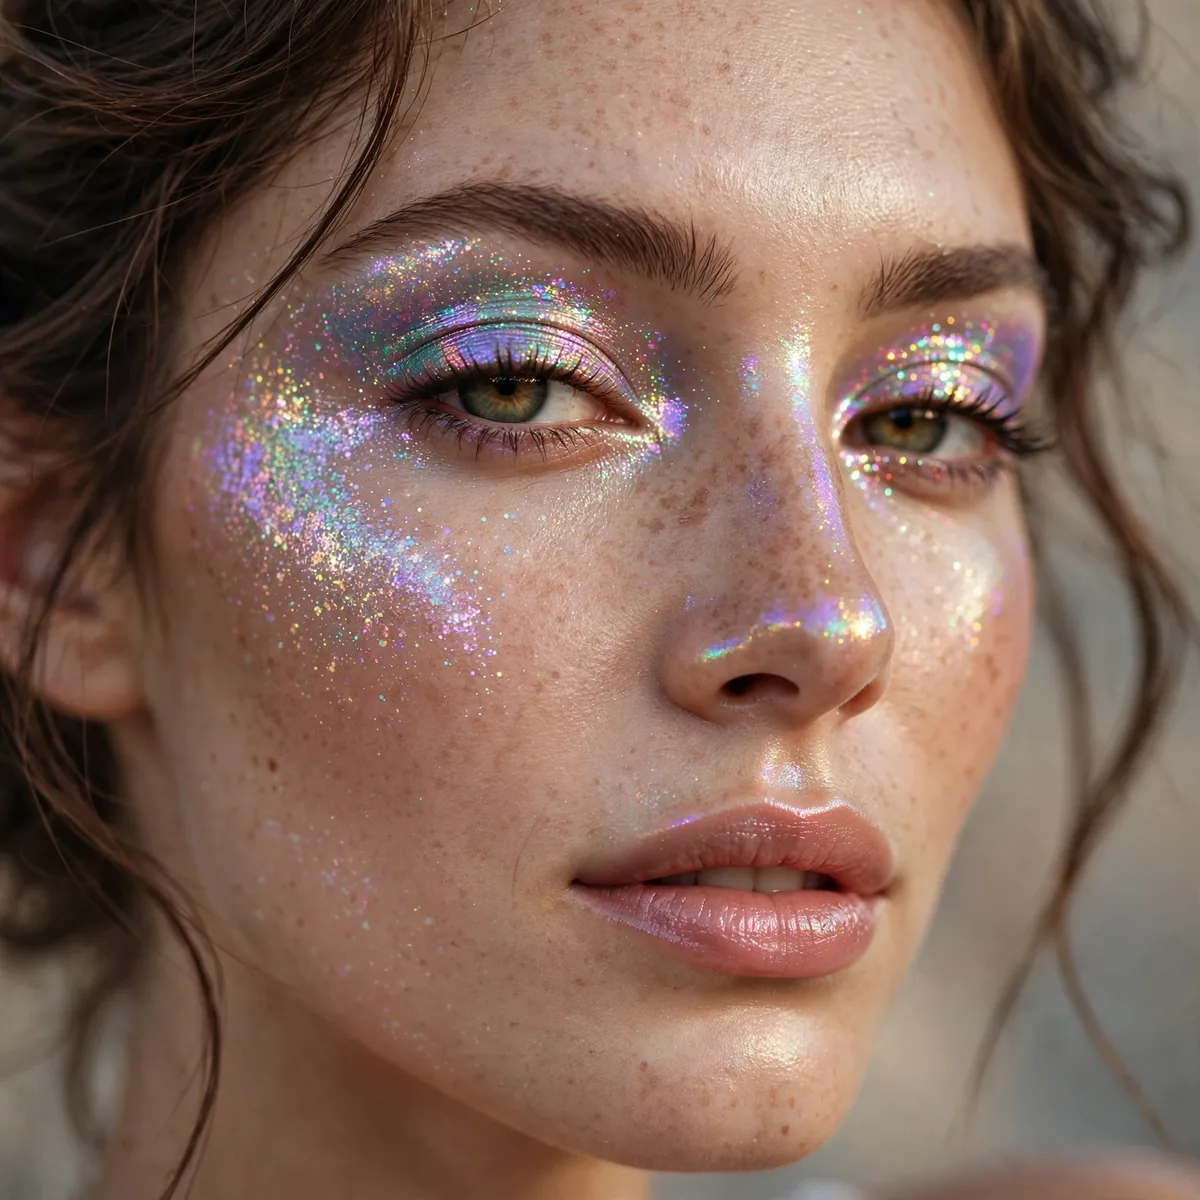
Iridescent shimmer as highlighter — otherworldly glow.
Best for: the ethereal. Iridescent reads as magical, not just sparkly.
Sweep iridescent shimmer across the high points — cheekbones, brow bones, and the bridge of the nose — with a fan brush. The opalescent shift reads as magical rather than merely sparkly, like moonlight on skin. Layer it over a cream highlighter for intensity that glows from every angle. This ethereal finish suits evening sets when stage lights make the shift dance.
Iridescent glow suits fair and light skin most naturally, though deeper complexions can wear it as a subtle topper over gold highlighter. The effect photographs as otherworldly luminosity rather than obvious glitter. For daytime festivals, keep the application sheer — the magic is in the subtle shift, not in visible sparkle.
Glitter Lip Art
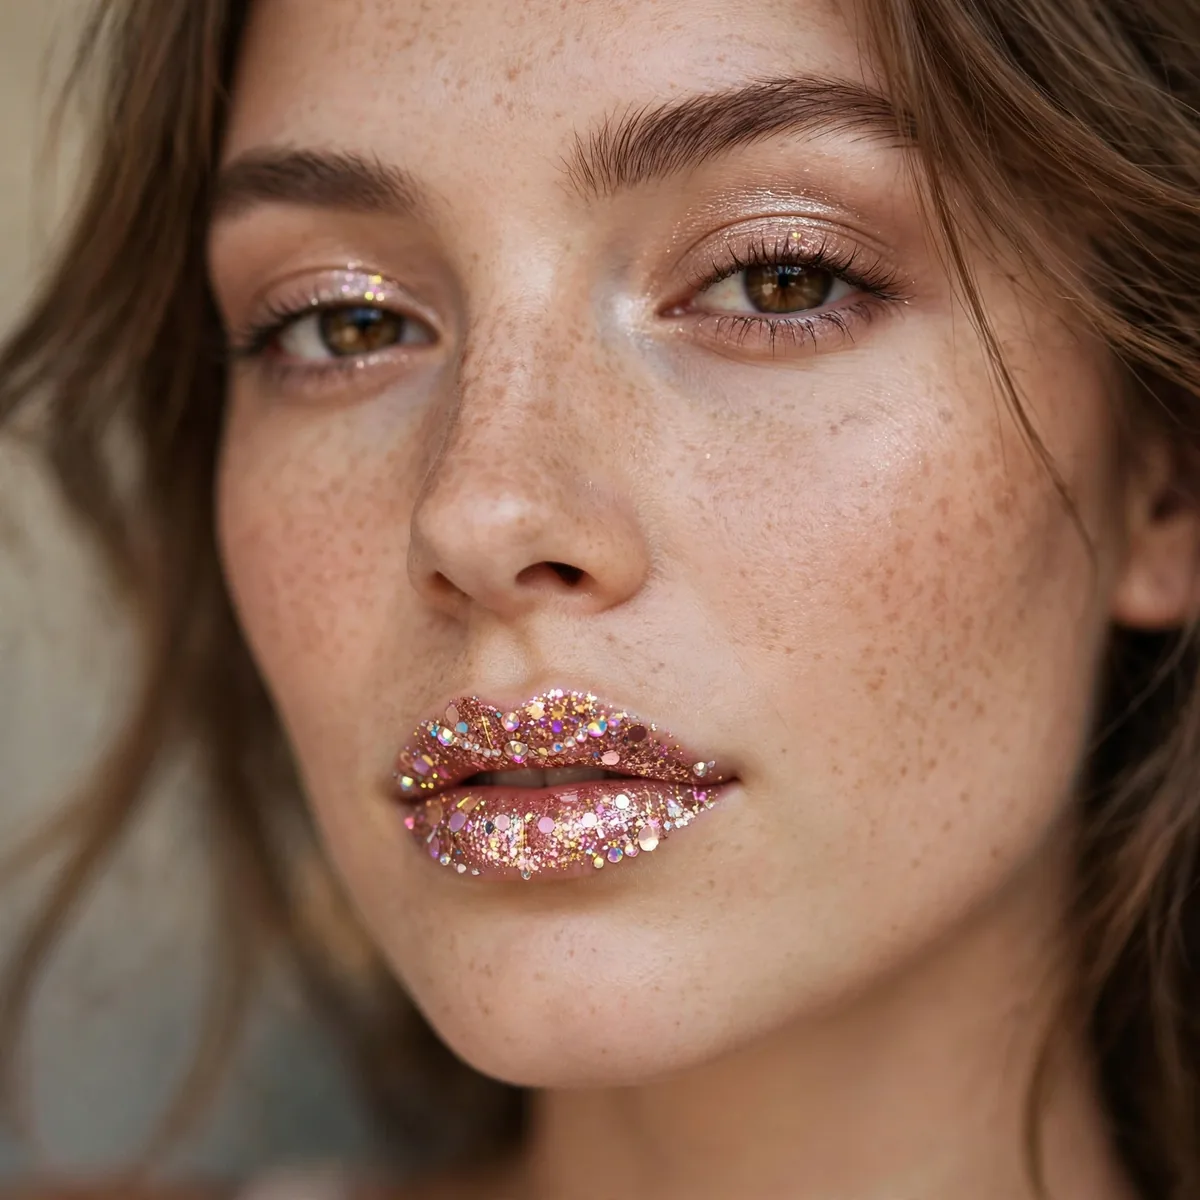
Glitter pressed over lipstick — the statement mouth.
Best for: the bold. Glitter lips are festival’s bravest move.
Line and fill the lips with a long-wear lipstick first, then press glitter over the tacky surface with a flat brush. The lipstick underneath must be sticky, not fully set, or the glitter won’t grip. Blot gently and add a second glitter layer for the dense, jewel-like finish that makes this look work.
Cosmetic-grade glitter only — craft glitter is not lip-safe and the sharp edges can cut delicate lip skin. This is festival’s bravest move, so keep the eyes simpler to let the mouth dominate. Carry the lipstick and glitter for touch-ups, since eating and drinking wear the sparkle faster than any other festival placement.
Star-Shaped Glitter
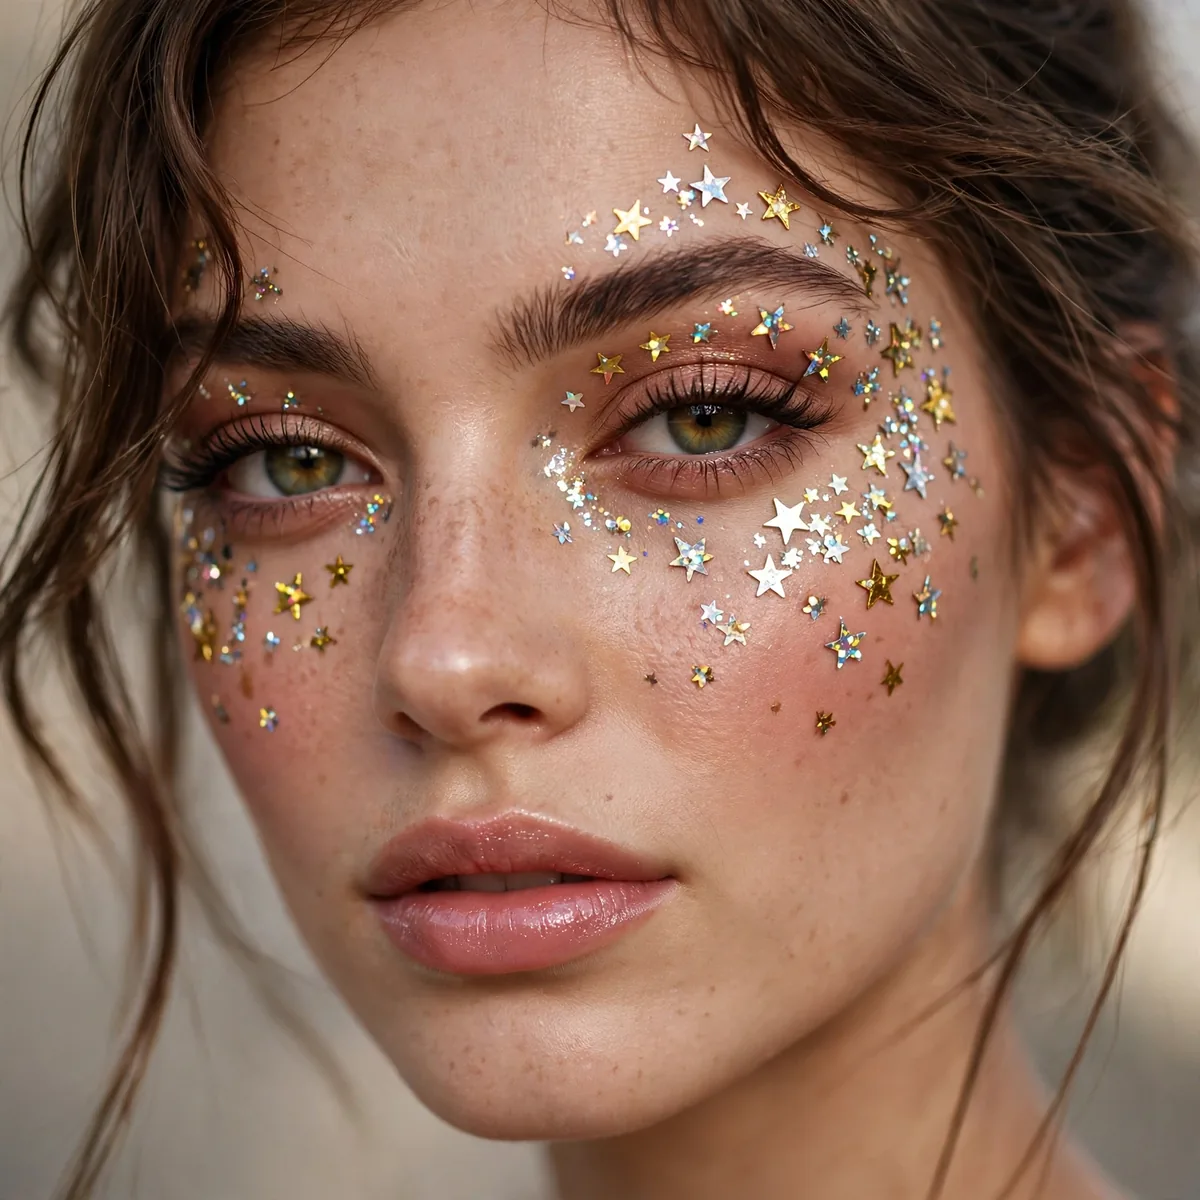
Star and moon shapes — celestial festival magic.
Best for: the dreamy. Shaped glitters tell a story.
Place star and moon shapes individually with tweezers over glitter adhesive — the deliberate placement is what makes shaped glitter read as art. Scatter them asymmetrically across the temples and cheekbones for a celestial constellation effect. The storytelling quality is shaped glitter’s gift; each piece feels intentional. Mix stars with fine glitter dust for a night-sky effect that photographs beautifully.
This dreamy detail suits night festivals and stargazing events where the celestial theme feels at home. Gold and silver stars read classic; holographic shapes feel more magical. The most common mistake is placing too many — restraint keeps it dreamy, while overcrowding turns the constellation into clutter. A few well-placed shapes always outshine a scattered handful.
Glitter Removal Trick
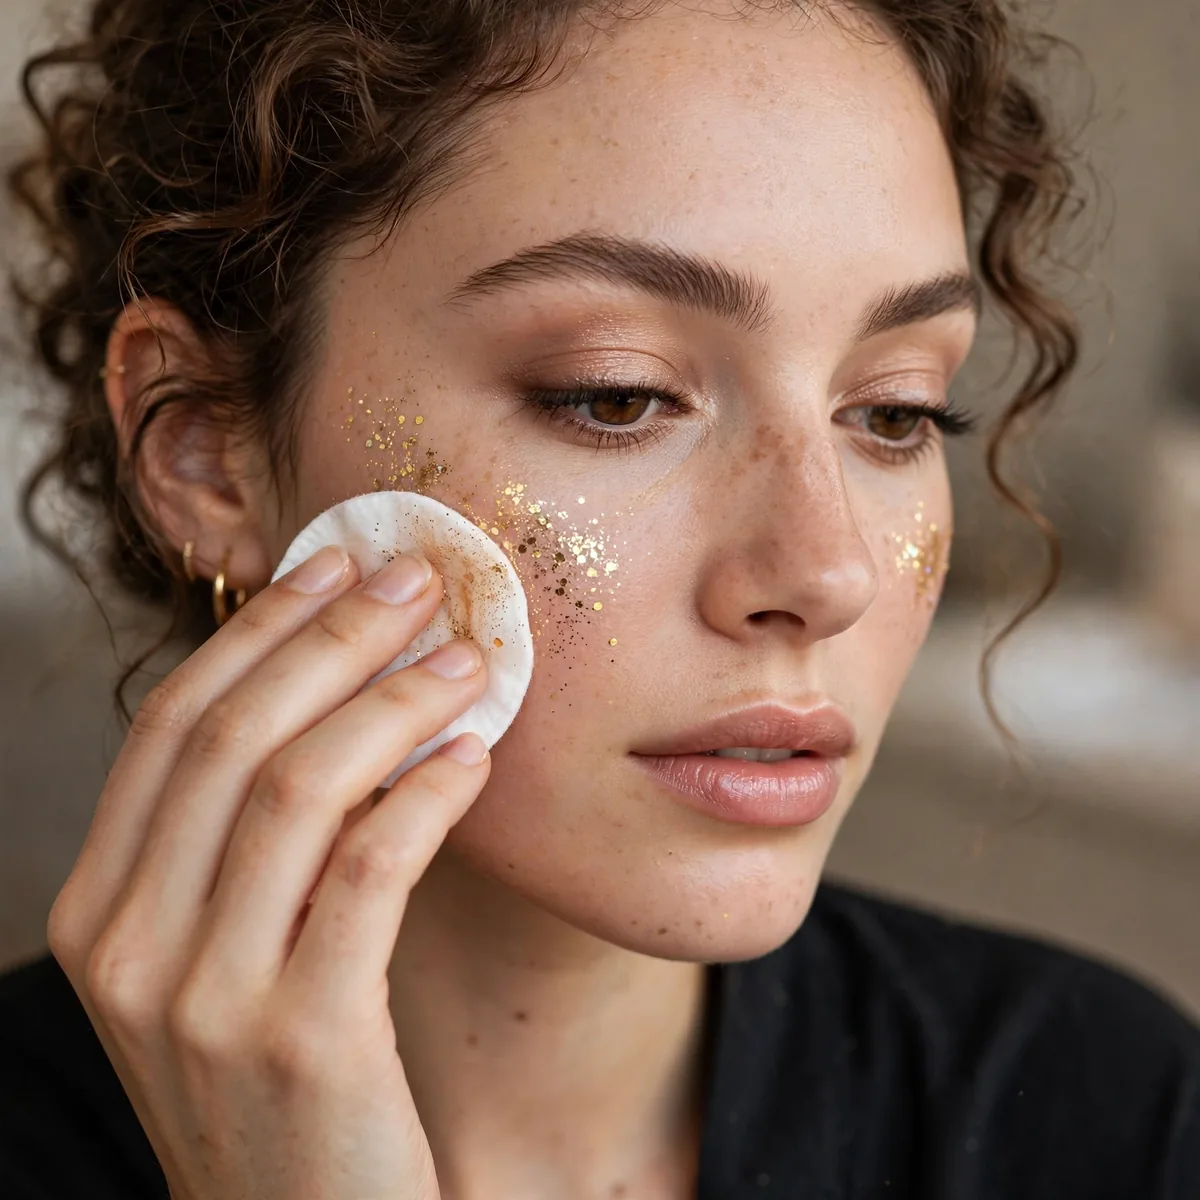
Tape lifts glitter cleanly — the removal secret.
Best for: the morning after. Tape removes what washing can’t.
Press packing tape or masking tape over the glittered area and lift — the tape pulls particles cleanly without scrubbing. Work in sections, using fresh tape each time, until the bulk is gone. This method beats washing alone because water just moves glitter around while tape actually removes it. It’s the kindest method for delicate eye skin that can’t handle harsh rubbing.
After taping, follow with an oil cleanser to dissolve the adhesive residue and any remaining fine particles. The morning-after cleanup is half the festival glitter experience — plan for it. Never pick dried glitter off with your nails; the sharp edges can scratch skin and the pulling irritates. Patience and tape beat force every time.
Silver Disco Glitter
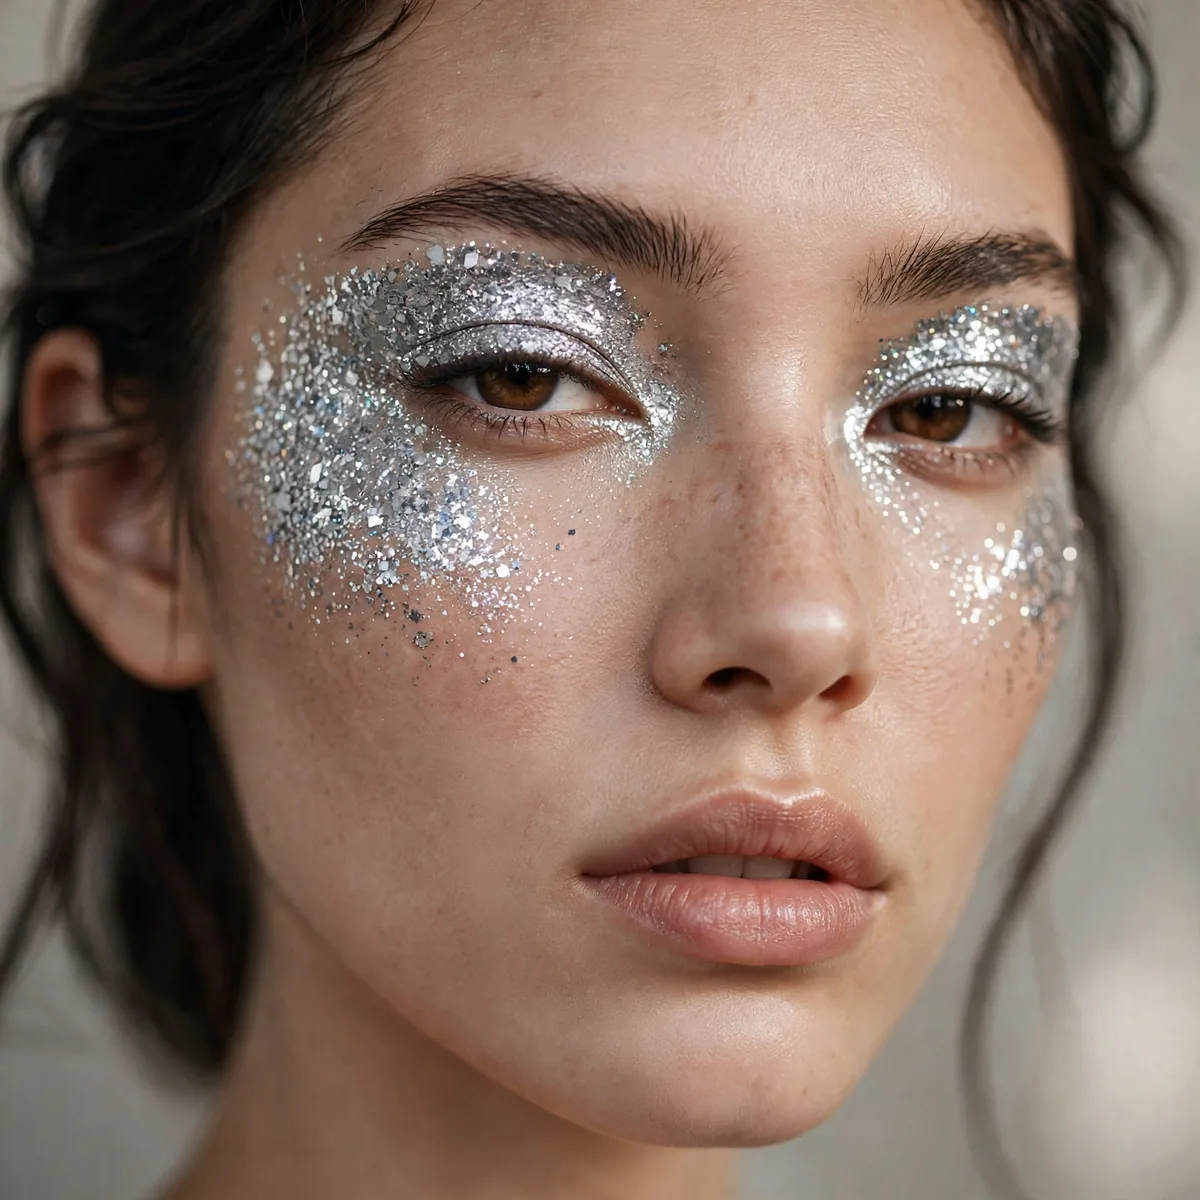
Fine silver glitter all over lids — the disco ball eye.
Best for: night sets. Silver reflects stage lights perfectly.
Pack fine silver glitter densely across the entire lid, from lash line to brow bone, for the full disco-ball effect. The fine particle size is key — chunky pieces break the mirror-like illusion. Layer over a silver cream base so no skin shows through; the coverage must be complete for the disco effect to work.
Night sets are this look’s home — stage lights reflect off the fine silver like a mirror ball. It suits every eye shape since the coverage is total. The most important rule: keep the rest of the face matte and simple, because the disco eye is the entire look; competing shimmer turns striking into overwhelming.
Copper Festival Warmth
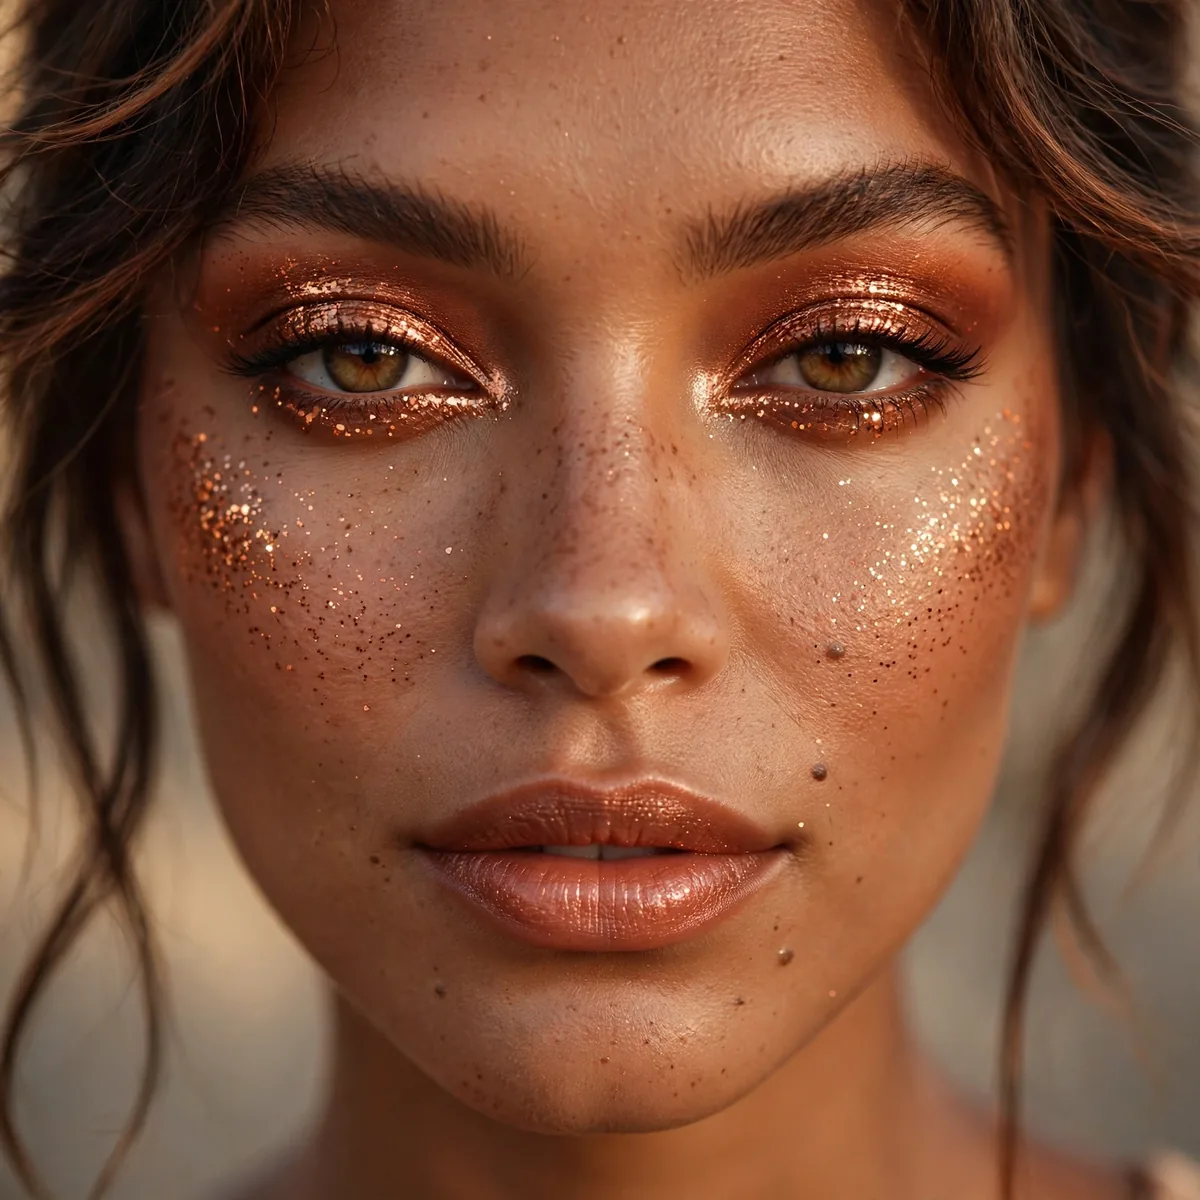
Warm copper glitter — sunset in makeup form.
Best for: golden hour sets. Copper glows in natural light.
Sweep copper glitter across the lids and up toward the temples, letting it catch the golden-hour light. The warm metallic glows most beautifully in natural sunlight — this is the daytime festival glitter. Layer it over a copper cream shadow for depth that keeps the sparkle dimensional rather than flat.
Copper suits warm and olive skin tones most naturally, echoing the sunset tones it mimics. It’s the perfect glitter for golden-hour sets and daytime stages. Blue and green eyes look especially vivid against copper’s warmth — the complementary contrast makes light eyes appear brighter and more striking in festival photos.
Glitter Eyeliner Wing
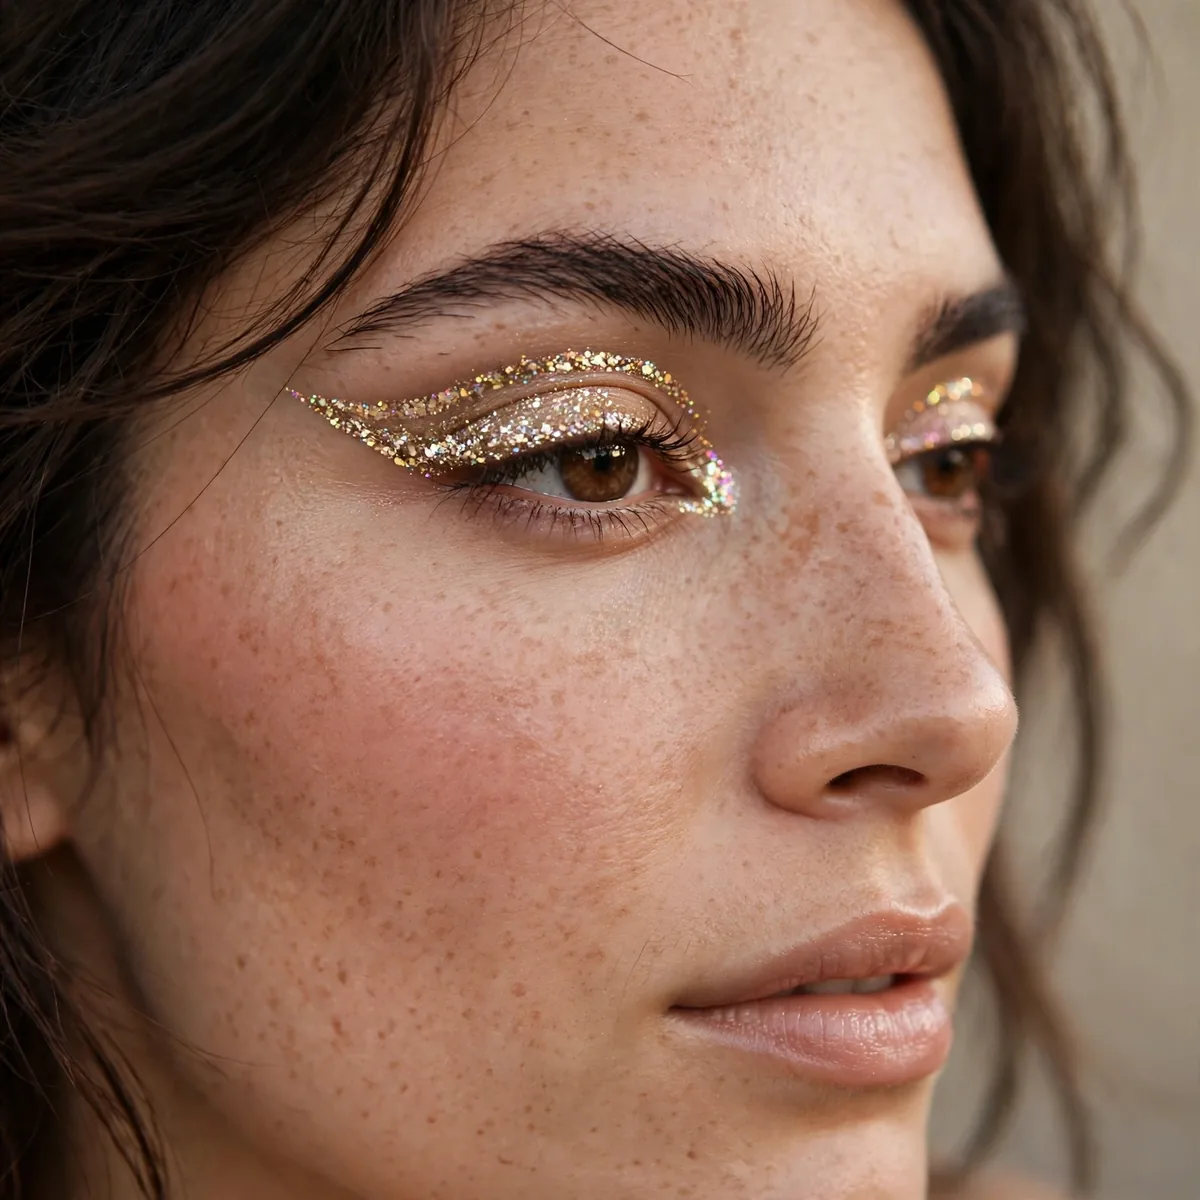
Glitter liner wings — sparkle with precision.
Best for: liner lovers. Glitter wings are graphic liner’s party cousin.
Draw the wing first in a matching cream liner, then press fine glitter over the tacky line with a detail brush. The cream underneath gives the glitter something to grip — glitter alone won’t hold a sharp wing. Keep the wing’s edges crisp; the glitter should follow the shape exactly, not blur beyond it.
This is graphic liner’s party cousin — the precision of a wing with the celebration of sparkle. It suits liner lovers who want festival flair without a full glitter eye. For longevity, seal the finished wing with setting spray; the glitter sits on a thin line, so it needs the extra hold through dancing and heat.
Mermaid Scale Stencil
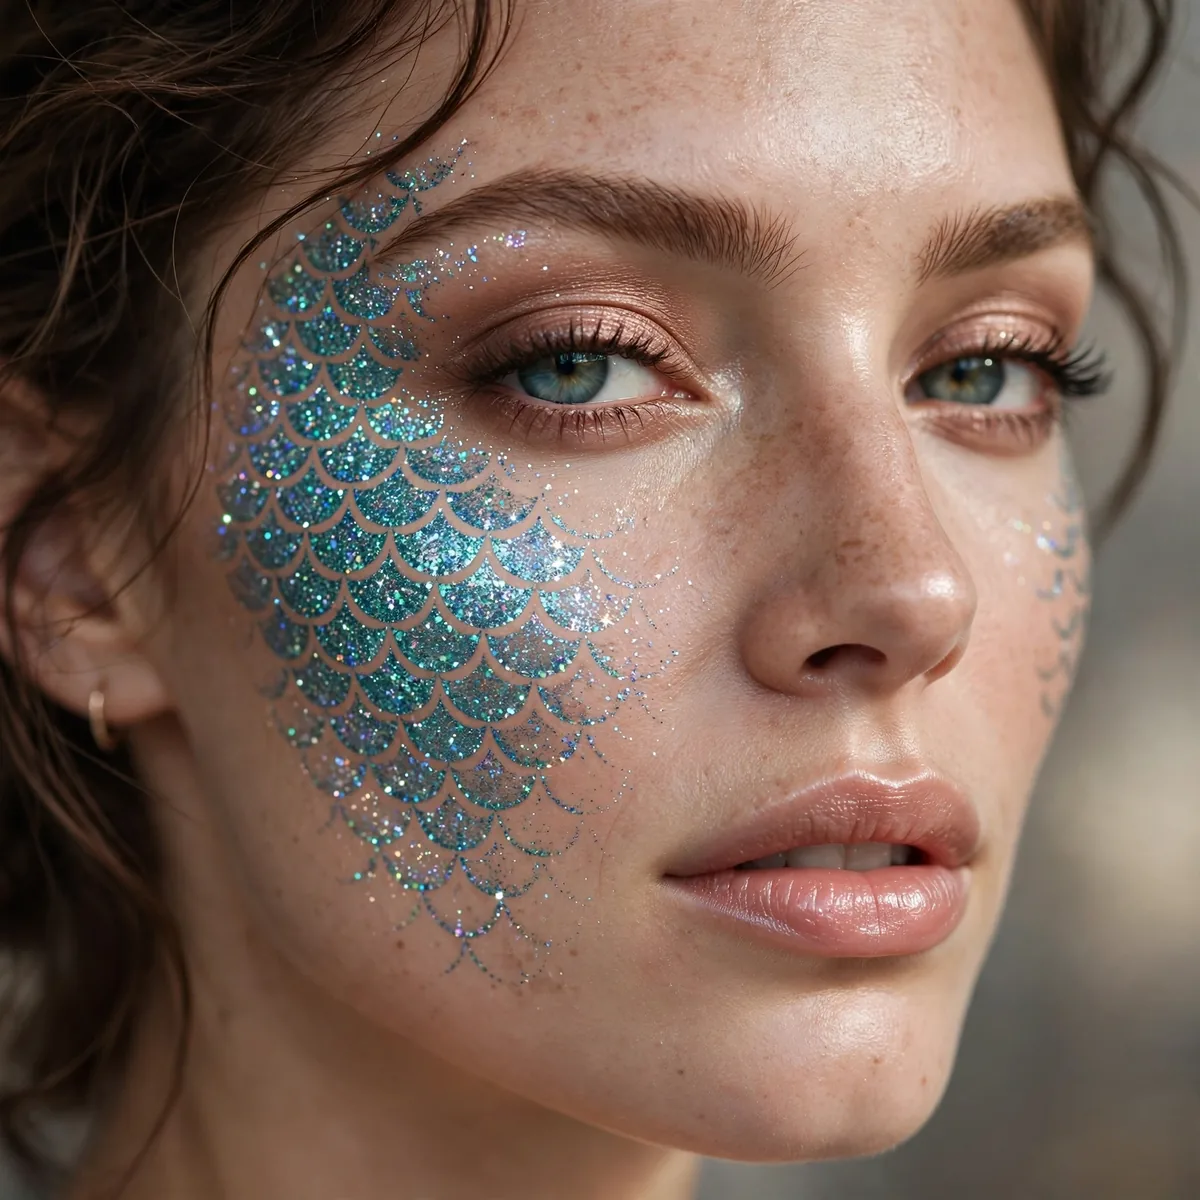
Fishnet stencil + glitter = mermaid scales. The iconic festival technique.
Best for: the classic festival look. Stencil glitter never fails.
Stretch fishnet stockings or a mesh stencil over the cheek or temple, then stipple glitter adhesive through the holes. Press fine glitter over the top and lift the mesh carefully to reveal the scale pattern. The technique is iconic because it’s foolproof — the stencil does all the artistic work for you.
Teal, aqua, and holographic glitters sell the mermaid fantasy best; gold and bronze read more like dragon scales. This classic suits beach festivals and pool parties where the aquatic theme feels at home. Extend the scales down the neck and shoulders for the full effect — the look is meant to be immersive, not just a face detail.
Glitter Body Art
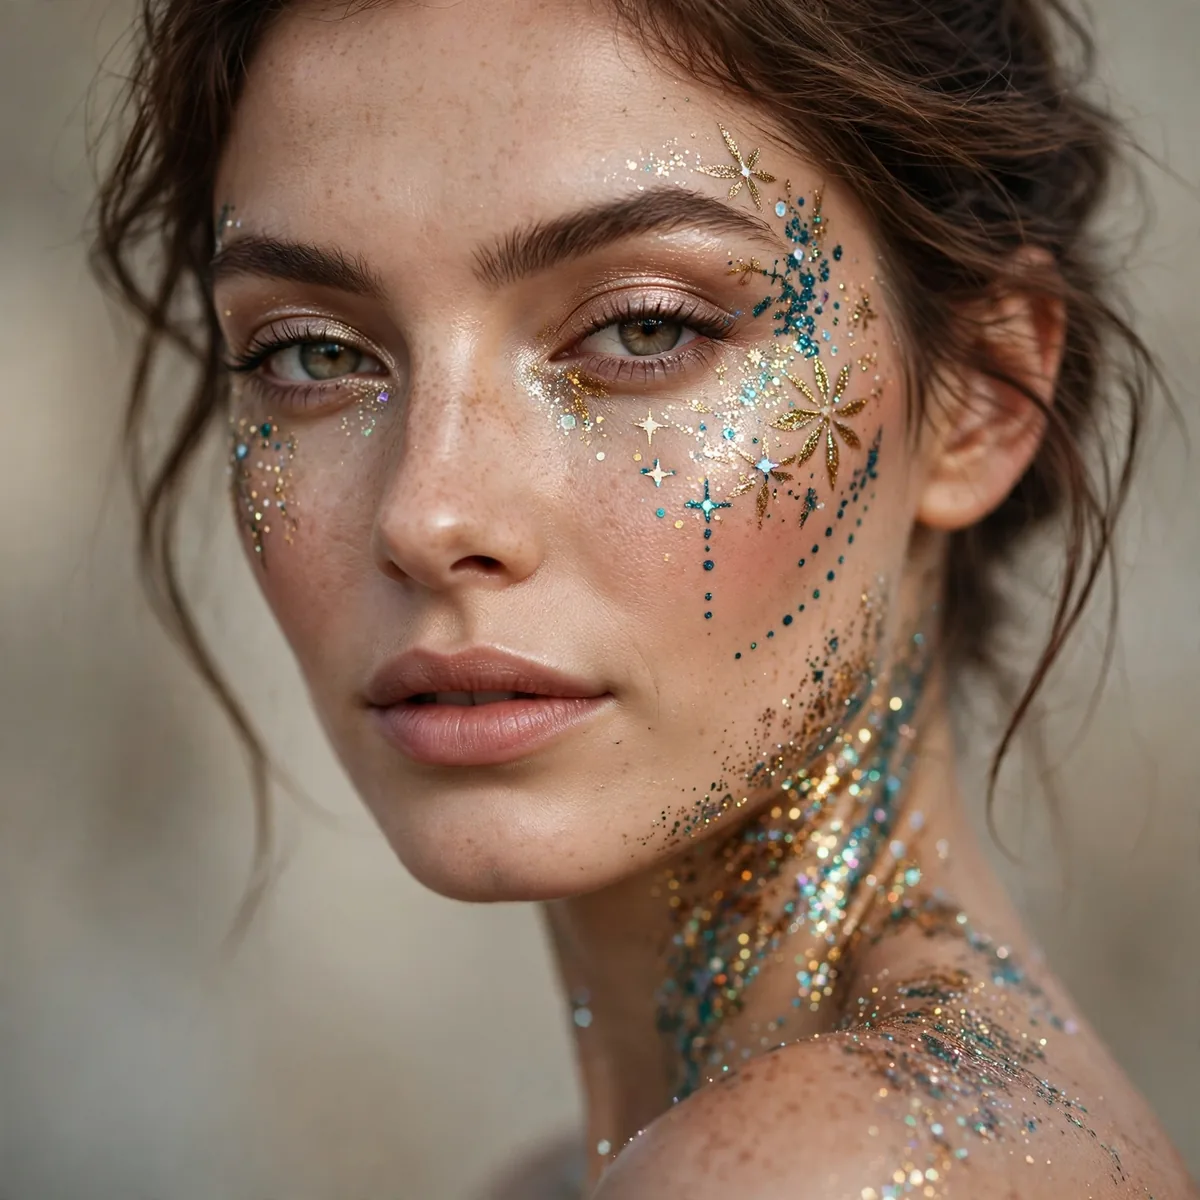
Glitter on shoulders and collarbones — the look extends beyond the face.
Best for: the full festival. Body glitter completes the fantasy.
Mix body glitter with aloe gel or a dedicated body adhesive for a base that grips skin through sweat and movement. Apply to the shoulders, collarbones, and arms with a large fluffy brush for an even, luminous dusting. The body is a bigger canvas than the face, so work in sections and let each area set before moving on.
Body glitter completes the festival fantasy — the look extends beyond the face into a full-body shimmer. It’s perfect for outdoor daytime festivals where sunlight makes the whole body glow. The practical note: body glitter transfers to everything, so wear it with fabrics you don’t mind sparkling and expect to find glitter for weeks.
Neon Glitter Pop
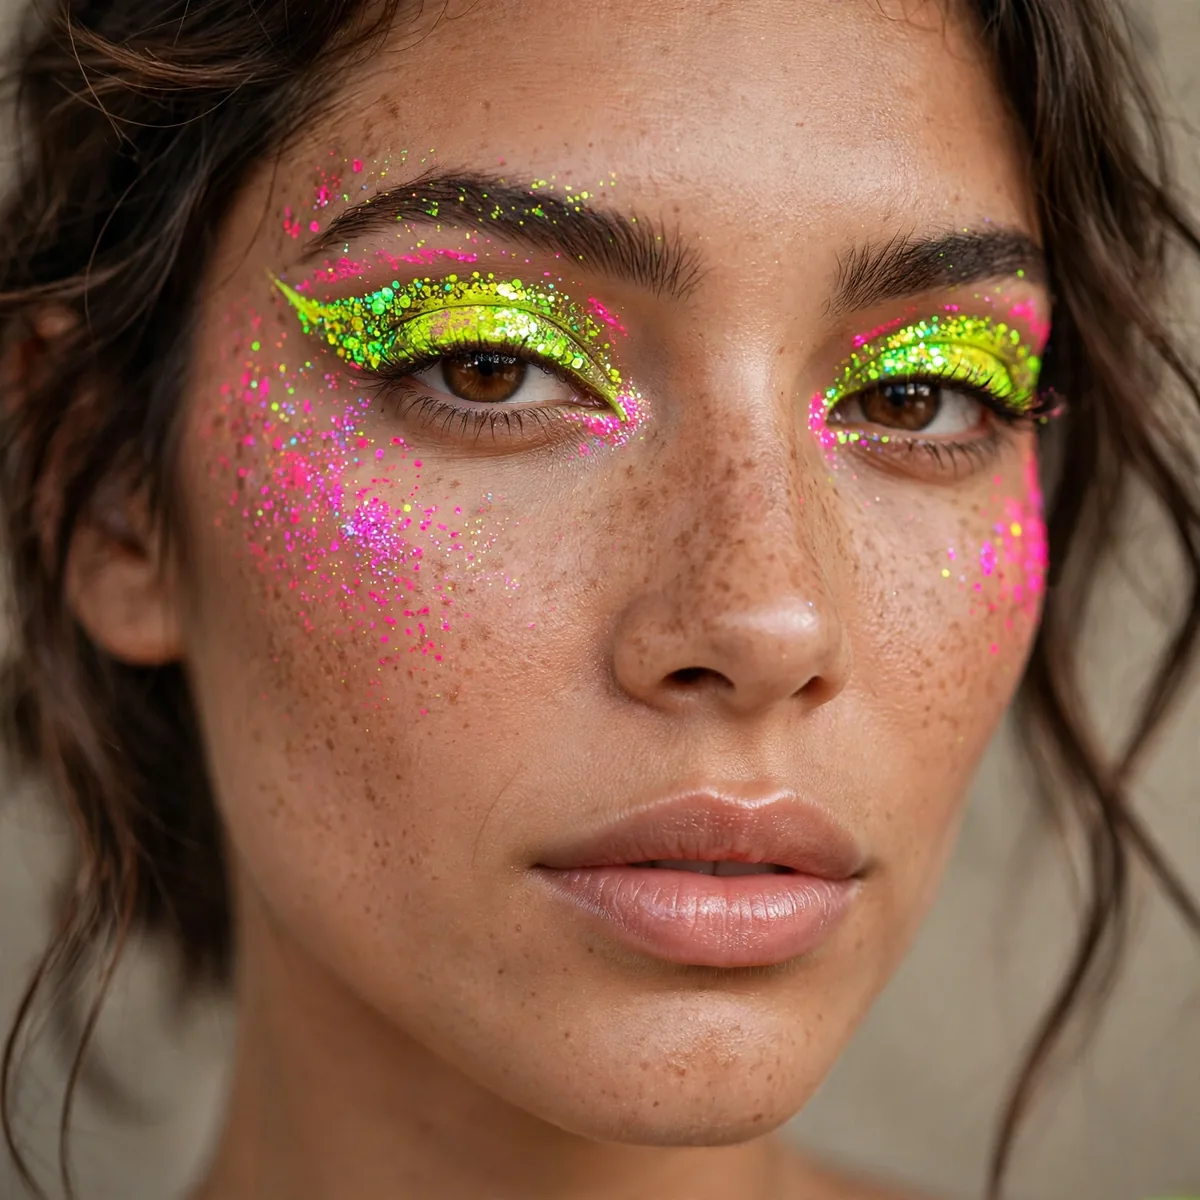
Neon glitter under UV lights — the nighttime revelation.
Best for: night festivals. Neon transforms after dark.
Neon glitter needs UV light to reveal its true magic, so save this for night festivals with blacklight installations. Apply it over a white glitter adhesive — the bright base makes the neon glow harder. Layer the neon over the same areas as your regular glitter for a look that transforms completely after dark.
The nighttime revelation is this glitter’s whole appeal — by day it’s bright, by night it’s electric. It suits every skin tone since neon fluorescence doesn’t depend on contrast. The removal note: neon pigments stain more than regular glitter, so double-cleanse with an oil cleanser to avoid waking up with pastel residue.
Glue Showdown Guide
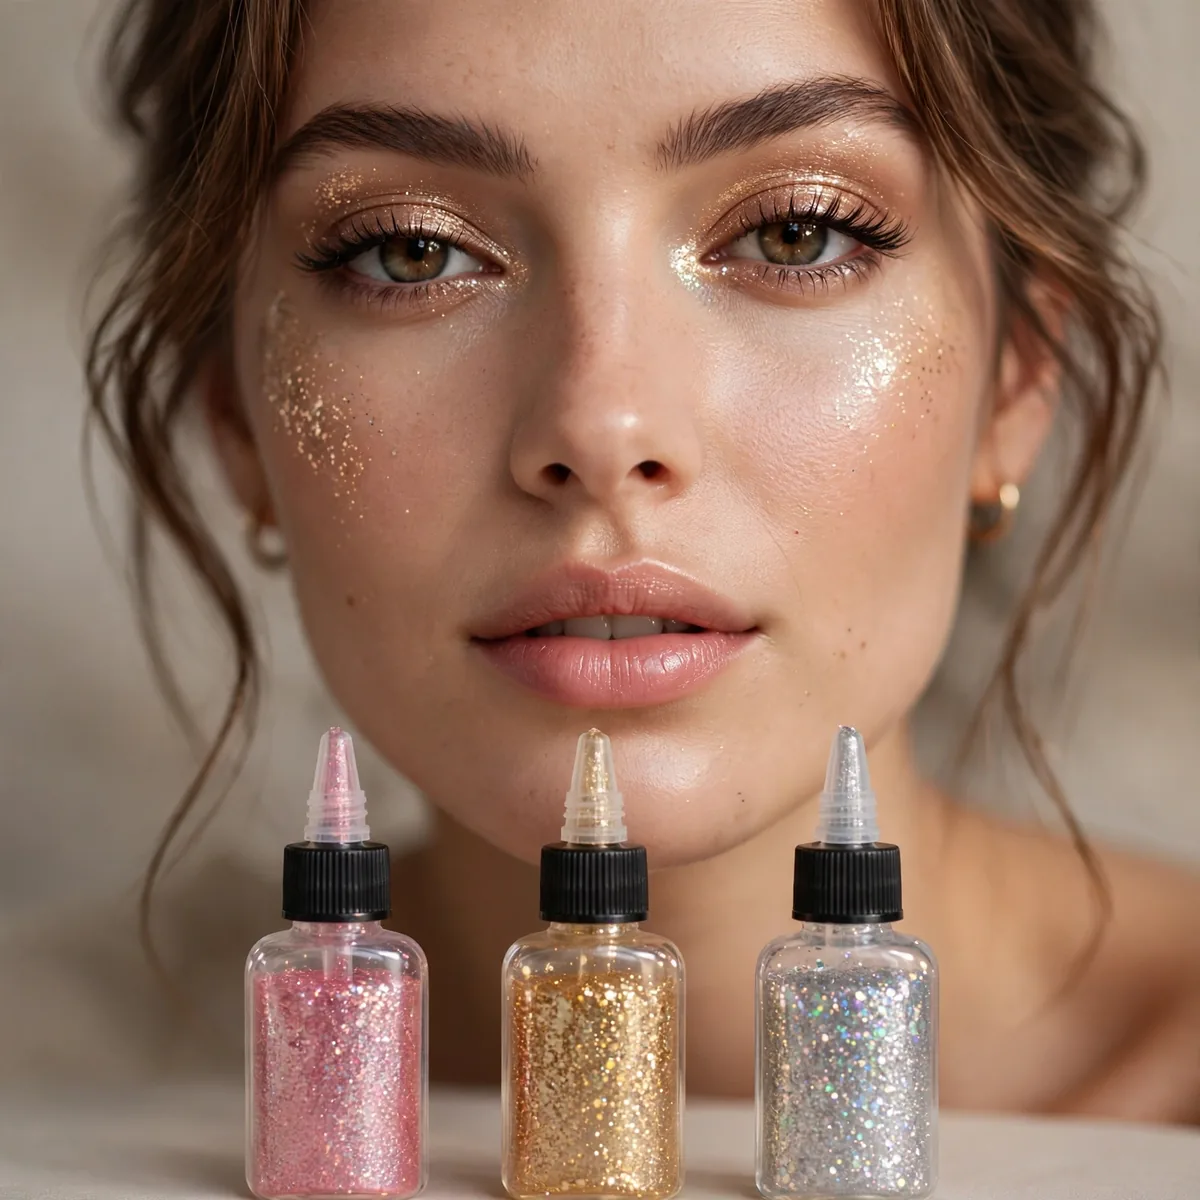
The best adhesives ranked — because glitter is only as good as its glue.
Best for: the prepared. Invest in glue, not just glitter.
The best adhesives share three traits: tacky enough to grip, flexible enough to move with skin, and removable without pain. Silicone-based glitter glues hold longest through sweat, while water-based formulas suit sensitive eyes. Eyelash glue works in a pinch — same hold, already in your kit — but dedicated glitter adhesive outperforms it for chunky pieces.
Invest in glue, not just glitter — the adhesive determines whether your look survives the headliner. Test any new adhesive on your wrist first; festival allergies are miserable. The application rule: let the glue go tacky for thirty seconds before pressing glitter on. Wet glue slides, tacky glue grips — that thirty-second wait is the difference between all-night hold and glitter everywhere.
The Full Glitter
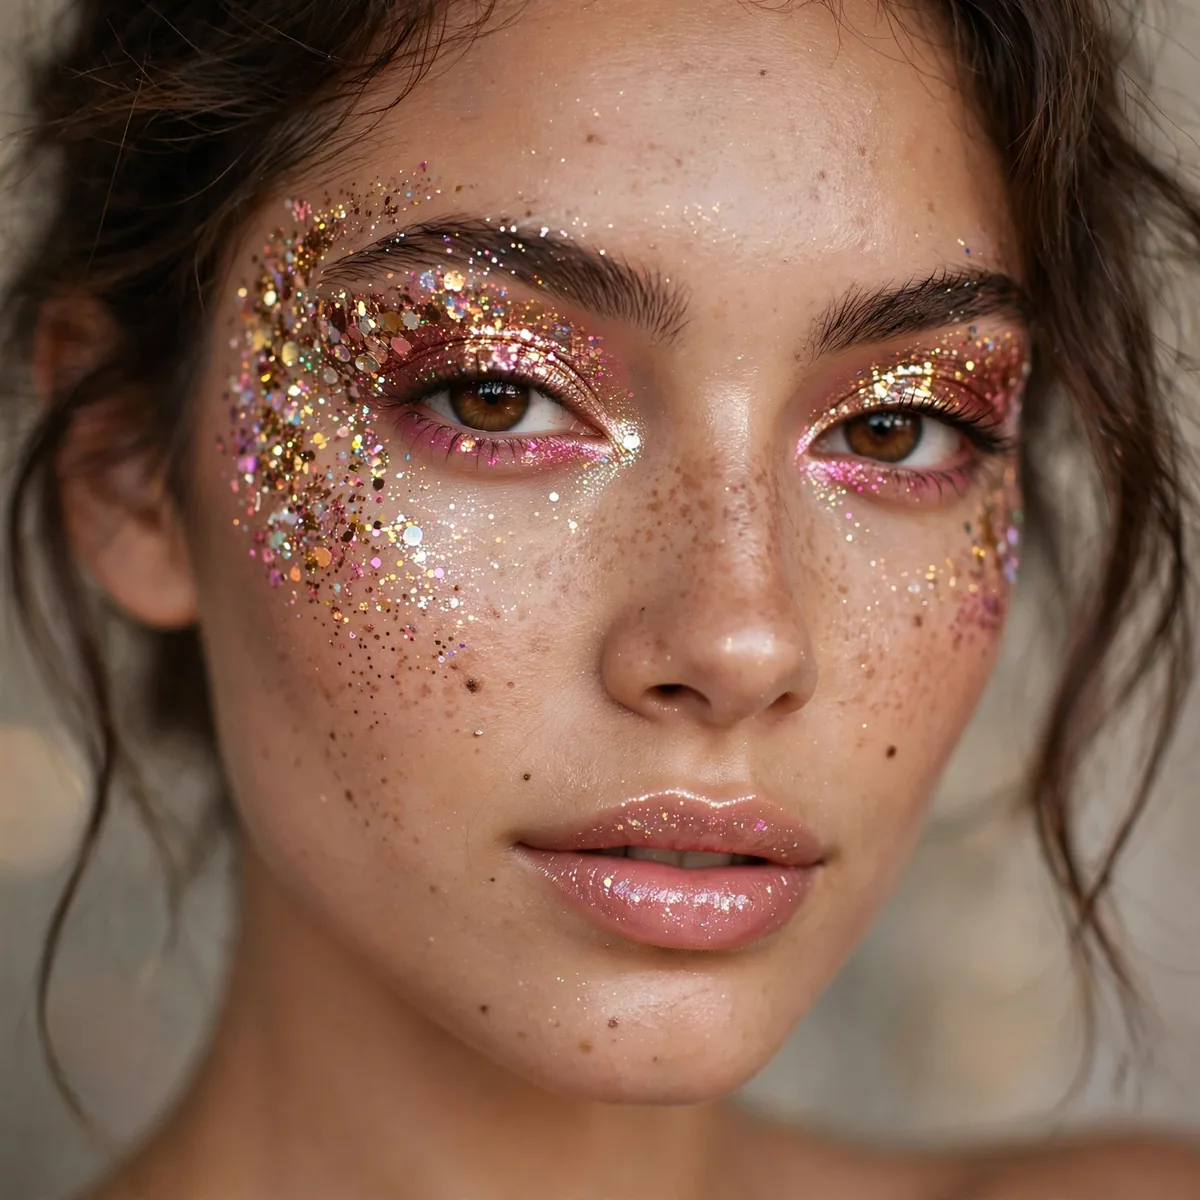
Eyes, cheeks, body — the complete sparkle commitment.
Best for: the main character. Festivals are your runway.
Coordinate the glitter — pick one color family and carry it across eyes, cheeks, and body for a look that reads intentional. Build in stages, stepping back to check the overall balance; full glitter needs restraint in placement even as it goes big on sparkle. The main-character energy comes from commitment, not chaos.
Festivals are your runway — this complete commitment suits multi-day events where you want to be remembered. Photograph the finished look in daylight and flash to confirm the balance works everywhere. And the practical reality: full glitter means full cleanup, so pack tape, oil cleanser, and patience for the morning after. The sparkle is worth it.
Shine on, all day long. Pack your glitter glue — and for festival outfits to match, see our festival outfits and concert looks.




