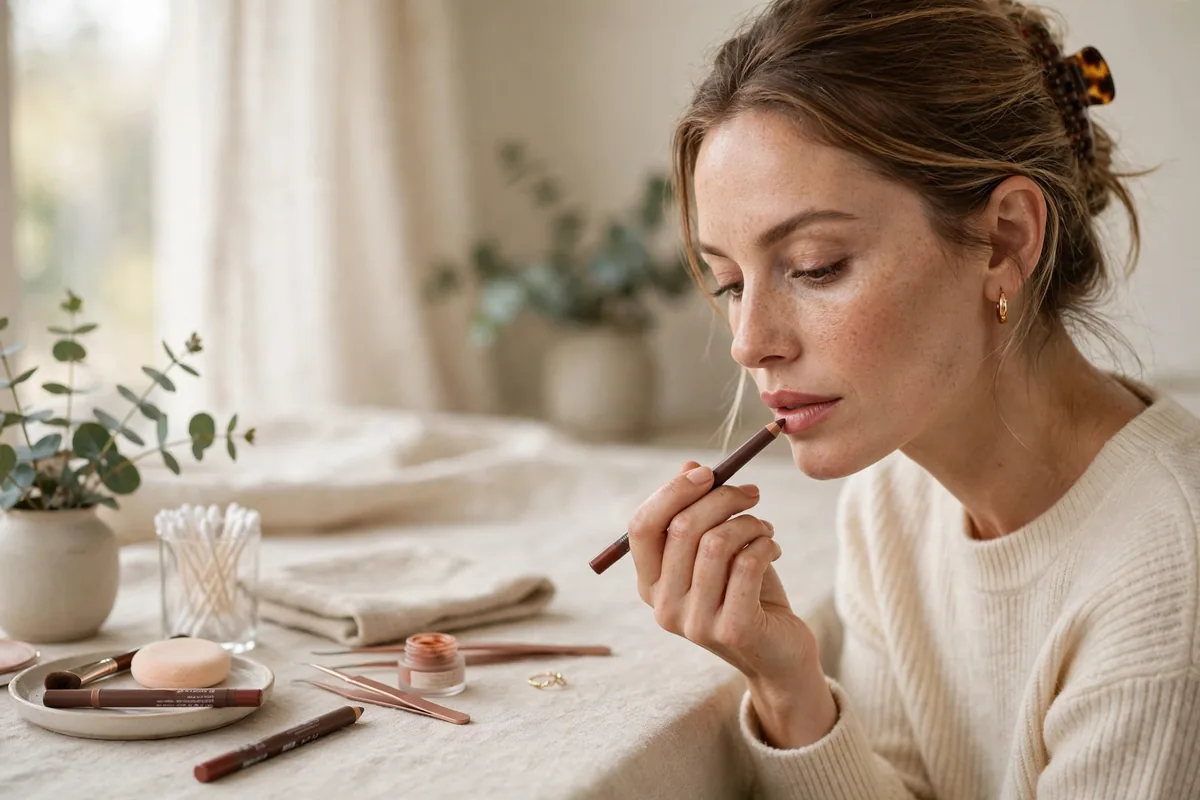
The fullest lips in the room are usually just the best-lined.
Lip liner creates fullness through optical illusion: extended borders, strategic shading, and highlighted centers trick the eye into seeing volume.
The key is subtlety. Overdone overlining looks obvious; skillful lining looks natural. Every trick here stays on the believable side.
Here are 15 of them. Let’s get into it.
The Subtle Overline
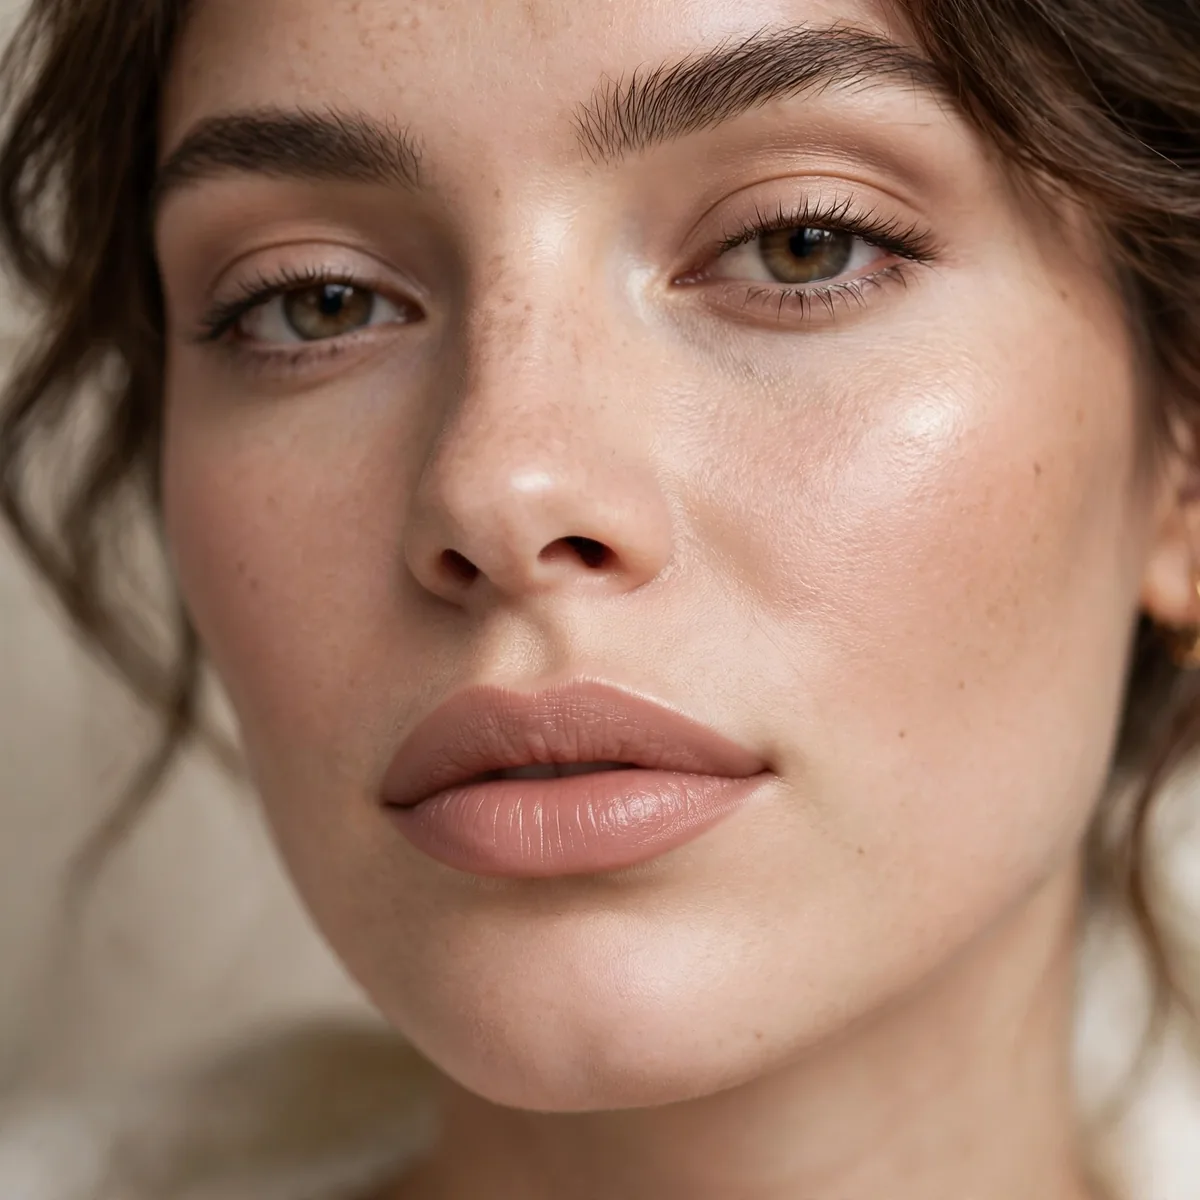
Line just outside the natural border — 1mm maximum for believability.
The subtle overline is invisible as technique. It just looks like fuller lips.
Overline only the cupid's bow and the center of the lower lip — these are the areas where an extra millimeter reads as natural fullness. Keep the corners exactly on your natural line, since overlining them is what creates the obvious, clownish effect. Use the side of the pencil tip rather than the point for a softer deposit. The overline should be felt, not seen; if you can spot the line, you have gone too far.
The classic overline disaster is tracing a full millimeter outside the entire lip perimeter — corners included — which reads as costume makeup in daylight. Another error is overlining with a shade darker than your lipstick; the contrast outlines the trick. Keep the liner close to your natural lip color and the overline minimal. Photograph the result; cameras exaggerate overlining that mirrors forgive, and the photo never lies.
Cupid’s Bow Emphasis
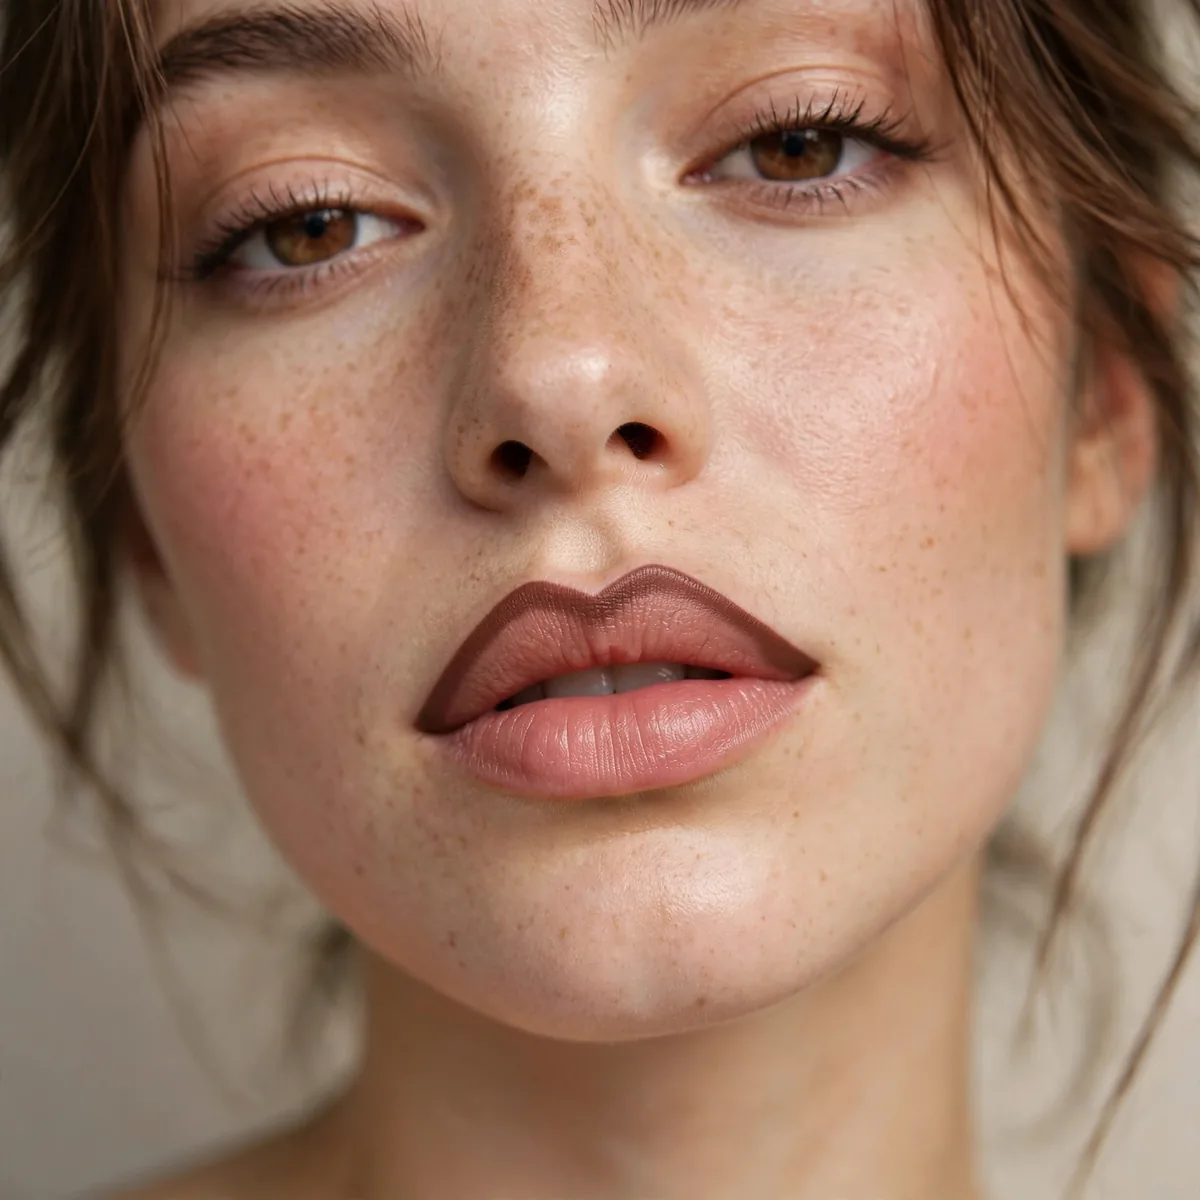
Define the cupid’s bow precisely — it creates the illusion of fullness.
The bow’s shape determines the lip’s character. Crisp bows look fuller.
A freshly sharpened pencil is non-negotiable for a crisp bow — blunt tips create soft, undefined peaks. Trace the two peaks of the bow first, then connect them with a light hand. A lip brush dipped in a matching lipstick can refine the edges further, sharpening what the pencil started. Keep the rest of the lip line slightly softer; the bow should be the most defined point, drawing the eye to the lip's most flattering feature.
Thin or flat upper lips gain the most from this technique — a defined bow creates the architecture that suggests fullness where little exists. Those with a naturally full cupid's bow need only enhance what is there rather than redraw it. If your bow is uneven, define the stronger side first, then mirror it; symmetry here matters enormously. A crisp bow also gives lipstick something to grip, improving wear on the upper lip.
The Gradient Liner
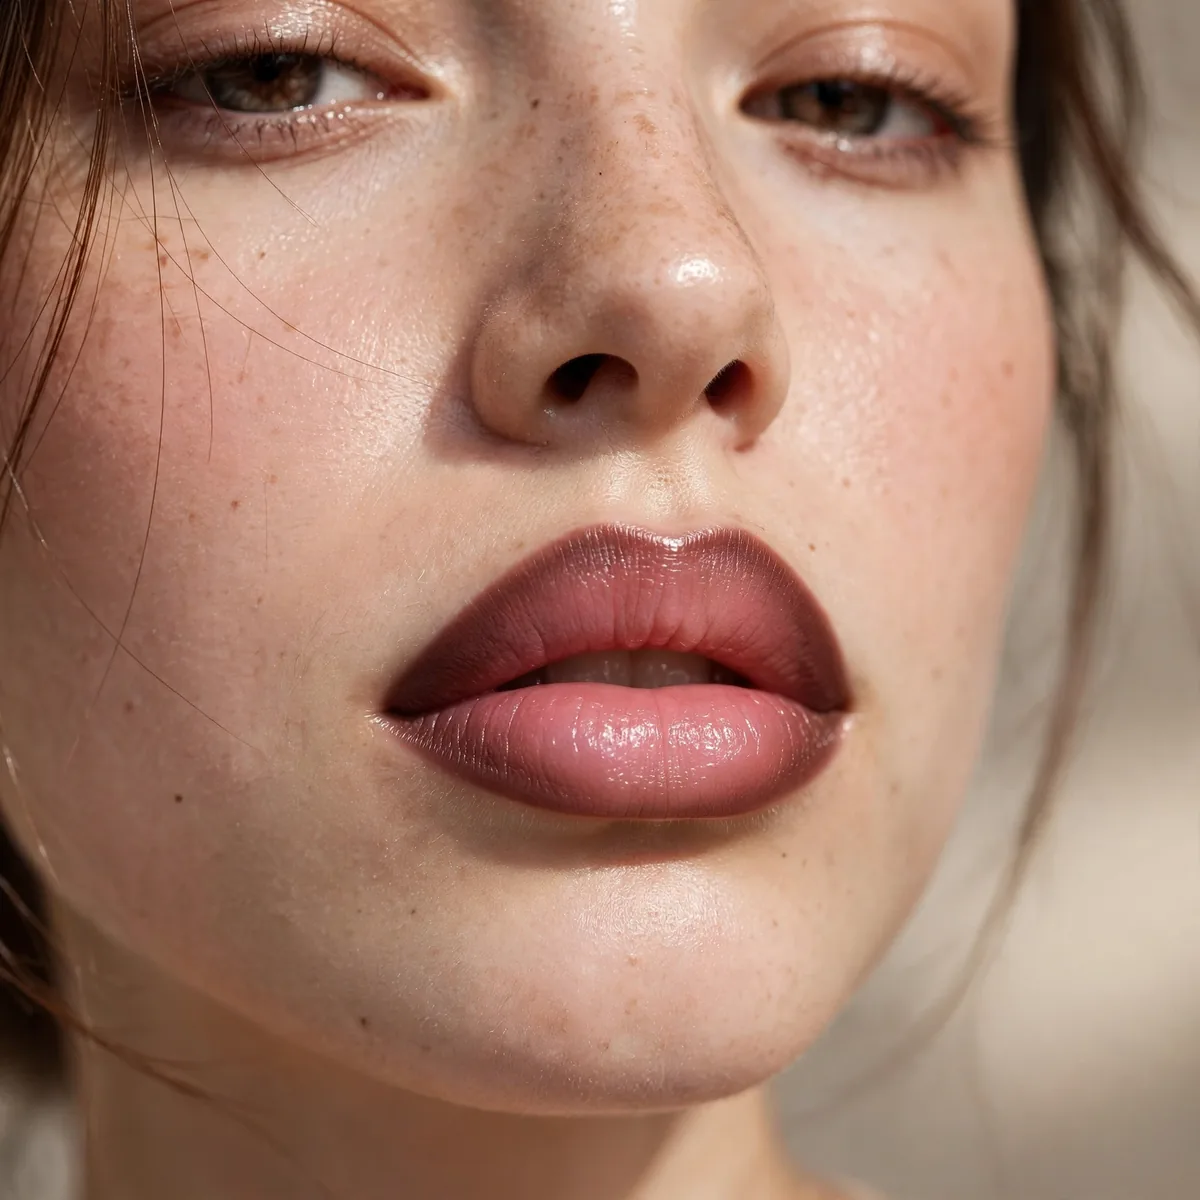
Darker liner at edges, lighter in center — the dimensional fullness.
The gradient mimics natural lip shading. It’s how real full lips look.
Choose a liner two to three shades deeper than your lipstick, in the same color family — berry liner with berry lipstick, never berry liner with nude lipstick. The shades must be tonal relatives or the gradient looks like two separate products. Test the pairing on the back of your hand first; the liner should look like a deeper version of the lipstick, not a different color. This tonal relationship is what makes the dimension believable.
Blend the boundary between liner and lipstick with a lip brush or fingertip using small, soft strokes — the transition should melt, not stripe. Work from the liner inward toward the center, pulling the deeper color slightly into the lipstick rather than the reverse. Blot once, then check in natural light; harsh indoor lighting hides unblended edges that daylight exposes mercilessly. A final dab of lipstick in the center completes the gradient.
Underlip Shadow Shading
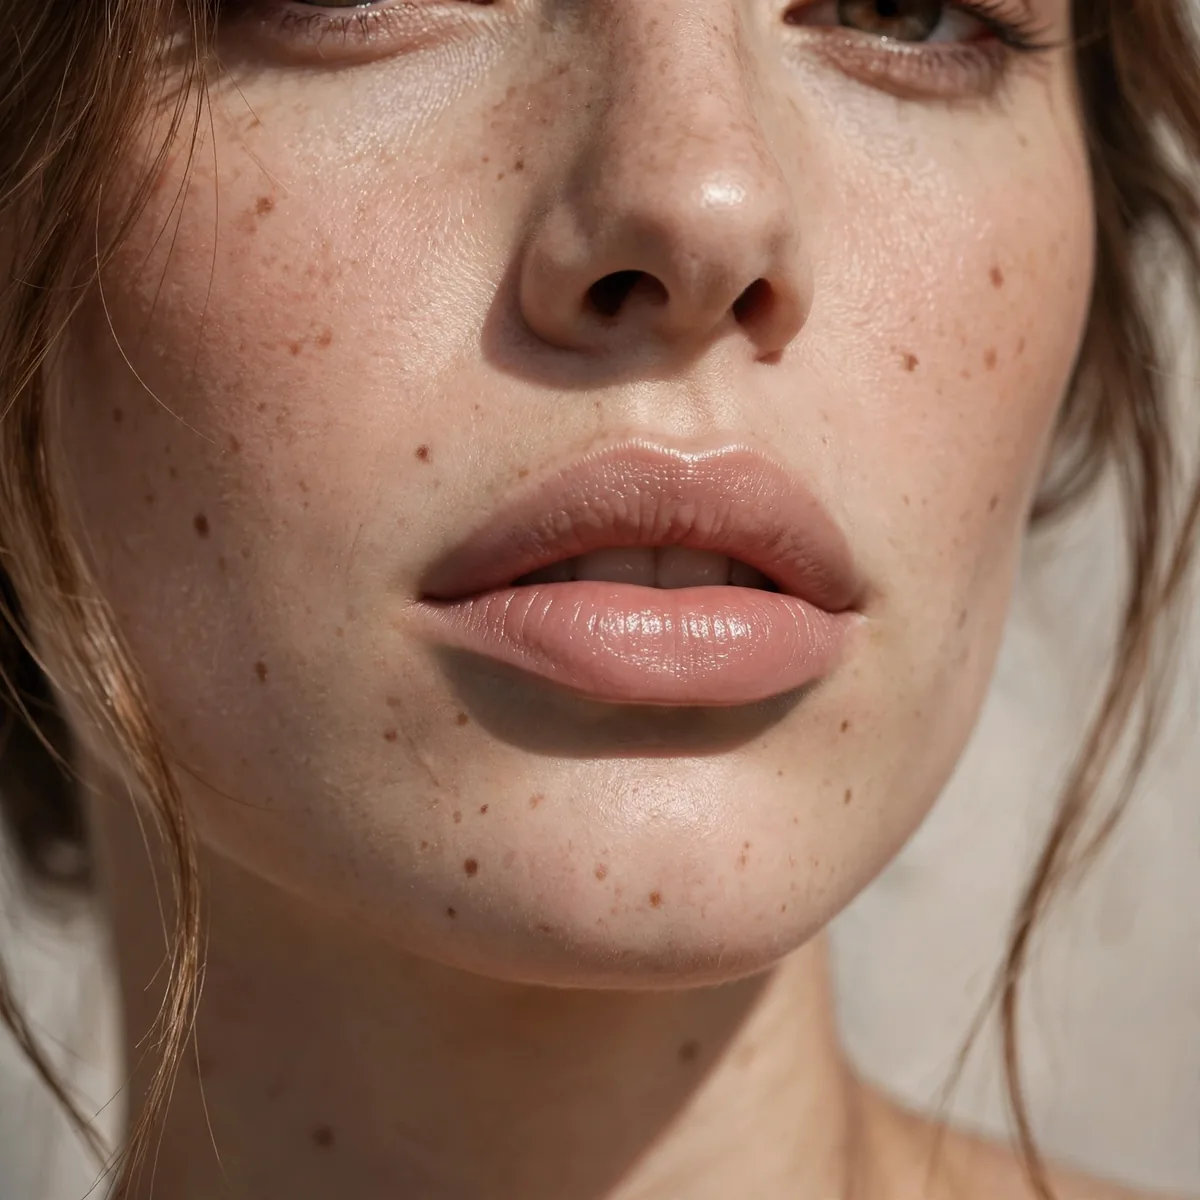
A touch of contour under the lower lip creates shadow-based fullness.
The shadow suggests projection. It’s contouring applied to lips.
A cool-toned contour shade or a matte taupe eyeshadow works better than bronzer here — warmth under the lip looks like smudged makeup, while coolness reads as natural shadow. Use a small, fluffy brush and the lightest possible hand; this should be a whisper of depth. Tap off excess before touching the lip. The shadow sits in the crease directly beneath the lower lip's fullest point, nowhere else.
Going too dark is the instant giveaway — a heavy brown stripe under the lip looks dirty, not dimensional. Keep the shadow sheer enough that you question whether it is even there; subtlety is the entire technique. Another error is extending the shadow too wide, past the lip's natural width, which looks like a smudge. Confine it to the center third beneath the lip, and blend the edges until they disappear.
Center Highlight Pop
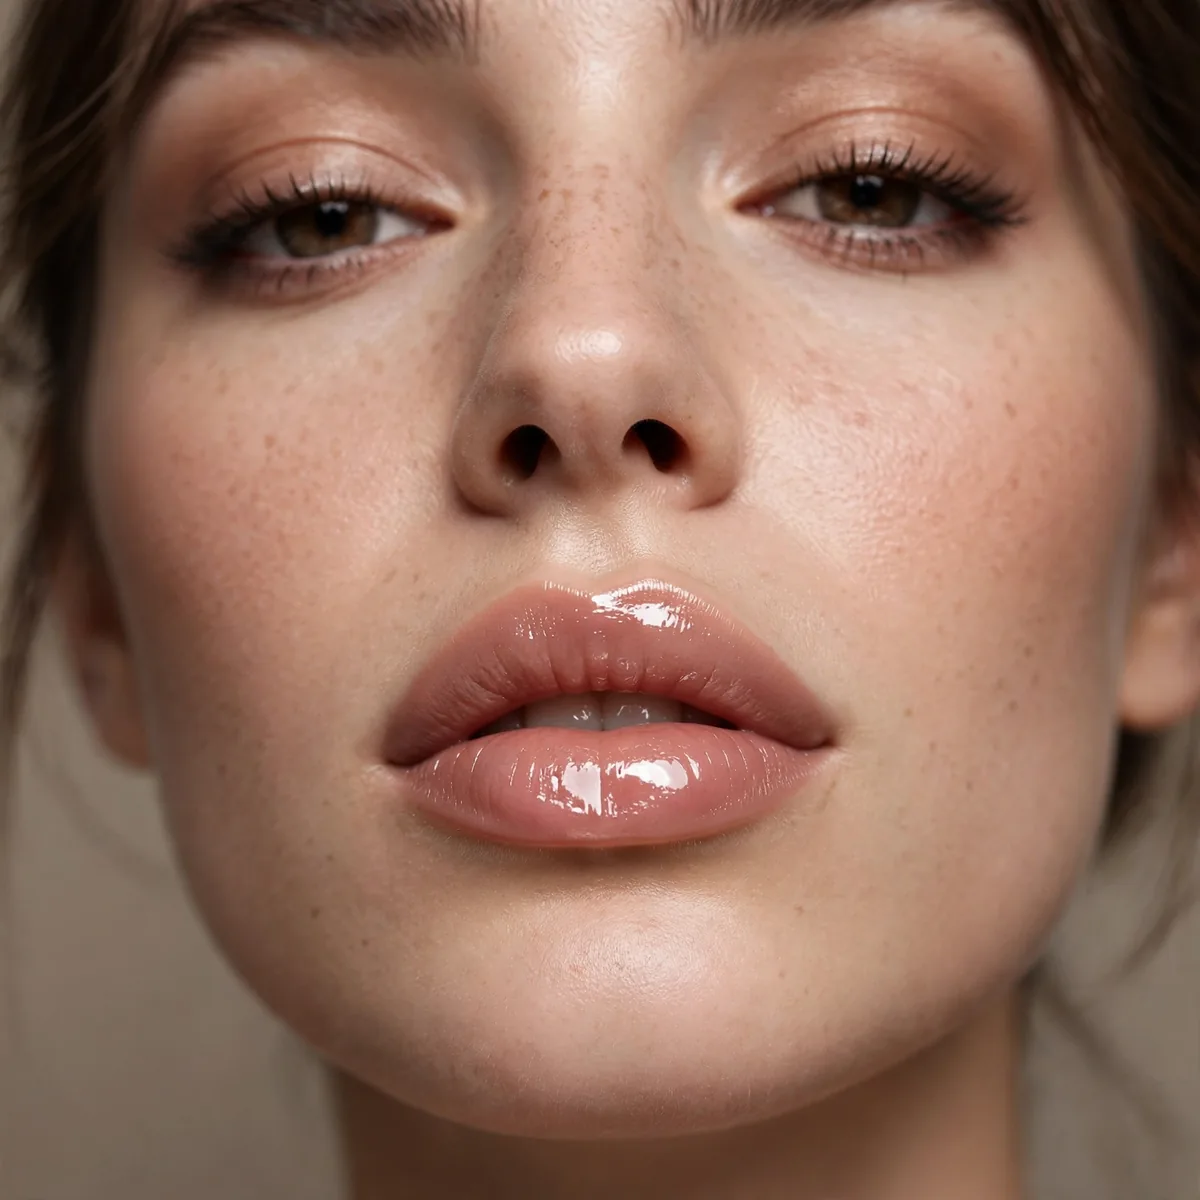
Light gloss or highlight in the center — the plumping light trick.
Light advances; the highlighted center appears to project forward.
A clear, non-sticky gloss with a doe-foot applicator gives the most controlled center highlight — dab it only on the fullest part of the lower lip and the center of the upper. Shimmer glosses amplify the effect further, catching light with every movement. Alternatively, a dab of liquid highlighter pressed into the center works for a more editorial finish. Avoid matte highlighters here; without shine, the plumping illusion simply does not work.
Thin lips are transformed by this trick — the light-catching center creates projection where none exists. Medium lips gain a pretty, juicy dimension. Very full lips, however, should skip it or use the sheerest touch; adding highlight to already-voluminous lips tips into overdone territory fast. The technique also flatters mature lips beautifully, since the shine distracts from fine lines far better than any matte formula could.
The Blur Technique
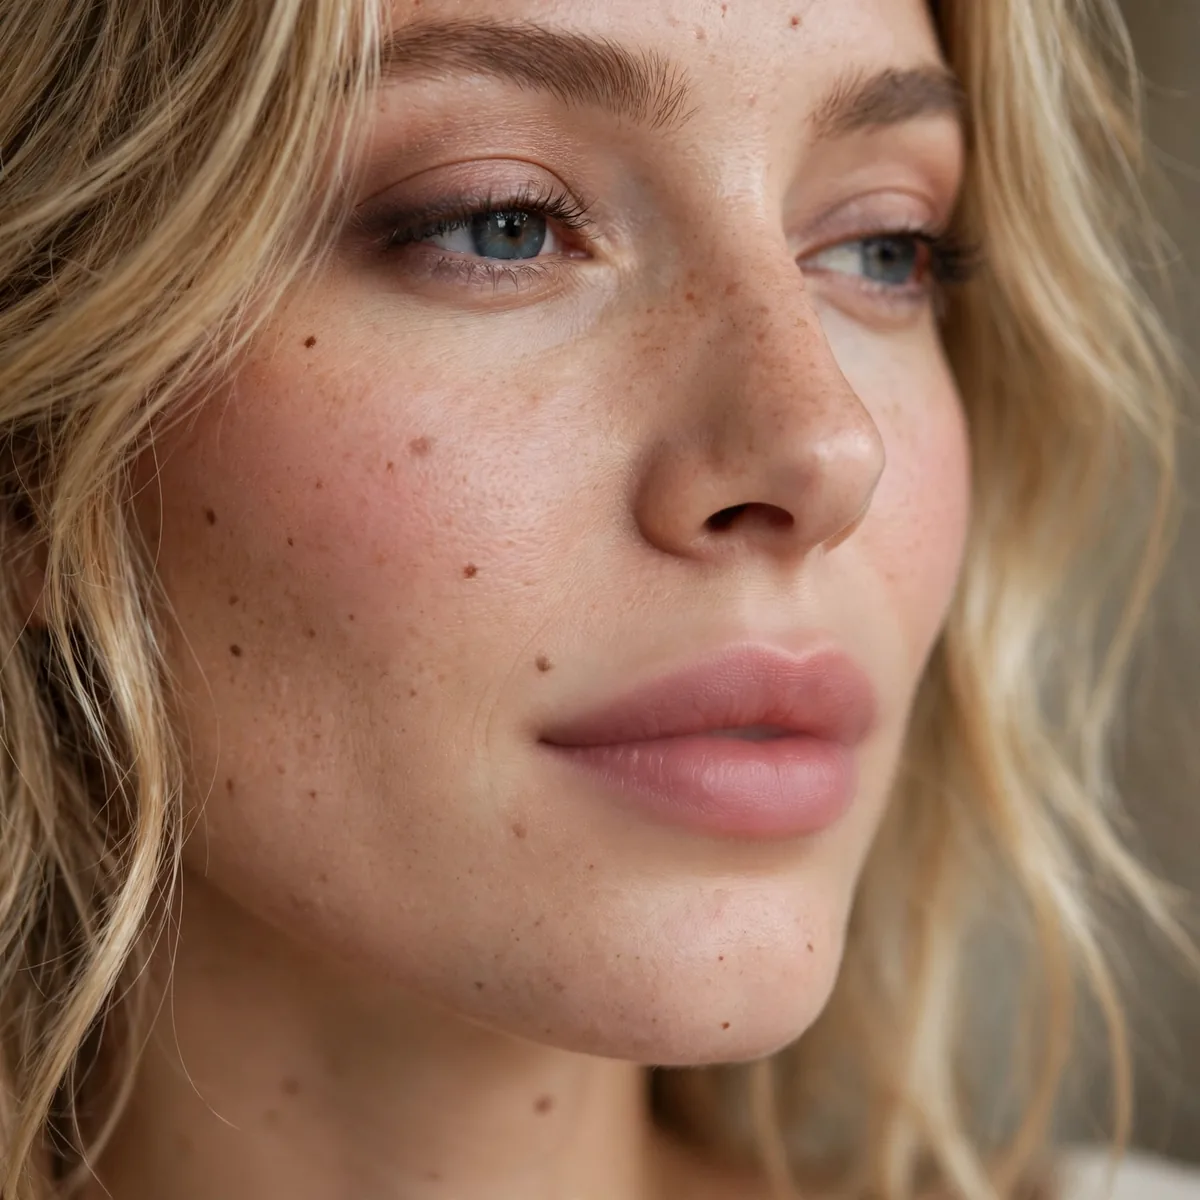
Blur the liner edge with a finger — soft borders look fuller.
Sharp liner can look smaller; blurred liner looks naturally full.
Fingertips are the original blurring tool — the warmth melts the liner edge into the lip naturally. Press and roll the pad of your finger along the liner line rather than dragging, which smears. A small, dense lip brush offers more precision for the same effect, ideal for deeper shades. Korean gradient lips take this further, concentrating color in the center and fading to nothing at the edges for the ultimate soft-focus pout.
Blurred, blotted lips outlast crisp ones — pressing the color into the lip rather than sitting it on top means it survives eating, drinking, and talking far better. After blurring, blot with a tissue, then press a second sheer layer into the center; this sandwich technique builds staying power. The soft edge also wears more gracefully; as color fades, a blurred lip simply looks like a tint, never patchy or obvious.
Corner Definition
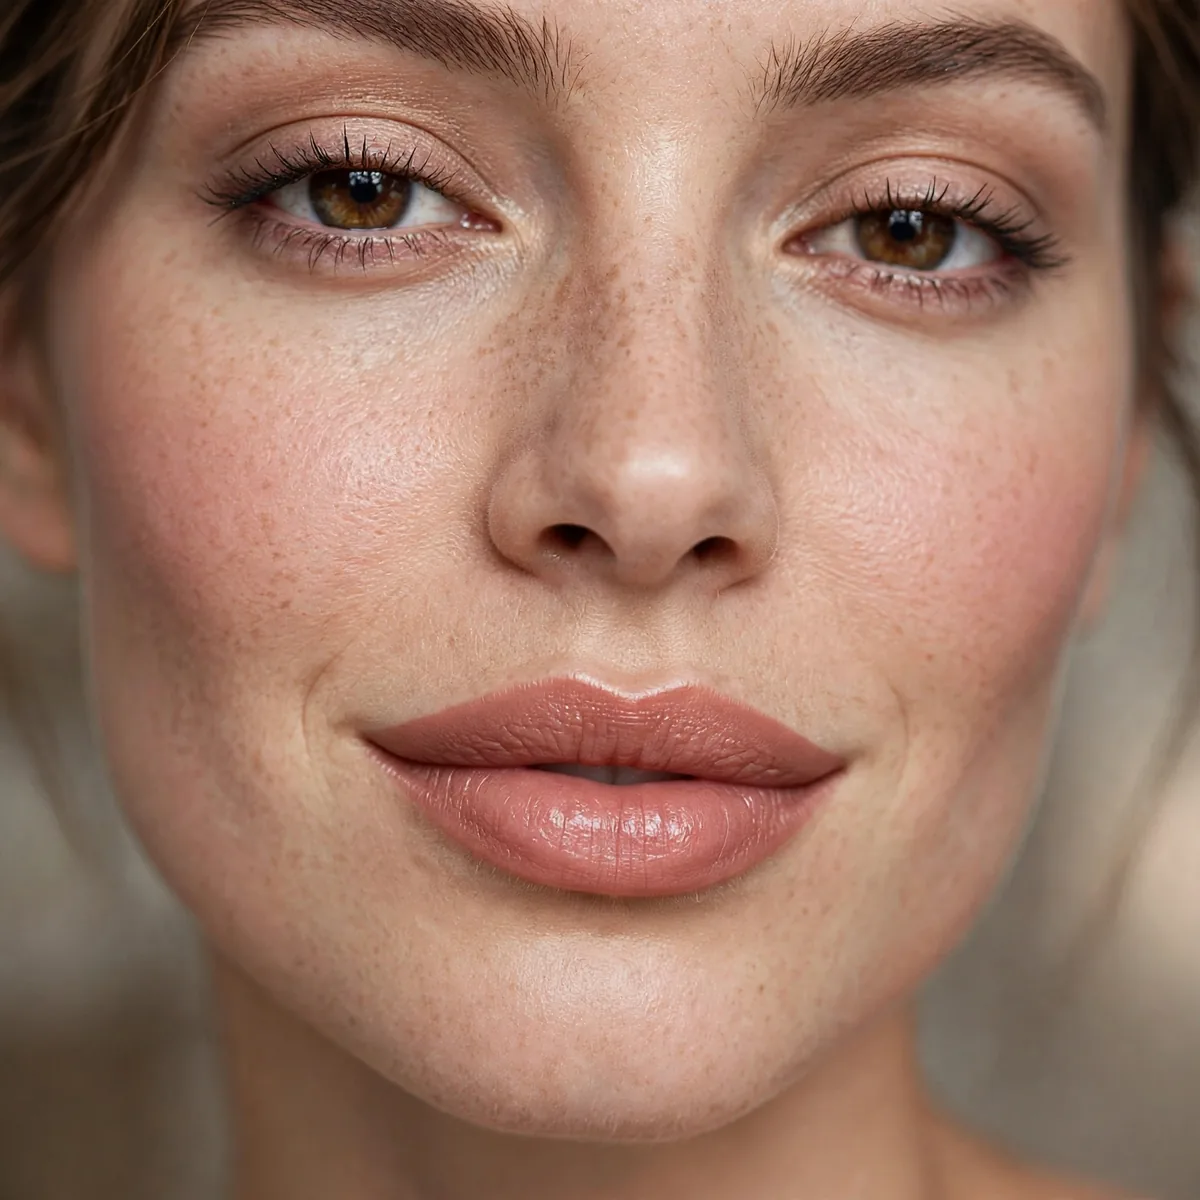
Define the corners precisely — structure makes lips look fuller.
Crisp corners frame the fullness. Undefined corners look smaller.
Define corners with short, precise strokes starting from the outer corner and moving inward — working outward-to-in gives the most control. Keep the pencil sharp; a blunt tip rounds the corner and softens the structure you are trying to build. The corners should be the crispest part of the entire lip line, slightly more defined than the bow. This precision frames the lips and makes the fullness between the corners appear greater.
Crisp corners double as a barrier against lipstick bleeding — the defined edge contains creamy formulas that would otherwise feather into fine lines. For extra security, run a touch of concealer just outside the corners after lining; the clean perimeter both sharpens the shape and seals the border. This matters most with bold or dark lipsticks, whose migration is the most visible. Defined corners are structure and insurance in one step.
Two-Tone Liner Method
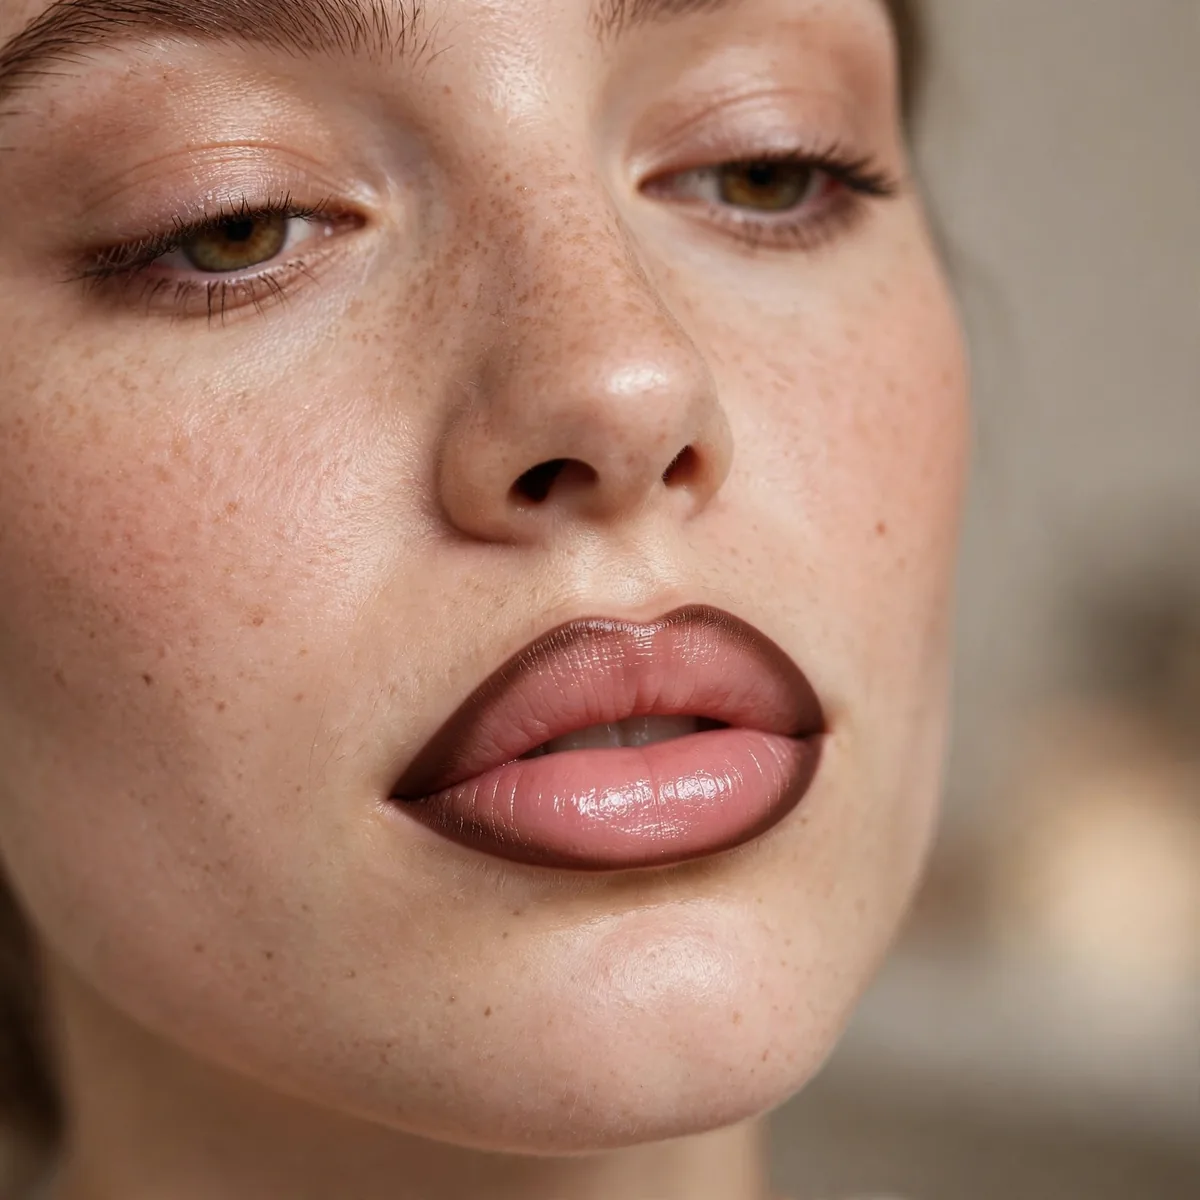
Darker liner, lighter lipstick — the contrast creates dimension.
The tonal difference fakes depth. It’s the lip version of contouring.
Berry liner with a rose lipstick, brick liner with a terracotta lipstick, plum liner with a mauve lipstick — the pairings work when the liner is simply a deeper, richer sibling. Avoid pairing across color families, which looks like a mistake rather than a method. Nude lipstick over a brown liner is the classic everyday version. Test the duo on your hand in daylight; the relationship should read as depth, not as two competing colors.
The boundary between the two tones must melt — a visible ring of liner around lipstick is the dreaded 90s throwback nobody wants. After applying both, press your lips together firmly several times, then blur the transition with a fingertip or lip brush. The deeper tone should fade gradually into the lighter center over a few millimeters. Check the blend by relaxing your mouth; stretched lips hide unblended edges that show the moment you speak.
The X Marks the Spot
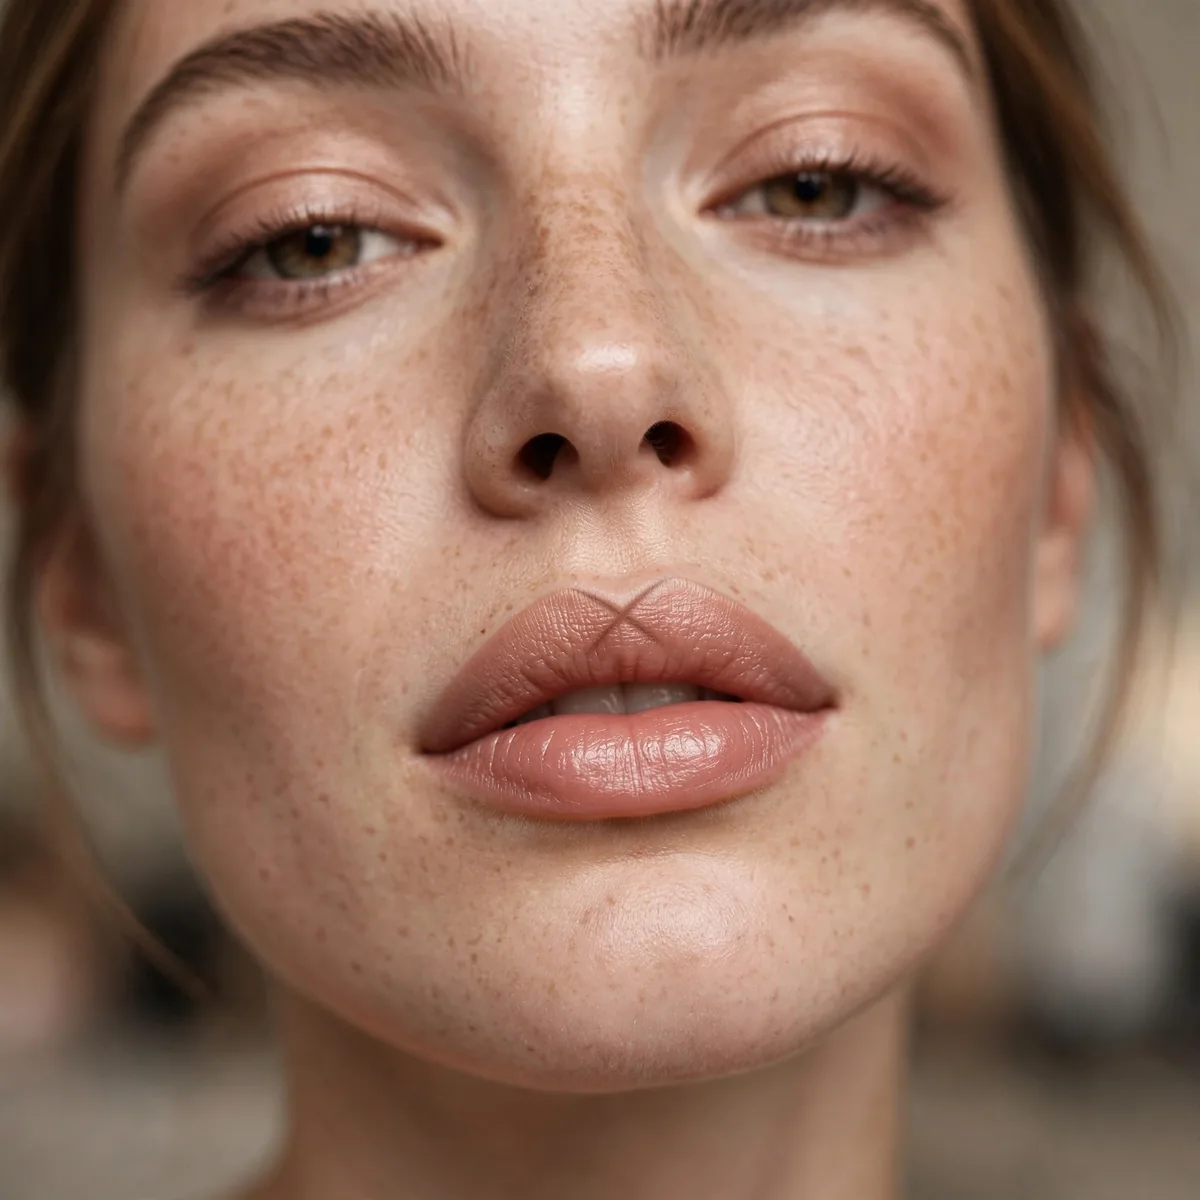
Draw an X at the cupid’s bow as a guideline — the symmetry trick.
The X ensures even bow definition. Symmetry reads as fullness.
Draw the X with two light diagonal strokes crossing at the center of the cupid's bow — the intersection marks your exact midpoint. Then trace from each arm of the X outward along the natural lip line, using the X as your anchor. This guarantees both peaks sit at equal heights, which is where most asymmetry hides. Keep the X strokes feather-light; they are scaffolding, and heavy guidelines show through sheer lipstick.
Uneven or flat cupid's bows benefit most — the X imposes symmetry where nature did not provide it. Those with a very pronounced natural bow can skip the guideline and simply enhance. If one peak sits higher than the other, build up the lower peak to meet the higher rather than lowering anything; adding is always easier to control than removing. The technique takes seconds but corrects what the eye reads instantly as imbalance.
Lipstick Over Liner
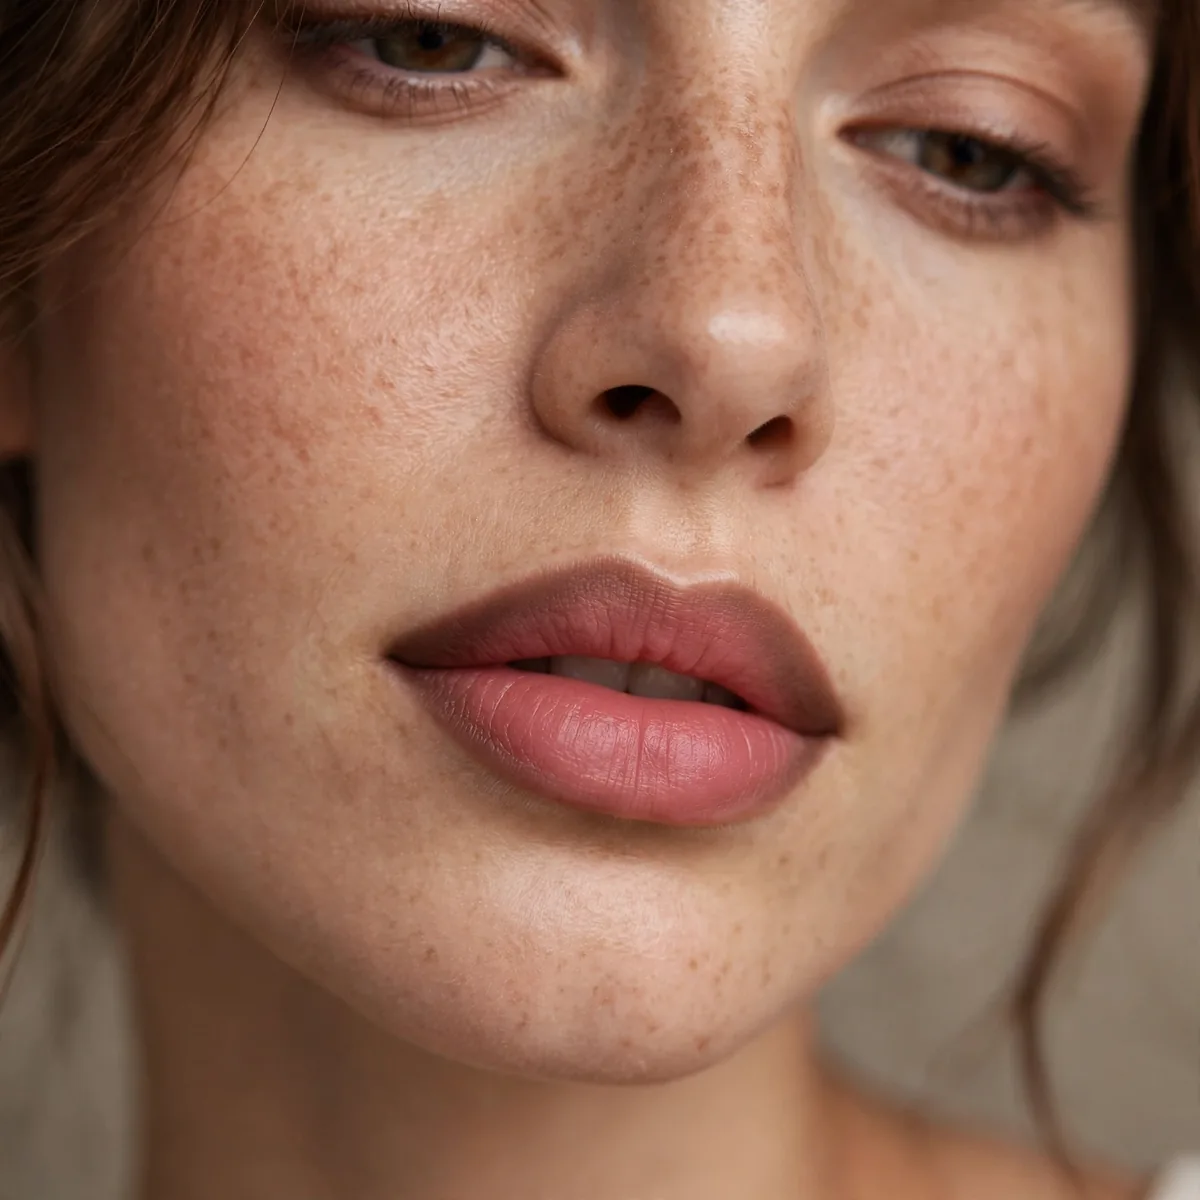
Apply lipstick over the liner, blending the edges together.
The blend unifies liner and lipstick. Harsh liner lines look obvious.
The professional order is liner first as the base, then lipstick, then blot, then a final press of lipstick just in the center — this layering is what makes color survive for hours. The liner underneath acts as a stain that holds even as the lipstick's surface wears away. Pressing rather than swiping the lipstick on preserves the liner's crisp edges. Finish by cleaning the perimeter with a touch of concealer for a polished, long-wearing result.
A full lip of liner underneath extends lipstick wear dramatically — the waxy pencil grips the lip far longer than lipstick alone. After the lipstick layer, dust the tiniest amount of translucent powder through a tissue held over the lips; this sets the color without dulling it. Reapply only to the center after eating, since the liner base keeps the edges intact. This method easily doubles wear time compared to lipstick worn solo.
Avoid Dark All-Over

Dark liner all over shrinks lips — keep depth at the edges only.
All-over dark flattens. Edge depth with light center is the fullness formula.
The 90s dark-liner-with-pale-lip look can be revived, but the modern version keeps the contrast soft — a medium liner with a lipstick only slightly lighter, thoroughly blended at the boundary. Harsh, unblended contrast is what dates the look. If you love the aesthetic, choose shades within the same family so the effect reads as dimension rather than outline. The era's spirit survives; its severity does not need to.
Naturally full lips can handle deeper liner all over — the volume carries the depth without shrinking. On full lips, a rich liner worn alone with gloss over the top is genuinely stunning and needs no lipstick at all. Medium lips should keep the depth concentrated at the edges with a lighter center. Thin lips must avoid all-over dark at all costs; on small lips, darkness contracts and the fullness illusion collapses entirely.
The Nude Liner Secret

Nude liner slightly deeper than lips — invisible fullness.
Our nude lipstick guide pairs well. Nude liner is the subtle plumper.
Match the liner to your natural lip color, not your skin tone — lips have their own pigment, and skin-matched liner looks ashy or invisible. The ideal nude liner is one shade deeper than your bare lips, enhancing without announcing itself. Test by drawing a small line on the lip; the right shade disappears into the lip while subtly defining it. Undertones matter here: warm lips need warm nudes, cool lips need cool ones.
Nude liner is the perfect partner for a bold eye — it polishes the lips without competing for attention. With a smokey eye or colorful shadow, a nude-lined lip with a matching nude lipstick keeps the face balanced and modern. The technique also rescues the no-makeup makeup look, giving lips quiet definition that photographs as natural. When eyes are the statement, nude liner lets the lips support rather than shout.
Gloss Over Liner

Clear gloss over lined lips — shine amplifies the fullness illusion.
Gloss reflects light, and reflected light reads as volume. Physics as beauty.
Choose a non-sticky gloss formula — modern glosses with hyaluronic acid or squalane give shine without the hair-catching tack of old formulas. A doe-foot applicator deposits the most even layer; squeeze tubes work but offer less control. Clear gloss over any liner shade amplifies fullness, while a tinted gloss adds a wash of color. Avoid glitter-packed glosses for this technique; the sparkle distracts from the smooth, voluminous effect you are building.
Gloss fades fastest of all lip products, so reapplication is part of the technique — keep the tube handy and refresh the center after eating or drinking. Layering gloss over a matte lipstick rather than bare liner extends wear, since the matte base grips while the gloss provides shine. Blot the old gloss layer before reapplying to avoid buildup. The liner underneath ensures the shape survives even as the shine comes and goes.
Practice the Symmetry

Symmetrical lining looks fuller — asymmetry reads as smaller.
Step back and check. Close-up mirrors miss asymmetry that distance reveals.
Line in sections rather than one continuous stroke — do the cupid's bow, then each side of the upper lip, then the lower lip in two halves. Between sections, relax your mouth and check; tension distorts the shape and hides asymmetry. Keep a hand mirror at arm's length for the real view, since bathroom mirrors encourage nose-to-glass inspection that misses the bigger picture. Small corrections beat complete restarts every time.
Chasing perfection at close range is the symmetry killer — from two inches away every tiny wobble looks catastrophic, tempting endless correction that makes things worse. Step back to arm's length, where the lips will actually be seen, and judge from there. Another mistake is lining with the mouth stretched wide; the shape changes completely when relaxed. Line with the mouth in its natural resting position for the truest, most symmetrical result.
The Confident Pout
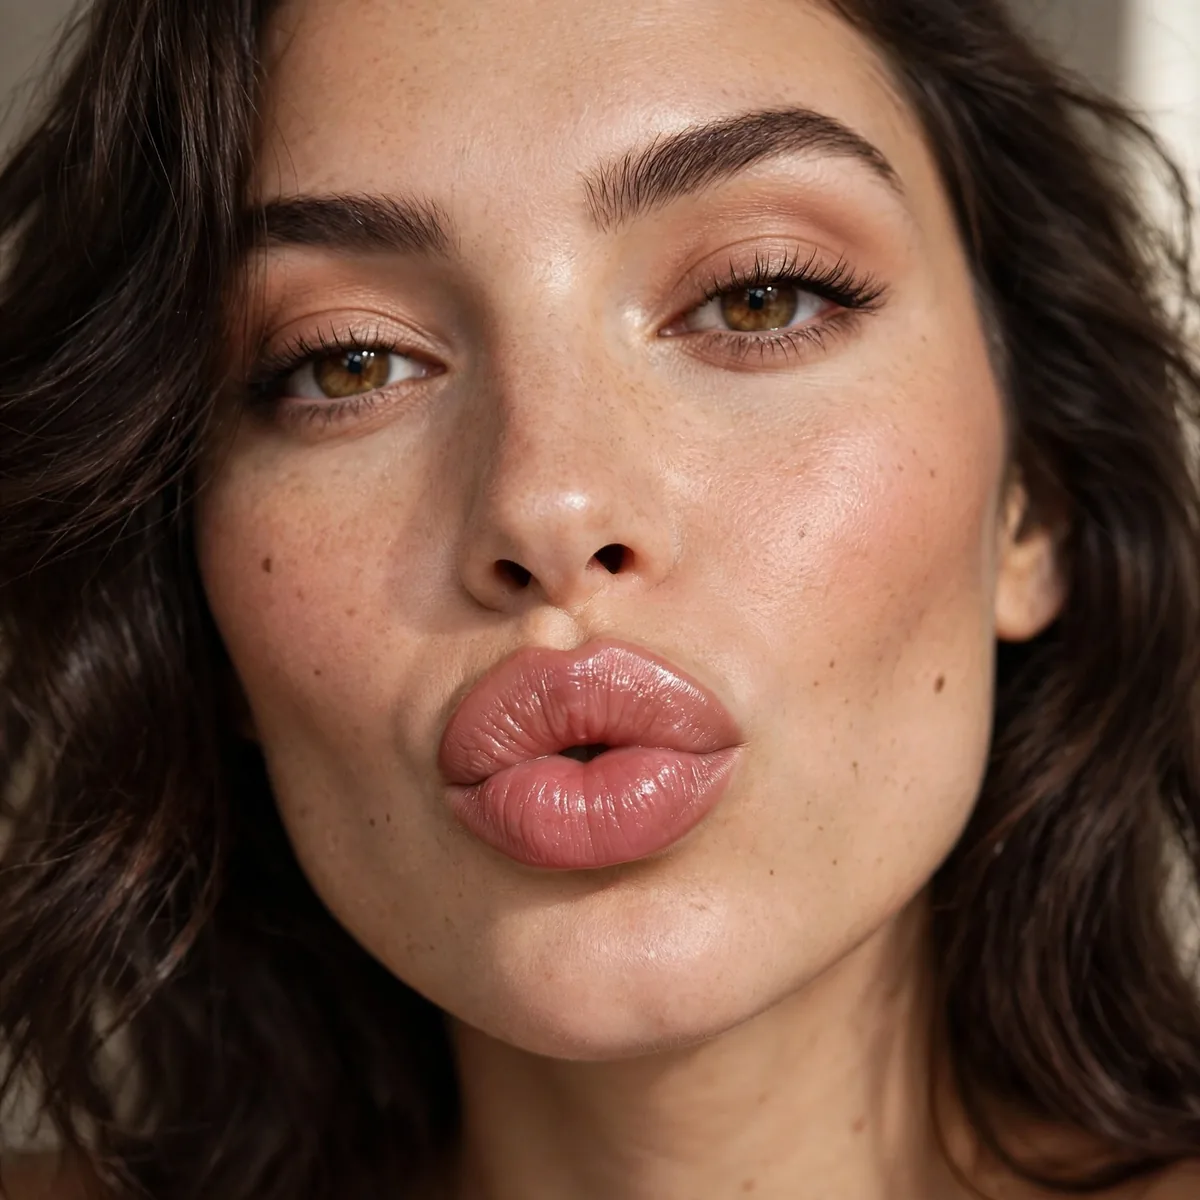
Own the technique — confidence completes the illusion.
For lasting fullness, our long-wear tips keep it in place. Belief in the look sells it.
Lock the look with the tissue-and-powder method: hold a single ply of tissue over the lips and dust translucent powder through it, then apply one final layer of lipstick. This sets the color for hours without dulling the finish. For photographs, press lips together once after the final layer and avoid over-pursing — a relaxed, confident mouth photographs fuller than an exaggerated pout ever will. The finish should look lived-in, not labored.
This is your event lip — weddings, evenings out, and photographs are where the full-liner technique earns its keep. In daylight errands it can feel like too much, so reserve the complete routine for moments that deserve it. The confidence comes from knowing the shape will hold; a well-lined lip survives talking, laughing, and toasting. Wear it like you mean it, because a hesitant pout undermines even the most perfect lining.
Fuller lips, no filler — pin these tricks. For color, see nude lipstick shades or glossy lip looks for the perfect finish.




