
Hooded eyes need a different playbook — and matte shadow is chapter one.
When the lid folds over, shimmer disappears into the fold and transfer becomes the enemy. Matte shadows stay put, create the illusion of depth, and don’t emphasize texture.
The key technique: apply your crease color with eyes OPEN, placing it above the natural fold where it’s actually visible. Everything changes once you do.
Here are 15 looks built for hooded eyes. Let’s get into it.
Above-the-Fold Crease
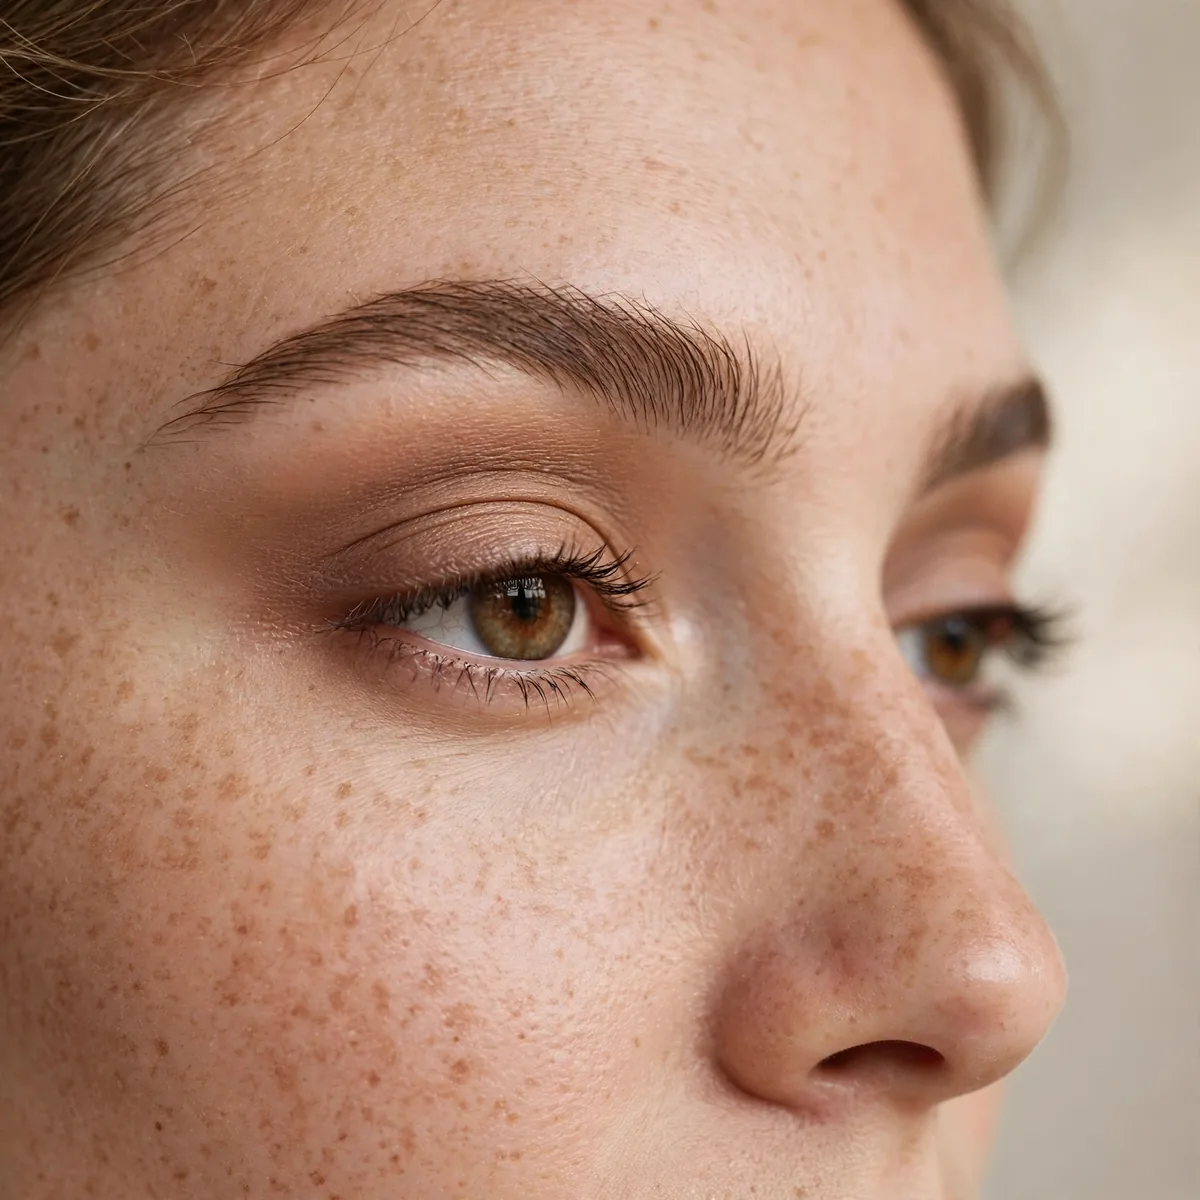
The foundational technique: with eyes open, apply transition shade above the natural crease where it shows.
This single adjustment makes every eyeshadow look work on hooded eyes. It’s transformative.
This adjustment helps anyone whose lid disappears when their eyes are open, including deep-set and partially hooded shapes. Use a large fluffy blending brush and work with eyes open, sweeping back and forth like a windshield wiper just above the fold. Because the placement stays visible, the color never gets swallowed, which is exactly why standard crease maps fail on hooded lids.
The most common mistake is mapping the crease with eyes closed, then opening them to find the work has vanished into the fold. Another is placing the transition shade too low, which makes the hood look heavier instead of lifted. Check your work in a mirror at arm's length with a relaxed, neutral gaze, and build color in sheer layers rather than one heavy pass.
Soft Brown Definition
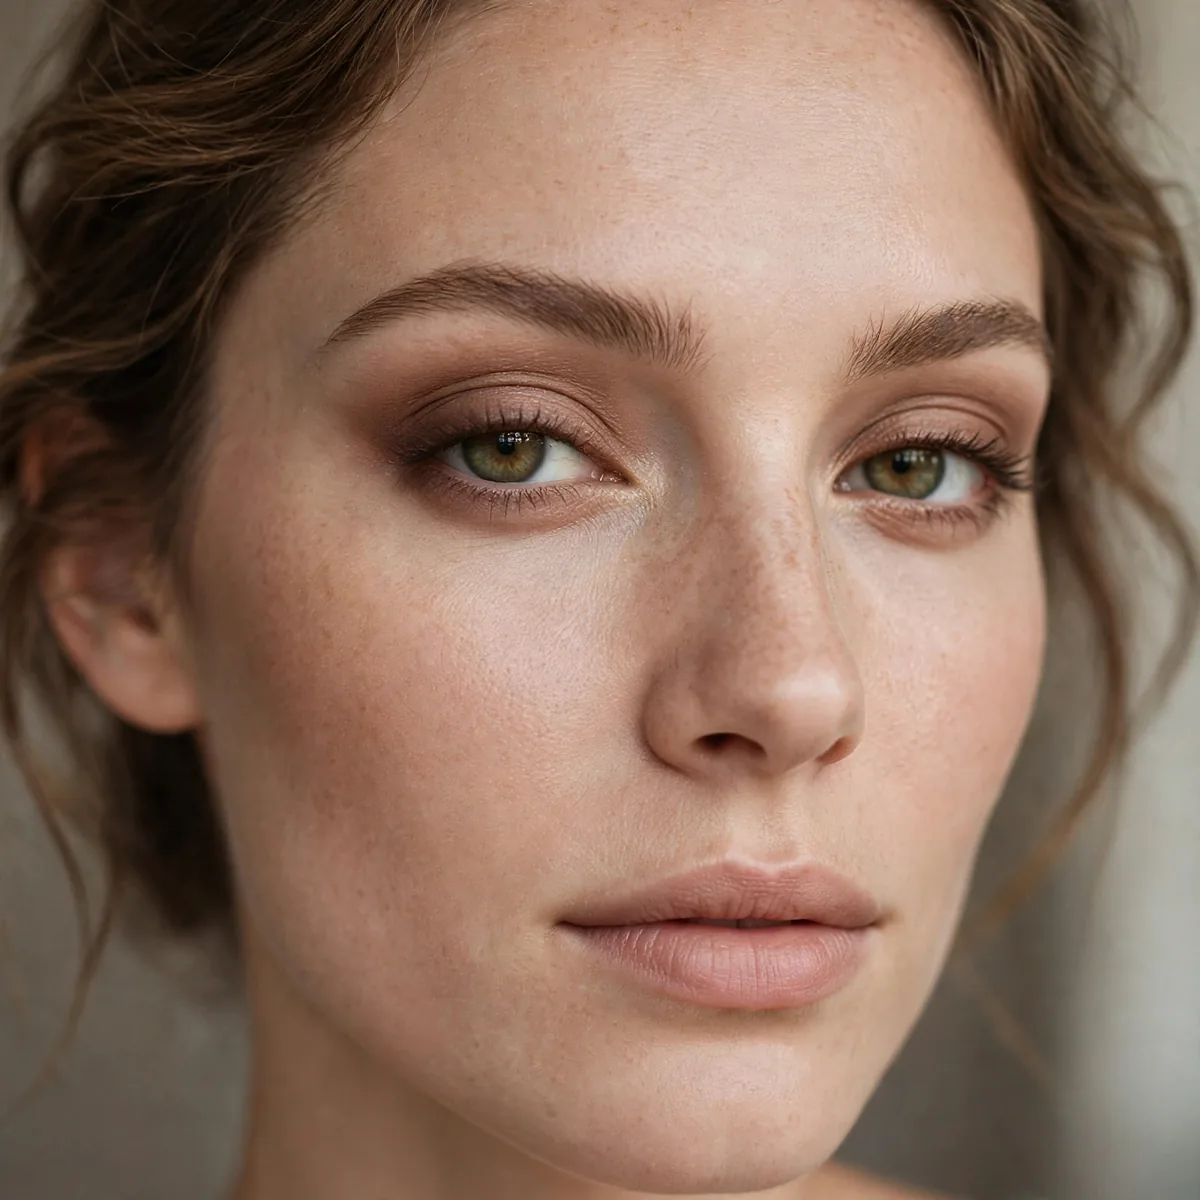
Medium brown matte through the extended crease — definition that reads naturally.
The everyday hooded-eye look. It defines without demanding attention.
Soft brown flatters nearly every eye color, but the undertone of the brown matters more than most people realize. Warm, golden browns glow against green and hazel eyes, while cool, taupe-leaning browns define blue eyes without clashing. Match the brown's temperature to your skin's undertone for a finish that looks like natural shadow rather than obvious makeup.
Because this look is deliberately quiet, it pairs beautifully with a stronger lip or defined cheek. Try a satin berry lip or a softly contoured cheek while keeping the eye simple. Finish with one coat of lengthening mascara on the upper lashes only, which opens the eye without adding the heaviness that lower-lash mascara can bring to hooded shapes.
Matte Outer V Depth
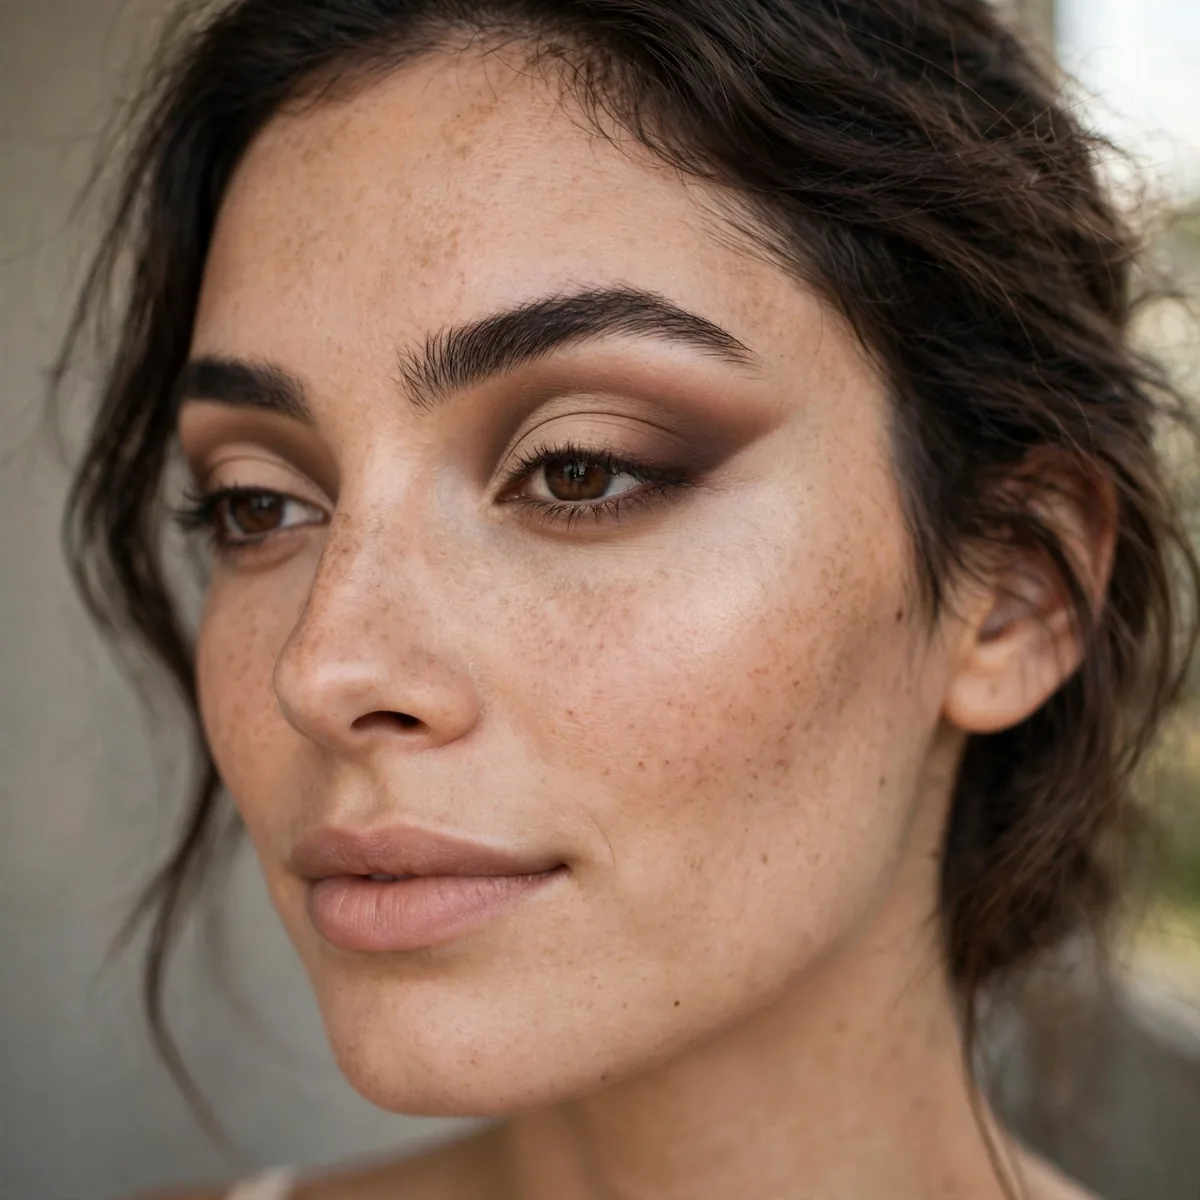
Deepen the outer V with dark matte brown — it creates dimension that survives the fold.
The outer corner is the least hooded area, so depth placed here stays visible.
Pack the dark shade onto the outer corner with a small, dense brush before blending a single stroke. Pressing deposits pigment where you want it; blending diffuses the edges so the depth melts into the transition shade. Sweep any leftover color toward the temple in an upward motion, which lifts the eye and keeps the outer corner from dragging the whole look downward.
Dark outer-corner color is usually the first thing to fade on oily lids, so lock it in with an eyeshadow primer from lash line to brow bone before you start. A light dusting of translucent powder over the primer adds extra grip. By evening, the V should still read as soft dimension rather than a muddy smudge, even through a long workday.
Smudged Matte Liner
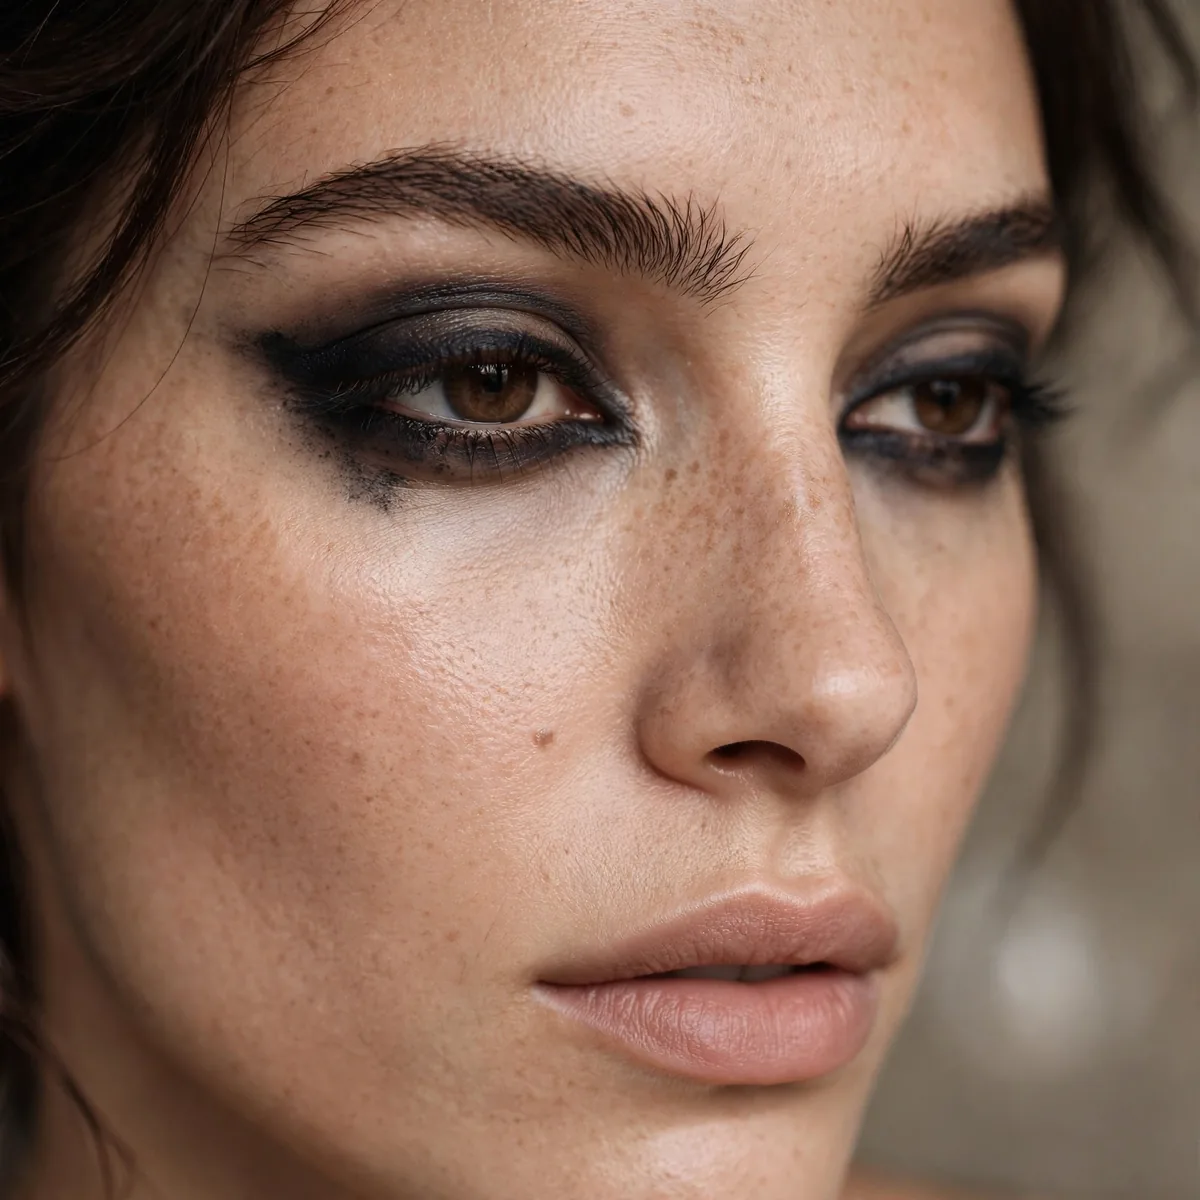
Matte shadow smudged along the lashes instead of liquid liner — no transfer, no disappearing act.
Hooded eyes and liquid liner are often enemies. Smudged shadow is the peace treaty.
Reach for a short, firm pencil brush or a small angled brush, loading it with matte shadow and pressing it right into the lash roots. Wiggle the brush gently rather than drawing one continuous line; the wiggle deposits color between lashes for a fuller lash line. Tightlining this way gives hooded eyes definition that liquid liner simply cannot hold without transferring.
Smudged shadow along the lash line needs a proper removal routine, since leftover pigment settles into the waterline and dulls the eyes by morning. Press a cotton pad soaked in micellar water or an oil-based remover over the closed eye for twenty seconds before wiping gently downward. Follow with your regular cleanser so no residue interferes with the next day's primer.
Warm Taupe Structure
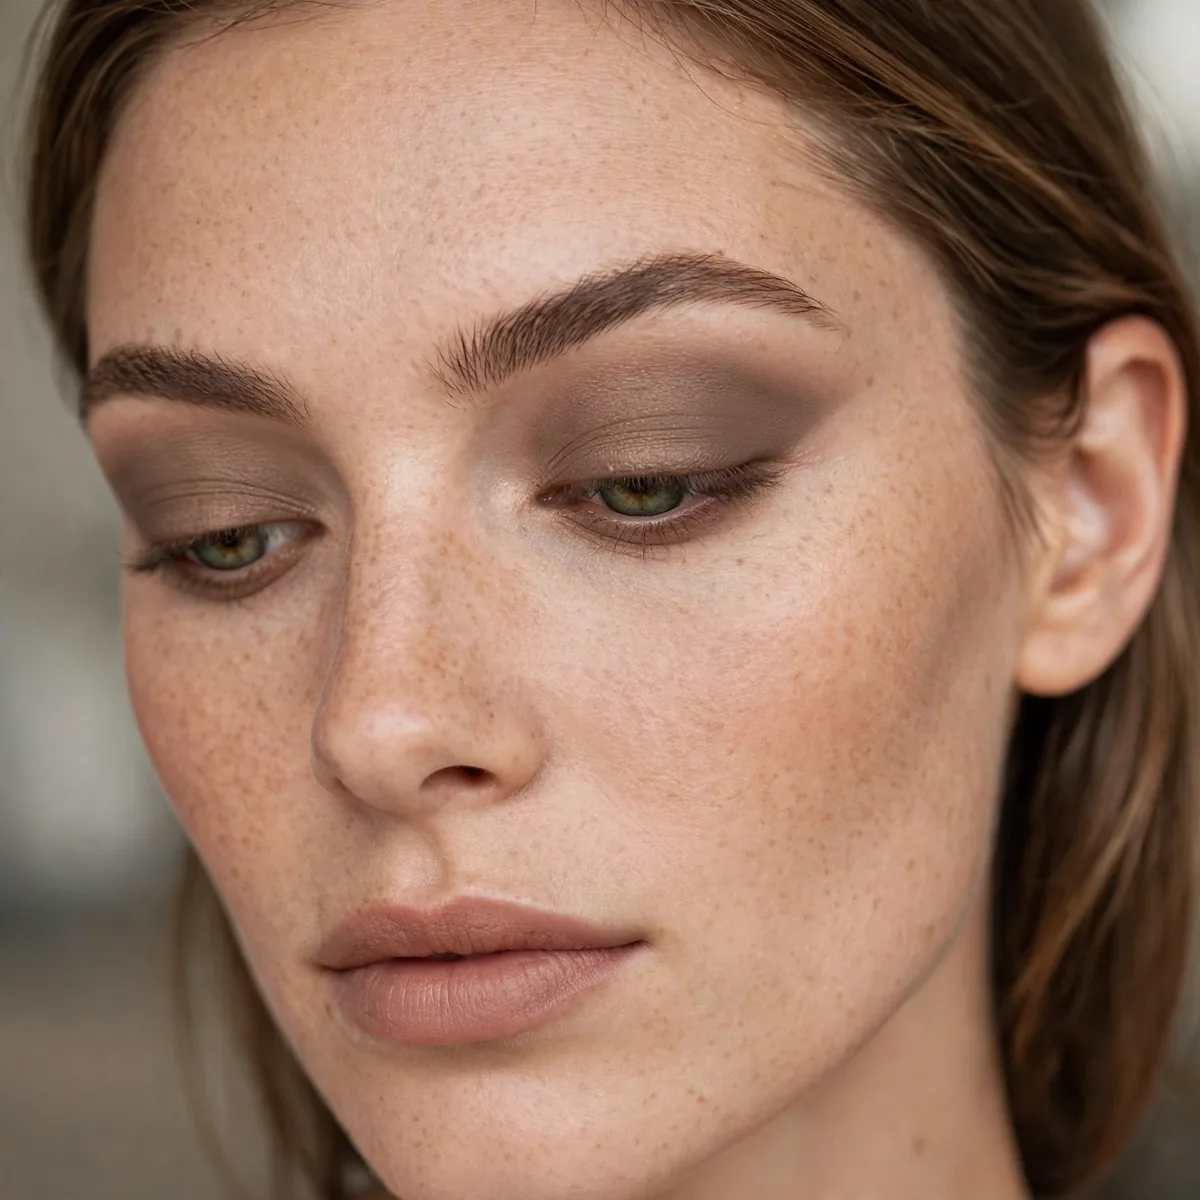
Taupe mattes build structure without warmth overload. Cool and defining.
Taupe recedes visually, which minimizes the hooded appearance. Color theory working for you.
Taupe works hardest on cool and neutral undertones, where its gray-brown balance reads as genuine shadow rather than warmth. On warm skin it can look ashy if the formula leans too gray, so test a few options along the jawline in daylight. Mature eyes benefit especially, since taupe defines without the shimmer that settles into fine lines around the lid.
Carry taupe from day to night by deepening the outer V and pressing a touch more shadow along the lower lash line. The same neutral palette reads polished at the office and quietly dramatic after dark, especially paired with a deeper lip. Because taupe never competes with other colors, it transitions more gracefully than warmer browns that can look muddy under evening light.
Matte Highlight Trick
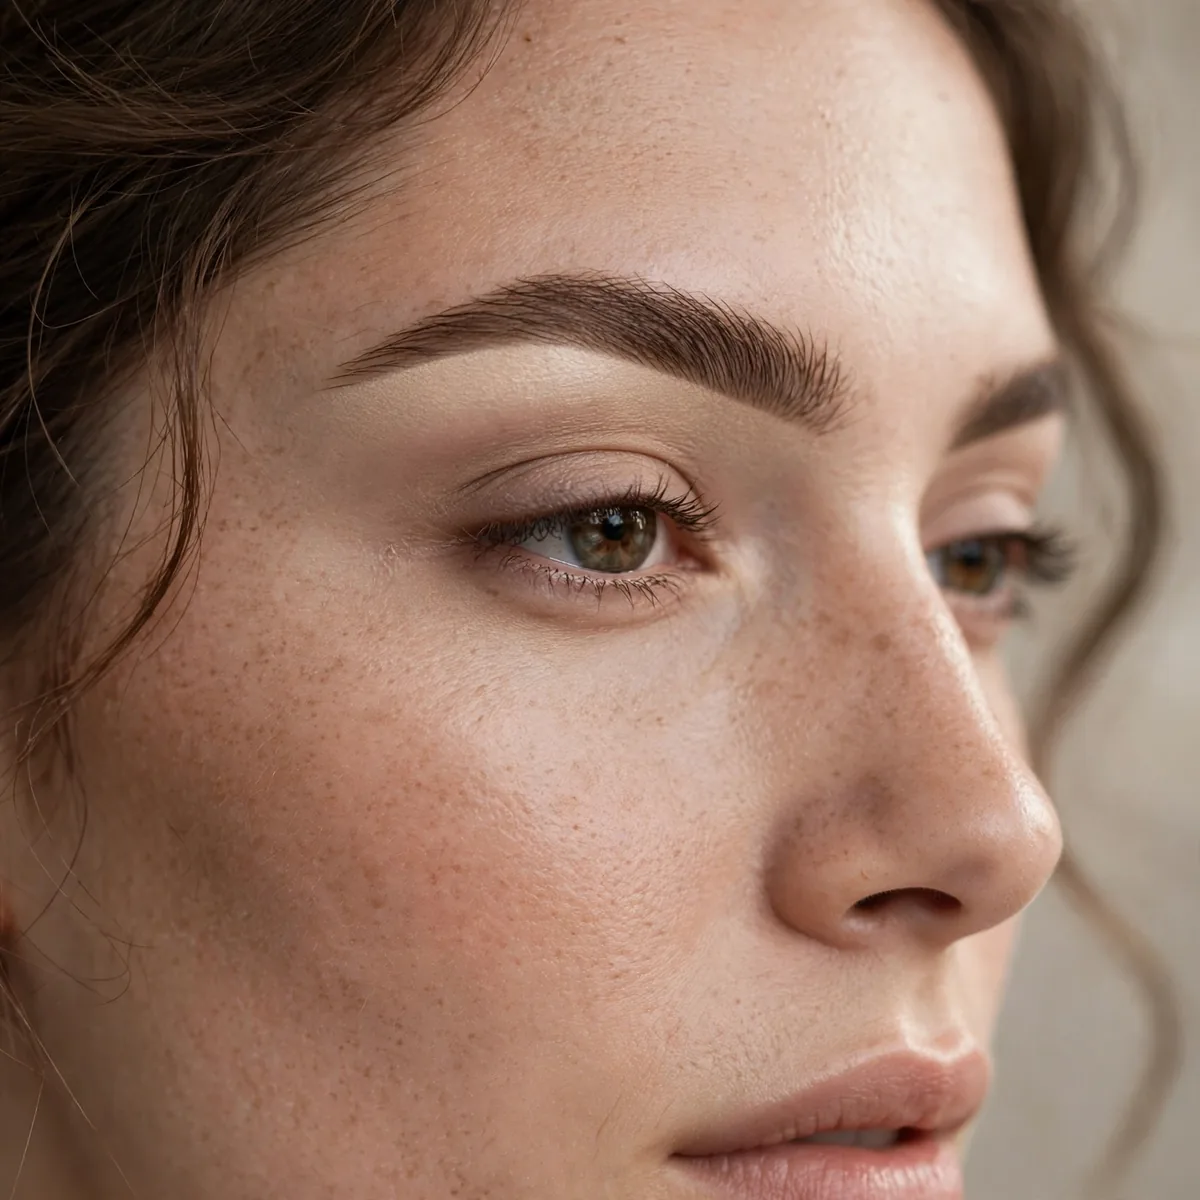
A matte highlight just under the brow bone lifts the whole eye area.
Matte highlight brightens without the shimmer that can emphasize texture on hooded lids.
A matte brow-bone highlight is a quiet hero for textured or mature lids, where shimmer formulas tend to spotlight crepiness. It also suits anyone who wears glasses, since matte brightening lifts the area without throwing reflective glare. Keep the highlight strictly under the arch of the brow rather than across the whole brow bone for the most natural lift.
The classic error is sweeping highlight all the way up to the brow hairs, which flattens the eye and erases the shadow work beneath. Another is choosing a shade more than one tone lighter than your skin, creating a chalky stripe. Blend the edges thoroughly with a clean fluffy brush so the brightening fades seamlessly into the transition shade above it.
Gradient Matte Blend
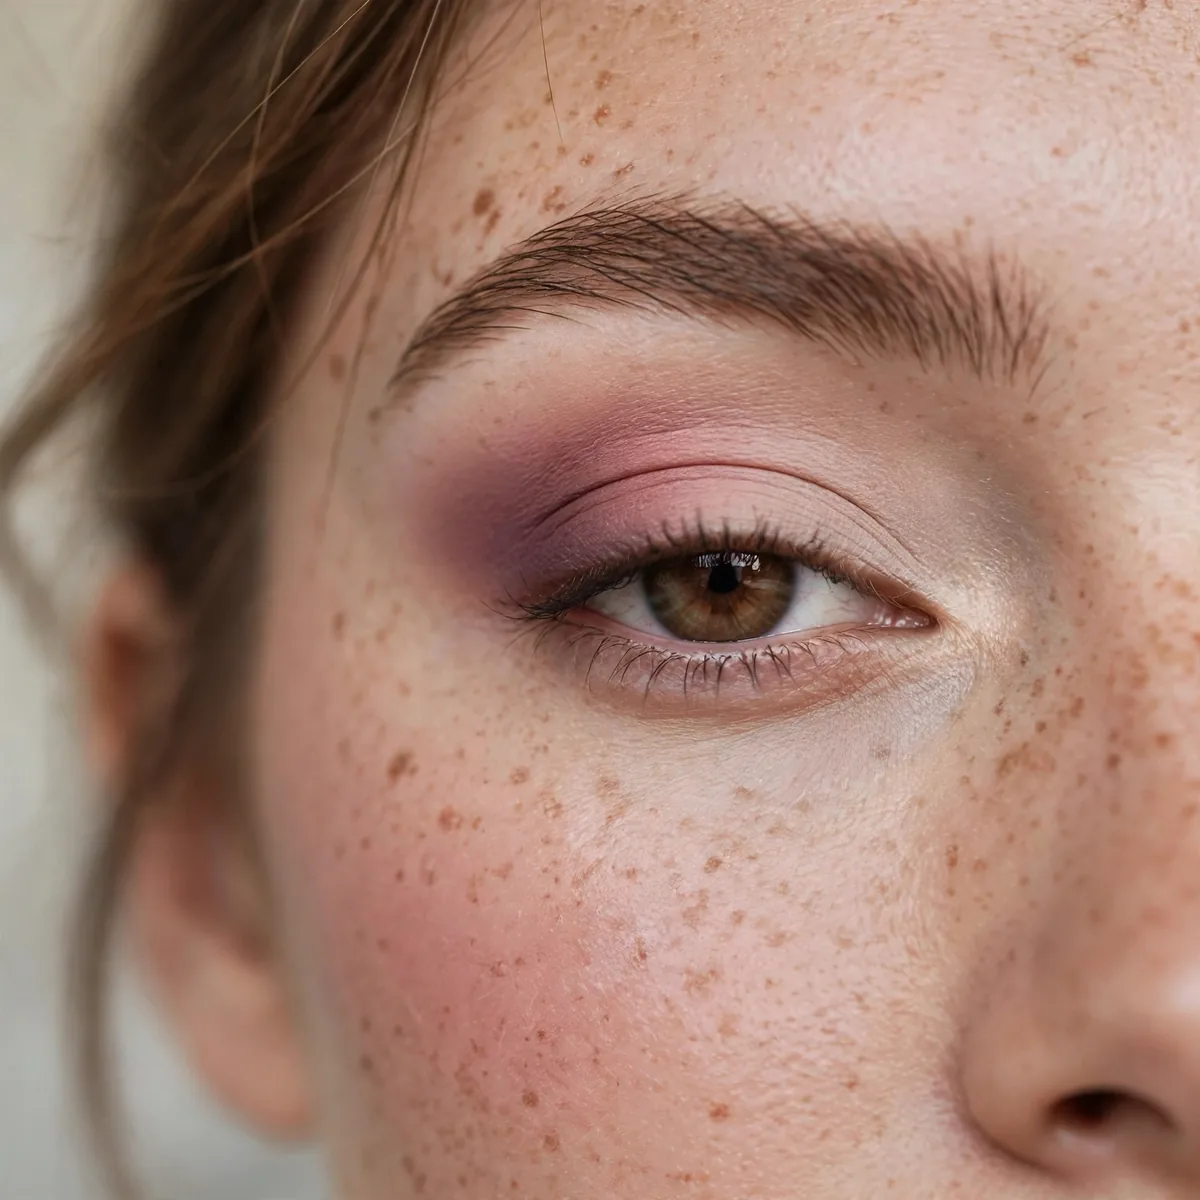
Light matte on the lid, medium in the crease, dark in the outer V — the gradient creates depth the fold can’t hide.
Three shades, one brush, seamless transitions. The gradient does the work.
Work each shade with a dedicated brush to avoid muddying the colors together. Lay the lightest shade across the lid with a flat shader brush, then switch to a fluffy blender for the mid-tone crease work, and finish with a small tapered brush for the dark outer V. Clean brushes between steps keep the gradient crisp instead of blending everything into one flat brown.
In summer, swap the mid-tone for a slightly warmer brown and keep the whole gradient sheer so humidity does not turn it heavy. For fall, deepen the outer V with a richer espresso and the gradient reads instantly autumnal. The structure stays identical across seasons; only the color temperature and intensity need to shift with your wardrobe.
Deep Crease Contour
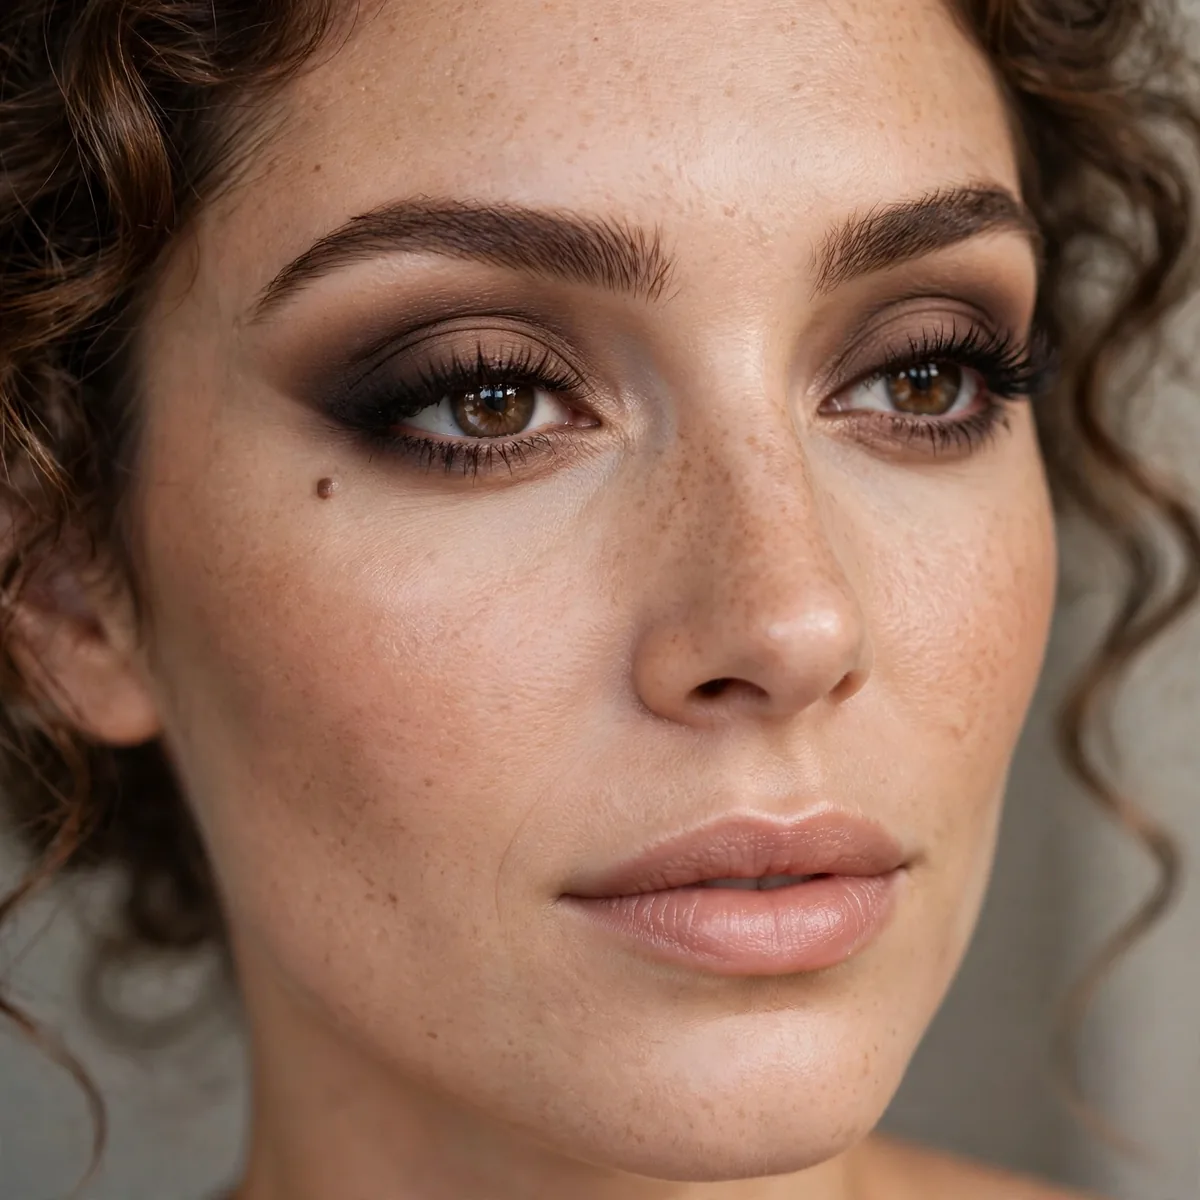
Contour the crease area with a cool brown — it carves out definition that reads even when eyes are open.
Think of it as contouring for eyes. The shadow creates structure that isn’t naturally there.
Crease contouring rewards prominent hoods and deep-set eyes most, since the carved shadow creates structure that simply is not there naturally. Round eyes gain welcome elongation from the technique. If your eyes are close-set, keep the contour away from the inner corner so the definition does not pull the eyes visually closer together.
Over-blending downward is the fastest way to ruin crease contour on hooded eyes, dragging the shadow onto the lid and closing the eye visually. Keep all blending motion horizontal or upward, never below the mapped line. If you go too deep, clean up the lower edge with a touch of concealer on a flat brush rather than trying to blend the excess away.
Matte Winged Shadow
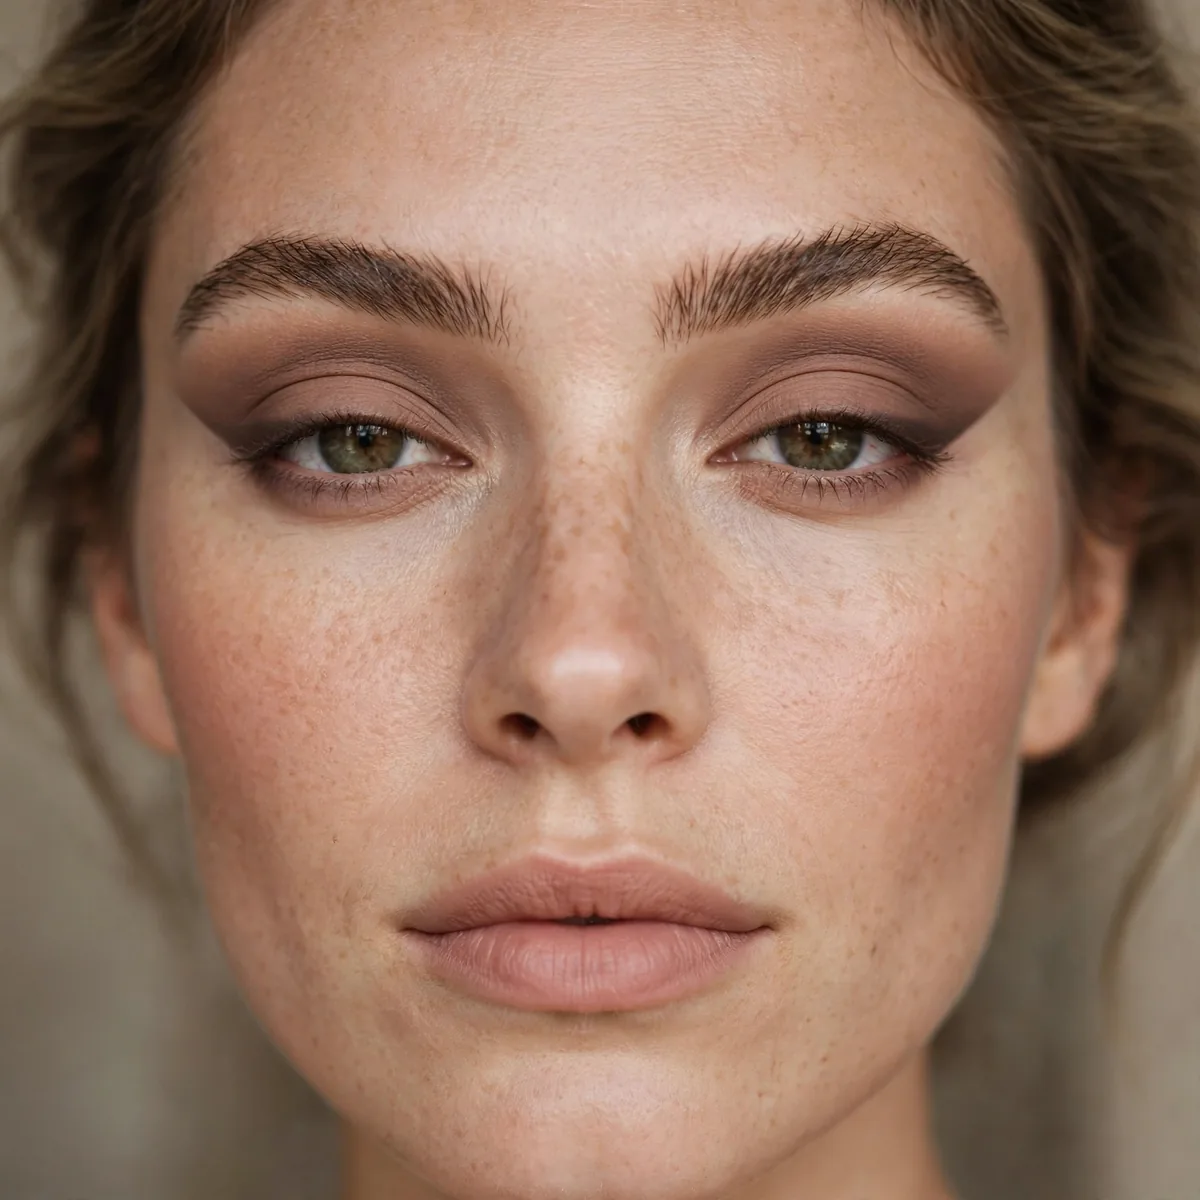
A matte wing drawn with eyes open — the only wing technique that works on hooded eyes.
Draw the wing with eyes open and relaxed, then fill in. Closed-eye wings disappear into the fold.
Start by placing a small piece of tape or holding a card from the outer corner toward the tail of the brow as a guide. With eyes open, draw the wing's outer edge along the guide, then connect it back to the lash line to form a triangle. Fill the triangle with matte shadow, remove the guide, and soften the inner edge with a clean blending brush.
Almond eyes carry this wing most effortlessly, since their natural shape echoes the upward flick. Downturned eyes benefit too, because the open-eye technique lifts rather than follows the lid's downward slope. Very round eyes should keep the wing short and thick; an overlong flick exaggerates roundness instead of balancing it.
Neutral Matte Wash
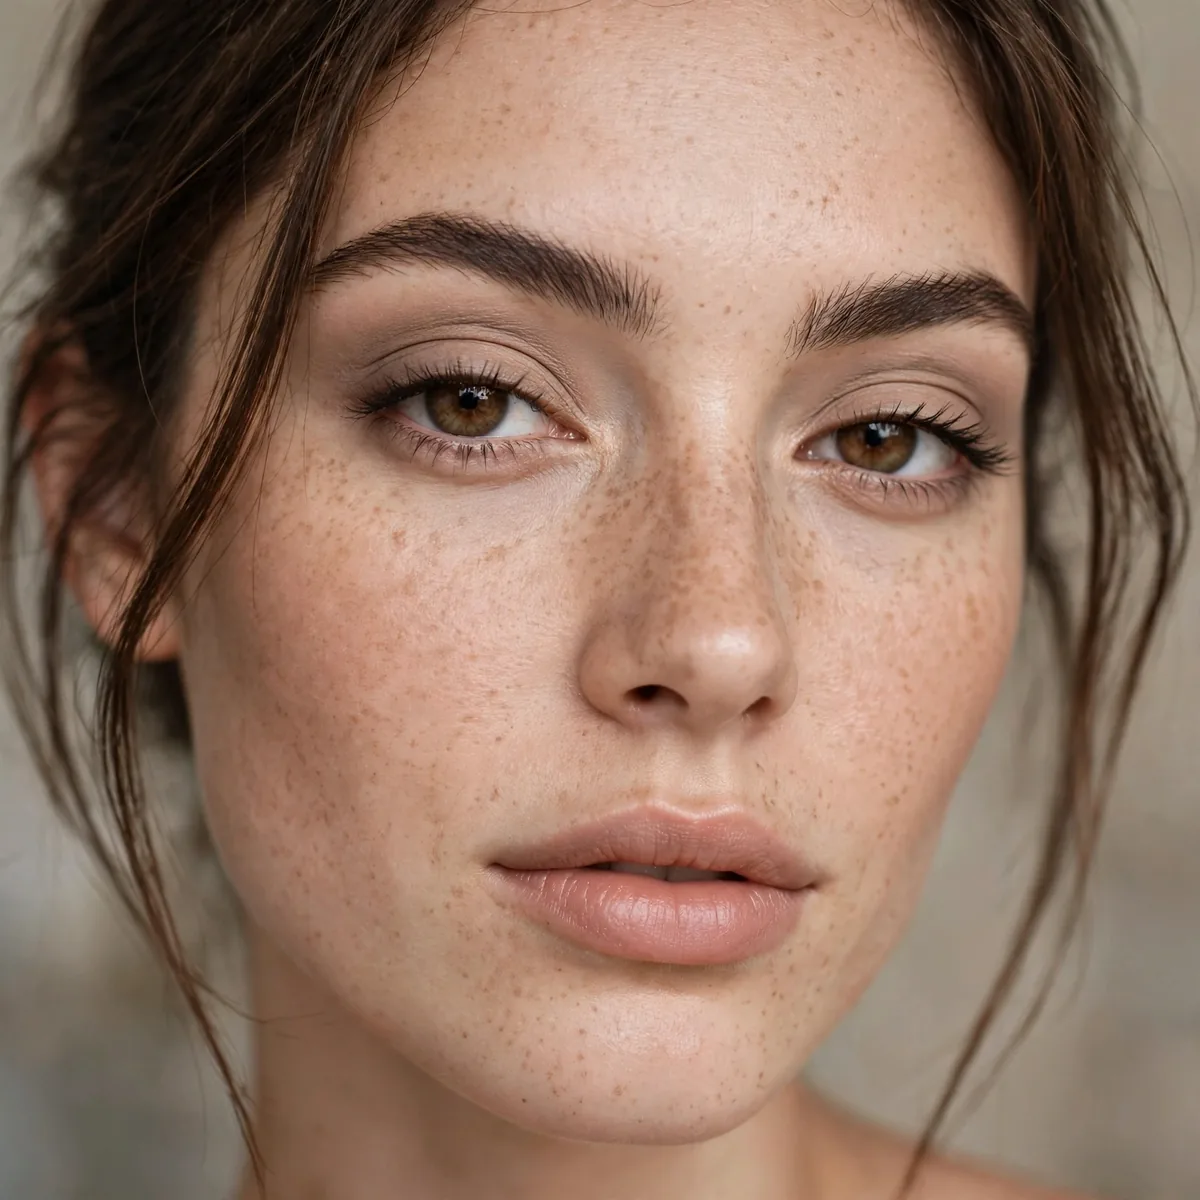
One neutral matte across the lid and up — the five-minute polished eye.
Choose a shade slightly deeper than your skin tone for natural definition.
Fair skin should reach for soft beige or light taupe, roughly one shade deeper than the natural lid, to avoid a washed-out effect. Medium skin tones glow with warm caramel or soft bronze mattes. Deep skin finds its match in rich toffee or warm chestnut. When in doubt, hold the pan against your jawline in natural light before committing.
A neutral wash leaves room for the rest of the face to speak. Pair it with a tinted moisturizer, a touch of cream blush, and a bolder lip for an effortlessly balanced look. Because the eye stays quiet, even a dramatic berry or classic red lip will not overwhelm the face. Groomed, filled brows finish the polish without adding any extra time.
Lower Lash Definition
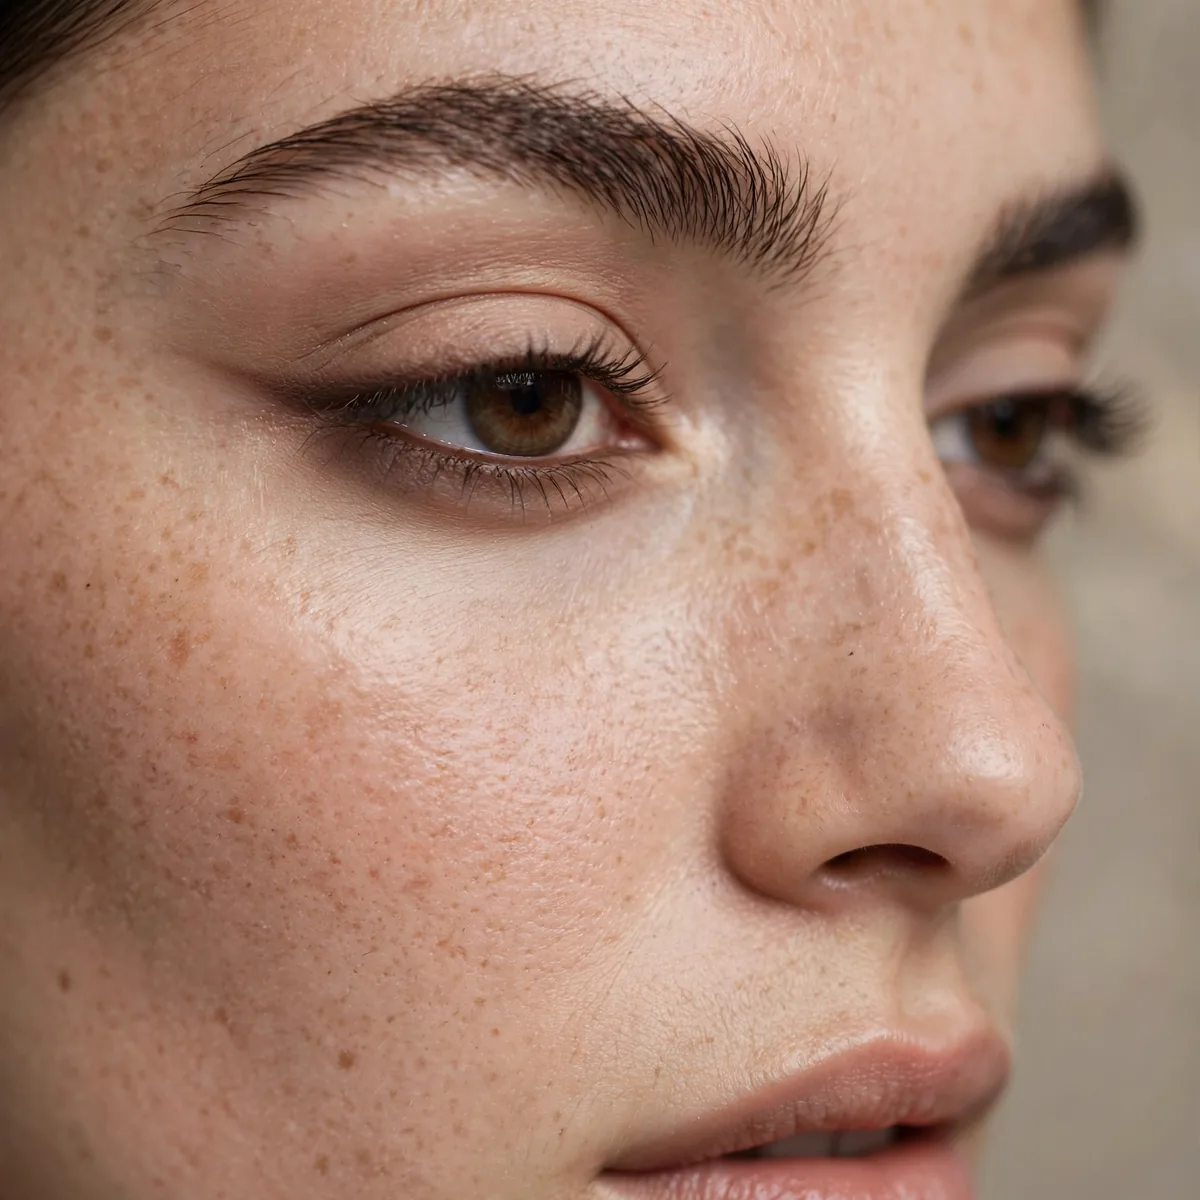
Matte shadow along the lower lashes balances the upper definition.
It grounds the look. Upper-only definition can look top-heavy on hooded eyes.
Use a small smudge brush and work the shadow only along the outer two-thirds of the lower lash line, keeping the inner corner clean and bright. Connect the lower color softly to the outer V so the upper and lower definition merge into one seamless frame. A light hand matters here; lower-lash color should whisper, never shout.
Dragging lower-lash shadow too far down or too far inward is what creates the tired, panda-eye effect people fear. Another misstep is using the same dark shade as the outer V at full intensity; sheer it out with a clean brush or a touch of the transition shade. If the lower line looks heavy, a cotton swab with micellar water tidies the edge instantly.
Matte Cut Crease (Soft)
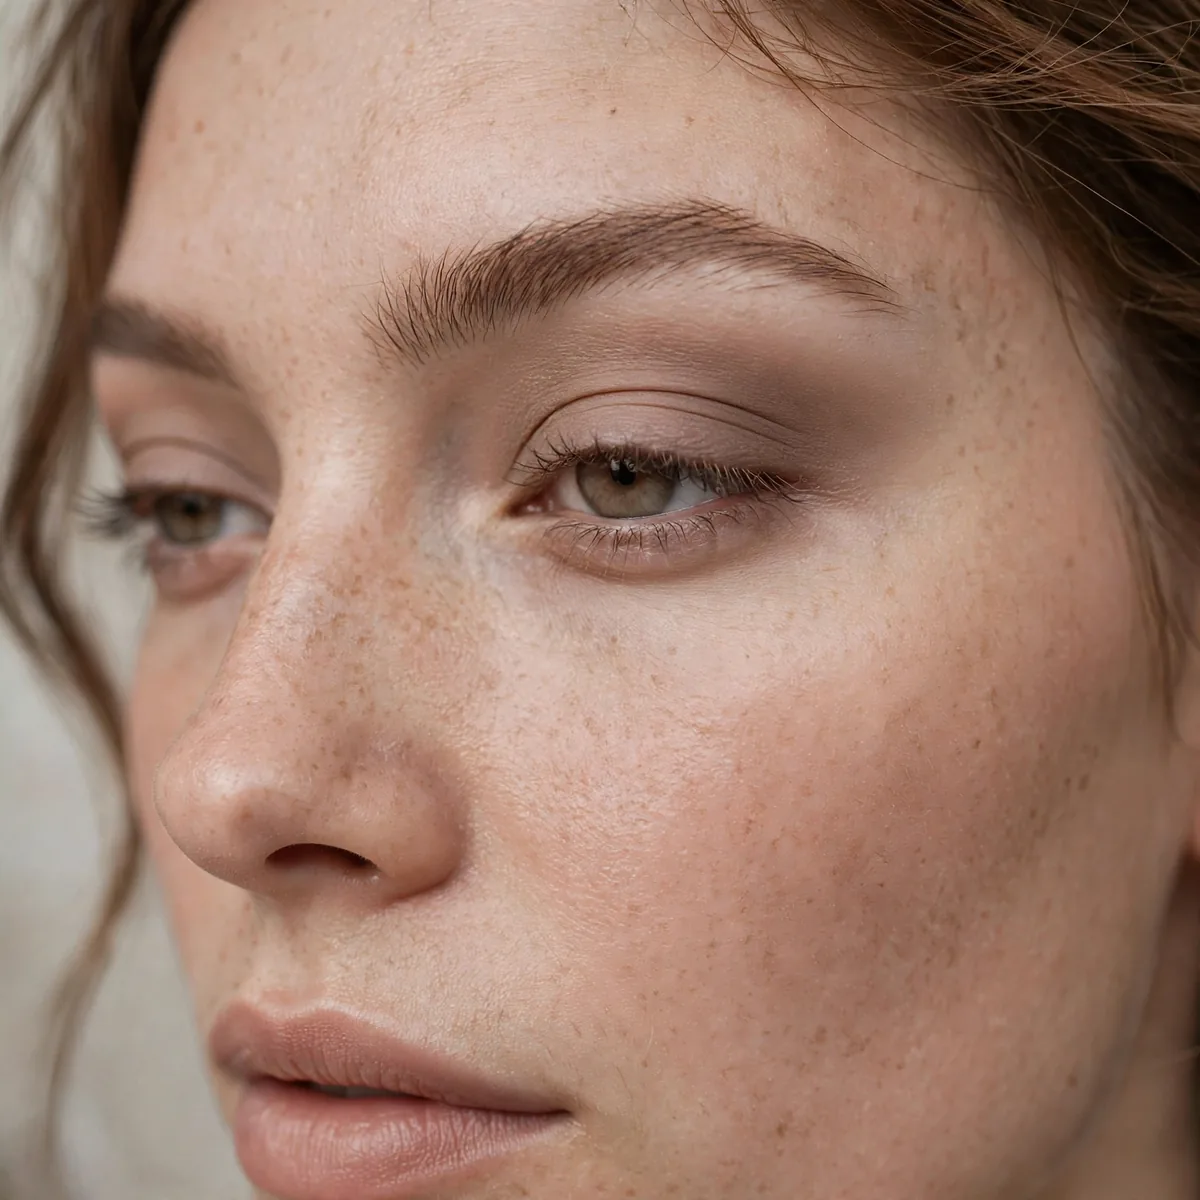
A diffused cut crease adapted for hooded eyes — structure without harsh lines.
Keep it soft and blown out. Sharp cut creases fight the hood; diffused ones work with it.
After mapping the crease with the transition shade, carve the lid shape with a thin layer of concealer on a flat brush, stopping just below the mapped line. Let the concealer set for thirty seconds, then press the light lid shade over it. The final and most important step is diffusing the boundary between the two zones with a clean fluffy brush so no hard line survives.
This softened cut crease shines at evening events where hooded eyes usually lose all definition under dim lighting. Weddings, dinners, and parties are its natural habitat. For daytime, scale it back to a whisper of the technique: a slightly deeper crease with a clean lid reads as the diffused cut crease's casual cousin.
Espresso Smoke
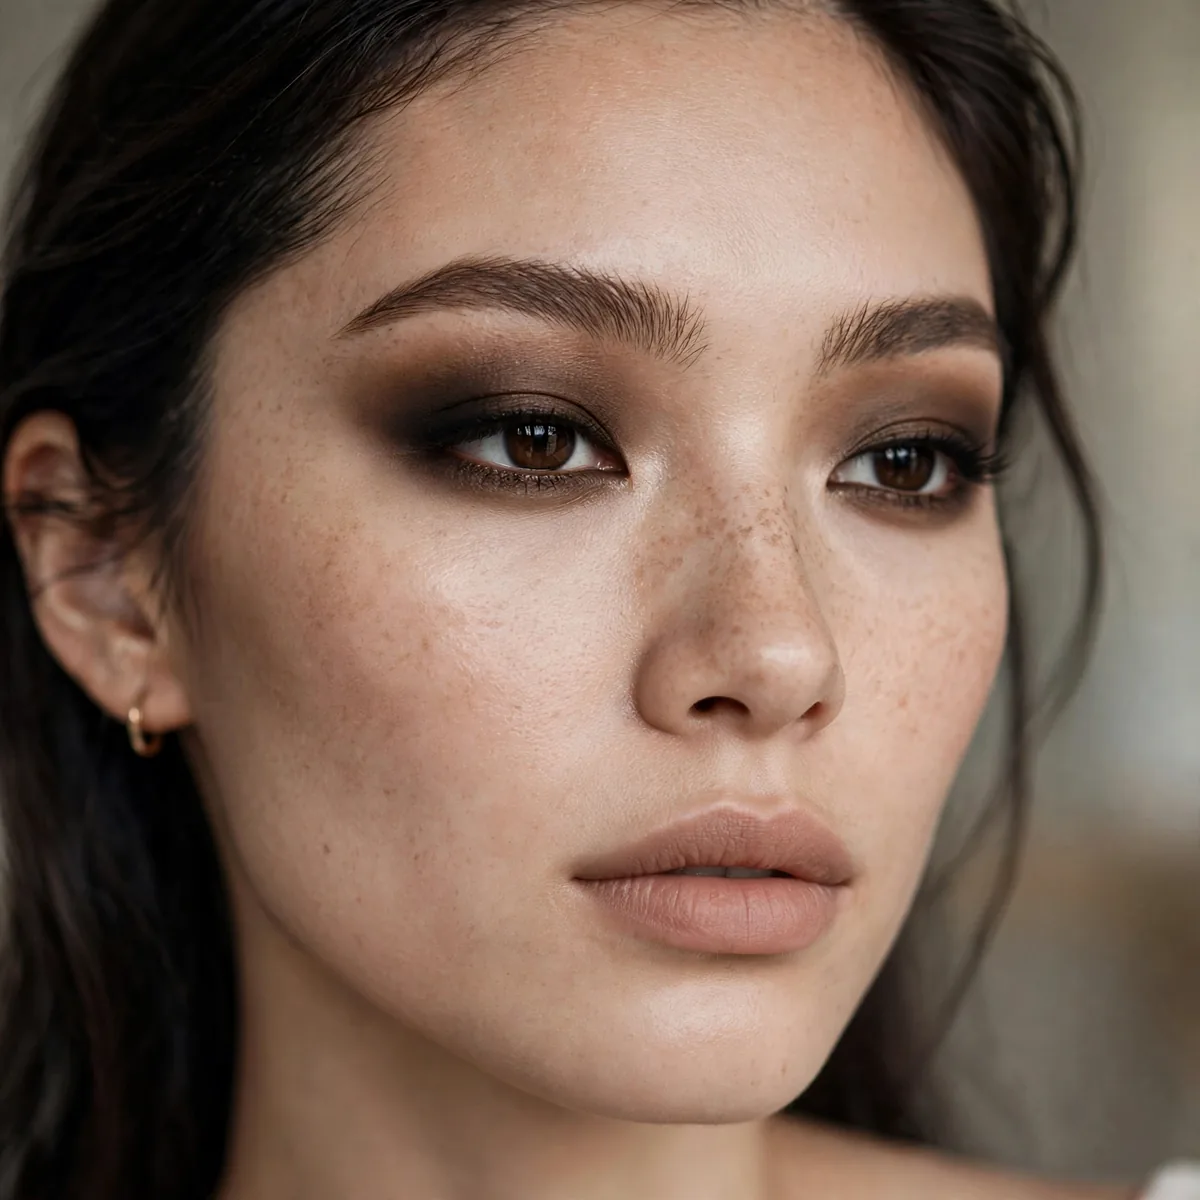
Deep espresso mattes smoked out — the hooded-eye smokey that actually shows.
Espresso is softer than black but still dramatic. The sweet spot for evening.
Evening wear demands staying power, so start with a waterproof cream shadow or kohl pencil as a base before layering the espresso mattes. The sticky base grips the powder and prevents the smoke from migrating into the crease over hours of wear. Set the outer edges with a touch of translucent powder so the blend stays crisp through dinner and dancing.
Espresso smoke begs for a quiet lip so the eyes stay the undisputed focal point. A nude satin or a sheer caramel gloss balances the drama without competing. Keep cheeks soft with a neutral matte blush rather than anything shimmery; too much glow across the face fights the smoky mood and can look overdone under evening light.
Matte Transition Mastery
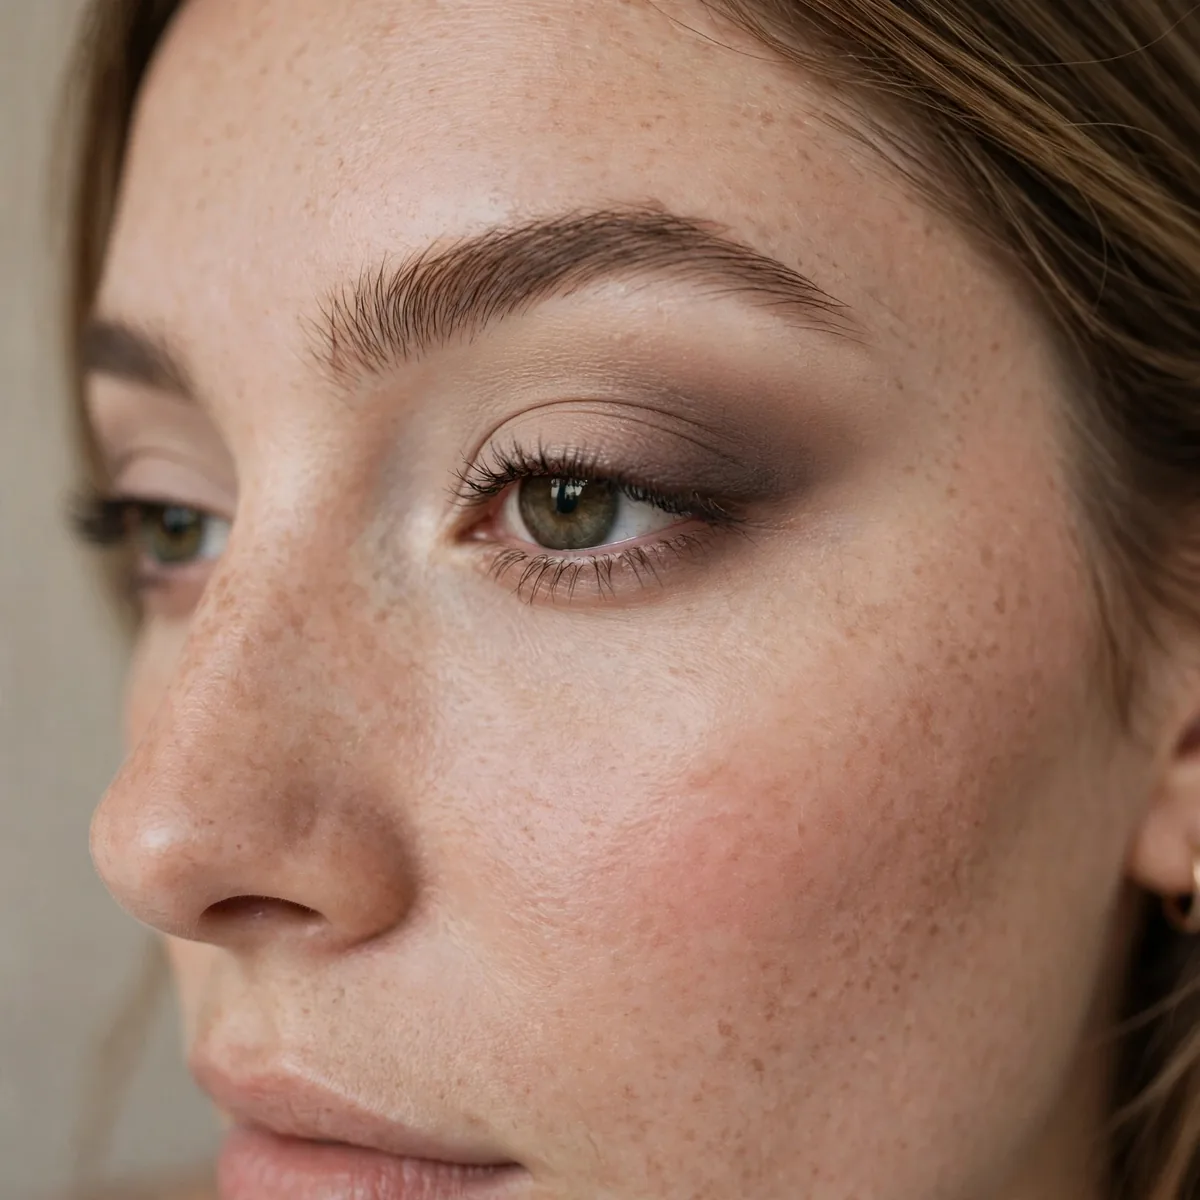
Perfecting the transition shade placement above the fold — the skill behind every other look here.
Spend 80% of your time on the transition. It’s the foundation everything else sits on.
Dedicate one practice session to transition blending alone: apply the shade, blend for two full minutes, then photograph your work with eyes open. The camera reveals patchiness your mirror hides. Repeat with a different brush each time until you learn which density gives you the most seamless fade. This deliberate practice compresses months of trial and error into a single week.
A medium fluffy blending brush with loosely packed bristles does most of the work, since it diffuses color without depositing too much at once. Keep a second, clean fluffy brush solely for softening edges; using the same brush for application and blending muddies the result. Wash both regularly, because product buildup on bristles is a hidden cause of patchy transitions.
Defined Yet Natural
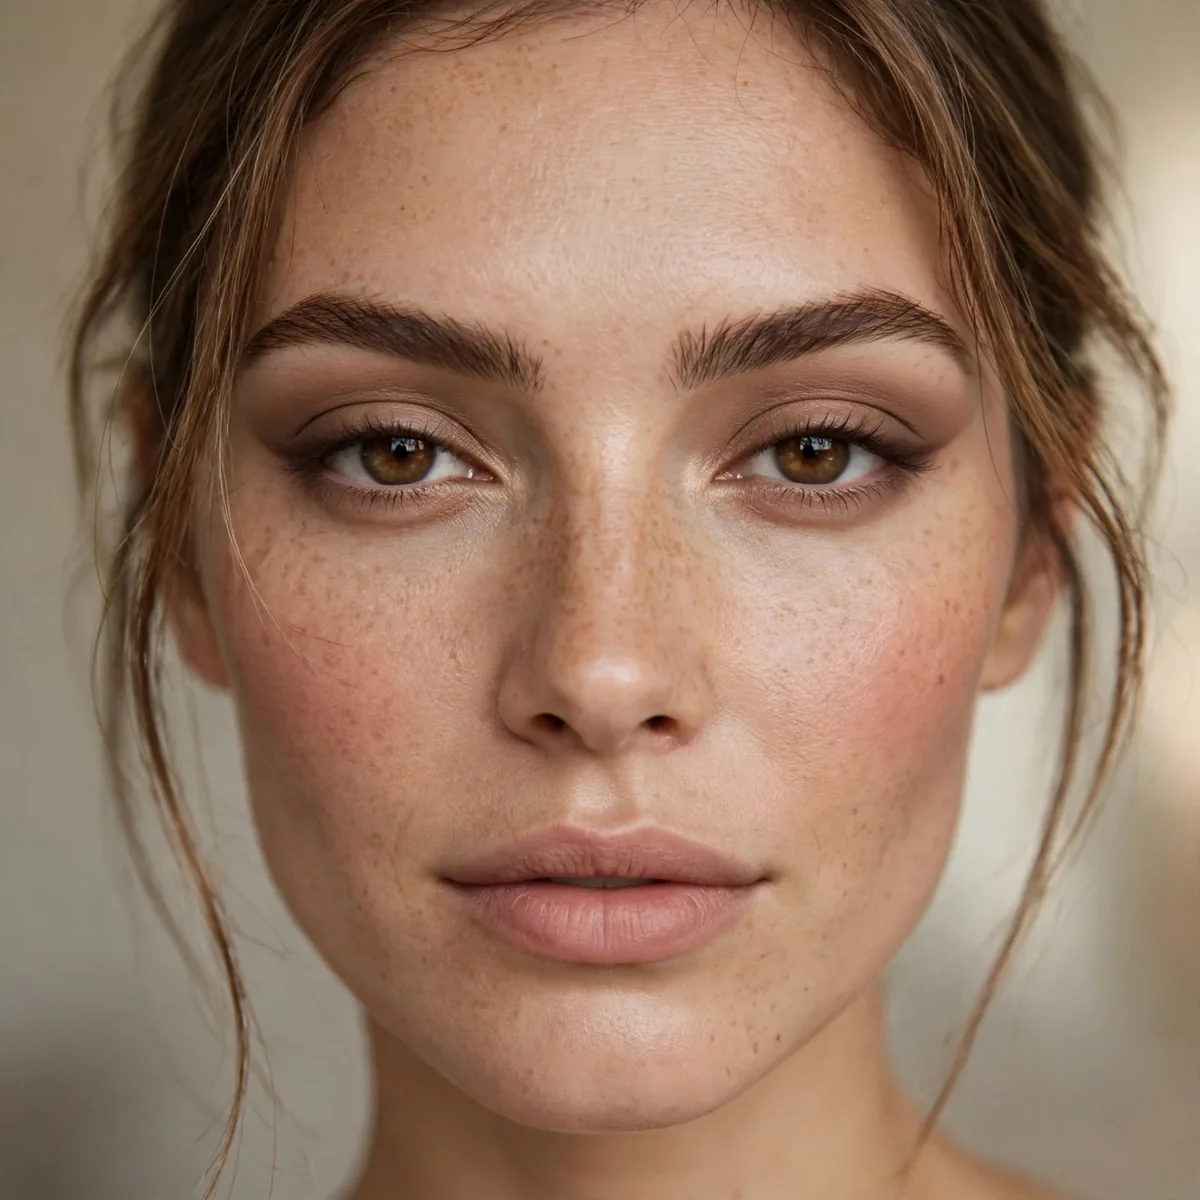
The "my eyes but defined" look: medium matte in the crease, light matte on the lid, done.
For more eye-opening techniques, our hooded eye makeup tips cover liner, mascara, and beyond. The goal is definition that looks effortless.
This is the look for anyone who wants to appear polished without appearing made-up: office workers, minimalists, and no-makeup-makeup devotees. It flatters every eye shape because it enhances rather than reshapes. Women over forty love it too, since the soft mattes define without settling into texture the way shimmer formulas do.
Take it to evening by deepening the outer V with one more layer of the medium shade and adding a smudged line of dark shadow along the upper lashes. The whole transformation takes ninety seconds and uses nothing you do not already own. Swap the daytime lip balm for a satin lipstick and the look reads intentionally dressed up.
Hooded eyes aren’t a limitation — they’re a technique. Pin these for your next makeup day, and explore shimmer for mature eyes for lid-safe luminosity.




