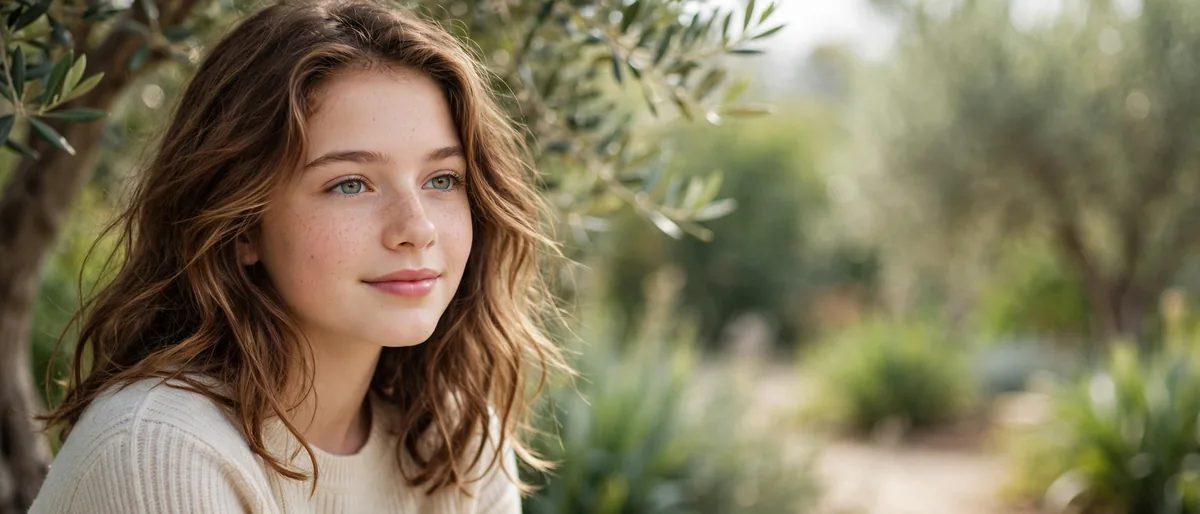
Teen makeup should enhance what’s already there — not cover it up. Young skin is the goal; makeup just polishes it.
The golden rule for teen makeup: less is genuinely more. Heavy foundation on young skin looks older, not better. These looks focus on evening out, adding a flush of color, and letting natural beauty lead.
Skin health comes first at this age — these routines all start with sunscreen and keep products minimal and non-comedogenic.
Here are 18 fresh looks perfect for school, weekends, and special occasions. Let’s get into it.
Tinted Moisturizer Base
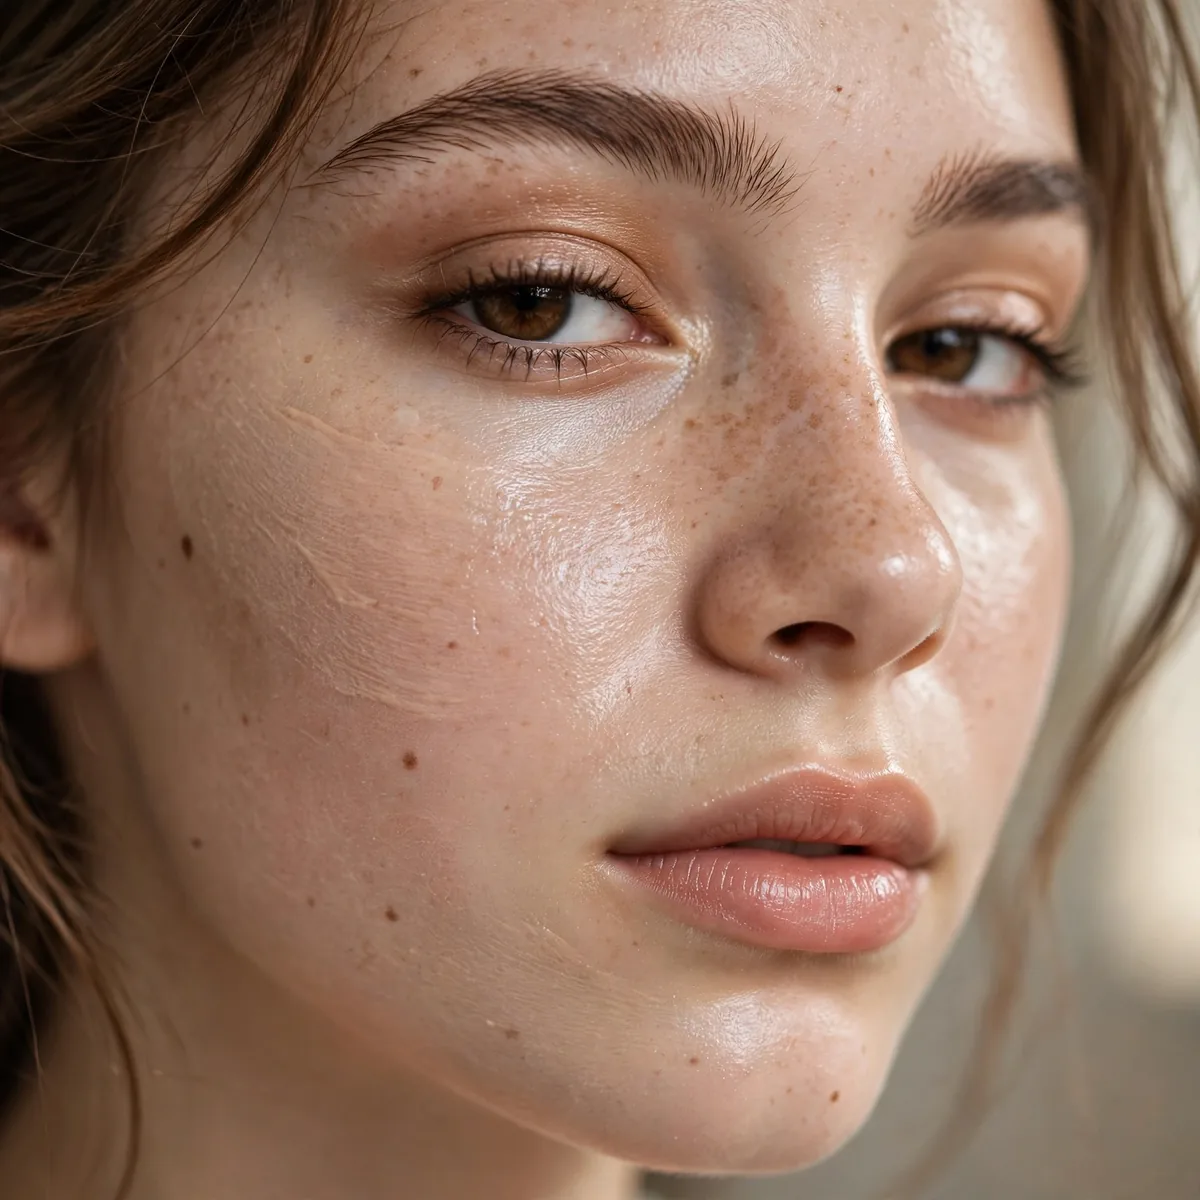
A tinted moisturizer or BB cream evens tone while letting skin show through. The perfect first base product.
Best for: school days. It takes 30 seconds and never looks like "makeup."
Sheer formulas are wonderfully forgiving, so shade matching is low-stress — choose the closest match and blend down the neck to erase any line. Fingers are the best tool here; body heat melts the product into skin more naturally than any brush. Always layer proper SPF underneath, since the SPF in tinted moisturizers is rarely applied thickly enough to reach its labeled protection.
Read labels like a skincare shopper: look for non-comedogenic and oil-free claims, and avoid heavy fragrances that can irritate young skin. BB creams typically offer slightly more coverage and skincare benefits than tinted moisturizers, while CC creams add color correction — try textures at the counter before committing. Remove everything thoroughly at night with a gentle cleanser, since even light base products can clog pores overnight.
Spot Concealing Only
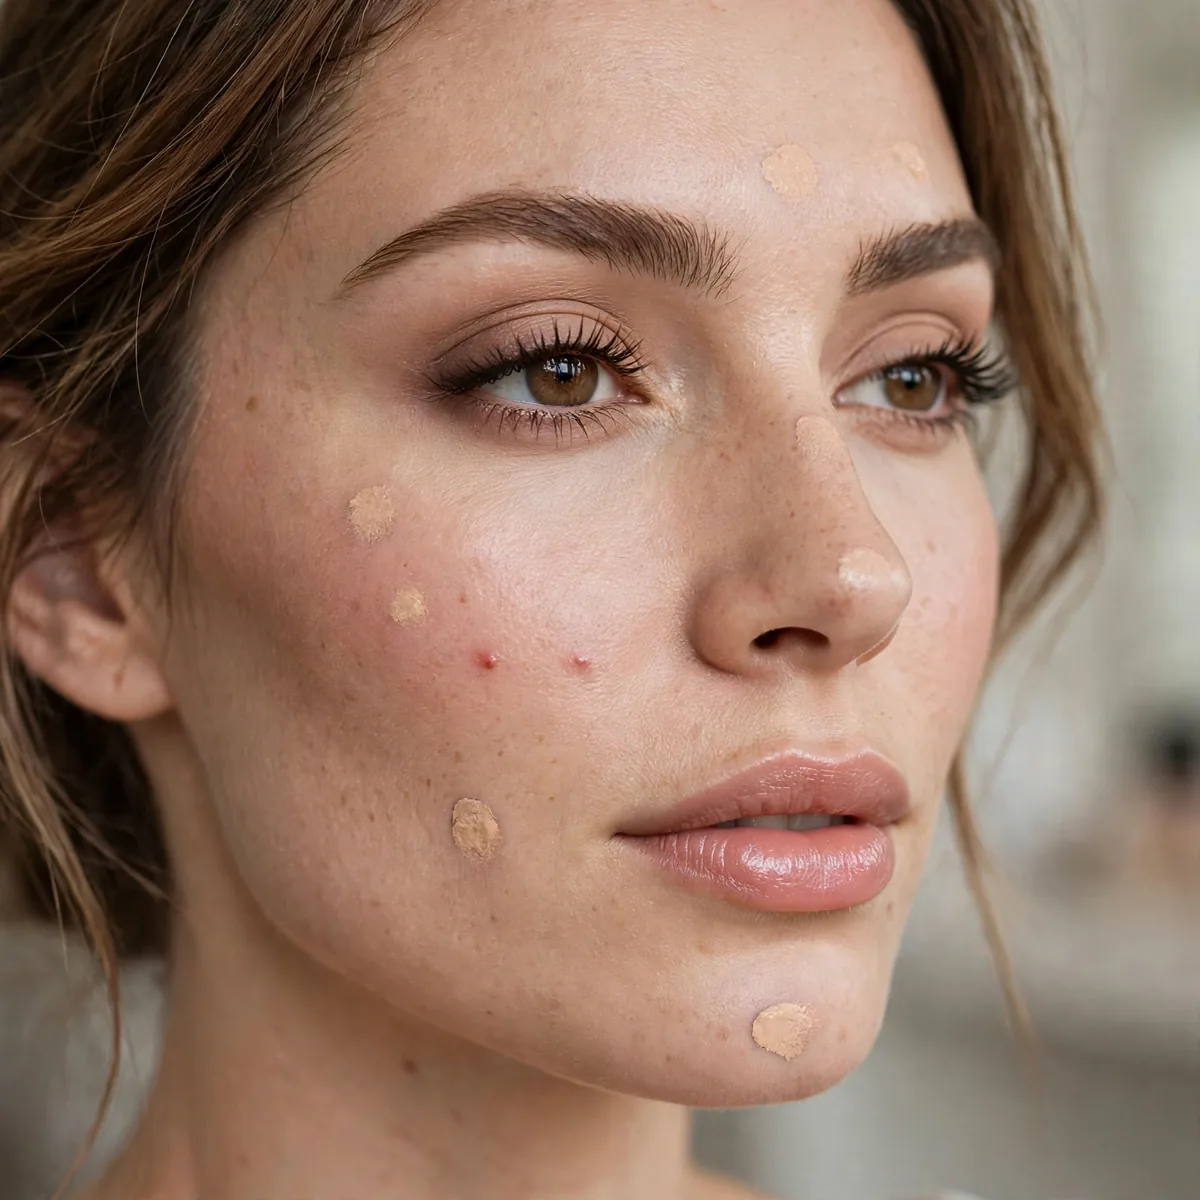
Dab concealer just on blemishes and redness, nowhere else. Targeted coverage beats all-over foundation.
Best for: breakout-prone skin. Your clear areas stay bare and natural.
Exact shade matching is the whole game with spot concealing — test on your jawline in daylight, since store lighting lies. The concealer should disappear into surrounding skin, not sit lighter like a highlight. Pat the product on with a small brush or clean fingertip and press the edges outward; rubbing drags the coverage off the blemish and onto clear skin, defeating the entire purpose.
Creamy stick concealers grip blemishes best, while liquid formulas blend more easily under eyes — many teens need both eventually. For angry red spots, a whisper of green color corrector underneath neutralizes the redness so you need less concealer overall. Set each concealed spot with the tiniest tap of translucent powder using a small brush; skipping this step is why coverage slides off by third period.
Clear Brow Gel
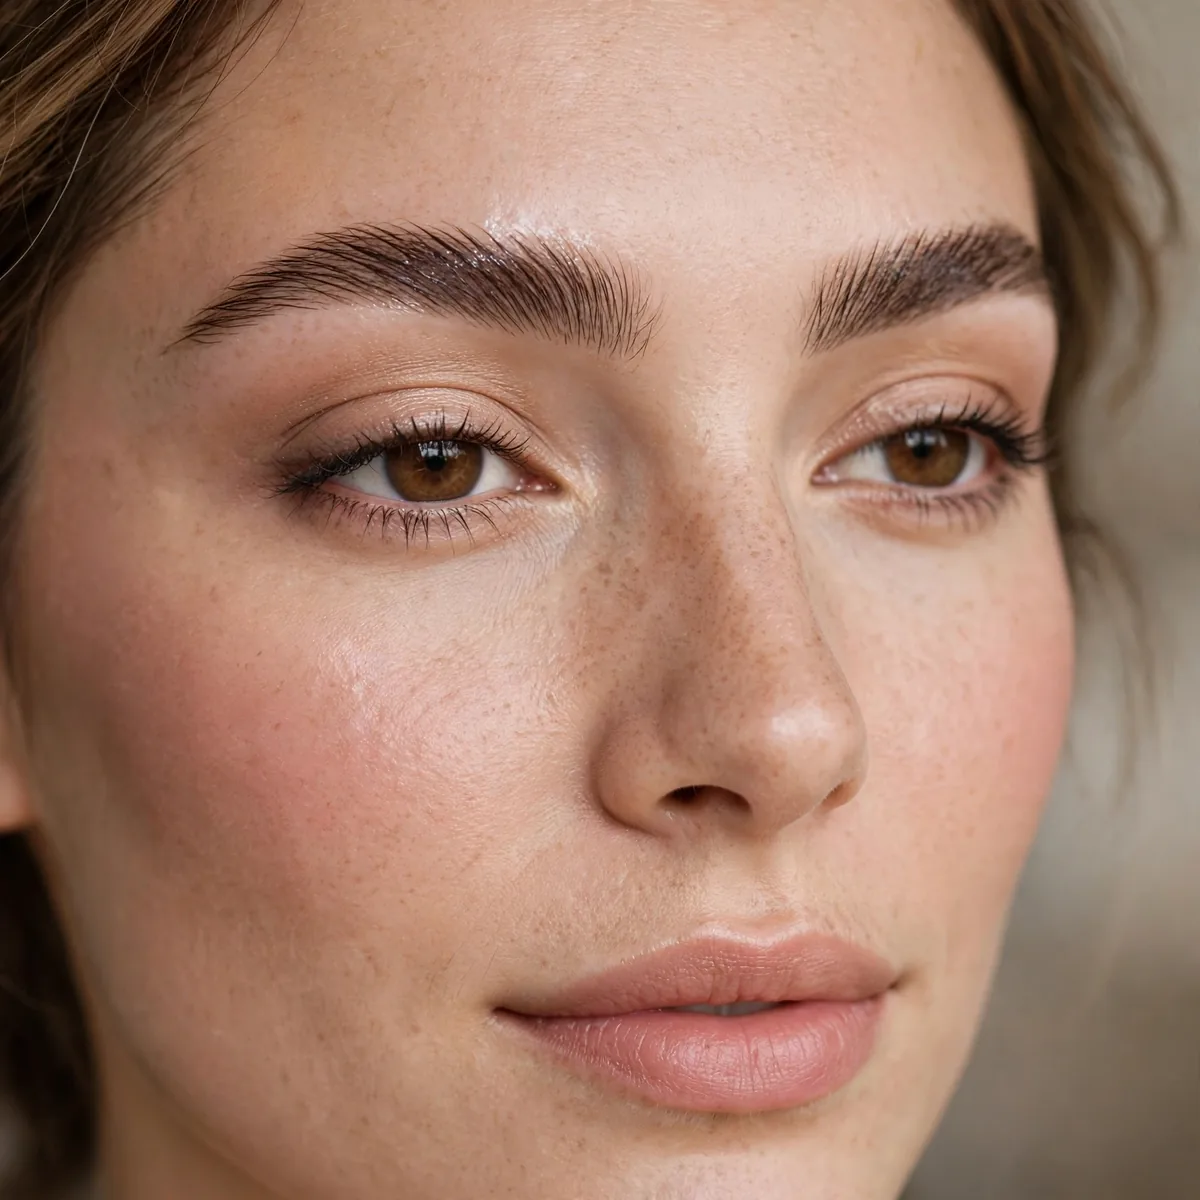
Brush brows up with clear gel. Instantly neat, defined, and completely natural-looking.
Best for: everyone. It’s the easiest "I tried" signal there is.
Brush hairs upward and slightly outward, following their natural growth — fighting the grain creates a messy, spiky finish. If a few hairs grow comically long, trim them with small scissors after brushing up, cutting only the tips that stick out. For very sparse areas, a couple of light pencil strokes before the gel add believable fullness; the gel then locks those strokes in place all day.
Clear gel suits everyone, but teens with very fair brows might prefer a tinted version one shade deeper for gentle definition. Avoid formulas that dry crunchy or flaky — flexible-hold gels keep brows touchable and natural. Always remove brow product at night with your regular cleanser; dried gel left on overnight can make brow hairs brittle over time. One tube lasts months, so it is also the most budget-friendly brow option.
Tinted Lip Balm
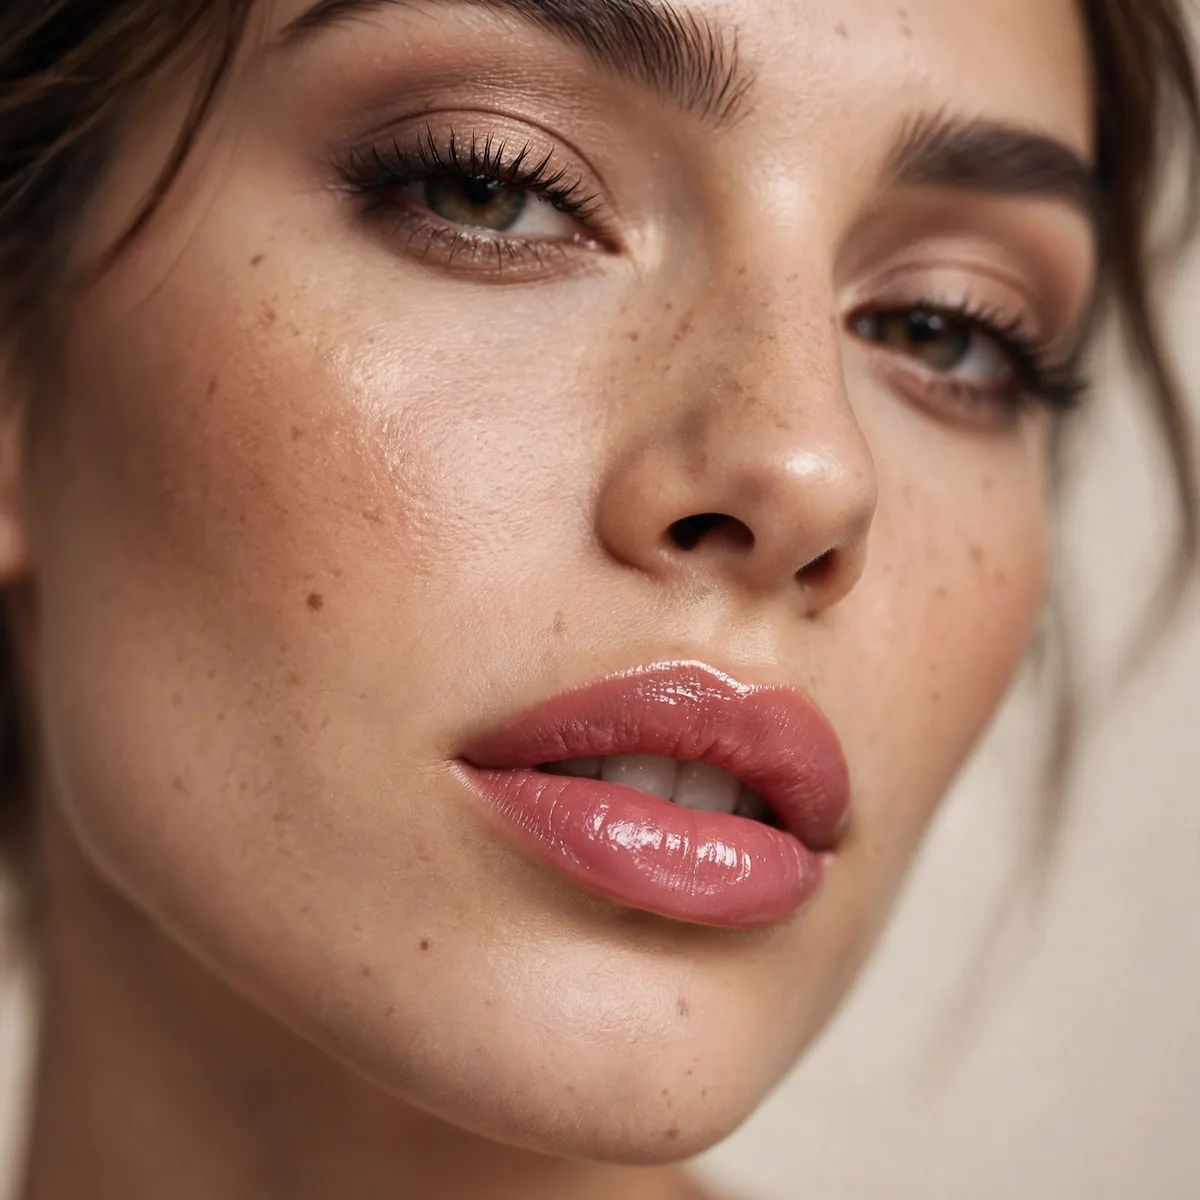
Sheer color plus moisture in one. Berry or rose tints look like you, but healthier.
Best for: everyday. Keep one in every bag — the ultimate low-effort lip.
Berry tints flatter cool undertones, warm rose suits neutral skin, and coral or peach brightens warm complexions beautifully. The sheer formula means mistakes are nearly impossible — swipe straight from the tube and blot for a softer stain effect. Keep expectations realistic about pigment: these deliver a healthy flush, not lipstick-level color, and that restraint is exactly what makes them perfect for school.
Ingredients matter on lips: shea butter, jojoba oil, and vitamin E actually nourish, while heavy fragrances and flavors can cause irritation with constant reapplication. Choose a formula with SPF 15 or higher for daytime — lips burn too, and sun damage there shows early. Gently buff away flakes with a soft toothbrush once a week so the tint applies evenly instead of catching on dry patches.
Cream Blush Flush
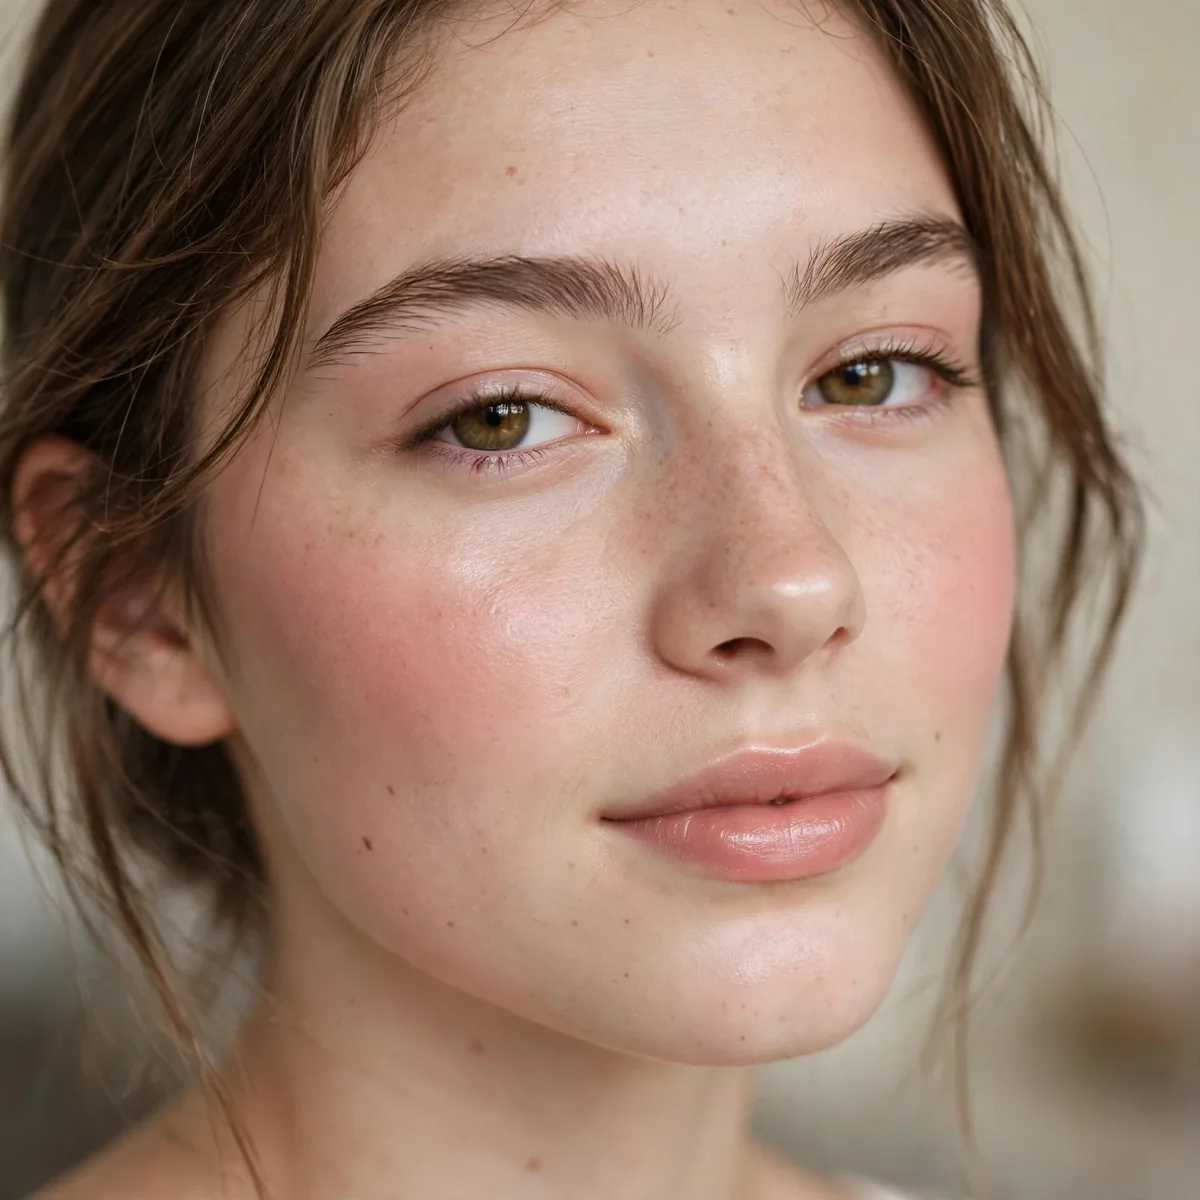
A fingertip of cream blush on the cheeks. The healthy flush of youth, bottled.
Best for: pale or tired skin. Cream melts in and looks like it’s coming from within.
Smile and press the color onto the apples — the rounded part that pops up — then blend the edges with clean fingertips until no harsh line remains. Less is genuinely more here: start with a pinhead-sized amount, since cream blush builds easily but removing excess disturbs everything underneath. The goal is the flush you get after laughing hard, not the painted cheeks of a doll.
Soft pink suits fair skin, peach flatters medium tones, and warm rose or berry glows on deep complexions. Skip shimmery blushes for daytime — matte or satin finishes look like a real flush, while glitter reads as obvious makeup. Oily skin types should set cream blush with the faintest dusting of translucent powder; otherwise midday shine can melt the color into an uneven patch by afternoon.
Curled Lashes, No Mascara
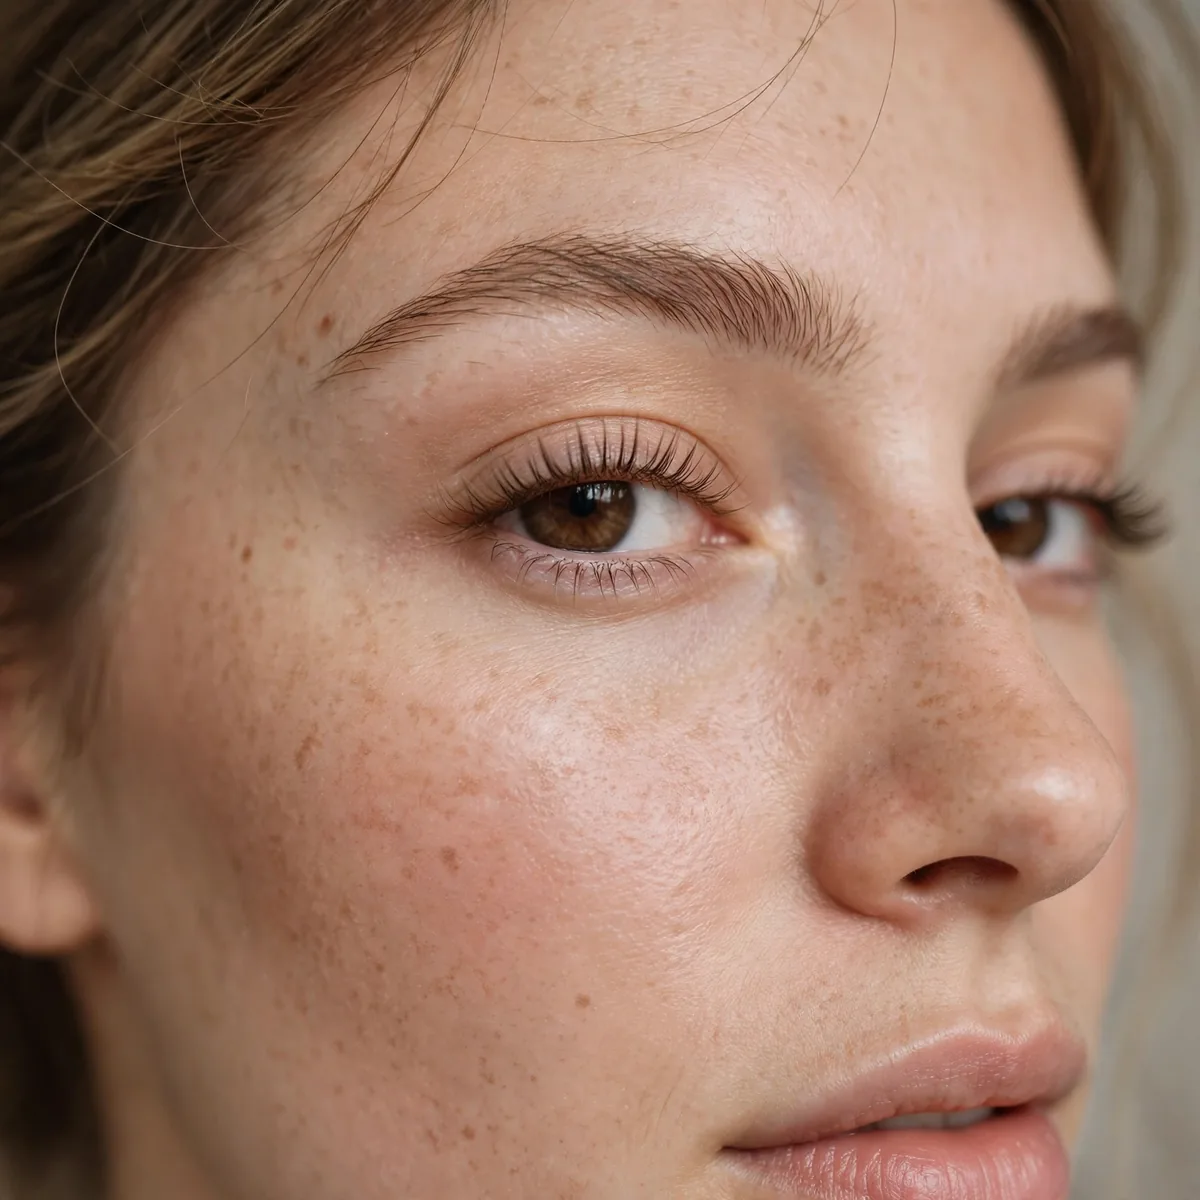
Just curl them. Seriously — curled bare lashes open the eyes beautifully with zero product.
Best for: school and sports. No smudging, no panda eyes, ever.
Position the curler at the very base of the lashes, squeeze gently, and hold for ten seconds — then move to the middle of the lash and repeat for a natural curve instead of a sharp crimp. Pump three times maximum per section; over-pumping creates that unnatural L-shape. Curl before any other eye product, since curler pads can lift off freshly applied shadow or liner.
Replace the rubber pads every few months — worn pads pinch and curl unevenly. Never curl after mascara; dried mascara makes lashes brittle and they can snap in the curler. If the curl drops by afternoon, your lashes may be very straight — a waterproof clear mascara painted over the curl acts like hairspray and holds the shape for hours. Clean the curler weekly with a makeup wipe to prevent buildup.
Light Powder on T-Zone
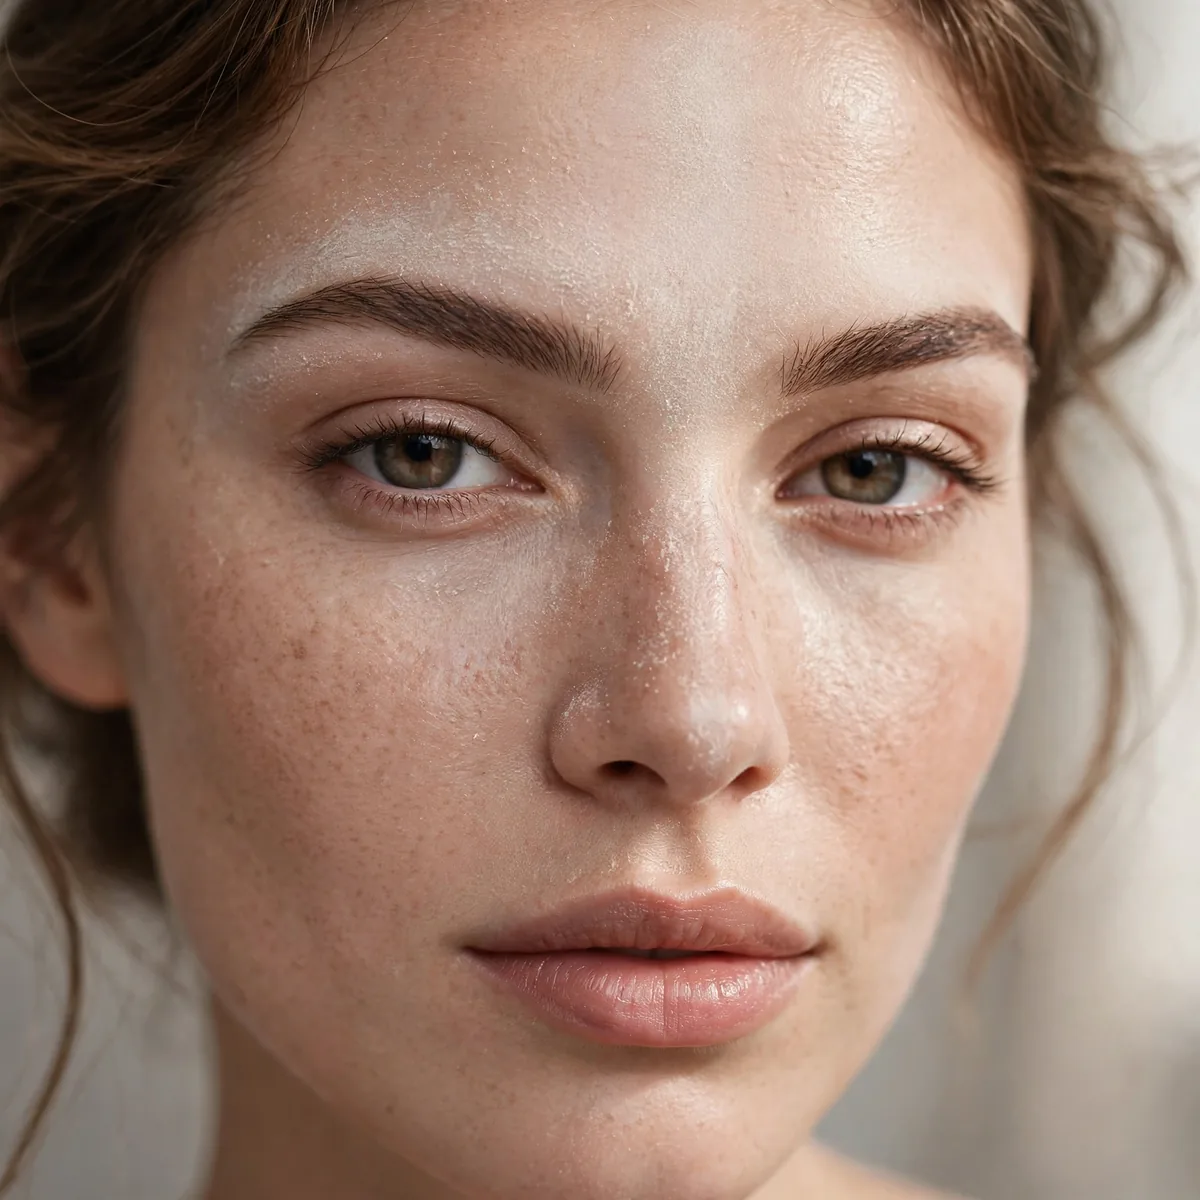
A whisper of translucent powder just on the forehead and nose. Shine controlled, skin still glows.
Best for: oily T-zones. Skip the cheeks — natural glow is the goal there.
Use a large fluffy brush and the lightest possible hand — swirl it in the powder, tap off the excess, then sweep once across the forehead and nose. The tap-off step is critical; most cakey powder comes from overloaded brushes, not bad products. Apply after all cream products have settled for a minute, since powder grips best on set makeup rather than wet layers.
Translucent formulas work on every skin tone without changing your base color; tinted powders add coverage but risk looking heavy on young skin. Talc-free and rice-based powders suit sensitive or breakout-prone skin better than traditional talc. If even light powder feels like too much, blotting papers achieve the same shine control with zero product — press, hold three seconds, and lift straight off.
Subtle Highlighter Touch
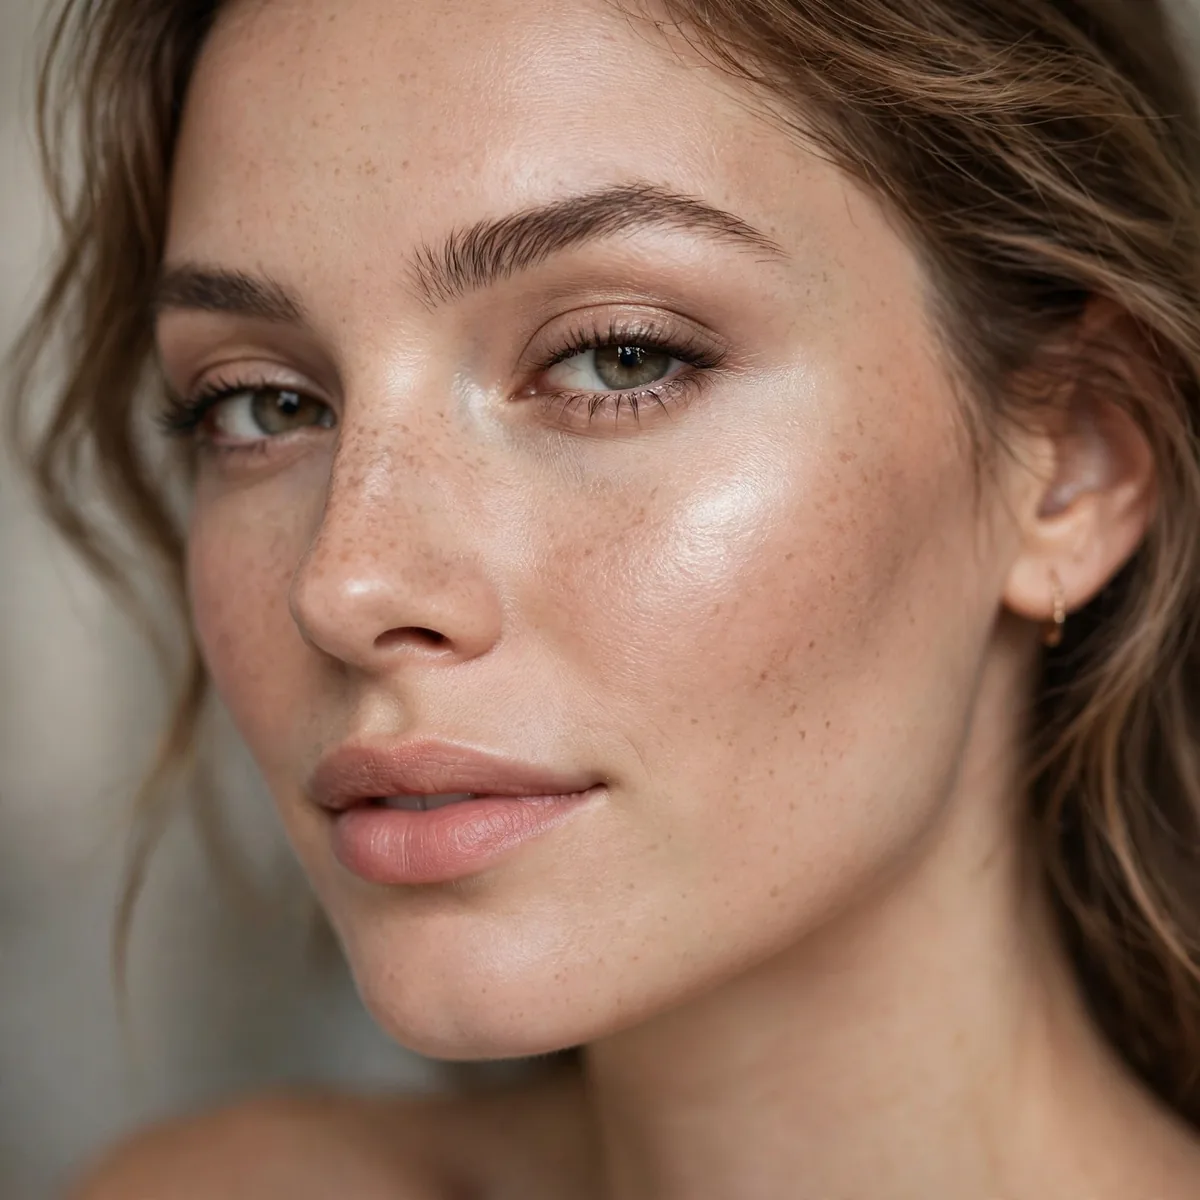
A sheer highlighter on the high points — cheekbones, brow bone, cupid’s bow. Lit-from-within, not glittery.
Best for: photos and parties. Keep it sheen, not shimmer.
Placement is everything with highlighter: tap it along the tops of the cheekbones where light naturally hits, never below onto the apples. A tiny amount on the brow bone opens the eyes, and the smallest dot on the cupid’s bow makes lips look fuller. Use a fingertip for creams — the warmth melts the product into a seamless sheen no brush can replicate.
Choose sheen over shimmer — finely-milled formulas with no visible glitter read as healthy skin, while chunky sparkle reads as costume makeup. Champagne tones flatter most complexions; icy shades can look ashy on deeper skin. The golden rule for school: if you can see it from across the room, it is too much. Highlighter should be discovered up close, never announced from a distance.
Peachy Gloss Lips
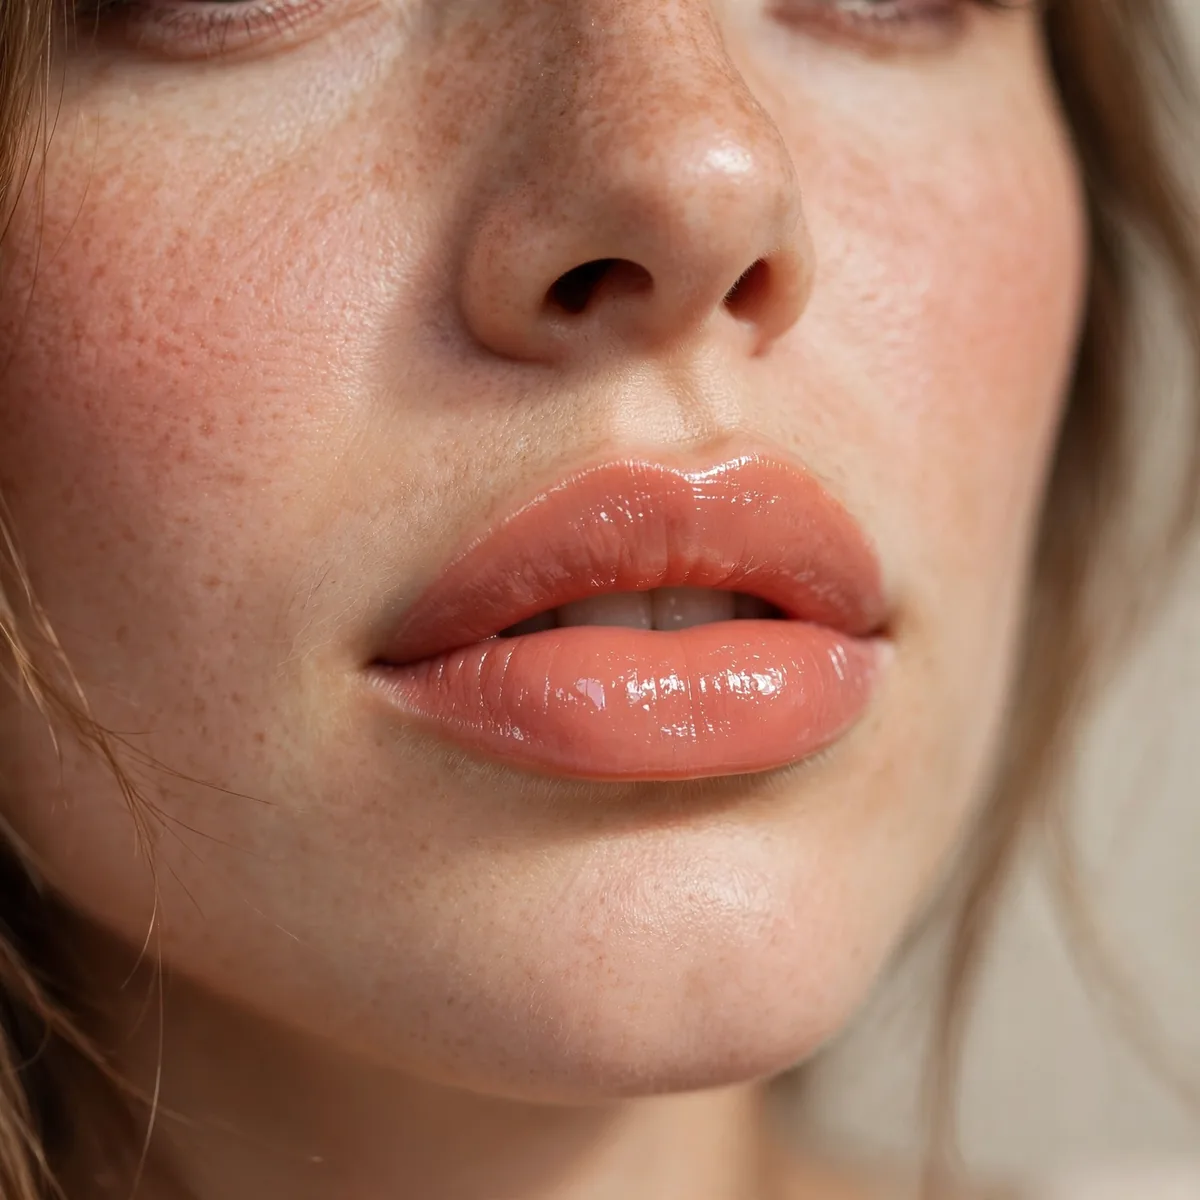
A peachy gloss that makes lips look juicy and healthy. Universally flattering and fun.
Best for: weekends. Gloss is youthful by nature — embrace it.
Non-sticky formulas have changed the gloss game — look for terms like cushiony or balm-gloss hybrids that hydrate instead of gluing your hair to your mouth. True peach flatters warm undertones while peachy-pink suits cooler ones; both read fresh and youthful. Apply one thin layer from the tube, then press lips together — layering thick coats is what causes that goopy, migrating mess.
Layer gloss over a matching lip balm for extra comfort and longer wear — the balm grips the gloss like primer grips foundation. Blot once after applying to remove excess shine while keeping the juicy color; this trick also stops gloss from bleeding past the lip line. Skip lip liner entirely at this age; gloss plus liner in mismatched shades is the fastest way to look older than you are.
Soft Brown Mascara
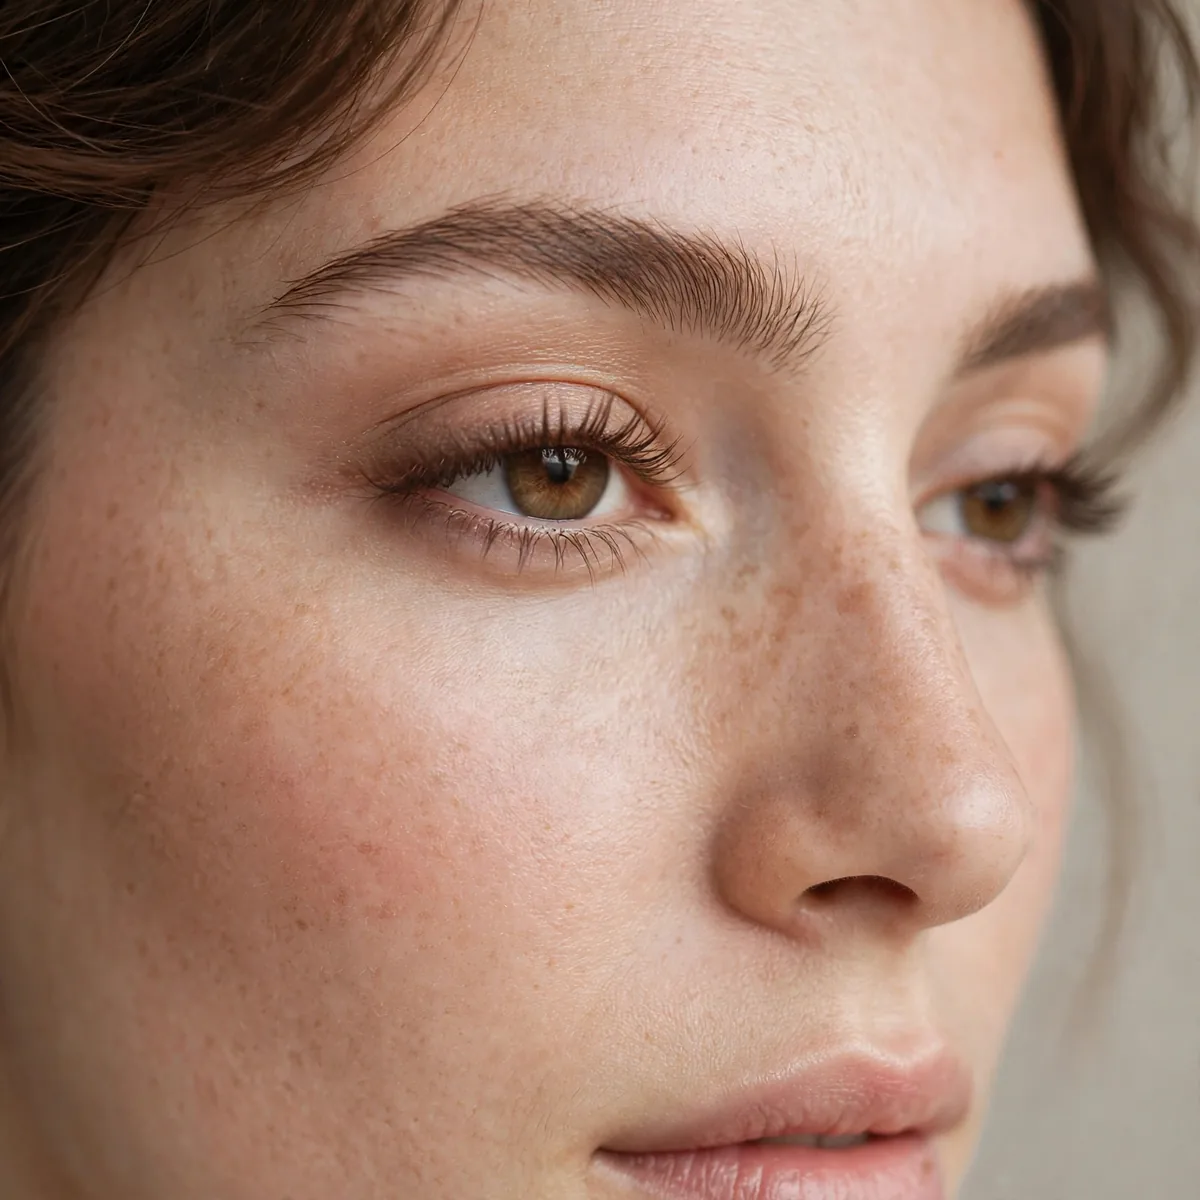
One coat of brown (not black) mascara. Definition that still looks soft and age-appropriate.
Best for: fair lashes. Brown is the training-wheels mascara — all the polish, none of the drama.
Wiggle the wand at the lash roots before pulling through — that base wiggle creates the illusion of a fuller lash line without any liner. One thin coat is the sweet spot; a second coat adds drama but also risks the clumps that betray obvious makeup. Coat lower lashes with just the tip of the wand using barely any product, since heavy lower lashes can look harsh on young faces.
Espresso brown suits dark hair and deeper lashes, while soft true-brown flatters blondes and redheads without overwhelming fair coloring. Choose waterproof only for sports, swimming, or tearjerker movies — daily waterproof wear requires harsh removers that stress young lashes. Remove gently every night with a mild cleanser or micellar water; sleeping in mascara weakens lashes and invites eye irritation.
Dewy Setting Mist
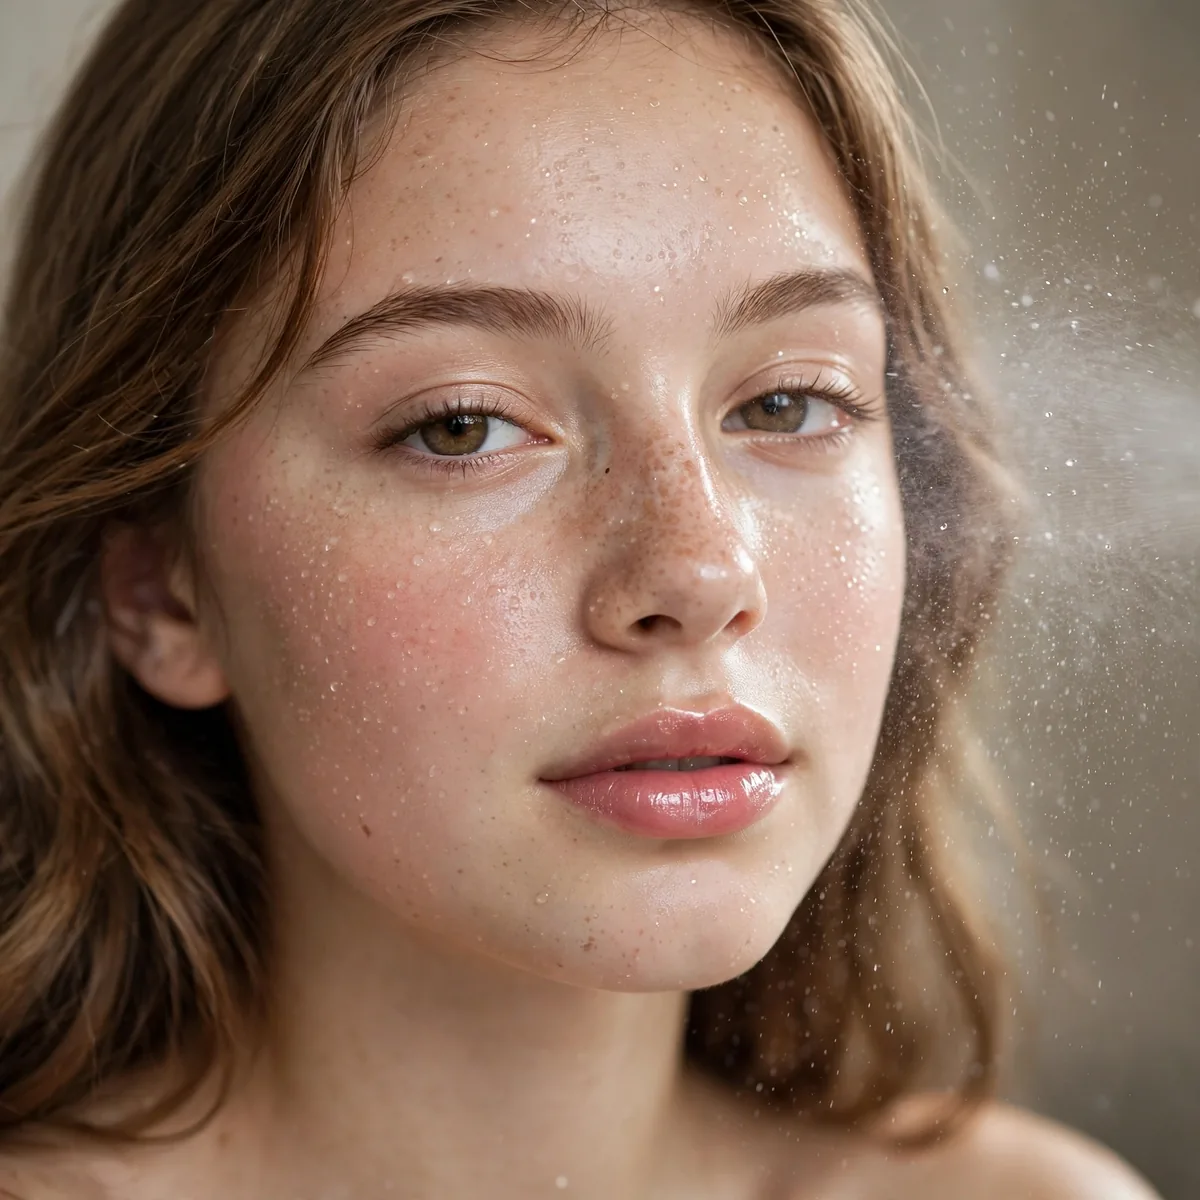
A hydrating mist to set everything and keep skin looking fresh, not powdery.
Best for: dry or normal skin. It melts products together beautifully.
Ingredients tell the real story: glycerin and rosewater hydrate and refresh, while alcohol-heavy sprays can dry out young skin despite their setting claims. Hold the bottle at arm’s length and mist in a loose X pattern — close-range spraying leaves wet spots that disturb makeup. Two to three pumps is plenty; drenching your face does not set makeup better, it just takes longer to dry.
Mist right after finishing makeup to melt powders into skin, then carry the bottle for afternoon refreshes — a light spritz revives flattened makeup without adding layers. Resist touching your face throughout the day; fingers transfer oil and bacteria that break down even well-set makeup. For gym bags and backpacks, decant into a small travel sprayer so the full-size bottle stays safe at home.
Lip Tint Stain
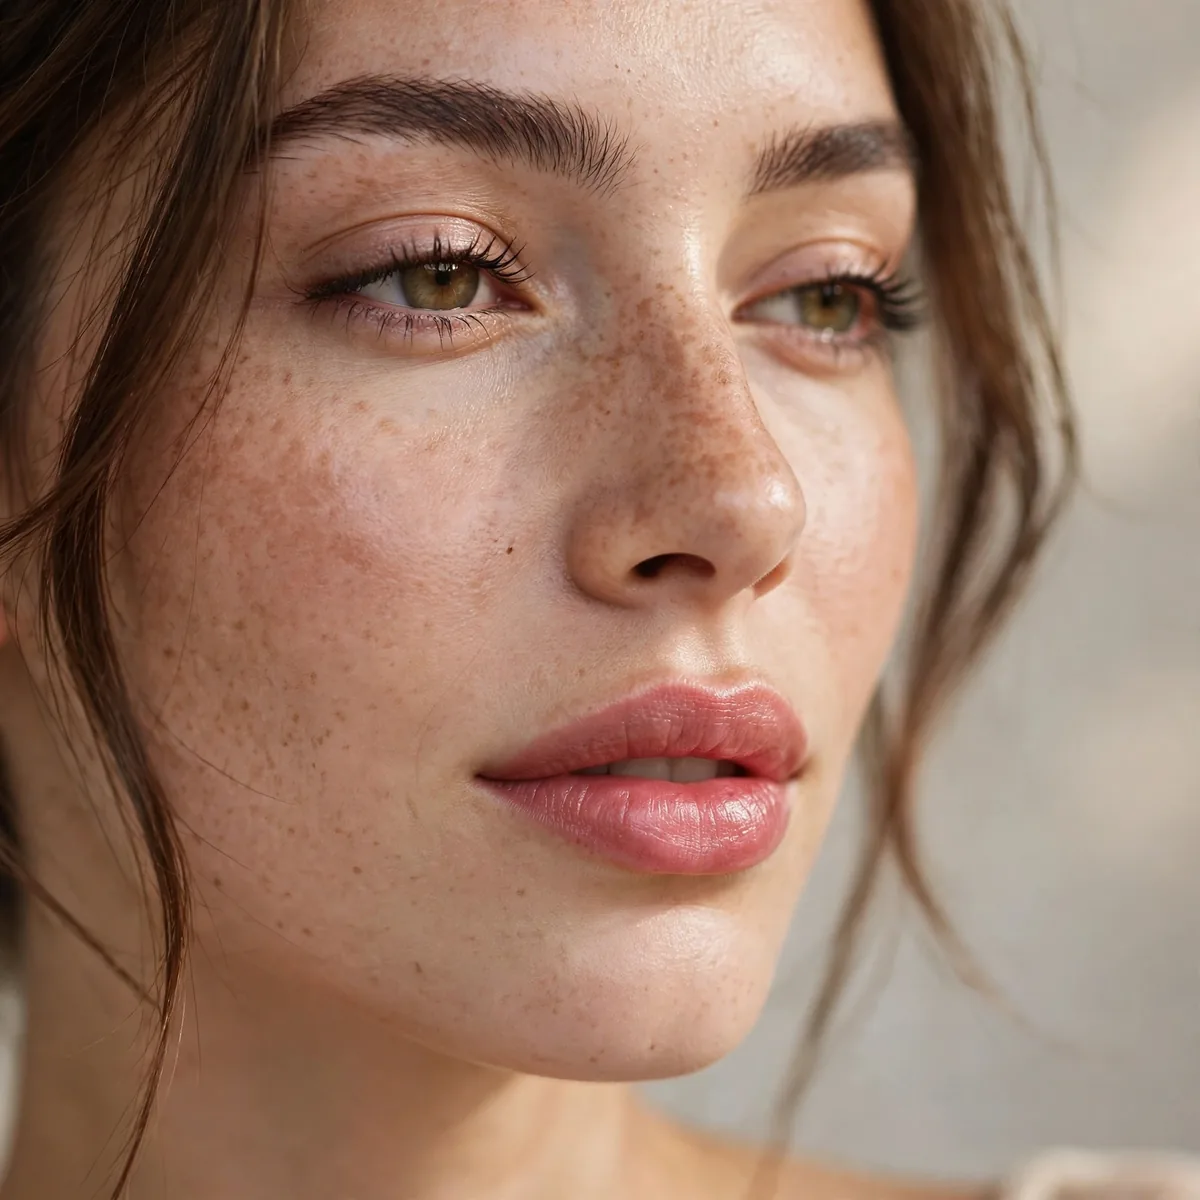
A water-based lip tint pressed into lips. Lasts through lunch and looks completely natural.
Best for: long school days. Tints outlast every gloss and balm.
Water-based tints apply best on bare, balmed lips — exfoliate gently first so the stain takes evenly instead of catching on dry patches. Dot the tint on the center of the lower lip, press lips together, then blend outward with a fingertip for that soft gradient effect. Work quickly: these formulas set within seconds, and trying to blend after they dry just lifts the color patchily.
Cherry red tints read playful and classic, while rose and berry stains look like a natural flush — choose based on your mood and outfit. Layer a clear balm on top once the tint sets; the balm adds comfort and shine without disturbing the stain underneath. Removal needs an oil-based cleanser or micellar water — regular face wash leaves a ghost of tint behind, which is actually proof of how well these last.
Feathered Natural Brows
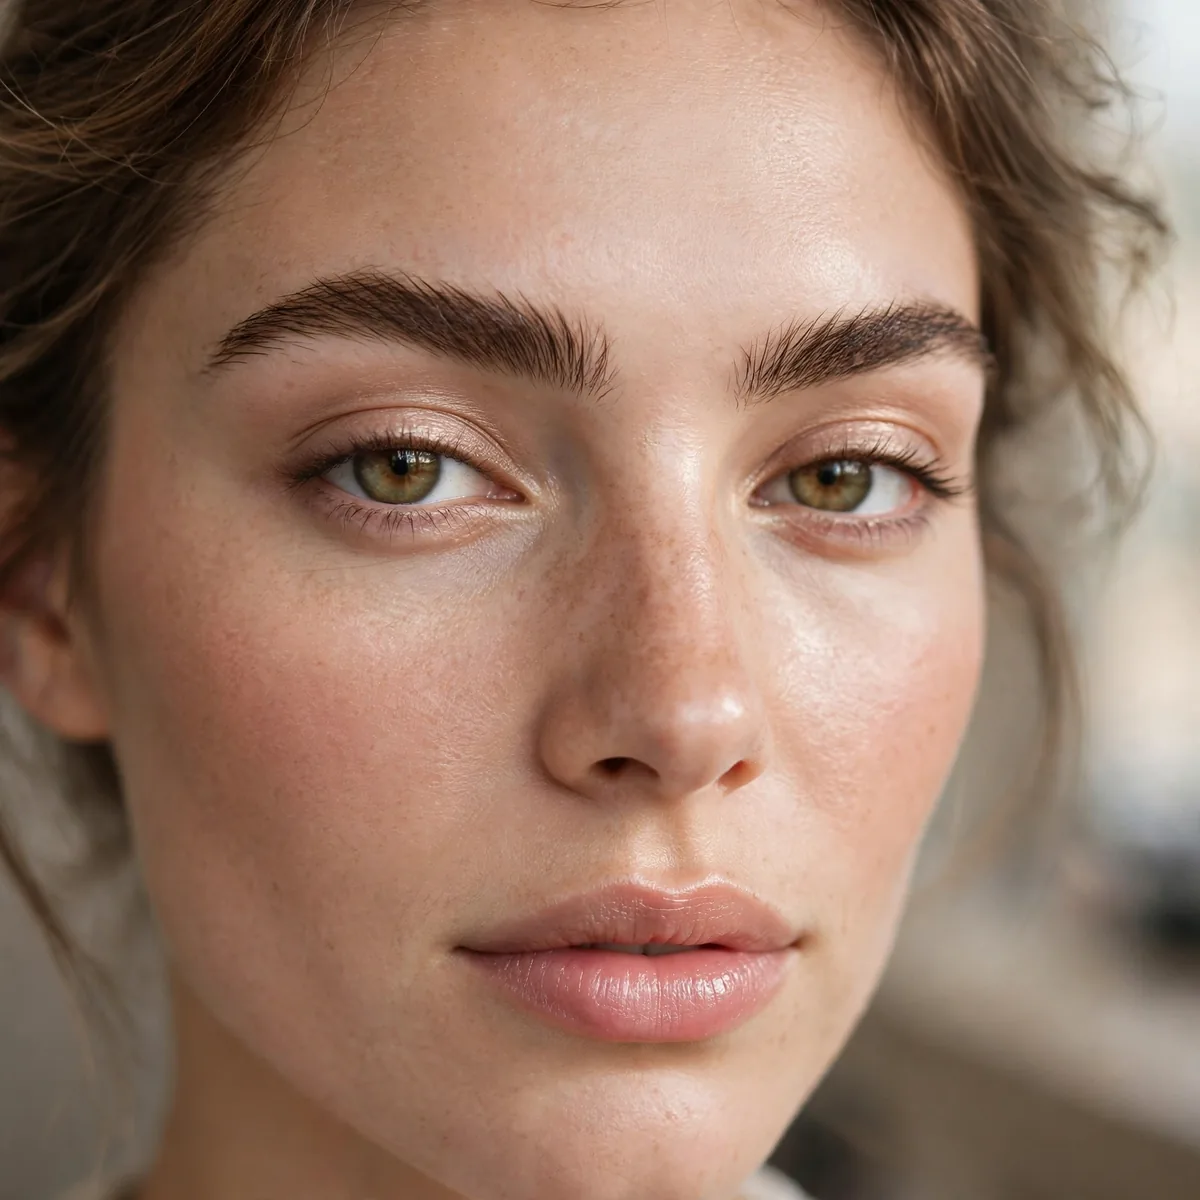
Brush up, fill only sparse spots with light strokes. Full, youthful brows without the drawn look.
Best for: sparse brows. The goal is "great brows," not "done brows."
The feathered technique starts with brushing every hair straight up using a spoolie, revealing the true shape and the genuinely sparse spots. Fill only those gaps with ultra-light upward strokes, using a pencil a shade lighter than your brow hair for believability. The strokes should mimic individual hairs — short, slightly varied in angle — never one continuous drawn line that screams makeup.
Brow soap or strong-hold gel brushed through after filling locks the feathered shape for the entire day — this is the laminated look without the salon appointment. Blondes should avoid anything darker than taupe; the contrast looks harsh on young faces. Never trim the front of the brows, only tidy obvious strays beneath the arch; over-tweezed thin brows take months to recover and instantly age a teen face.
Sunscreen-First Routine
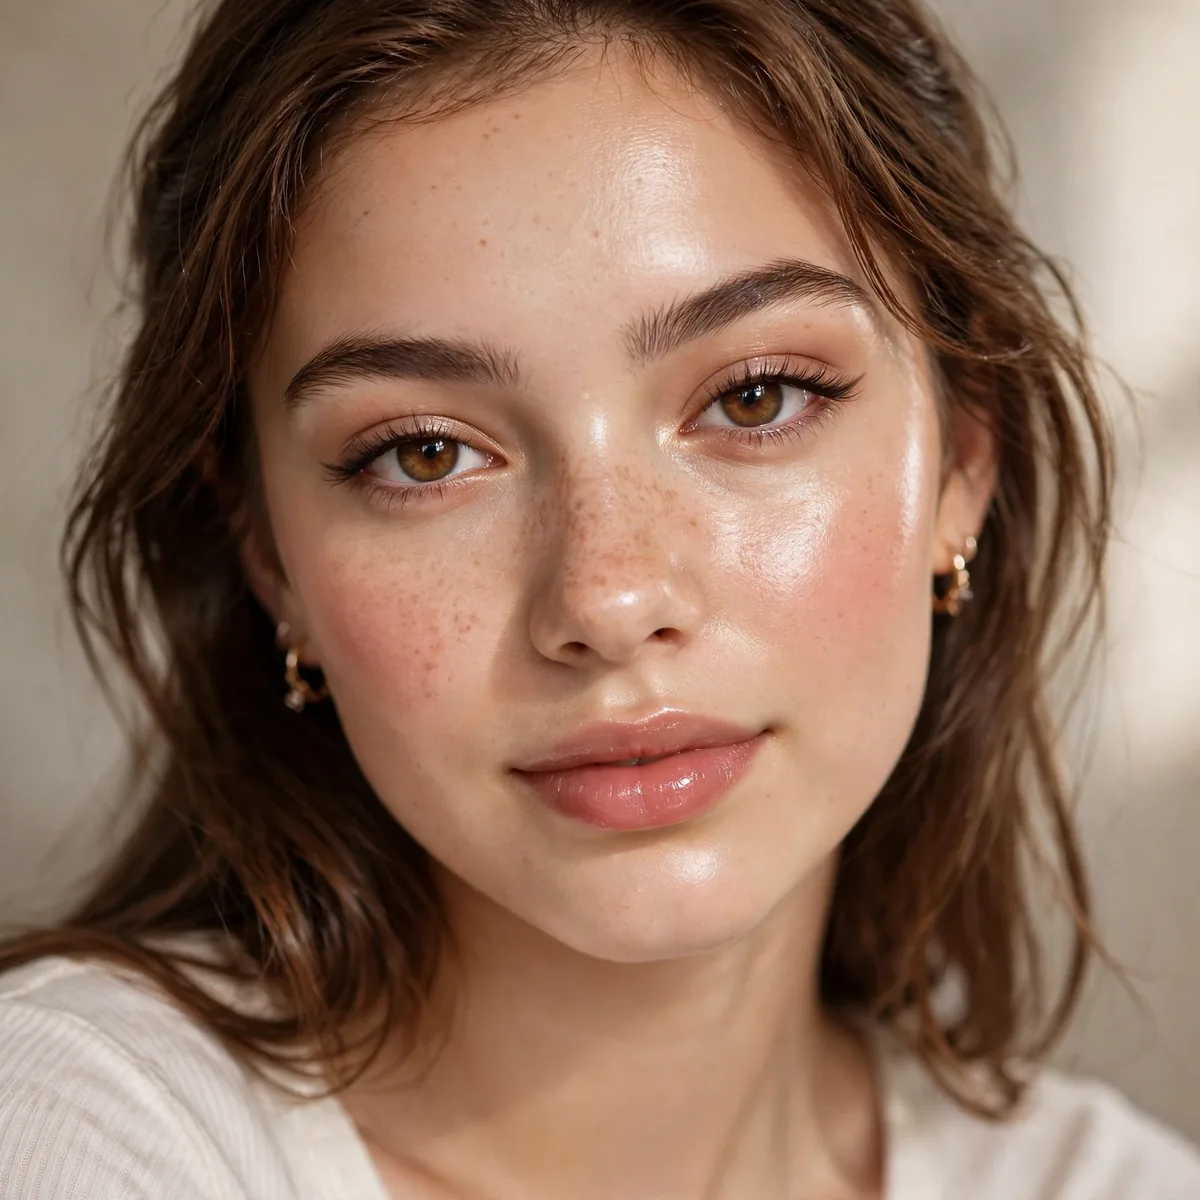
SPF 30+ every single morning, makeup or not. The most important beauty product at any age.
Best for: literally everyone. Future you will be so grateful.
Lightweight gel or fluid sunscreens layer best under makeup — thick creams pill and disturb everything applied over them. Apply the classic two-finger-length amount to the face and neck, then wait three full minutes before any makeup; sunscreen needs that time to form its protective film. Ears, hairline, and the back of the neck burn easily and are the spots teens most often skip.
Mineral formulas with zinc oxide suit sensitive or breakout-prone skin, while chemical filters feel lighter and leave no white cast on deeper tones — both protect equally when applied properly. Reapply every two hours outdoors using a spray or powder SPF over makeup; the morning layer alone does not survive a full school day. Make sun protection non-negotiable now, and your thirty-year-old skin will genuinely thank you.
Cream Eyeshadow Wash
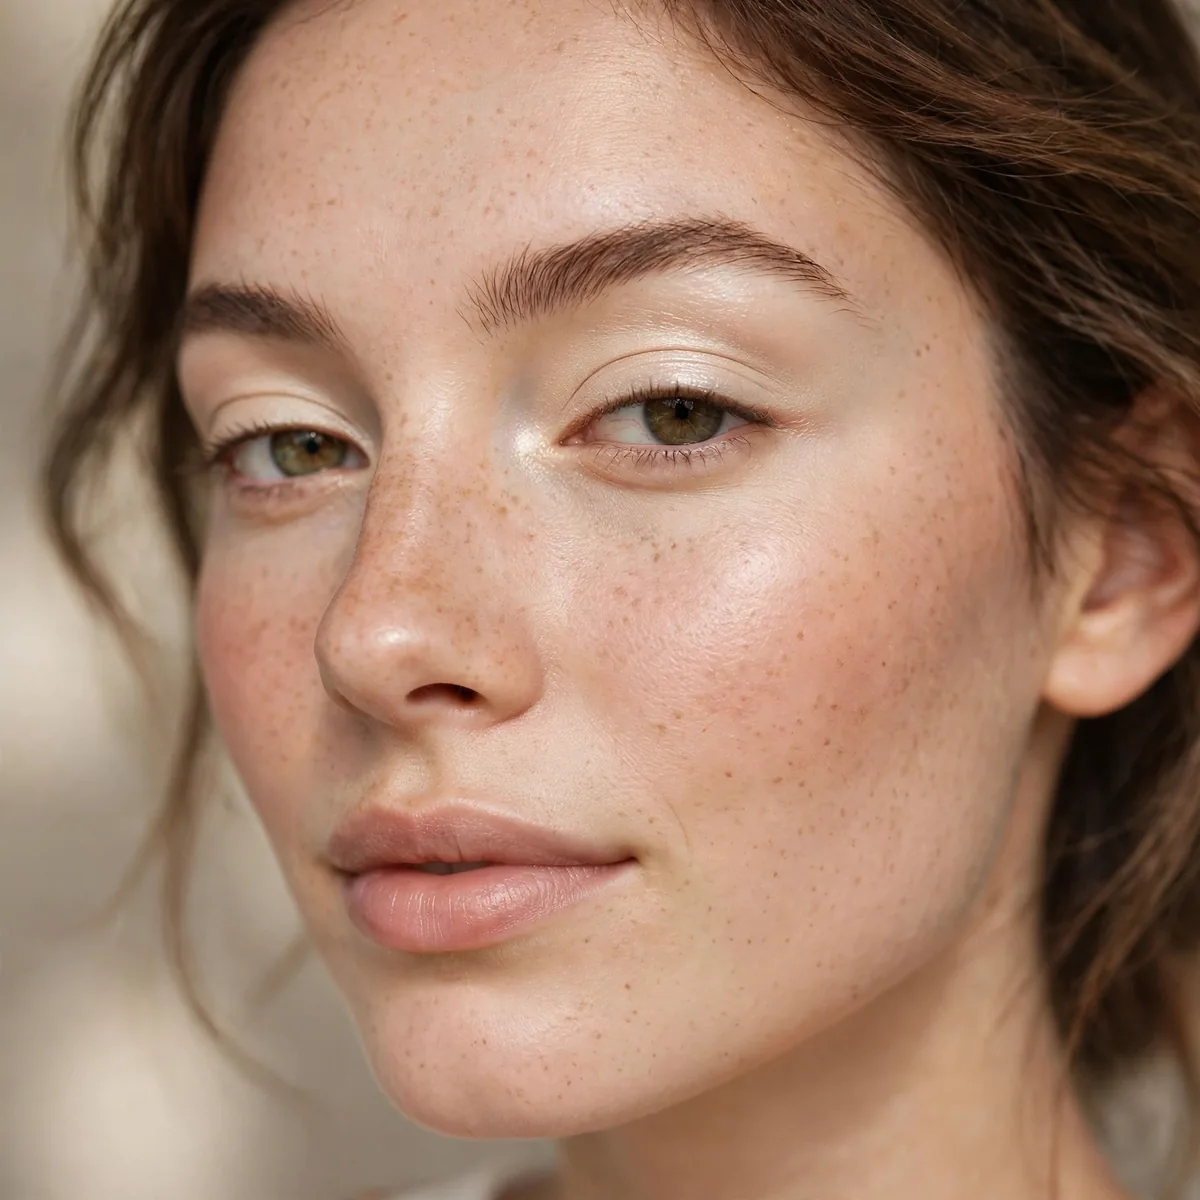
One sheer cream shadow swept across lids with a finger. A hint of color, zero effort.
Best for: parties and photos. Champagne and soft bronze are foolproof.
The ring finger is the perfect tool — its light pressure deposits sheer color without dragging the delicate lid skin. Pat the shadow across the entire lid up to the crease, then soften the upper edge with a clean fingertip so no harsh line remains. A thin layer of eye primer underneath prevents creasing on oily lids; without it, cream shadow migrates into the fold within hours.
Champagne flatters every eye color and suits school perfectly; soft bronze adds warmth for evenings; dusty rose brightens tired eyes beautifully. Matte cream shadows look most natural for daytime, while a subtle shimmer version elevates the same technique for parties. Keep the color to a single wash — adding a second shade crosses from effortless into done-up territory, which defeats this look’s entire purpose.
No-Makeup School Look
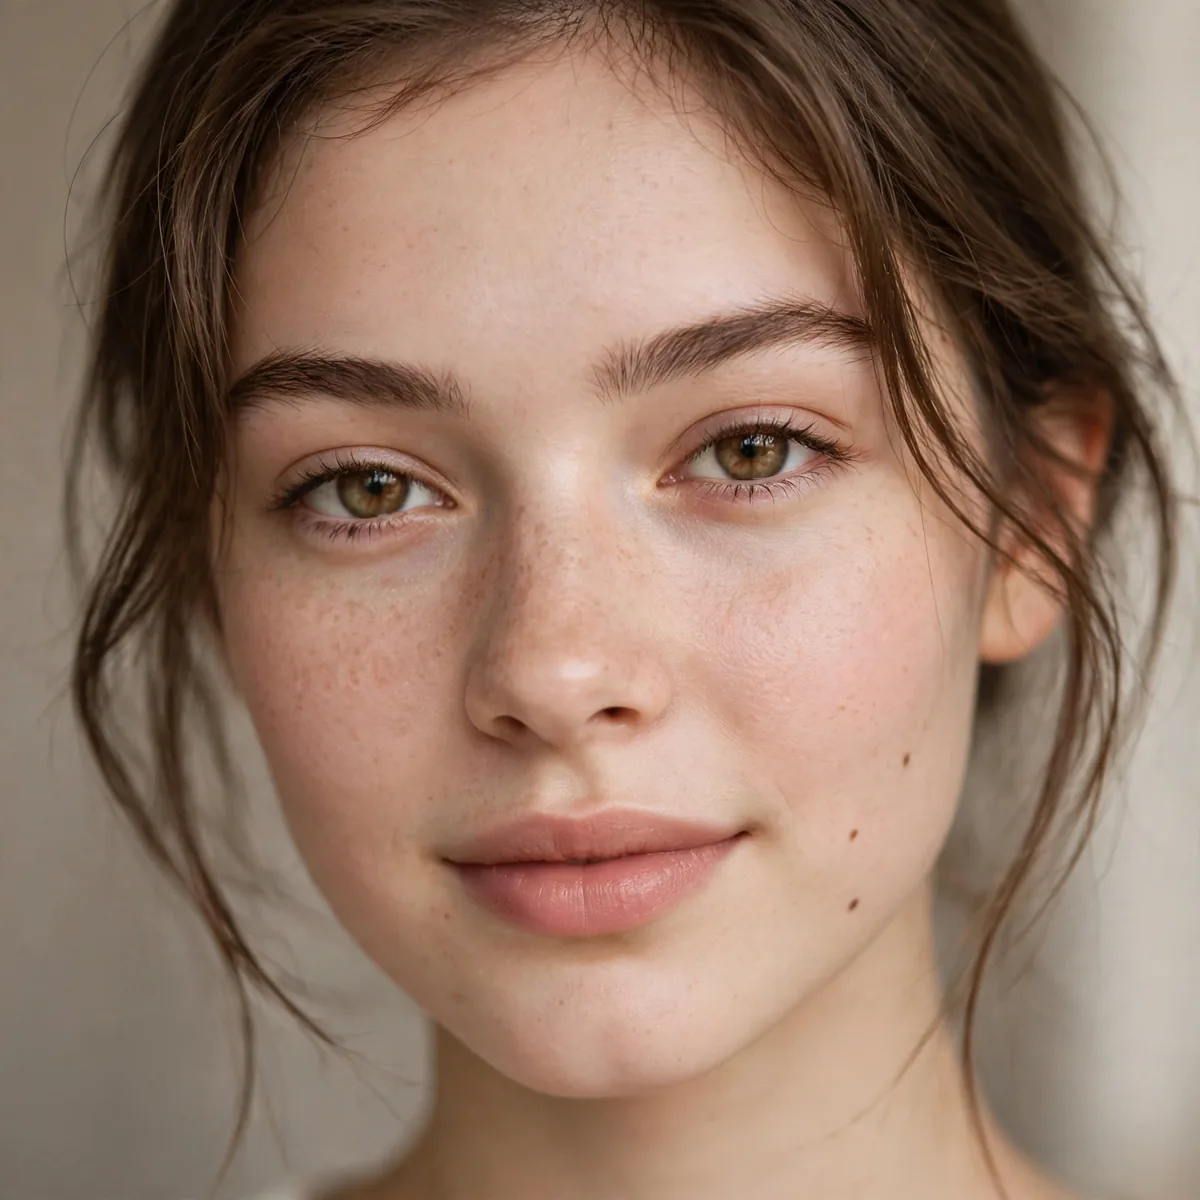
Moisturizer, SPF, concealer on spots, brow gel, lip balm. Five products, five minutes, fresh face.
Best for: everyday school. You’ll look awake and put-together without anyone clocking "makeup."
Order matters in a five-minute routine: moisturizer, then SPF, then concealer only on spots — each layer needs thirty seconds to settle before the next. Blend concealer edges with a damp sponge or clean fingertip until the coverage melts invisibly into bare skin. Finish brows with gel and lips with balm; these two steps take forty seconds combined yet create the entire impression of being put-together.
Keep all five products in one small pouch by your mirror — hunting through drawers is what turns five minutes into fifteen. Multitasking formulas like tinted SPF with moisturizer built in can shrink the routine even further on rushed mornings. Remember the real goal: looking awake, healthy, and confident, not looking made-up. When classmates cannot tell you are wearing anything, you have nailed it completely.
Fresh-Faced Weekend Glow
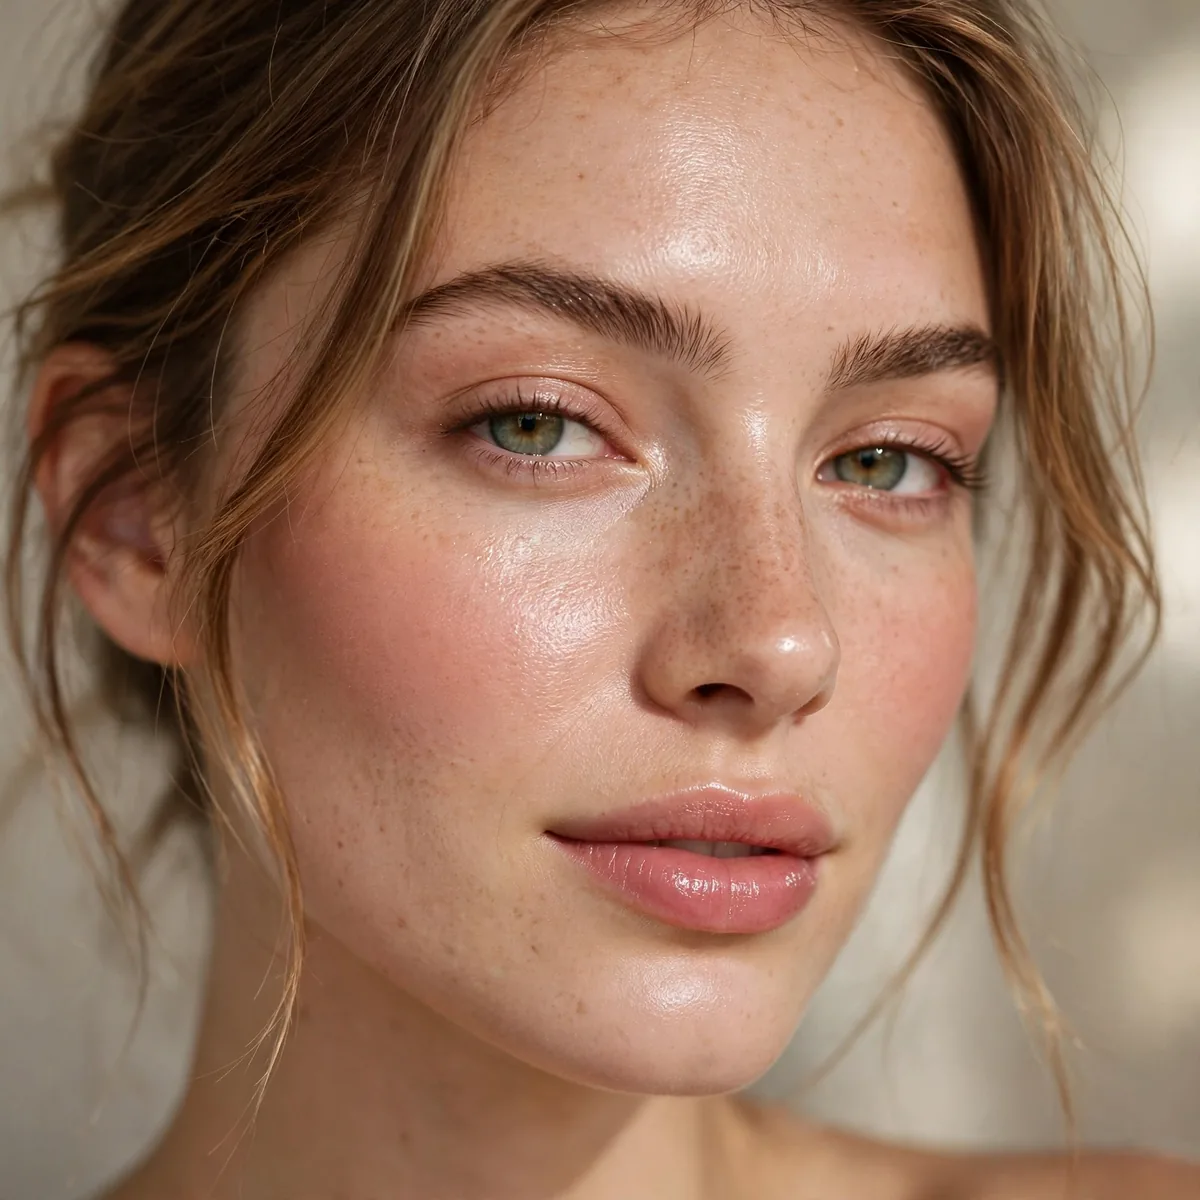
Tinted moisturizer, cream blush, curled lashes, gloss. The weekend uniform for glowing skin.
Best for: hanging out. Effortless but intentional — the best combination.
Build glow in thin layers rather than one heavy application: tinted moisturizer first, then cream blush pressed into the cheeks, then the sheerest touch of liquid highlighter on the high points. Each layer should look good alone before the next goes on — that discipline prevents the overdone, shiny result. Blend everything with fingers; the warmth keeps cream textures seamless and skin-like.
This look pairs beautifully with casual weekend styling — dewy skin, loose hair, and simple outfits let the glow be the statement. For photos, add slightly more blush than feels natural; cameras wash out about twenty percent of color. A peachy gloss ties the whole face together, echoing the blush for that monochromatic harmony that always photographs well. Effortless but intentional — the best combination for hanging out.
Soft Definition for Photos
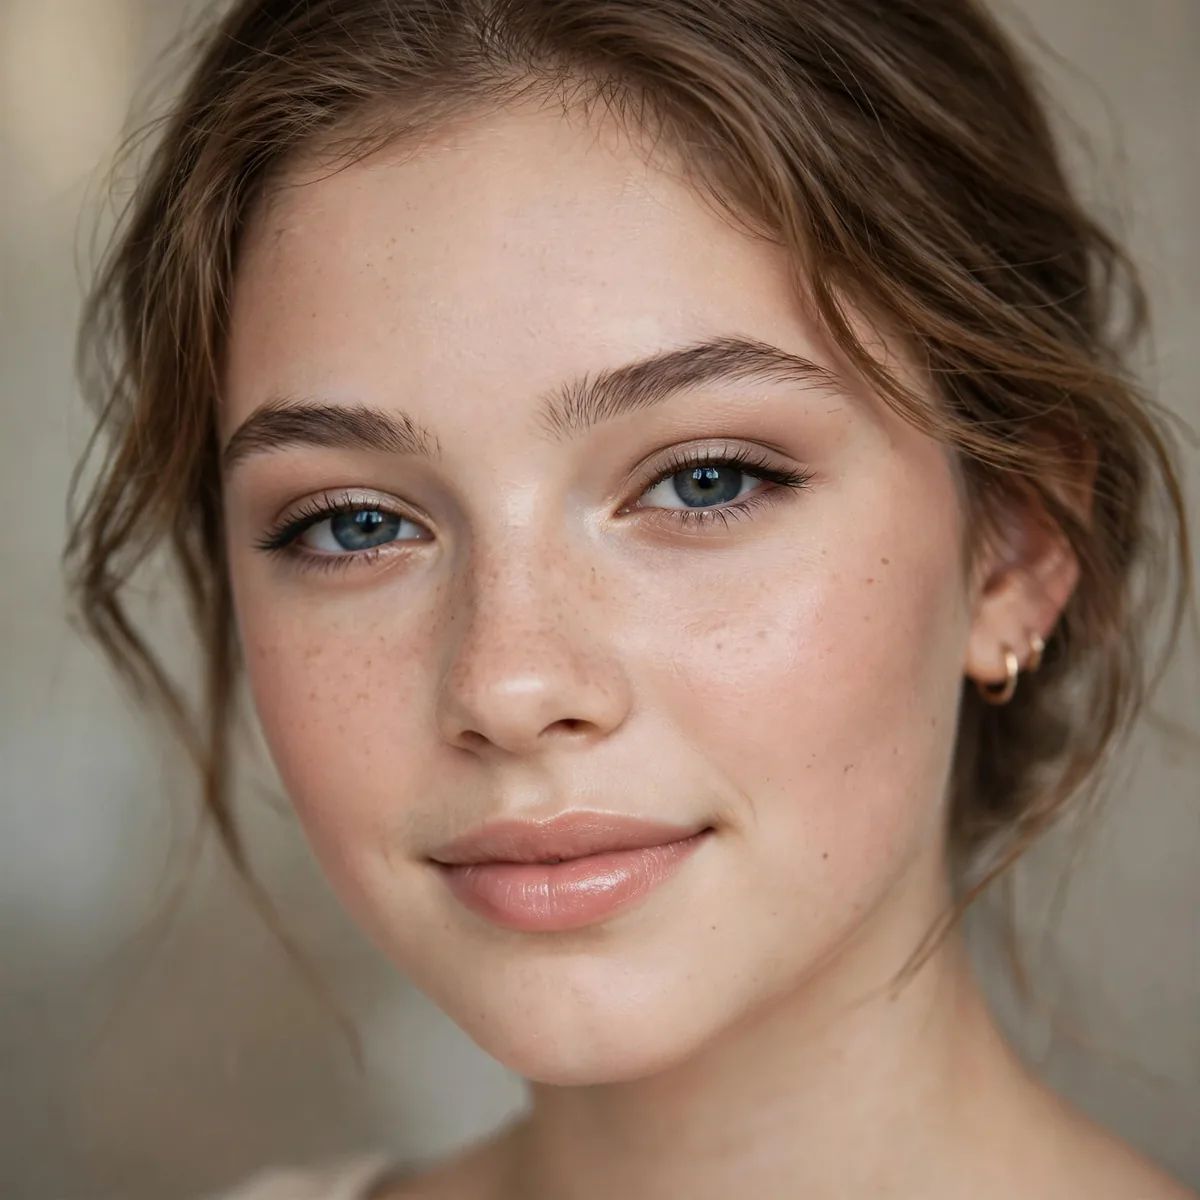
Slightly more blush and a bit of bronzer for events and photos — cameras wash out about 20% of color.
Best for: dances and celebrations. Still natural, just photo-ready.
Cameras desaturate color, so the twenty-percent rule applies: apply blush and bronzer slightly stronger than your mirror suggests, then check with a test photo. Place bronzer where sunlight naturally hits — temples, cheekbones, jawline — using a fluffy brush in light circular motions. Blend thoroughly; the camera exaggerates harsh lines that look invisible in person, especially along the jaw.
Lighting changes everything: test your makeup in the same light as the event, since warm indoor bulbs and daylight render color very differently. Avoid heavy SPF or silica-based powders right before photos — both cause white flashback that the camera flash turns into a ghostly cast. Take one selfie, zoom in on the cheeks and eyes, adjust blush or blend once more, and you are genuinely photo-ready.
Fresh, fun, and totally you. Save these for your routine — and when you’re ready for more, our no-makeup makeup guide and clean girl looks are perfect next steps.




