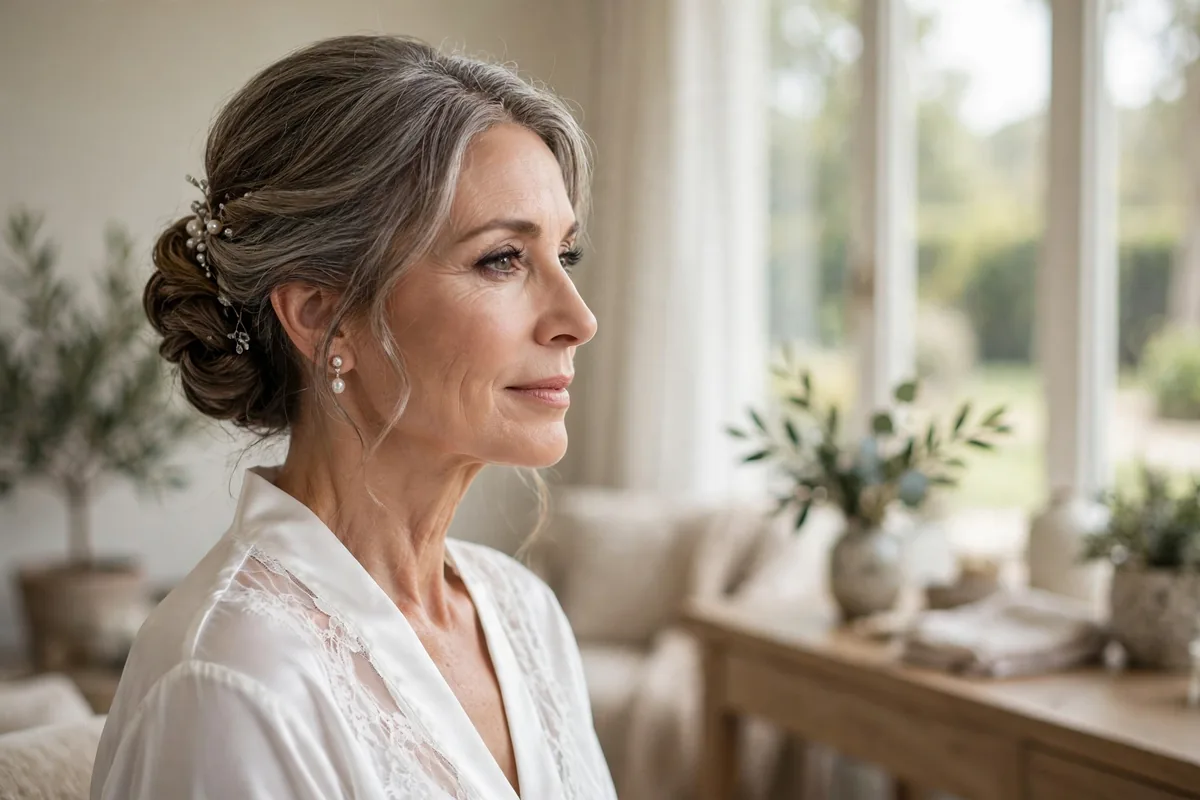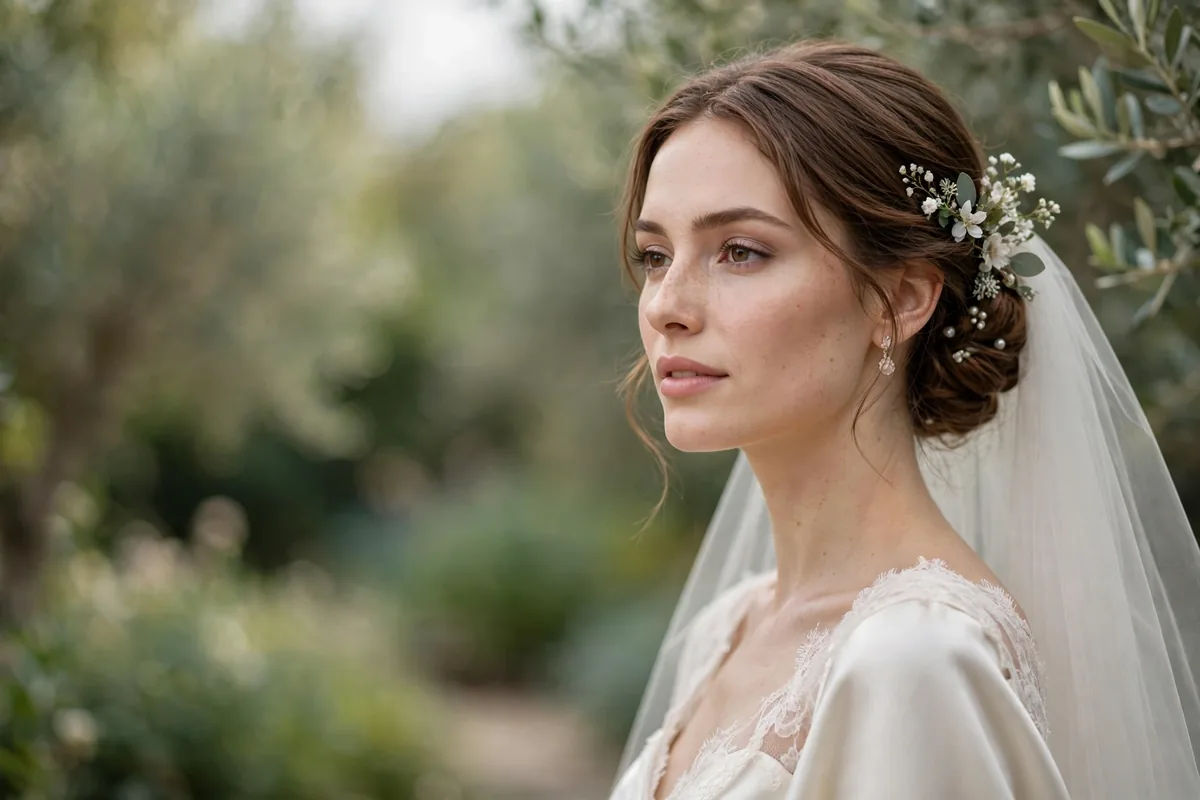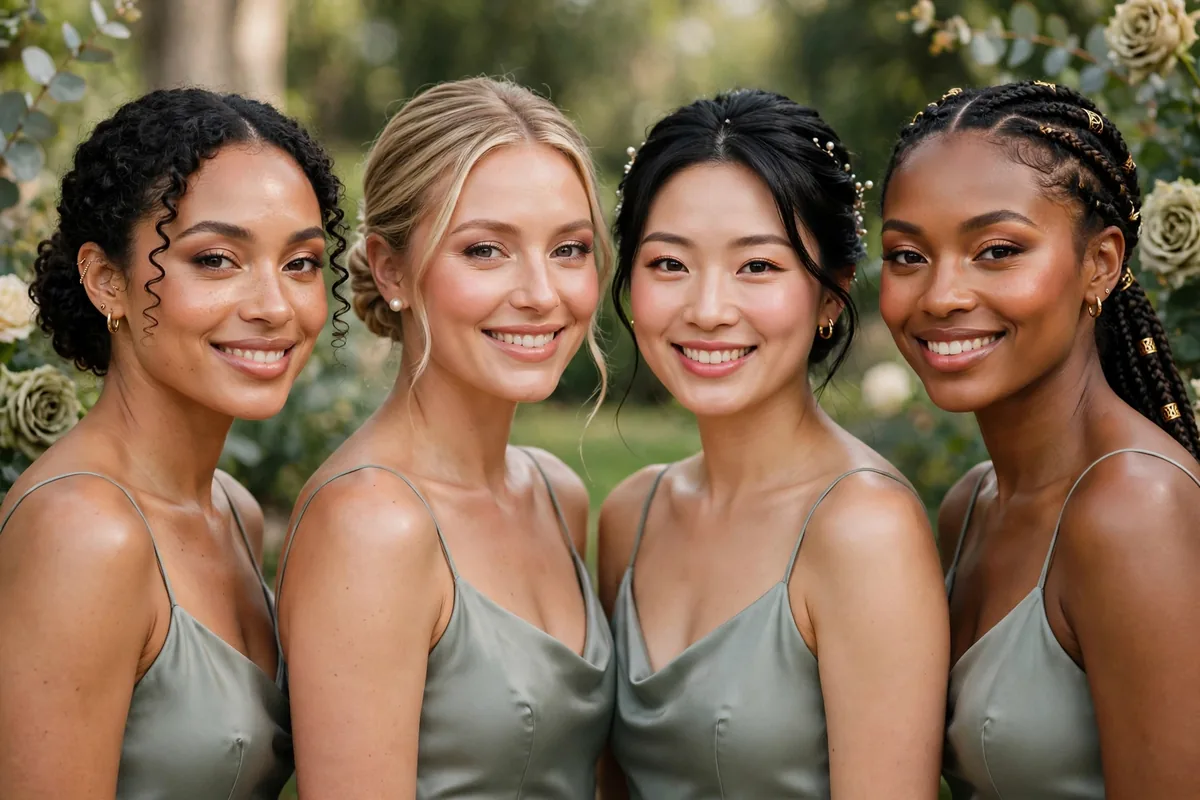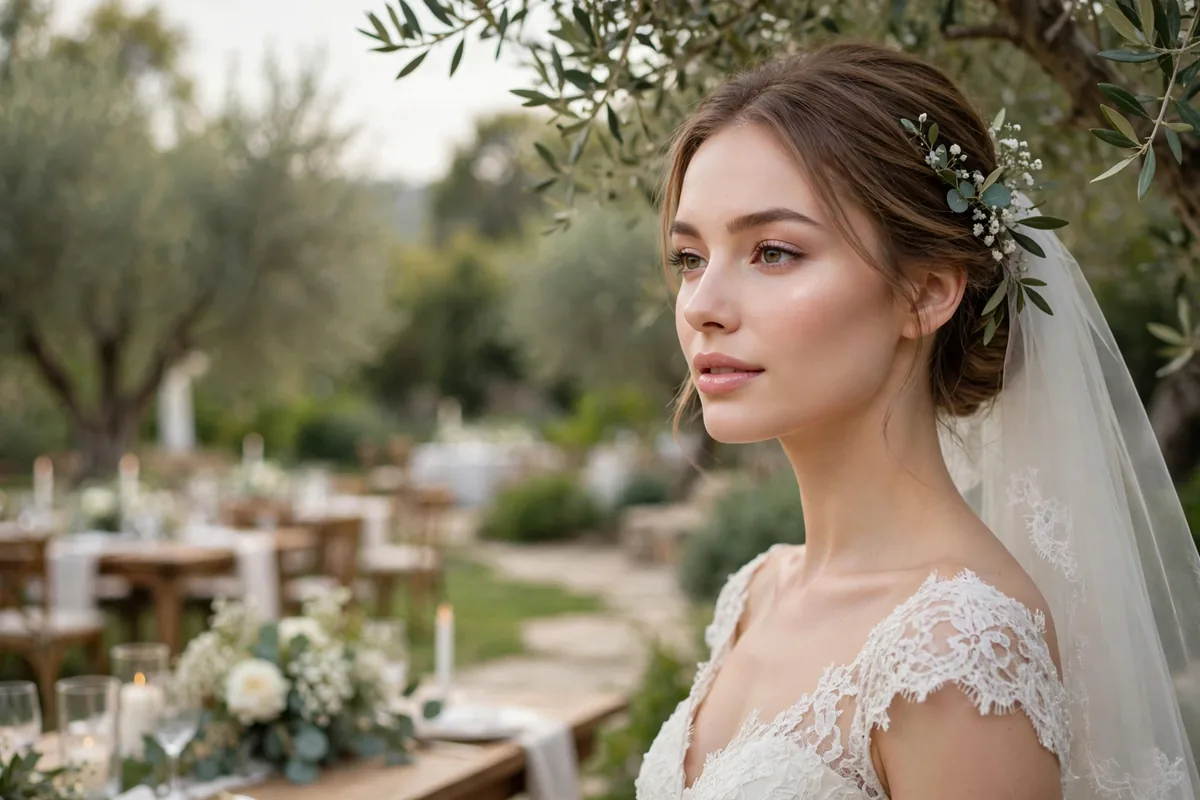
Outdoor weddings are magical — and murder on makeup. Here’s how to beat the elements.
Sun, wind, humidity, and happy tears: outdoor ceremonies throw everything at your face. The strategy is prep, waterproof formulas, and smart setting.
Every tip below has been tested against real weather. Your makeup can absolutely last from first look to last dance.
Here are 20 battle-tested tips. Let’s get into it.
Primer Is Non-Negotiable
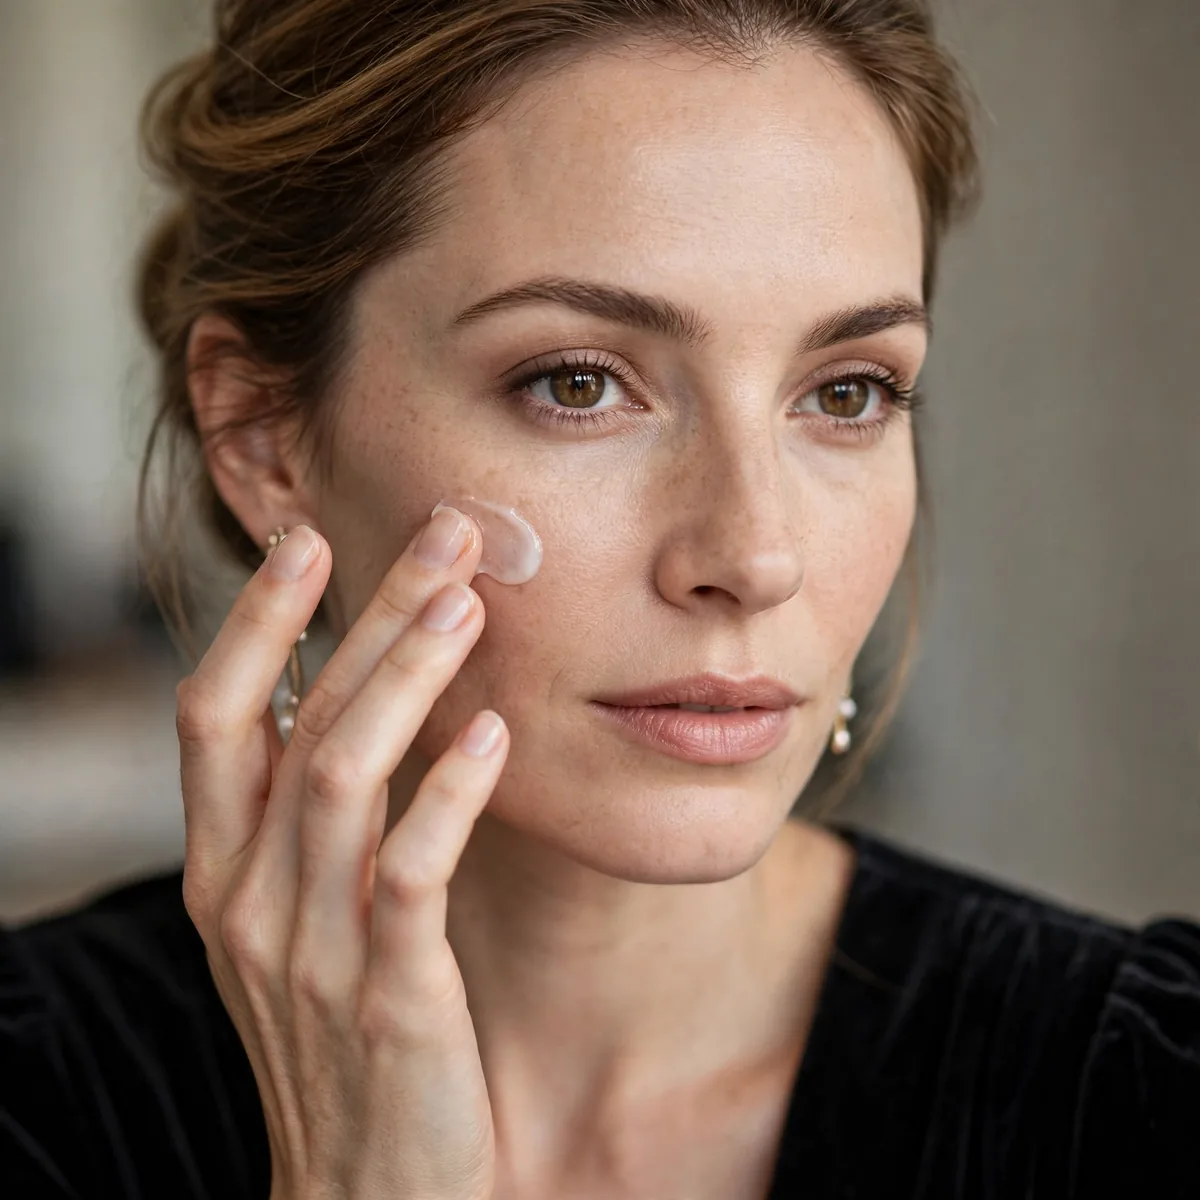
A gripping primer creates a barrier between skin and elements. It’s the foundation of all-day wear.
Silicone-based primers grip best in humidity; hydrating ones suit dry climates.
Not all primers grip equally: silicone-based formulas create the strongest hold in humidity, blurring primers fill pores for close-up portraits, and mattifying primers control the T-zone on oily skin. Apply a pea-sized amount in a thin, even layer and wait a full sixty seconds before foundation — rushing this step traps moisture underneath and causes pilling. Use a dedicated eyeshadow primer on lids too; face primer is too emollient for the eye area and creases by afternoon.
Match the primer to the forecast, not just your skin type: a humid summer ceremony demands gripping mattifiers, while a dry desert wedding calls for hydrating, glycerin-rich formulas that prevent foundation from clinging to dry patches. Since primer sits beneath everything, there is no fixing a wrong choice — this is the one product worth buying in two finishes if the weather is uncertain. For brides who hate silicone slip, a spray primer offers similar grip with a weightless feel.
Waterproof Everything
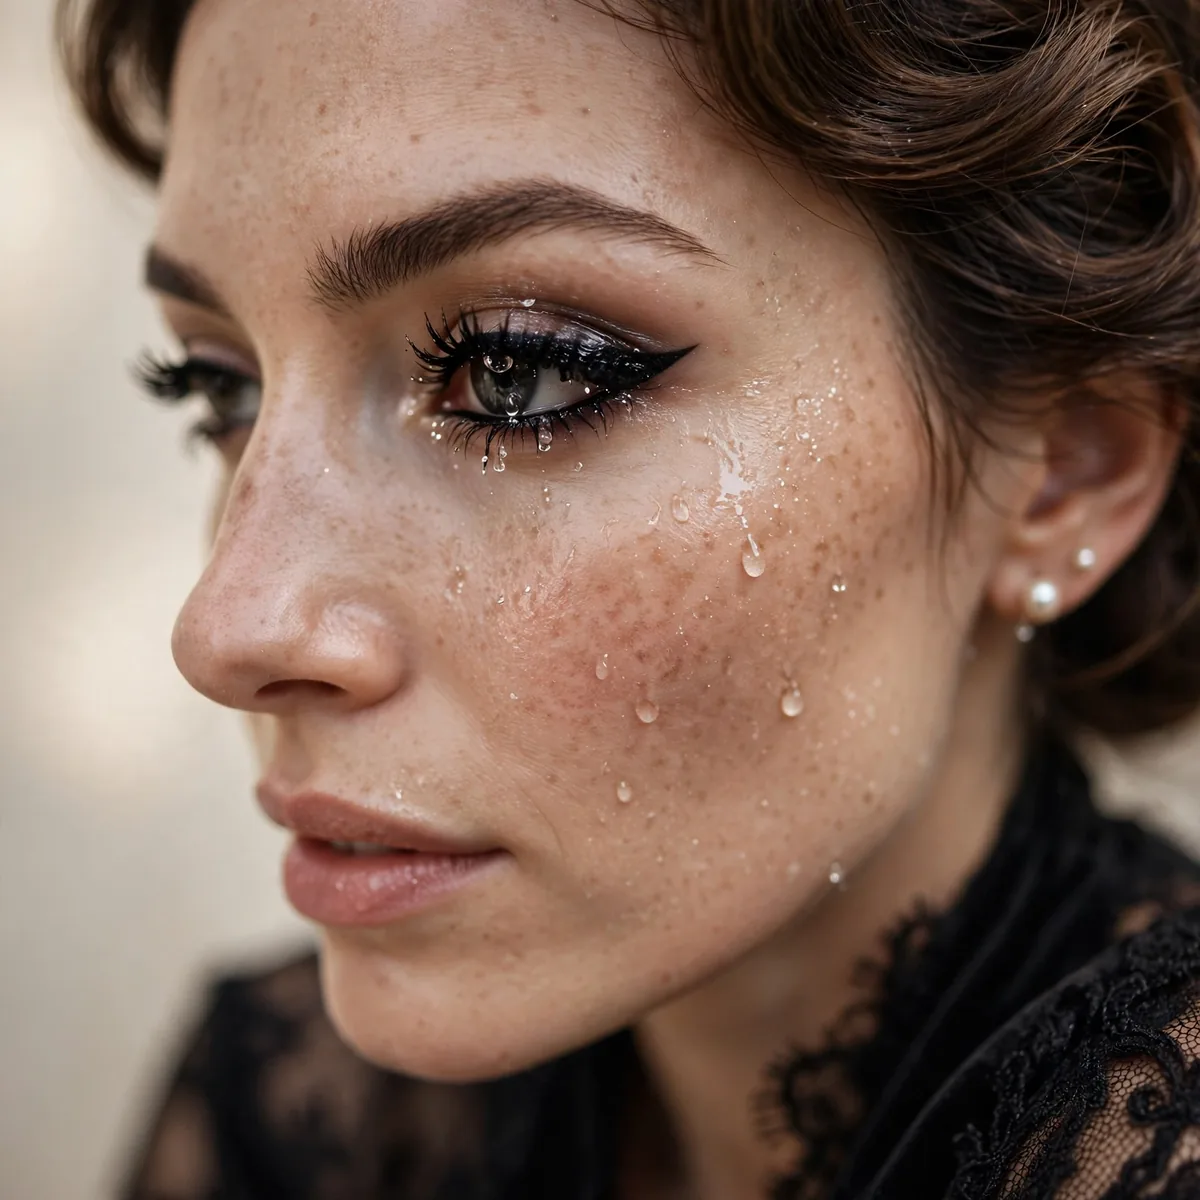
Mascara, eyeliner, even brow products — if it can run, make it waterproof.
Tears + humidity + sweat = the ultimate stress test. Only waterproof survives.
True waterproof formulas exist for nearly everything now: tubing mascaras that survive tears, waterproof gel liners and brow pomades, even waterproof cream blushes and setting sprays. The standout upgrade is tubing mascara over traditional waterproof — it resists sweat and crying without the harsh removers that irritate eyes later. Test your full waterproof lineup in the shower a week before the wedding; if anything migrates under hot water, replace it before the day.
Plan removal too: waterproof makeup demands an oil-based cleanser or bi-phase remover, so pack one for the wedding night — scrubbing with regular face wash leaves raccoon eyes for honeymoon morning. Note that waterproof formulas are harder to touch up, since new layers bead on the old; apply thinly from the start and refresh with blotting rather than reapplication. For lips, a waterproof lip stain topped with balm gives the security of waterproof with the comfort of a gloss.
SPF Without Flashback
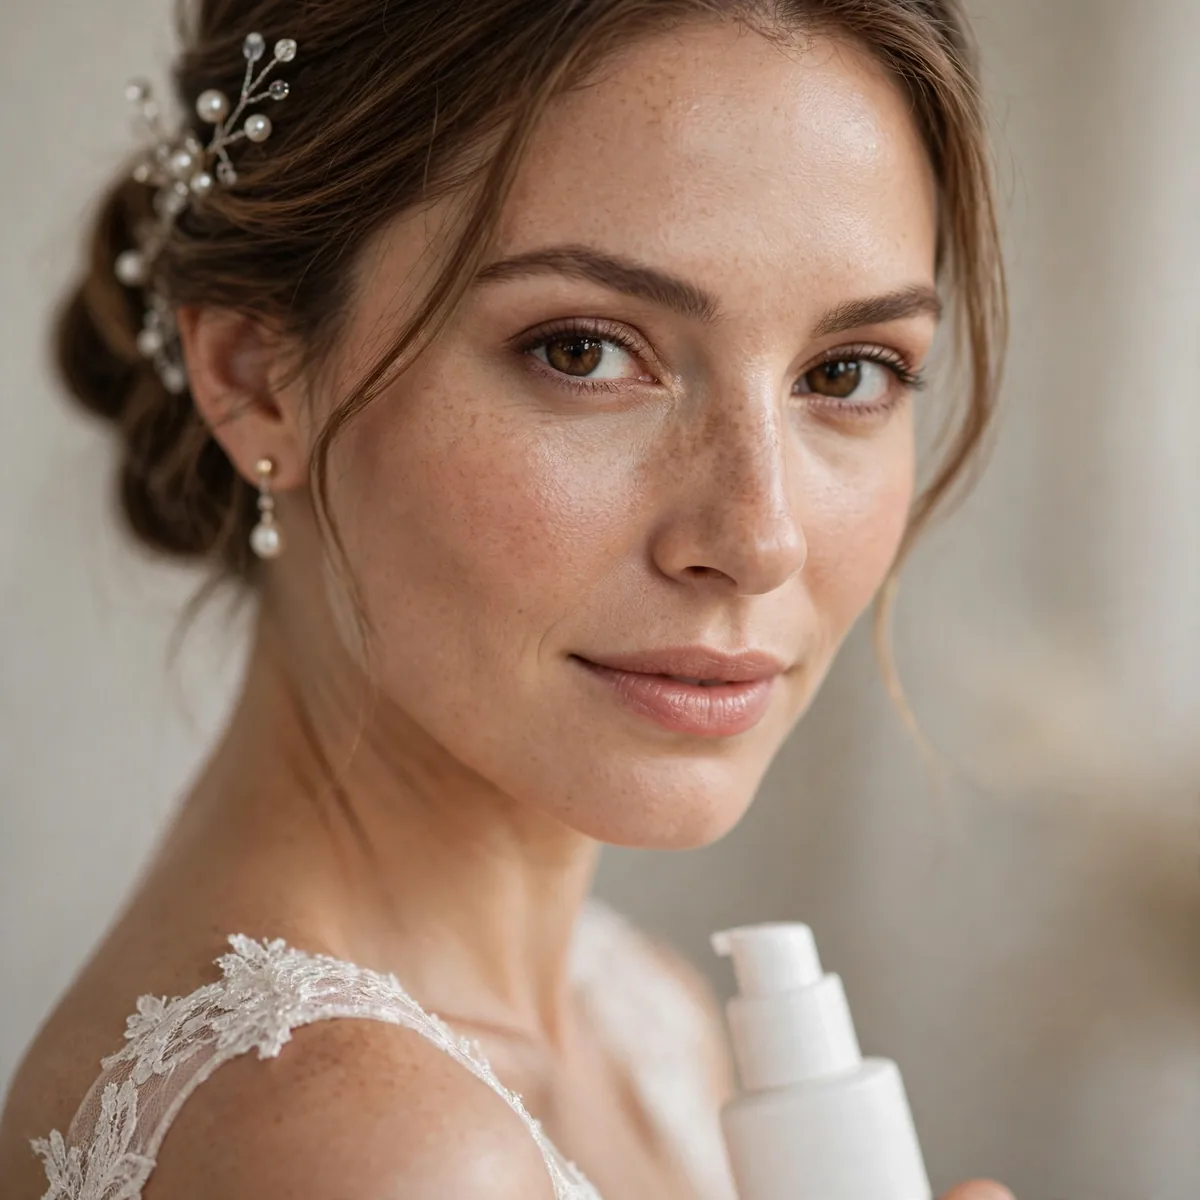
You need SPF outdoors, but chemical sunscreens can cause flashback. Use SPF 30+ and test with flash photography.
Apply SPF 30 minutes before makeup so it fully absorbs.
Chemical sunscreens absorb UV but some contain ingredients that reflect camera flash as a ghostly white cast — mineral formulas with zinc oxide are worse offenders. The workaround: a tinted mineral SPF or a mattifying chemical sunscreen tested with flash at your trial. Layering order matters: sunscreen first, wait twenty minutes for full absorption, then primer, then makeup. For reapplication over makeup, a mineral SPF powder or SPF setting mist keeps protection topped up without disturbing the base.
Do not forget the spots makeup skips: ears, the back of the neck, the chest above the neckline, and the backs of hands — sunburned ears in an updo photograph painfully. Use an SPF lip balm under any lip color; lips burn fast and peel mid-reception. Apply body sunscreen before the dress goes on to avoid white streaks on fabric, and hand the SPF powder to your maid of honor with instructions to reapply it during cocktail hour.
Light Layers Win
Heavy foundation melts; light layers endure. Build coverage thinly where needed.
Sheer base + strategic concealer outlasts full-coverage foundation in heat.
Heat liquefies thick foundation from underneath as skin warms and produces oil, so the winning formula is a sheer tinted moisturizer or skin tint plus pinpoint concealer only where needed. Apply with a damp sponge in thin veils, pressing rather than buffing — buffing overworks the product and creates texture. Let each layer set for a minute before adding the next; rushed layers slide as one sheet instead of bonding to skin.
A light base also photographs better in harsh sunlight — heavy foundation emphasizes every pore and fine line under direct sun, while sheer coverage lets real skin texture read as luminous. Touch-ups are simpler too: blotting papers and a dab of concealer refresh a light base invisibly, whereas full-coverage foundation cakes when layered. Skip heavy baking outdoors; the thick powder that locks makeup indoors turns chalky and obvious in bright daylight.
Set in Stages
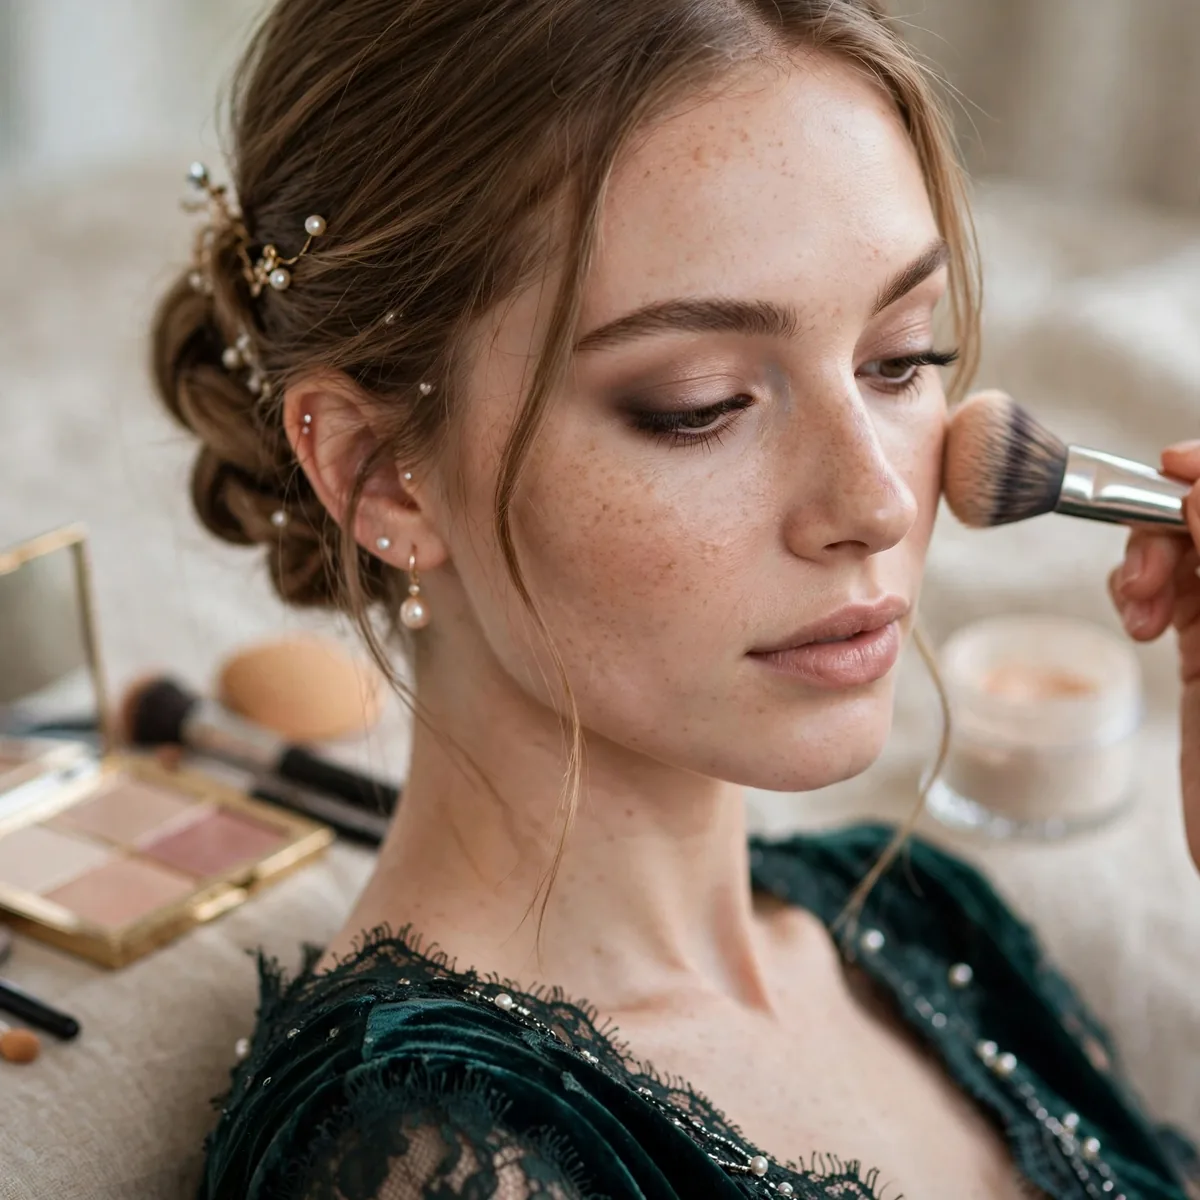
Set between every layer: spray after primer, powder after foundation, spray to finish.
Layered setting is exponentially more effective than one final spray.
Follow this exact sequence: gripping primer, then a light mist of setting spray; foundation and cream products, then a whisper of translucent powder pressed only into the T-zone; blush and eyes, then the final sealing mist held eight inches from the face. Each spray layer should dry fully — about ninety seconds — before the next product goes on. Resist powdering everywhere; outdoor light is merciless to over-powdered skin, which reads dry and aged by afternoon.
Choose an alcohol-based setting spray for maximum lockdown in heat — the alcohol helps the film set fast — but switch to an alcohol-free mist if your skin is dry or sensitive. Apply in a slow X and T motion across the face rather than one direct blast, which can disturb cream products. Pack a travel-size spray for a late-afternoon re-mist; a fresh veil reactivates the earlier layers and melts away any powderiness without adding a single new layer.
Cream Beats Powder (Mostly)
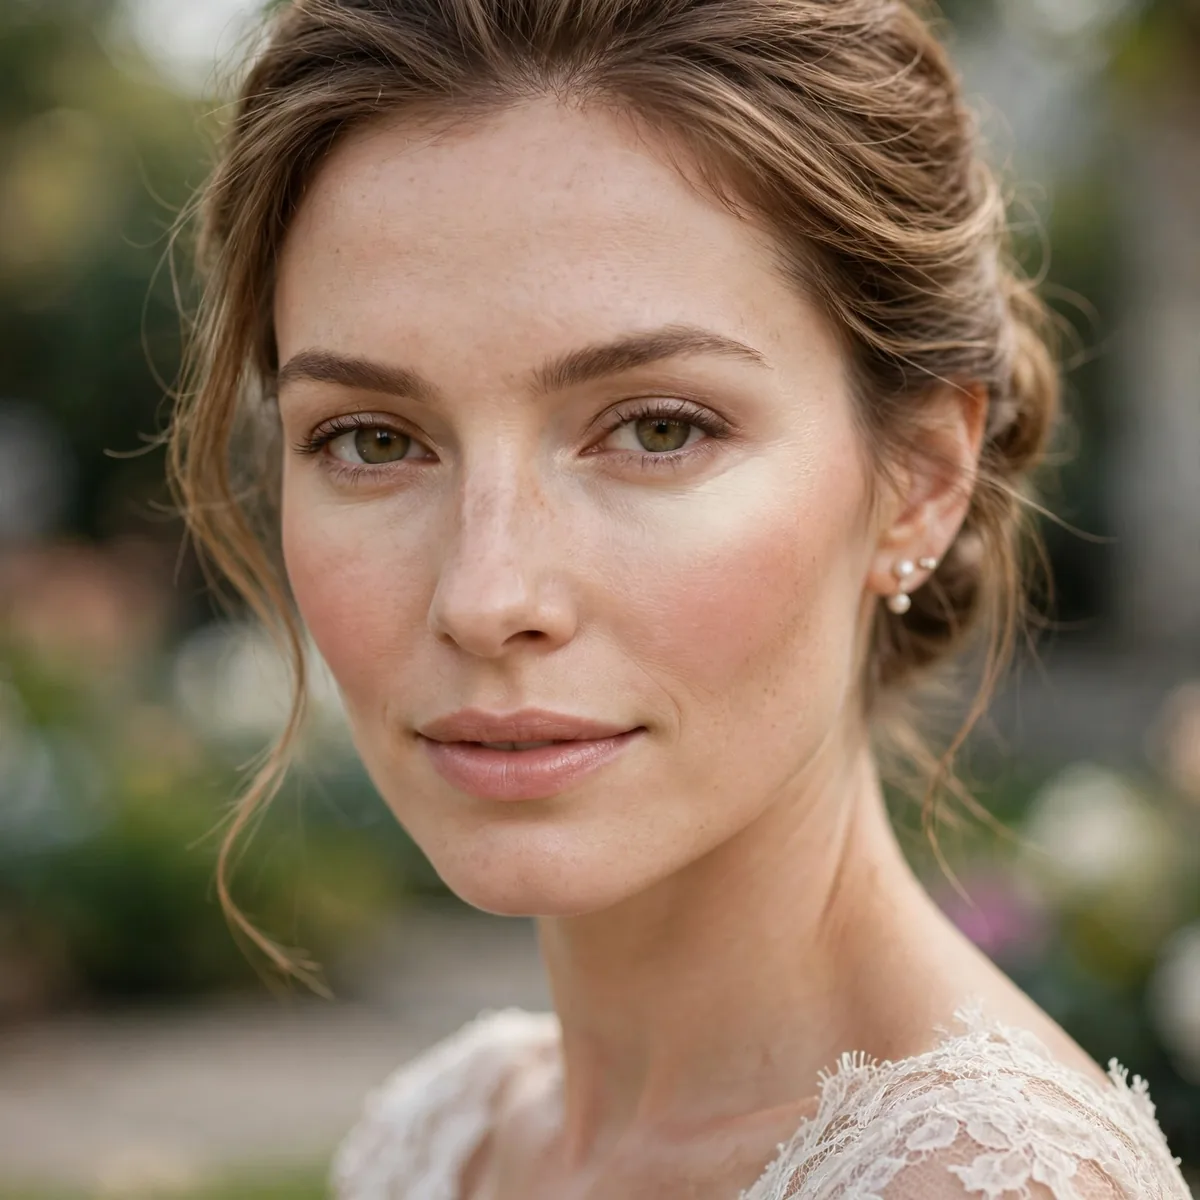
Cream blush and bronzer melt INTO skin and move with it; powders can cake in humidity.
Set creams lightly with translucent powder only where needed.
Stock your kit with cream blush, cream bronzer, and a cream highlighter — all three fuse with skin’s natural oils instead of sitting on top, which is exactly why they survive humidity. Warm the product on the back of your hand first, then press it in with fingertips or a stippling brush; body heat is the best blending tool creams have. The exception: extremely oily skin in heat, where a long-wear powder blush over a cream base gives belt-and-suspenders security.
Set creams with intention outdoors: a sheer press of translucent powder over the T-zone and a locking mist everywhere else keeps them mobile without migrating. Cream eyeshadow doubles as the perfect outdoor eye base — a wash of bronze cream shadow topped with a matching powder shadow will not crease the way layered powders do. Reapply cream blush with fingertips midday; it melts back into the existing base seamlessly, unlike powder which stacks.
Blotting Papers Are Gold
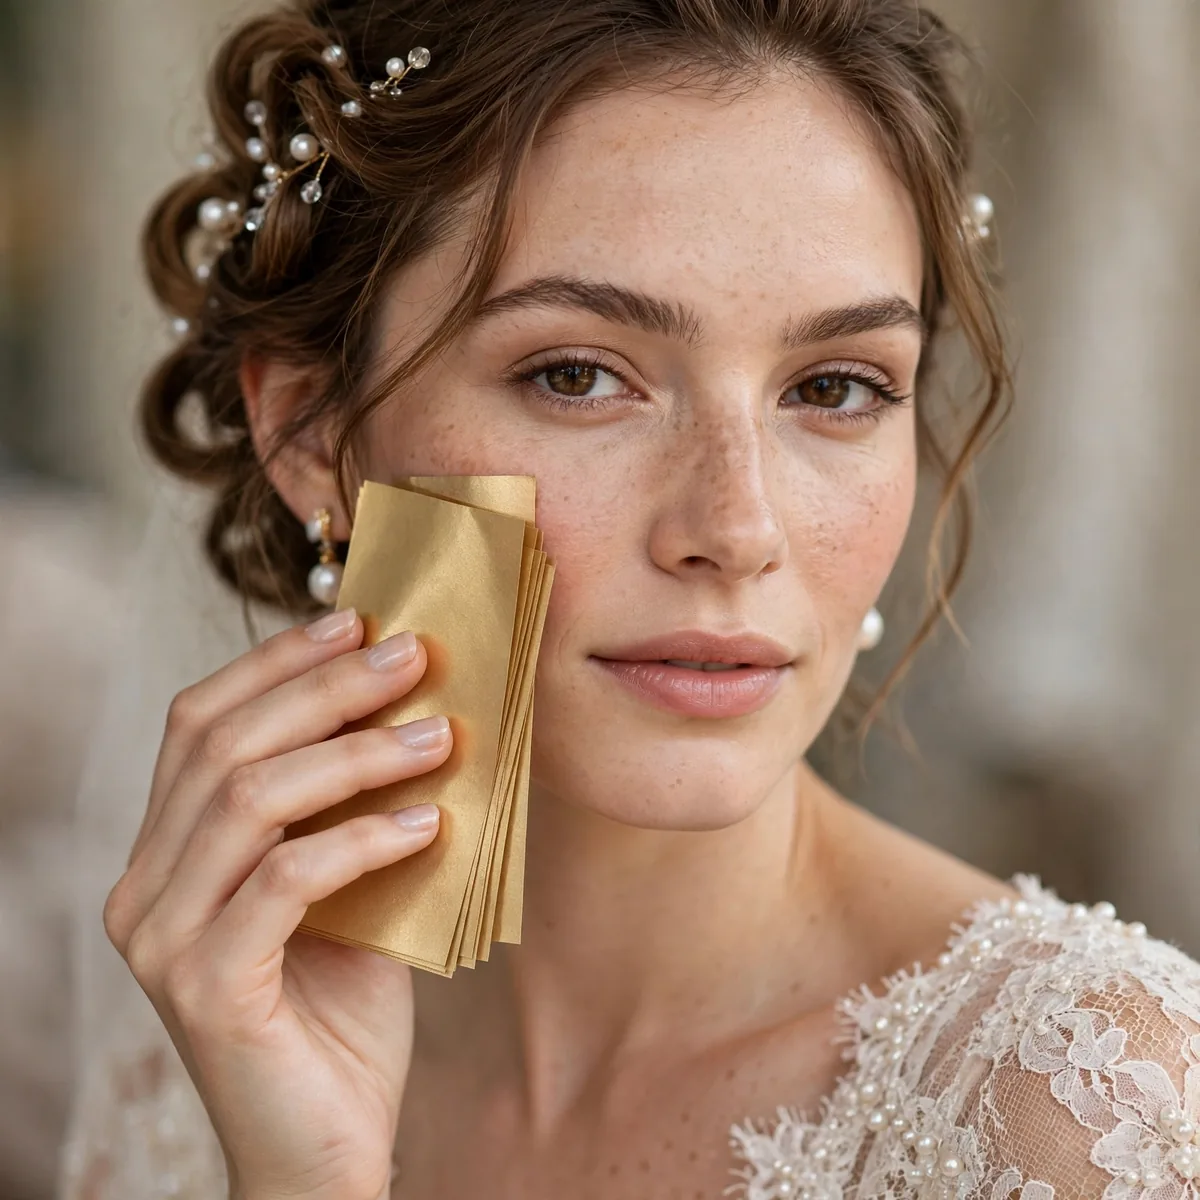
Pack dozens. Blotting removes shine without adding layers that’ll cake later.
Press, don’t rub — rubbing moves makeup around.
Pack far more than feels reasonable — thirty to forty sheets for a full outdoor wedding day, since heat and happy tears both demand blotting. Rice-paper sheets absorb oil invisibly, charcoal versions handle heavy shine, and powder-infused papers leave a soft matte finish in one step. Press a sheet onto the T-zone, around the nose, and the chin for five full seconds each; lifting too fast leaves oil behind and wastes the sheet.
Blotting first is the golden rule of outdoor touch-ups: removing oil before adding anything prevents the layered, cakey buildup that ruins evening photos. Dab — never drag — around the delicate under-eye area, where rubbing disturbs concealer. Blot lips with a tissue before reapplying color so fresh lipstick grips instead of sliding on a slick base. Stash packets everywhere: your clutch, your maid of honor’s bag, and the getting-ready room.
Wind-Proof Hair and Face
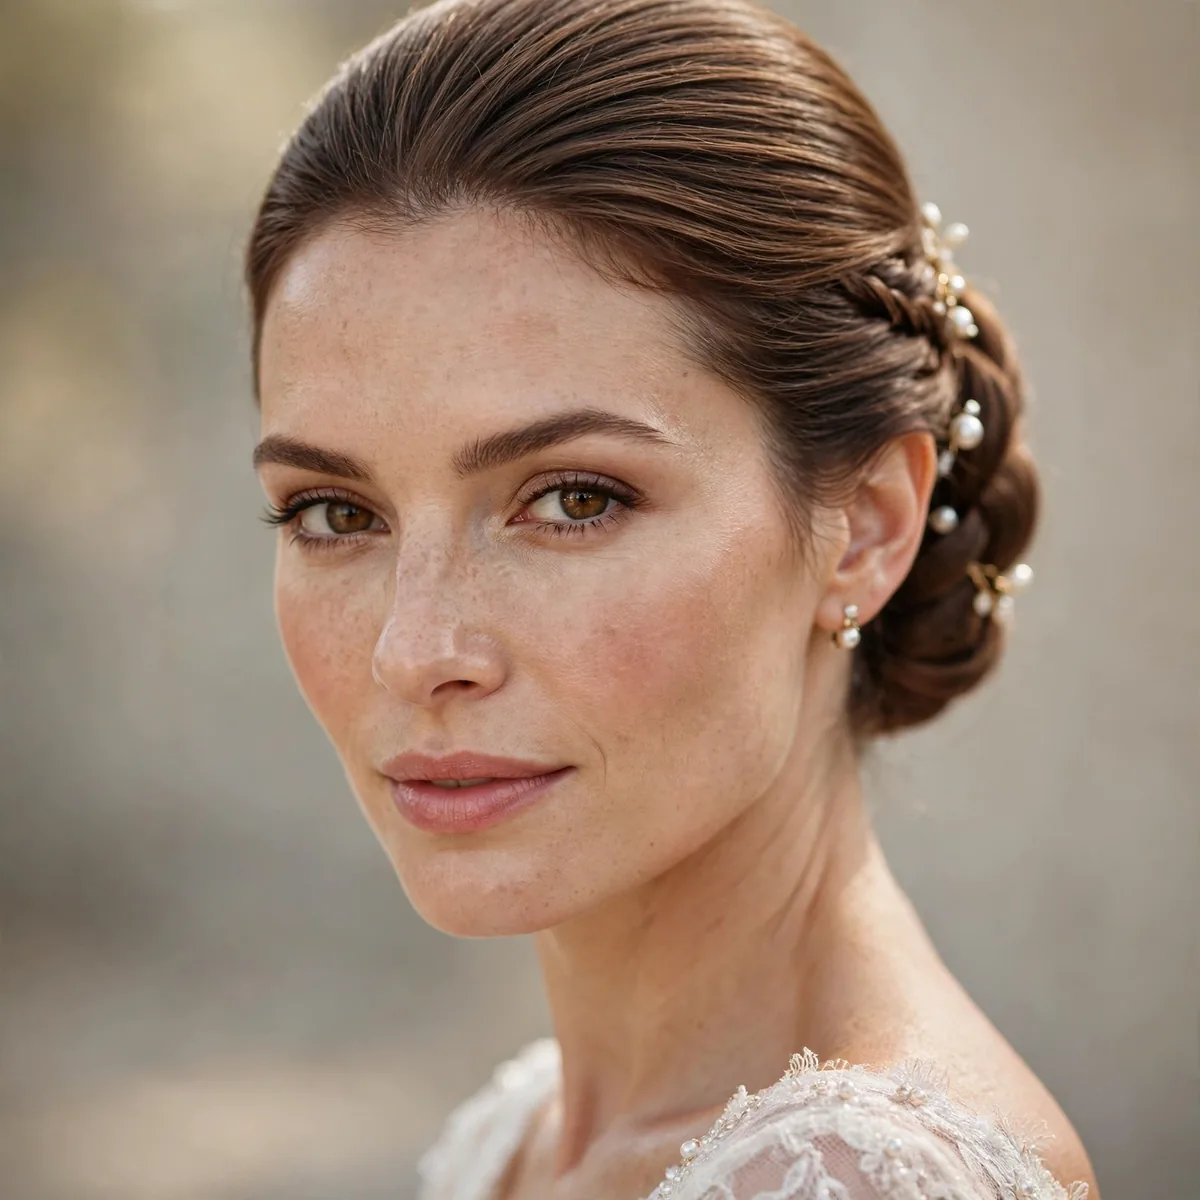
Wind moves hair into glossed lips — use long-wear lip stains, not sticky glosses.
Secure hairstyles matter as much as makeup; wind is a team effort.
Wind-proofing starts with the hairstyle: structured updos, braided crowns, and low chignons survive gusts that shred loose waves within minutes. If your heart is set on hair down, ask your stylist for hidden pinning at the nape and a strong-hold, humidity-resistant spray — plus a travel-size spray in the emergency kit. Anchor veils with two crossed bobby pins at the comb’s base; a veil sailing across the ceremony is memorable for the wrong reasons.
For lips, wind makes gloss a liability — strands glue themselves to sticky finishes and every gust becomes a touch-up. A long-wear lip stain topped with a non-tacky balm gives color without the trap. Tame flyaways with a clean toothbrush misted with hairspray, smoothing edges without helmet-head stiffness. When the wind picks up during portraits, ask your photographer to shoot between gusts; a two-second pause beats fighting your hair in every frame.
Humidity-Proof Lashes
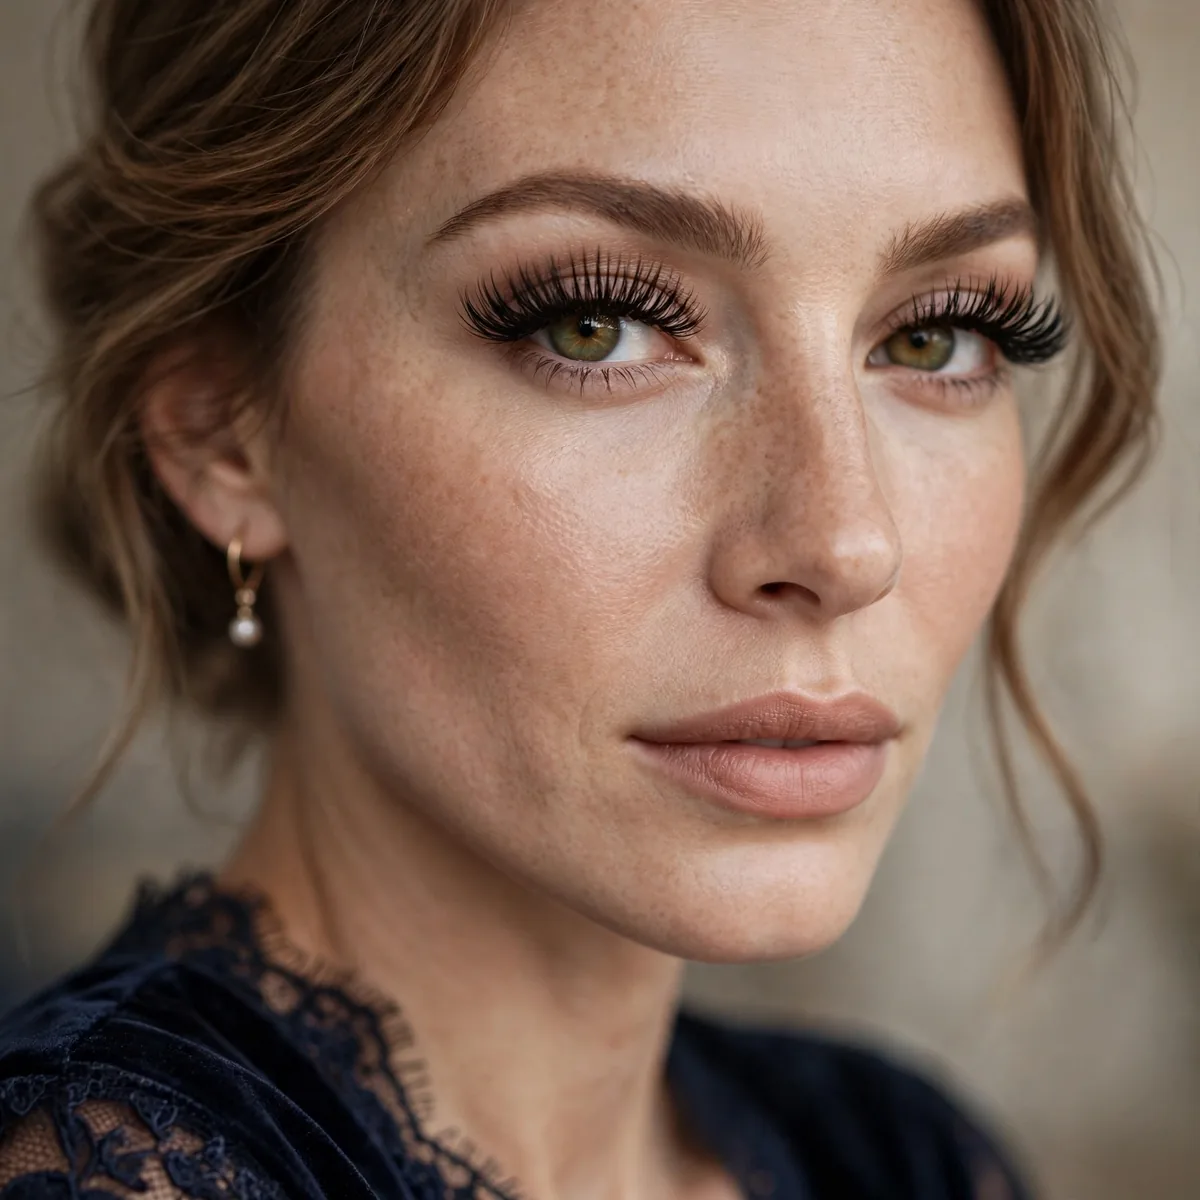
Humidity loosens lash glue — use waterproof adhesive and consider individual clusters.
Lash lifts + tint are the ultimate humidity-proof option.
Humidity attacks lash glue at its weakest point — the inner and outer corners — so apply an extra dot of waterproof adhesive at both ends of the band. Let the glue turn tacky, thirty to sixty seconds, before placement; wet glue slides as humidity rises. Individual clusters outlast strips in damp air because each has its own anchor point. The true humidity champion remains a lash lift and tint done days before — nothing to loosen, nothing to re-glue.
Pack lash glue and tweezers in the emergency kit regardless — even perfect application can lift when a bridesmaid’s happy hug lands wrong. Pair falsies with a tubing mascara on natural lashes so everything removes with warm water, no tugging. Skip the combination of a heavy strip lash plus non-waterproof mascara in humidity; it is the fastest route to panda eyes. At night, press an oil-based remover onto the lash line and slide the band off gently — never pull.
Sweat-Proof Brows
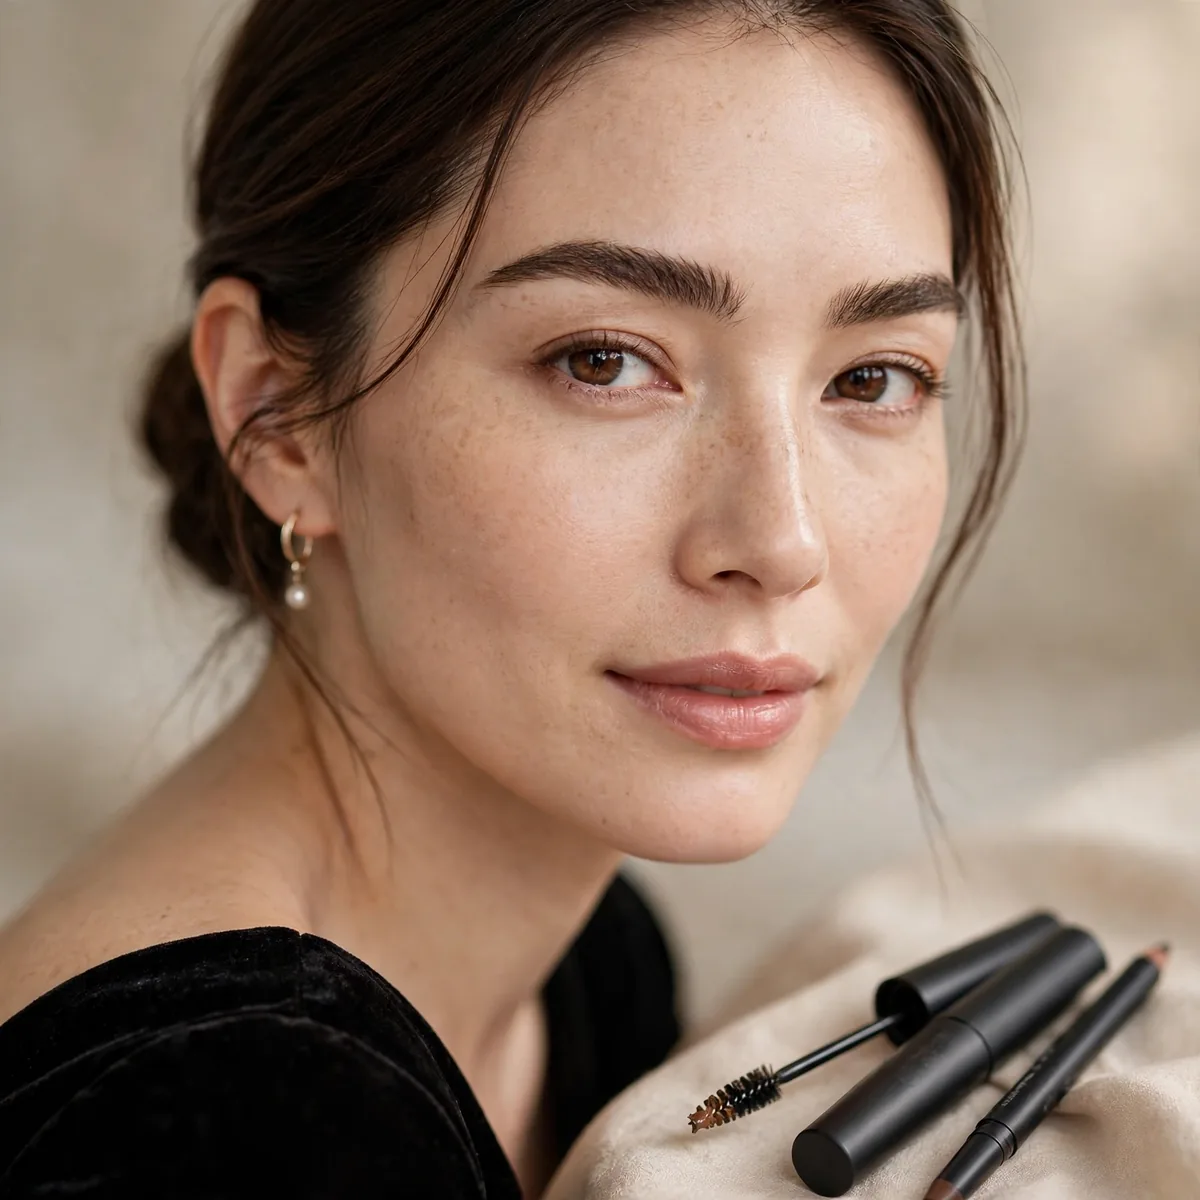
Brows sweat off first. Use waterproof pomade or tint, set with brow gel.
Consider brow tinting a few days before as a sweat-proof base.
Build sweat-proof brows in two layers: a waterproof pomade or fine-tipped pen drawn in hair-like strokes, then a waterproof brow gel combed through to lock everything down. Tinted formulas do double duty, depositing color and hold in one pass. Shape brows a full week before the wedding — waxing or threading too close causes redness and bumps that sweat makes worse. Avoid brow pencils with waxy, non-waterproof cores; they are the first to slide.
A professional brow tint two to three days before the wedding creates a semi-permanent base that survives sweat entirely — even if surface product fades, the tinted hairs keep their definition. For sparse brows, tint plus a waterproof pen is the most bulletproof combination available. Keep a tinted brow gel in the touch-up kit for a thirty-second refresh, and blot forehead sweat before it travels downward — sweat running into brows is what dissolves them.
The Lip Stain Strategy
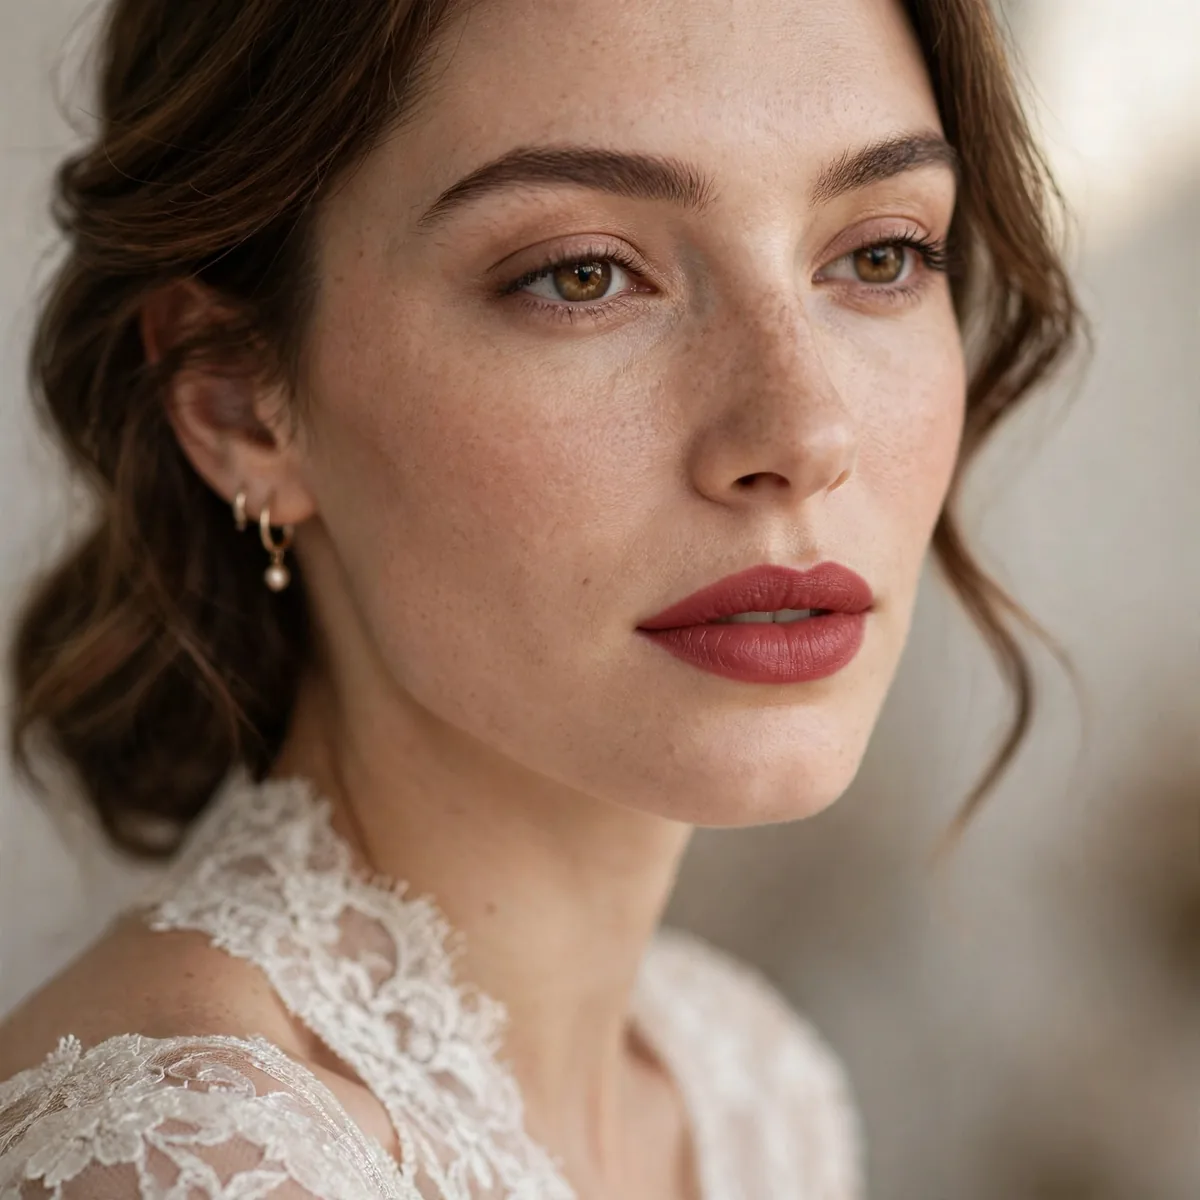
Lip stains survive eating, drinking, kissing, and wind. Layer balm on top for comfort.
Apply stain, blot, reapply — two thin layers outlast one thick one.
Water-based lip tints and peel-off stains outperform traditional lipstick outdoors — they dye the lip rather than coating it, so there is nothing to smear. Exfoliate lips the night before, then apply two whisper-thin layers, blotting between each; thick stain applies patchy and peels. Choose a shade one notch deeper than your ideal, since stains fade to about seventy percent intensity within the first hour and then hold steady all day.
Layer a non-tacky balm or lip oil over the stain for comfort — stains can feel drying after hours, and the balm layer takes the abuse of eating and kissing while the color stays put underneath. Reapply balm freely through the day without touching the stain. Define the edges with a matching lip liner first; stain alone can bleed on mature lips. Remove at night with an oil-based cleanser, since water alone will not lift a good stain.
Mattify the T-Zone Only
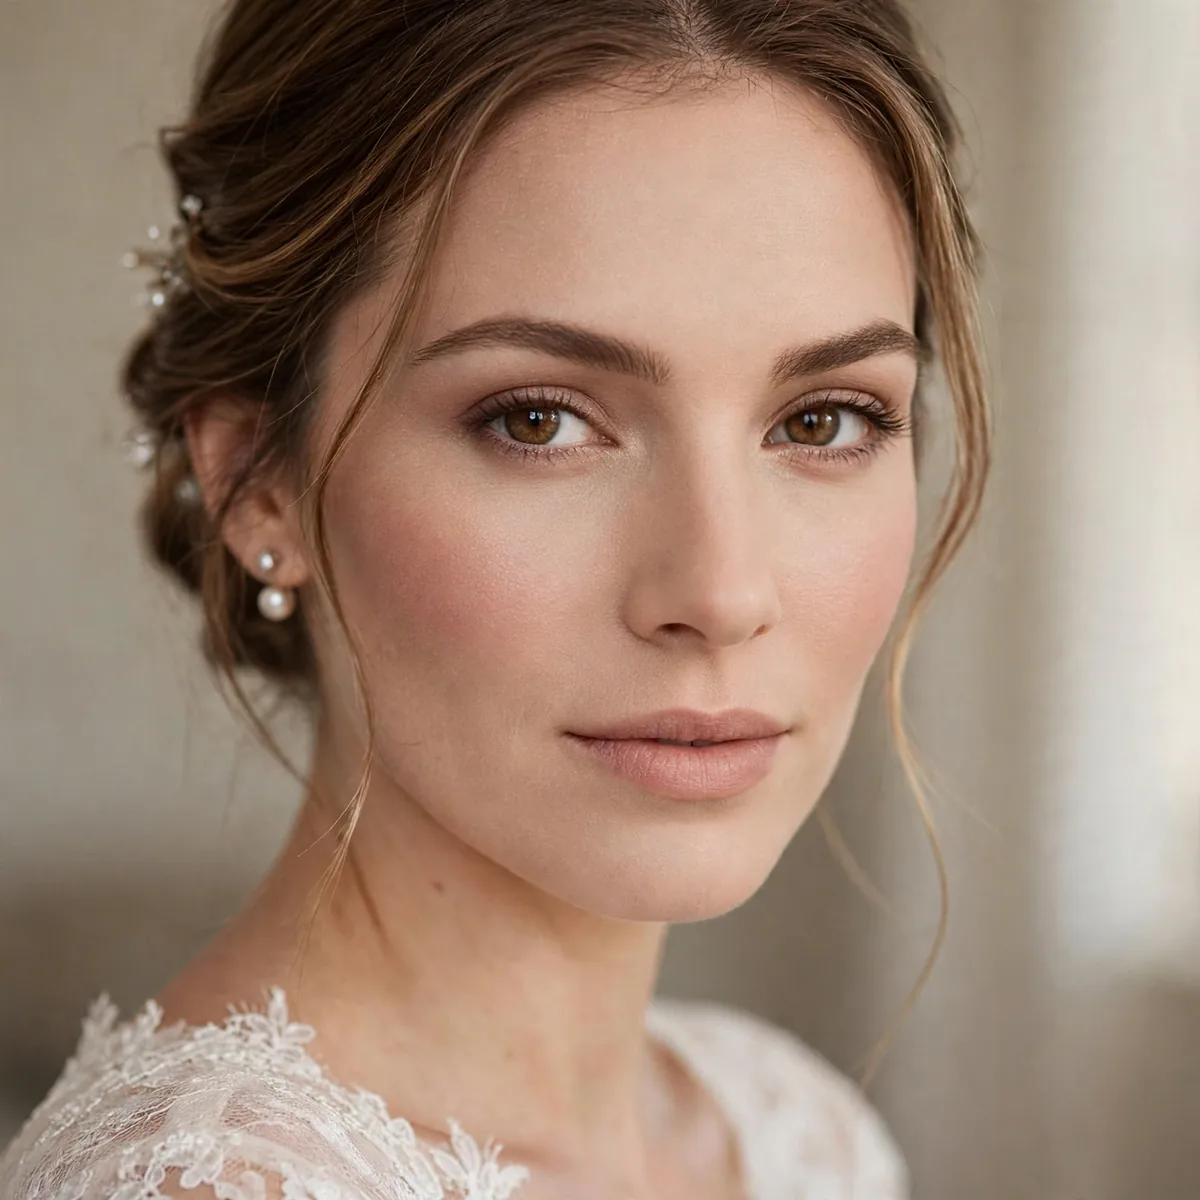
Keep cheeks dewy but mattify forehead, nose, and chin — shine control where it counts.
Targeted powdering looks natural; all-over powder looks flat in sunlight.
Press — do not sweep — powder into the forehead, nose, and chin with a velvety puff; pressing deposits product without disturbing the base underneath. A pressed compact gives more control outdoors than loose powder, which billows in breeze. Leave the cheeks, temples, and the area above the brow completely powder-free — dewy cheeks catch sunlight beautifully and photograph youthful, while a fully matte face looks flat and tired by golden hour.
Choose a finely-milled, talc-free powder to avoid the white cast that silica-heavy formulas create under flash — test with your photographer’s lighting at the trial. Always blot oil away before re-powdering; layering powder over oil is what creates the dreaded cake. Time the powder touch-up for just before portraits rather than right after the ceremony — matte skin at its freshest when the camera matters most, with natural glow returning for the dance floor.
Touch-Up Timeline
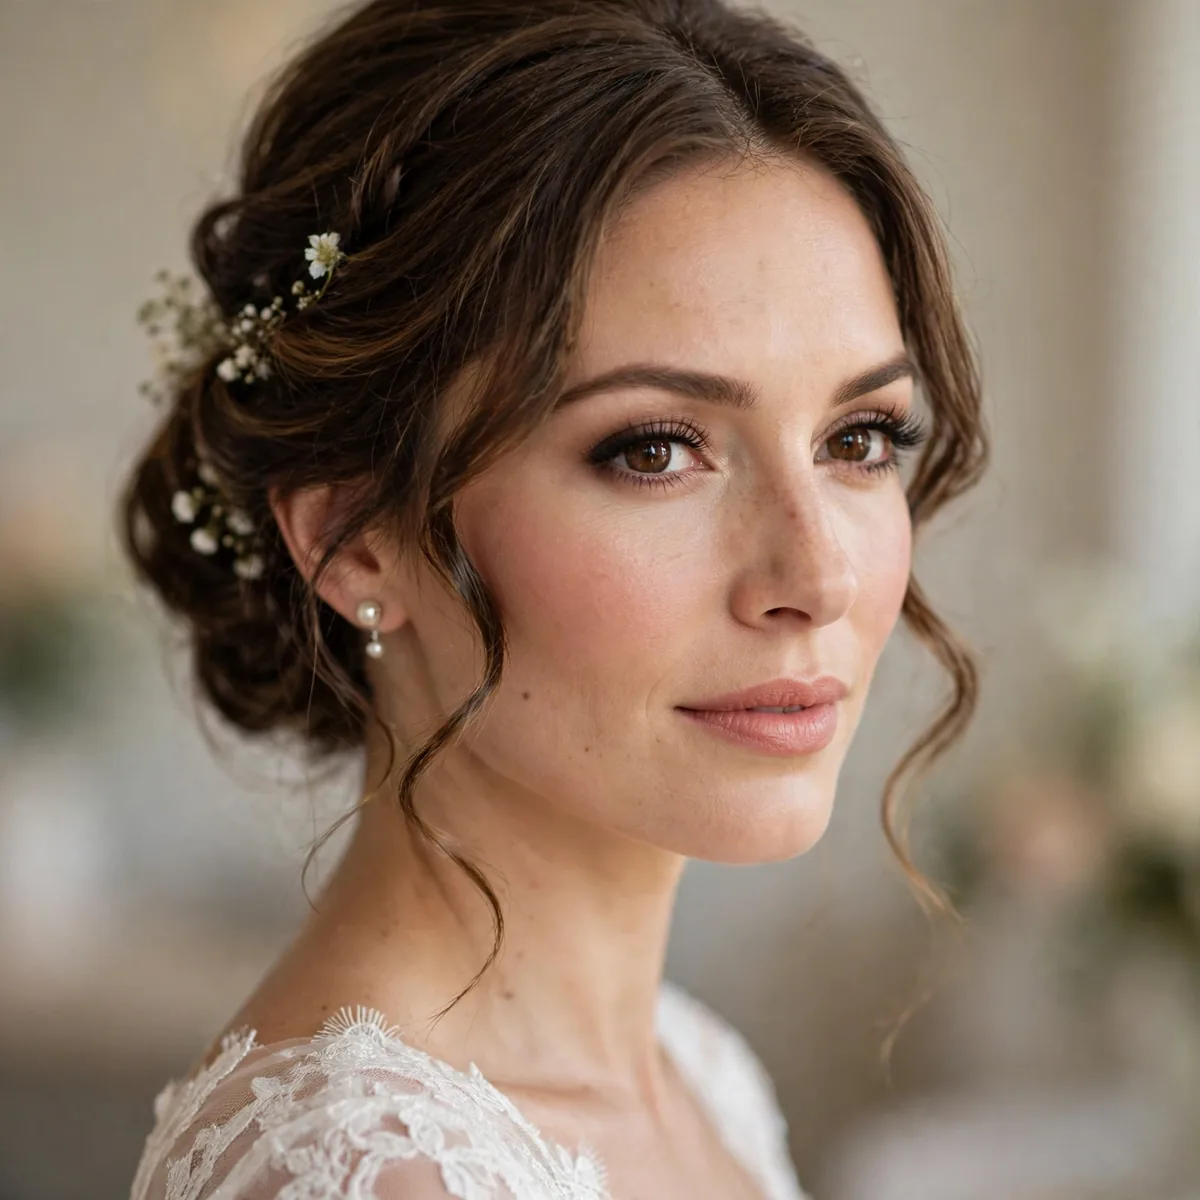
Schedule touch-ups: post-ceremony, pre-reception, pre-dance. Three quick fixes beat one overhaul.
Assign the timeline to your maid of honor so you don’t have to think.
Make each window count: post-ceremony is blotting papers plus lip color — you have five minutes between the receiving line and family photos. Pre-reception adds pressed powder on the T-zone and a veil of setting spray, timed for the grand entrance. Pre-dance is the final check: teeth, lipstick, flyaways, and a last blot. Each stop takes under three minutes, so the timeline never steals you from your own party.
Walk your maid of honor through the kit the night before — show her the blotting technique, the exact lipstick, and where the setting spray lives in the pouch. Do a two-minute practice run so she is confident, not guessing, under time pressure. Name a backup bridesmaid too; your MOH will be in half the photos and cannot always slip away. With the timeline delegated, you get to stay present instead of clock-watching your own face.
Sun Position Matters
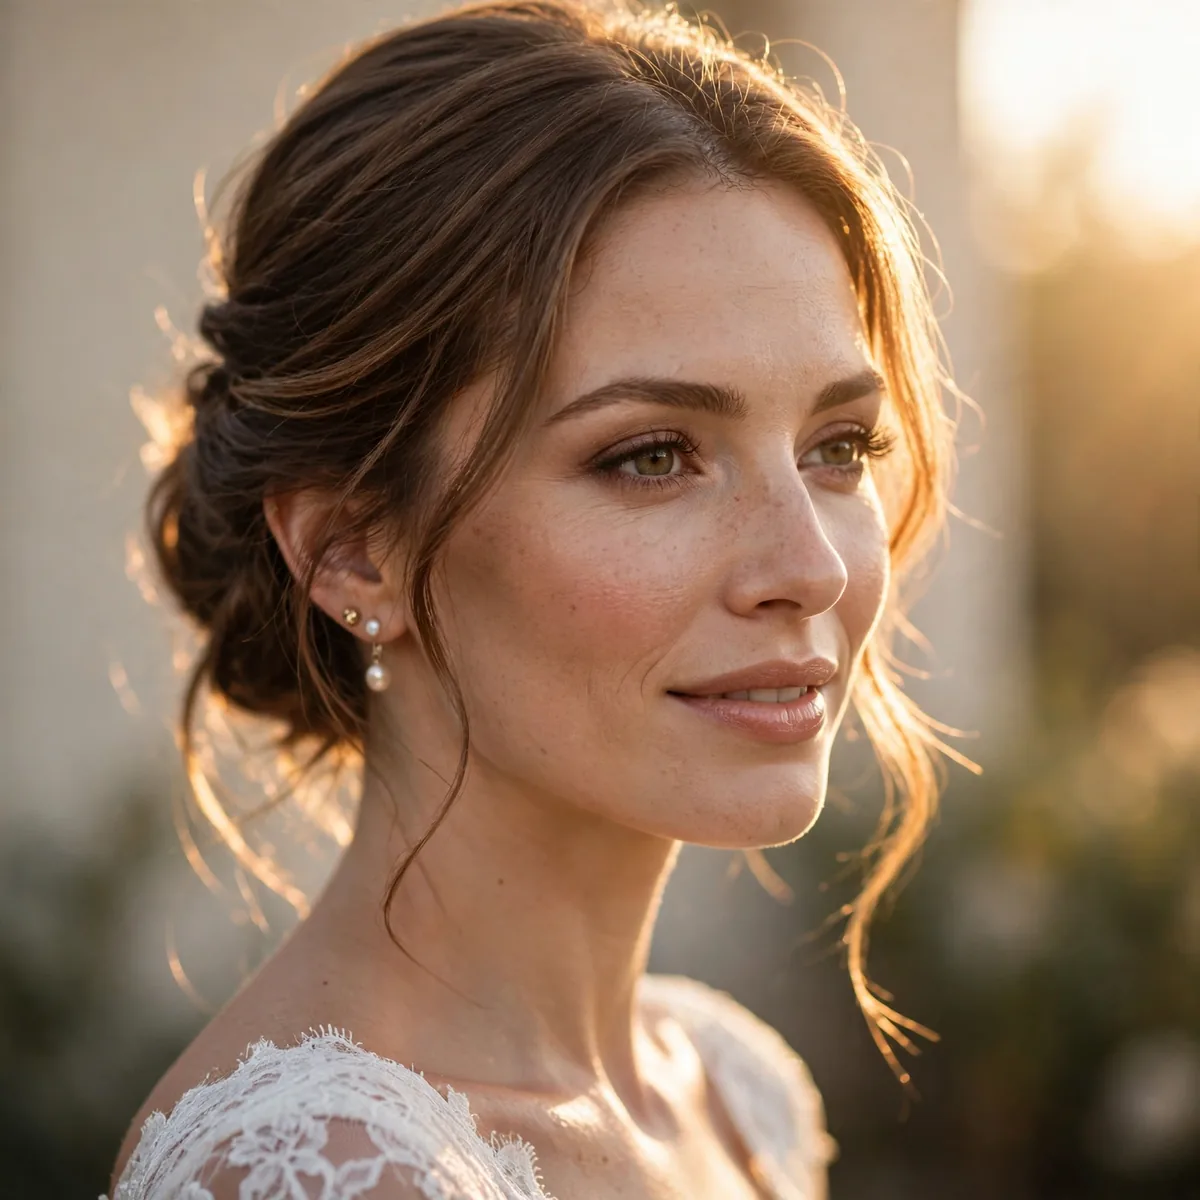
Harsh midday sun is unflattering to everyone — schedule photos for golden hour when possible.
A little extra blush compensates for sun washing out color.
Work with your photographer on timing: a 4 or 5 p.m. ceremony lets portraits fall naturally into golden hour, when sunlight is warm, directional, and forgiving. If midday is unavoidable, position the ceremony so guests and couple face away from direct sun, using open shade from trees or a sail. Wear sunglasses right up until go-time — squinting carves temporary lines around the eyes that makeup cannot hide.
Bright sun washes out color, so go one notch stronger than feels natural: a touch more blush, a slightly deeper lip, and well-defined brows keep features from disappearing in high-contrast light. A white parasol is both a prop and a tool — it creates flattering open shade for close portraits on cloudless days. Reapply SPF powder before extended photo sessions; sunburn mid-wedding is miserable and photographs red for weeks.
Bug Spray vs Makeup
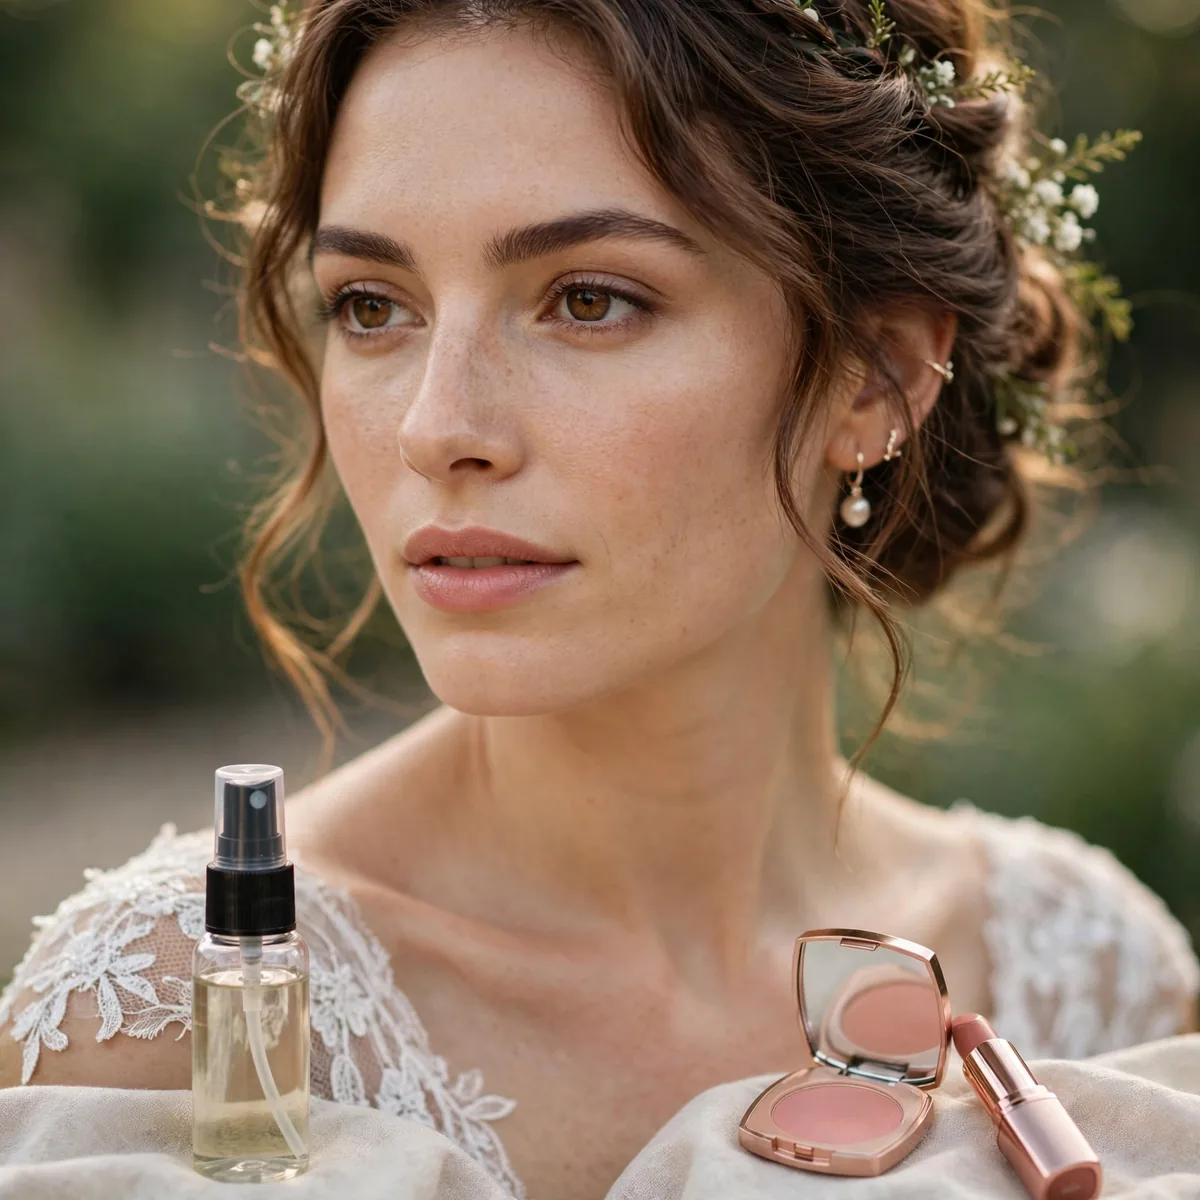
Apply bug spray BEFORE makeup or use bracelets — DEET dissolves cosmetics on contact.
Picaridin-based repellents are less damaging to makeup than DEET.
DEET is a solvent — sprayed over makeup, it streaks foundation and dissolves sunscreen on contact. The safe order: apply repellent to exposed body skin first, let it dry fully, then do makeup, keeping sprays far from the face. Picaridin-based formulas are markedly gentler on cosmetics and nearly as effective against mosquitoes. For the face itself, rely on repellent bracelets, a handheld fan during still moments, and venue citronella rather than any spray.
If mosquitoes return midday, reapply repellent only below the knees and on clothing — never mist it over a made-up face. Oil-based botanical repellents can stain light fabrics, so spray them before dressing. Ask your venue about citronella candles or torches around the reception perimeter; area repellents protect the whole party without anyone’s makeup paying the price. A few bites beat a dissolved face every time.
The Emergency Kit
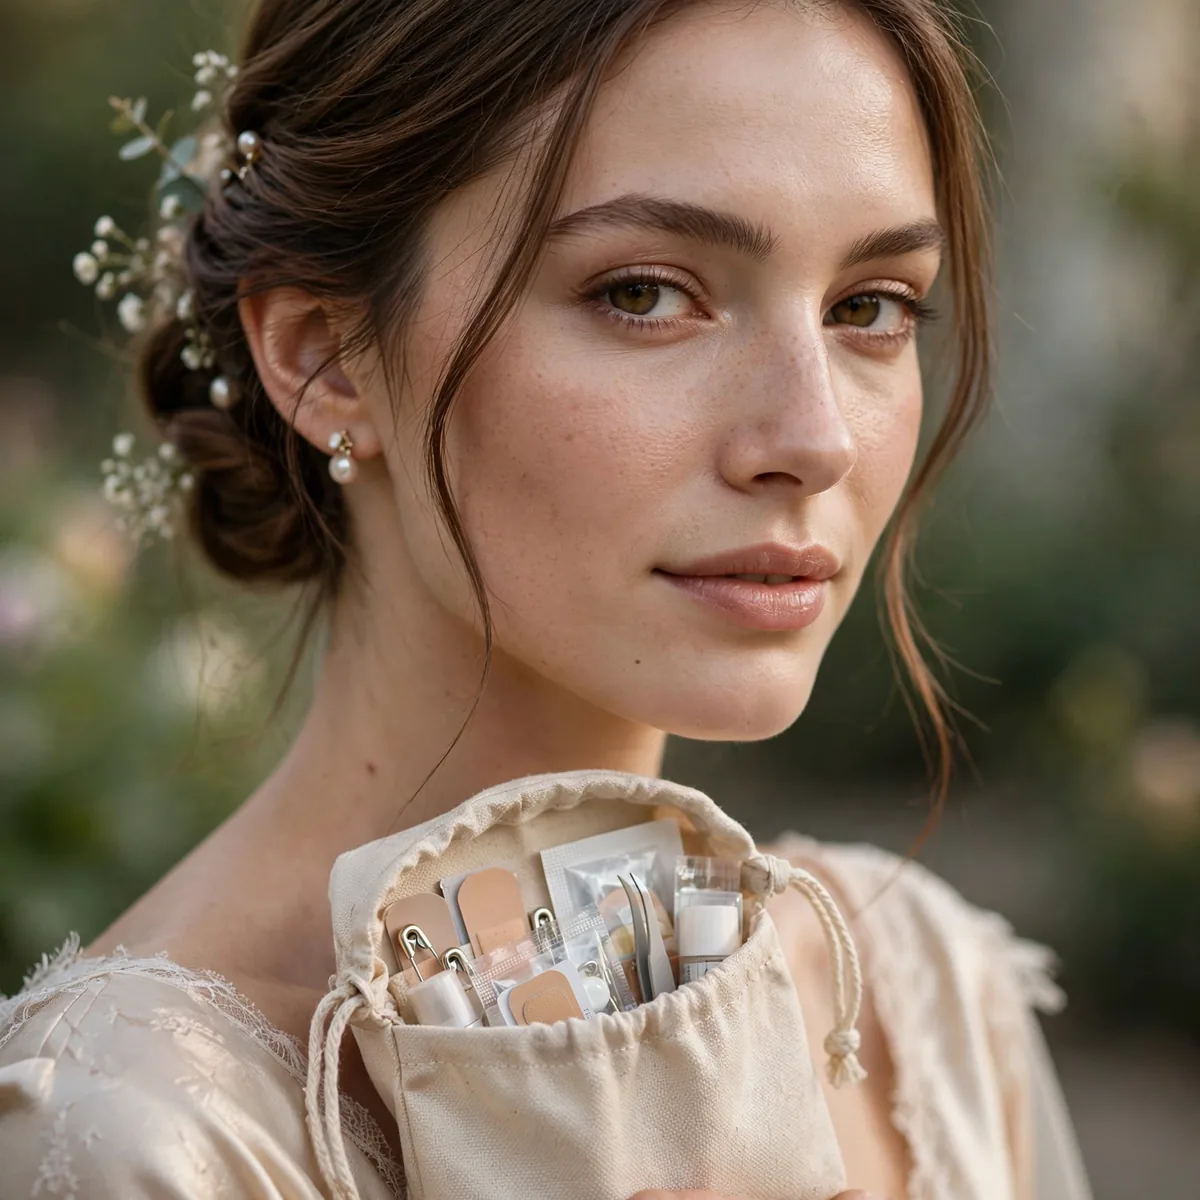
Blotting papers, lipstick, mini powder, deodorant, fashion tape, mini brush, tissues.
Pack for the worst weather and hope for the best.
Pack with purpose: blotting papers for shine, your exact lipstick and liner, a pressed powder compact, mini setting spray, lash glue with tweezers, fashion tape for neckline slips, a stain-removal pen, mini deodorant, pain reliever, and a few bobby pins. Decant everything into one slim pouch that fits a clutch — a sprawling makeup bag never leaves the getting-ready room. Give a duplicate mini-kit to your coordinator for the reception venue.
Add weather-specific extras: an SPF powder for reapplication, a repellent bracelet for garden venues, tissues for happy tears (dab, don’t wipe), and a handheld mini fan for heat. Toss in a few adhesive bandages — new-shoe blisters strike fast. Check the kit the morning of: confirm the lipstick shade matches, the spray nozzle works, and the powder compact is not shattered. A two-minute audit beats discovering a broken compact at cocktail hour.
Trial in Similar Weather
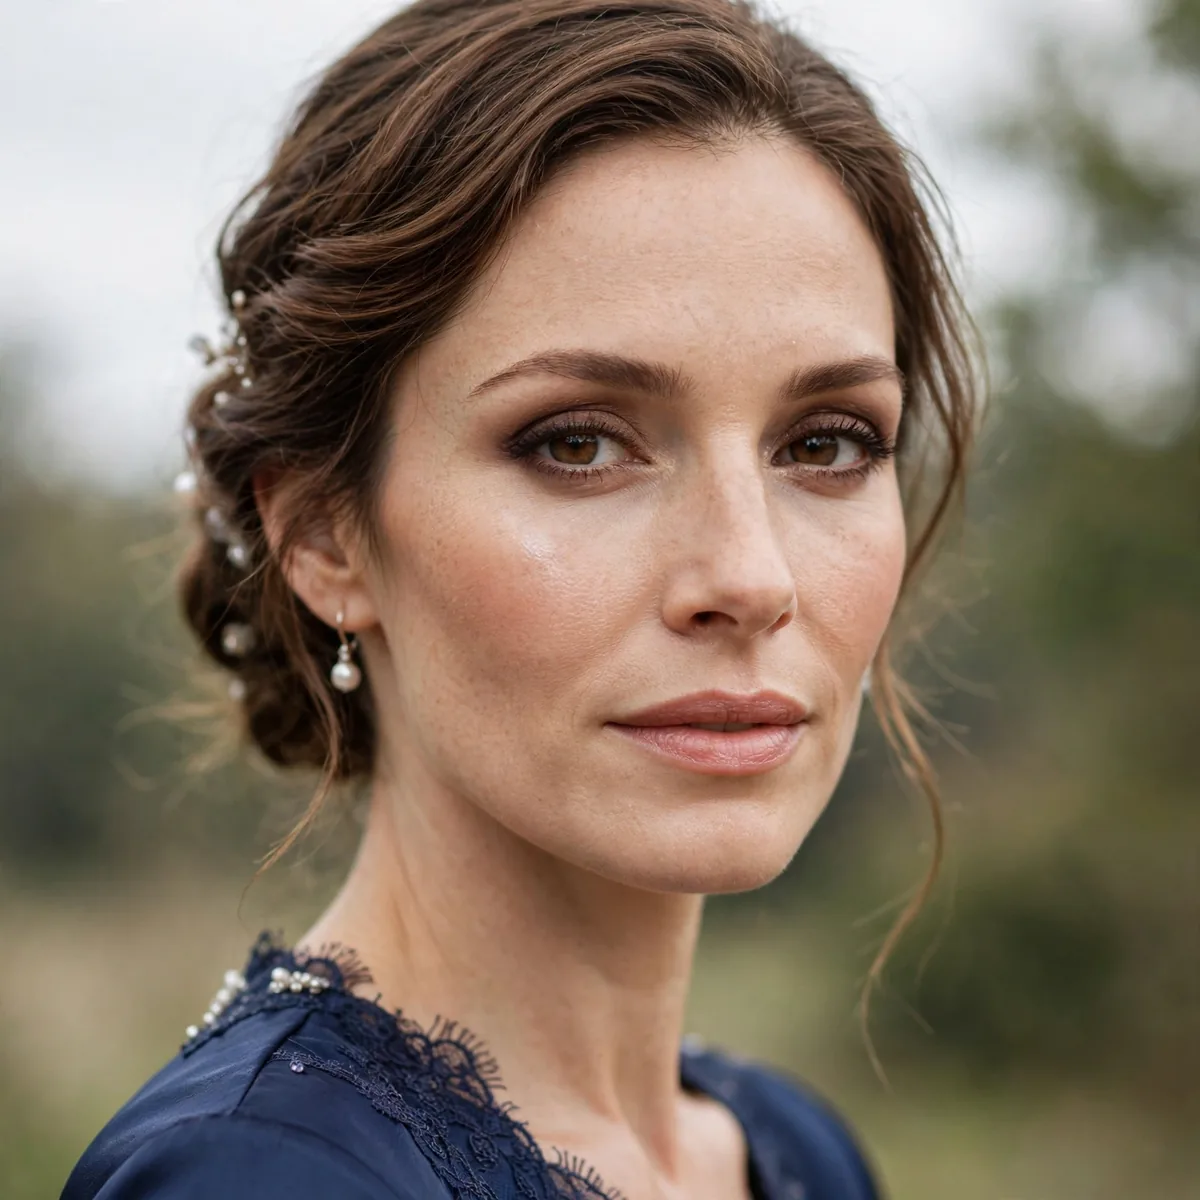
Do your trial on a day with similar weather to the wedding — humidity changes everything.
Wear the trial makeup outdoors for hours, not just indoors.
Humidity rewrites every rule your indoor trial taught you, so book the trial on a day matching the wedding forecast as closely as possible — check the ten-day outlook and be flexible. After application, spend at least three hours outdoors: walk, sit in sun, let yourself perspire. Note exactly what fails first — sliding foundation, fading blush, migrating liner — because those are the precise weak points your artist must reinforce on the day.
Photograph the trial in full sun, open shade, and with flash — outdoor light exposes flaws indoor lighting hides. Ask your artist to note every product used; if the base melts, you will know exactly which formula to swap for something more tenacious. Do not hesitate to book a short second trial focused only on the failures — a forty-five-minute correction session costs far less than a melting face in your wedding album.
Beach Wedding Specifics
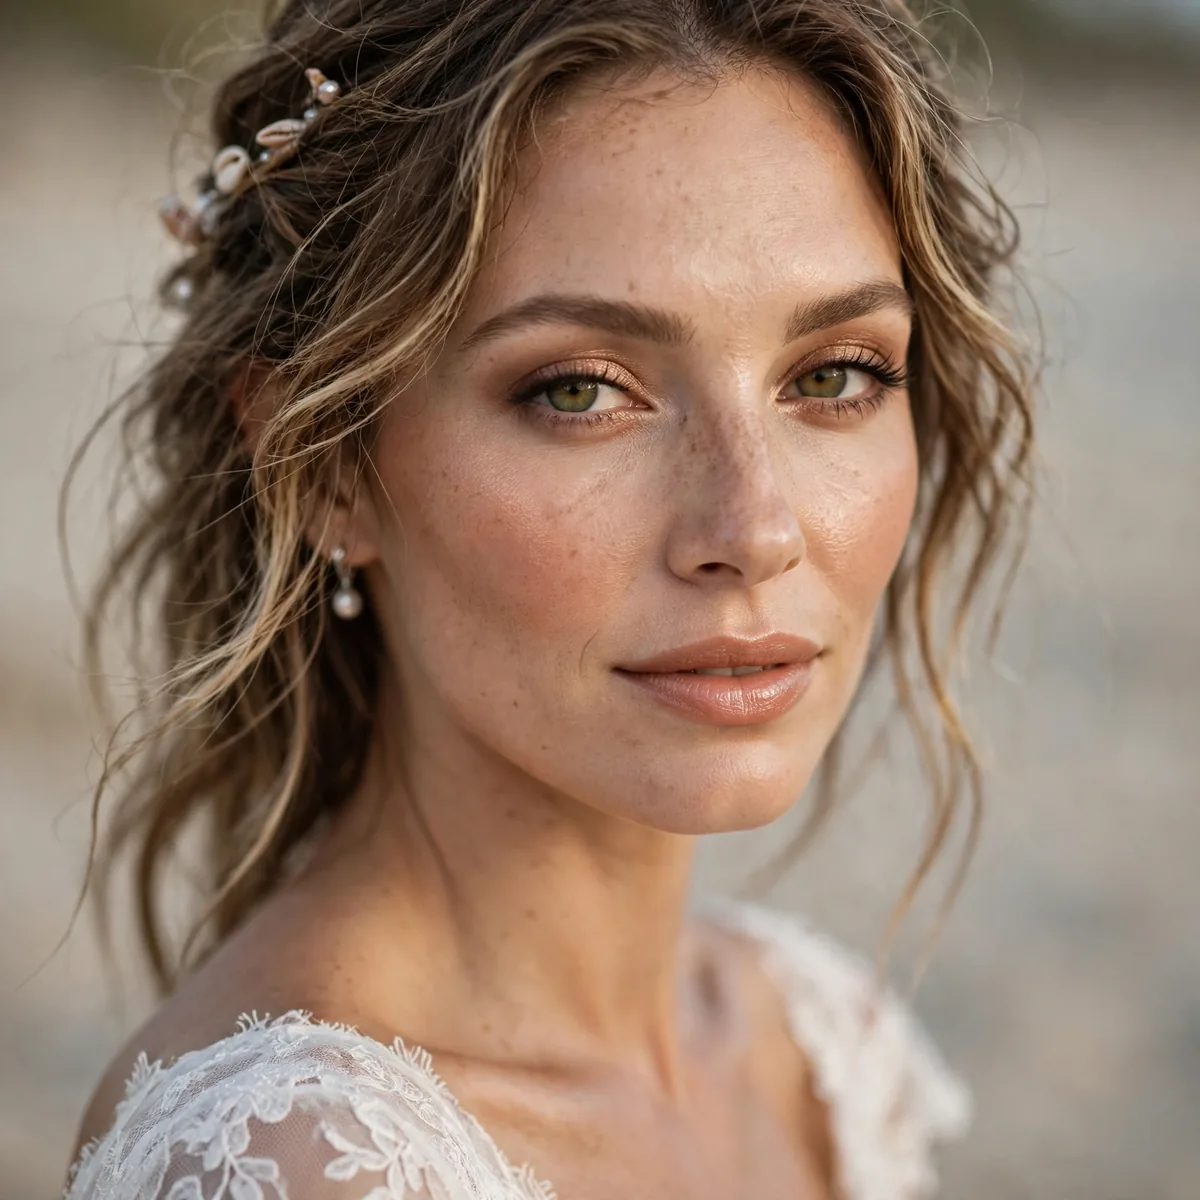
Salt air + sand + sun: go minimal, waterproof, and wind-proof. Less is genuinely more.
A barefoot beach ceremony pairs with bare-faced-adjacent makeup.
Salt air dehydrates skin fast, so layer a hydrating serum under a lightweight moisturizer before any makeup — skip heavy foundation entirely in favor of tinted SPF and concealer. Sand is the uninvited guest: keep a soft brush handy to sweep it from feet and dress hems, and choose a hairstyle that tolerates grit, like a braided updo rather than loose curls. Less makeup also means less to melt, smudge, or streak when ocean breeze hits.
Schedule beach ceremonies for late afternoon when the sun softens and the heat breaks — midday beach light is brutal on both skin and makeup. Waterproof everything is doubly non-negotiable with ocean mist in play. Pack a beach-specific kit: blotting papers, SPF lip balm, extra hair ties, and a small towel for sandy feet before the first dance. Embrace the windswept aesthetic in portraits; fighting the ocean breeze never wins.
Garden Party Polish
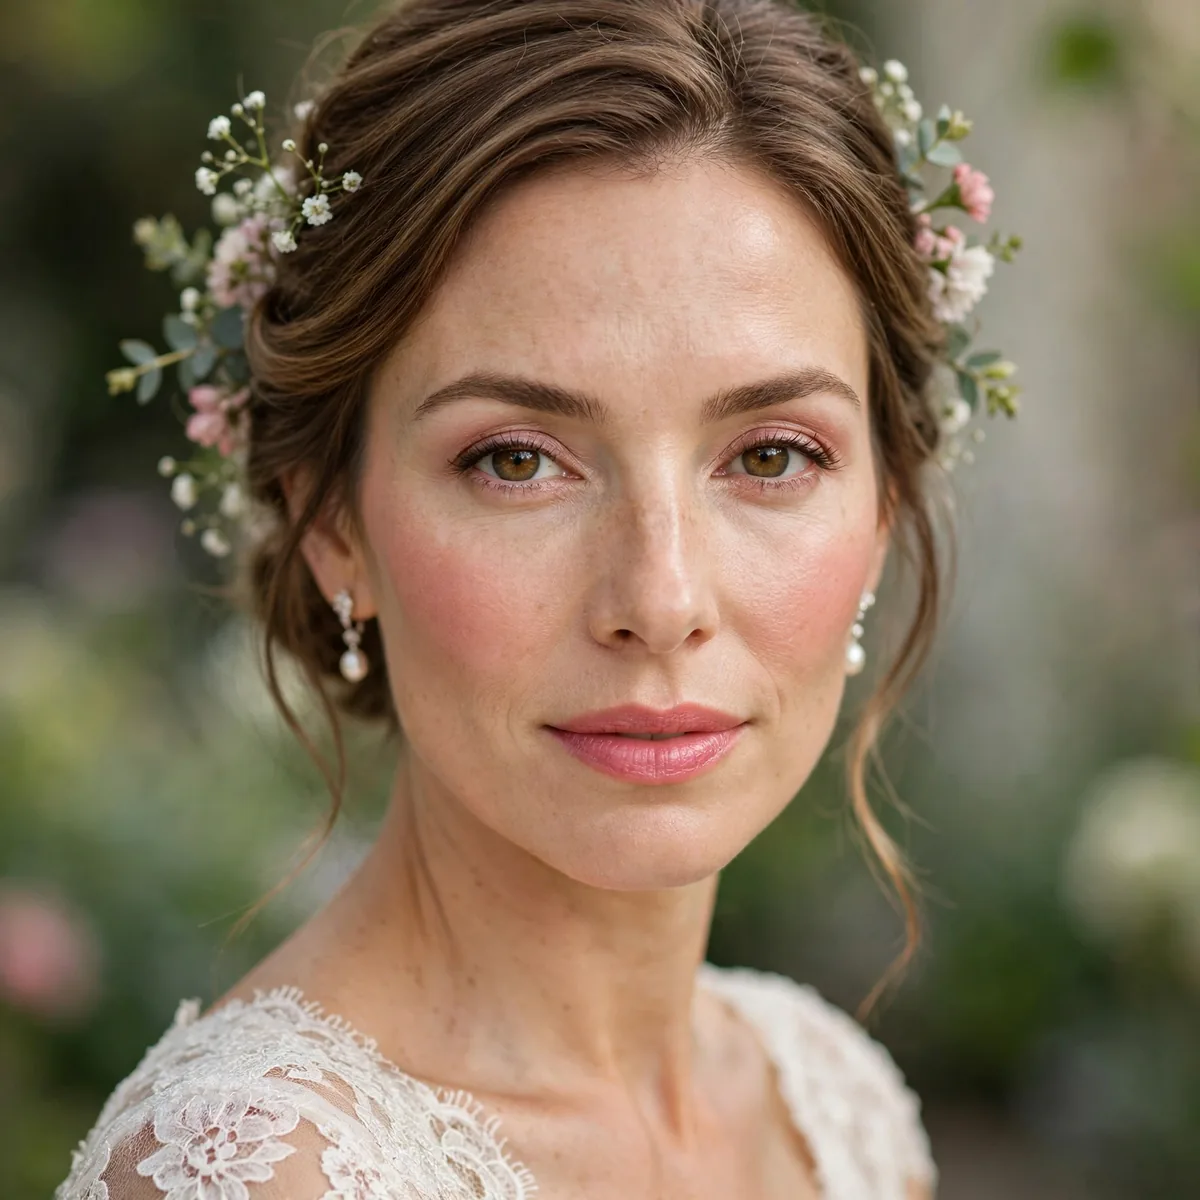
Garden weddings: romantic, soft makeup that looks beautiful in dappled light.
Shimmer looks magical in garden light — a little extra glow is welcome.
Garden light flatters romance: rosy blush swept high on the apples, a soft rose-gold shimmer on lids, and a petal-pink lip create a look that blooms in dappled sunlight. Keep edges soft — diffused blush, blended liner — since harsh lines fight the garden’s dreaminess. Echo your florals: if peonies and roses fill the arrangements, a matching rosy palette ties your face to the entire setting in photographs.
Garden weddings come with pollen: take a non-drowsy antihistamine that morning, wear waterproof eye makeup, and keep tissues handy — watery eyes dissolve even the best liner. Watch the hemline on dewy grass; ask your coordinator for a walkway check before the processional. As daylight fades into tent lighting, a quick dusting of highlighter on cheekbones keeps the glow alive — garden romance transitions beautifully into candlelit reception warmth.
You’ve Got This
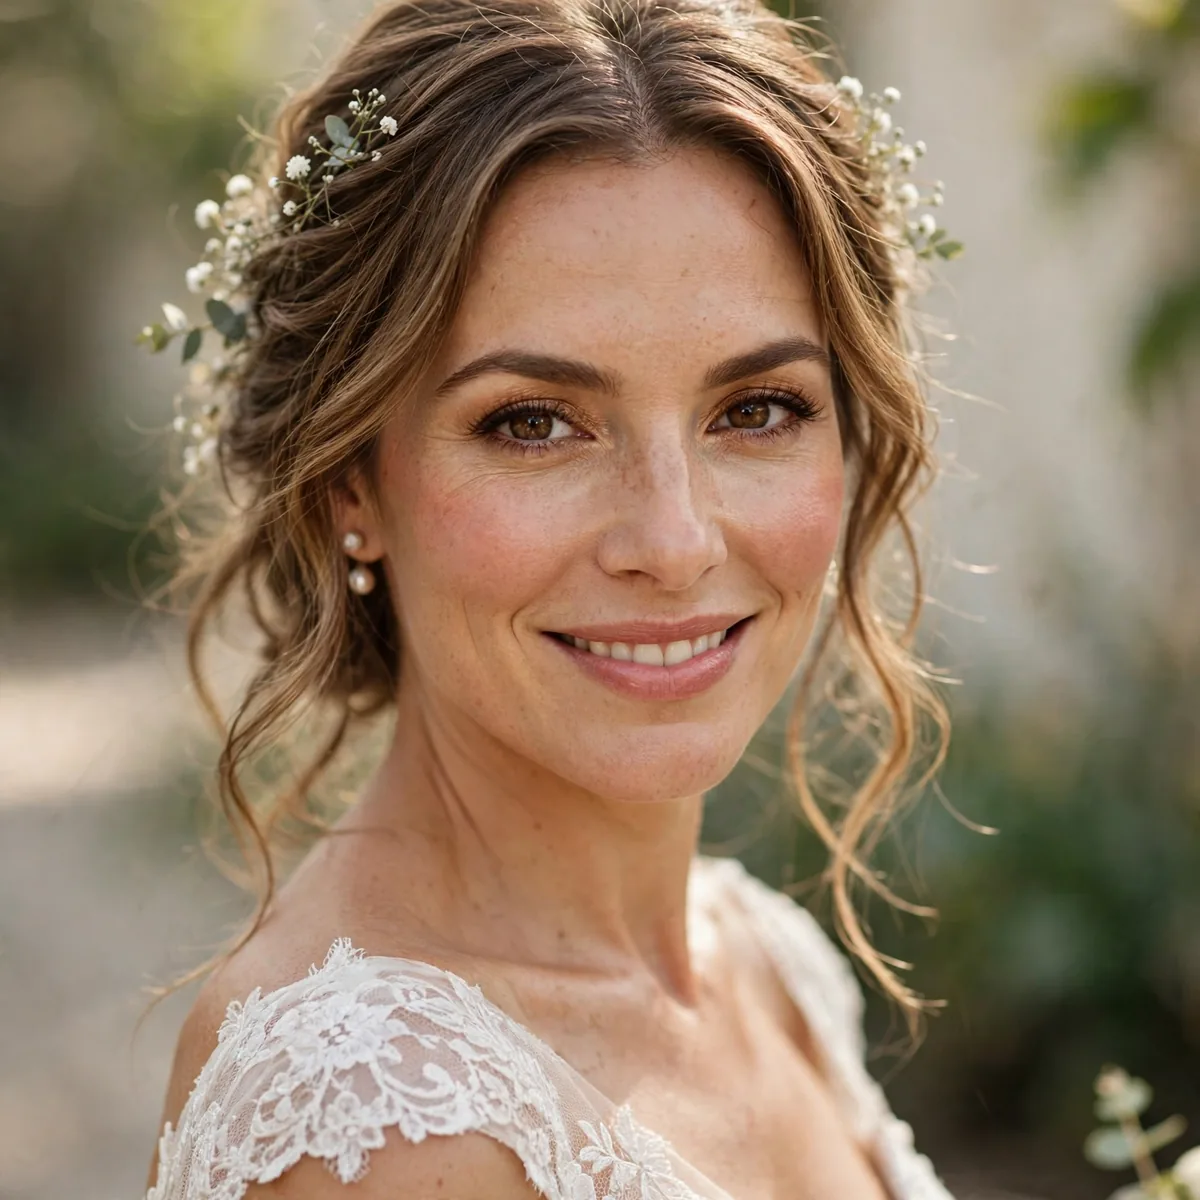
The final tip: stop checking the mirror. You’re married — that glow outshines everything.
For indoor elegance, see our timeless bridal looks.
By the wedding morning, the preparation is done — trust the trials, the timeline, and the team you chose. Hand every remaining worry to your coordinator and maid of honor; your only job is to be present. Take slow breaths while your artist works, keep water nearby, and eat something — low blood sugar causes more wedding-day meltdowns than any makeup mishap. The calm bride photographs better than the perfect face.
Once the look is set, close the compact and forget the mirror — no one at your wedding is inspecting your eyeliner; they are watching you marry your person. That unrepeatable happiness creates a glow no highlighter can manufacture, and it is what fills every frame. Years from now you will not remember whether your blush lasted; you will remember how it felt. Let the day be bigger than the makeup.
Weather-proof and wonderful. Save these tips, and for the classic looks see our timeless bridal makeup.