
Cameras lie — they wash out color, flatten dimension, and exaggerate shine. These tips fight back.
Webcam makeup is its own skill. What looks perfect in the mirror can look washed-out on Zoom because cameras desaturate about 20% of your color and flatten facial dimension.
The fix: slightly stronger blush and brows, matte where the camera catches shine, and strategic brightness where the lens darkens.
Here are 15 camera-specific tricks. Let’s get into it.
Brighten Under-Eyes Extra
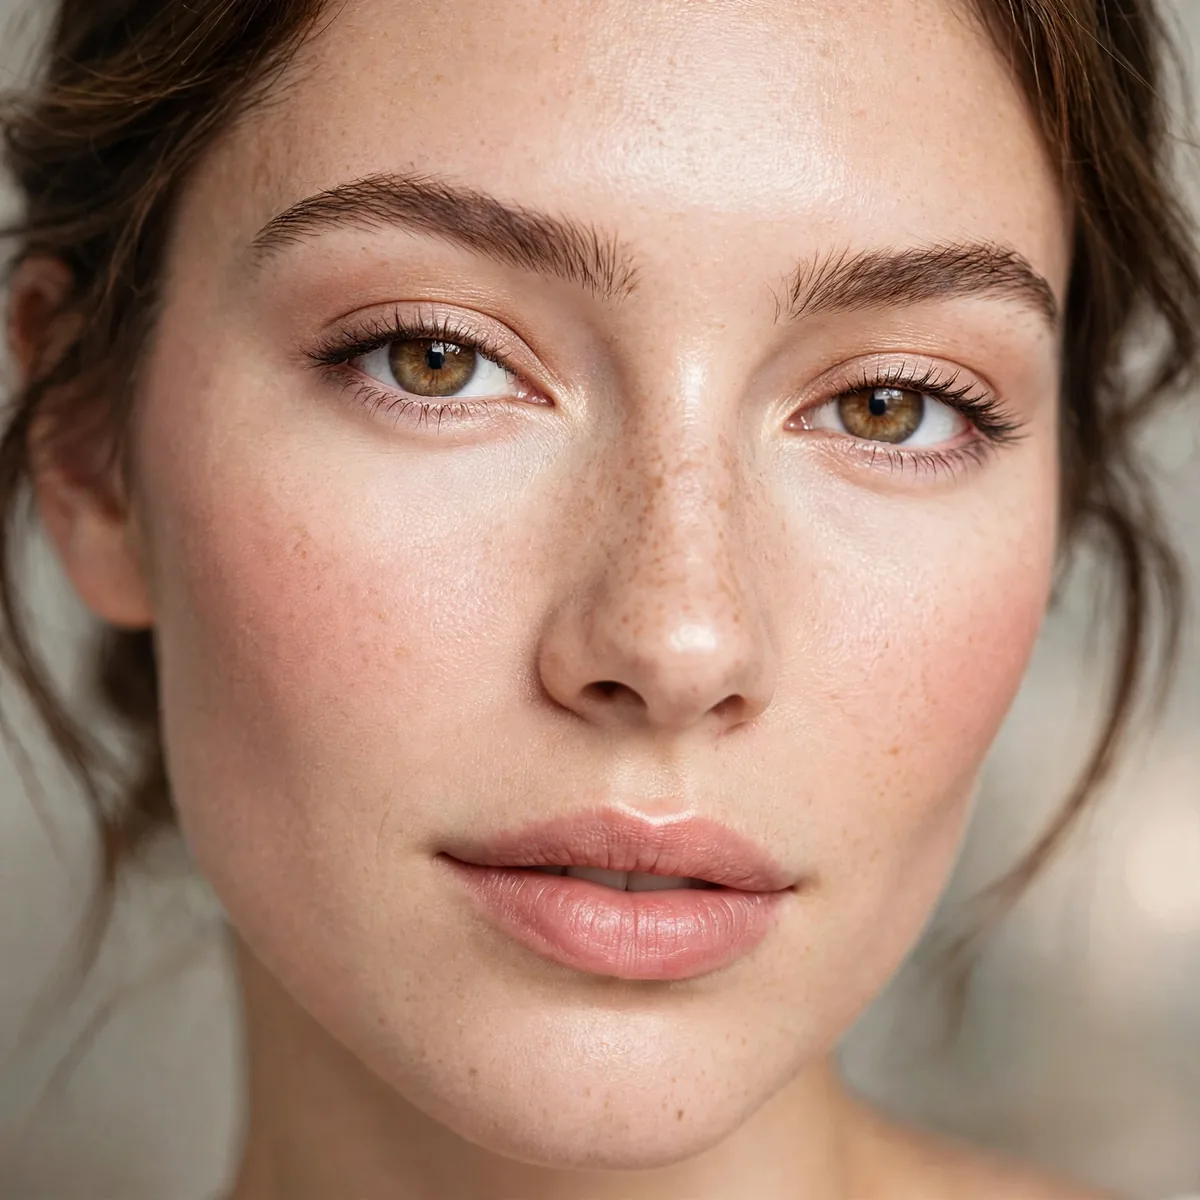
Go one step brighter under the eyes than usual — webcams deepen every shadow.
Best for: early calls. The camera adds ten years of tiredness; concealer takes it back.
Blend concealer in an inverted triangle that sweeps toward the cheekbone instead of a tight ring around the eye — it lifts the whole midface rather than spotlighting fatigue. Reach for a creamy, hydrating formula with light-reflecting pigments, and peach-correct first when shadows skew blue or purple on deeper skin tones. Press the product in with a damp sponge, then set with a whisper of translucent powder only where concealer tends to crease.
Keep a brightening pen at your desk for touch-ups — under-eye product breaks down after hours of screen-staring and dry office air. One common mistake is piling concealer thick to chase darkness, which creases and draws more attention on camera. Build in thin layers instead, letting each one set for thirty seconds. And sit facing your light source: concealer still looks hollow when illumination comes from above, so a window or lamp in front of you doubles the brightening effect.
Matte the T-Zone
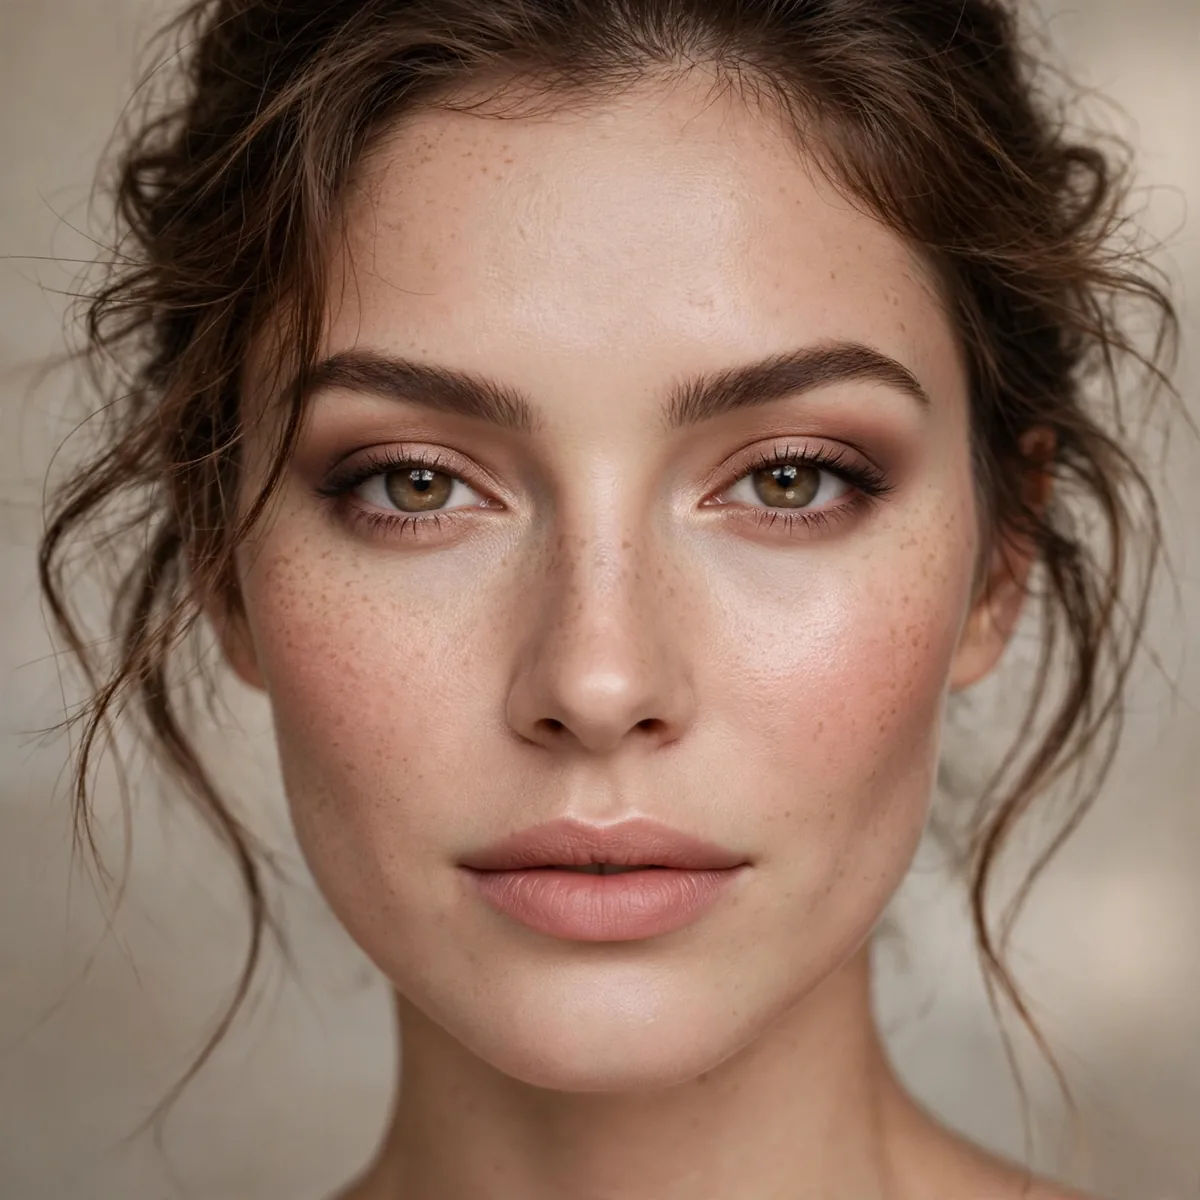
Powder forehead, nose, and chin well. Webcam lighting turns normal glow into full shine.
Best for: everyone. Shine reads as sweat on camera, even when it’s just dew.
Press powder into the skin with a velour puff using a roll-and-press motion rather than sweeping — sweeping just moves product around and disturbs foundation. A tinted translucent formula prevents the chalky cast that plain white powders leave on deeper complexions, and loose powder gives a finer, more camera-friendly finish than pressed. Blot first with a tissue if oil has already broken through; powder layered over grease pills and looks textured on screen.
Dry and mature skin should skip the full-face bake and spot-mattify only where shine appears — over-powdering the cheeks kills the healthy glow that keeps you looking alive on camera. The classic mistake is re-powdering every hour, which cakes by afternoon and reads as dryness on screen. Tuck blotting papers into your laptop case instead; they lift oil without adding product. For marathon meeting days, a mattifying primer under foundation does more heavy lifting than any powder.
Define Brows Boldly
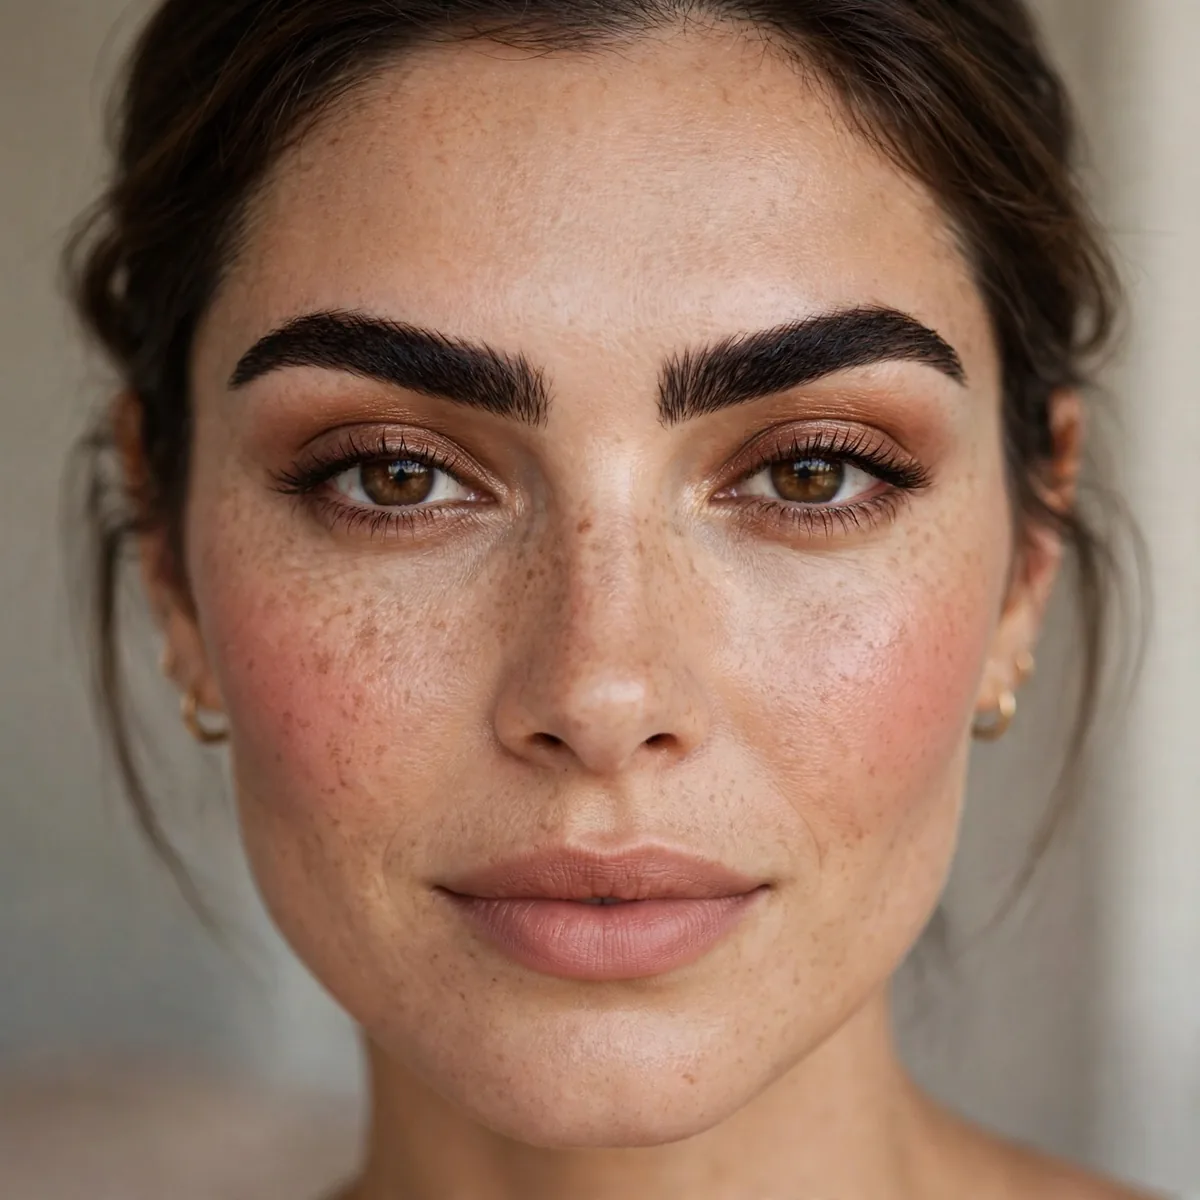
Fill brows slightly stronger than real life — low-res cameras blur soft brows into nothing.
Best for: video interviews. Brows frame your face even through pixelation.
Sketch with short, hair-like strokes using an angled pencil, concentrating on sparse patches and the tail where cameras lose definition first. Brush hairs upward with a spoolie, then lock the shape with a tinted gel — the laminated finish reads crisp even through compression artifacts. Check symmetry at your actual sitting distance rather than nose-to-mirror; what looks even up close can drift noticeably when the lens pulls back.
Pick a shade one step deeper and slightly warmer than your hair — cool ash tones can look grey and flat under webcam lighting. Avoid pure black on fair skin; it photographs harsh and drags the whole face down. Oily skin types get longer wear from a powder-based brow product set with gel, since pencils migrate by midday. And resist the urge to extend tails too far; exaggerated length distorts on wide-angle laptop lenses.
Blush Higher and Stronger
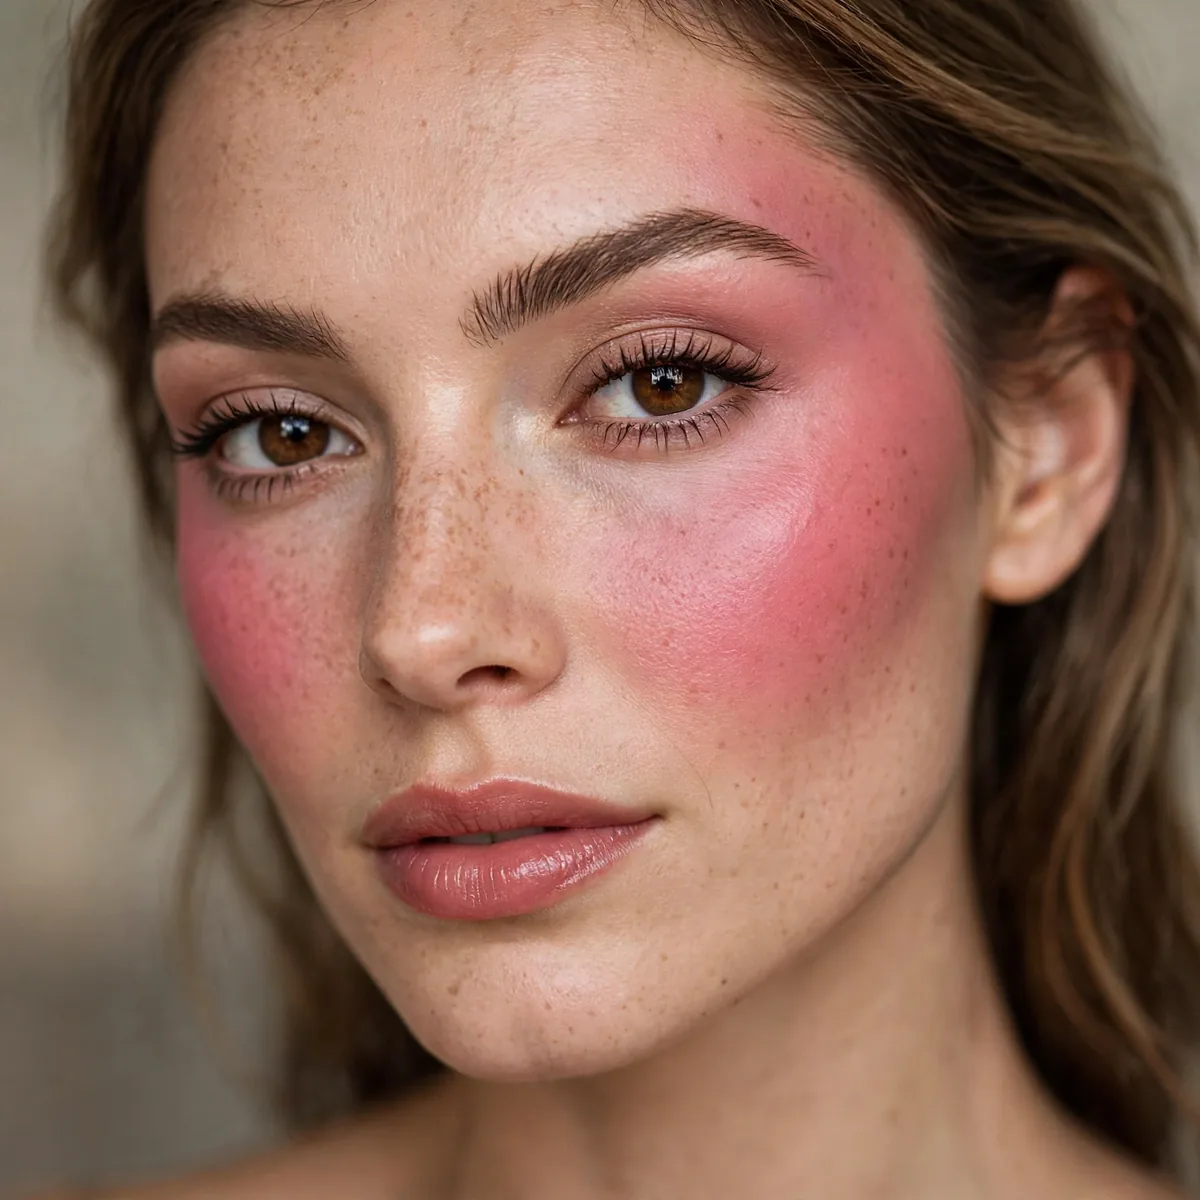
Apply blush higher on the cheekbones and 20% stronger. Cameras eat color for breakfast.
Best for: all calls. What looks like "a bit much" in the mirror looks perfect on screen.
Place blush on the outer cheekbone and sweep it upward toward the temple in a soft C-shape instead of the apples — apples sit below the camera frame and the color never registers. Blend the edges thoroughly with a clean fluffy brush; visible blush lines look clownish at 720p. Resist draping color too low toward the mouth, which visually drags the face down on screen and ages the whole look.
Satin-finish blushes outperform both flat mattes and sparkly shimmers on camera — they catch just enough light to look like real skin. Match the shade to your undertone: peach and coral flatter warm skin, rose suits neutral, and berry or brick glows on deep complexions. Build pigment in two sheer layers rather than one heavy swipe so the intensity looks graduated. Cream formulas applied with fingertips also melt beautifully if you prefer a second-skin finish.
Satin Lipstick, Not Gloss
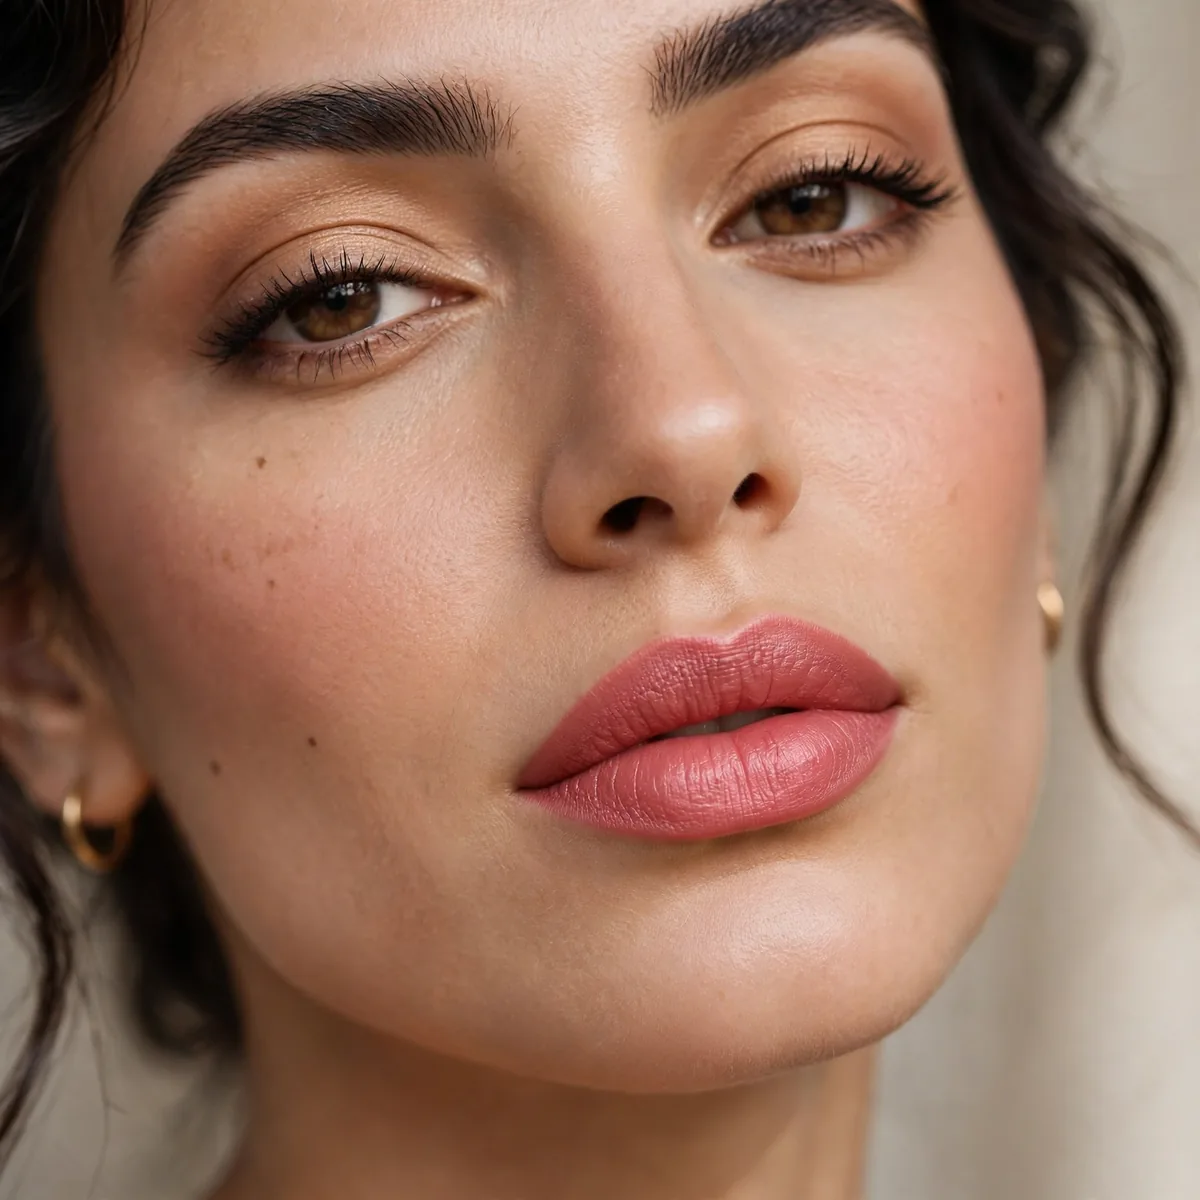
Satin or cream lipstick reads beautifully on camera; gloss creates a distracting white hotspot.
Best for: presentations. A defined lip keeps attention on your words, not your shine.
Gloss acts like a tiny mirror under a ring light, throwing a white hotspot that bounces around every time you move your head — satin finishes absorb that light instead. The denser pigment of a satin or cream bullet also keeps lip color legible at low resolution, where sheer formulas dissolve into skin tone. If your lips are dry, layer a balm underneath and blot before applying; the satin texture will still read clean on screen.
Color psychology matters on calls: a warm coral projects energy for team standups, while a muted rose-nude signals authority in client presentations. Apply straight from the bullet, then press lips together and blot once on tissue — this double layer survives coffee sips without feathering. Reapply right before important segments rather than at the start of the day; fresh pigment photographs richer. Keep the shade in your desk drawer so touch-ups take ten seconds.
Avoid SPF Flashback
Heavy SPF and silica powders cause white cast on camera. Use flashback-free formulas for call days.
Best for: important meetings. Test with a selfie using flash before the call.
Zinc oxide and titanium dioxide sit on the skin and bounce light back at the lens, which is exactly what causes that ghostly white cast — silica-based setting powders do the same. On call days, swap to a chemical sunscreen with filters like avobenzone that absorb UV instead of reflecting it, and choose foundations labeled flashback-free. Always run a test selfie with your front flash on before an important meeting; the mirror never reveals what the camera will.
Remember that webcam sensors react to your screen glow the same way phone cameras react to flash, so flashback can strike even without a selfie light. For morning calls, apply chemical SPF as your first skincare step and let it absorb fully — pilling sunscreen under makeup creates texture the camera magnifies. If you must use mineral powder, keep it to the outer edges of the face and skip the center, where the lens focuses hardest.
Light Your Face First
Face a window or use a ring light. Good light does more than any product.
Best for: everyone. Even perfect makeup looks bad in overhead-only lighting.
Position yourself facing a window with the light hitting at roughly forty-five degrees — straight-on light flattens features while side light carves gentle dimension. If daylight is unavailable, set a ring light or LED panel at eye level about an arm’s length away and dial brightness down until your skin looks even, not bleached. Skip the overhead ceiling light entirely; it hollows the eyes and no amount of concealer can fix what top light does.
The most common mistake is sitting with a bright window behind you — the camera exposes for the background and turns your face into a silhouette. Aim for daylight-balanced bulbs around 5000 to 6500 Kelvin so your makeup colors render true; warm yellow bulbs make foundation look orange on screen. Finally, lock your camera’s exposure instead of leaving it on auto, which flickers and shifts tone every time you move your hands.
Slightly Stronger Everything
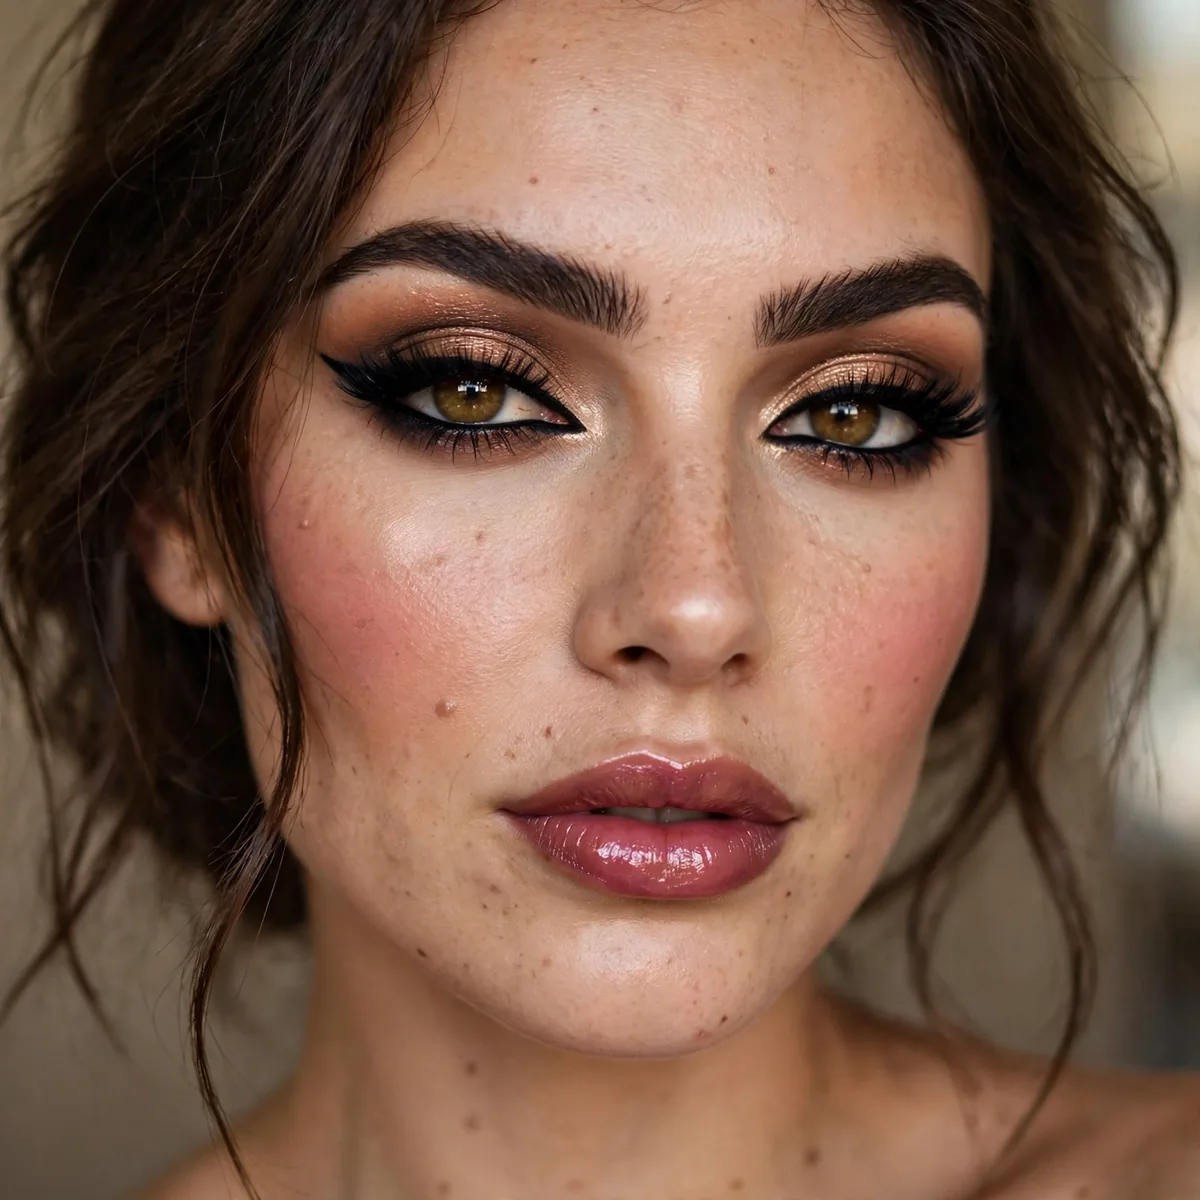
The 20% rule: apply everything about 20% stronger than you think. The camera dulls it all.
Best for: low-quality webcams. Better cameras need less compensation.
Calibrate product by product instead of guessing: deepen contour by about fifteen percent, boost blush by twenty, and go one shade richer on lip color. Eyeliner is the exception — keep it crisp rather than thicker, since heavy liner closes the eye off at low resolution. Snap a screenshot in your meeting app after applying; the frozen frame reveals exactly how the camera translates your makeup, which the live preview sometimes softens.
Adjust for your hardware: a grainy 720p laptop webcam needs the full twenty percent, while a 4K external camera shows every detail and punishes over-application. Phone cameras sit in between but add their own beauty smoothing, which can erase blush entirely. Zoom also applies subtle softening compared to Teams or Meet, so the same face may need a touch more color there. When in doubt, record a ten-second test clip and watch it back.
Groom the Hairline
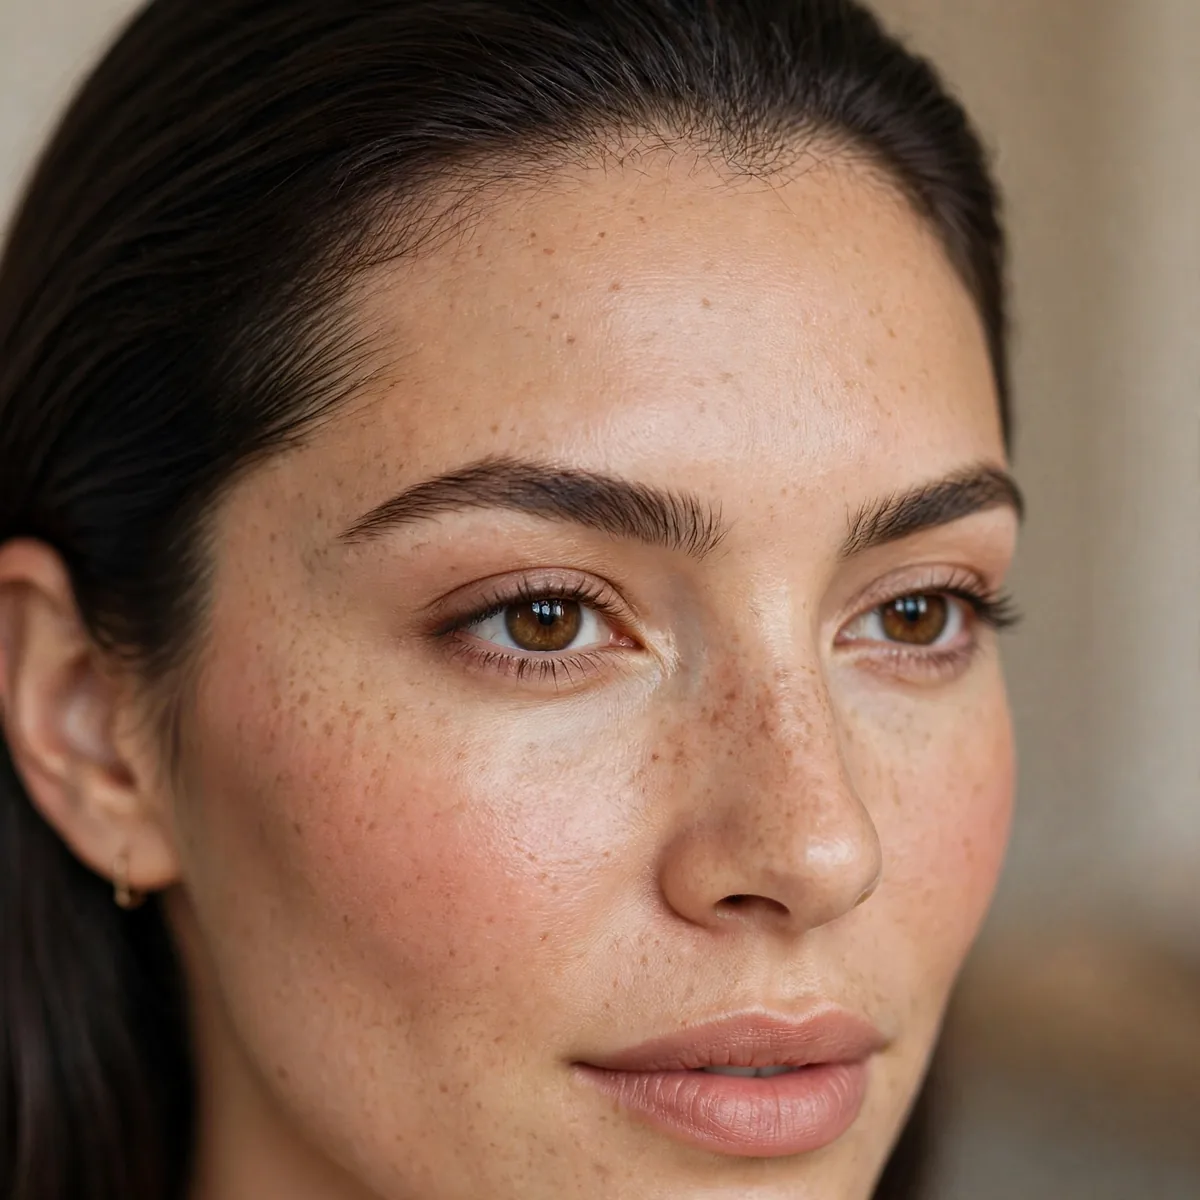
Smooth flyaways and mattify the hairline — the camera crops close and notices everything.
Best for: close-up calls. A little pomade on edges goes a long way.
Warm a pea-sized amount of pomade between your fingertips and press it along the hairline, then sweep a clean toothbrush over the edges to lay baby hairs flat without a helmet-head finish. Dust a touch of translucent powder right at the hairline to kill sweat shine — the camera crops close here and gloss reads as greasiness. Work in small sections around the temples and nape, where flyaways escape most.
Hair pulled back exposes the entire hairline, so this step matters most for buns and ponytails — worn-down styles hide a multitude of sins. Add a pinch of dry shampoo at the crown before the call for lift; flat roots make the whole head look smaller on camera. Do a final check of your neckline too, since an open collar frames it — stray foundation smudged onto the neck shows up sharply against clothing.
Neutral Eyeshadow Wash
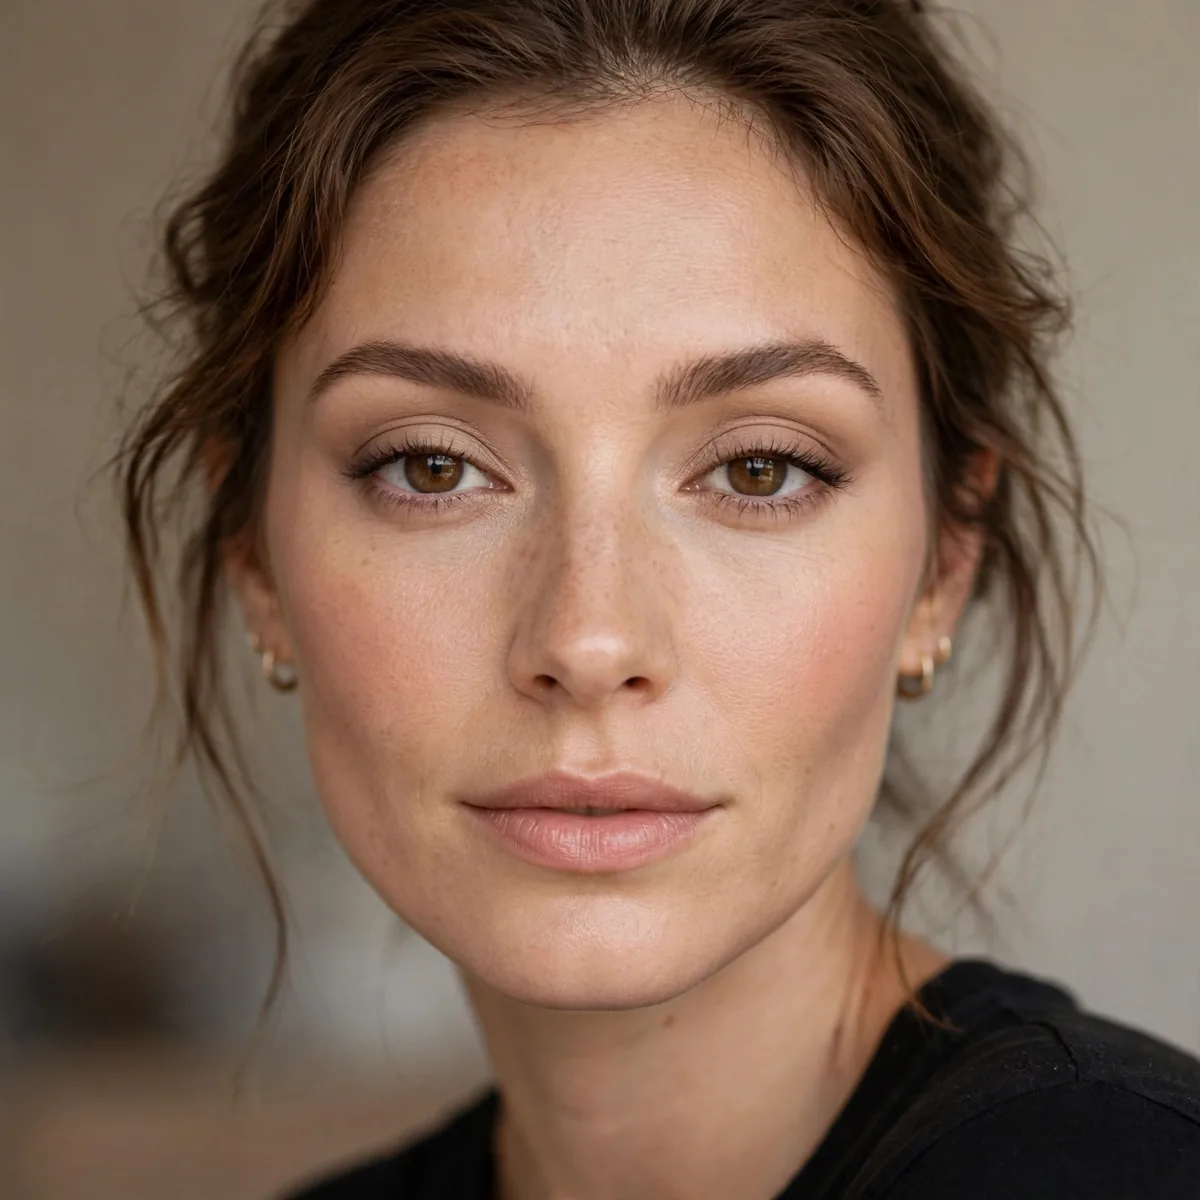
A matte neutral wash defines eyes without shimmer that glares under ring lights.
Best for: daily calls. Matte shadows photograph cleaner than shimmers.
Sweep a matte transition shade through the crease with a fluffy blending brush using windshield-wiper motions, keeping pigment soft at the edges — harsh lines pixelate badly. Hooded eyes should carry the color slightly above the natural crease so it stays visible when the eye is open. Build in whisper-thin layers; one heavy pass looks muddy on camera while layered sheers create believable depth.
Match the undertone to your skin: taupe-grey flatters cool complexions while warm caramel suits golden undertones — the wrong temperature makes eyes look tired on screen. A cream-to-powder shadow stick is the beginner-friendly shortcut; swipe, then diffuse the edge with a fingertip. Always start with an eyeshadow primer, because creased shadow is the first thing a high-definition camera picks up and it reads as messy instantly.
Lash Definition Matters
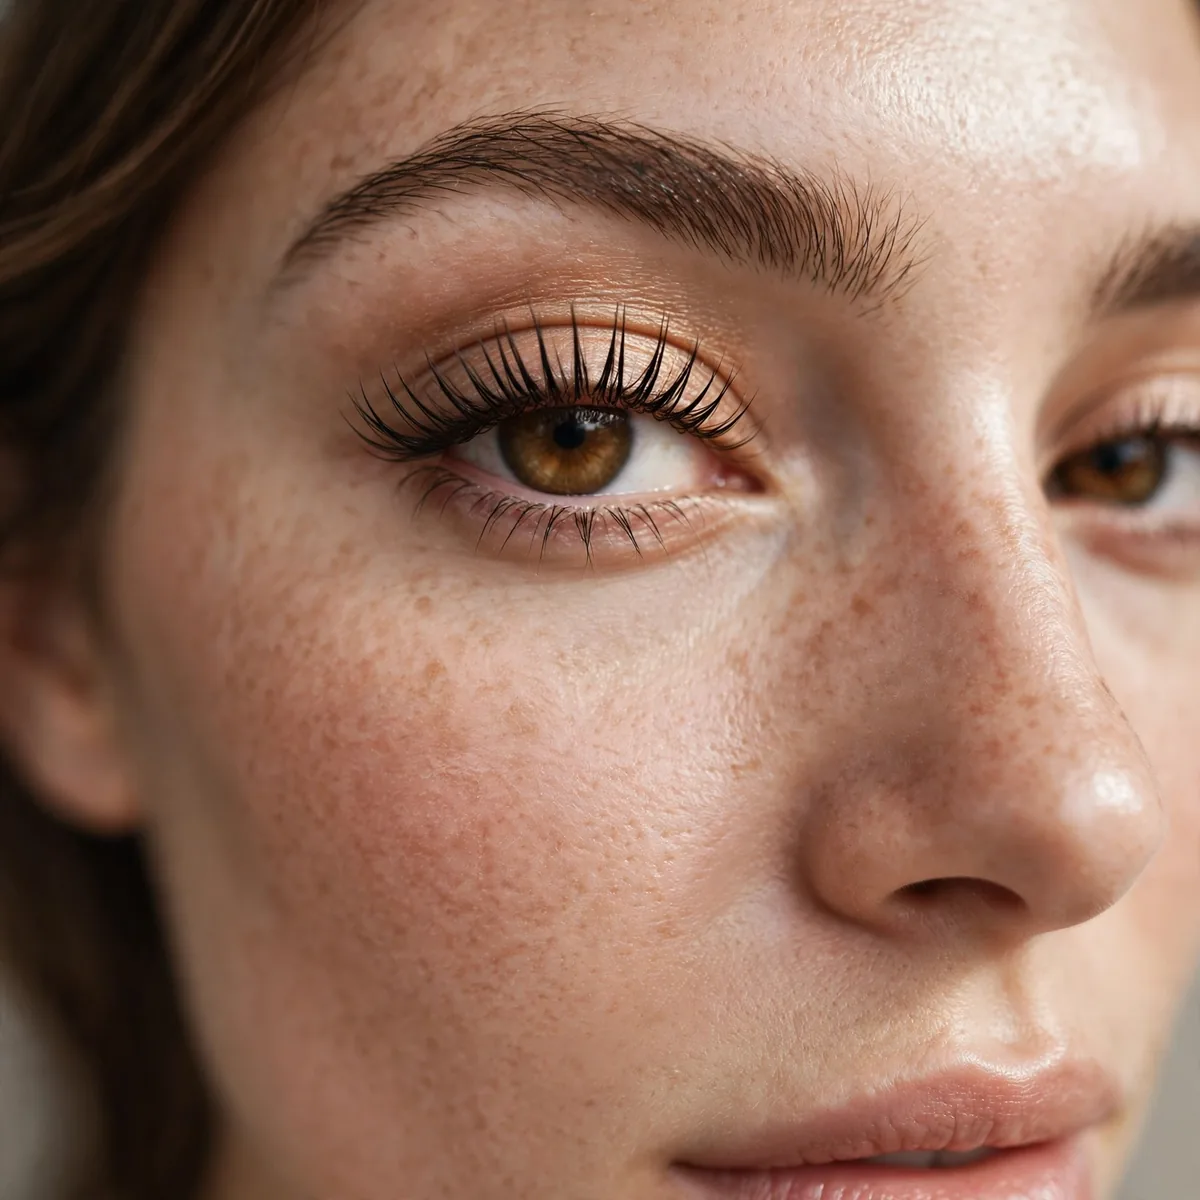
Mascara or tightlining — eyes disappear on camera without lash definition.
Best for: small eyes especially. Definition reads as "awake and engaged."
Tightline the upper waterline with a waterproof pencil, stamping color between the lash roots rather than drawing a visible line — it thickens the lash base invisibly. Follow with mascara, wiggling the wand at the roots before pulling through to the tips for maximum density. A tubing formula is the long-call hero: it wraps each lash in a smudge-proof sleeve that survives hours of screen time and removes with just warm water.
Clumpy, spidery mascara looks ten times worse on camera than in person, so comb through with a clean spoolie after every coat. Curl lashes first — the upward lift opens the eye and catches ring light beautifully. Keep bottom lashes minimal with a single light coat, since heavy lower mascara casts shadows that read as dark circles. For hooded or oily lids, waterproof everything; smudging migrates downward within an hour under warm desk lamps.
Cream Over Powder
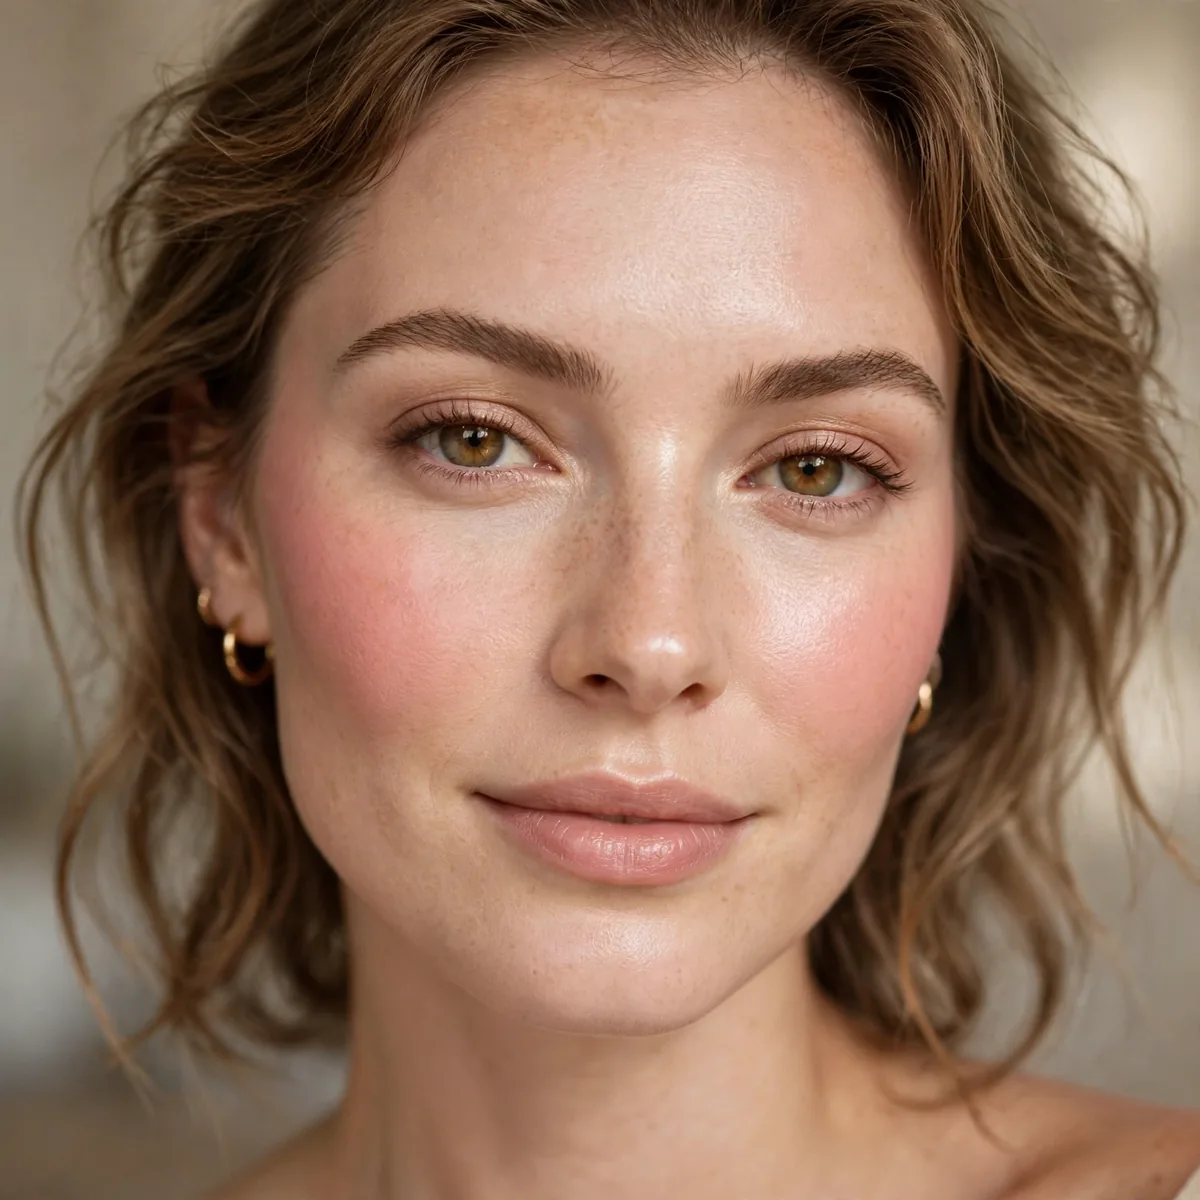
Cream blush and bronzer look like real skin on camera; powders can look flat and chalky.
Best for: natural looks. Creams catch light the way skin does.
Creams catch light the way living skin does because they sit in a flexible film rather than a dry layer of pigment — that refractive quality is exactly what cameras interpret as healthy. Warm the product on the back of your hand first, then press and bounce it in with fingertips or a damp sponge; body heat melts it seamlessly. Always apply creams before any powder, since powder-first layering turns creamy formulas patchy.
Oily skin can still join in — set cream blush with the faintest veil of translucent powder just on the apples, leaving the outer glow untouched. Mist with a setting spray afterward to fuse the layers and extend wear through back-to-back meetings. For travel or tiny desks, twist-up cream sticks replace three separate compacts and apply straight from the bullet. The result holds up remarkably well, even under unforgiving overhead fluorescents.
Lip Liner Definition
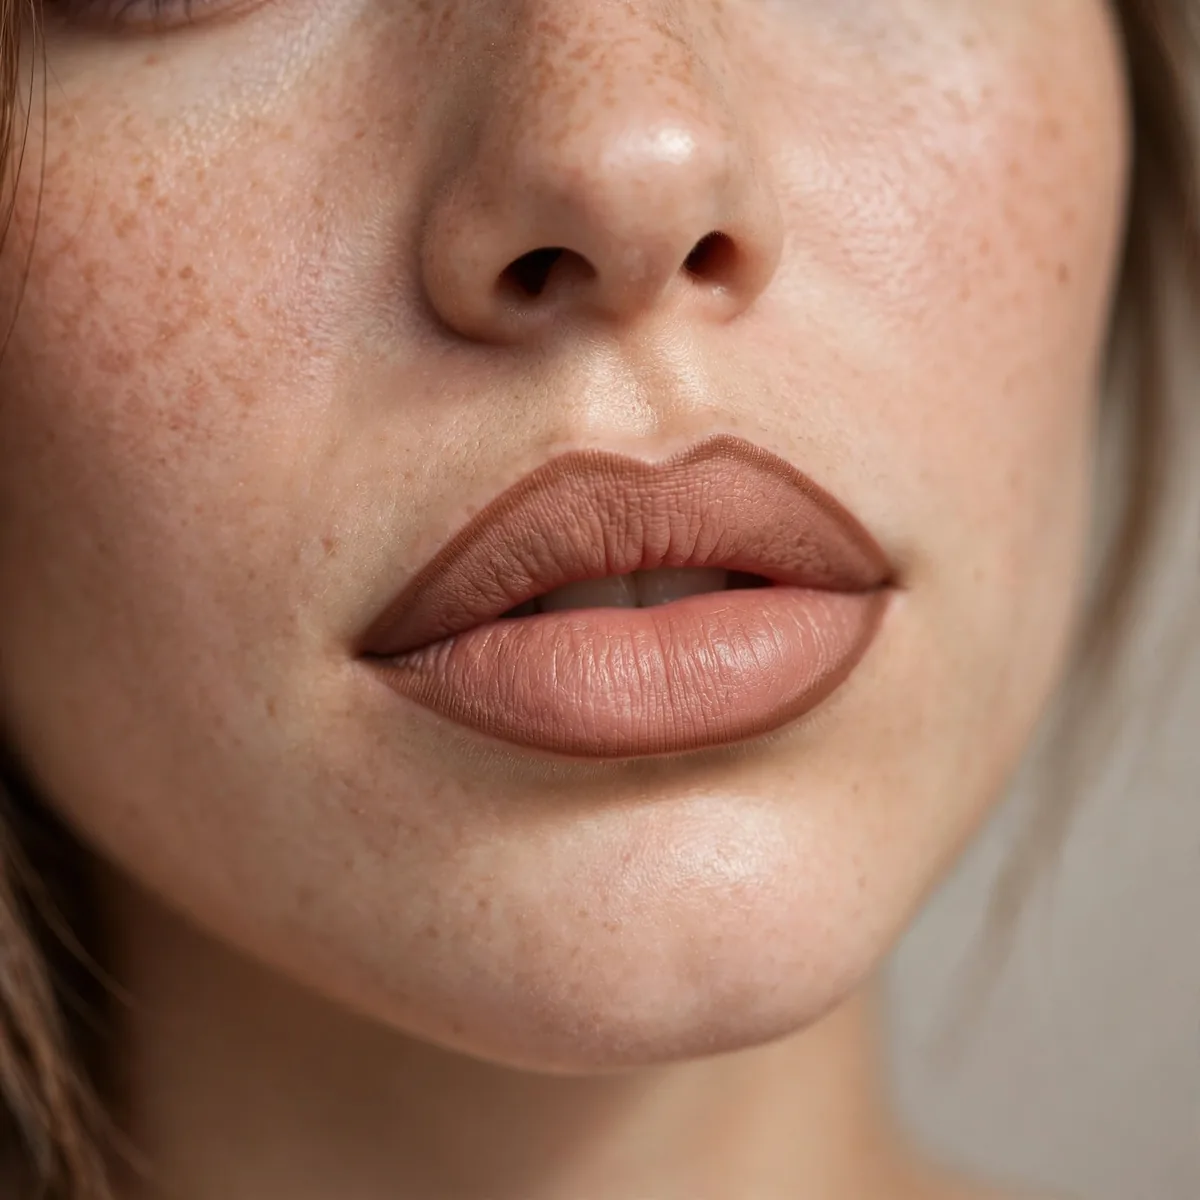
Define lip edges with liner — low resolution blurs lip boundaries.
Best for: bold lip colors. Crisp edges keep red lipstick from bleeding on screen.
Trace just inside your natural lip line with short, feathery strokes, correcting any asymmetry as you go — cameras exaggerate unevenness mercilessly. Fill the entire lip with the liner afterward; it acts as a stain base that keeps lipstick from fading patchily mid-call. Sharpen the pencil before each use, because a blunt tip creates a soft, blurred edge that defeats the whole purpose of defining.
Match the liner exactly to your lipstick for a seamless finish, or cheat with a nude liner one shade deeper than your lips — it defines without dictating the color. A long-wear liner under a creamy lipstick gives you the best of both worlds: comfort plus staying power through talking. Skip the over-lining trend for video; exaggerated lips distort on wide-angle lenses and look cartoonish when the camera is inches from your face.
Dewy, Not Shiny
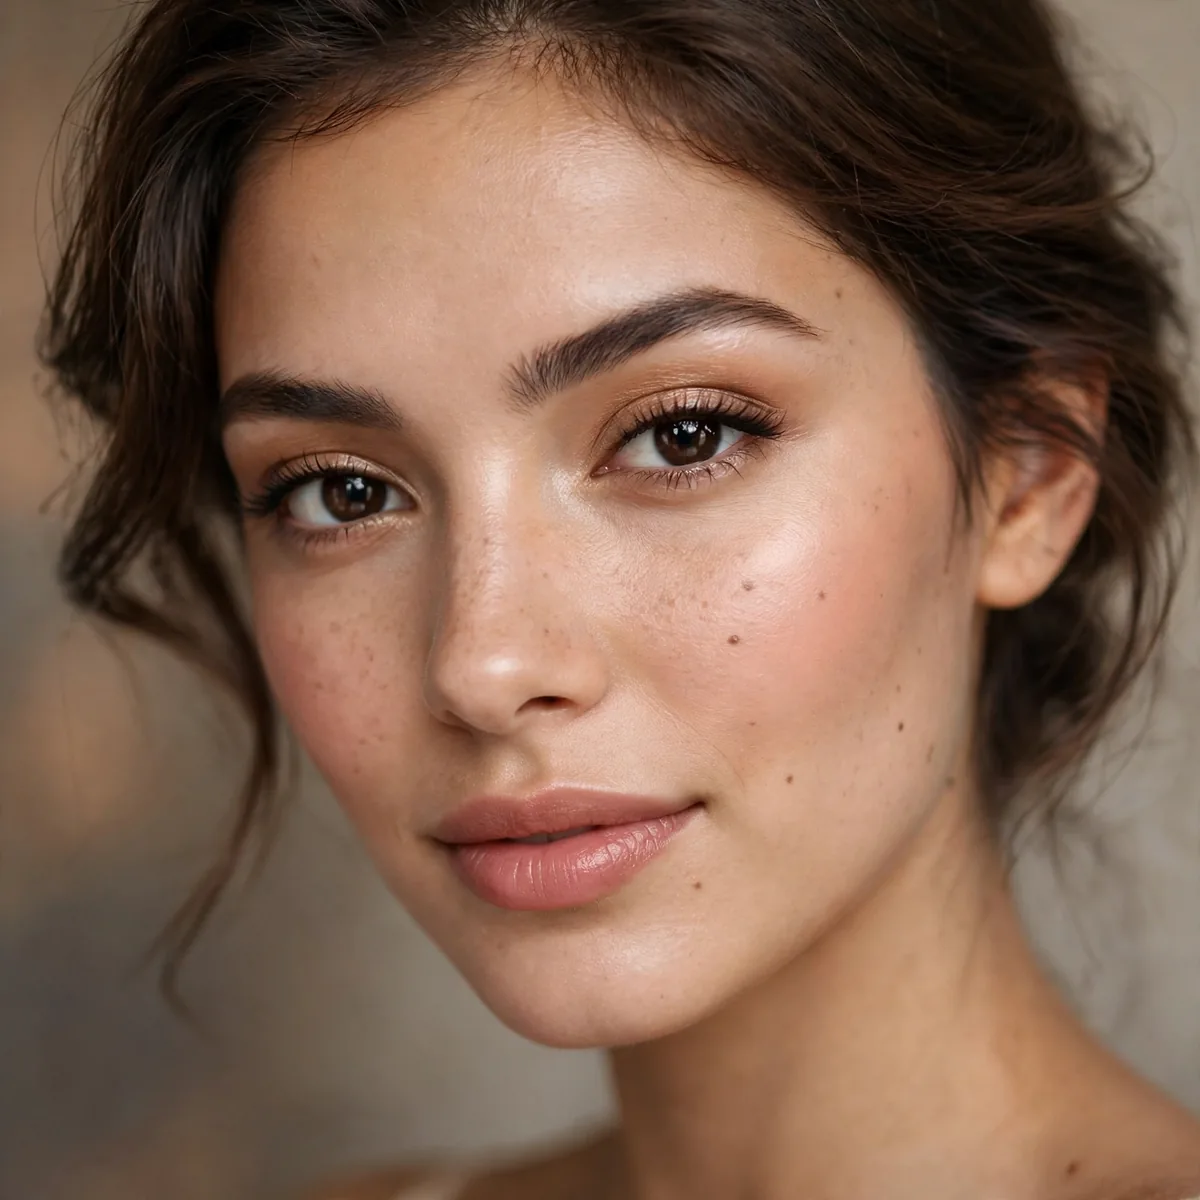
Keep glow on the high points only — cheekbones, not forehead. Controlled radiance.
Best for: dry skin. Strategic glow looks healthy; all-over shine looks oily.
Tap liquid highlighter onto the tops of the cheekbones, the center of the nose bridge, and the cupid’s bow — nowhere else. Fingertips beat brushes here because body heat sheers the product out to a believable sheen. Choose finely-milled formulas without visible glitter; chunky shimmer particles scatter ring light into sparkle, which the camera reads as sweat. Less is genuinely more with glow on screen.
Lock the balance with a dewy setting spray rather than a mattifying one — it melts everything together while preserving luminosity. Oily skin should skip highlighter entirely and let a satin-finish foundation supply the glow; adding more only pushes you into shiny territory. In humid summer months, swap the glow primer for a lightweight gel moisturizer so radiance comes from hydration, not excess oil sitting on the surface.
Camera-Distance Check
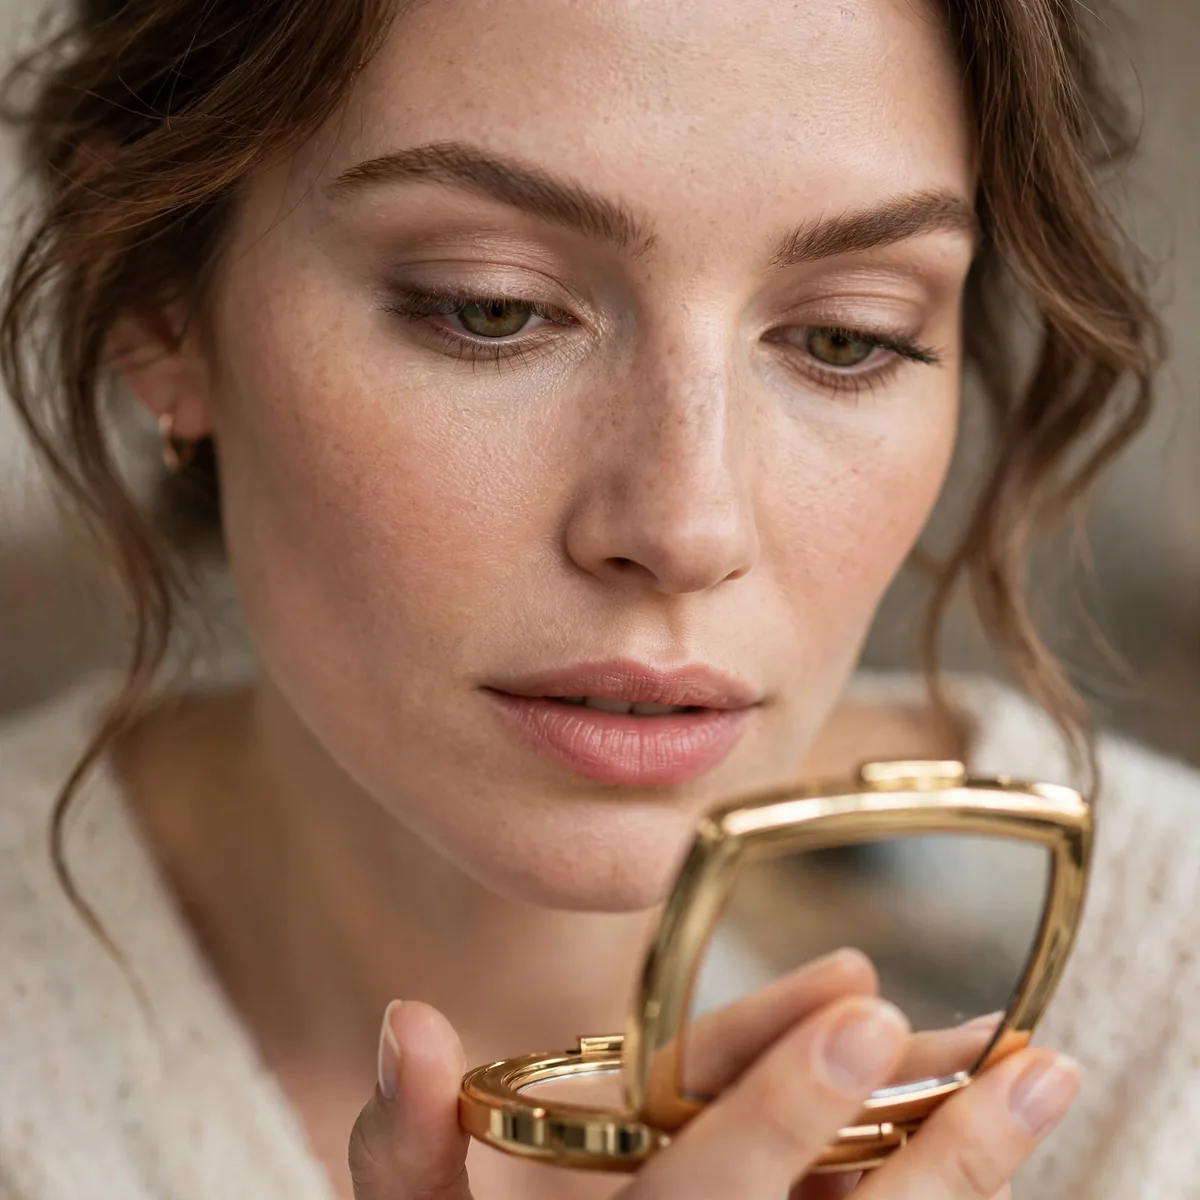
Step back to your actual sitting distance and check. Details invisible at arm’s length vanish on screen.
Best for: everyone. Your mirror lies about distance — your webcam doesn’t.
Prop your phone at your real sitting distance and take a screenshot mid-expression — still poses hide how makeup shifts when you talk and smile. Study the frozen frame for harsh lines, uneven blending, and color that photographs differently than it looks in the mirror. Pay special attention to the jawline and neck blend; the camera’s wider framing catches mismatched foundation that close-up mirror checks miss entirely.
Record a ten-second test clip while saying a few sentences — movement reveals lipstick on teeth, mascara transfer, and blush that migrates when you animate. Check your smile specifically, since teeth are the brightest thing on screen and any lipstick smudge screams. Do this check in the same lighting as your call, because morning window light and evening lamp light transform the same makeup completely. Two minutes of testing saves an hour of self-consciousness.
Camera-ready, always. Save these for your next call — and for in-person polish, see our office makeup looks and midday touch-up fixes.




