
Everyone says winged liner is hard. Everyone is wrong — they just never learned the actual technique.
The secret nobody tells beginners: draw the wing with your eyes OPEN, looking straight ahead. Every tutorial showing closed-eye application is setting you up for wings that disappear when you open your eyes.
Start with the right tools — a felt-tip pen or gel with an angled brush — and give yourself permission to be bad at it for two weeks. Then it clicks.
Here are 20 techniques and styles, easiest first. Let’s get into it.
The Tape Method
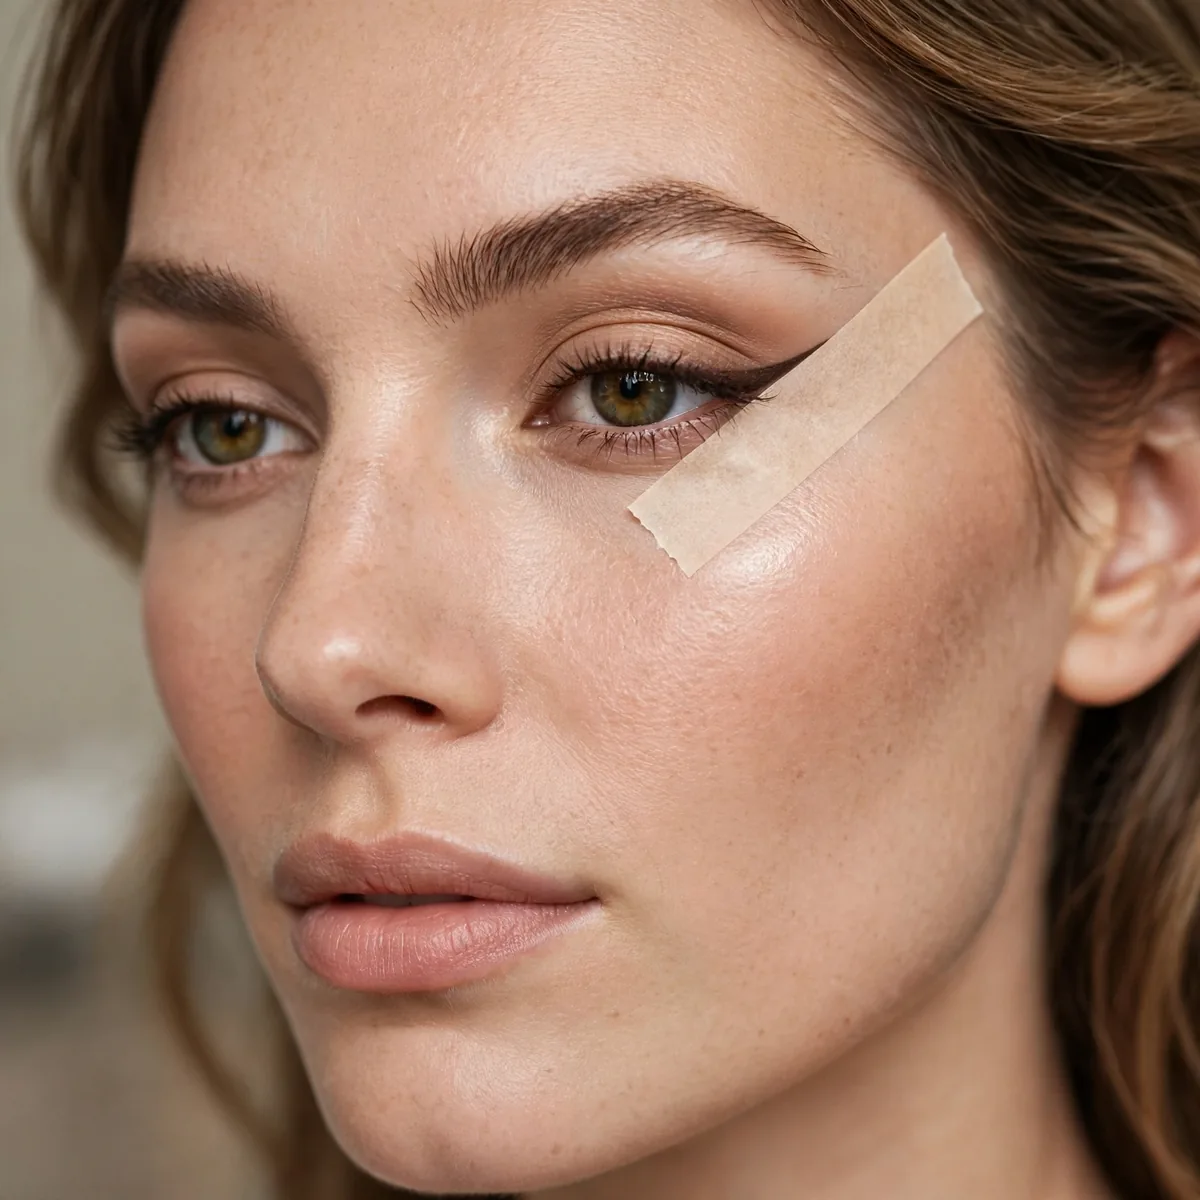
Place tape from outer corner toward brow tail, draw along it, remove. A perfect wing, every time.
The training wheels that actually work. Use the tape a few times, then try freehand — your hand learns the angle.
Use medical or washi tape rather than strong packing tape, and press it against the back of your hand first to soften the adhesive. Overly sticky tape can pull off your eyeshadow or tug the delicate skin around your eyes when removed. Position the tape while your eyes are open and relaxed, checking that both sides mirror each other before drawing a single line.
This method suits anyone whose two eyes are not perfectly symmetrical, which is nearly everyone, because each wing can be angled independently before committing. Common mistake: taping too far upward creates a dramatic wing when you wanted subtle. Aim the tape toward the tail of your brow for a classic lift, and peel it away slowly toward your ear so the line stays crisp.
Dot-to-Dot Wing
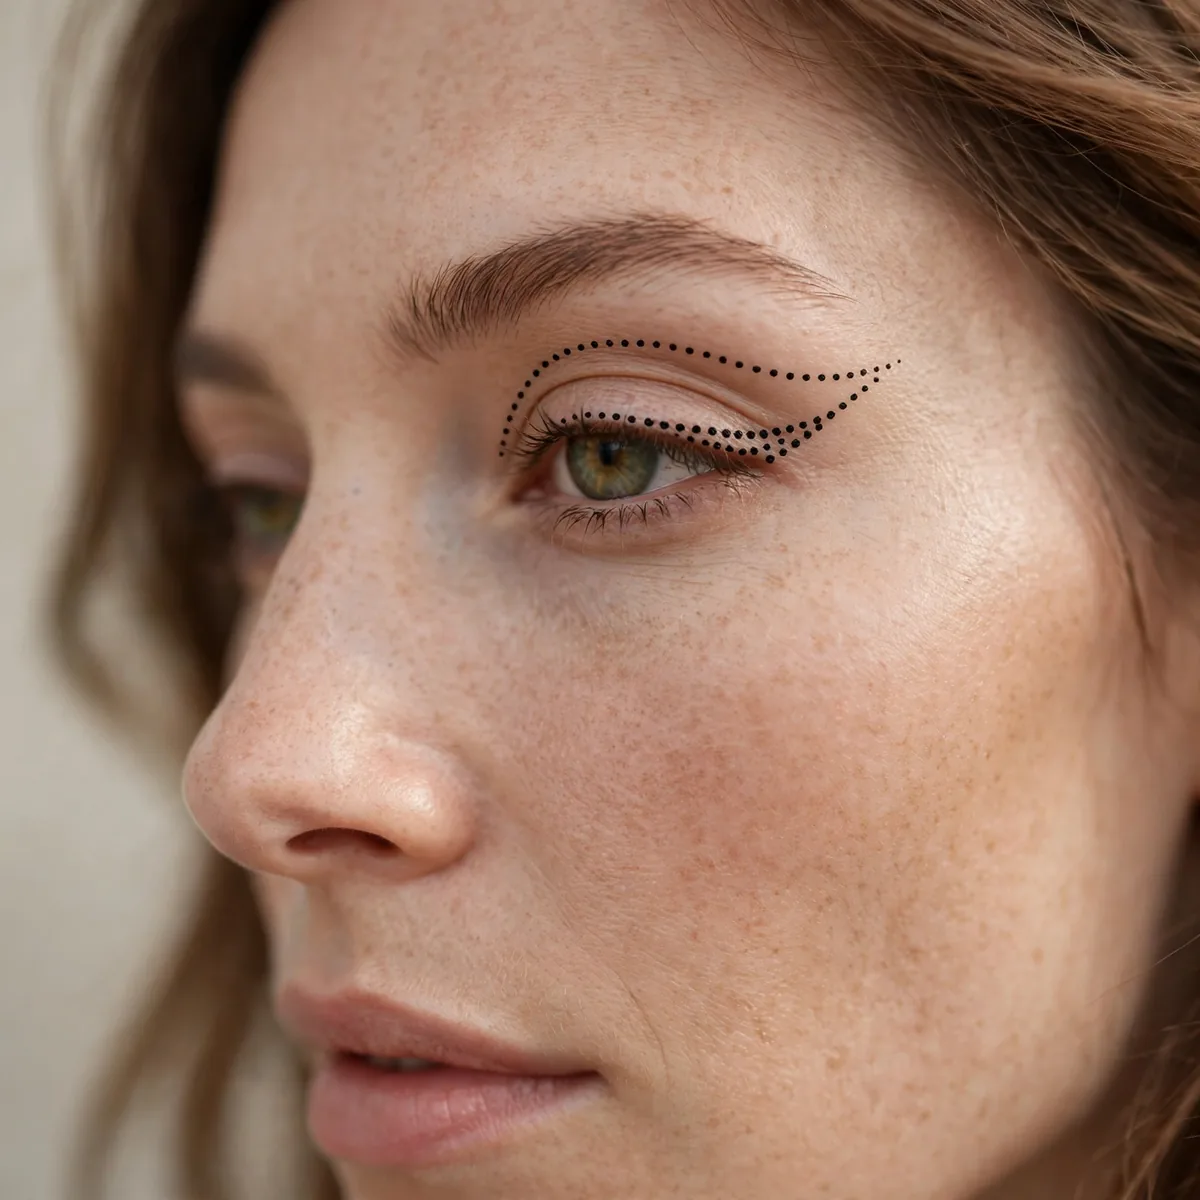
Place three dots (outer corner, wing tip, mid-lid) and connect them. Structure before artistry.
Breaking the wing into dots removes the intimidation. Connect-the-dots for grown-ups.
Keep your elbow anchored on a table and your pinky resting against your cheek for stability while connecting the dots. Short, light connecting strokes look smoother than one long drag, which tends to wobble halfway. If the dots land unevenly, wipe and reposition them before connecting — fixing placement now beats repairing a finished wing later.
Hooded or deep-set eyes should place the wing-tip dot slightly higher and shorter so it stays visible when the eye opens. For downturned eyes, angle the outer dot upward rather than following the lid downward, which keeps the whole eye lifted. Space the dots no more than a few millimeters apart; wide gaps tempt you to draw straight, rigid lines instead of a flowing curve.
The Eyes-Open Wing
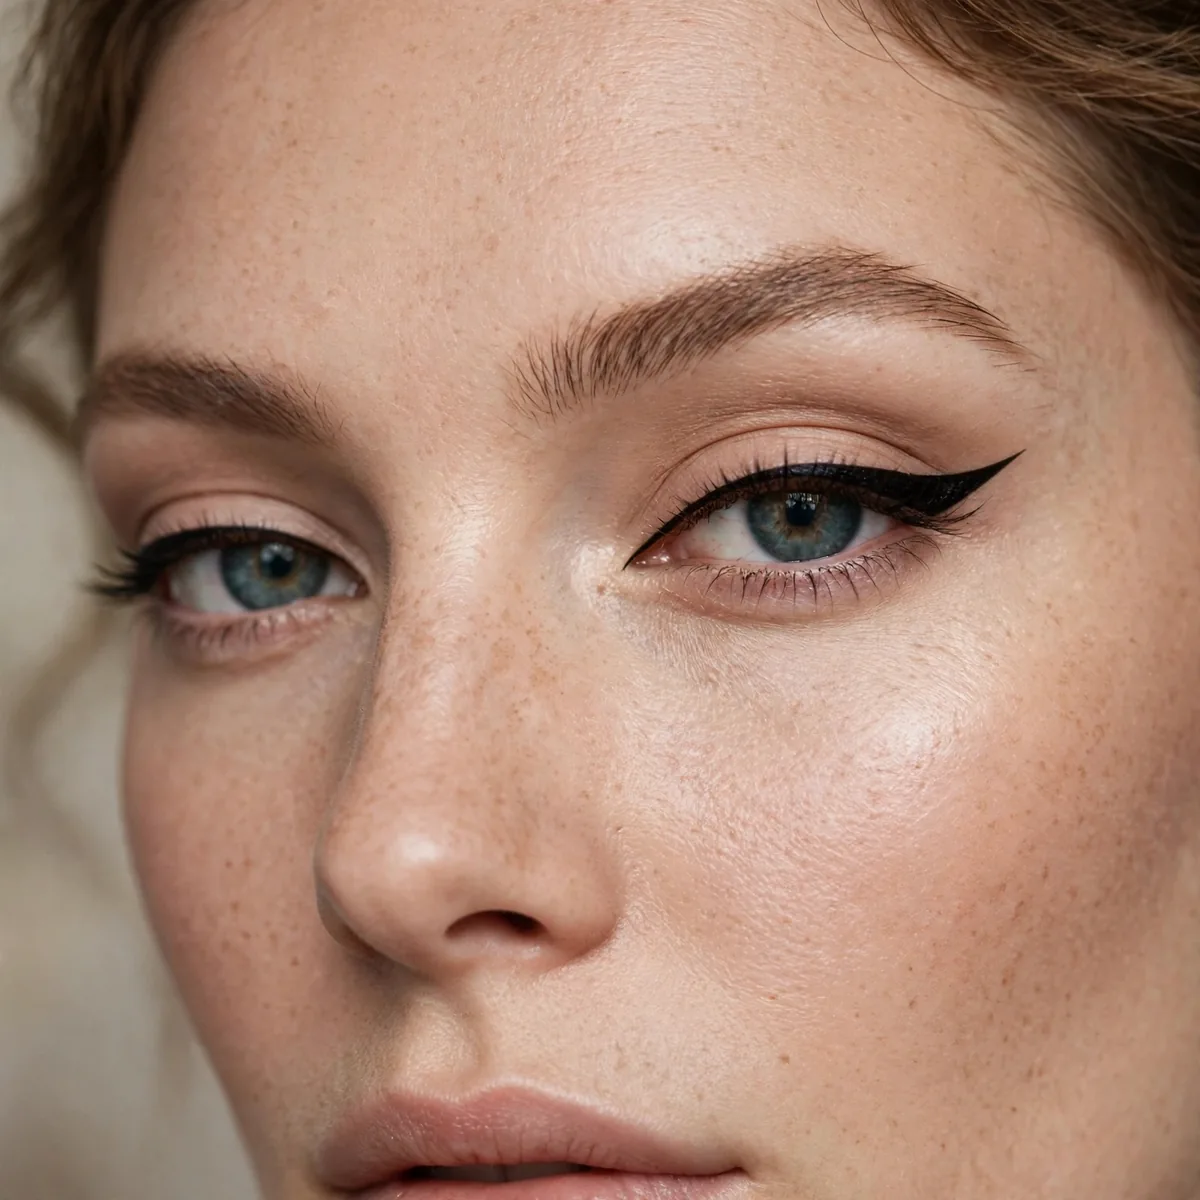
Draw the entire wing with eyes open, looking in a mirror. The only method that works on hooded eyes.
What you see is what you get. Closed-eye wings are a gamble; open-eye wings are a guarantee.
Look straight ahead into a mirror held at eye level, not angled downward, so your lid crease sits exactly as it does all day. Keep your expression neutral — raised brows shift the crease and distort the shape you draw. Draw the wing in small sections, pausing to blink and check symmetry, since blinking resets your lid to its natural position.
The biggest mistake is pulling the outer corner taut to flatten the skin; it snaps back and warps the wing the moment you let go. Instead, let the skin lie naturally and accept tiny texture — real lids have it. Finish with a light dusting of translucent powder along the wing’s lower edge to lock it in, since open-eye application can transfer slightly on warm days.
Felt-Tip Starter Wing
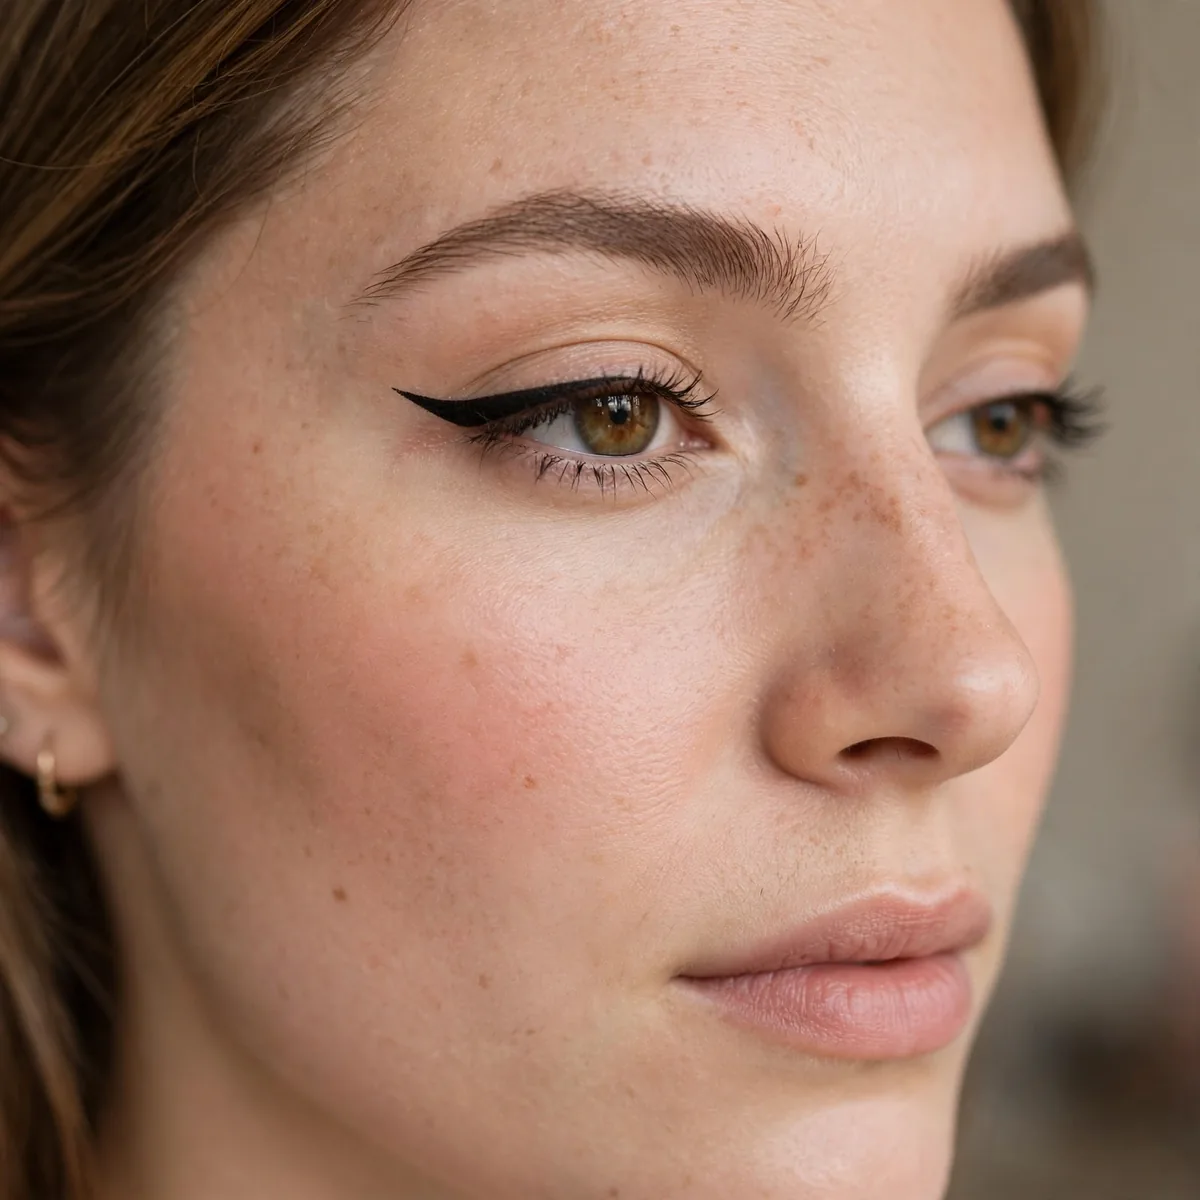
A felt-tip pen gives the control of a marker with the precision of liquid. The best beginner tool, period.
Stamp the wing tip, then draw back toward the lash line. Two motions, one wing.
Store the pen tip-down so pigment always flows to the nib, and prime a new pen with a few strokes on the back of your hand before touching your eye. Waterproof formulas hold through humidity and long days but demand quick correction, since they set fast. Beginners do best with a medium-firm nib that flexes slightly under pressure rather than a stiff one.
Pressing hard is the classic felt-tip error — it floods the nib, widens the line unpredictably, and dents the tip permanently. Use the lightest touch and let the pen’s own weight do the work, building width with a second pass if needed. When the tip frays, trim nothing and retire it; a fuzzy nib can never draw a crisp edge again, no matter how carefully you use it.
The Smudged Wing
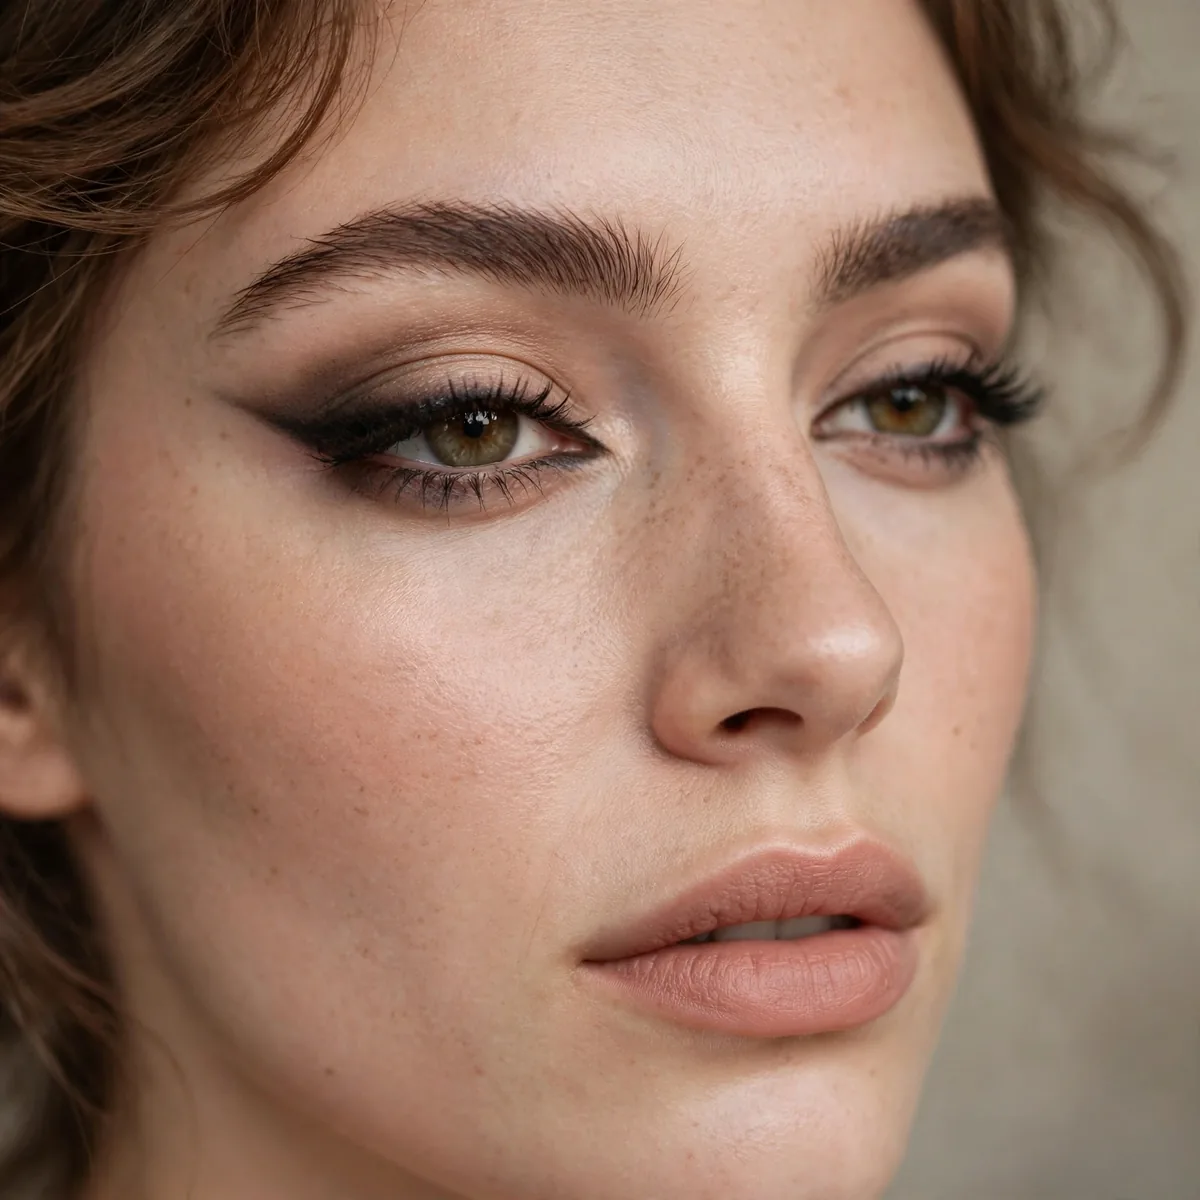
Draw a wing with pencil, then smudge it. Mistakes become "smokey" — the most forgiving wing there is.
Imperfection is the aesthetic. This wing literally cannot be messed up.
Work in small sections with a short, dense smudge brush, pushing the pigment upward and outward rather than dragging it down, which can read as tired. Set the smudged edge with a matching matte eyeshadow tapped over the top; this locks the shape and deepens the color. Keep a clean spoolie nearby to soften any edge that gets too harsh without removing the whole look.
This is the wing for textured or mature lids, where crisp liquid lines can skip and emphasize fine lines — softness flatters. It also suits evenings and cooler seasons, when a smoky edge feels intentional rather than undone. Pair it with minimal liner on the lower lash line, just a tightline, so the upper wing stays the star and the whole eye looks lifted instead of heavy.
Short and Sweet Wing
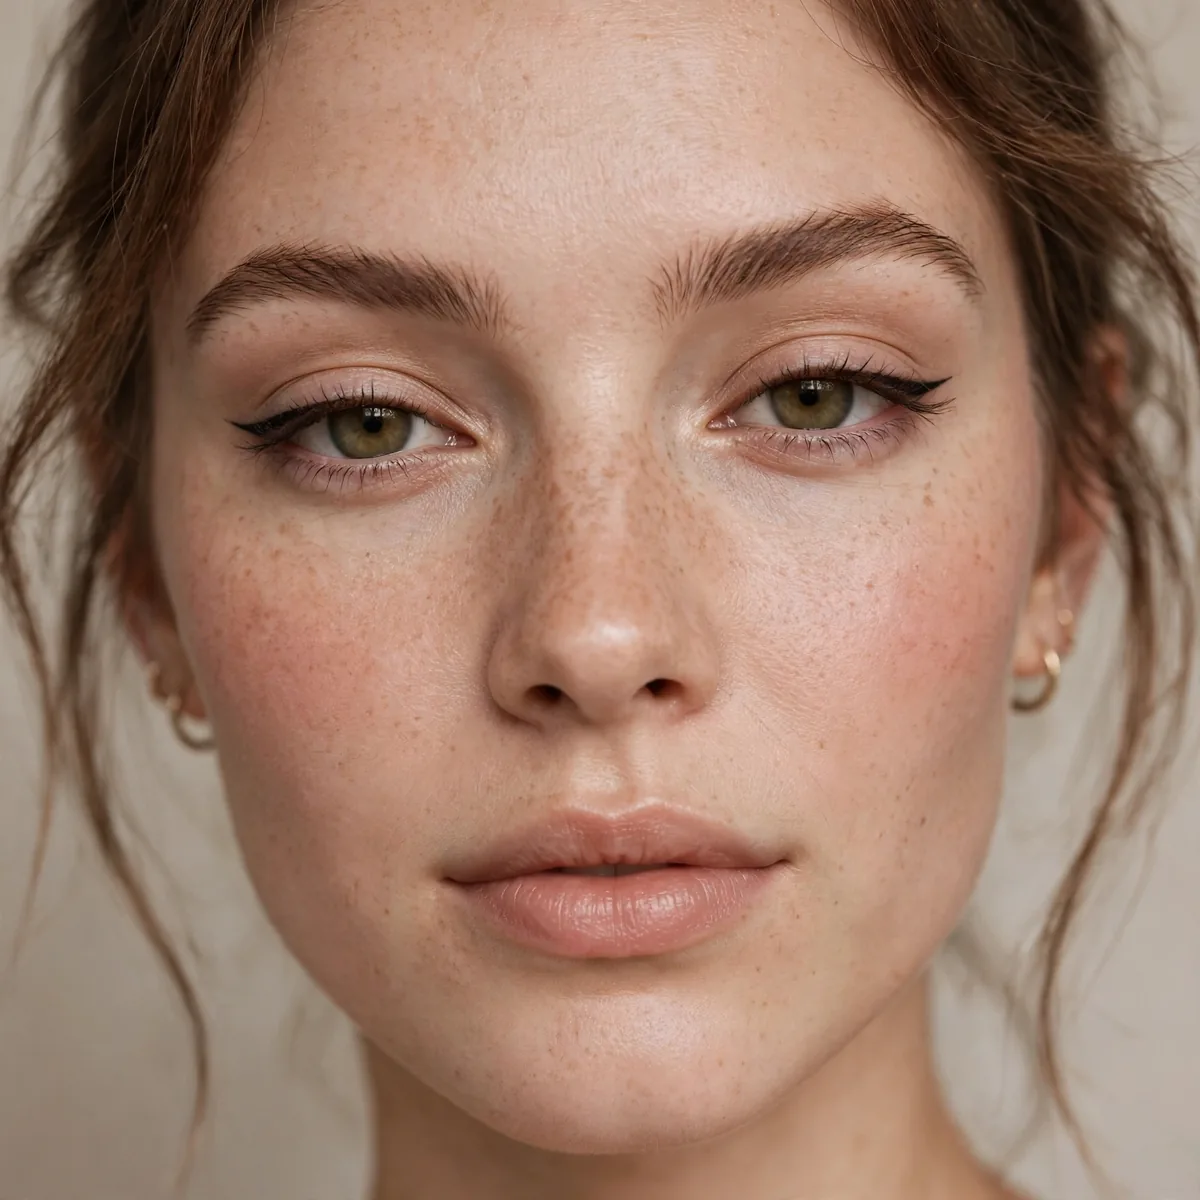
A tiny flick, barely past the outer corner. The beginner wing that looks intentional.
Start here. A small wing teaches the motion without the pressure of drama.
Short wings flatter round and smaller eyes because they elongate without overwhelming the lid, and they fit professional settings where drama would distract. The flick should extend just past the outer corner and angle slightly upward — think two to three millimeters, no more. This length also photographs beautifully, reading as polished definition rather than an obvious liner statement.
The common error is making it so short it reads as a smudge rather than a wing — there must be a visible flick with a defined tip. To take it from day to night, simply extend the existing flick outward with the same liner instead of starting over. Finish with a lash curler and one coat of mascara; curled lashes amplify a short wing far more than extra liner ever could.
The Stamp Wing
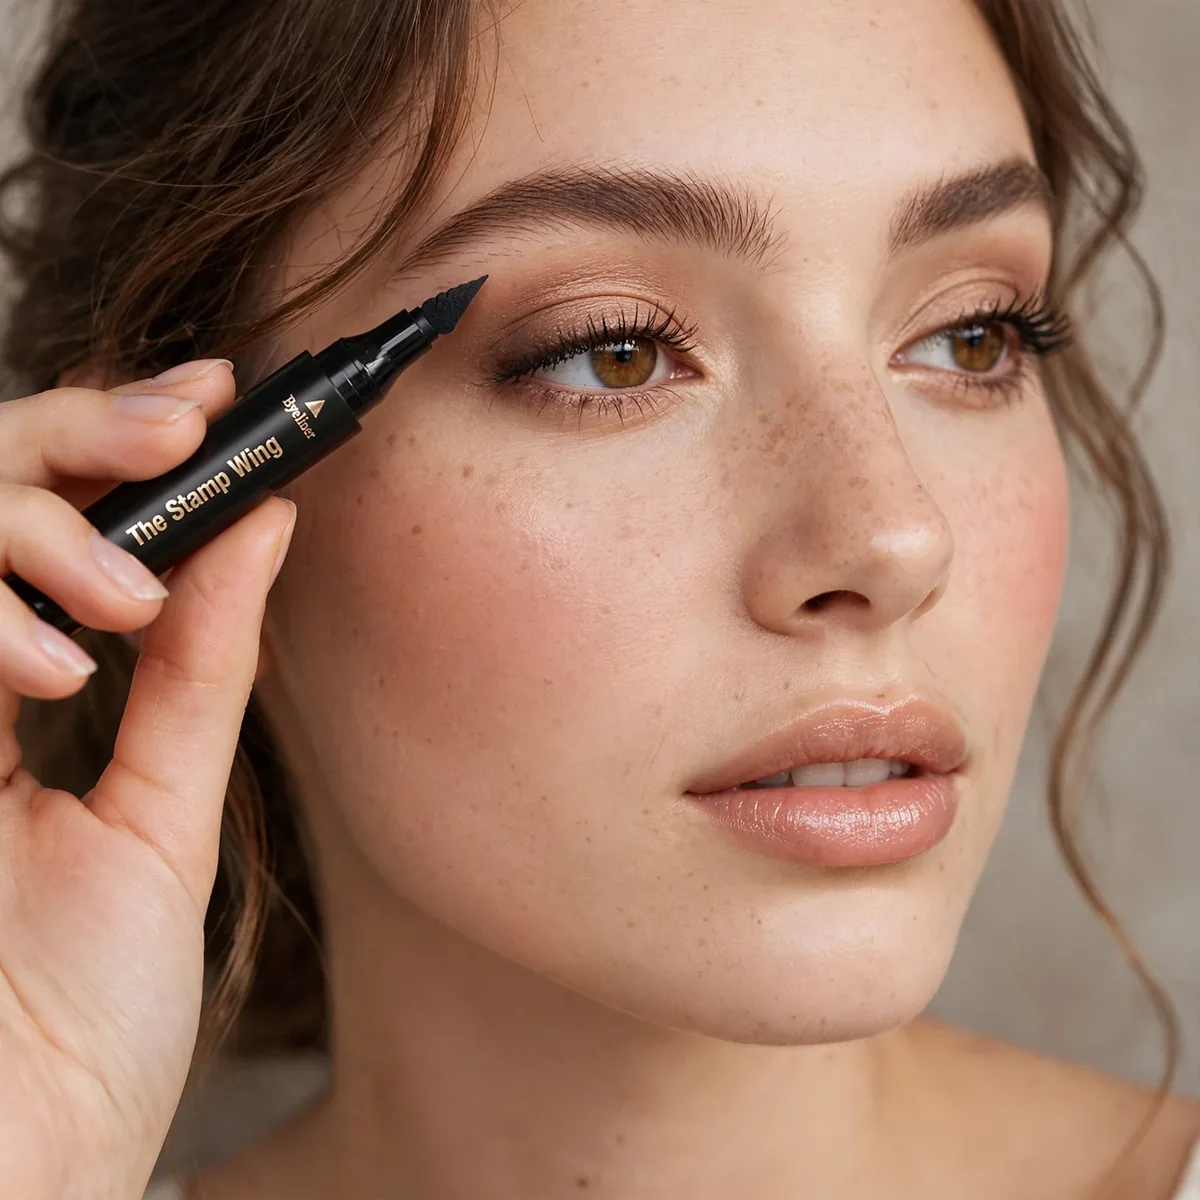
Wing stamp tools print a perfect wing in one press. Zero skill required.
No shame in tools. Stamp one side, stamp the other — symmetry solved.
Position the stamp with your eyes open, sighting the outer edge along the angle you want before pressing — guessing with eyes closed lands the wing in the wrong place. Press straight down for one second and lift cleanly; dragging smears the edge. Test the stamp on your hand first to gauge how much ink transfers, since a fully saturated stamp prints thicker than you expect.
Stamp size matters more than brand — a wing too large for your lid crowds the whole eye, so choose the smallest size that still reads as a wing. Most kits include left and right stamps; using the wrong one angles the wing downward, which drags the eye. After stamping, connect to the lash line with a matching liquid or gel liner, keeping that joining line thin so the stamp stays the statement.
Gel and Angled Brush
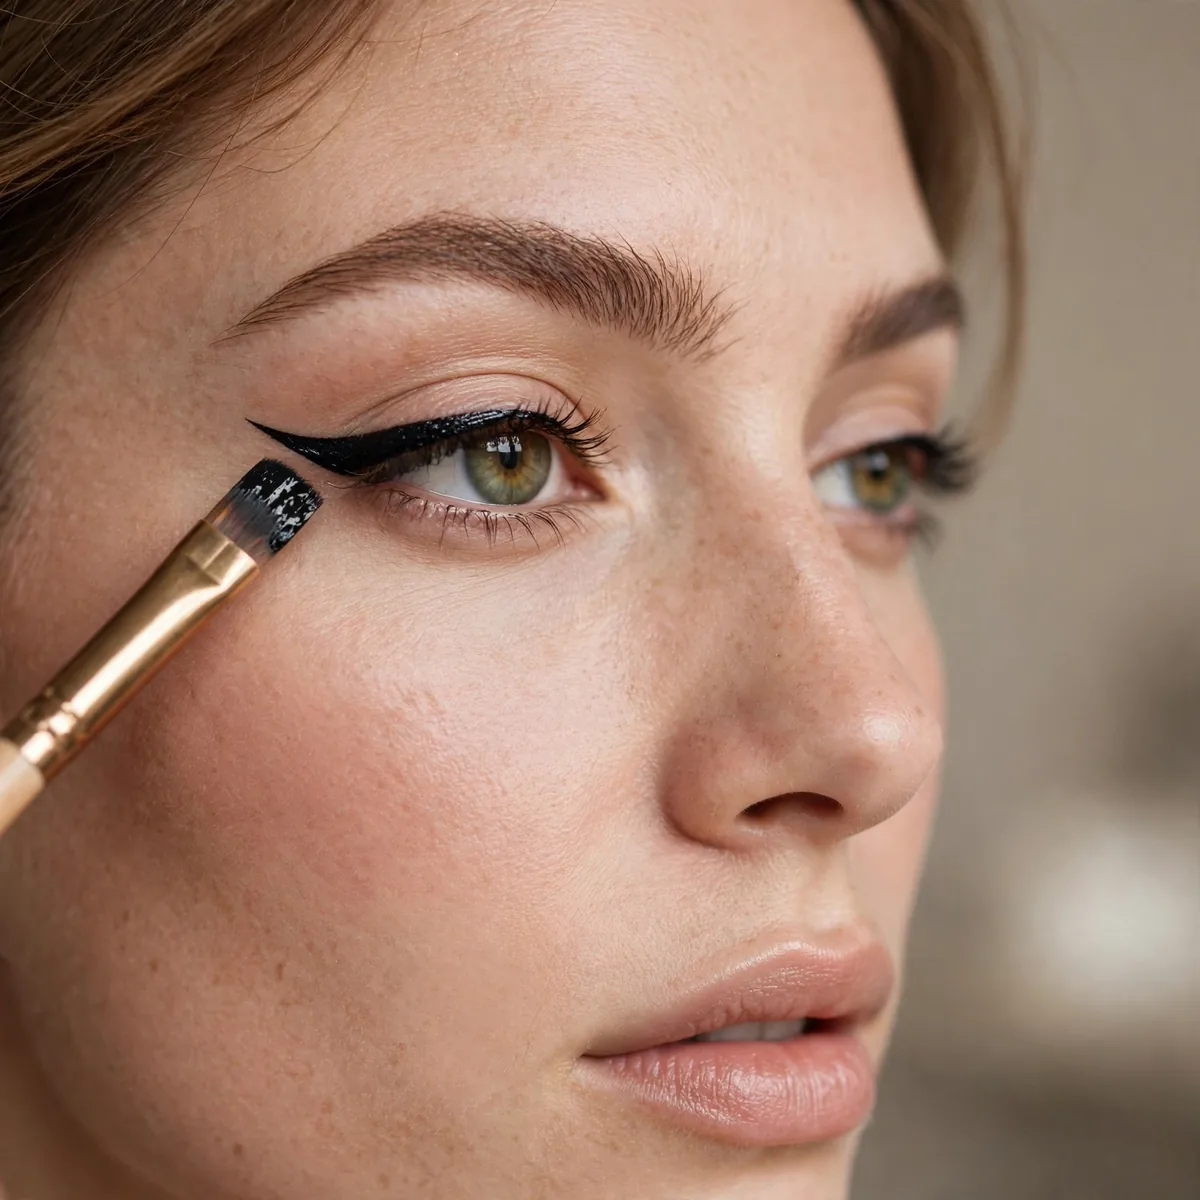
Gel pot plus angled brush gives maximum control and blendability. The makeup artist’s choice.
Load the brush lightly — too much product is the #1 gel mistake.
Work one eye at a time and reseal the gel pot between sides, because gel dries out within minutes once exposed to air, turning crumbly and hard to blend. Build the wing in two thin layers rather than one thick one — thin coats set faster and stay flexible. If the gel starts dragging, breathe on the brush once; the slight warmth revives the texture without adding water that could dilute the pigment.
Clean the angled brush with brush soap or micellar water after every use; dried gel stiffens the bristles and ruins the sharp edge that makes the brush work. A well-kept brush lasts years, so this five-second habit pays off. Gel formulas with waterproof claims genuinely survive tears and humidity, but they need an oil-based remover at night — scrubbing with water alone just smears them.
The Bottom-Up Wing
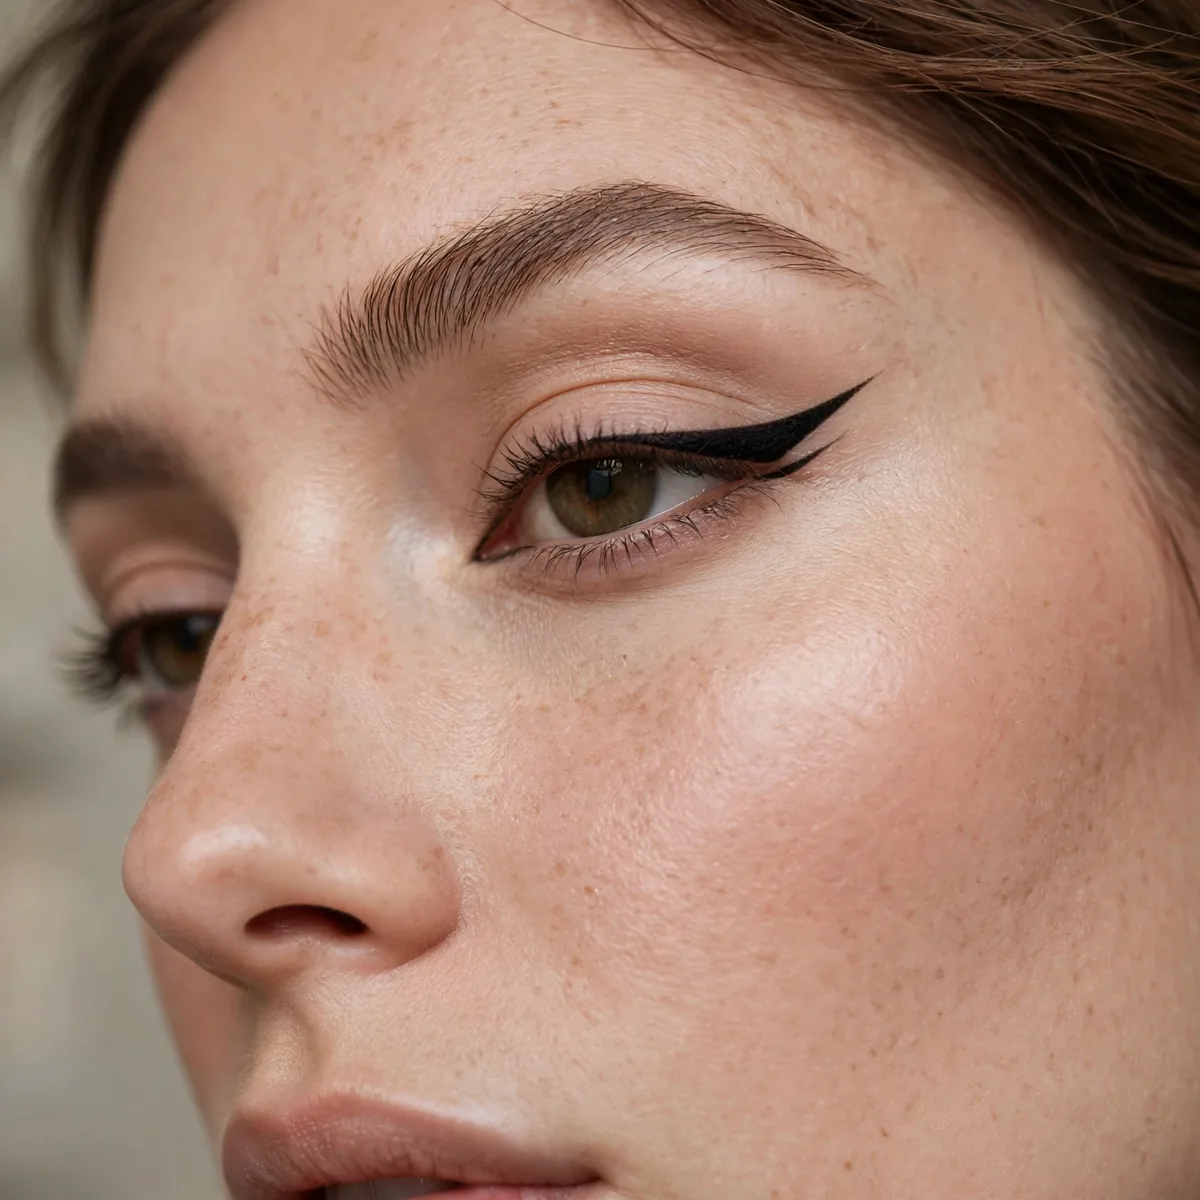
Draw the bottom edge of the wing first (the line from outer corner outward), then fill upward.
The bottom edge determines the wing’s angle. Get that right and the rest follows.
Map the bottom edge on both eyes before filling either one, so you can compare angles while they are still just thin guidelines. Stand back from the mirror at arm’s length to check symmetry — up close, each eye looks fine on its own. Keep this guideline hairline-thin; it is only a boundary, and you will thicken and fill upward from it once both sides match.
The classic error is drawing the bottom edge too thick too soon, which locks in a heavy wing before you have confirmed the angle. Start whisper-thin and widen gradually after filling. This method especially helps hooded eyes, because the bottom edge stays visible even when the lid folds — build it while looking straight ahead so the fold does not hide your guideline mid-draw.
Q-Tip Cleanup Wing
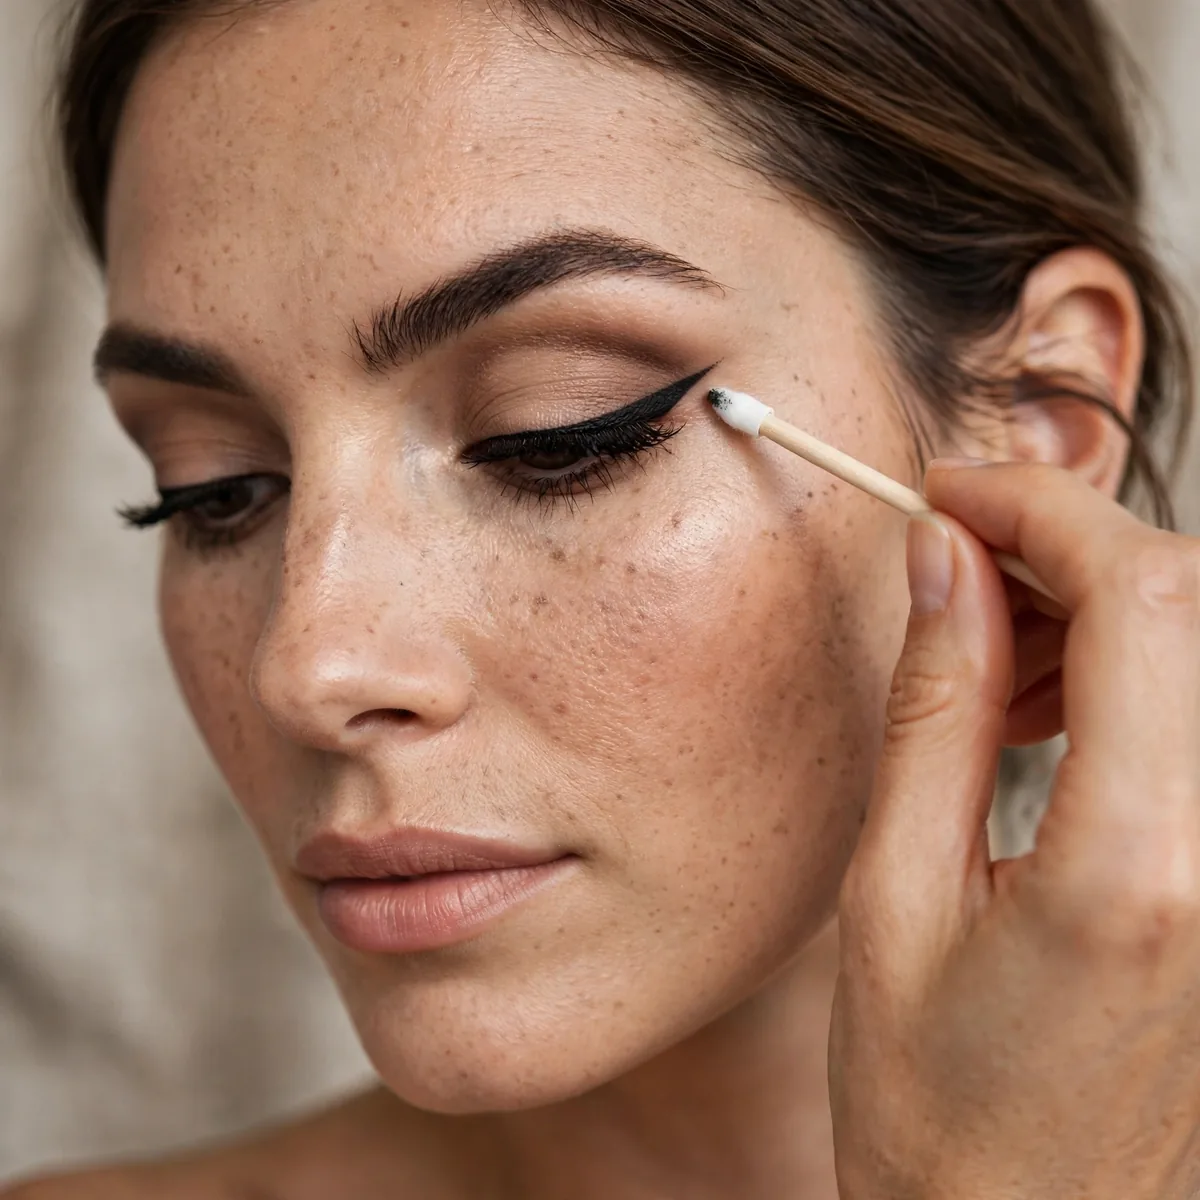
Draw boldly, then sharpen with a Q-tip dipped in micellar water. Cleanup is part of the technique.
Pros don’t draw perfect wings — they draw wings and clean them. This changes everything.
Use a precision pointed cotton swab rather than a standard fluffy one — the tapered tip carves a sharp edge in a single pass. Keep it barely damp, not dripping; excess liquid bleeds into the liner and blurs the line you just sharpened. Roll the swab along the wing’s lower edge instead of dragging it, lifting straight off at the tip to preserve that crisp point.
Over-cleaning is the trap — repeated swiping thins the wing itself, so sharpen once and stop. If you slip and erase too much, fill the gap with liner and re-sharpen rather than starting over. For an ultra-precise finish, follow the Q-tip with a flat brush and a touch of concealer along the lower edge; this carves the wing like a stencil and brightens the surrounding skin at the same time.
The Eyeshadow Wing
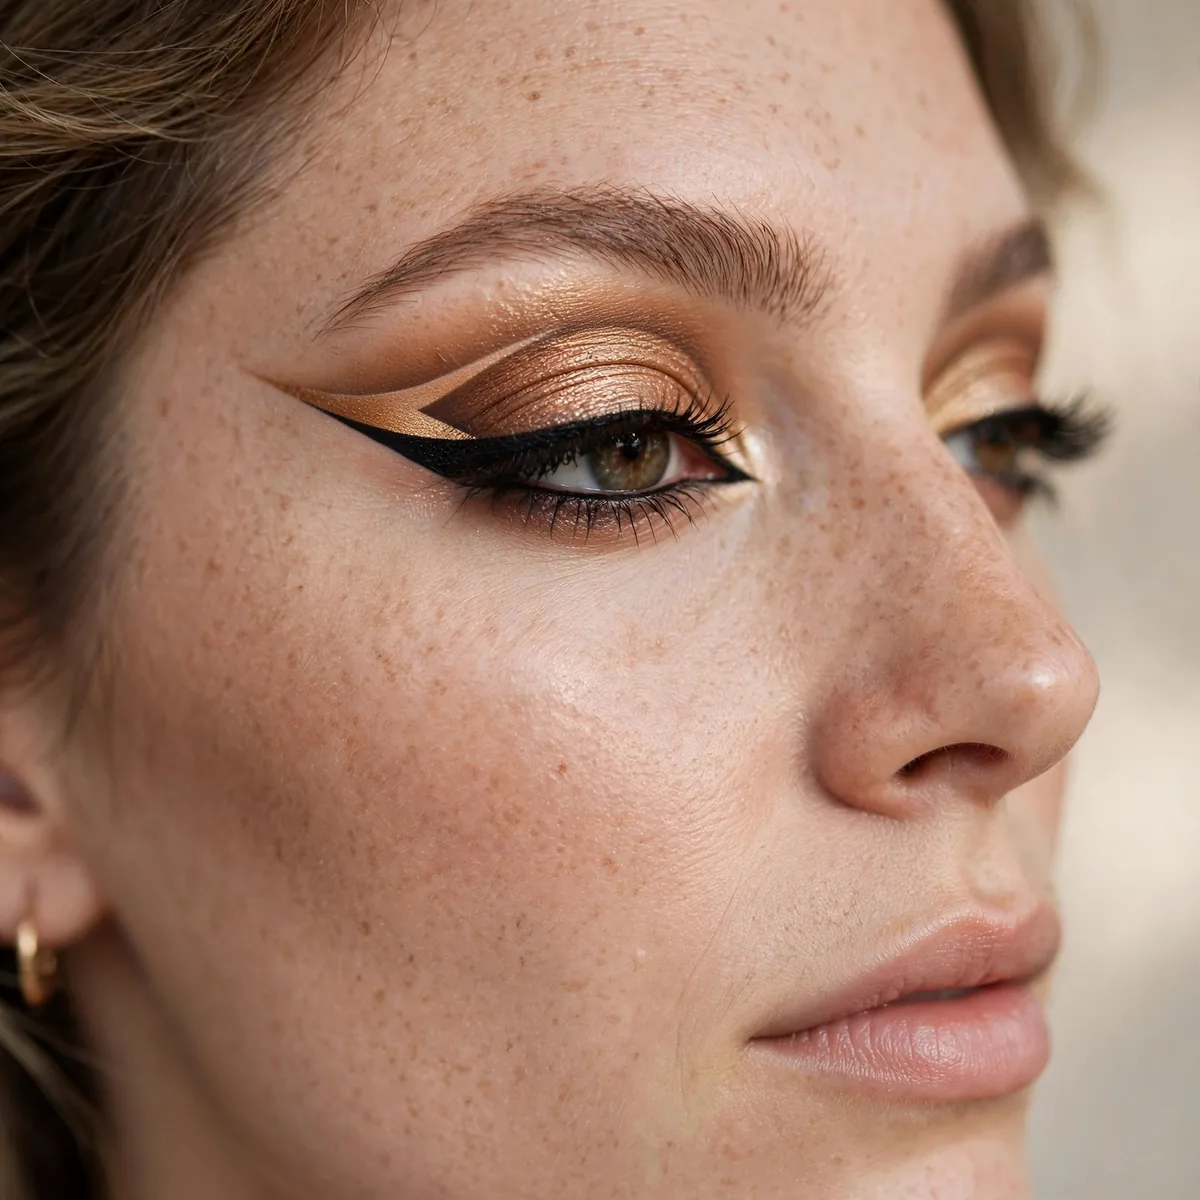
Wing out dark eyeshadow instead of liner. Softer, more forgiving, easily fixed.
The training wing. Master the shape in shadow before committing to liquid.
Tap the excess off your angled brush before touching the lid — loose shadow fallout under the wing is the main giveaway of this technique. Build the shape in sheer layers, pressing the color along the lash line first and then sweeping the wing outward. A matte shadow in deep espresso or soft black keeps the wing defined; shimmers blur the edge and read more as eyeshadow than liner.
Choose a shadow whose undertone flatters your skin — warm browns on warm undertones, cool charcoals on cool ones — or the wing can look muddy against your complexion. This is the ideal daytime wing for offices and errands, since it reads as soft definition from a normal distance. Mist it with setting spray afterward if you need it to survive past lunch without fading.
Half Wing
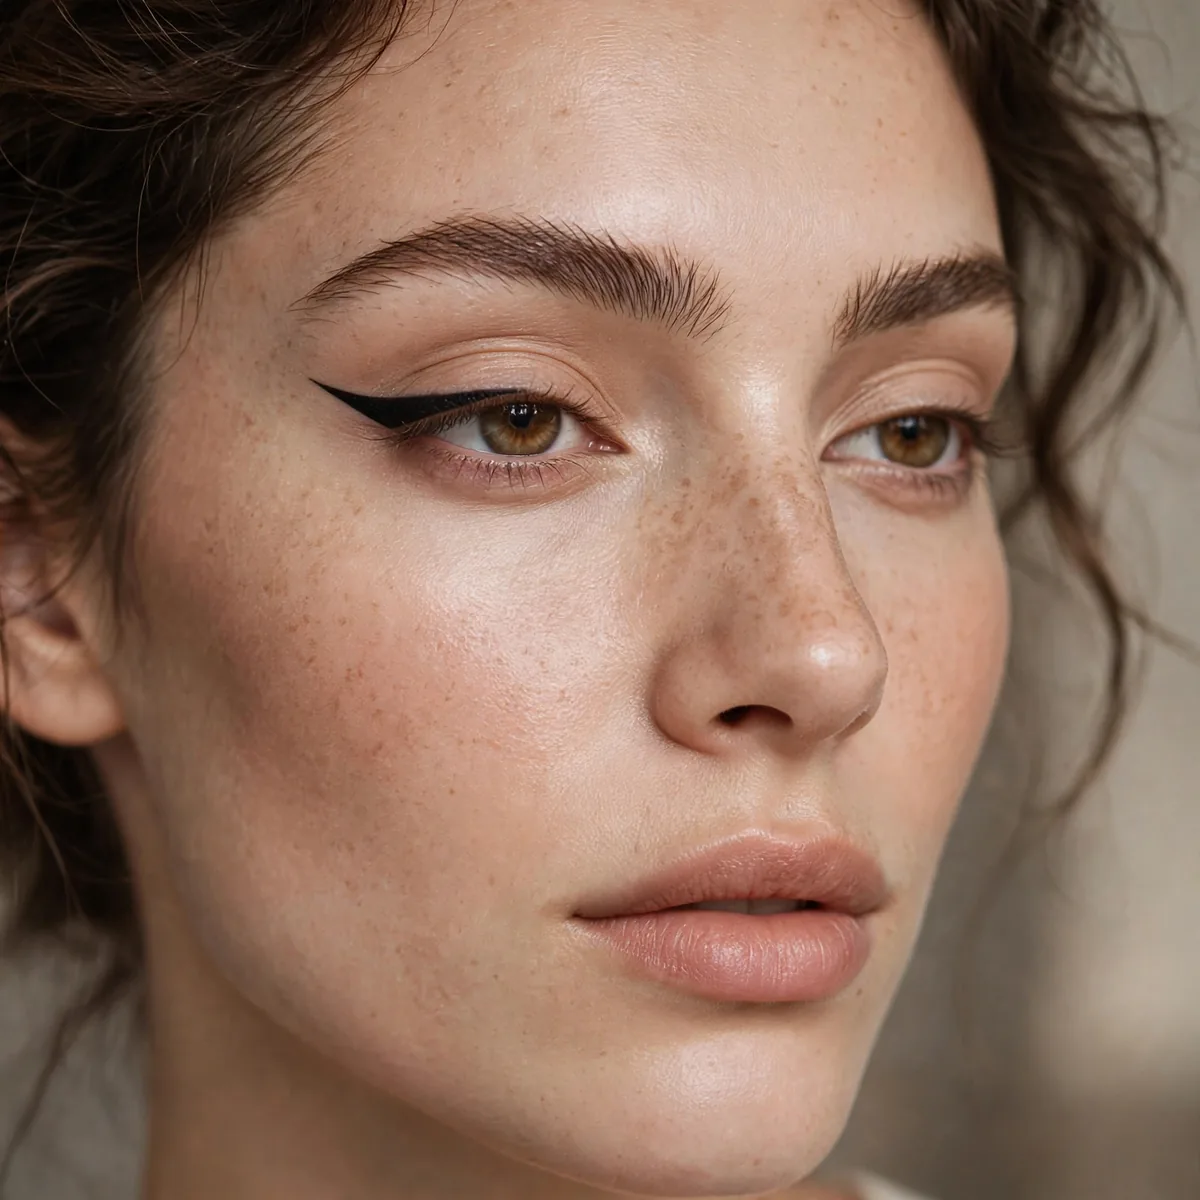
Line only the outer half of the lid with a small flick. Modern and easy.
Less lid to cover means less to mess up. The half wing is genuinely chic.
Start the line at the middle of the lid and let it taper as it moves inward, so the inner end fades rather than stopping bluntly — a hard stop looks unfinished. Keep the inner portion thin and let the width build toward the outer corner, which is what gives the half wing its lifted shape. Check with eyes open that the line begins where your lid is most visible, not hidden in the inner fold.
Close-set eyes love the half wing because the bare inner lid creates the illusion of wider spacing, especially with a touch of shimmer at the inner corner. It pairs beautifully with false lashes or a strong mascara moment, since the outer focus draws the eye outward. For evening, deepen the outer third with a second pass and add a soft brown shadow just above the crease to anchor it.
The Straight Wing
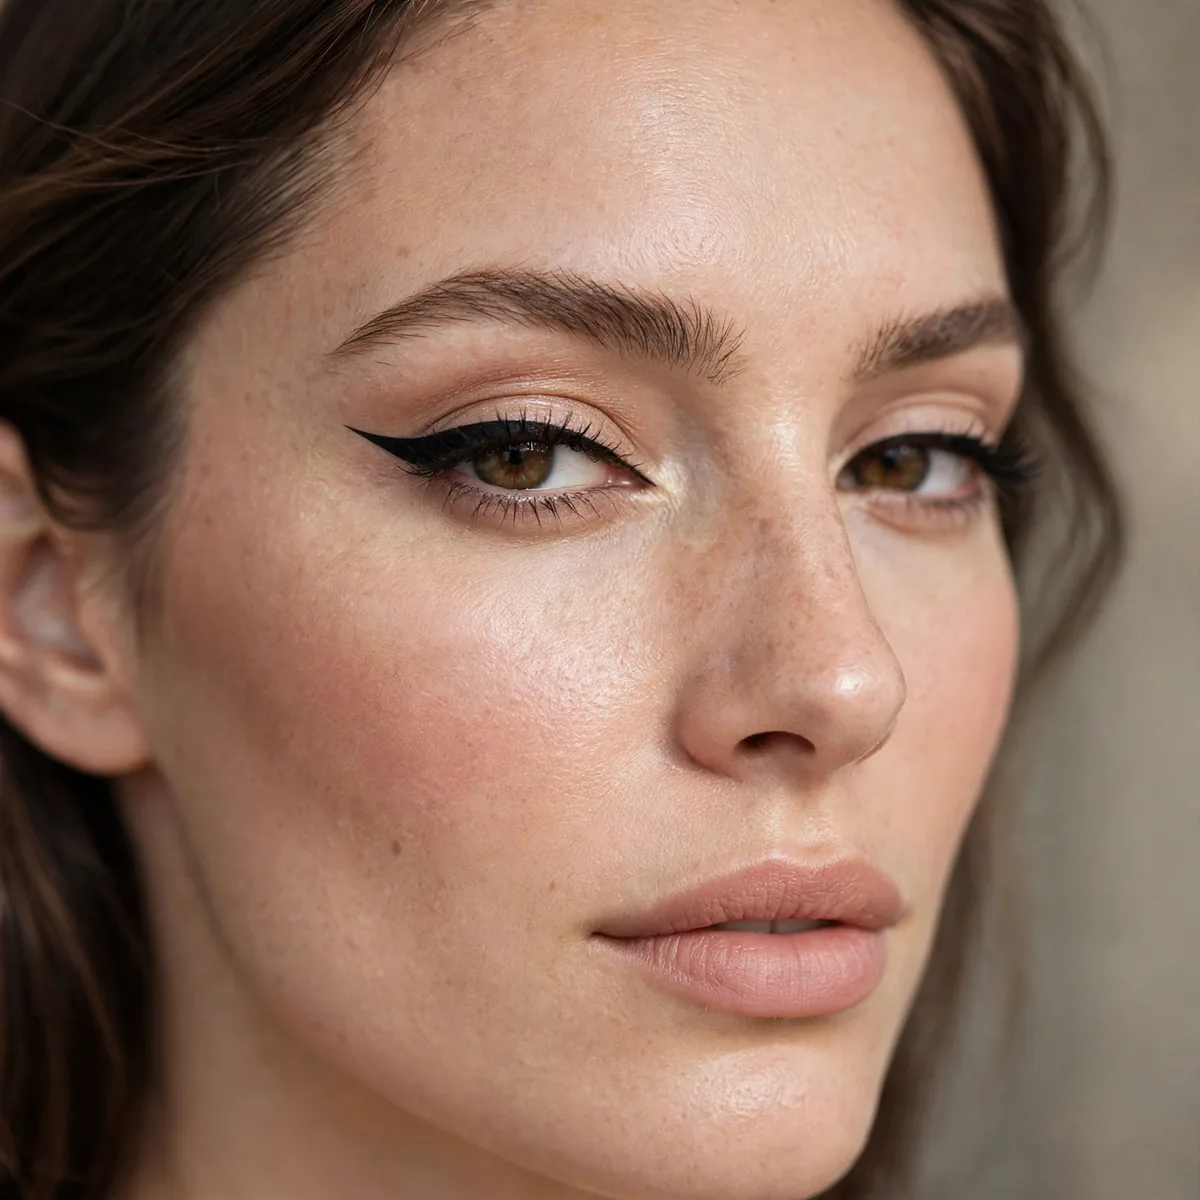
A wing that extends straight out rather than up — more modern, easier on downturned eyes.
Follow your lower lash line’s angle outward. It’s the most natural wing direction.
Sight the wing along your lower lash line extended, using a pencil held against it as a visual ruler before drawing. The key is keeping the flick truly horizontal — even a slight upward tilt turns it into a classic cat eye, which is fine but not this look. Draw with your head straight, since tilting your chin up or down changes the perceived angle and fools your hand.
Almond eyes wear this wing best, since the straight extension mirrors their natural shape without fighting it. It also reads more contemporary than an upswept wing, pairing well with minimalist makeup and structured fashion looks. The frequent mistake is unconsciously lifting the flick — check both wings from a distance, because asymmetry shows most when the intended angle is perfectly straight.
Thick and Bold Wing
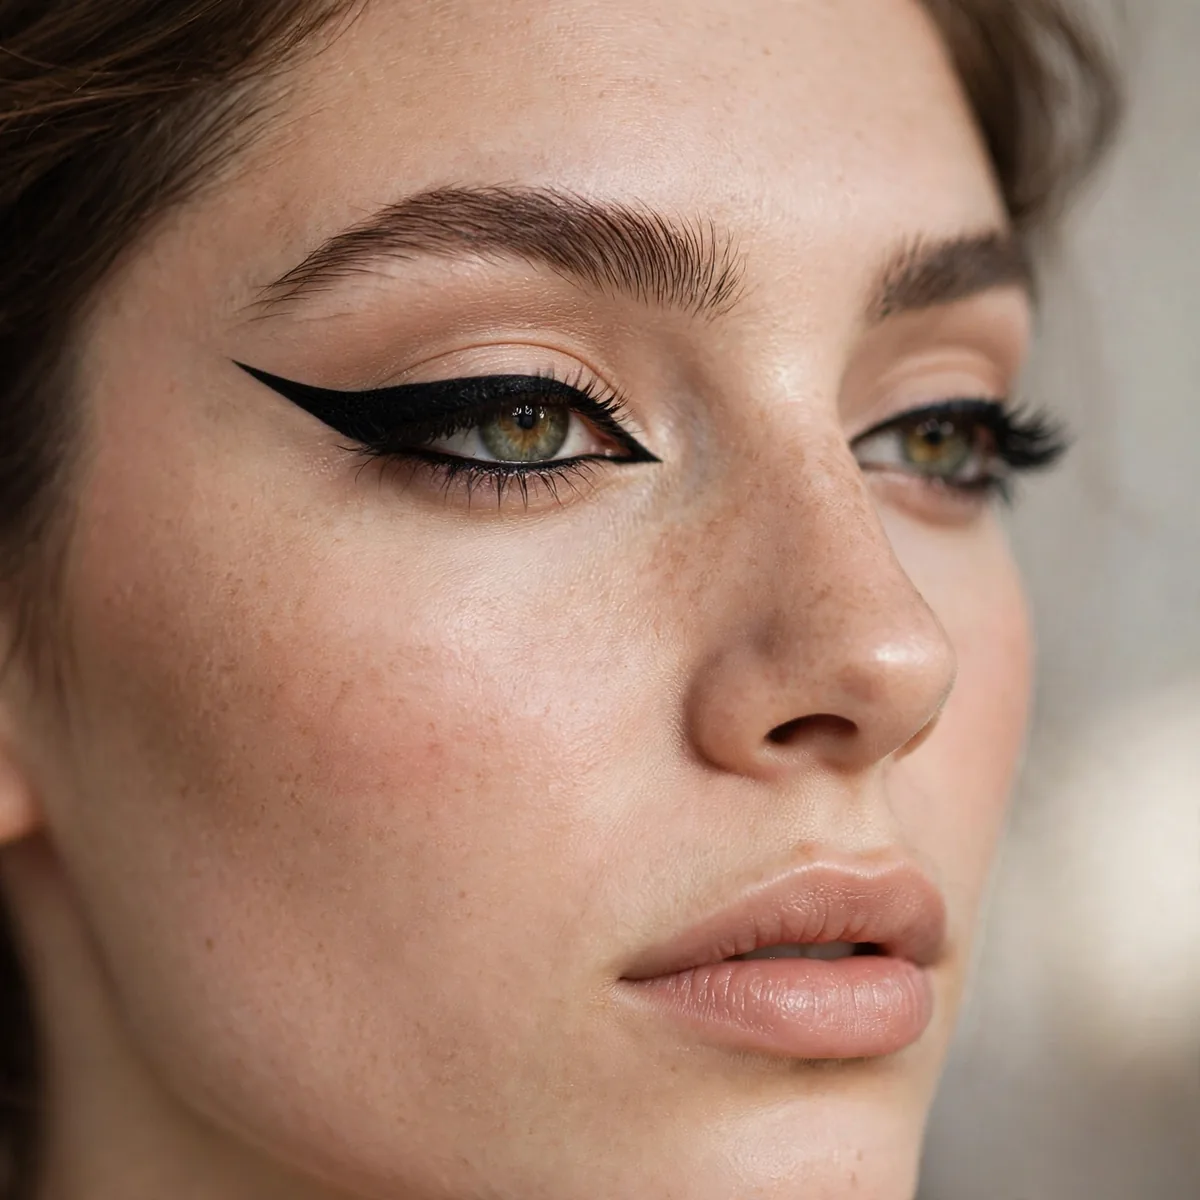
Once the thin wing clicks, go thicker. Bold wings are actually easier — more room for error.
Thick lines hide wobbles. Counterintuitive but true: bold is more forgiving than thin.
Build the thickness in stages rather than drawing one fat line — outline the shape first, then fill it in like a coloring book. Keep the inner corner and the first third of the lid relatively thin, letting the width swell toward the outer half; uniform thickness from corner to corner can look heavy. A gel liner or a chisel-tip pen handles broad strokes more smoothly than a fine felt tip.
Bold wings belong to evenings, events, and photos — they can overpower a bare daytime face, so balance them with at least mascara and a defined brow. Keep everything else softer: a bold wing plus a bold lip fights for attention, while a nude or satin lip lets the liner lead. At removal time, hold a soaked cotton pad over the lid for ten seconds first so the thick pigment dissolves instead of dragging.
The Double Wing
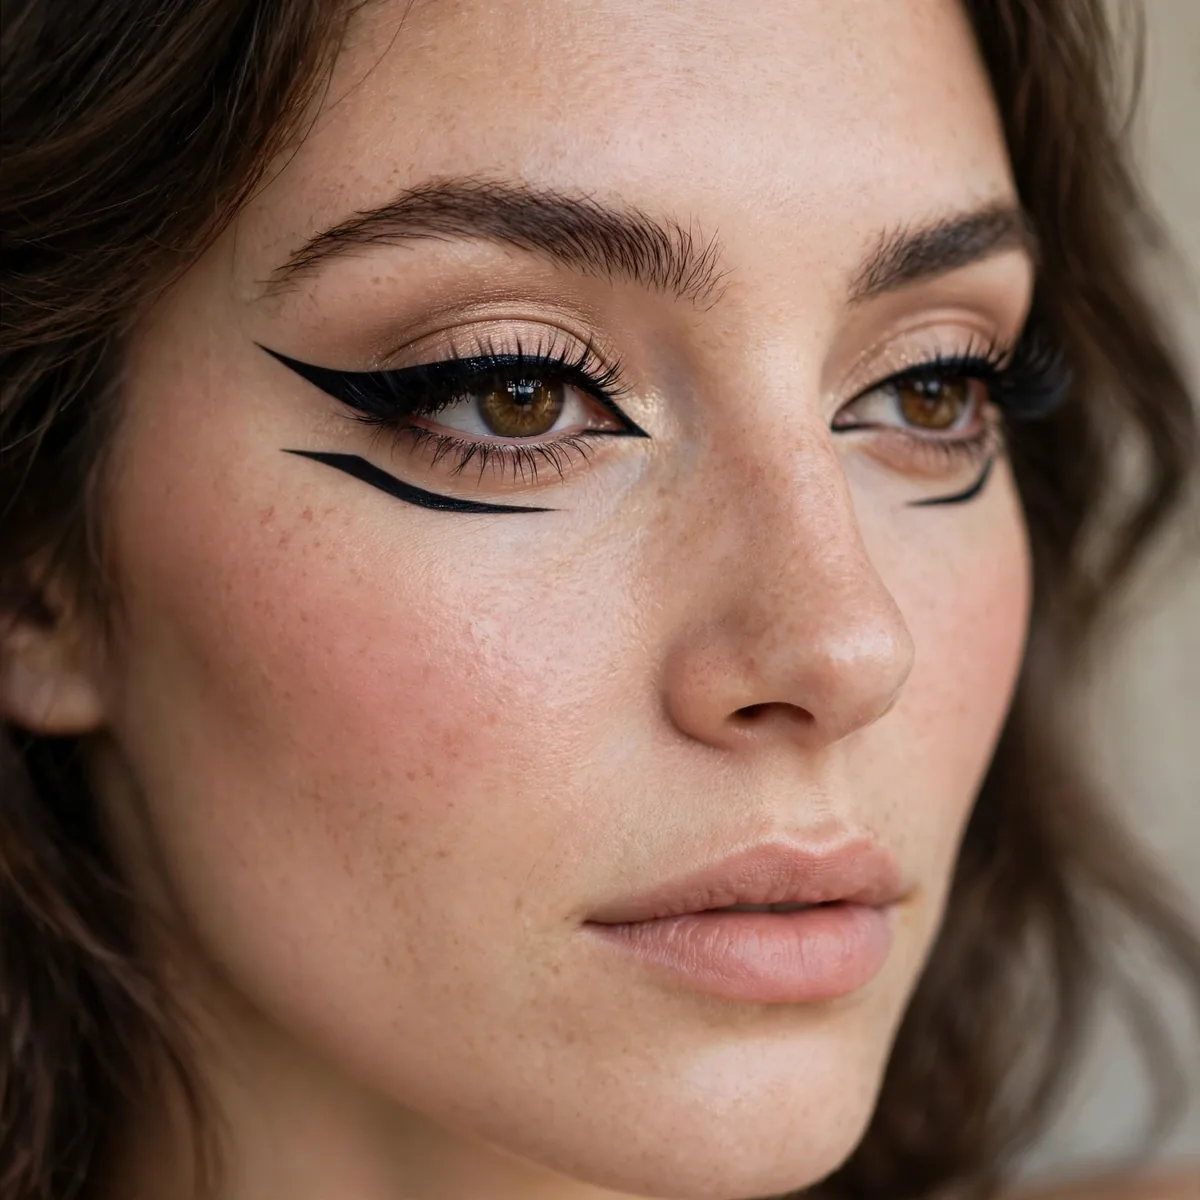
A second thin wing below the first — editorial and striking.
Master the single wing first. The double is just the single, twice.
The magic is the negative space between the two wings, so keep a clean sliver of bare skin separating them — if they touch, it just looks like one thick wing. Make the lower wing noticeably thinner and slightly shorter than the upper one; equal weight on both reads cluttered. Draw the upper wing first and let it set fully before adding the lower, so you do not smudge the first while perfecting the second.
Reserve the double wing for occasions that reward drama — parties, concerts, editorial shoots — since it is unapologetically bold. Keep the rest of the face quiet: skin-like foundation, groomed brows, and a nude lip let the graphic liner carry the look. This is also a great festival adaptation — swap the lower wing for a metallic or glitter liner while keeping the upper wing black for contrast.
Colored Wing
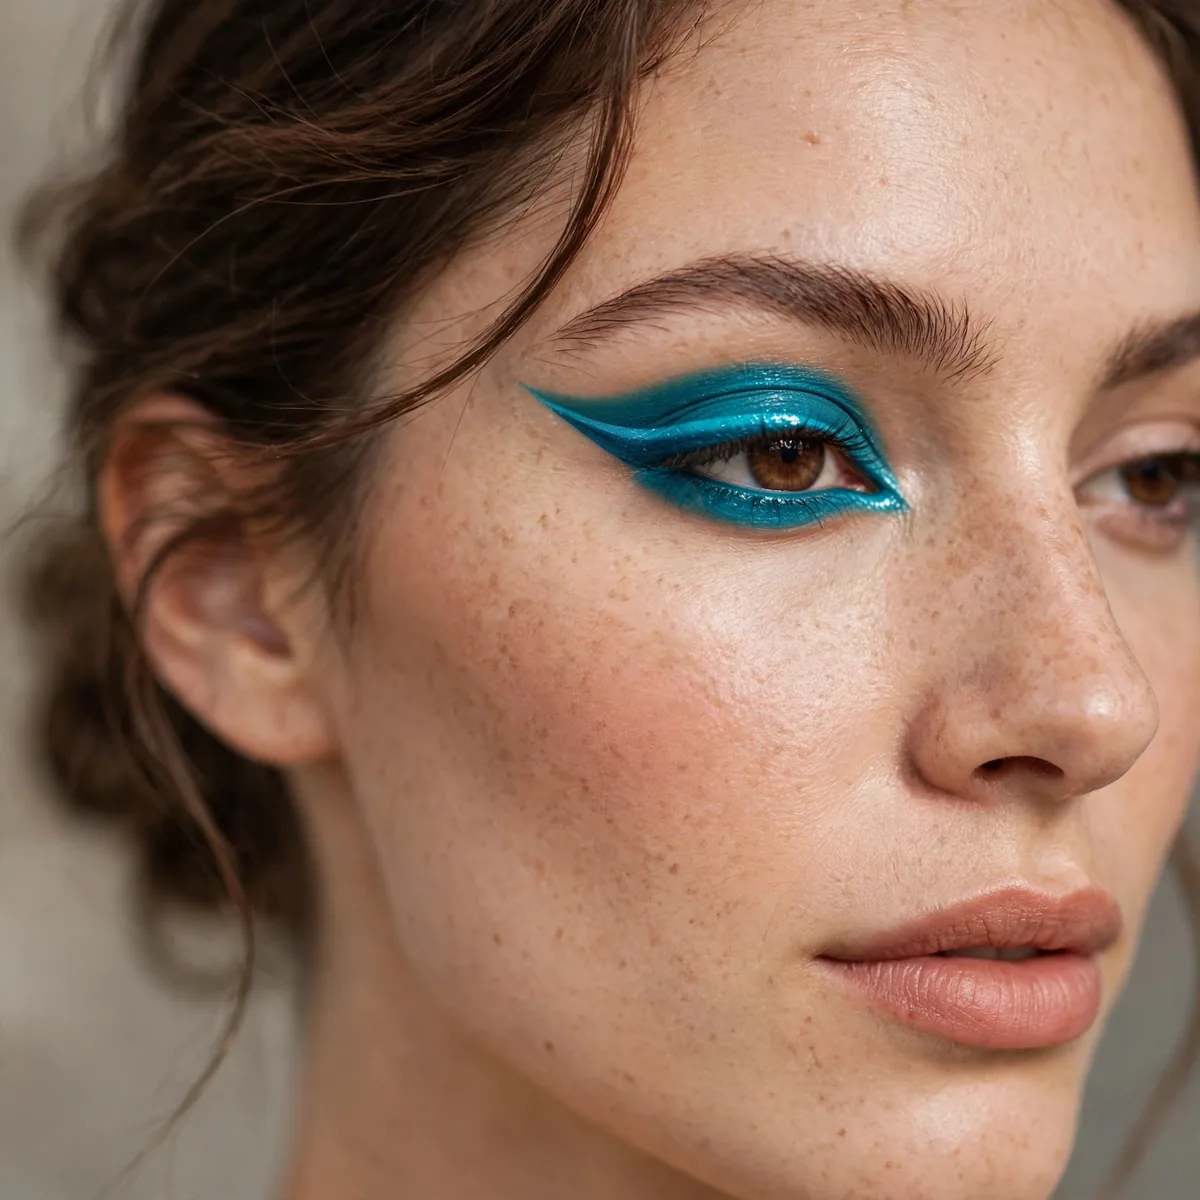
Try your wing in brown, navy, or burgundy. Color is more forgiving than black.
For colorful inspiration, our colored eyeliner looks have 15 ideas. Mistakes show less in color — another beginner advantage.
Match the shade to your eyes for maximum impact: copper and bronze wings make blue eyes glow, deep plum flatters green eyes, and navy sharpens brown eyes without the harshness of black. Test the color on the back of your hand in daylight first, since artificial light can mislead you about undertones. Start with deep, muted shades rather than neons — they are easier to wear and far more forgiving of wobbles.
Colored wings transition beautifully through seasons — burgundy and forest green in autumn, bright cobalt in summer, icy silver for winter evenings. For daytime, pair a colored wing with a matching tightline in black to ground it; the color stays the accent rather than the whole story. At night, layer a shimmer shadow in the same color family over the wing to amplify it under artificial light.
The Reverse Wing
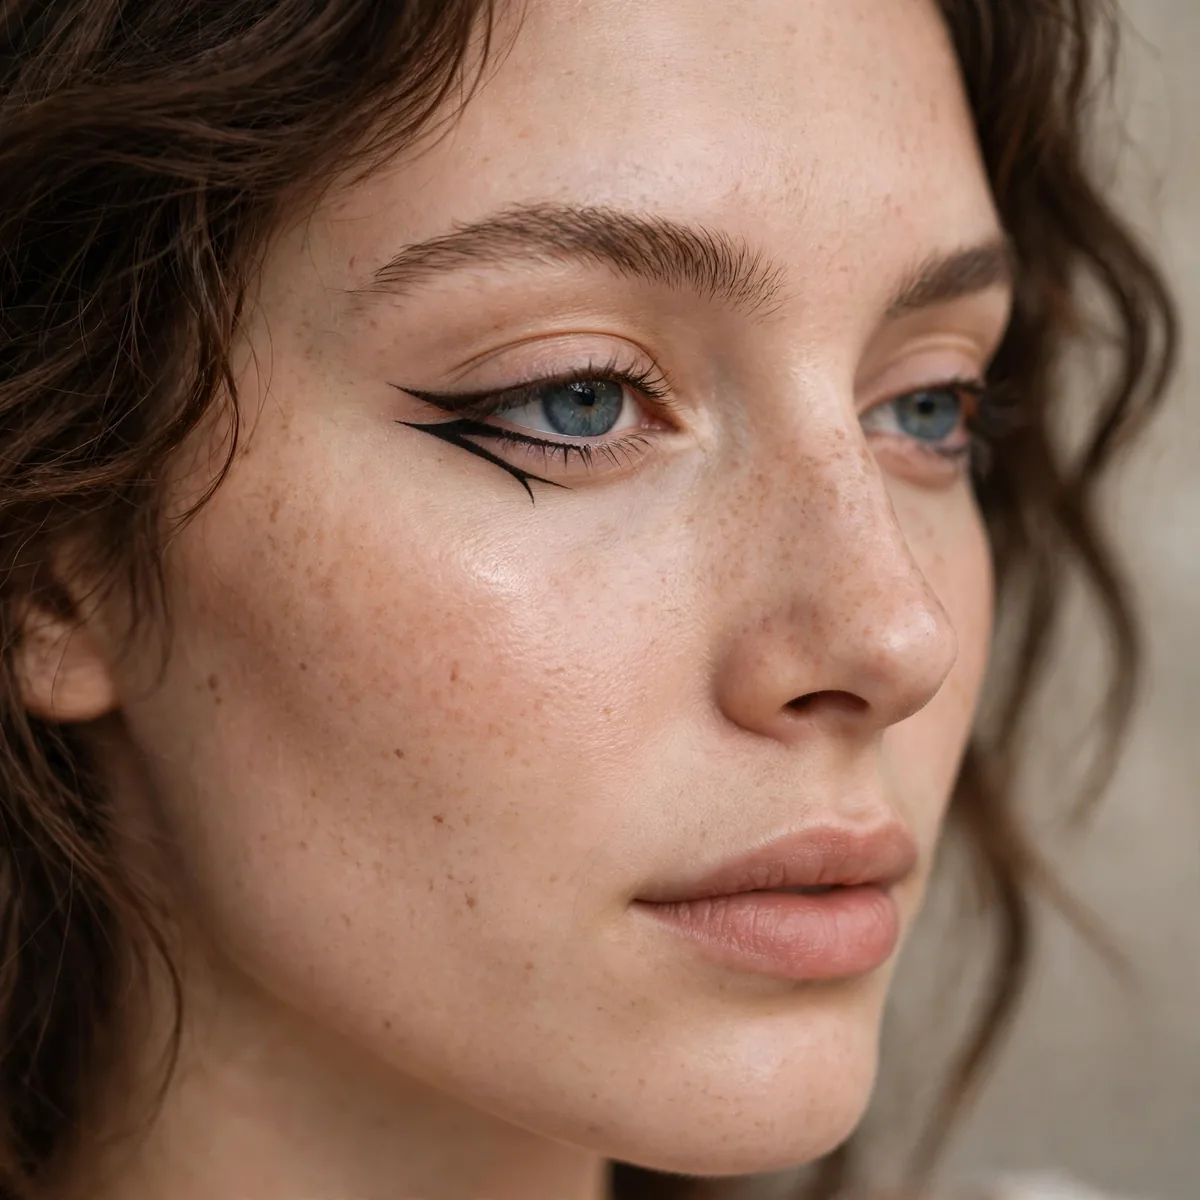
Wing along the lower lash line instead of the upper. Unexpected and cool.
The advanced-beginner move. It’s just the wing motion, relocated.
Draw the lower wing with a pencil or gel rather than liquid — the lower lash line moves more, and a softer formula forgives blinking. Connect it to a thin upper line at the outer corner so the two meet in a clean point instead of floating separately. Keep the lower wing shorter than you think; a long lower flick can drag the eye down, which defeats the purpose of the whole technique.
Large, prominent eyes wear the reverse wing best, since the lower emphasis balances their natural openness. Avoid a thick lower line — keep it fine and let mascara on the lower lashes do the supporting work, or the under-eye can look heavy. Waterproof formulas are non-negotiable here; the lower lash line sits close to the waterline, and non-waterproof liner migrates into raccoon territory within an hour.
Winged Shadow Liner
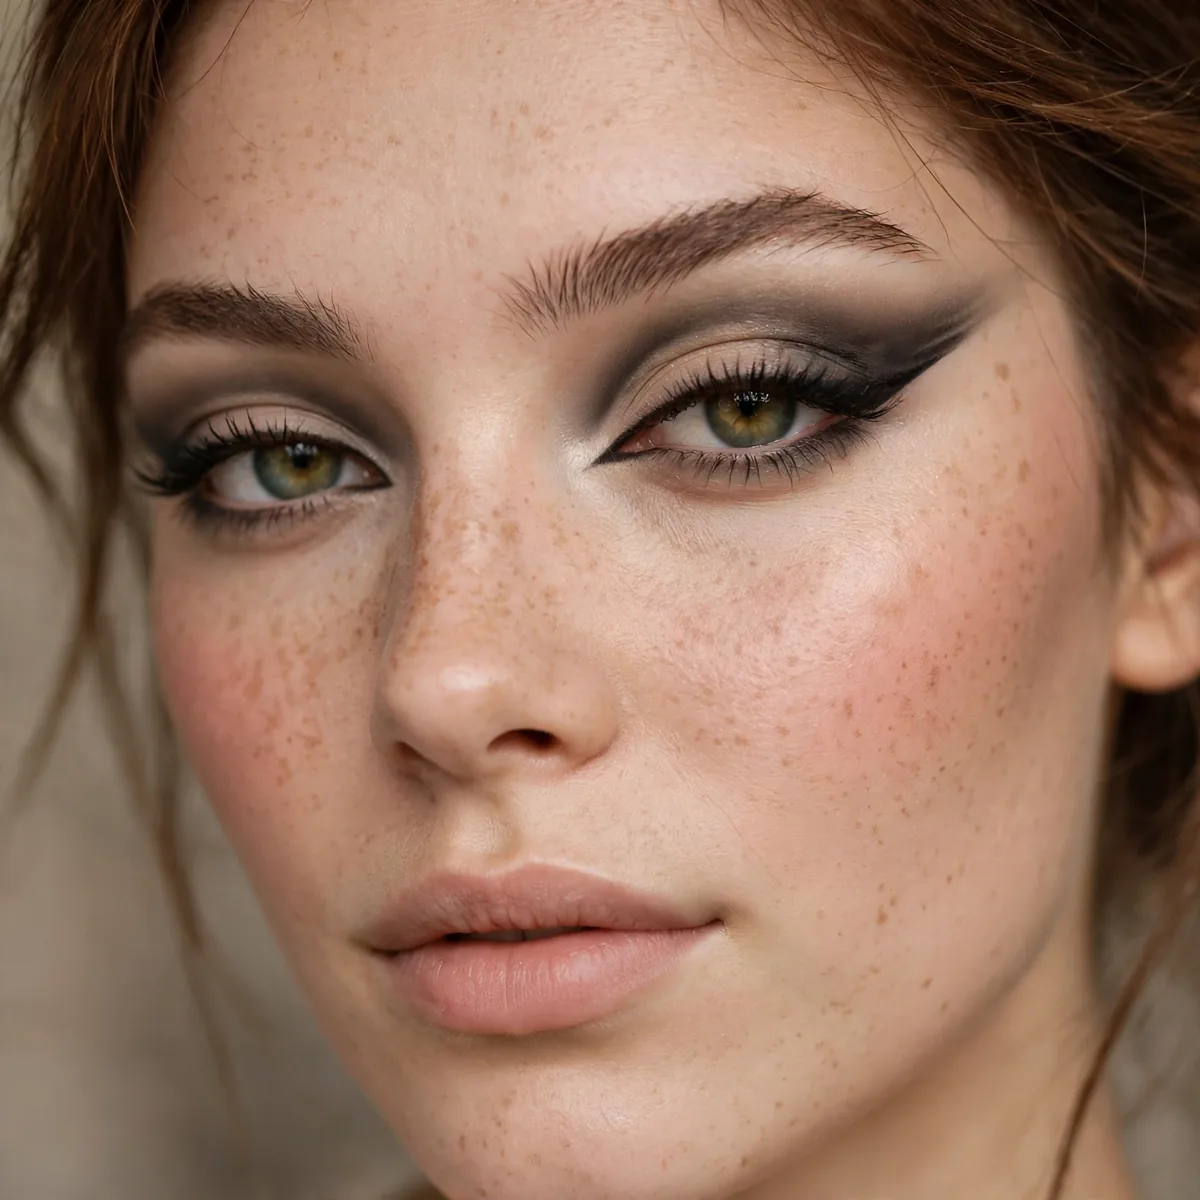
Use dark shadow as liner with a damp brush — the softest wing possible.
Damp shadow gives liner-like intensity with shadow-like forgiveness. Best of both.
Dampen the brush, not the shadow pan — spritz the bristles once and pick up pigment with the wet tips, which gives you liner intensity without turning the pan muddy. Press the color along the lash line before extending the wing, since the first deposit is always the strongest. Let each side dry for a few seconds before blinking fully; wet shadow transfers to the upper lid if you rush it.
A flat, firm detail brush beats a fluffy one here — precision matters more than blending when the product is this sheer. Too much water is the common failure; the shadow goes patchy and refuses to set, so start with barely-damp bristles and add moisture only if needed. Finish with a whisper of translucent powder under the wing to catch any fallout, keeping the under-eye area clean all day.
The Graphic Wing
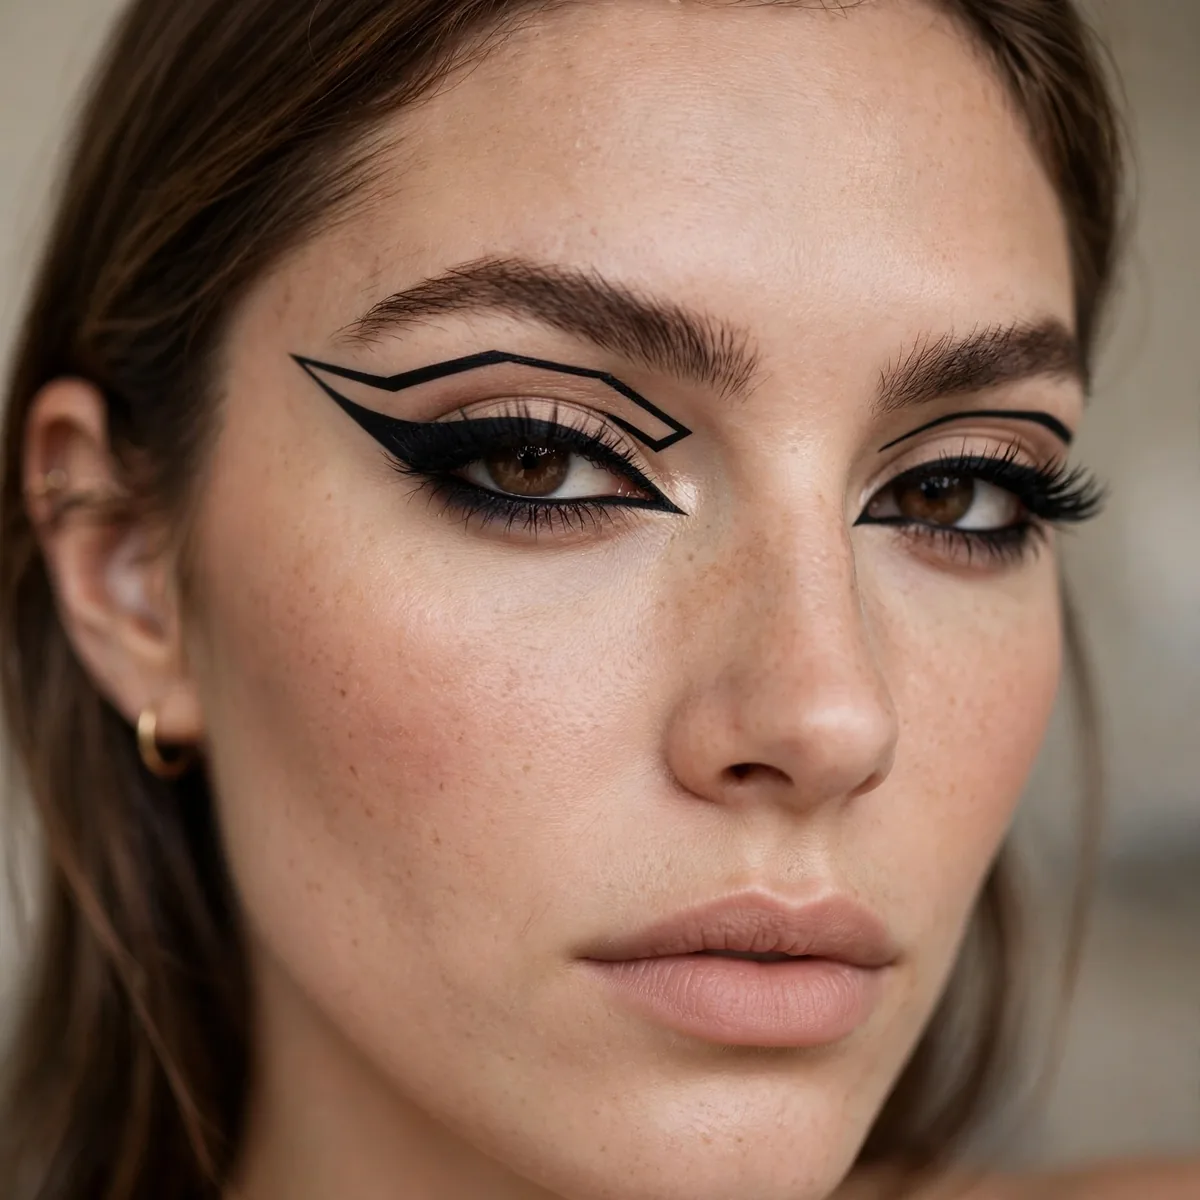
An exaggerated, artistic wing — for when the basics feel boring.
Push past "correct" into creative. Graphic wings are supposed to be dramatic.
Sketch the shape first with a light gray or nude pencil before committing with black — planning on a light base lets you adjust without starting over. Map key points on both eyes before drawing either side fully: wing tip, inner corner angle, and any floating lines. Step back frequently, because graphic shapes that look right up close can read lopsided from conversation distance.
Graphic wings shine at editorial shoots, costume events, and creative nights out — they are a statement, not a daily driver. Balance the drama with bare skin and groomed brows so the liner owns the face. Removal needs patience: saturate a cotton pad with oil-based remover, press it over the design for fifteen seconds, then wipe gently — scrubbing a heavy graphic wing just irritates the delicate eye area.
The Perfected Daily Wing
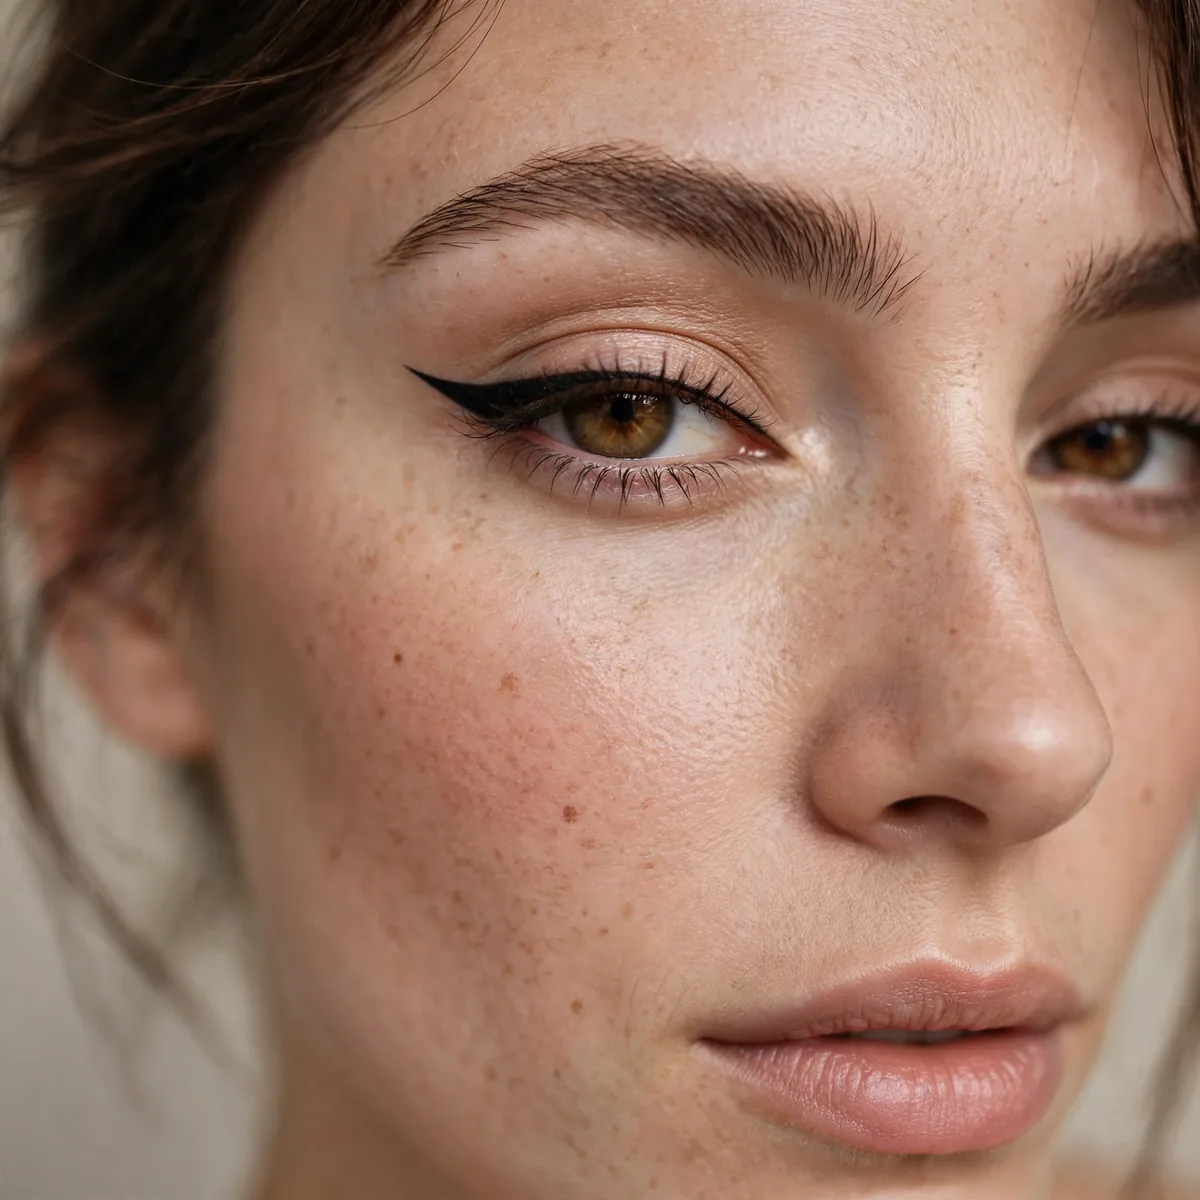
Your wing, after two weeks of practice: quick, confident, yours.
It becomes muscle memory. Soon you’ll do it half-asleep — and it’ll look great.
Once the motion is memorized, standardize your toolkit: one liner you trust and one cleanup swab, nothing else. A practiced daily wing takes under three minutes — most of that is the cleanup pass, not the drawing. Keep a mini version of your liner in your bag for touch-ups; the outer tip is the first thing to fade, and a ten-second refresh at lunch keeps it sharp all day.
Your daily wing is also a base for bigger looks — thicken the existing line and extend the flick for evening instead of removing and restarting. Add a champagne shimmer to the inner corner and a second coat of mascara, and the same wing reads party-ready. The real milestone is not speed but consistency: when both wings match on the first try, without cleanup, you have officially arrived.
The wing is a skill, not a gift — pin this guide and practice. For softer lines, try brown eyeliner looks, or go bold with graphic eyeliner looks.




