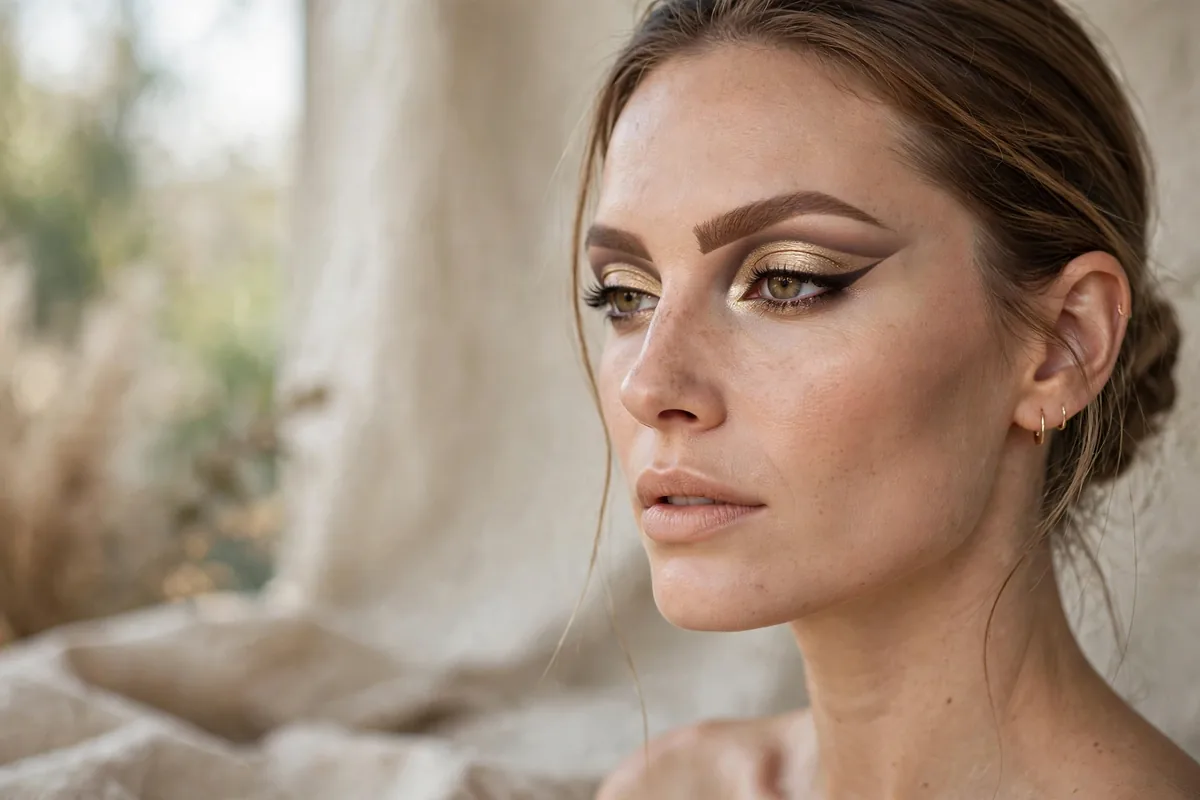
The cut crease is makeup architecture — a sharp line that sculpts the eye with almost graphic precision.
The technique: a crisp line carved above the natural crease with concealer, creating the illusion of deeper, larger, more defined eyes. It’s dramatic by design.
Cut creases reward patience and a steady hand — but the payoff is the most striking eye look in makeup.
Here are 15 ways to cut it. Let’s get into it.
Classic Nude Cut Crease
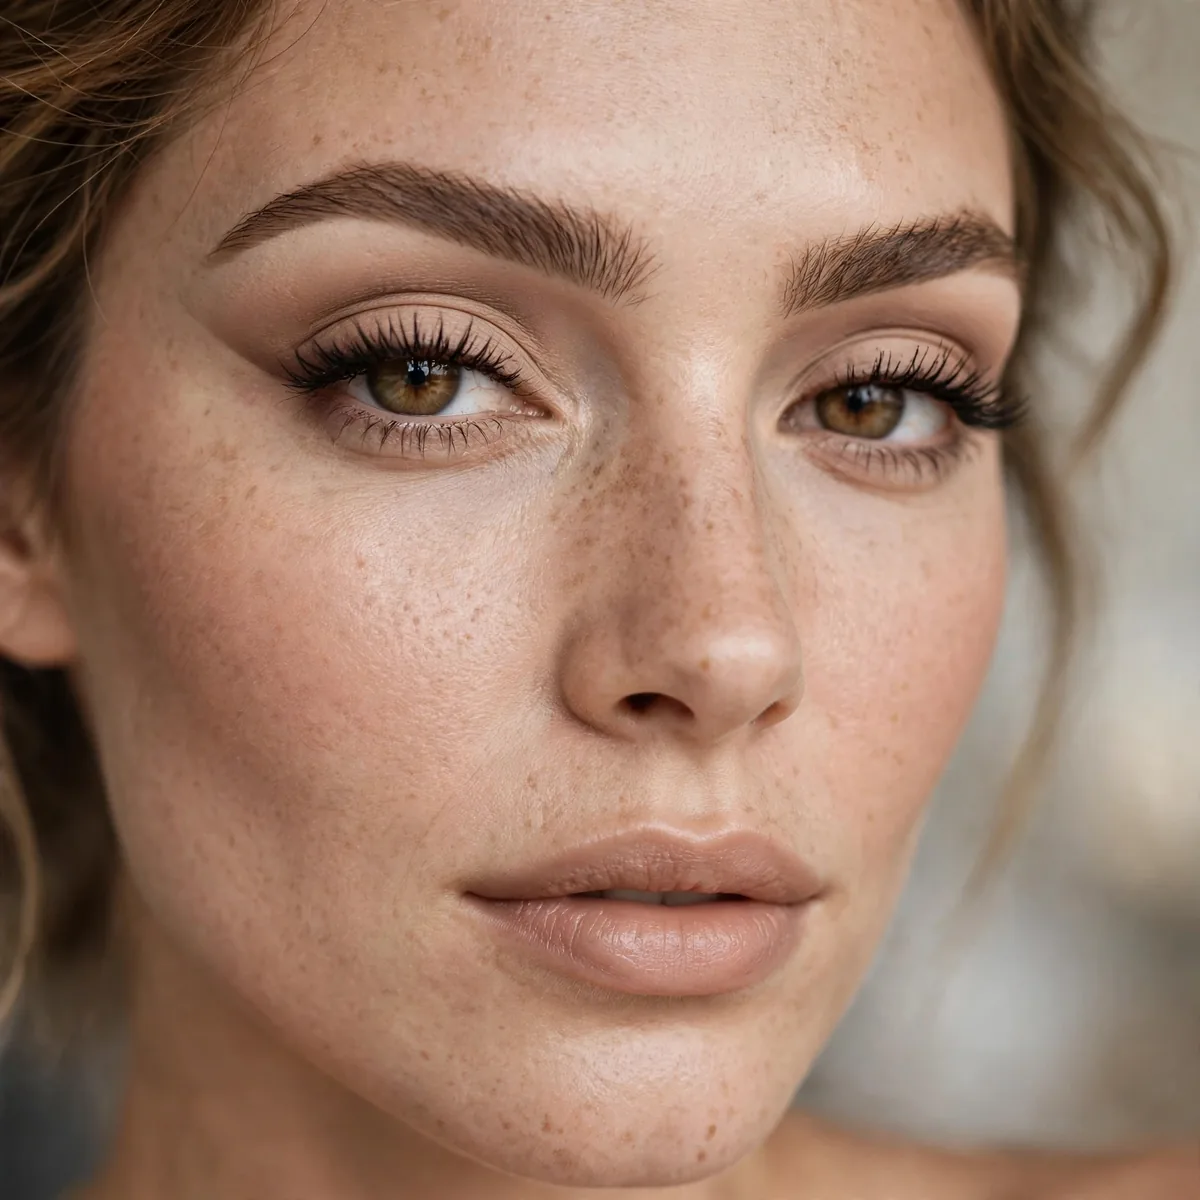
Warm browns with a sharp concealer cut — the timeless cut crease every artist learns first.
Best for: learning the technique. Neutrals forgive wobbles while you practice.
The carve is everything here — after blending warm browns into the crease, paint a flat concealer line just above the natural fold with a small flat brush, keeping the edge razor-sharp. Use a concealer one to two shades lighter than skin so the lid pops, then set it immediately with a nude powder so the line stays crisp. The sharpest cuts come from a steady hand resting your pinky against your cheek for stability.
Neutrals are forgiving, which is why every artist practices on nudes first — wobbles blend into the warm browns instead of screaming. This is the wedding-guest, graduation, and job-interview cut crease: defined but never loud. Warm undertones wear this effortlessly, and the nude lid pairs with any lip color. Avoid glitter on the lid here; the classic nude cut is about precision, not sparkle, and glitter blurs the clean line you worked for.
Dramatic Black Cut Crease

Black shadow carved with precision — maximum drama, editorial impact.
Best for: performances and photos. This is not a subtle look, and that’s the point.
Black cut creases demand commitment — blend the black shadow above the crease first, then carve the line with full-coverage concealer and clean the edge with a damp angled brush if it wobbles. Because black shows every imperfection, work one eye completely before starting the other so you can match them; symmetry is the whole game. Set the black with a translucent powder pressed, not swept, so the cut stays laser-sharp all night.
This is editorial territory — performances, photoshoots, Halloween parties, and nights when subtlety is not invited. The harshness softens on deeper skin tones where black blends more naturally, and on fair skin it reads intensely graphic, which is the point. Pair it with a nude lip so the eyes stay the headline, and skip heavy contour that competes with the drama. Expect fallout — do the eyes before foundation so cleanup never ruins your base.
Glitter Cut Crease

Glitter packed on the lid below the cut — the party cut crease.
Best for: celebrations. Our glitter guide covers adhesion that actually holds.
Adhesion is the make-or-break step — after carving the cut with concealer, press glitter glue onto the lid while the concealer is still tacky, then pack cosmetic glitter with a flat synthetic brush. Pressing, never sweeping, keeps the glitter dense and prevents fallout from drifting onto the carved line. Fine glitter gives a jeweled finish; chunky glitter gives a festival finish — choose based on whether the night is elegant or wild.
Glitter cut creases own New Year’s Eve, bachelorettes, and concerts — anywhere the lights are low and the cameras flash. The glitter catches light with every blink, so this photographs beautifully. Keep the crease color warm bronze or gold so the glitter feels cohesive, and choose a simple lip because the eyes are already a party. Remove glitter with an oil-soaked cotton pad held for thirty seconds — rubbing just spreads the sparkle everywhere.
Colorful Sunset Cut Crease

Orange, pink, and purple blended above a sharp cut — wearable art.
Best for: creative spirits. The cut gives structure to wild color.
Sunset blends need a light hand — lay orange at the outer edge, pink in the middle, and purple at the inner crease, then blend where they meet so the colors melt like an actual sky. Carve the cut after the blending is done, or the concealer line will pick up stray color and turn muddy. A white or nude base under the brights makes the oranges and pinks pop; without it, vivid shadows look dull on the lid.
This is wearable art for festivals, pride events, and creative photoshoots where color is celebrated. The cut gives structure to the wild palette, which is why sunsets work better as cut creases than as soft blends. Warm undertones carry the oranges effortlessly; cool undertones should lean into the purple side. Pair with a simple gloss lip — the eyes are the artwork, and anything more competes with the sunset you just painted.
Soft Glam Cut Crease

A diffused, softer cut — definition without the harsh line. The wearable cut crease.
Best for: weddings and events. All the shaping, none of the severity.
The soft-glam cut diffuses the edge — after carving with concealer, take a clean fluffy brush and gently soften just the top edge of the line so it melts into the crease shadow. The lid stays defined while the transition feels romantic rather than graphic. Use a concealer that matches skin tone exactly instead of going lighter; the high-contrast pale lid is what makes traditional cuts look harsh, and matching tones keeps everything seamless.
Brides and bridesmaids live for this version — defined in photos, soft in person, and wearable for eight hours. It suits mature eyes too, since the diffused edge does not emphasize texture the way a sharp line can. Warm neutrals with a champagne lid flatter every skin tone, and a soft pink lip completes the romance. Avoid heavy black liner with this look; brown liner keeps the softness intact while still defining the lash line.
Double Cut Crease
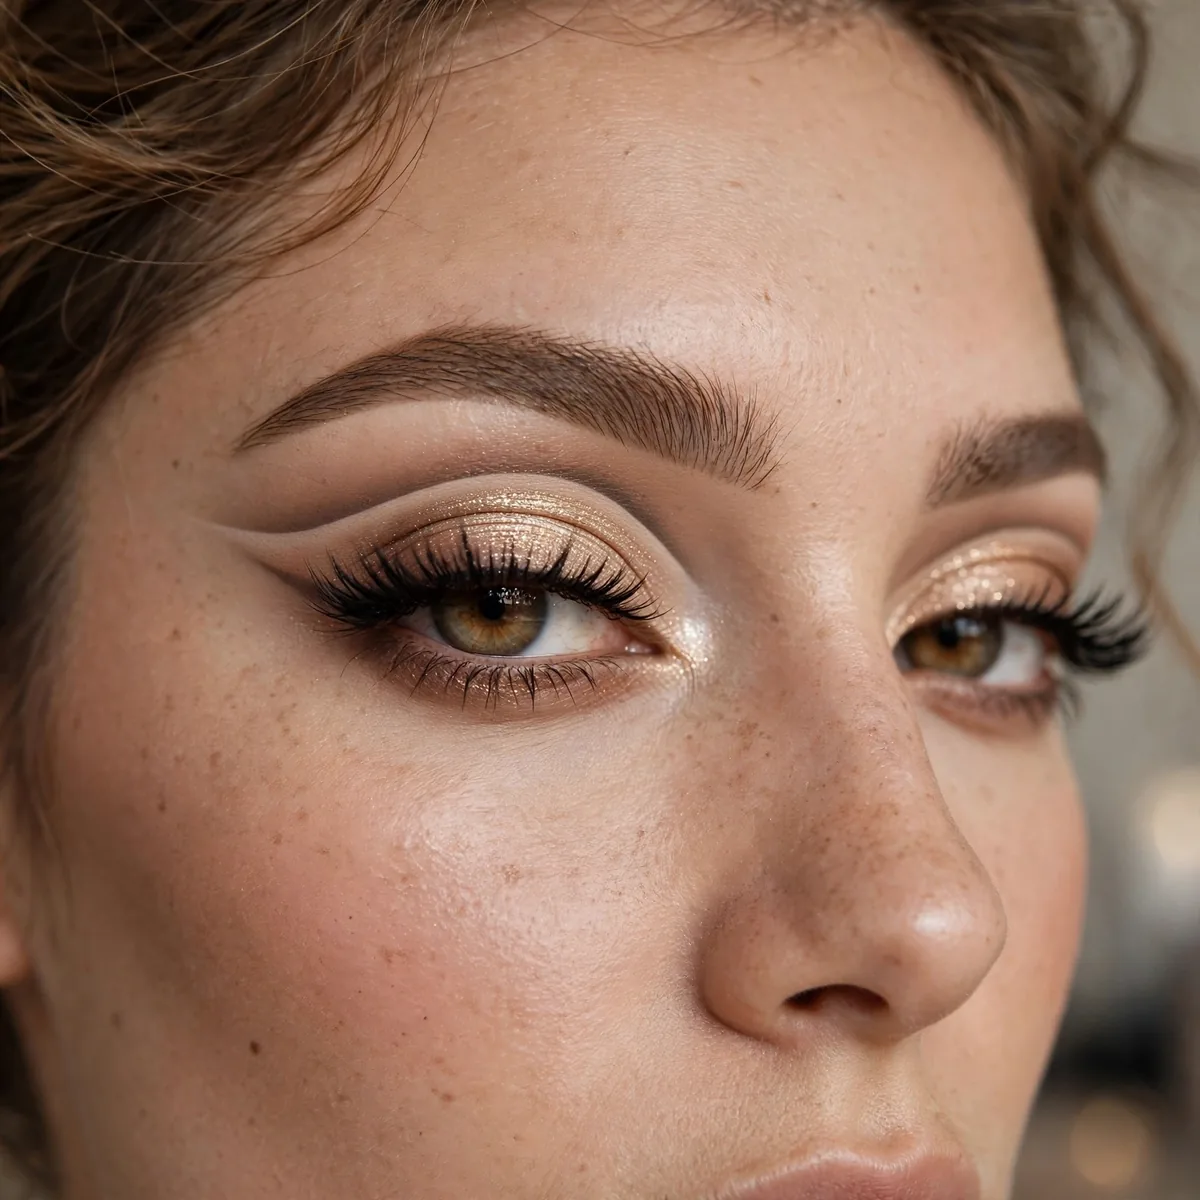
Two parallel cuts for extreme dimension — advanced technique, stunning result.
Best for: makeup artists and the very practiced. This is a showpiece look.
The double cut carves twice — first the classic line above the crease, then a second parallel line higher up, leaving a strip of shadow visible between them. Map both lines with a light pencil before committing concealer, because freehanding the second line is where symmetry dies. Keep the gap between cuts narrow, about two millimeters; too wide and it reads as two separate looks instead of one dimensional design.
This is a showpiece for makeup artists, competitions, and avant-garde editorials — not a Tuesday look. Deep-set and large eyes carry the double architecture best, since the design needs lid space to breathe. Expect this to take forty-five minutes minimum; rushing a double cut produces wobbly lines that no blending can save. Photograph it in good light, because the dimensional effect that stuns in person can flatten under bad lighting.
Halo Cut Crease
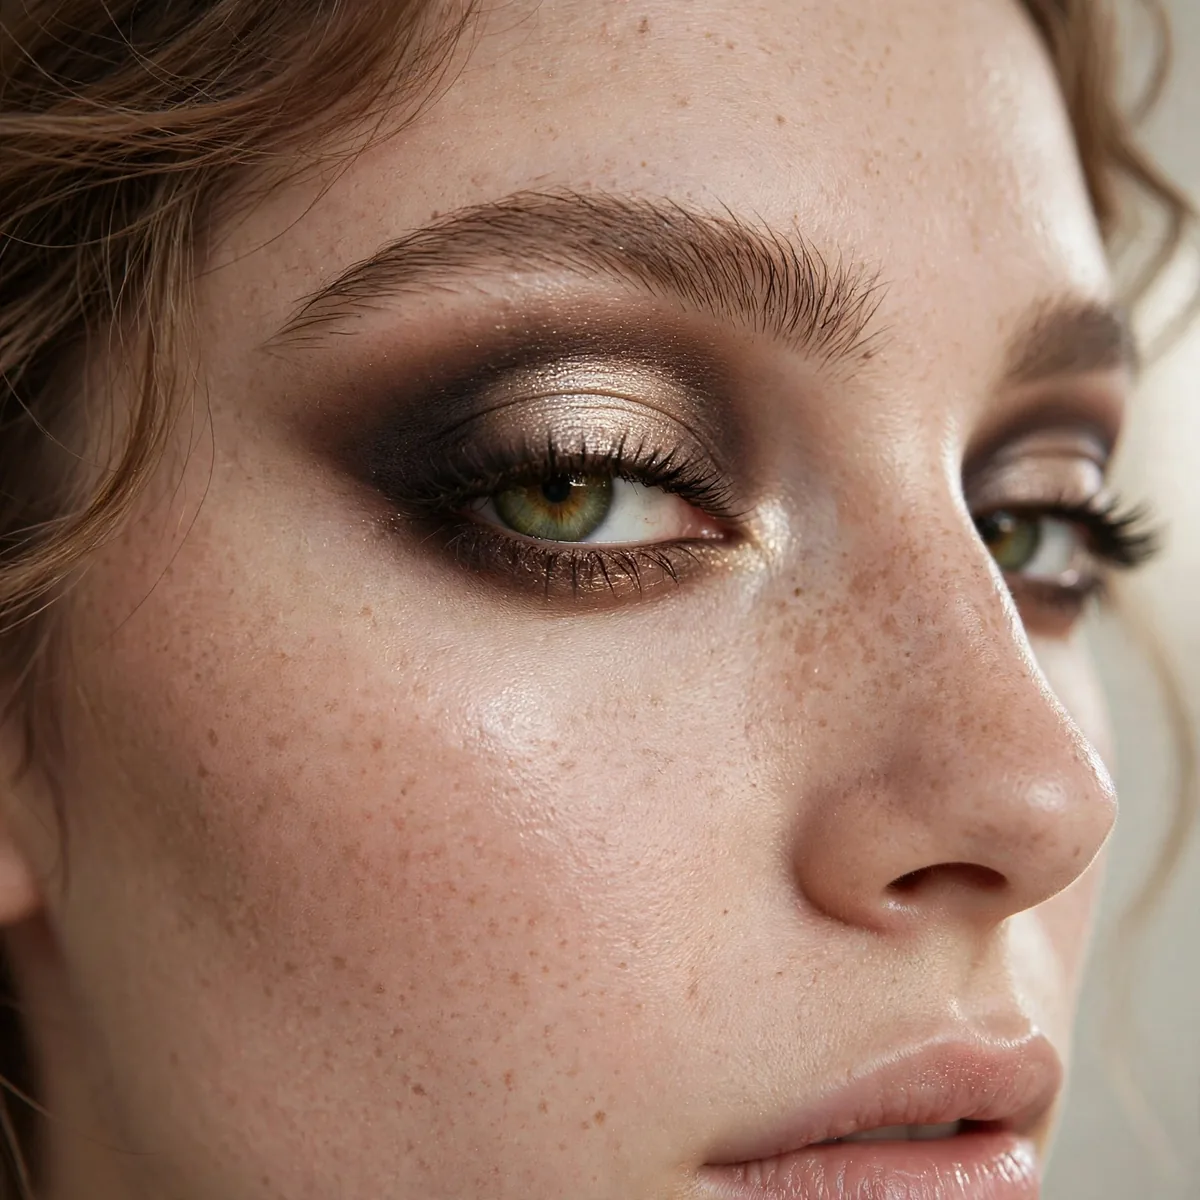
Cut crease combined with halo placement — light center, defined cut, huge eyes.
Best for: small eyes. Two eye-enlarging techniques in one.
Two techniques, one eye — blend the crease shadow normally, carve the cut, then place your light halo shade only on the center of the carved lid, leaving the inner and outer carved sections in their base nude. The halo shade should be shimmery and at least three tones lighter than the crease; matte or dark centers defeat the whole point. Blend the halo’s edges into the carved lid with a fingertip so there is no visible border.
Small and close-set eyes get a double enlargement — the cut defines while the halo pushes the eye forward. This is a brilliant bridal and formal-event look because it photographs with dimension from every angle. Keep the rest of the face balanced; the eyes are doing heavy lifting, so a soft lip and gentle blush let them shine. Avoid dark lips here — they shrink the eye area visually and fight the enlarging effect you just built.
Metallic Lid Cut Crease
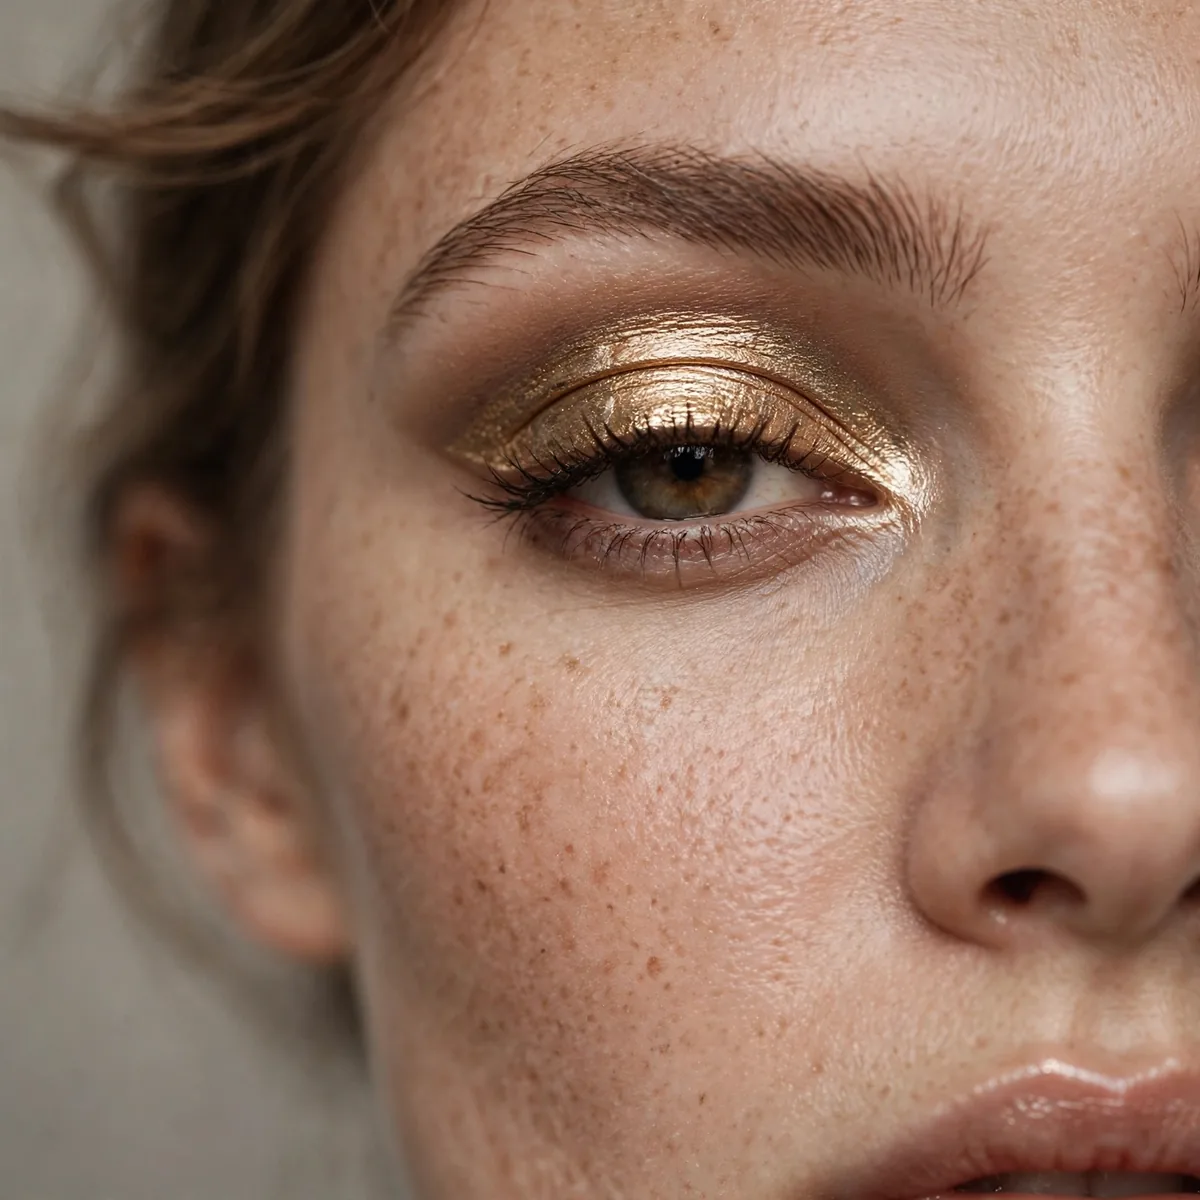
Foil metallic on the lid below the cut — liquid metal precision.
Best for: evenings. Metallics catch light with every blink.
Foil metallics need a tacky canvas — carve the cut, then press the metallic onto the lid with a damp flat brush or fingertip while the concealer is still slightly sticky. Dry application gives dusty payoff; damp pressing gives liquid-metal mirror. Work in small sections and build in thin layers, because thick metallic layers crack as the lid moves. Gold and bronze foils flatter warm skin; silver and champagne flatter cool skin.
Evenings and celebrations are the natural habitat — the metallic lid catches light with every blink, so candlelit dinners and dance floors make it electric. Oily lids should prime heavily, because oils break down metallics faster than mattes. Keep cheeks softly matte so the lids stay the single reflective surface; two competing shines look chaotic. A nude lip keeps the focus metallic, and this pairs beautifully with sleek hair and minimal jewelry.
Graphic Liner Cut Crease
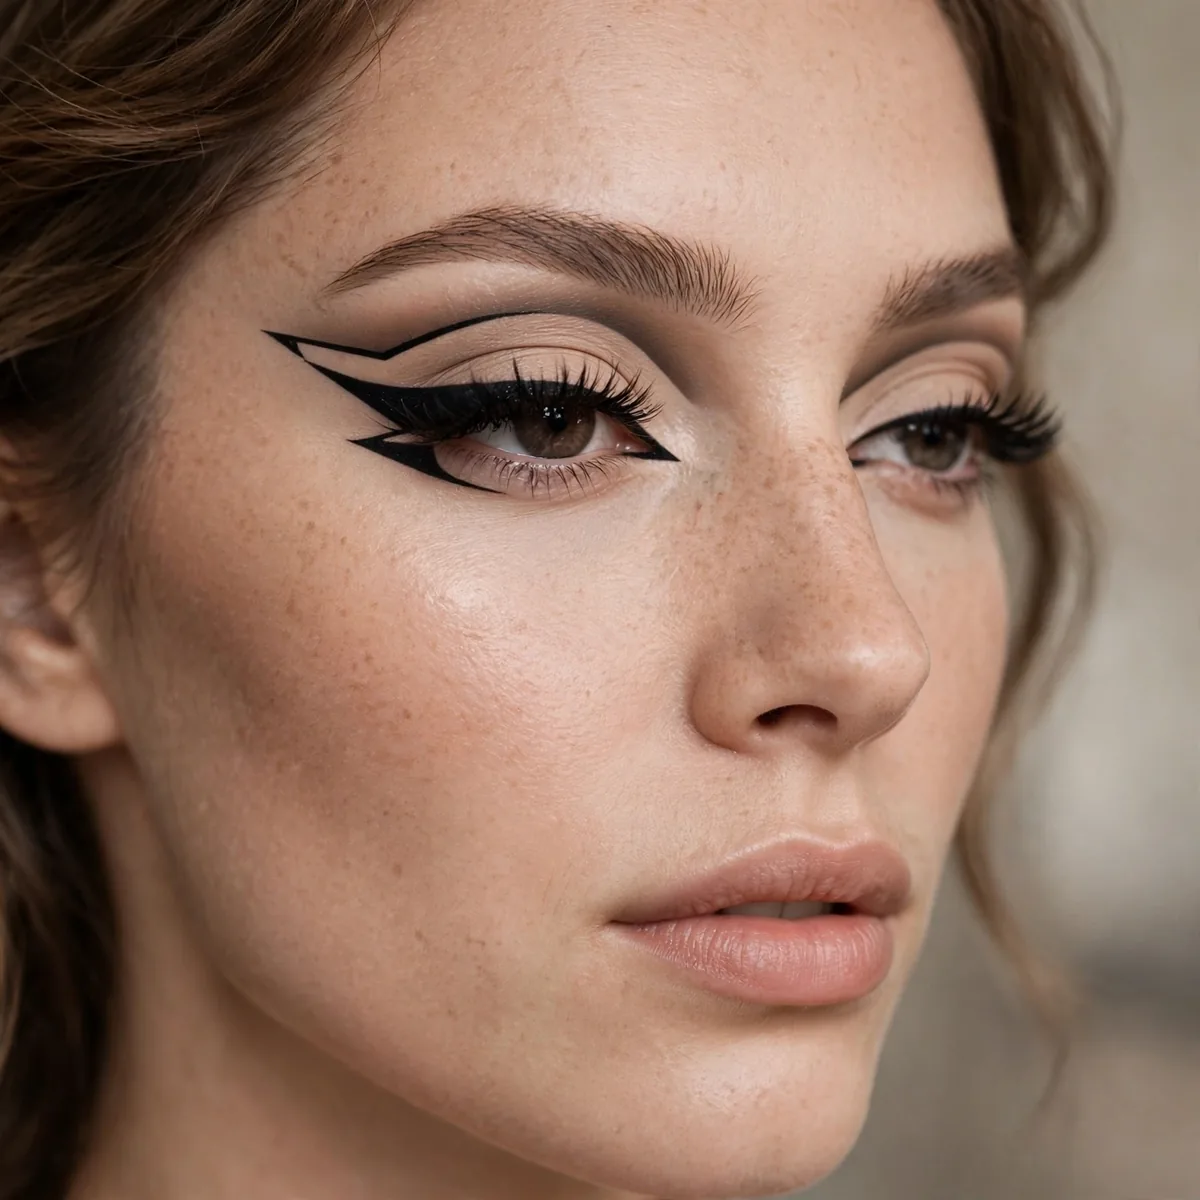
The cut extended into graphic liner shapes — architectural and avant-garde.
Best for: fashion moments. This is runway makeup made wearable-ish.
Extend the carved line outward into your graphic shape — floating wings, negative-space flicks, or geometric points — using the cut as the anchor point. Sketch the graphic with a light pencil first, then trace with gel or liquid liner for precision; committing liner freehand is how crooked wings are born. Keep the graphic thin and deliberate; thick graphic lines swallow the cut crease instead of extending it, and the architecture gets lost.
Runways, fashion weeks, and creative photoshoots are the stage — this is makeup as art, not daily wear. Large eyes with lid space show off the graphic best, since the design needs room to read. Symmetry is the challenge; do one eye’s graphic fully, then mirror it carefully rather than alternating. Keep the rest of the face minimal — bare skin, nude lip — because the graphic cut is the entire look and everything else is a distraction.
Smokey Cut Crease
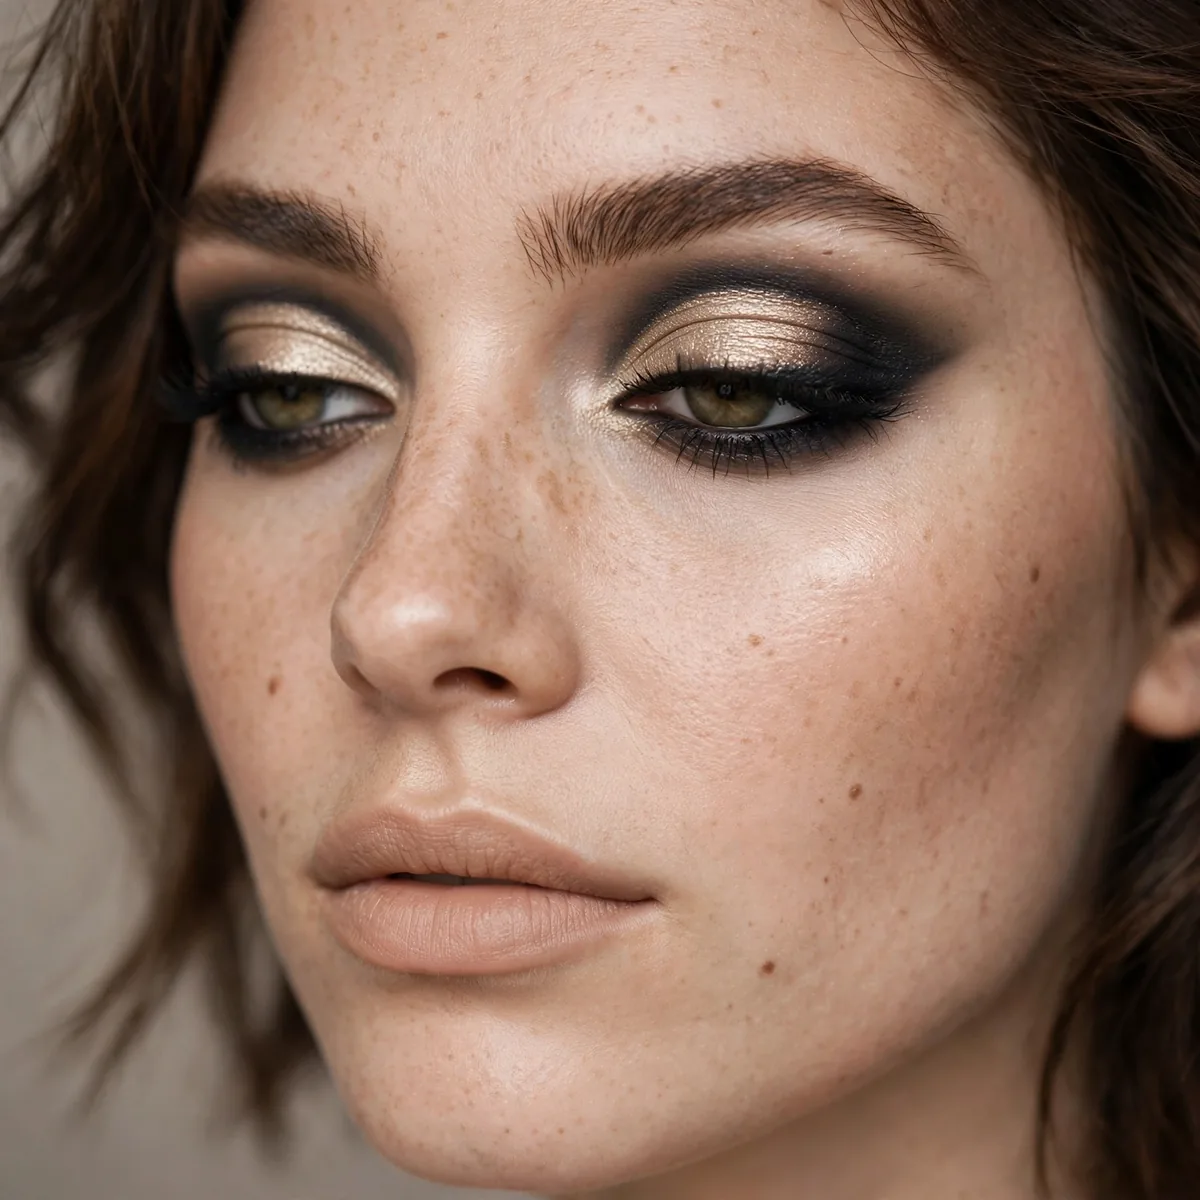
Smokey blending above, sharp cut below — the best of both techniques.
Best for: night-out drama. Smoke softens the cut’s severity.
The order is sacred — blend the smokey crease fully first, then carve the cut, because carving first and blending after drags smoke over your crisp line. Keep the smoke in the same color family as the lid shade so the two techniques feel like one look instead of a collision. After carving, set the lid with powder and softly re-smoke the lower lash line to tie the smokey top to the sharp bottom.
Night-out drama gets an upgrade — the smoke softens the cut’s severity while the cut gives the smoke architecture. This suits club nights, concerts, and evenings when a plain smokey feels too familiar. Deep skin tones wear smokey cuts gorgeously, since the blended smoke melts seamlessly. Avoid pairing with heavy contour; the eyes already carry two techniques, and a sculpted face on top tips the look into overdone. A nude gloss lip balances everything.
Pastel Cut Crease
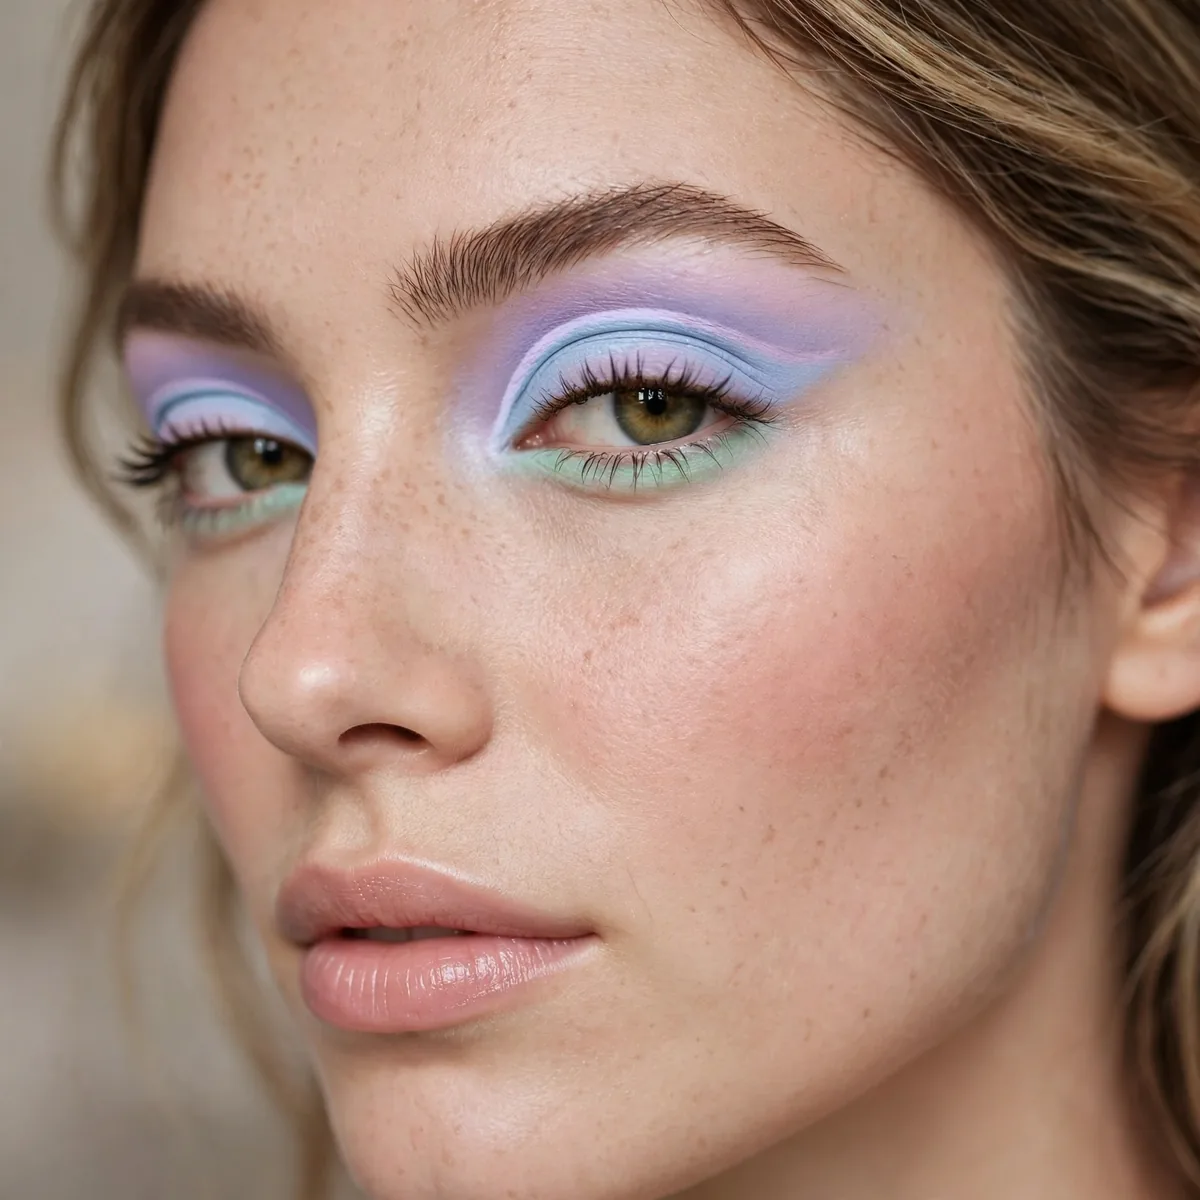
Soft pastels with a crisp cut — spring’s prettiest contradiction.
Best for: spring events. Pastels need the cut’s structure to avoid looking washed out.
Pastels need a white base to survive — paint a white or pale concealer over the carved lid before any pastel touches it, or the colors vanish into skin. Pack pastels with a dense brush and minimal blending, because over-blending turns pastels muddy and grey. Keep the crease color slightly deeper than the lid pastel so the cut still reads; if crease and lid are the same value, the whole look washes out.
Spring weddings, Easter brunches, and garden parties are the pastel cut’s natural home. Fair to light skin tones wear pastels most easily, though deeper skin tones can rock them over a white base with even more contrast. The cut gives pastels the structure they need — without it, pastel shadow looks washed out and unfinished. Pair with a glossy pink lip and fresh skin; heavy foundation fights the airy pastel mood.
Bronze Goddess Cut Crease
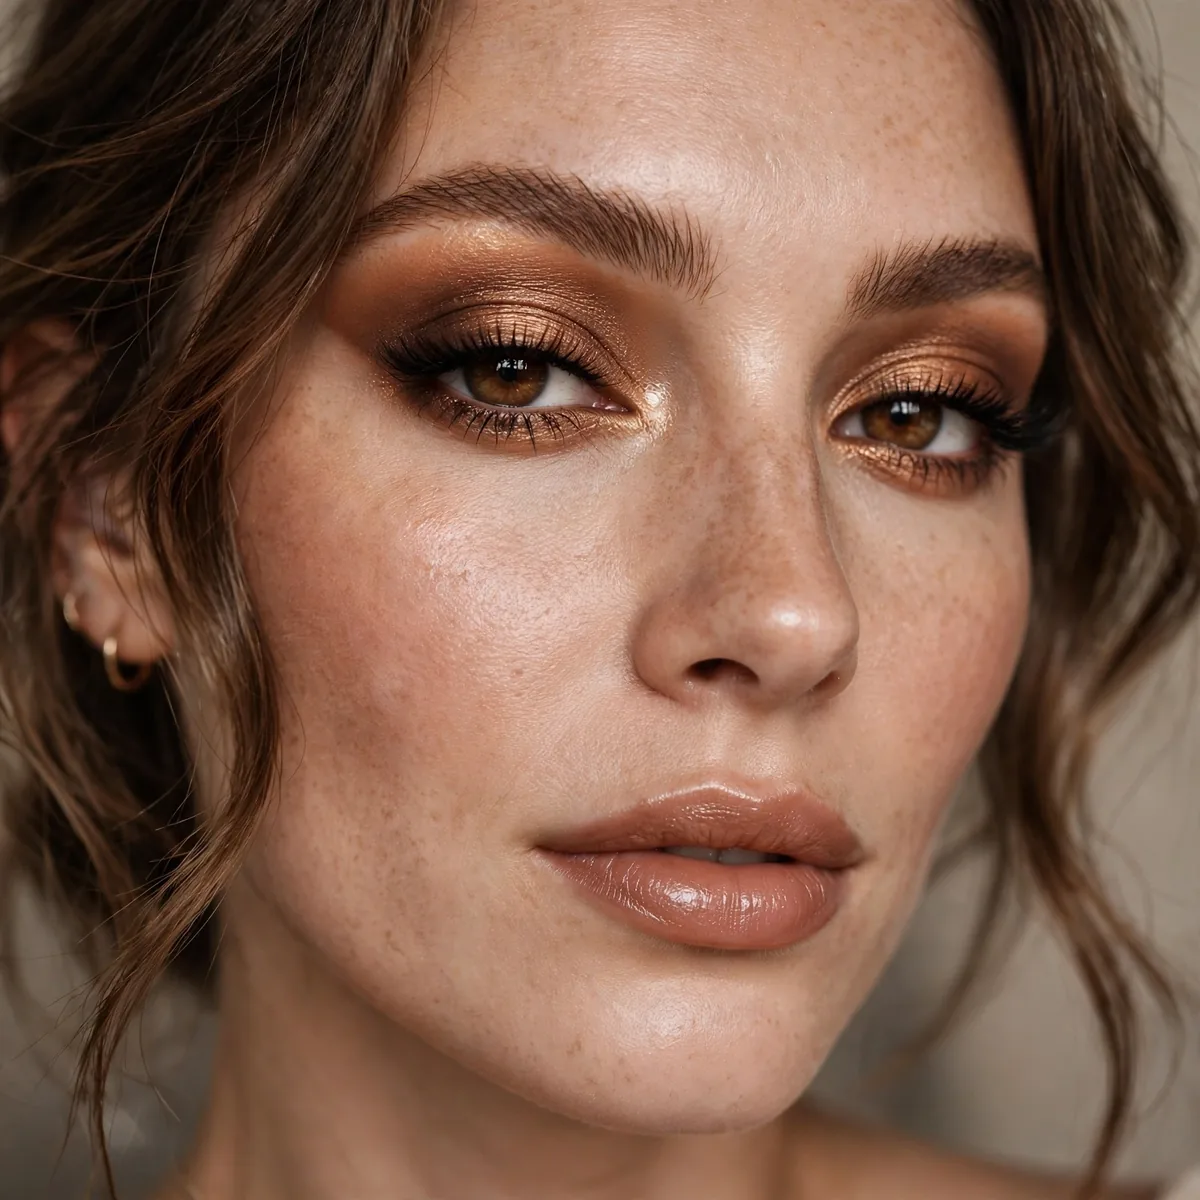
Bronze and gold with a sharp cut — warm luxury, precisely defined.
Best for: warm undertones and formal events.
Warm luxury starts with the right bronze — choose a coppery bronze rather than a cool pewter tone, then carve the cut with a warm-toned concealer so the line harmonizes. Press bronze shimmer onto the carved lid with a fingertip for maximum molten payoff, and deepen the crease with a rich mahogany so the bronze has something to glow against. A golden transition shade bridges the bronze into skin without any harsh border.
Formal events and summer evenings are the bronze goddess’s domain — think weddings, galas, and rooftop dinners at golden hour. Warm undertones and olive skin tones glow in bronze, and brown eyes turn amber against it. This loves dewy skin and glossy lips, so keep the base luminous rather than matte. Avoid cool pink blush; warm peach or bronze blush keeps the temperature story consistent from lids to cheeks.
Negative Space Cut Crease
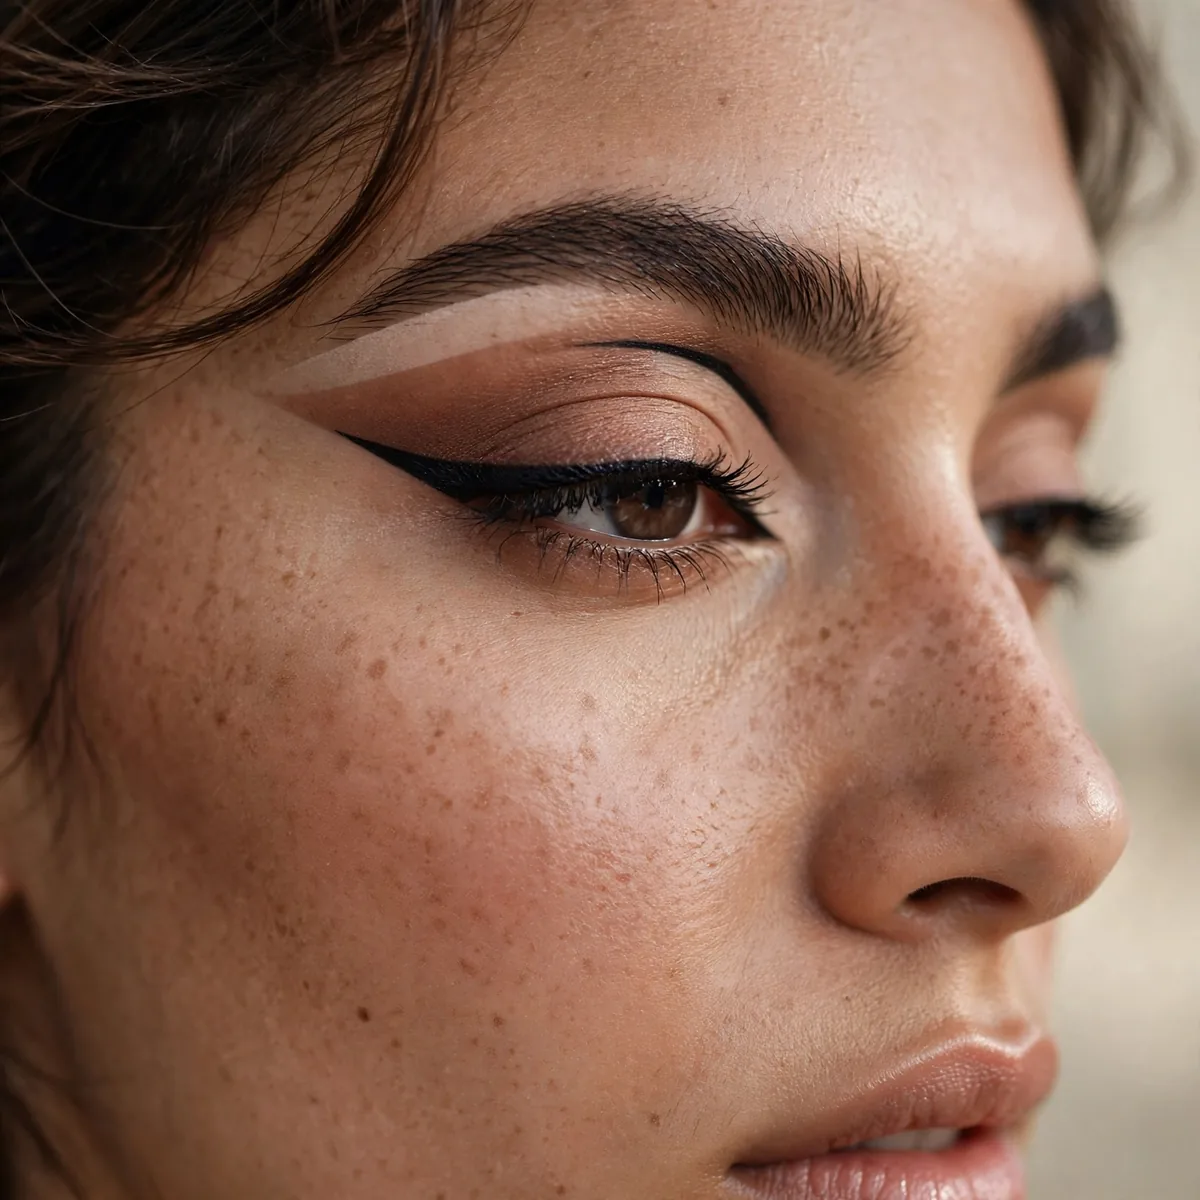
Skin left bare in the cut — the most modern, editorial take.
Best for: fashion editorials. Negative space is the avant-garde choice.
The negative space IS the cut — blend your crease shadow normally, then carve the line but leave the carved strip as bare skin, setting it with translucent powder instead of color. The contrast between pigmented crease and bare lid is the entire design, so the carved edge must be impeccably sharp; any wobble reads as a mistake rather than a statement. Tape guides help enormously here, since there is no lid color to hide imperfections.
Editorials, fashion weeks, and avant-garde photoshoots — this is the most modern cut crease of the moment. It suits minimalists who want drama without color, and it lets strong brows and bare skin shine. The catch is wear time: bare skin creases faster than set shadow, so prime the carved strip well. Keep the rest of the face clean and modern — groomed brows, nude lip, dewy skin — because the negative space is already the statement.
Burgundy Cut Crease
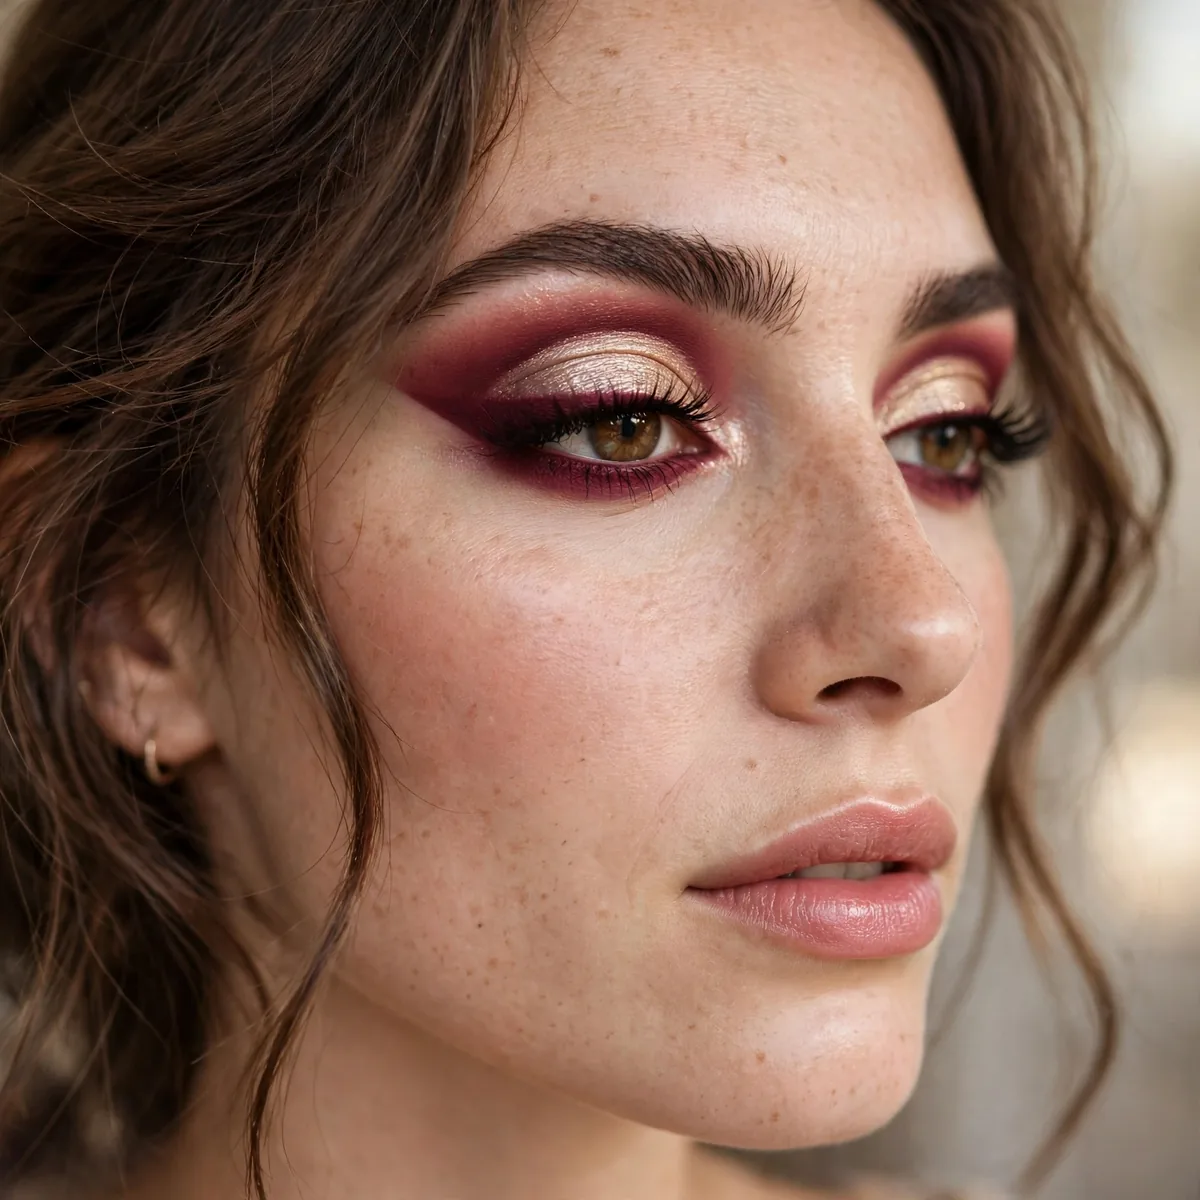
Wine and burgundy tones — romantic drama with depth.
Best for: green eyes. Burgundy against green is electric.
Burgundy carving needs a steady warm base — blend a mahogany transition through the crease before carving, so the wine tones have warmth to sit on instead of looking bruised. Carve the cut with concealer, then pack a shimmery burgundy onto the lid and deepen the outer corner with a dark espresso. Keep the carved edge extra sharp; burgundy’s softness can blur the line, and sharpness is what separates romantic from messy.
Green eyes get the electric payoff — burgundy is green’s complement, so the iris looks almost neon against the wine lids. This is a Valentine’s, anniversary, and moody-date-night cut crease, and it loves candlelight. Pair it with an oxblood lip for a monochromatic wine story or a deep nude to let the eyes lead. Avoid orange blush; the warmth clash muddies the burgundy. Set well, because red pigments fade faster than neutrals.
Beginner’s Cheat Cut Crease
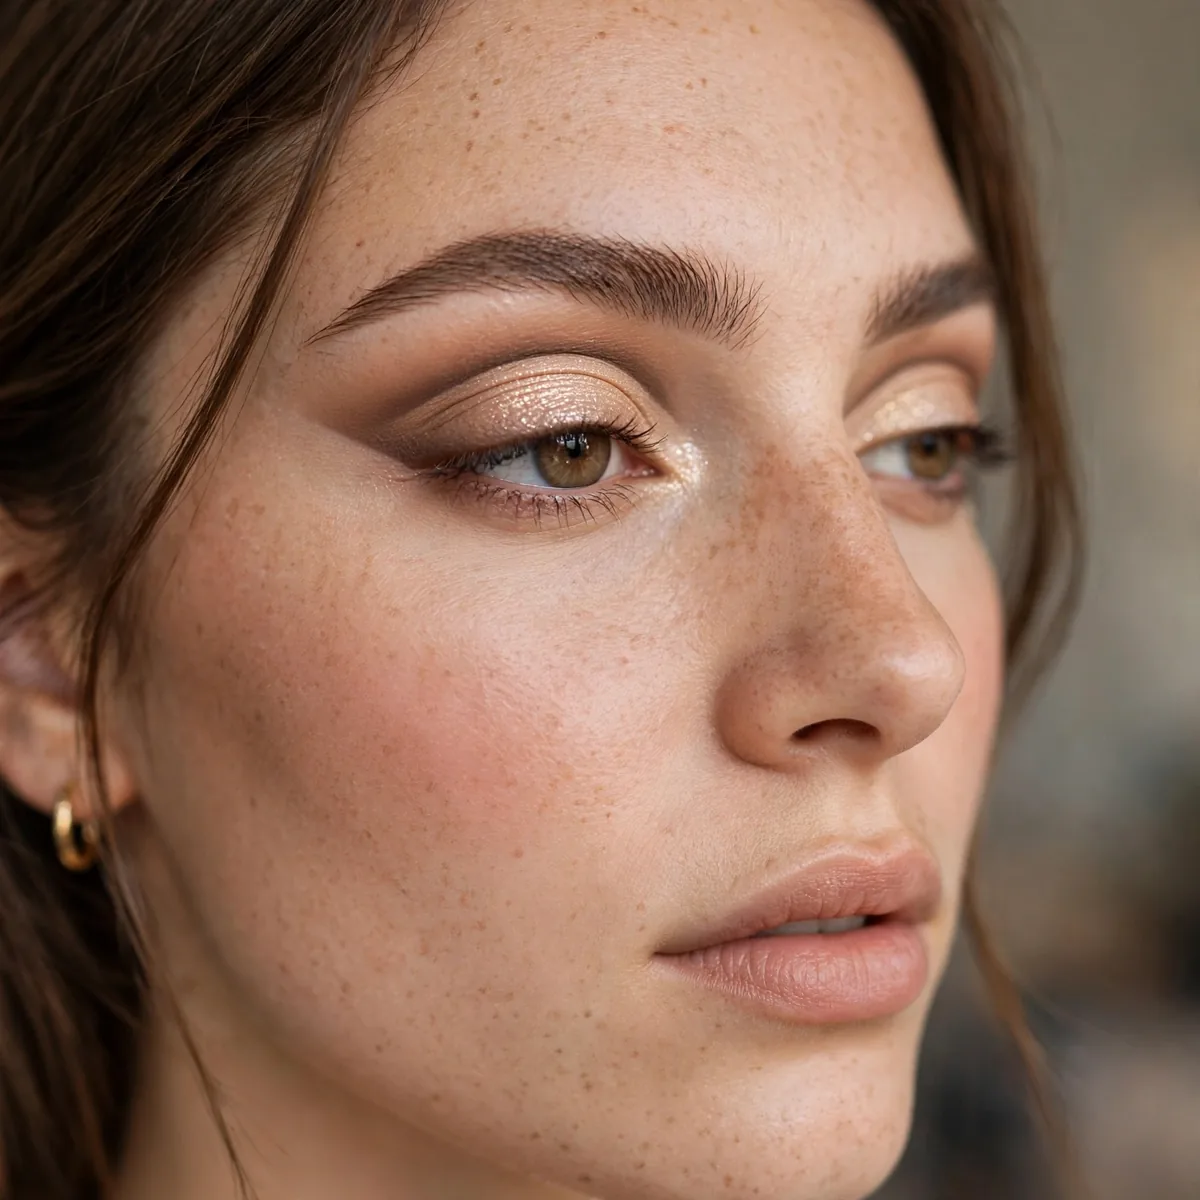
Use tape as a guide and a small brush — the training-wheels cut crease that still looks sharp.
Best for: first-timers. Everyone starts here; the pros just hide it better.
Tape is the beginner’s best friend — place a small piece from the outer corner toward the brow tail as a guideline, then carve the cut along its edge with concealer for a perfect line every time. Remove the tape gently upward before the concealer sets, or it will pull product with it. Use a small flat brush for the carving rather than a fluffy one; precision tools do half the work when your hand is still learning.
First-timers should practice on a lazy Sunday, not before a big event — the tape method works, but symmetry between eyes takes a few tries. Start with neutral shadows so mistakes blend invisibly, and photograph your work; cameras reveal crooked lines your mirror hides. Once the tape version feels easy, try freehanding — the muscle memory transfers faster than you expect. This cheat looks genuinely sharp, so nobody will know it was training wheels.
Cut with confidence. Practice makes precision — and for more eye-defining techniques, see our fox eye looks and siren eyes.




