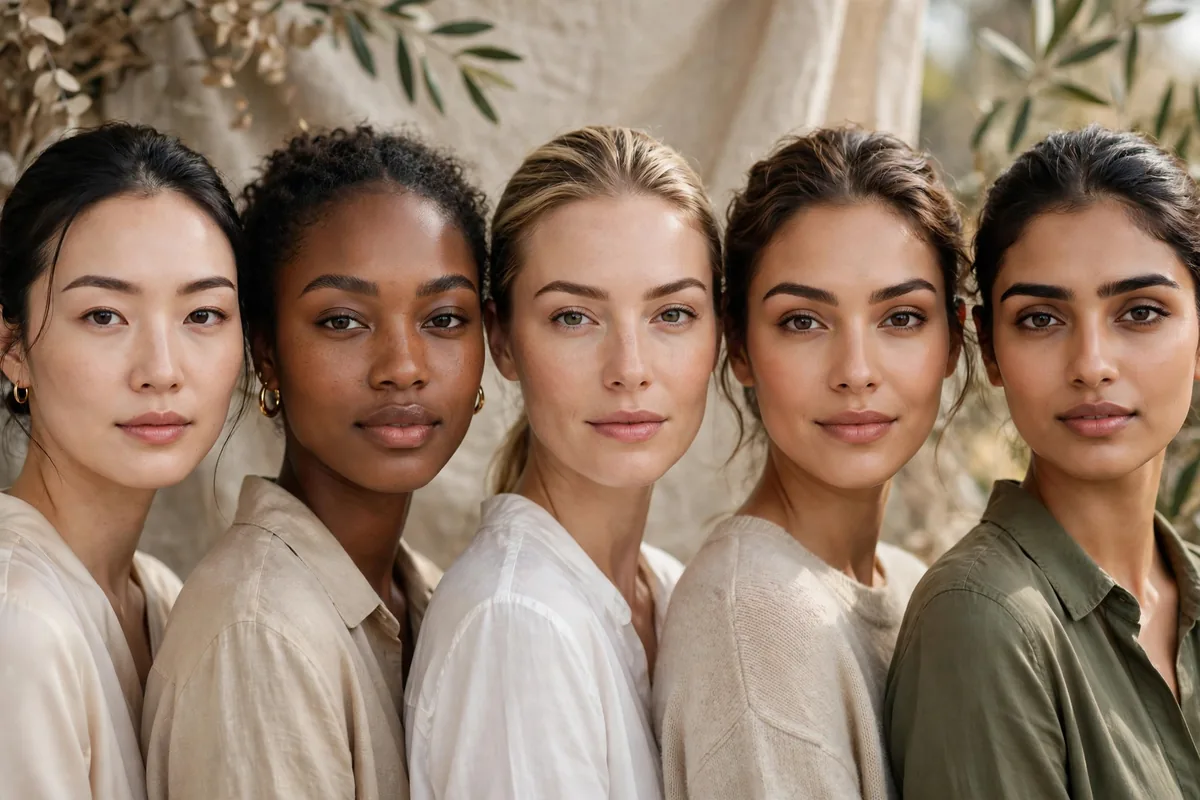
Brows change your whole face. The right shape is transformative; the wrong one is just... there.
The golden rule: brows should balance your face shape. Round faces need angles, square faces need softness, long faces need horizontal emphasis. It’s architecture, not art.
Your natural brow is always the best starting point — the goal is enhancing what you have, not drawing something new.
Here are 20 shapes and principles. Let’s get into it.
The Mapping Method
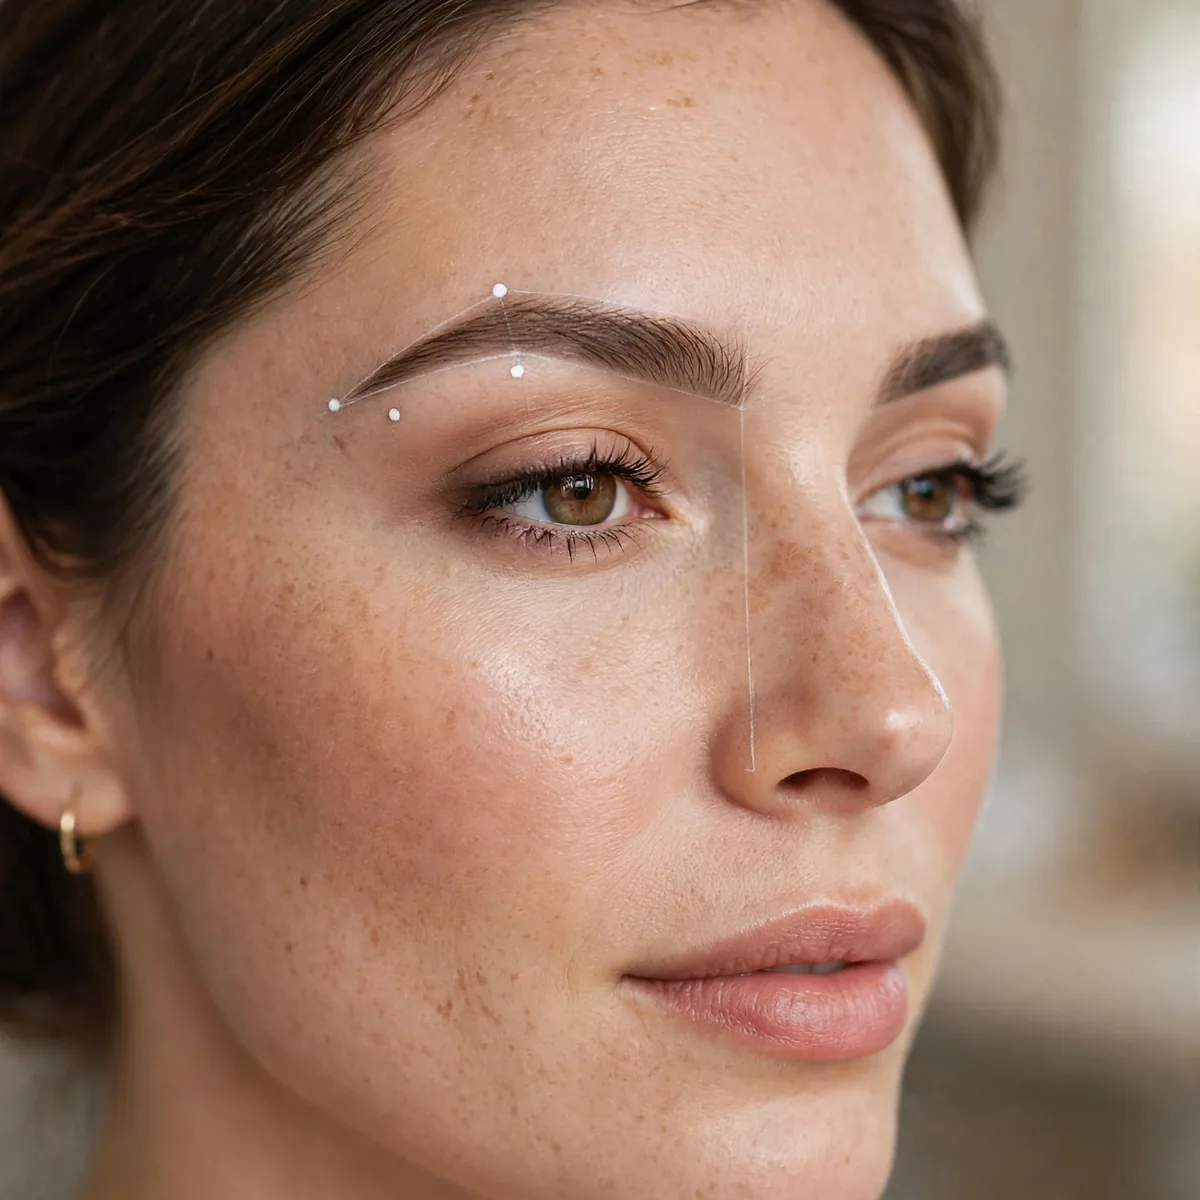
Map your brows first: start at the nose edge, arch above the outer iris, end at a diagonal from nose past outer eye.
Mapping gives you the blueprint. Every great brow starts with these three points.
You need only three tools: a brow pencil, a spoolie, and something straight like a chopstick or makeup brush handle. Hold the straight edge vertically against the side of your nose to mark the start, angle it past the outer iris for the arch, then from nose past the outer eye corner for the tail. Dot each point lightly with the pencil, then connect the dots when filling — the blueprint removes all guesswork.
The classic mapping mistake is measuring on a bare, expressionless face and then filling after foundation changes everything. Map before base makeup, but re-check the shape after your foundation is on — coverage can visually shift where the brow appears to start. Also map with your face relaxed; raising your brows even slightly moves the arch point upward and throws the whole blueprint off.
Soft Arch for Round Faces
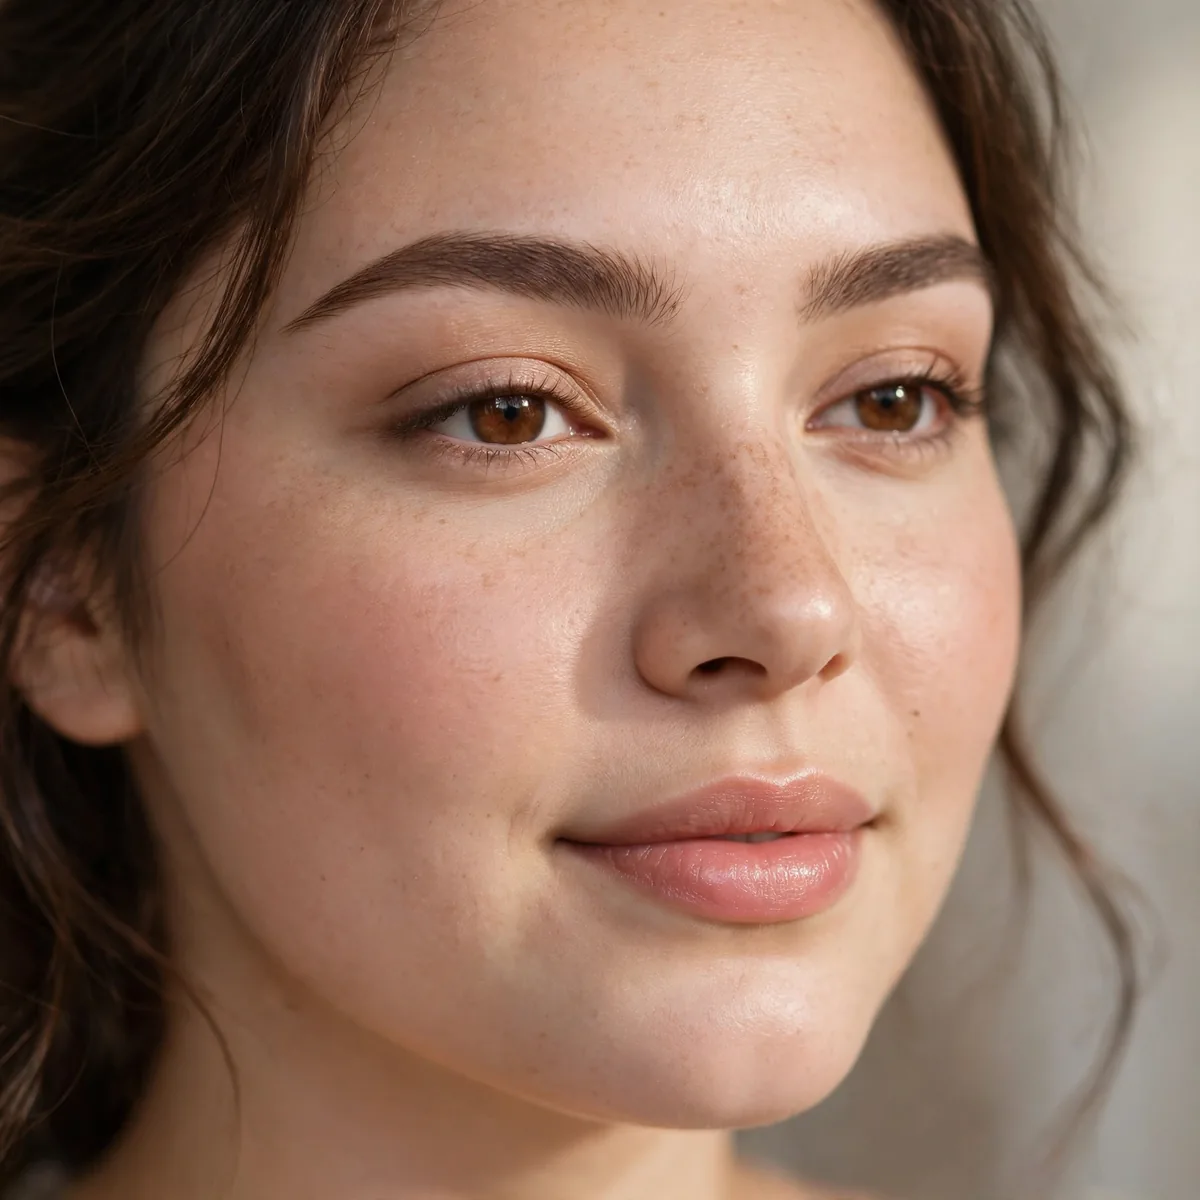
A defined arch with angular lines adds structure that balances roundness.
The arch creates vertical emphasis. Round faces need that lift.
Place the peak of the arch about two-thirds of the way from the inner corner, never dead center — a centered peak looks surprised. Before filling, brush all hairs upward with a spoolie to reveal your natural shape; fill only where you see sparseness. Extend the tail slightly longer than you think, since a defined tail is what creates the lifting, face-slimming effect round faces need.
Beyond round faces, this soft-but-defined arch flatters heart-shaped faces too, since it adds structure without widening the forehead. Avoid pushing the arch too high — on round faces an exaggerated peak shortens the forehead visually and looks harsh. The sweet spot is a gentle lift that reads polished from across the room but natural up close, working for both everyday wear and photographs.
Gentle Curve for Square Faces
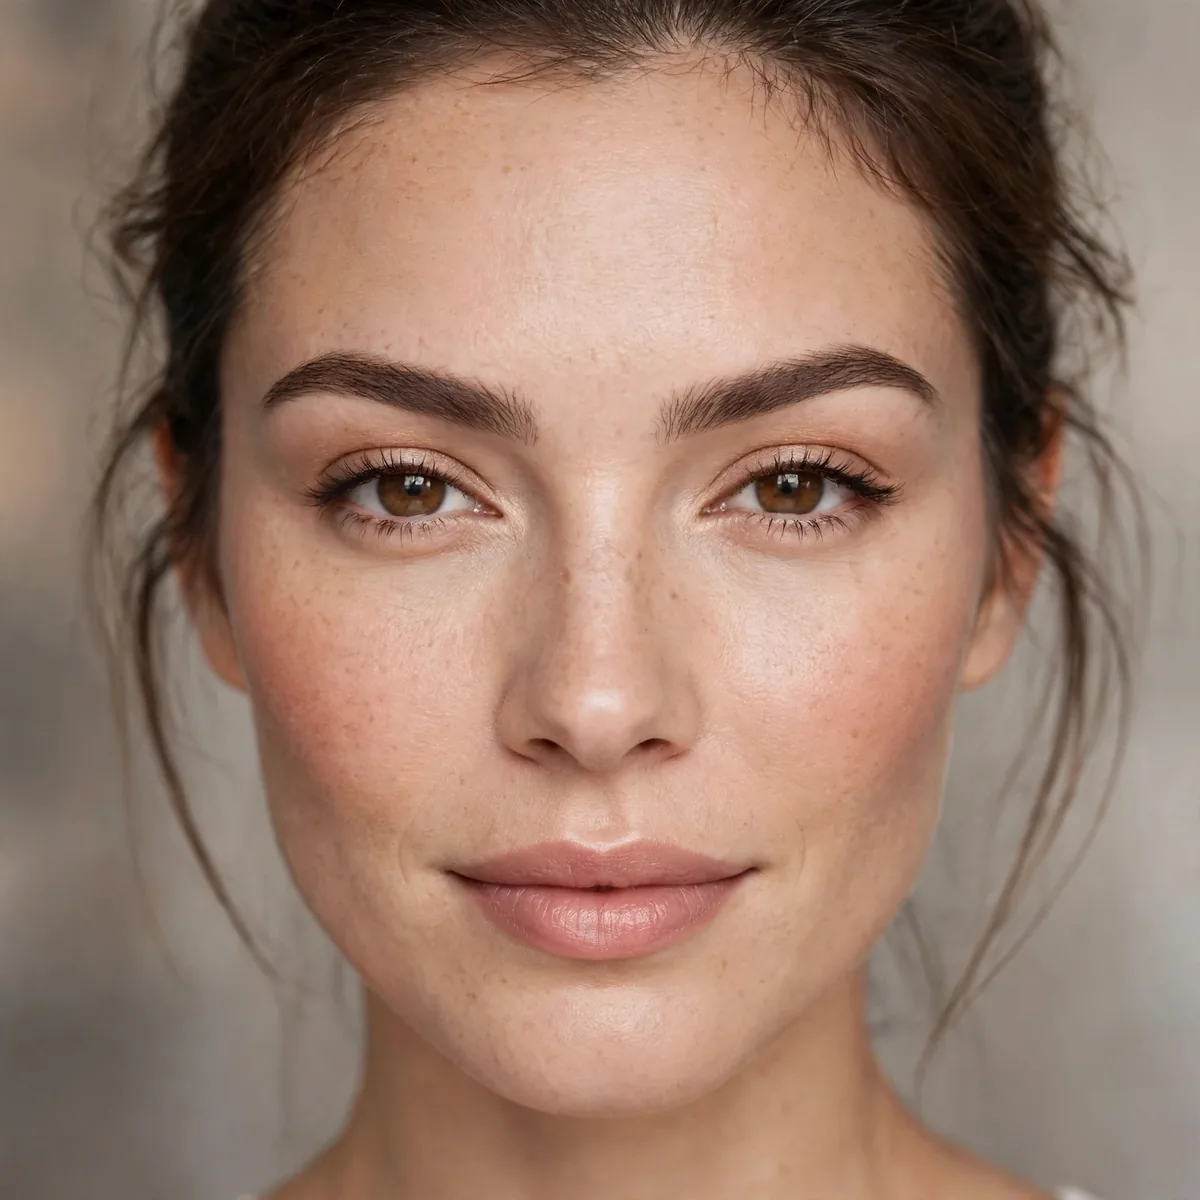
Soft, rounded brows offset a strong jawline beautifully.
Curves balance angles. Square faces need brow softness, not more structure.
Powder and an angled brush are your best friends here — they create soft, diffused fullness without the sharp edges pomade can leave. Stamp the powder along the bottom edge of the brow first to establish the curve, then fill upward lightly. A tinted brow gel combed through afterward melds everything together and softens any harshness, which is exactly what strong jawlines need from their brows.
The temptation is to fill brows dark and heavy to match a strong jaw, but that doubles the severity instead of balancing it. Keep the shade soft — one tone lighter than your hair at most — and the edges diffused. Over-plucking the arch into a sharp peak is the other trap; square faces need the curve to stay gentle and continuous. When in doubt, under-fill; you can always add more.
Horizontal Brows for Long Faces
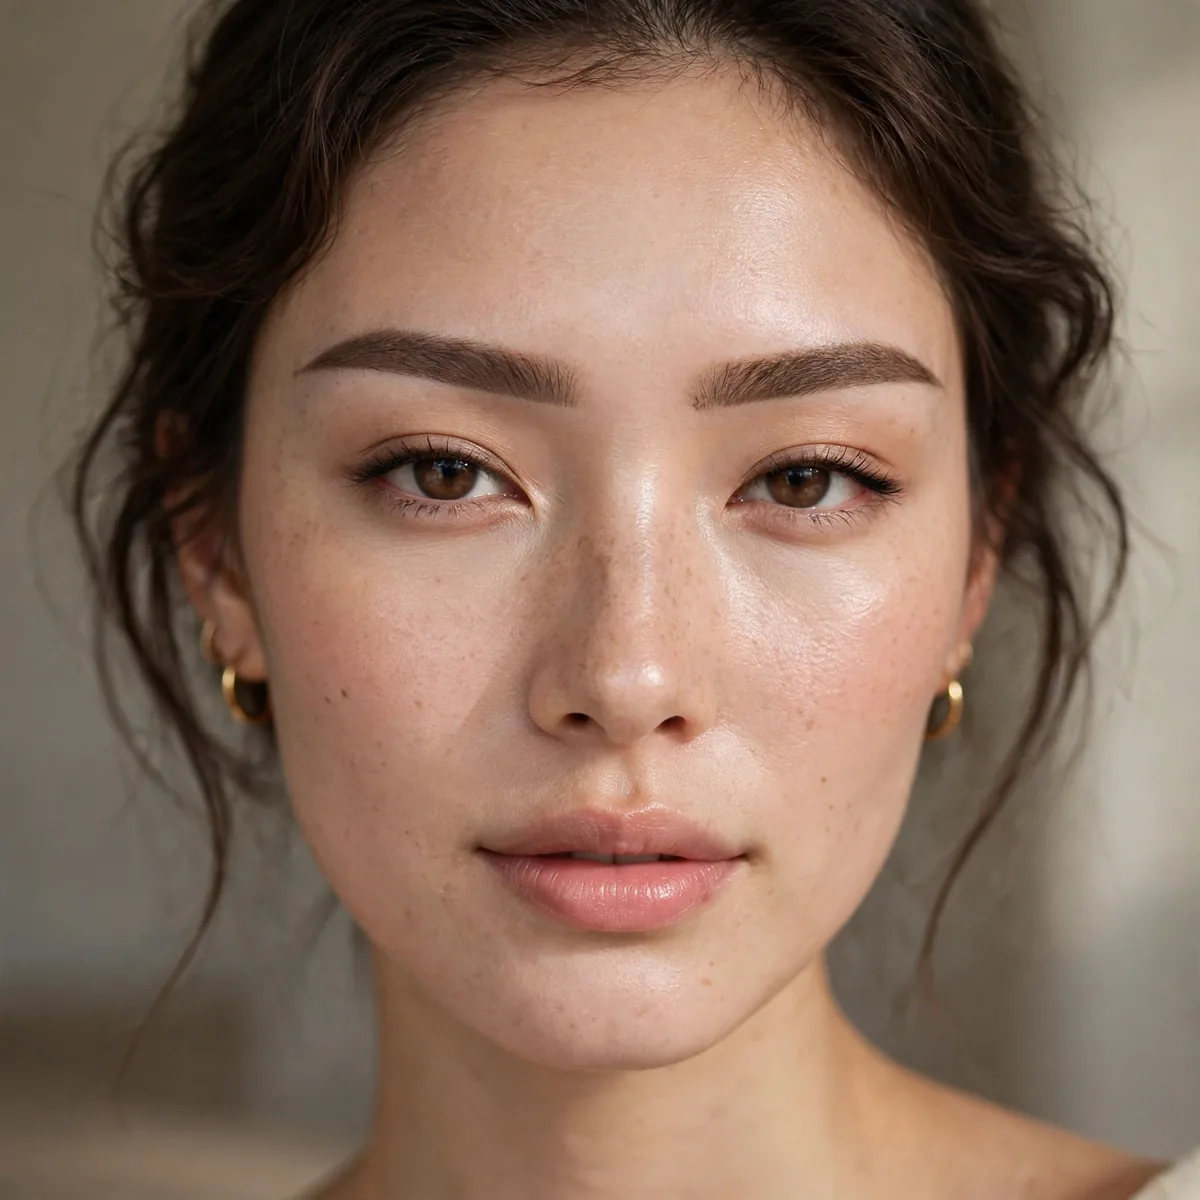
Straighter, more horizontal brows visually shorten a long face.
Minimize the arch — horizontal lines counteract vertical length. It’s optical balancing.
Keep the tail perfectly level with the head of the brow — a tail that dips lower visually lengthens the face further, defeating the purpose. Fill the bottom edge straight across with light, horizontal strokes, and resist the urge to carve an arch into the top. Brush hairs straight across rather than upward; upward brushing creates lift and arch, while horizontal brushing preserves the flattening effect.
This shape is also a quiet hero for high hairlines and narrow foreheads, where it restores visual balance. Those with long faces and deep-set eyes should keep the brow slightly thicker, since thin horizontal brows can look severe. The look pairs naturally with soft, diffused eye makeup rather than sharp liner — the whole point is horizontal harmony, and graphic eyes would fight that calm, balanced geometry.
Balanced Arch for Oval Faces
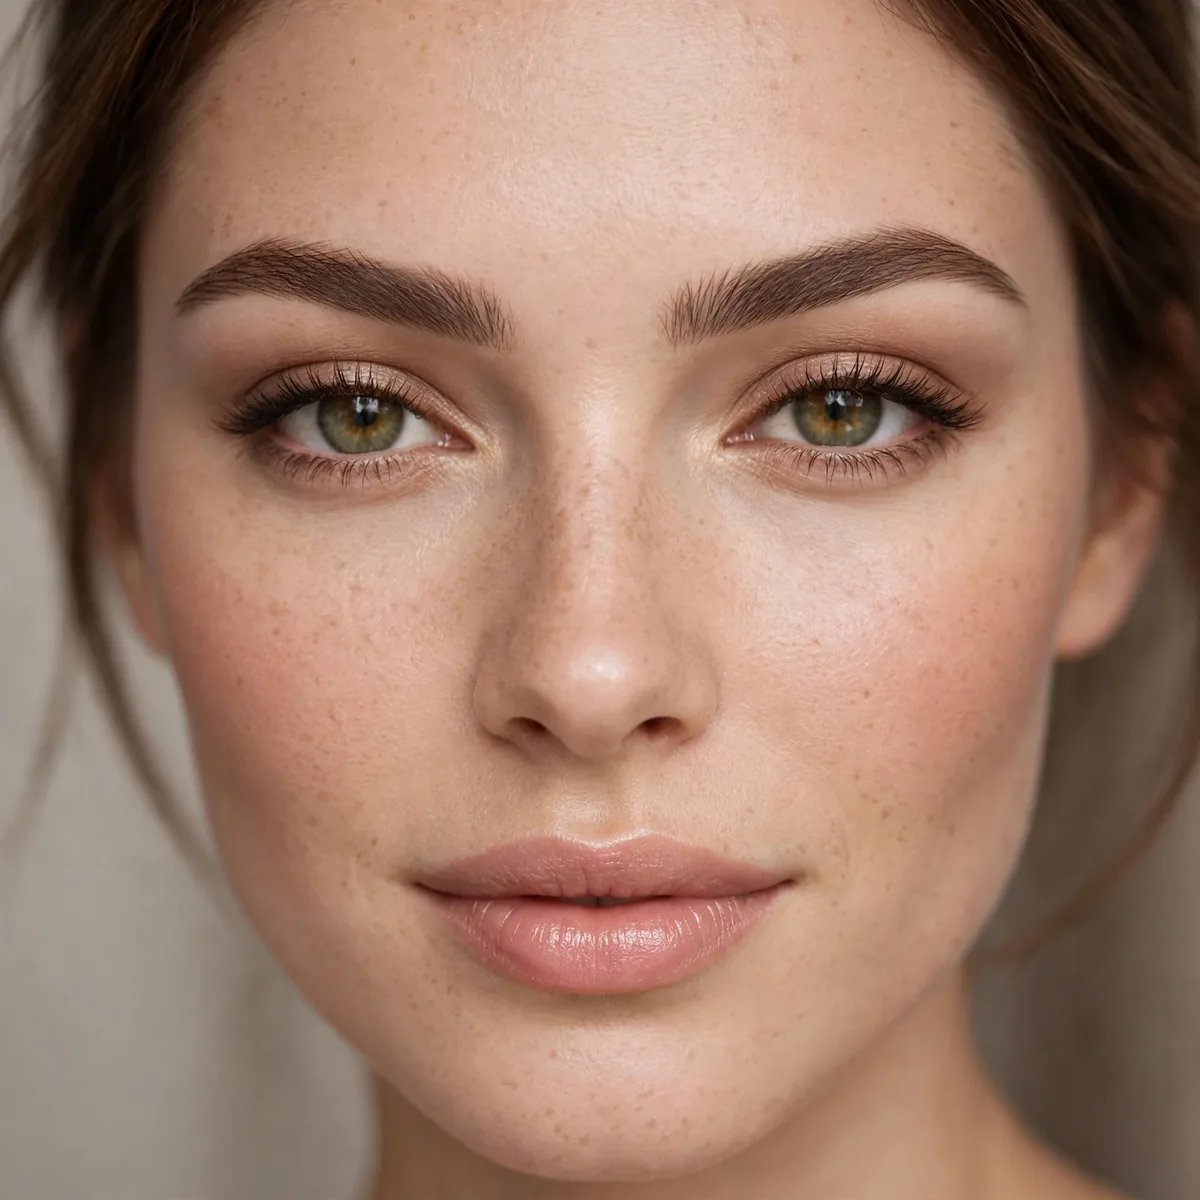
Oval faces suit the classic balanced arch — the versatile middle ground.
If you have an oval face, you won the brow lottery. Most shapes work; pick your favorite.
Follow your natural growth and place the arch at the classic two-thirds mark — on oval faces, nature usually gets it right. Fill with short, hair-like strokes in the direction of growth, concentrating product through the middle and tail where sparseness shows most. Leave the front of the brow softer and less filled; a gradient from soft front to defined tail looks modern and keeps the balanced arch from feeling dated.
The balanced arch adapts to any occasion with just a product swap. For daytime, a tinted brow gel brushed through is enough — it defines without looking done. For evening, layer a pencil underneath the gel for extra definition and set with a clear gel so nothing budges. Because the shape itself is neutral, you can go bold on eyes or lips without the brows competing; they frame rather than star.
High Arch Drama
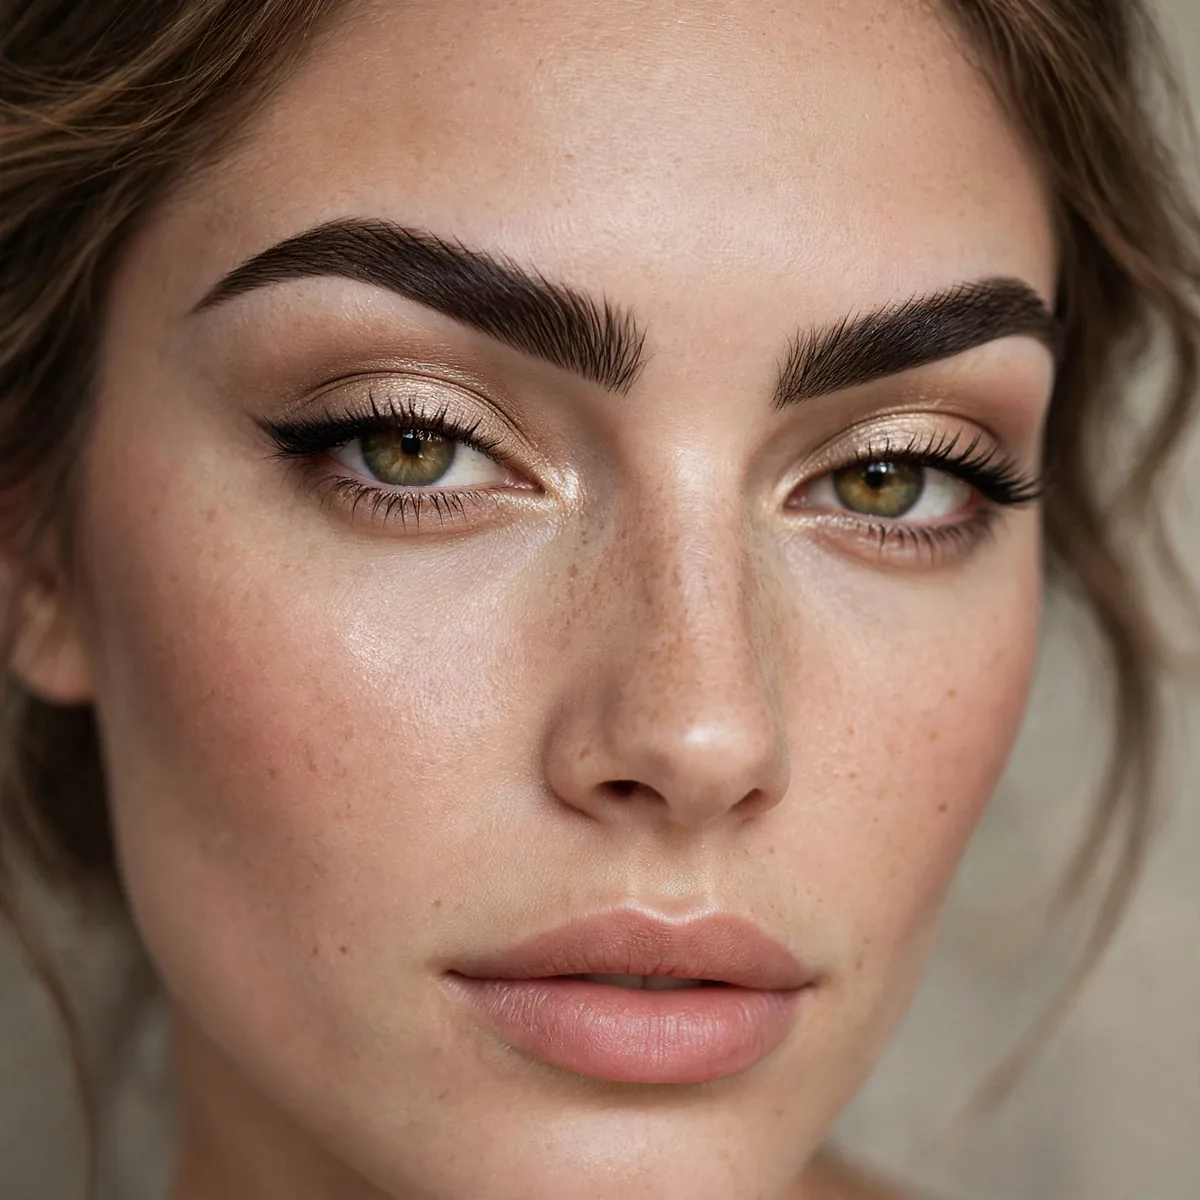
A high, defined arch for maximum lift and drama.
High arches open up the eye area dramatically. They’re bold but beautiful.
Placing the peak too close to the inner corner is what creates the permanently surprised look — the arch should sit above the outer third of the iris, never the inner. Another error is plucking the brow too thin to achieve height; a high arch needs fullness below it to look intentional rather than startled. Map the peak point first and do not tweeze above it, only clean up strays beneath.
High arches belong to evenings, events, and photographs — they are a lot of brow for a bare-faced Tuesday. When wearing this much architecture, soften everything else: sheer foundation, neutral eyeshadow, and a muted lip keep the face balanced. The drama should read as lift and polish, not severity. If the rest of your makeup is also bold, the brows tip from striking into overwhelming very quickly.
Straight Korean Brow
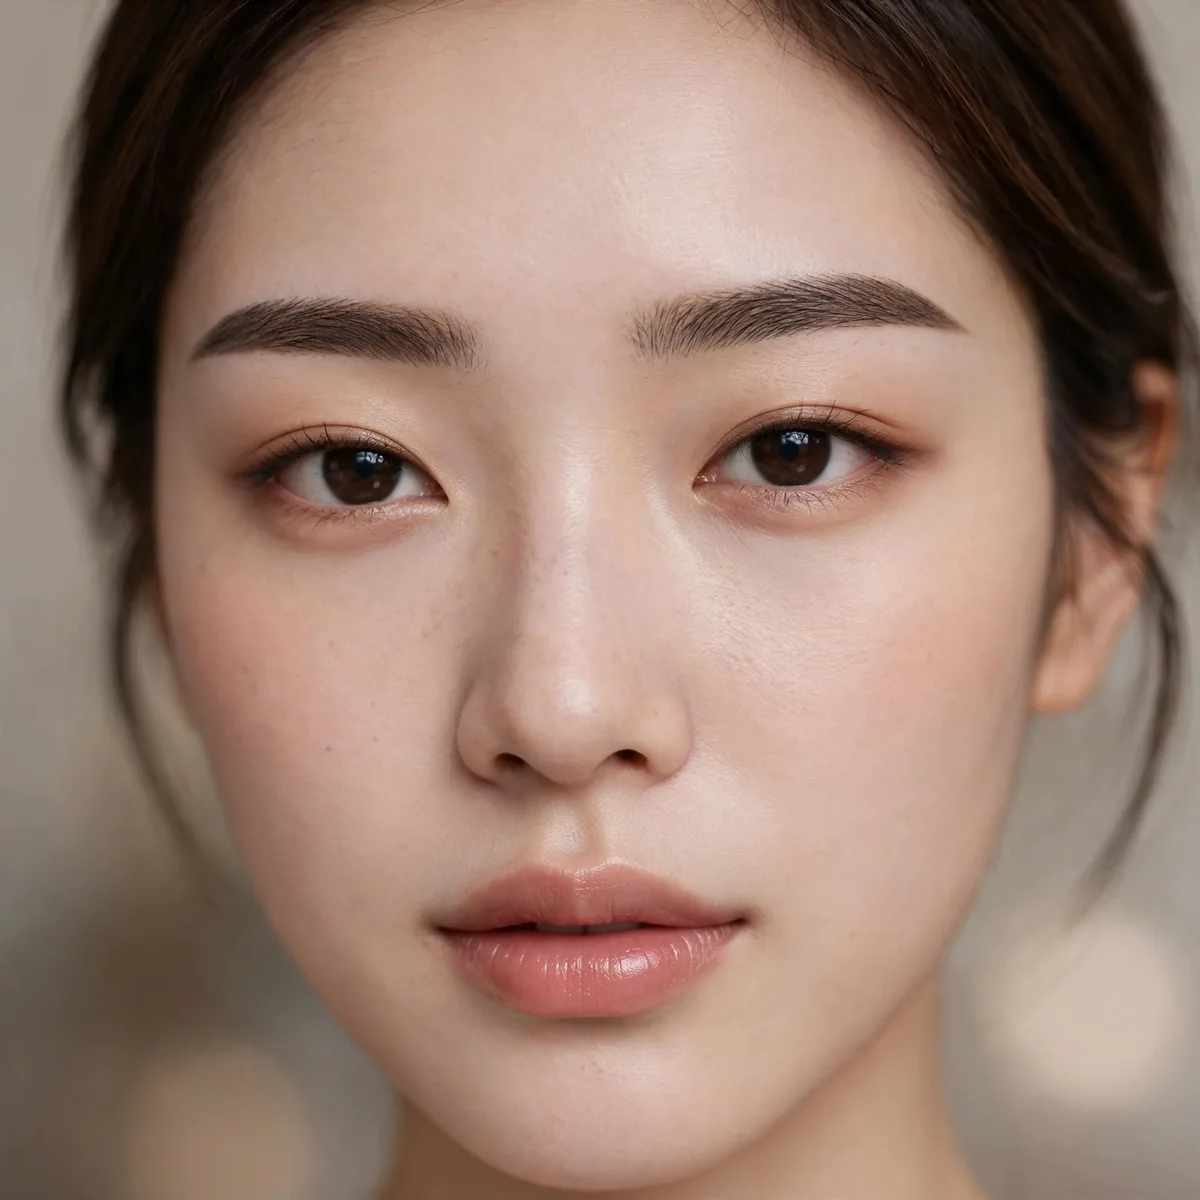
The straight-across brow — youthful, soft, modern.
Straight brows make you look younger. The lack of arch reads as fresh and innocent.
This shape is most flattering on softer, rounder, or longer face shapes, where the absence of arch keeps everything youthful and calm. It suits smaller features particularly well, since there is no peak drawing the eye upward. Those with strong, angular features may find it washes them out — the straight brow removes the structure their face relies on. Youthful is the goal; shapeless is the risk.
Fill along the bottom edge in a straight horizontal line, and avoid plucking any natural arch out of the top — the goal is to neutralize the peak, not create a new one. Use light, feathery strokes with a pencil one shade lighter than your hair; heavy filling destroys the softness. Brush the hairs straight across with a tinted gel to finish, which locks the horizontal direction and adds believable fullness.
Thick and Bold
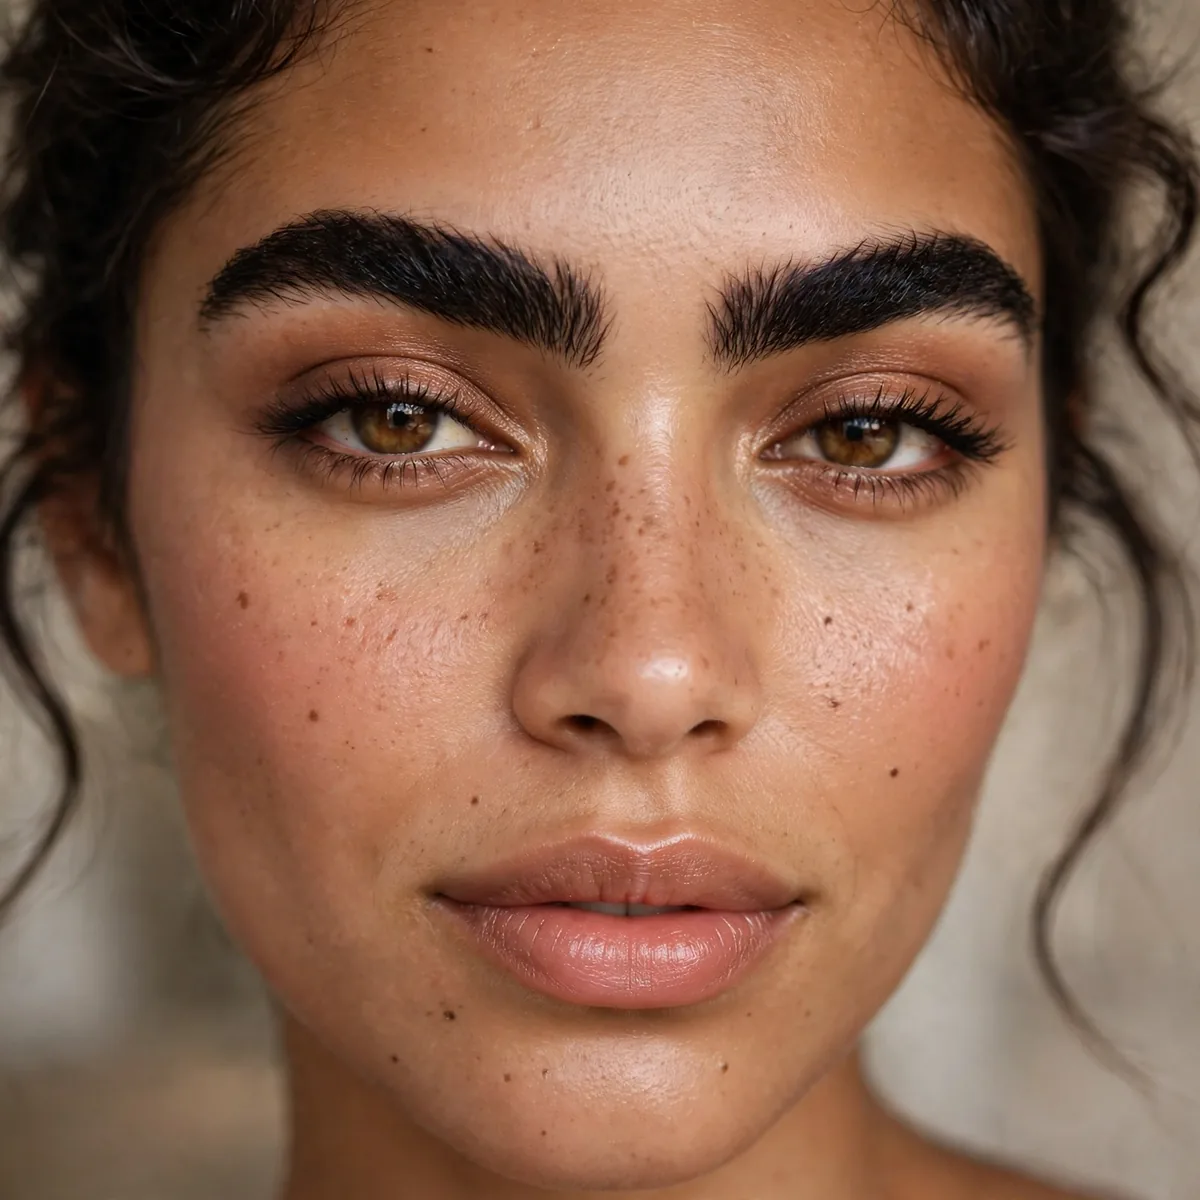
Full, thick brows — the power brow.
Thickness adds presence. Bold brows are a statement of confidence.
Building believable thickness on sparse brows takes layering: start with a fiber gel to add texture to existing hairs, then fill gaps with a fine pencil using hair-like strokes. A tinted brow gel on top melds the layers and adds volume. For truly sparse areas, a brow pen with a micro-fork tip creates the most convincing hair strokes. Set everything with clear gel — thick brows collapse without hold by midday.
The fastest way to ruin a bold brow is choosing a product that matches your hair exactly or goes darker — against the skin it reads harsh and drawn-on. Go one shade lighter than your hair for a softer, more natural boldness. The other mistake is extending the tail too far; thick plus long overwhelms the face. Keep the tail at your mapped point and let fullness, not length, do the talking.
Thin and Refined
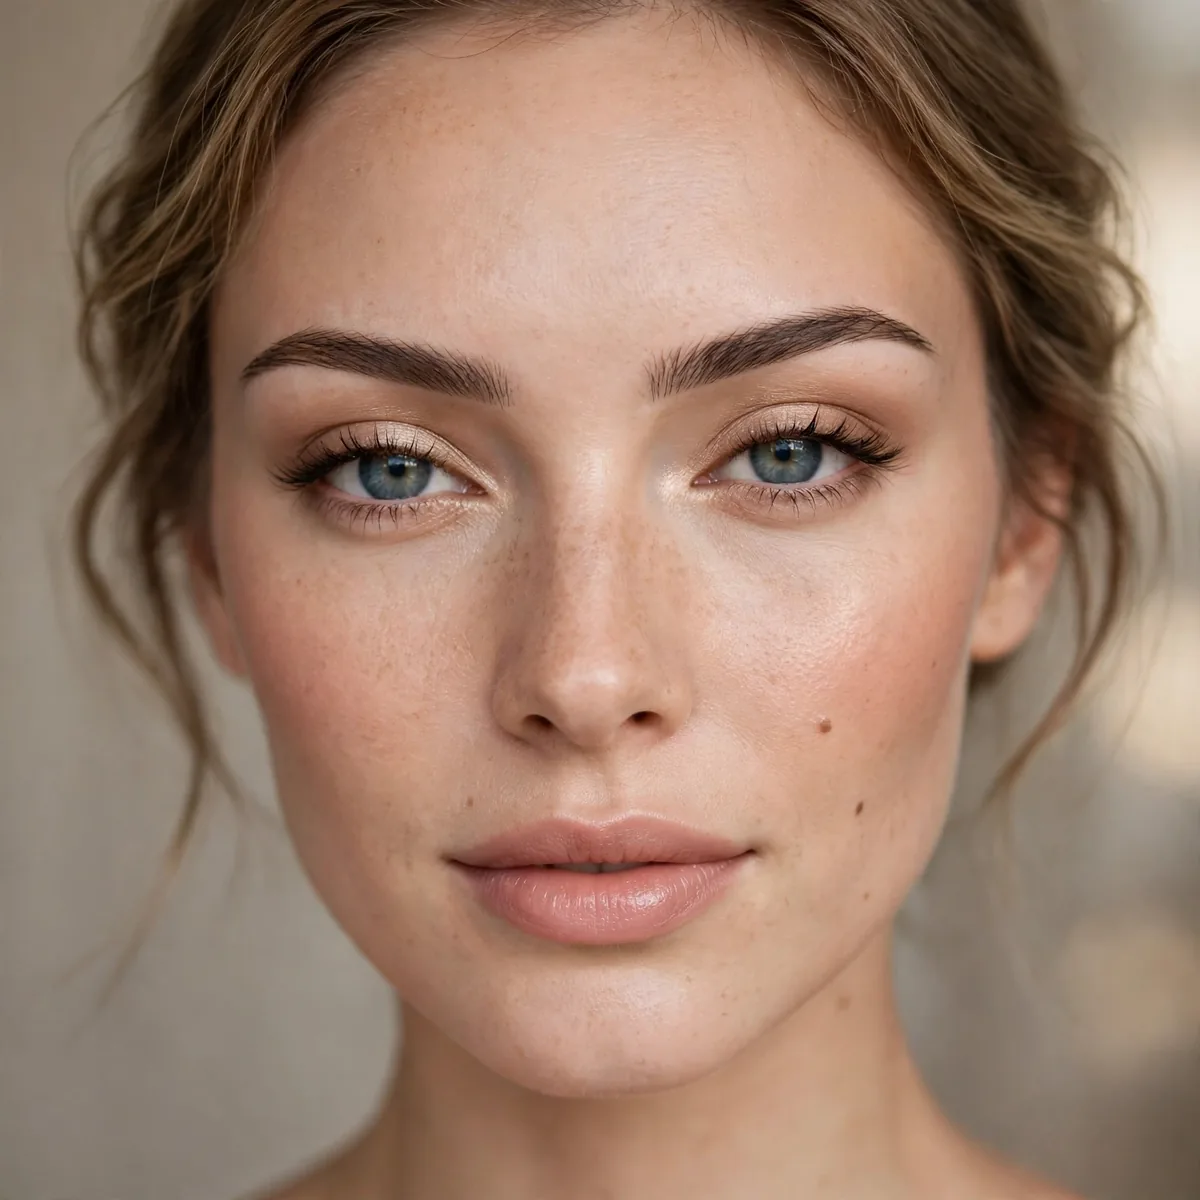
A thinner, precise brow — elegant and classic.
Thin doesn’t mean 90s-thin. Modern thin is groomed and intentional, not overplucked.
Petite, delicate features wear this shape best — on a small face, a thin brow maintains proportion where a bold brow would dominate. It also suits those who favor a polished, classic aesthetic over trendy fullness. Mature faces should tread carefully, though: thinning brows are associated with aging, so keep the shape refined but the color rich. The goal is elegant intention, never the over-plucked regret of decades past.
Precision is everything: use an ultra-fine pencil and draw in the direction of hair growth with the lightest possible hand. Clean up the edges with a flat brush and a touch of concealer — crisp perimeters are what separate refined from messy. Set with a clear gel applied sparingly; too much product on a thin brow looks wet and heavy. Step back frequently, since thin brows are unforgiving of asymmetry.
The Feathered Brow
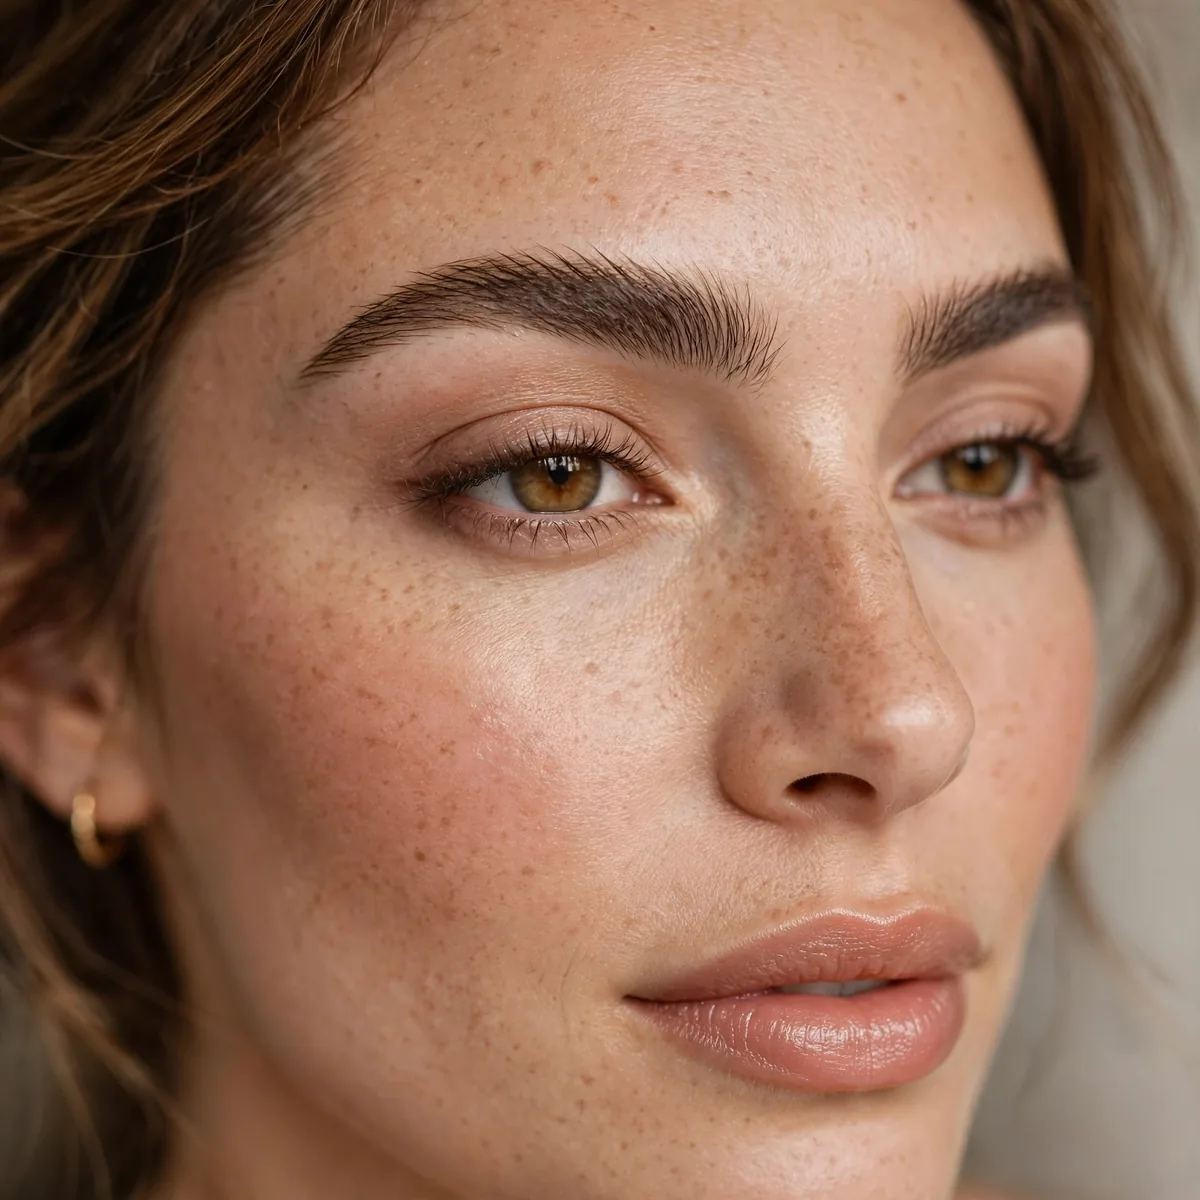
Brushed-up, feathery texture — the natural fullness trend.
Feathering creates fullness without product. It’s the "my brows but better" technique.
A strong-hold clear or tinted brow gel and a clean spoolie are the entire toolkit. Brush hairs straight up, then angle them slightly outward at the tail, pressing them flat against the skin so they stay put. For a laminated look without the salon, apply the gel, press brows down with the back of a spoon for thirty seconds, and let them set. Soap brows — glycerin soap worked through with a damp spoolie — achieve the same grip.
Feathered brows fall flat by afternoon without the right layering. The trick is applying a brow powder or pencil first for color and grip, then the gel over the top — gel alone on bare hairs has nothing to hold. In humidity, switch to a waterproof gel formula; standard gels soften and the feathers droop. A midday re-brush with the spoolie revives the lift in seconds without adding more product.
Extended Tail
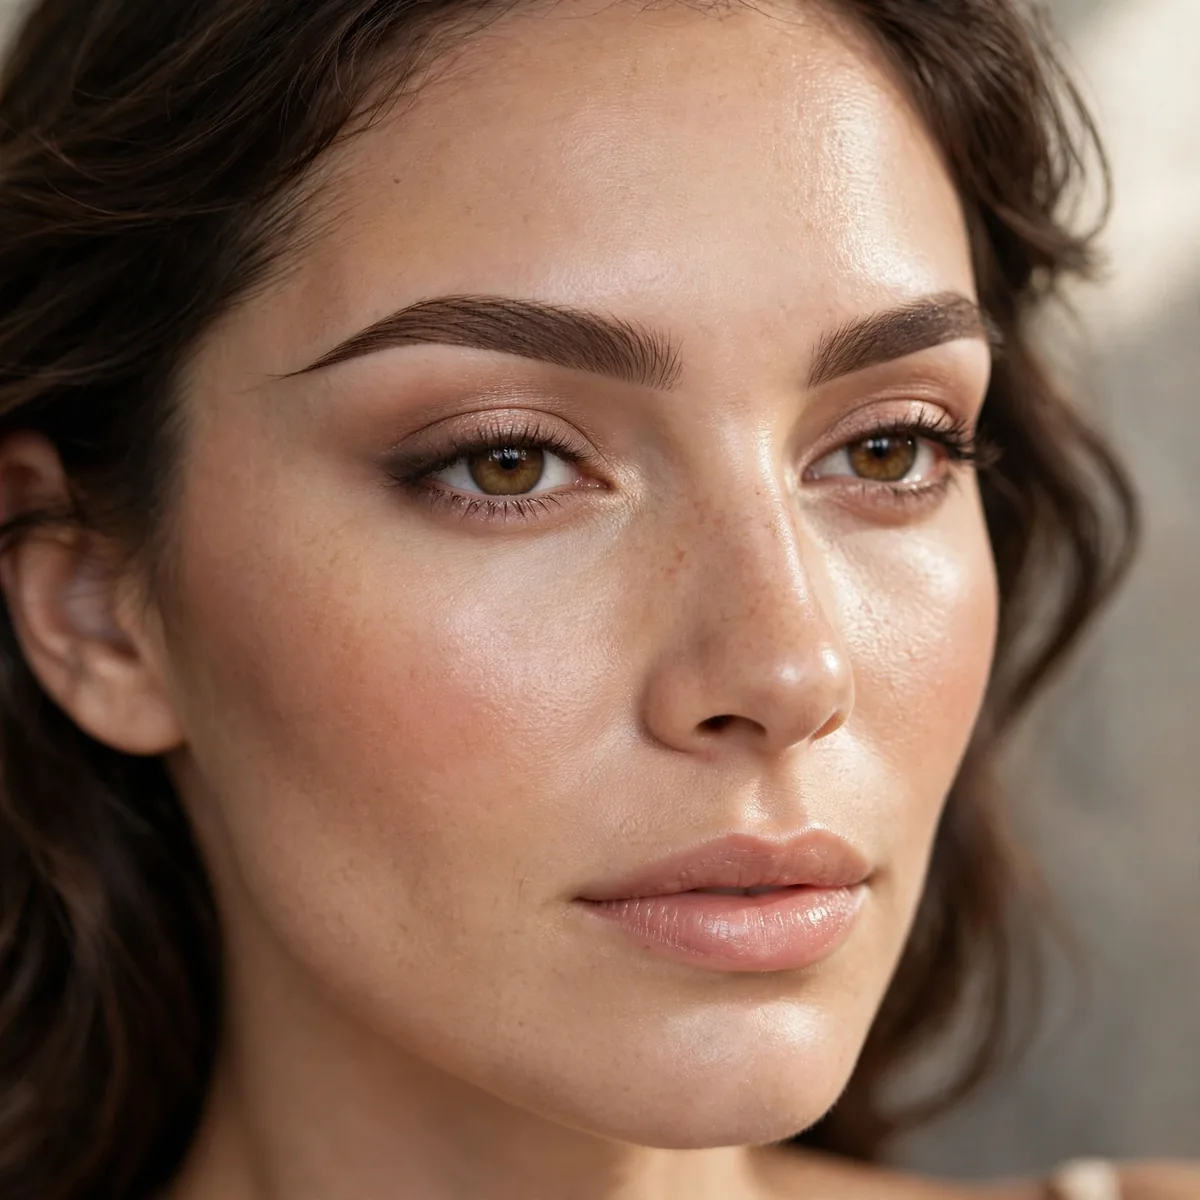
Lengthening the tail elongates the eye and adds sophistication.
The tail should end at your mapped point — longer looks draggy, shorter looks stubby.
Draw the tail with a fine pencil in short upward flicks, extending just to your mapped endpoint — then stop, even if it feels short. Angle the final millimeters very slightly upward; a tail that hooks downward drags the eye. Fill the tail a touch darker than the front of the brow, since tails are naturally denser in pigment. Blend the transition with a spoolie so there is no visible line where filling begins.
Extending past the mapped point is the classic error — even two millimeters too long makes the eye look droopy and the face tired. The other trap is drawing the tail lower than the head of the brow, which pulls everything downward. Check both brows in a hand mirror held at arm's length; close-up mirrors lie about proportion. Symmetry matters more here than anywhere, since tails frame the whole eye.
Short and Sweet
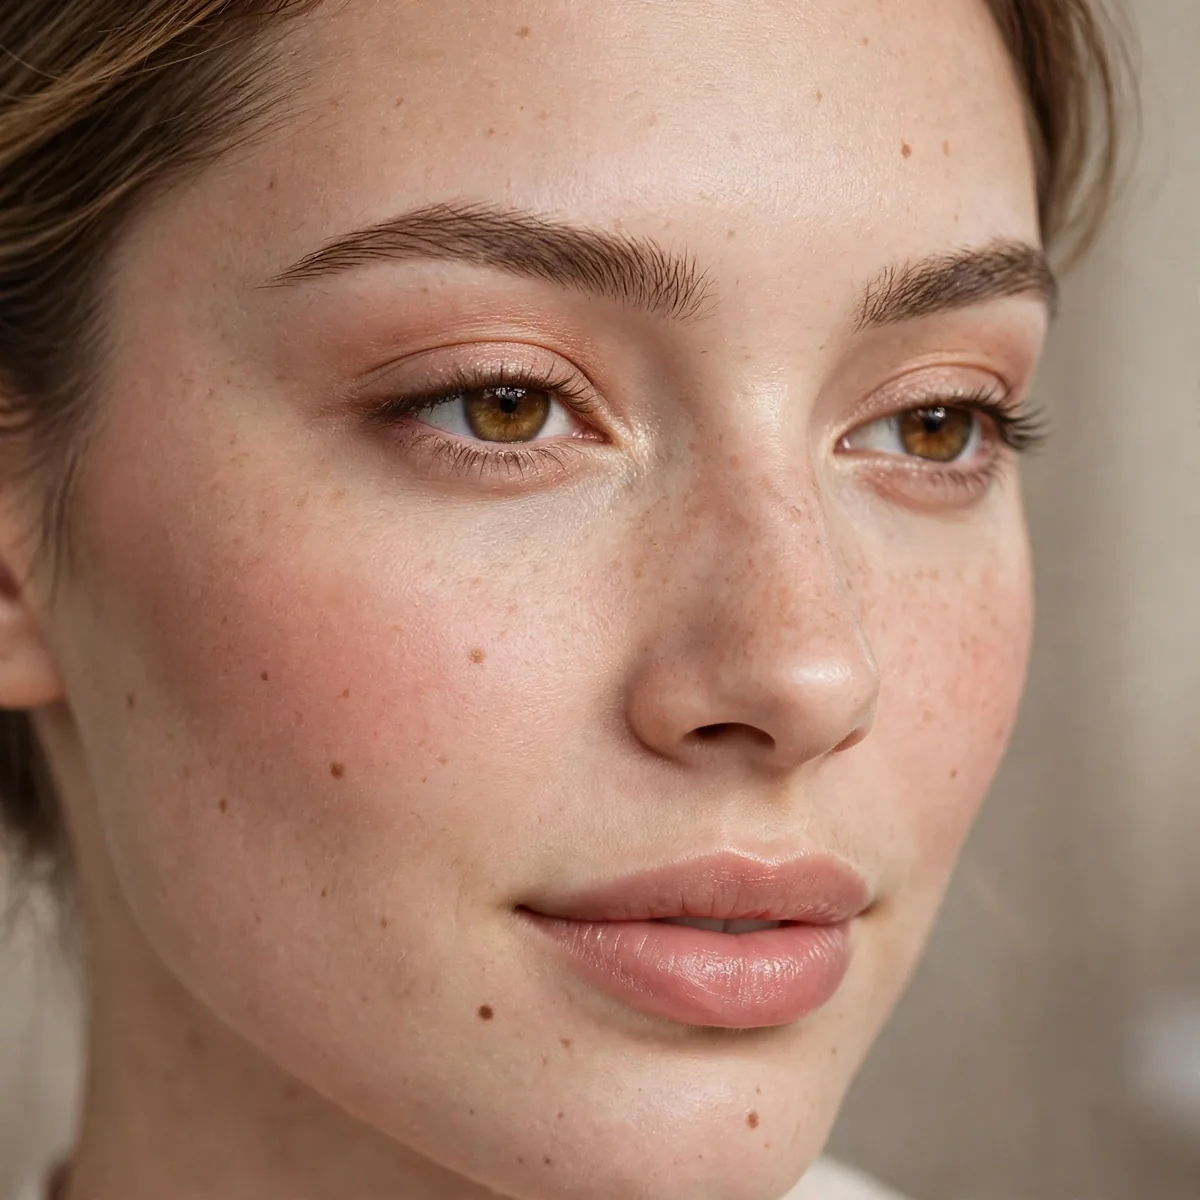
A shorter brow for petite features — proportion is everything.
Brows should match your scale. Petite faces need petite brows.
Petite faces, small eyes, and delicate features need this proportion — a full-length brow on a tiny face looks like it belongs to someone else. It also suits those with low, straight foreheads, where a long brow would crowd the eye area. The shape keeps the face open and fresh rather than framed and heavy. Think of it as tailoring: the brow should fit the face, not follow a trend.
Resist every instinct to extend — end the brow exactly at your mapped point, even if the tail feels stubby at first. Concentrate fullness through the front and middle of the brow instead; density near the inner corner gives presence without length. Use a spoolie to blend the tail softly so the shorter length looks intentional, not unfinished. A slightly thicker shape compensates beautifully for the reduced length.
The Power Arch
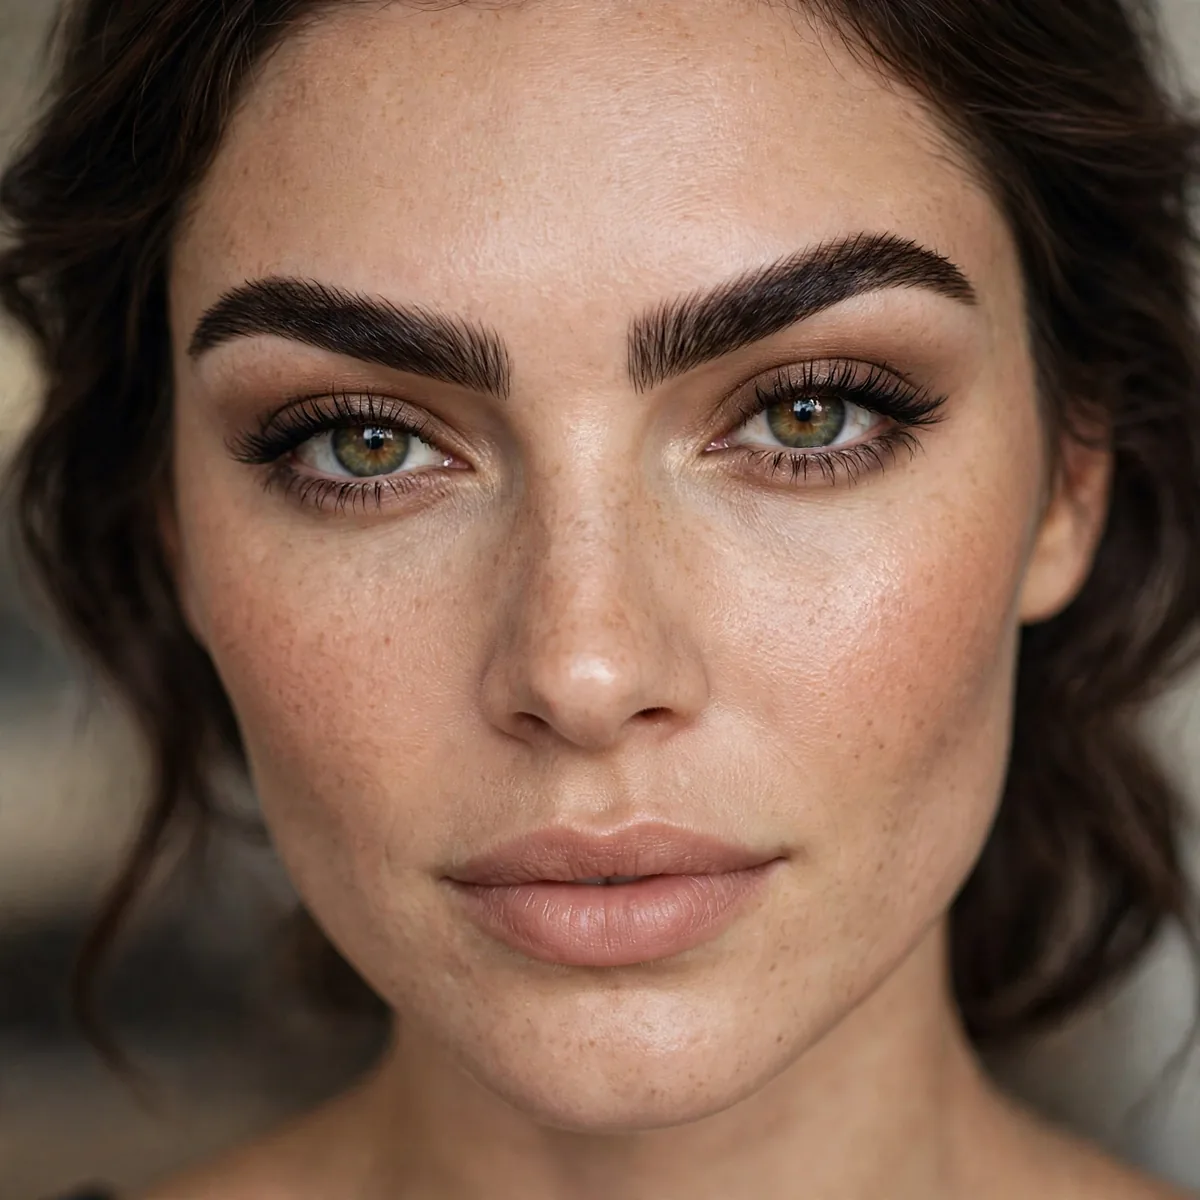
Strong arch, strong brow — for strong features.
Power brows suit bold features. Delicate faces should choose softer shapes.
Strong, defined features — prominent cheekbones, a strong jaw, bold eyes — can carry this much brow without being overwhelmed. Oval and square faces wear it best, since they have the structure to match. Delicate, petite faces should steer clear; the power arch will dominate everything else. This is a brow for people whose personal style is already bold — it amplifies what is there rather than creating it.
When brows are this strong, the rest of the face must step back. Keep eyeshadow neutral and liner soft — graphic eyes plus power brows is too much architecture for one face. A nude or muted lip keeps the focus upward where it belongs. Foundation should be skin-like and blush minimal; the brow is the statement, and every other feature plays supporting role. Balance is what separates striking from severe.
Rounded Soft Brow
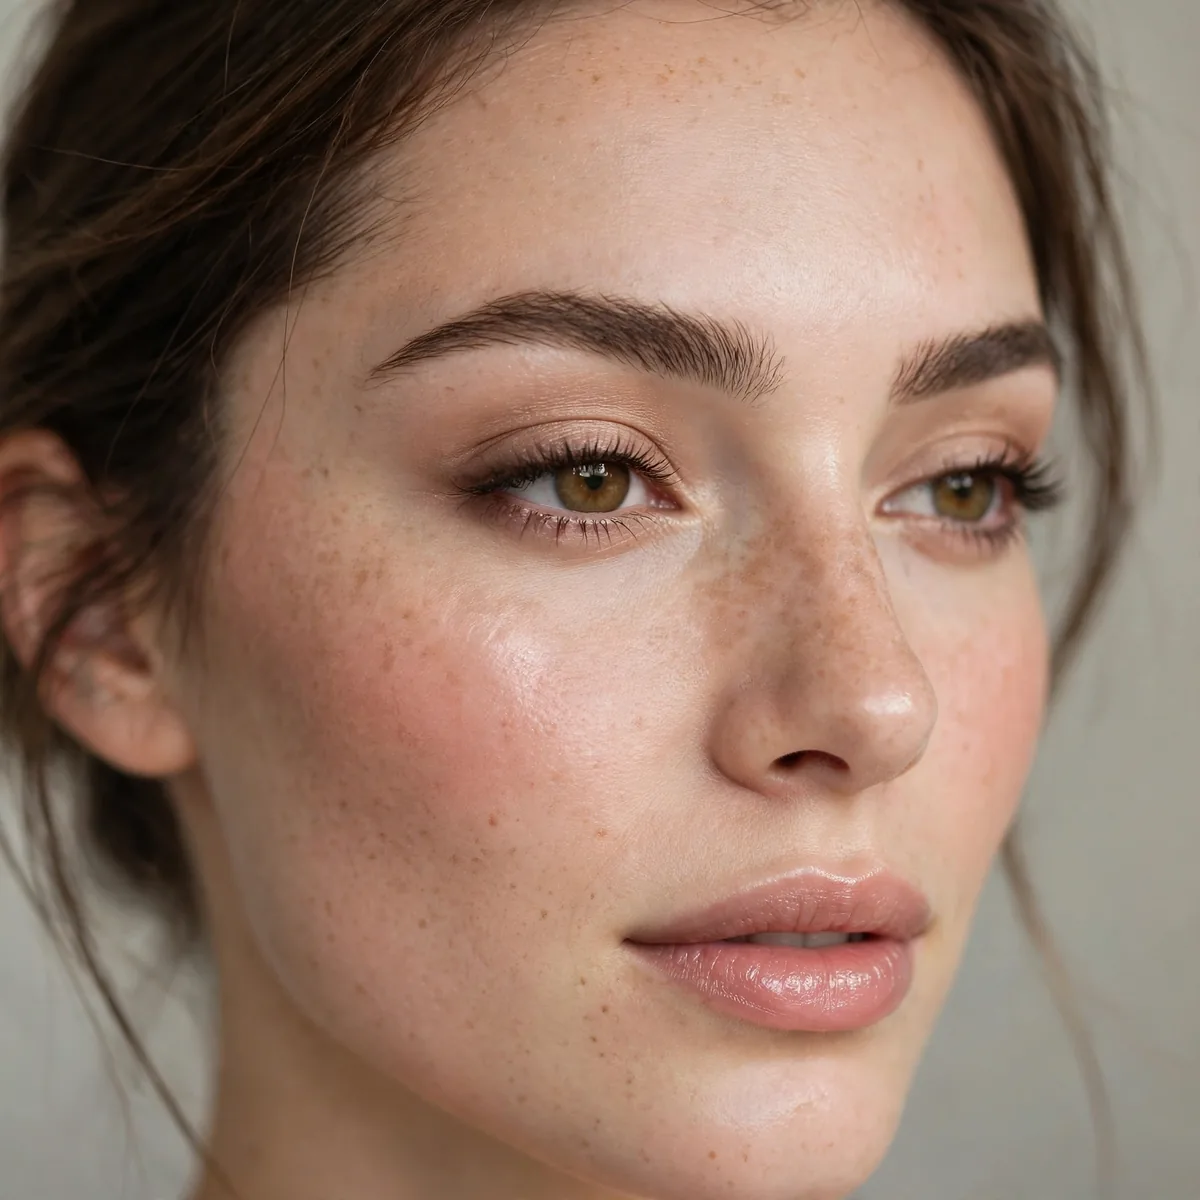
Gently rounded with minimal arch — soft and approachable.
Rounded brows make you look friendly. They’re the warmest brow shape.
Angular faces — square jaws, sharp cheekbones — soften beautifully under a rounded brow, since the curve counteracts their lines. It is also the kindest shape for mature faces, where sharp angles can read severe. The rounded brow gives a friendly, approachable impression, which suits warm personal styles. If your features are already soft and round, though, add a whisper of definition so the face does not disappear entirely.
Soften the peak by brushing through filled brows with a clean spoolie — this diffuses any sharpness into a gentle curve. Fill using small curved strokes that follow the rounded shape rather than straight lines. Keep the top edge especially soft; a crisp top line creates an arch even when you do not want one. Powder formulas naturally give this diffused finish, while pencils need extra blending to avoid edges.
Angular Precision Brow
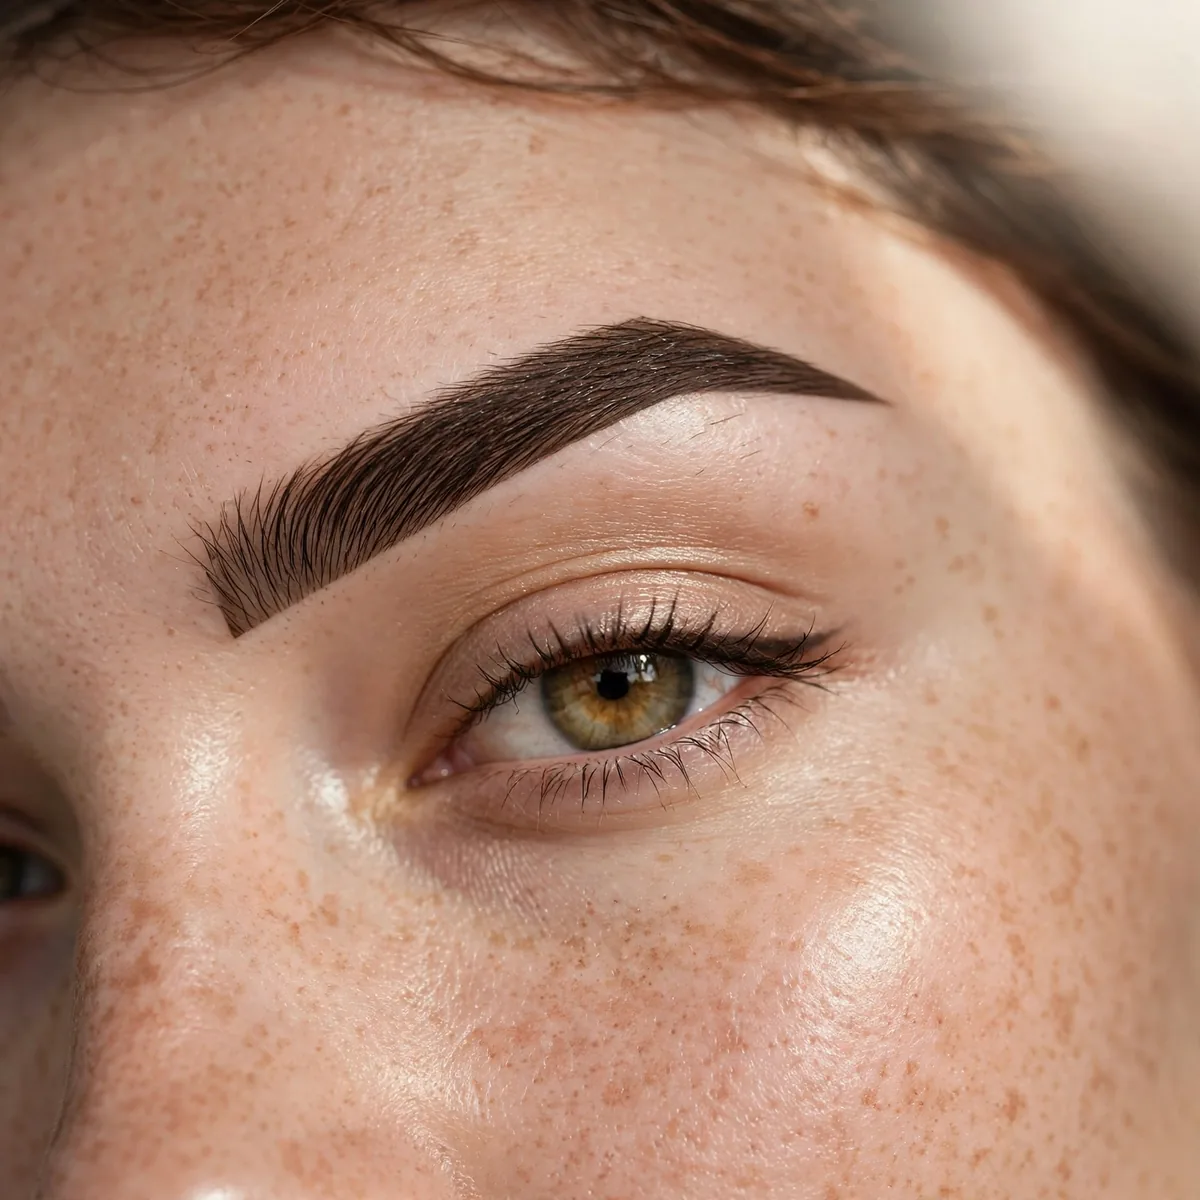
Sharp angles and clean lines — the editorial brow.
Precision brows look incredible in photos. They’re the red-carpet choice.
This brow demands an angled brush, a firm pomade, and a steady hand — pencils alone rarely achieve the sharpness. Stamp the pomade along the bottom edge first to set the angle, then fill upward with light pressure. Carve the perimeter with a flat concealer brush afterward; the clean-up is what creates the editorial crispness. Work in thin layers, since pomade builds fast and thick application looks stamped rather than sharp.
Save this brow for photographs, evenings, and events — its precision reads beautifully on camera but can feel severe in daylight errands. Pair it with equally polished makeup: defined eyes, sculpted cheeks, a deliberate lip. On no-makeup days it looks out of place, like wearing heels with sweatpants. The precision brow is a commitment to a full face; wear it when the occasion deserves the effort.
Brows for Heart Faces
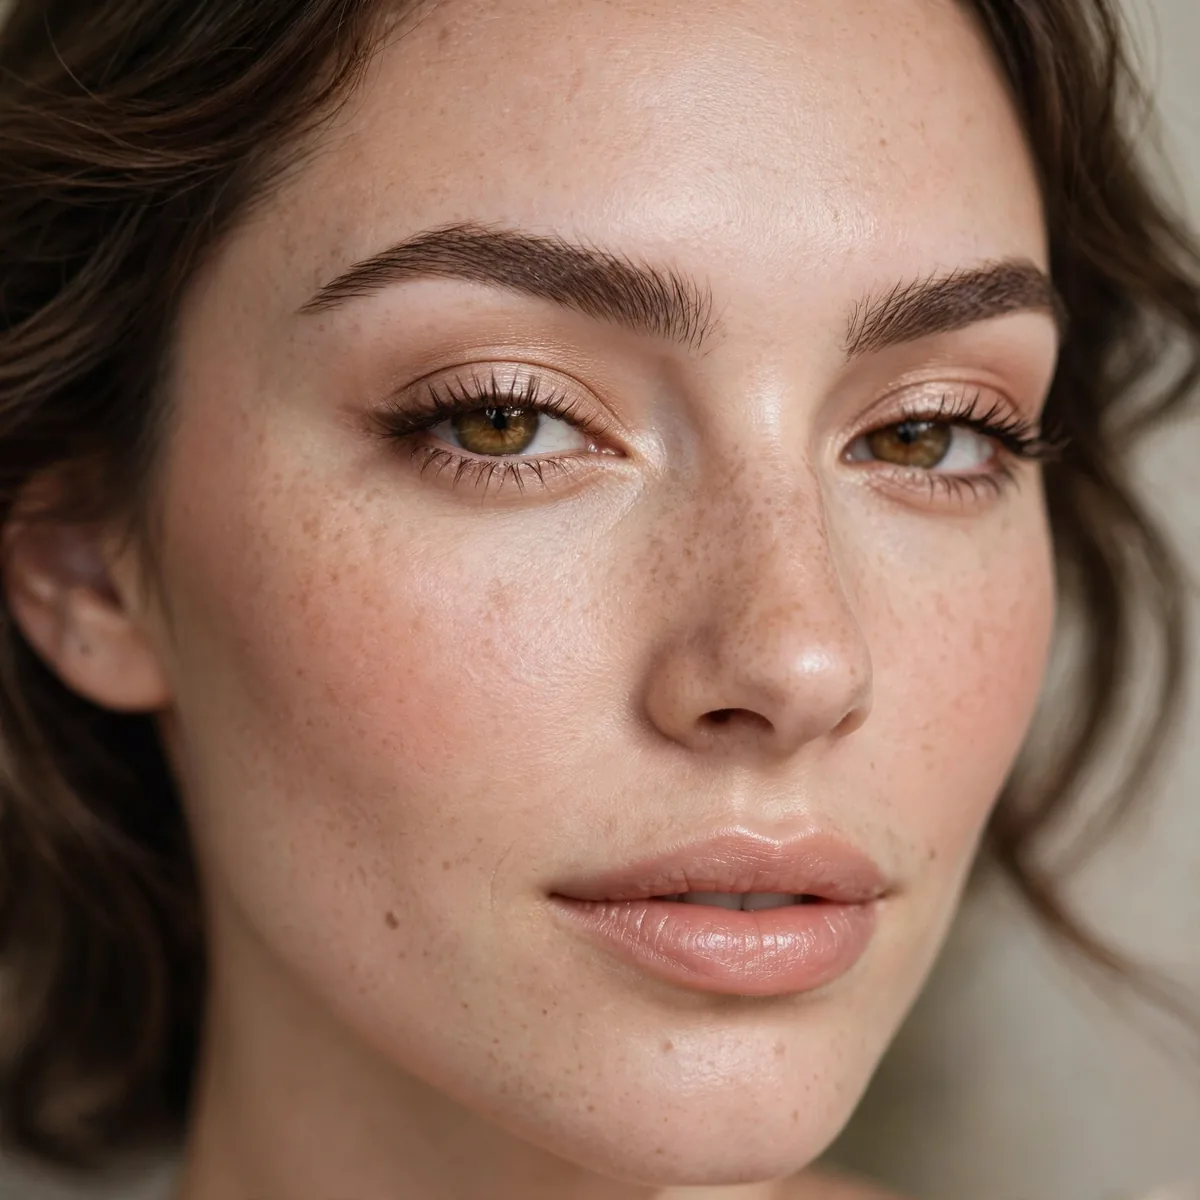
Soft arch with rounded edges balances a wider forehead and narrow chin.
For heart faces, our natural brow looks keep things soft. Avoid high arches — they emphasize forehead width.
Keep the arch low and soft, with the peak sitting closer to the middle of the brow than the outer third — a centered, gentle peak balances the wider forehead. Round the tail rather than angling it, and avoid extra length that emphasizes the narrow chin. Fill the front of the brow slightly fuller; density near the inner corner visually anchors the forehead and creates harmony with the delicate lower face.
The worst error on a heart face is a thin, over-arched brow with a long tail — it widens the forehead visually and leaves the narrow chin looking even smaller. Another trap is plucking the front of the brow too narrow, which exaggerates forehead width. Keep the inner brow full and the overall shape soft. When in doubt, choose rounder over more arched; softness is always the safer direction here.
Brows for Diamond Faces
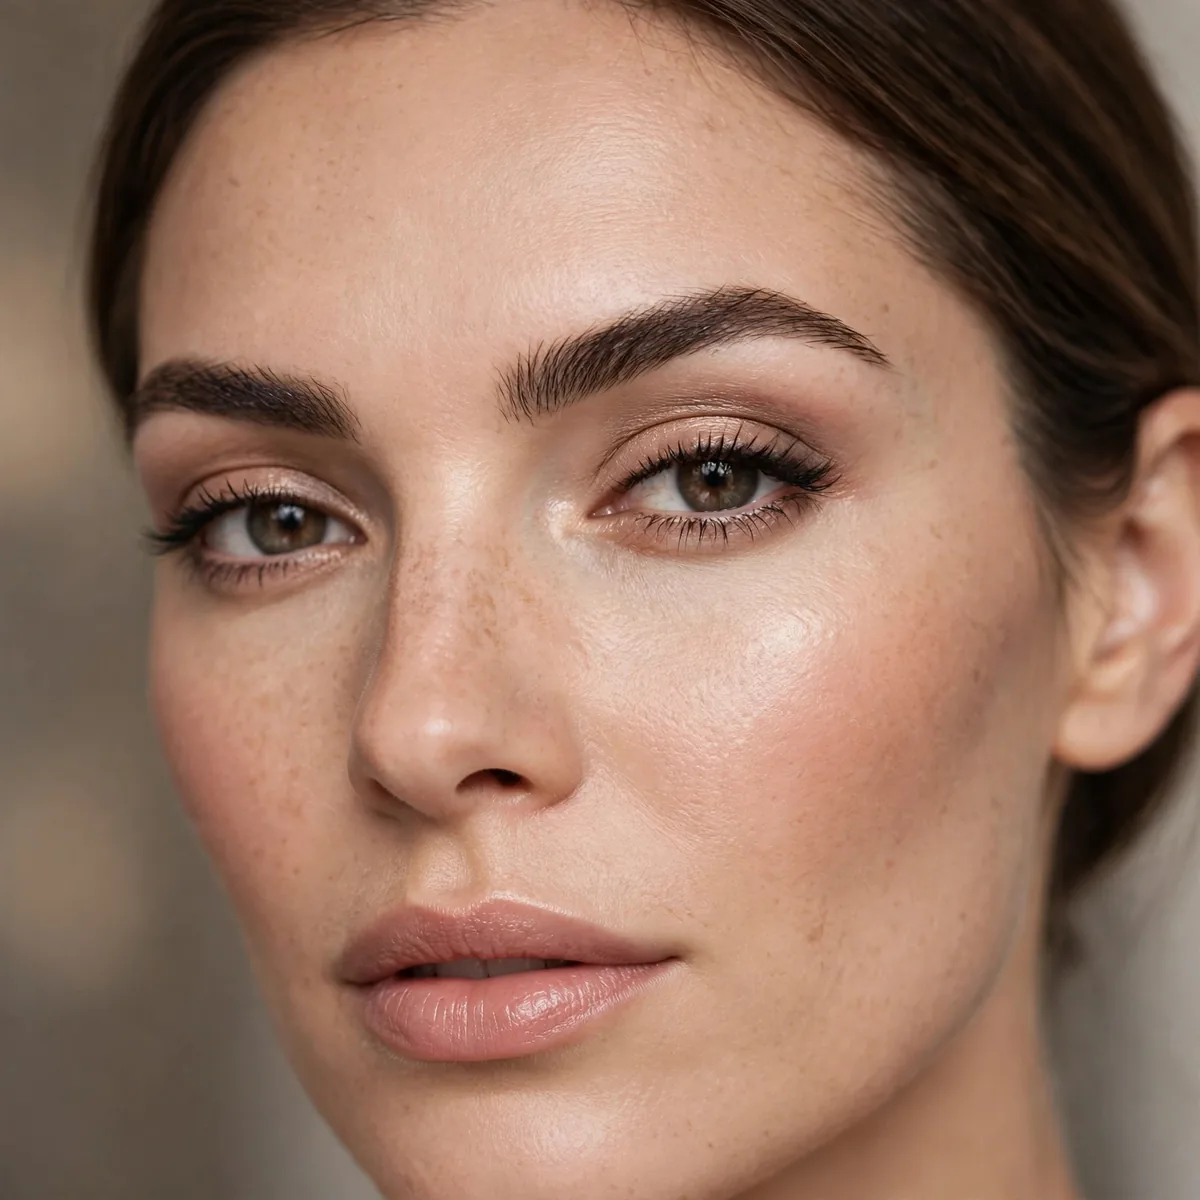
Curved brows soften prominent cheekbones beautifully.
The curve mirrors the cheek curve. Harmony through repetition.
Place the curve's highest point just past the middle of the brow, letting it arc gently over the cheekbone's widest point — the curve should echo, not fight, your bone structure. Keep the arch modest; a high peak widens the cheek area visually. Fill with soft, curved strokes and keep the tail medium length. The overall impression should be one continuous gentle arc from head to tail, with no sharp transitions.
Powder is the ideal formula for diamond faces — its diffused finish softens rather than sharpens, which is exactly what prominent cheekbones need. Apply with an angled brush using light, sweeping strokes, then comb through with a tinted gel to meld everything. Avoid hard pomades and ultra-fine pencils here; precision tools create the sharp definition that fights the softening mission. Soft tools, soft shape, soft result.
The Asymmetry Fix
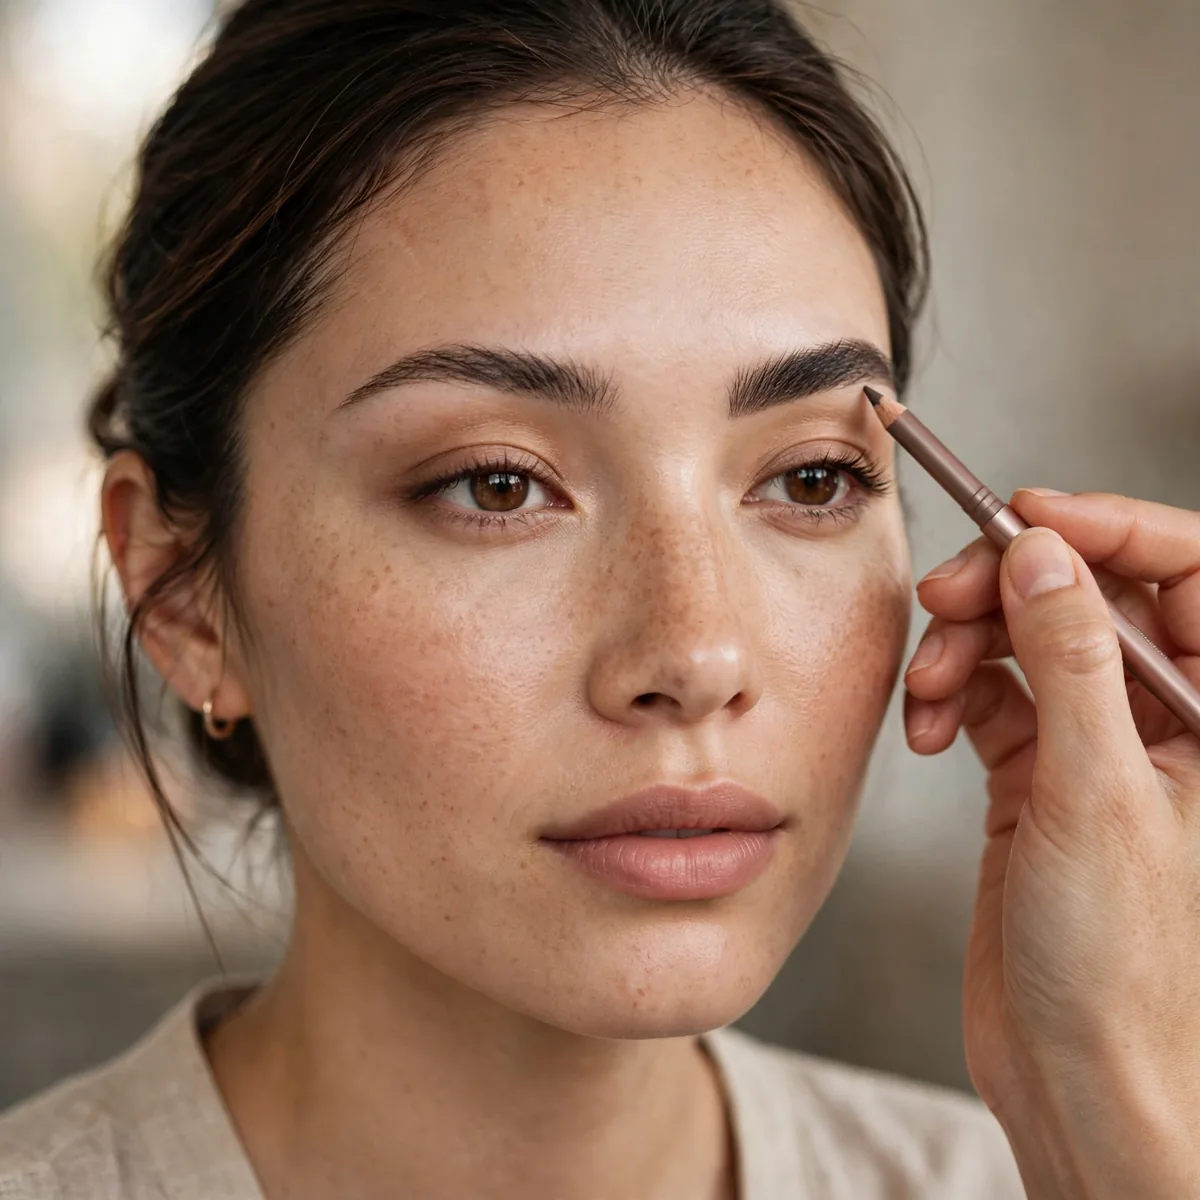
Brows are sisters, not twins — but major asymmetry can be balanced.
Map both brows to the same points. The mapping reveals where they diverge.
Always build up the thinner or shorter brow to match the fuller one — never pluck the good brow down to match the weaker. Fill the sparser brow first while your hand is fresh, using hair-like strokes to mimic density. Then fill the fuller brow more lightly so they meet in the middle. Compare them in a mirror at arm's length throughout; close-up work exaggerates differences your eye will overcorrect.
The classic blunder is chasing perfect symmetry — over-plucking both brows in pursuit of identical twins until there is nothing left. Sisters, not twins, is the rule for a reason: faces are naturally asymmetric, and forcing mirror-image brows looks artificial. Another mistake is correcting in harsh bathroom lighting, which reveals every flaw and tempts over-correction. Check in natural light before removing a single hair.
Aging Brow Adjustments
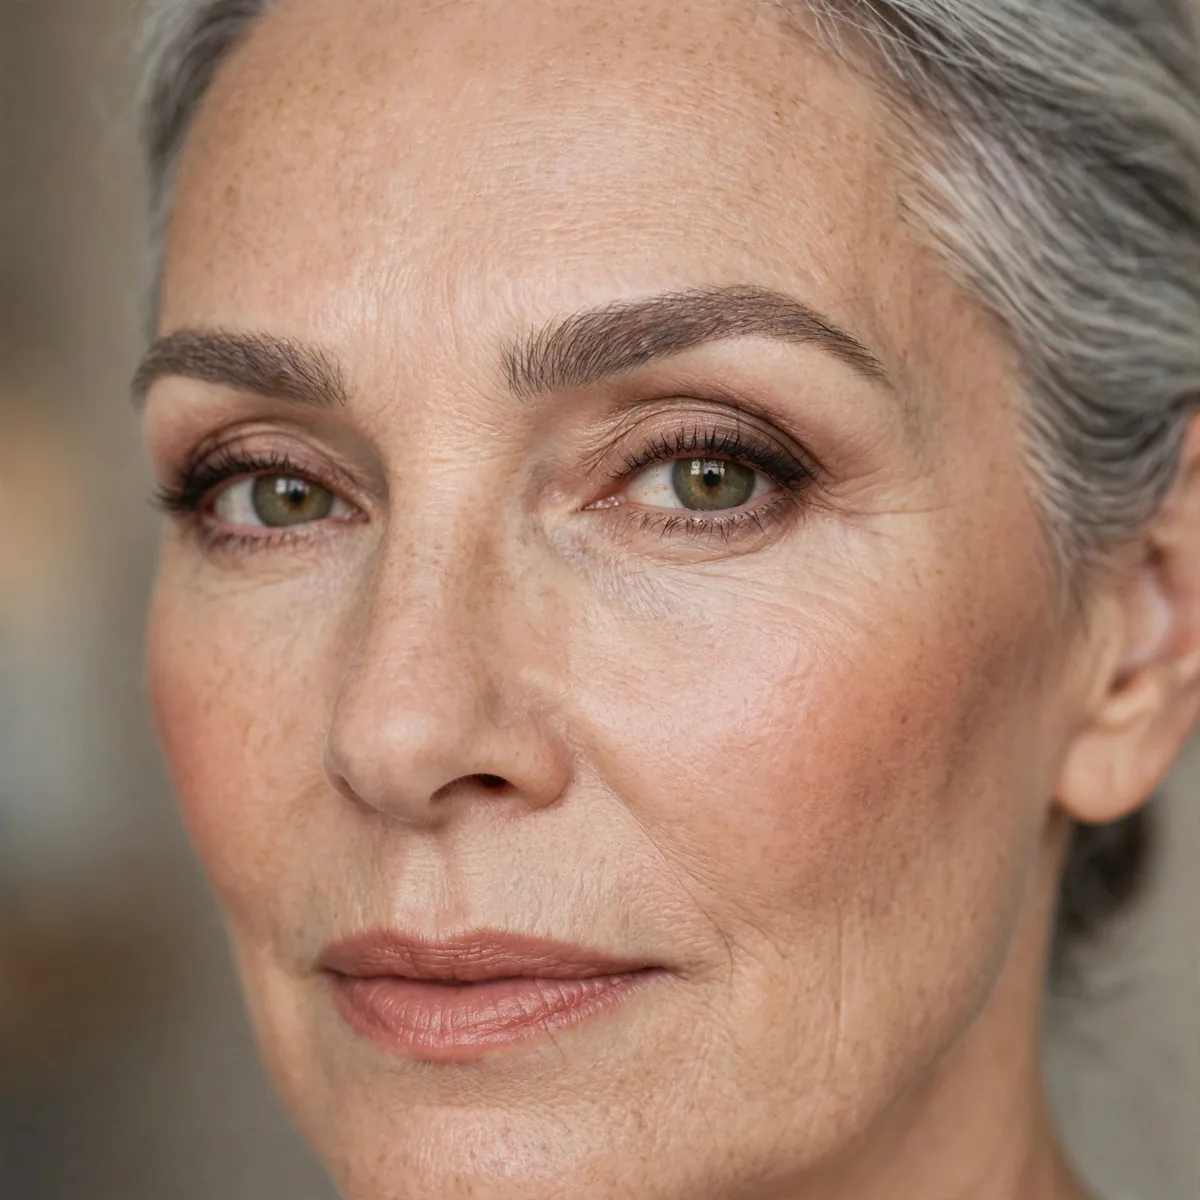
As faces change, brows should adapt — slightly thicker, slightly softer.
Thinning brows age the face. Keeping some fullness is genuinely youth-preserving.
The pencil-plus-powder combination is the mature brow's best friend: pencil creates hair-like strokes where growth has thinned, and powder diffuses everything into soft, believable fullness. Skip hard pomades, which can look stamped and harsh on thinning brows. Choose a shade that matches your current hair — including gray — rather than the dark brown of decades past. Ash tones flatter silver hair far better than warm browns.
In your forties, focus on maintaining fullness and softening the arch slightly. By the fifties and sixties, prioritize the front of the brow, which thins first — a defined inner brow frames the eye and lifts the whole face. Whatever the decade, resist the urge to go darker to compensate for thinning; lighter, softer color with good shape always looks younger than dark, harsh filling on sparse brows.
Your Signature Shape
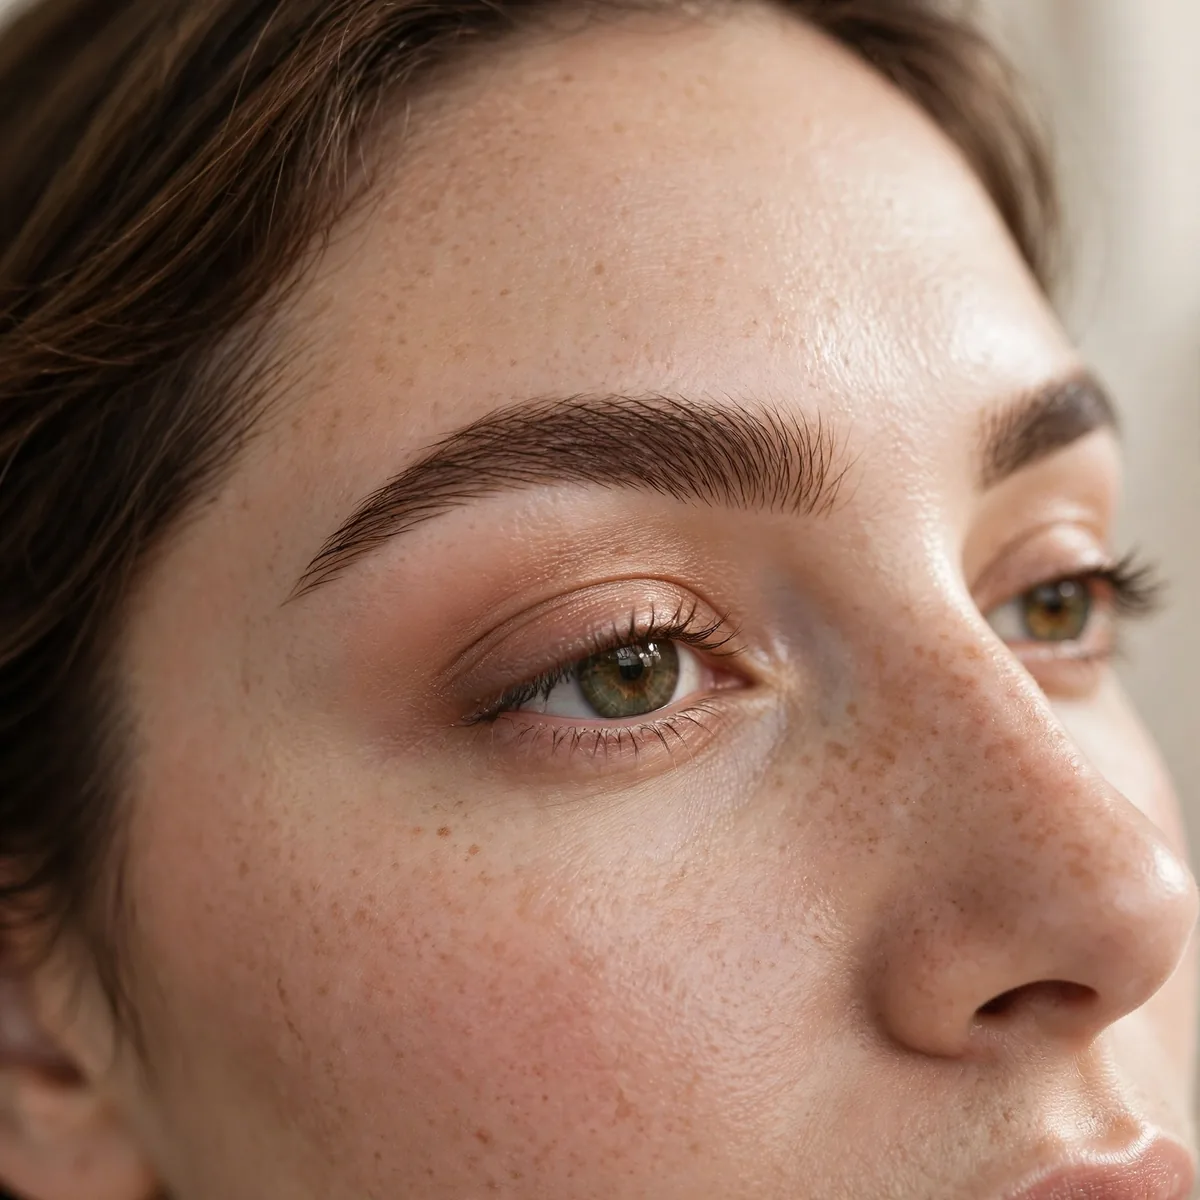
Combine the principles here with your natural growth for your signature brow.
The best brow shape is the one that looks like you on your best day — enhanced, not replaced.
Live with a candidate shape for two full weeks before committing — brows need time to grow into adjustments, and first impressions lie. Photograph your brows in daylight, indoor light, and flash; a shape that works in all three is a keeper. Tweak one variable at a time — arch height, then thickness, then tail length — so you know what actually improved things. Patience here prevents years of regret.
Maintain the shape with a tweezing session every ten to fourteen days, removing only obvious strays outside your mapped lines — never reshape on impulse. Anything beyond cleanup belongs to a professional every six to eight weeks, especially if you are growing out past mistakes. Between appointments, a tinted gel keeps the shape readable while hairs grow in. Good maintenance means the shape maintains itself with minimal intervention.
Frame your face right — pin this guide. For daily wear, see natural brow looks, or go bold with laminated brow looks.




