
The goal isn’t perfect brows. It’s brows that look like yours, only better.
Natural brows are about enhancing, not creating. That means working with your growth pattern, using light products, and — hardest of all — knowing when to stop.
The techniques here prioritize texture over coverage. Feathered, brushed, believable.
Here are 15 ways to get there. Let’s get into it.
The Spoolie-First Rule
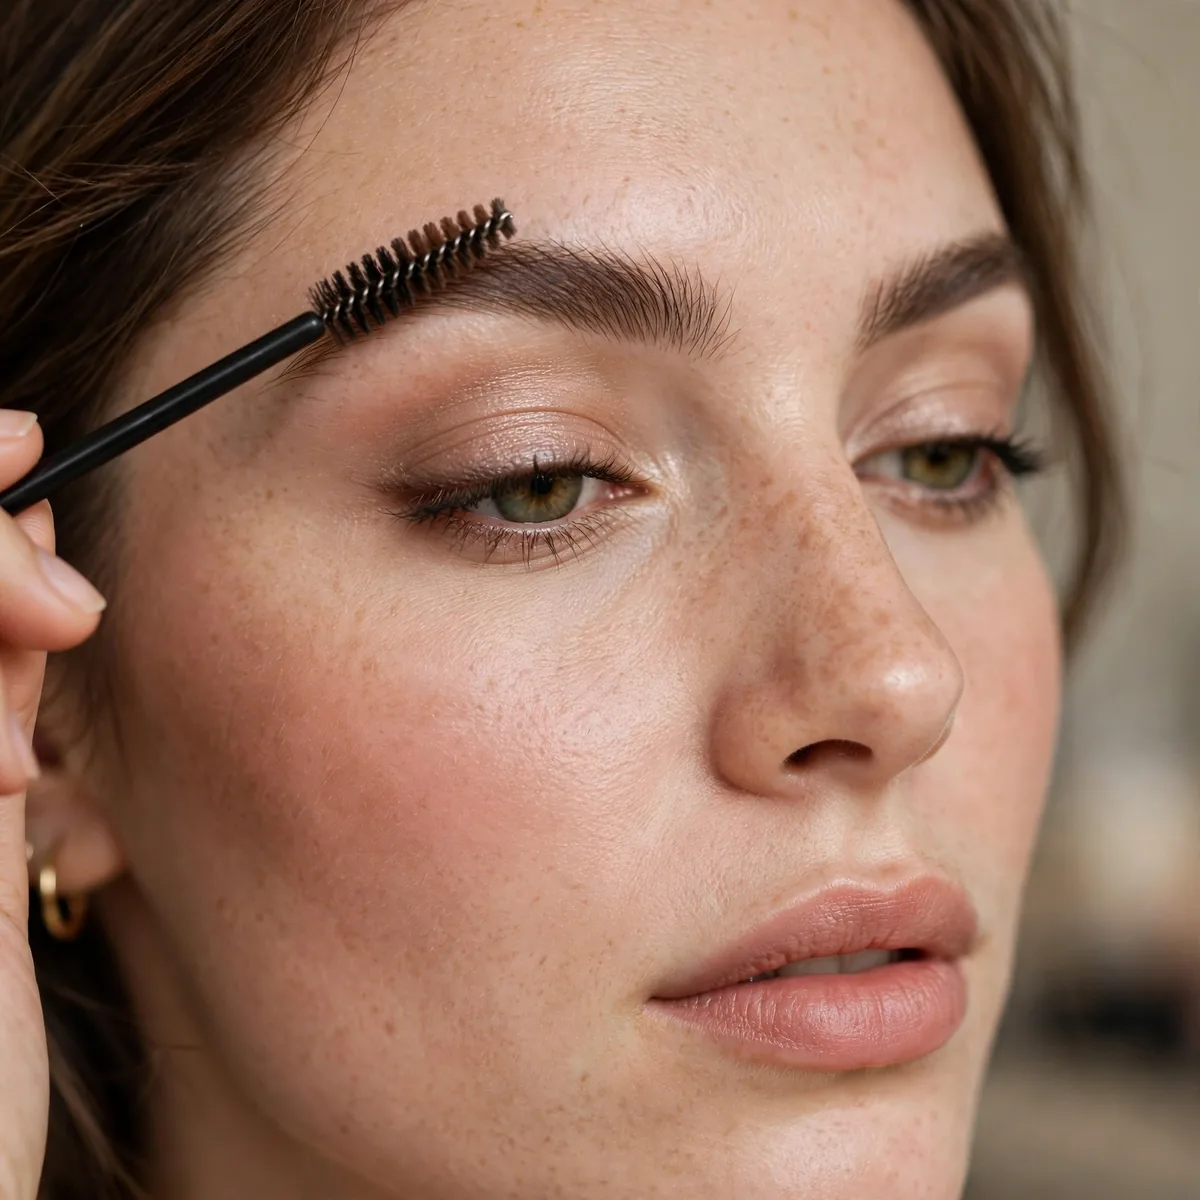
Always brush brows up and out with a spoolie before any product. It reveals the true shape.
You can’t fill what you can’t see. The spoolie shows you exactly where product is needed.
Brush the hairs upward first, then sweep them into their natural direction — the upward pass exposes every sparse patch, while the second pass shows the shape you will actually wear. Use a clean spoolie, not one caked with yesterday’s gel, since residue clumps hairs together and hides the true density. Replace disposable spoolies often; bent bristles tug and break brow hairs over time.
Brush gently — aggressive spoolie work stretches the skin and can snap fragile hairs, especially at the tail where they are finest. If your brows feel unruly, a drop of squalane or castor oil brushed through at night conditions them over weeks. Healthy, conditioned hairs lie flatter and need less product, which is the entire secret behind brows that look naturally full.
Hair-Like Strokes
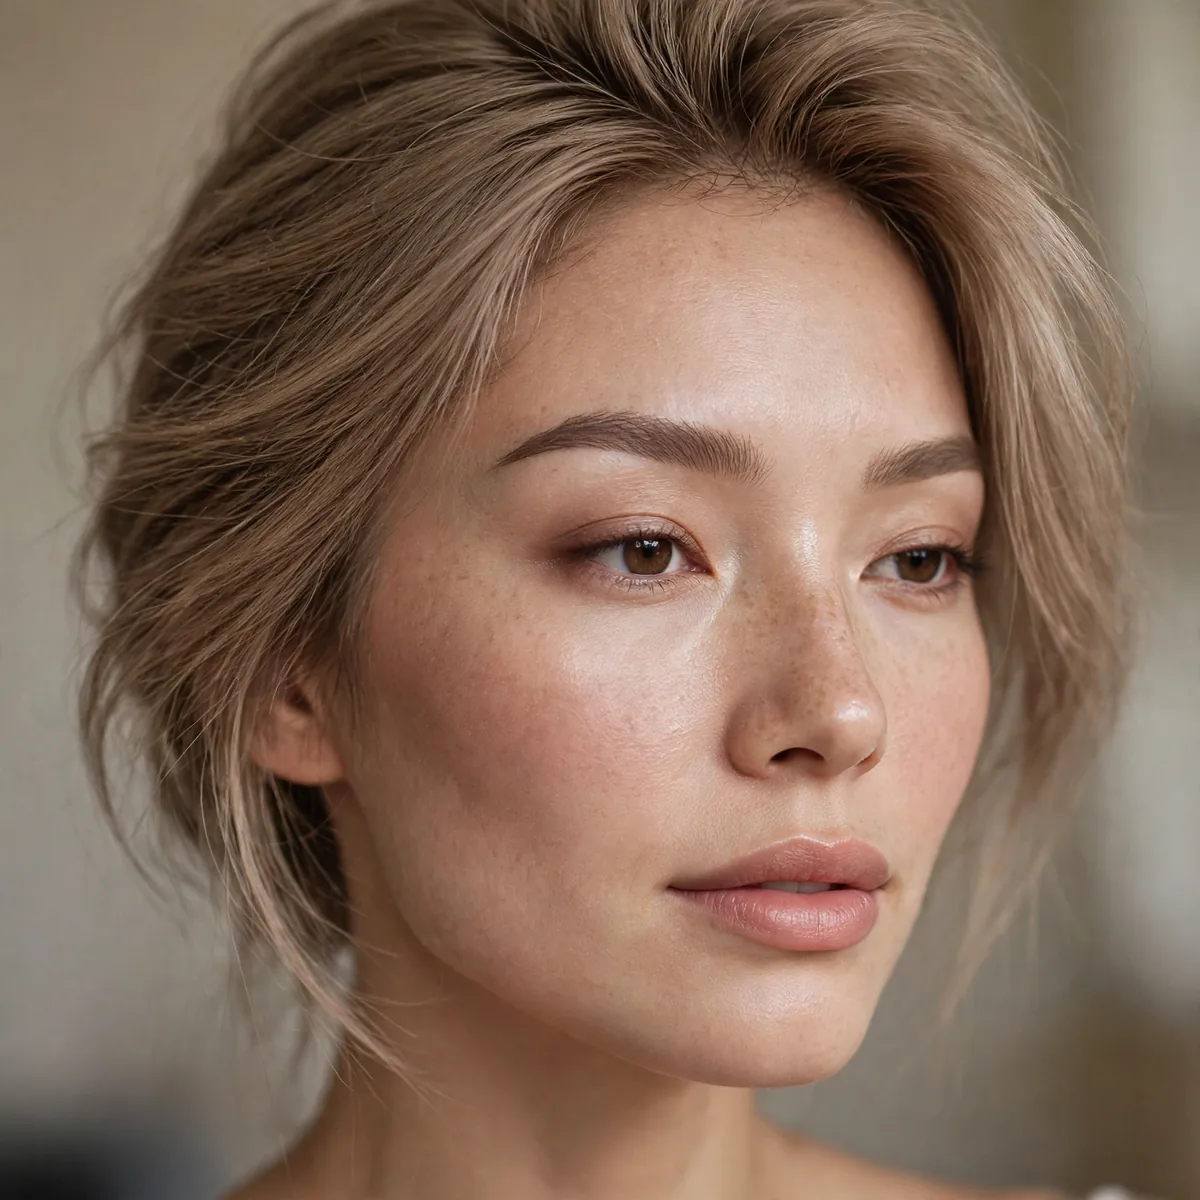
Draw tiny strokes in the direction of growth with a fine pencil — mimicking real hairs.
Short, light, upward strokes. Think individual hairs, not filled shapes.
Keep the pencil razor-sharp — a dull tip cannot draw a hair-fine line, and pressing harder to compensate is what creates that drawn-on look. Use featherlight pressure, letting the pencil barely graze the skin, and concentrate strokes in the sparse areas rather than over the fullest parts. Angle each stroke slightly upward and outward, following the exact direction your real hairs grow.
Never draw an outline first — boxing the brow in is the fastest route to an artificial look, since real brows have no borders. Choose a shade that matches your brow hairs, or one step lighter if your hair is very dark, to avoid a harsh contrast against your skin. Step back from the mirror after every few strokes; brows look different from a normal viewing distance than they do six inches away.
Tinted Brow Gel Only
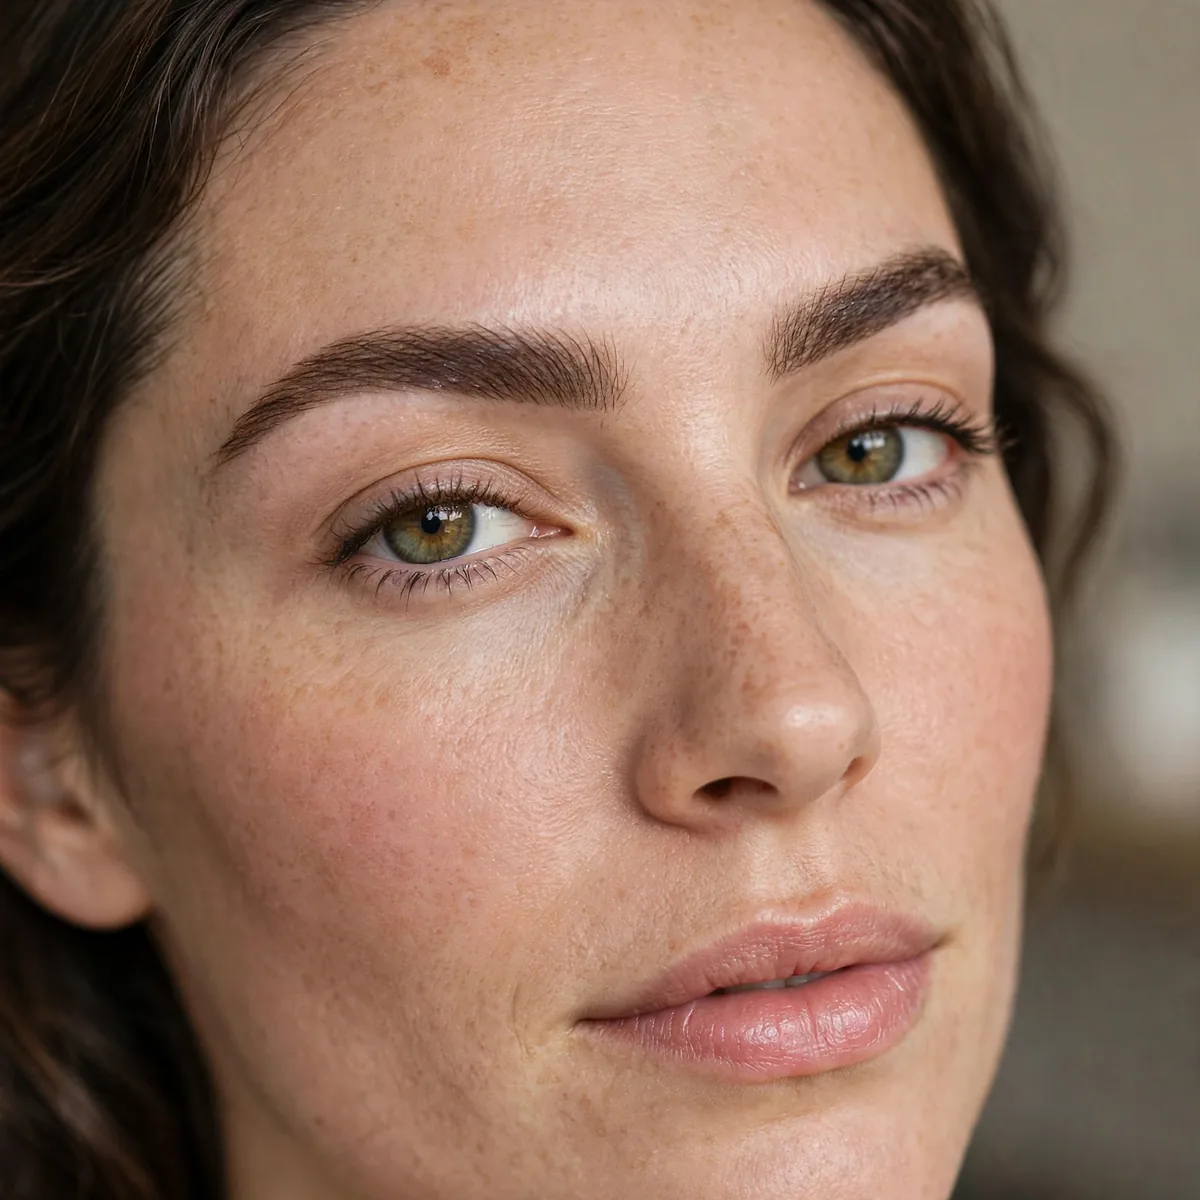
For full brows, tinted gel alone is enough — color plus hold in one step.
Brush through and let it set. The fastest natural brow there is.
Wipe the excess off the wand on the tube rim before applying — an overloaded brush deposits clumps that no amount of brushing can fix. Brush against the direction of growth first to coat the back of each hair, then sweep with the growth to set the shape. This two-direction pass is what gives surprising fullness from such a simple product.
Match the gel shade to your brow hairs, not your head hair — roots are often darker than lengths, and brow gels should echo the brow itself. Tinted gels with flexible polymers hold through a full workday without flaking, but they set quickly, so shape immediately after applying. If the color grabs too dark, brush through once more with a clean spoolie while it is still tacky to diffuse it.
The Feathered Brush-Up
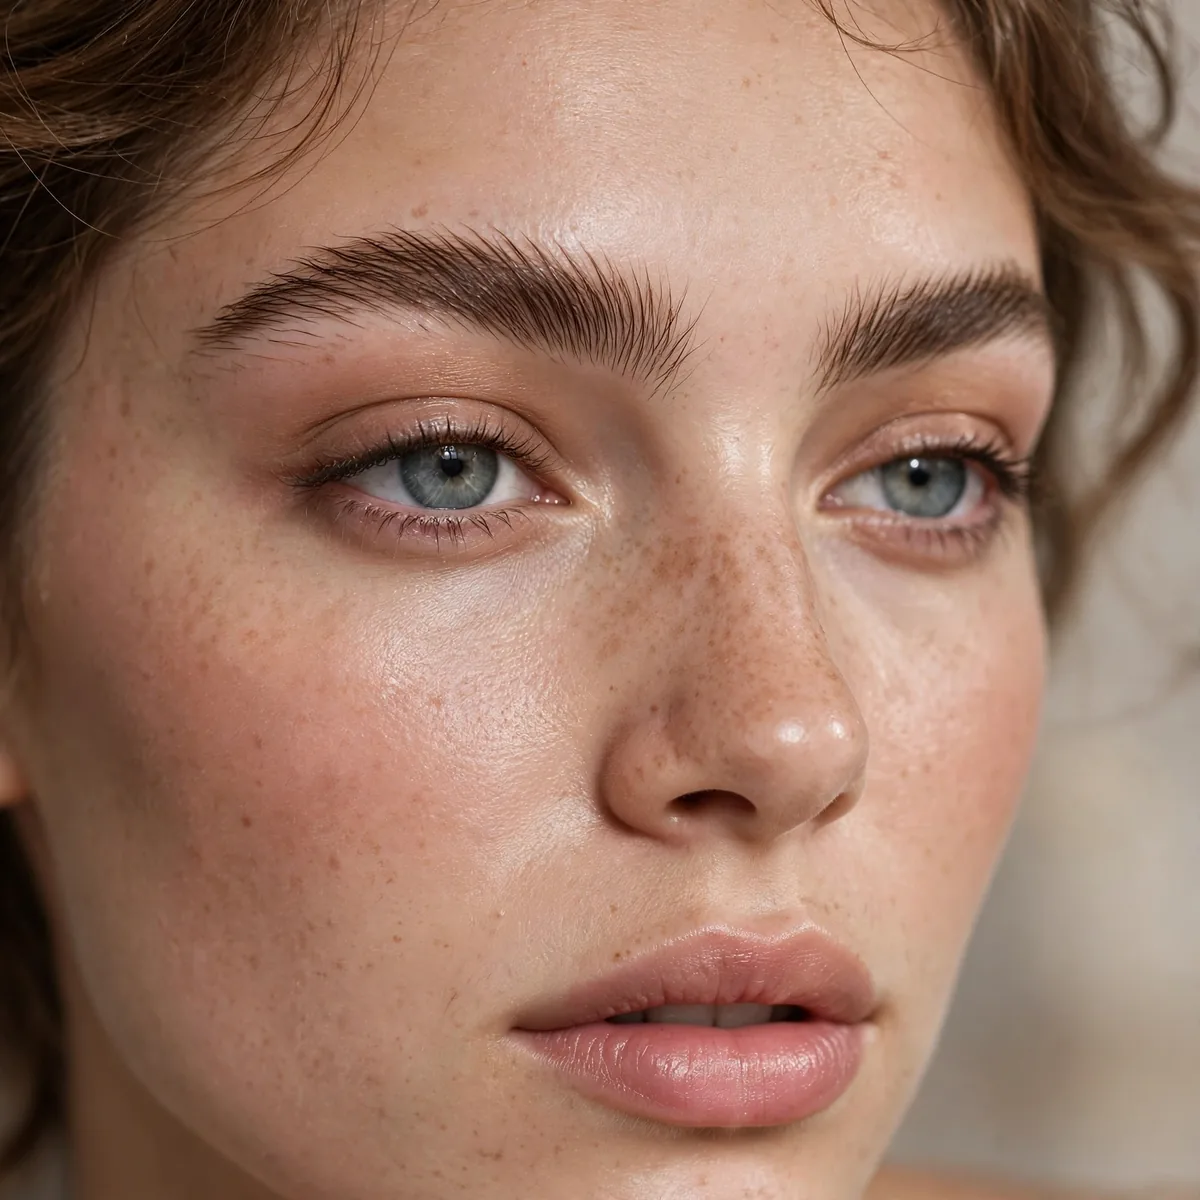
Brush hairs straight up for a feathered, fluffy effect.
The upward brush creates instant fullness. It’s the "laminated" look without the commitment.
A brushed-up brow needs something to hold it — a clear gel, brow wax, or even a light soap layer keeps the hairs vertical all day. Apply the holding product sparingly to the spoolie rather than directly on the brow; too much makes hairs look wet and spiky instead of fluffy. Press the hairs up and hold for a few seconds so the product sets them in place.
Feathered brows suit straighter, less arched natural shapes best — the upward direction creates lift where the arch does not. They pair beautifully with dewy skin and minimal eye makeup, since the texture becomes the focal point. The common failure is overloading product until the brow looks laminated and crunchy; feathered should read soft and touchable, never stiff.
Powder for Softness
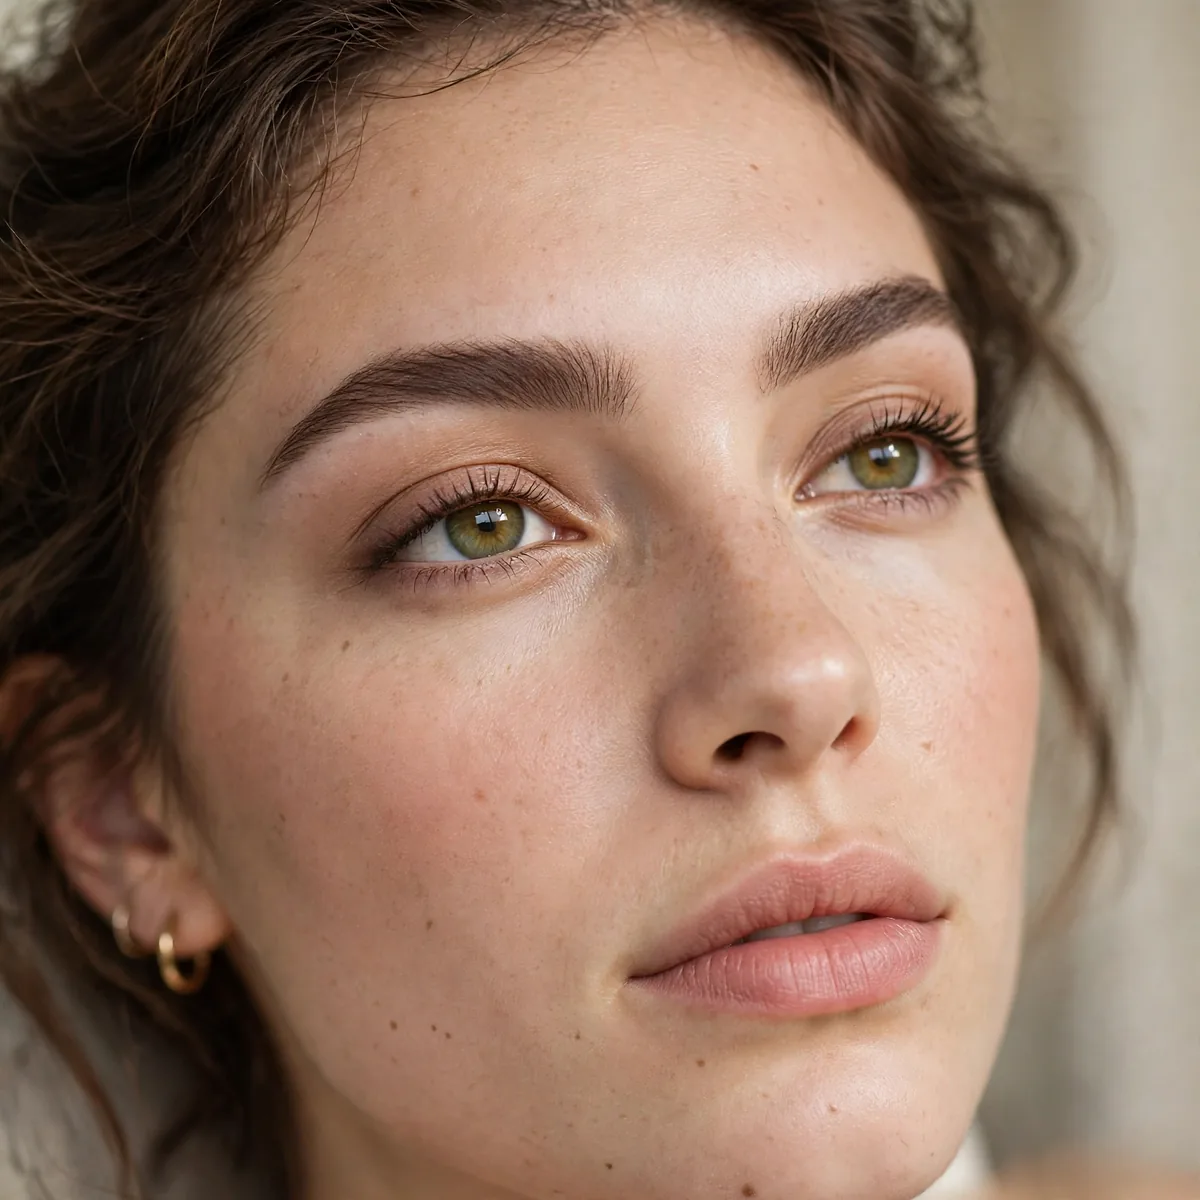
Brow powder gives the softest fill — no harsh lines possible.
Powder is the most forgiving brow product. It’s nearly impossible to overdo.
Use a small angled brush and stipple the powder in with pressing motions rather than sweeping strokes — pressing deposits color at the base of the hairs where sparseness shows. Tap off the excess first; powder is buildable, and sheer layers look more natural than one heavy pass. Concentrate on the arch and tail, where most people need density, and keep the front nearly bare.
Powder suits oily skin particularly well, since it absorbs excess oil through the day instead of breaking down the way creams can. Choose a matte powder one shade lighter than you think you need — powder oxidizes slightly darker once it meets skin oils. Set it with a light mist of setting spray or a pass of clear gel, and the soft fill survives a full day without fading patchy.
Concealer Cleanup
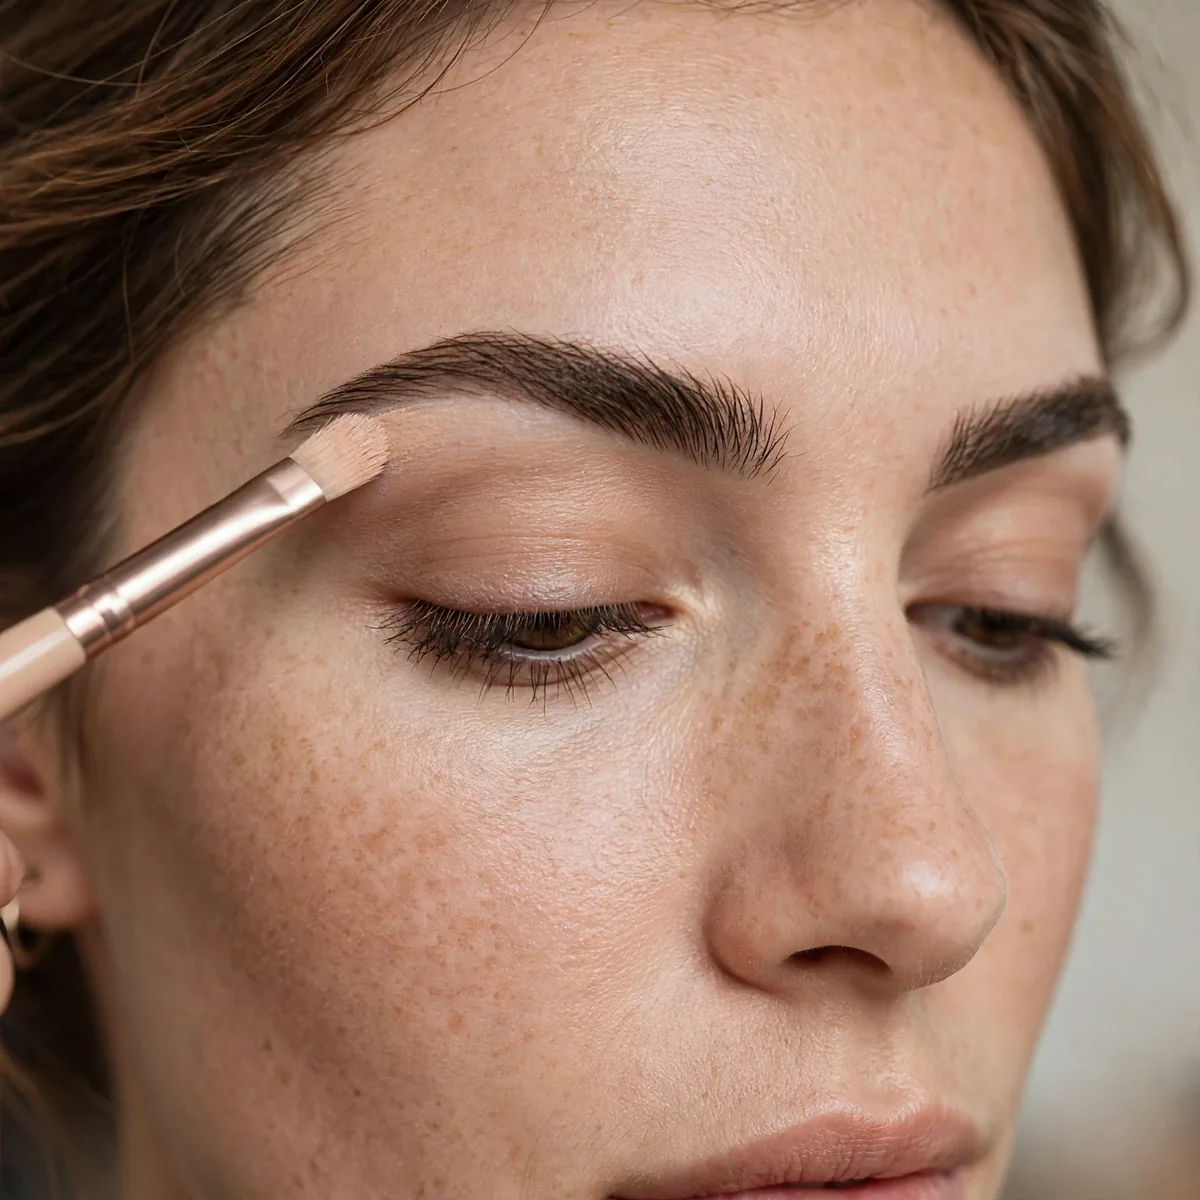
Clean around the brow with concealer for polish without heaviness.
The cleanup creates definition. It’s what separates "done" from "undone."
Use a small flat brush and a concealer that matches your skin exactly — one shade too light creates a visible halo that screams makeup. Trace just beneath the brow from arch to tail, then blend the outer edge downward so it melts into your foundation. Above the brow, clean only obvious strays; carving the top edge too sharply makes the brow look stamped on rather than natural.
Less is more here — a thin ribbon of concealer defines, while a thick band looks like you are highlighting the brow bone for evening. Blend the edges with a damp sponge so no line is visible from any angle. This step also brightens the eye area subtly, which is why a cleaned-up brow makes the whole face look more awake even when nothing else changes.
The Gradient Fill
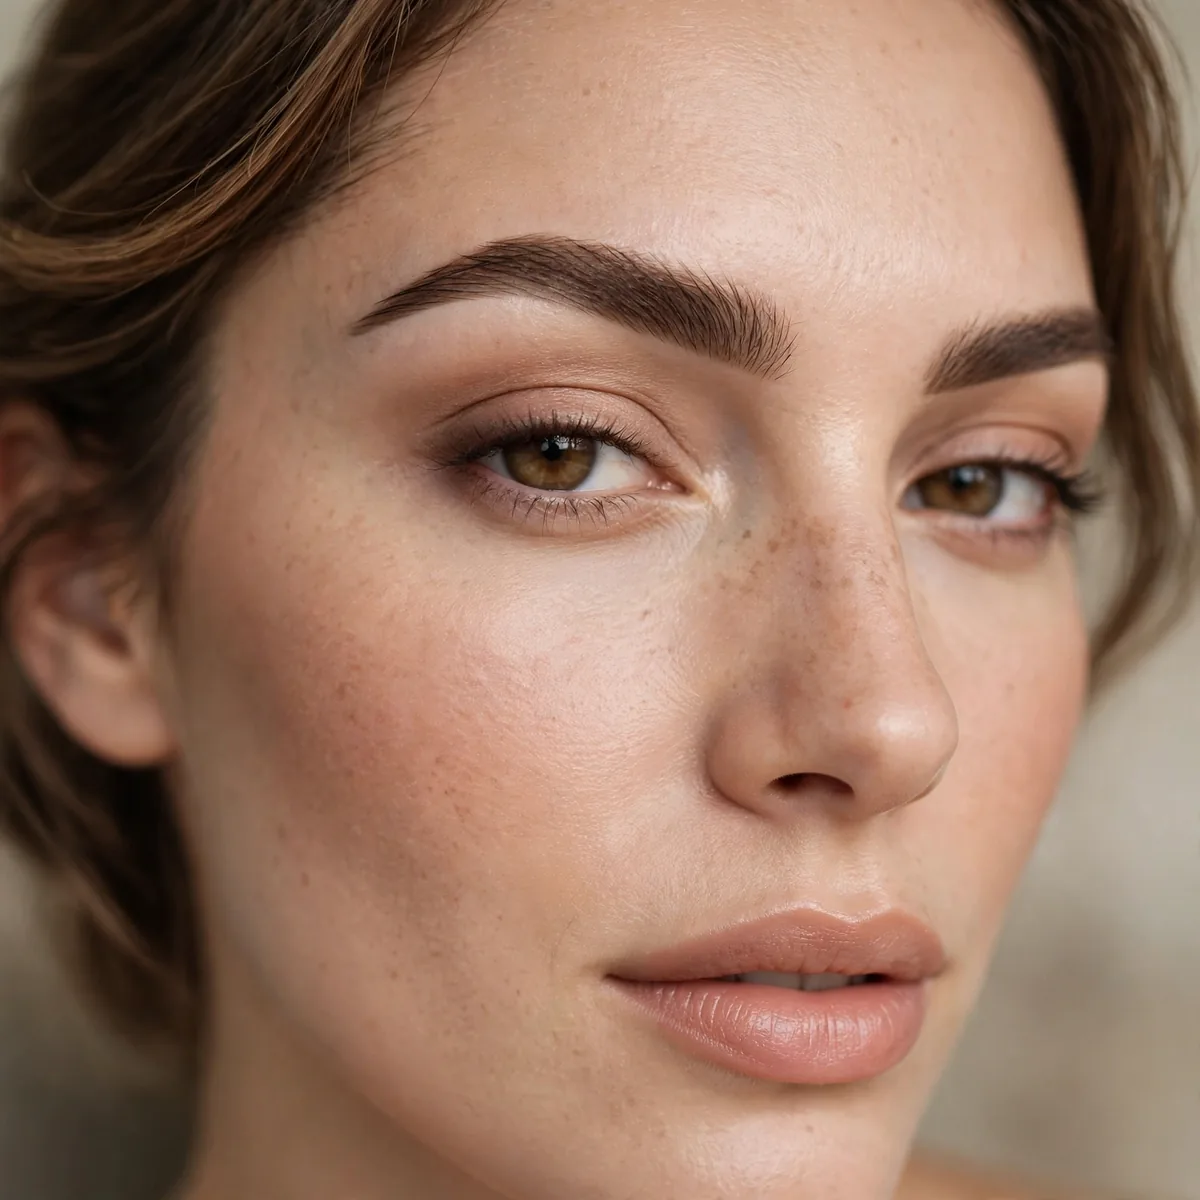
Lighter at the front, deeper at the tail — the natural gradient.
Real brows are lighter at the front. Mimicking that gradient is what makes it believable.
You can create the gradient with a single pencil by varying pressure — barely touching at the front, firmer through the arch and tail — or use two shades for more control. The transition should happen gradually through the middle third of the brow, not as an abrupt step. Blend the midpoint with a spoolie after filling; this softens any visible shift between the light and dark zones.
The front of the brow should never match the tail in depth — a dark, dense front is the single biggest giveaway of filled brows. If you overdo the front, brush a clean spoolie through it several times to lift the excess rather than removing everything. On no-makeup days, skip the front entirely and fill only from the arch back; the gradient then happens naturally.
Clear Gel Finish
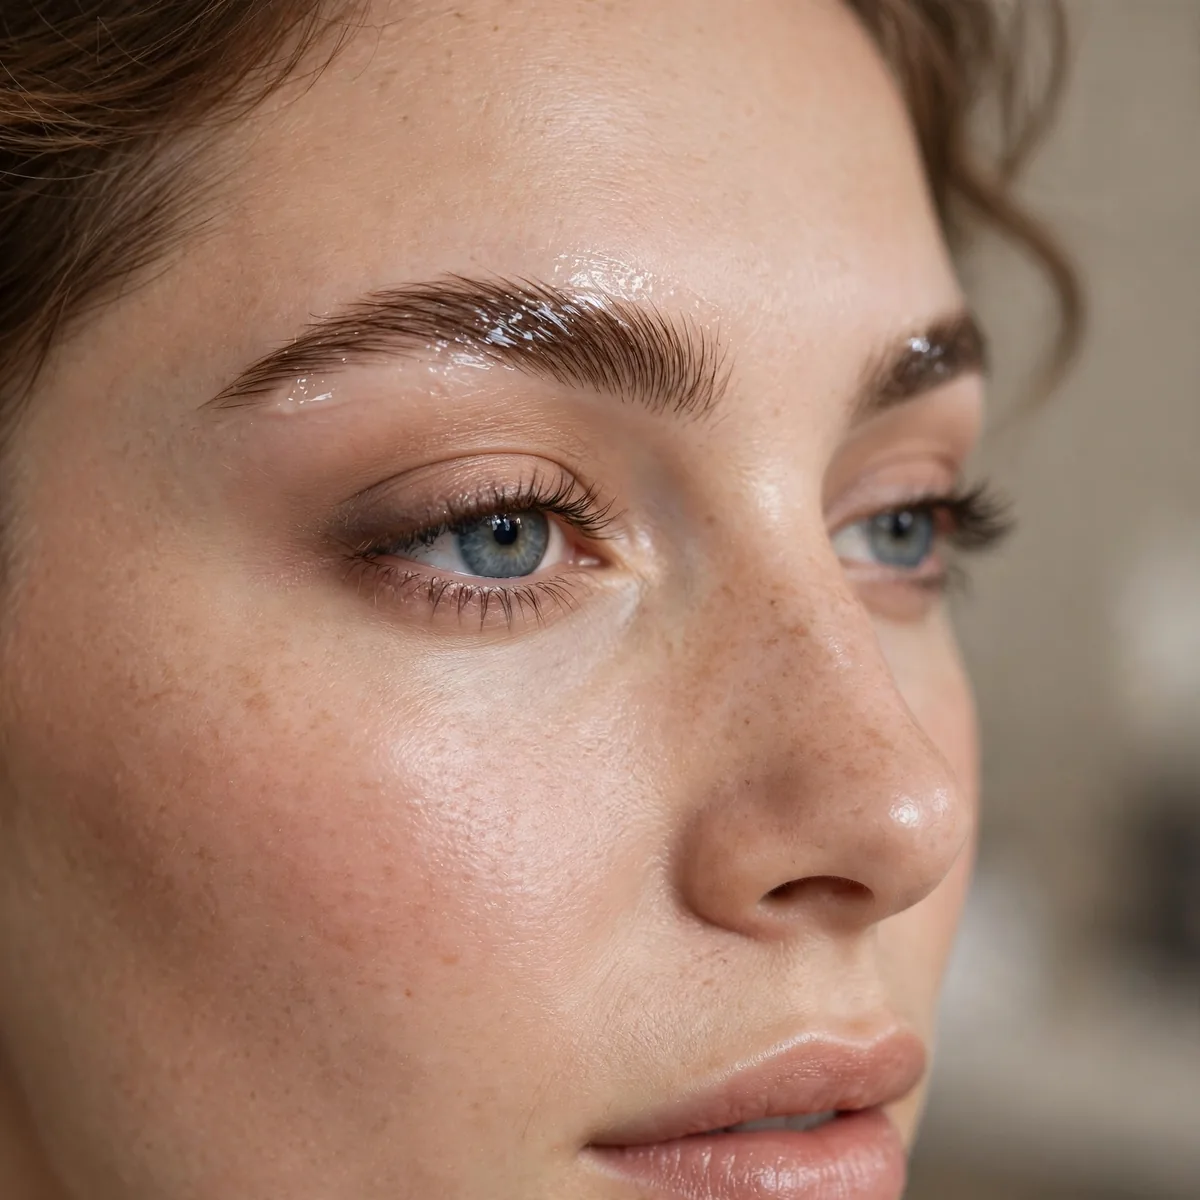
Set everything with clear gel for all-day hold without added color.
Clear gel is the invisible finishing touch. It locks the look without changing it.
Apply the clear gel after your filling product has had a minute to set, not immediately — layering wet-on-wet can drag the color out of place. Brush in the direction you want the hairs to stay, then leave the brows completely alone while the gel dries. Touching them mid-dry disturbs the hold and leaves fingerprints in the finish that are hard to smooth out.
A pea-sized amount per brow is plenty — overloaded gel dries white, flakes by midday, and turns the brow crunchy. Choose a formula that promises flexible hold rather than maximum freeze; natural brows should still move slightly when touched. If flaking happens anyway, the gel has expired or the wand is carrying old product — clean it and try a fresh tube.
Sparse Spot Filling
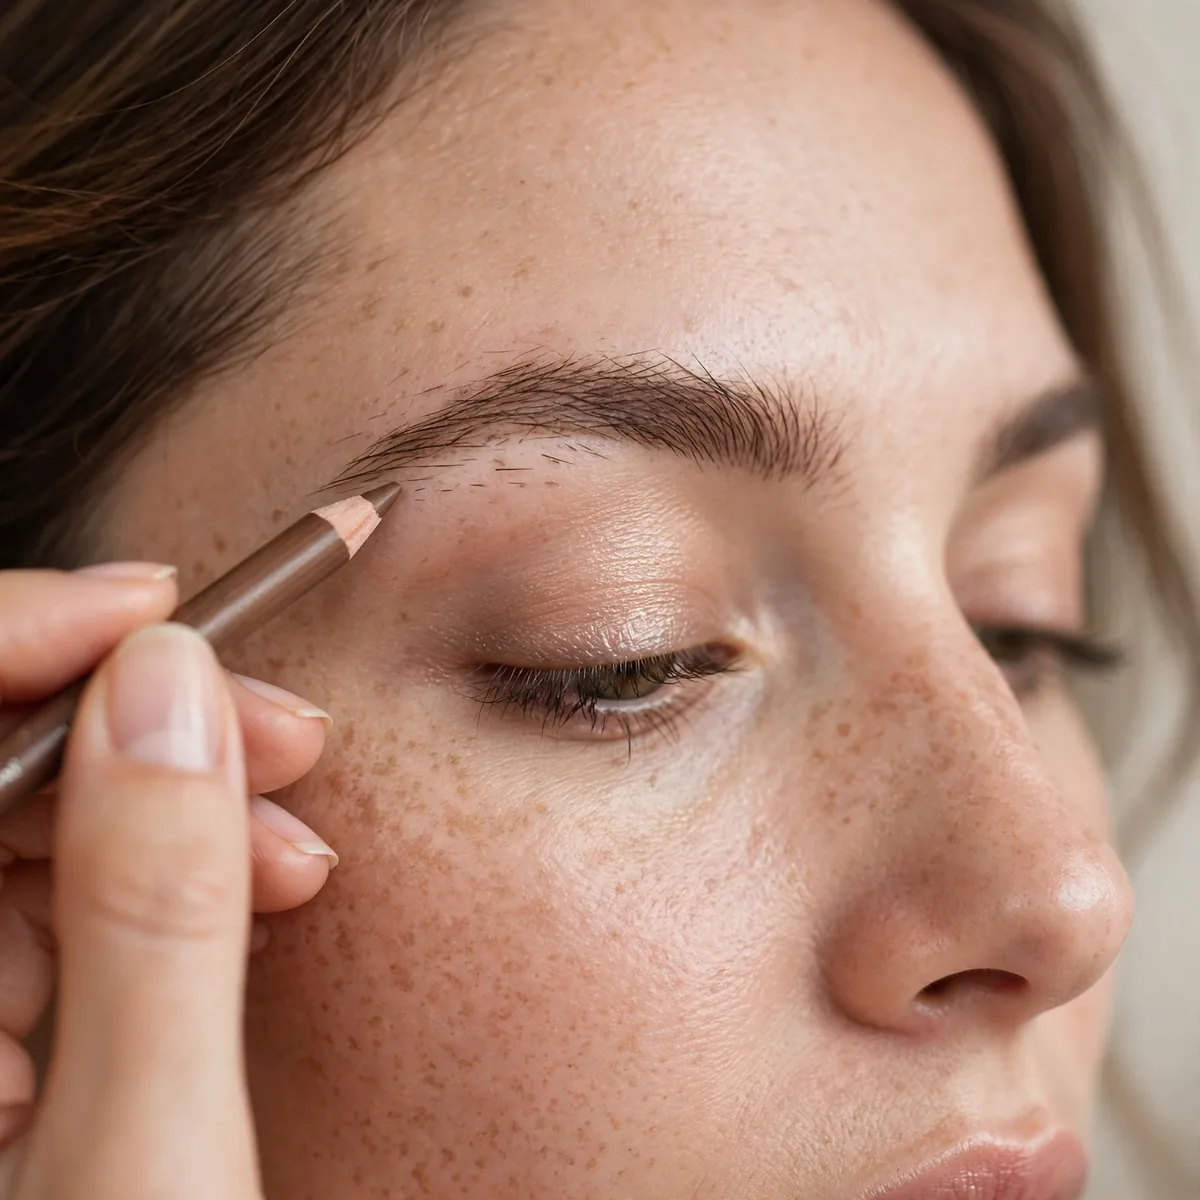
Fill only the sparse spots, leaving the rest bare — targeted, not total.
Most brows only need help in 2-3 spots. Find yours and leave the rest alone.
Find your spots by brushing the brows up in natural daylight — window light reveals every gap that bathroom lighting hides. Common culprits are the tail, which thins with age, and the area just past the arch. Mark each spot mentally, then fill only within its borders; coloring beyond the gap into dense areas is what turns targeted filling into an obvious fill job.
Use the finest strokes you can manage inside each gap, mimicking the surrounding hair direction exactly — mismatched angles expose the fill instantly. Resist the urge to connect separate spots into one filled region; the untouched hair between them is what keeps the result believable. Finish with a spoolie pass to blend the filled spots into the real hairs around them.
The Soap Brow (Light)
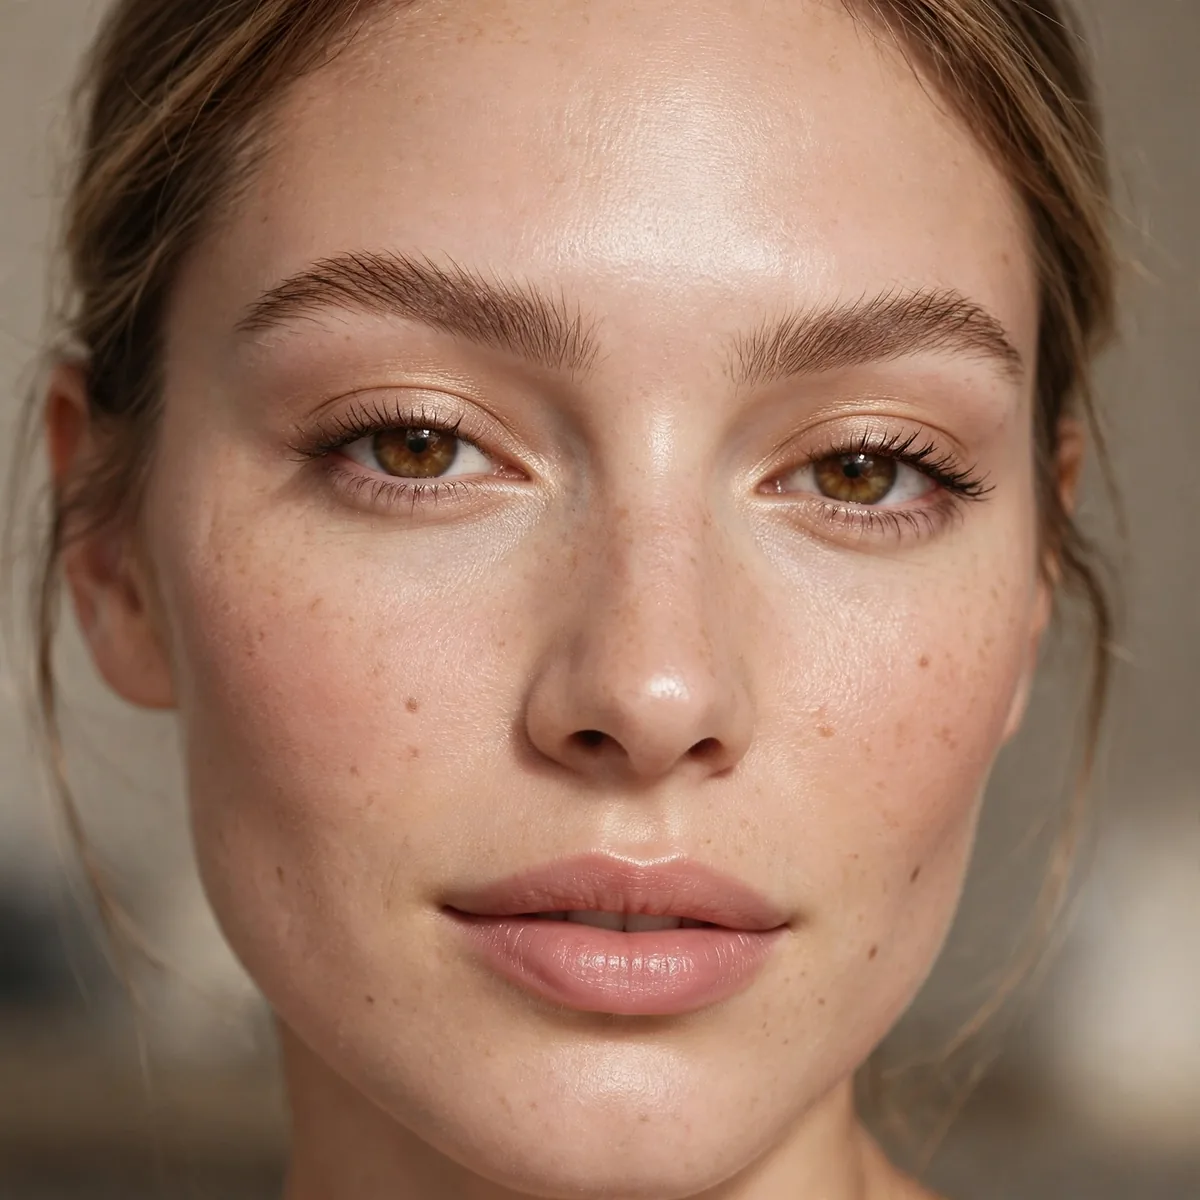
A light soap-brow for texture — brushed up and set, but natural.
Use half the product you think. Light soap brows give texture without stiffness.
Dampen the spoolie first, then graze it across the soap — the brush should pick up a translucent film, not a visible glob. Work the product through the brows in upward strokes, then press the hairs flat for a few seconds so they set. A transparent glycerin soap works best; colored or heavily fragranced bars can leave residue or irritate the skin around the brow.
White residue means too much soap or too little water — mist the spoolie again and brush through to dissolve it. Soap brows hold best on clean, product-free brows; layering over heavy moisturizer makes the soap slide and the hairs droop by noon. For all-day events, set the soap layer with a whisper of clear gel on top, which locks the texture without adding visible stiffness.
Brow Mascara Method
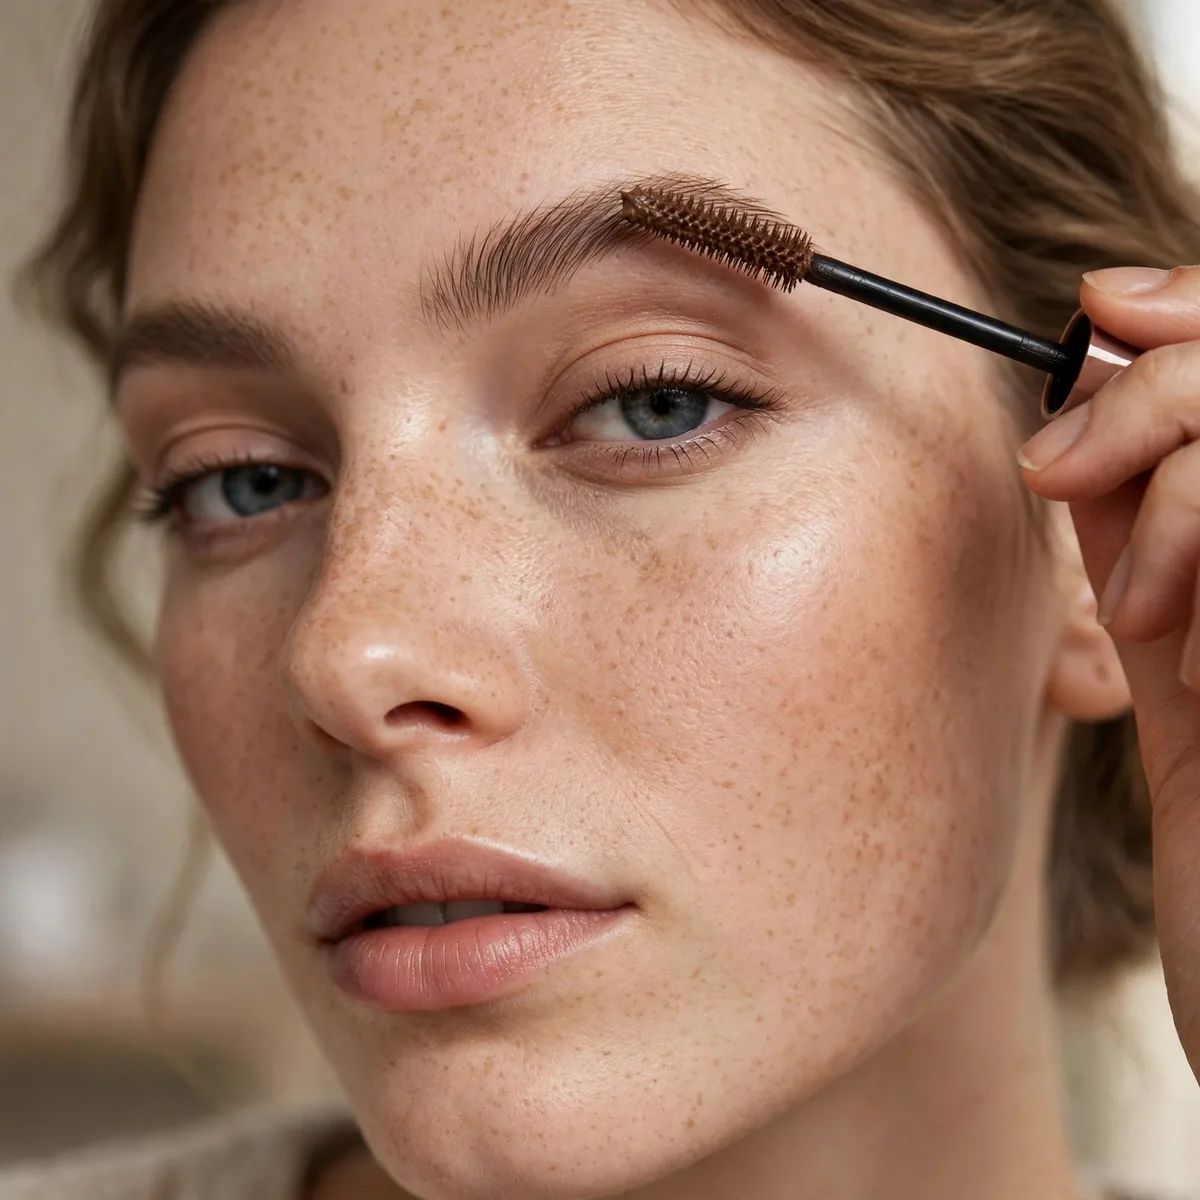
Brow mascara coats each hair for color and fullness in one.
It’s the fastest full-brow product. One tube, thirty seconds, done.
Look for a brow mascara with a mini wand — full-size mascara brushes deposit too much product and paint the skin underneath. Apply in short upward strokes, working from the inner brow outward, and build in thin coats rather than one heavy pass. Let the first coat get tacky for about twenty seconds before adding a second; layering wet-on-wet is what causes clumping.
Choose a shade that matches your brow hairs exactly — brow mascara shows its true color once dry, and even half a shade off reads noticeably. If product lands on the skin, wait until it dries completely, then flick it off with a clean spoolie; wiping wet product just smears it. One coat suits daytime, while a second coat deepens the color enough for evening without looking drawn.
Understated Arch
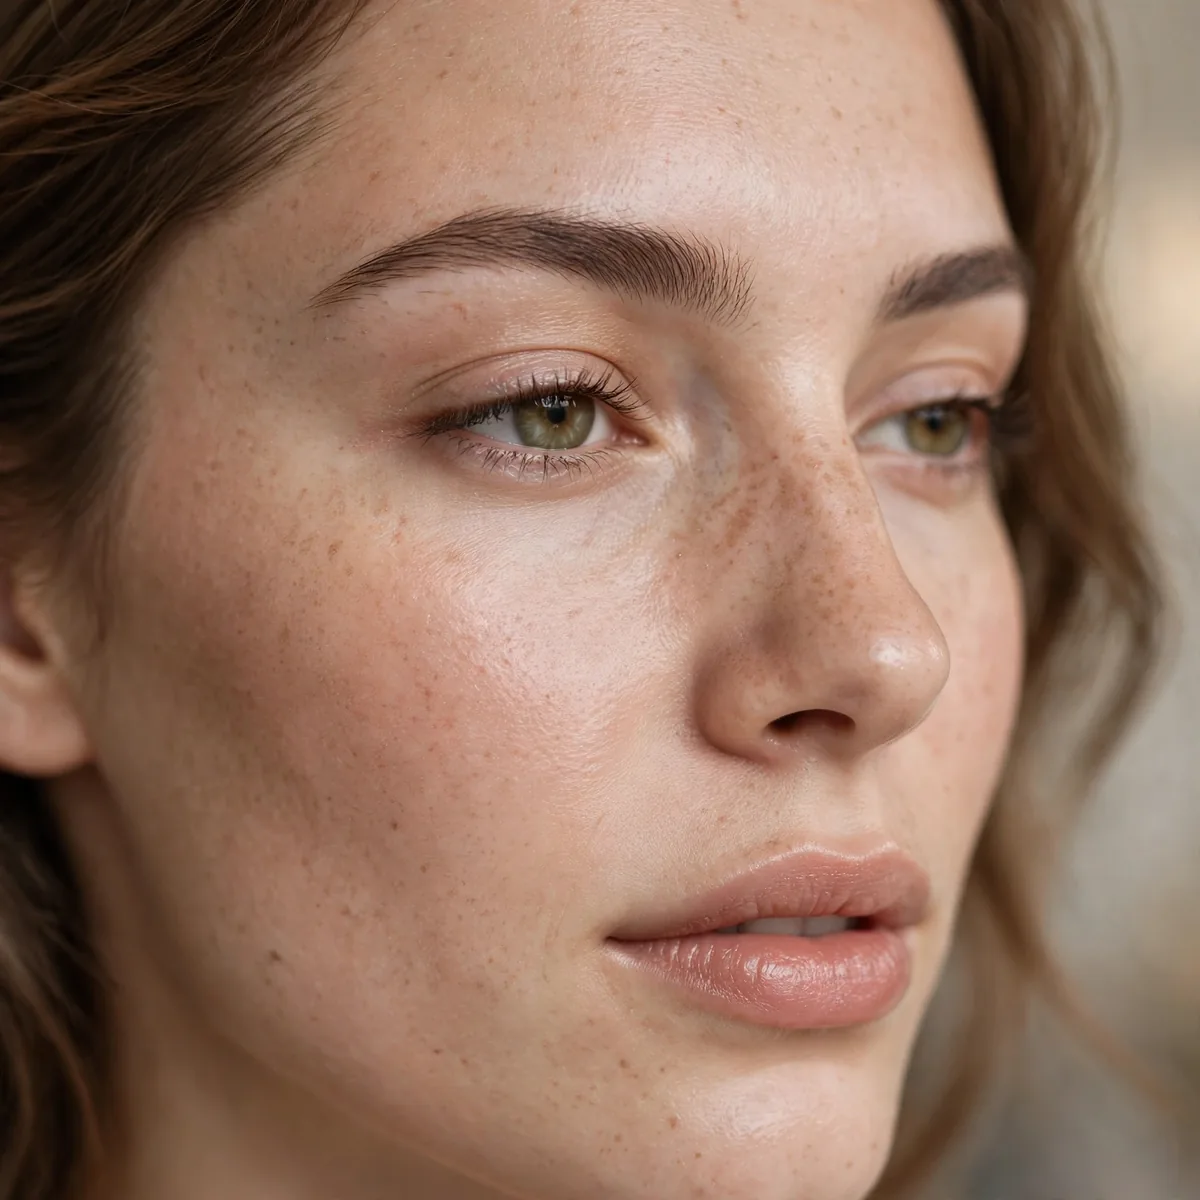
Enhance your natural arch subtly rather than creating a dramatic one.
Your natural arch is already right for your face. Subtle enhancement beats dramatic reshaping.
Find your natural arch by holding a pencil vertically against the outer edge of your iris — where it crosses the brow is your highest point. Enhance it with product just beneath that peak, which lifts the eye without redrawing the shape. Keep the enhancement to the underside only; adding height above the natural line is what pushes an arch from subtle to severe.
Never tweeze above the arch to create more lift — removing those hairs thins the brow permanently and the regrowth is unpredictable. Round faces benefit most from a softly defined arch, since the gentle peak adds structure without harshness. If your arch is naturally very high, soften rather than emphasize it; working with the brow you have always looks more natural than reshaping it.
The No-Product Brow
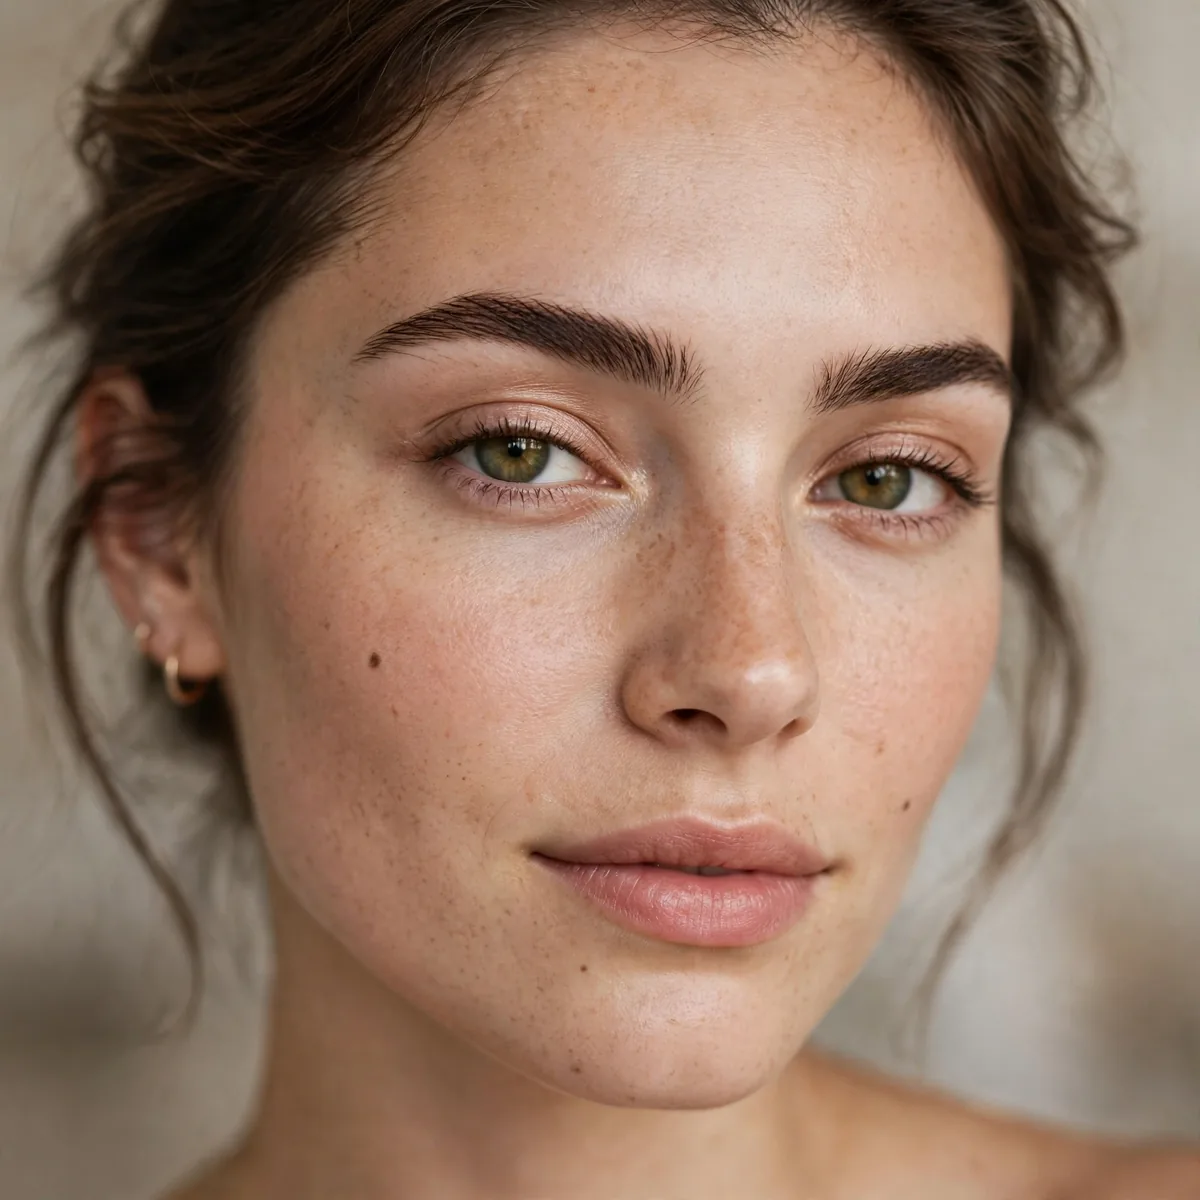
Sometimes just grooming — trim, tweeze strays, brush — is enough.
For shape guidance, our eyebrow shapes guide helps. Good grooming beats product on naturally full brows.
Trim only the hairs that stick up far beyond the brow line — comb everything upward with a spoolie, then snip just the extreme outliers with small scissors. Tweeze strays below the brow and between the brows, but leave the top edge alone; it defines the shape. Do this maintenance every week or two, since regular small tidy-ups beat an aggressive monthly reshaping session.
This approach suits naturally full, well-shaped brows best — if your brows are sparse, a little product will still help. Healthy habits matter more than tools here: avoid over-tweezing during stressful weeks, and brush the brows into place each morning so they train into shape. A drop of nourishing oil at night keeps full brows conditioned and glossy, which reads as polished even with zero product.
Soft Ombré Effect
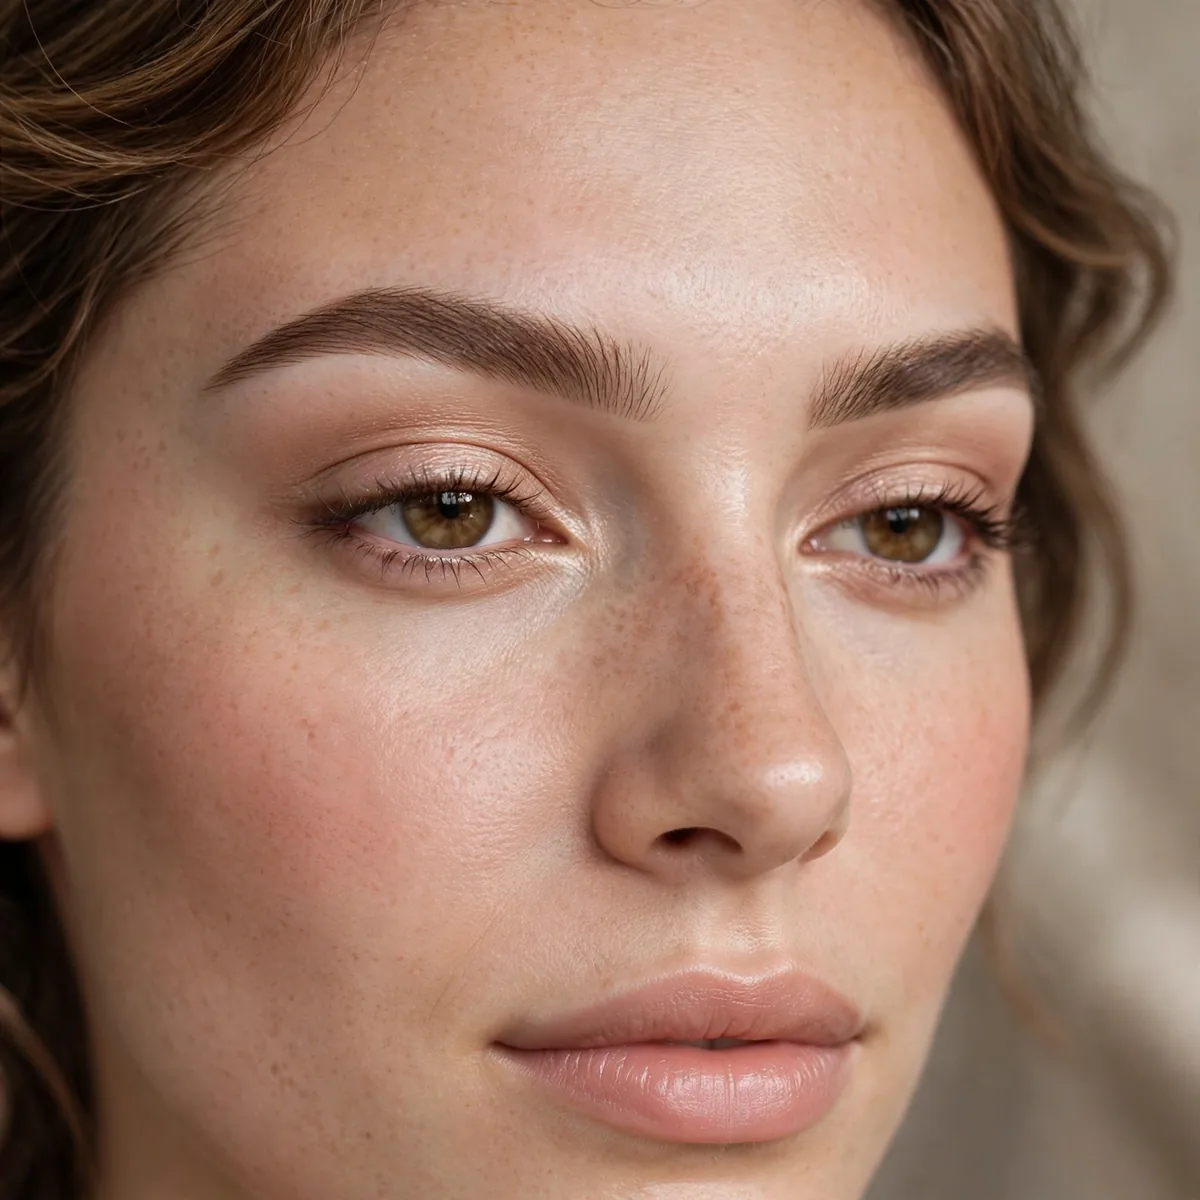
The front fades softly — no harsh starting line.
Brush the front hairs upward with minimal product. The fade should be gradual, not abrupt.
The trick is application order — load product onto the middle of the brow first, then drag whatever remains on the brush forward toward the inner corner. By the time the brush reaches the front, it carries almost nothing, which creates the fade automatically. Never start at the front with a fresh brush; that deposits the heaviest color exactly where you want the lightest.
Blend the front with a clean spoolie in upward strokes to diffuse any remaining harshness — the fade should look like the brow naturally thins, not like product stopping. This effect suits bold brow lovers who want softness at the front without sacrificing definition at the tail. Check the fade in daylight before leaving; indoor lighting can hide a front that is still too heavy.
The 2-Minute Polish
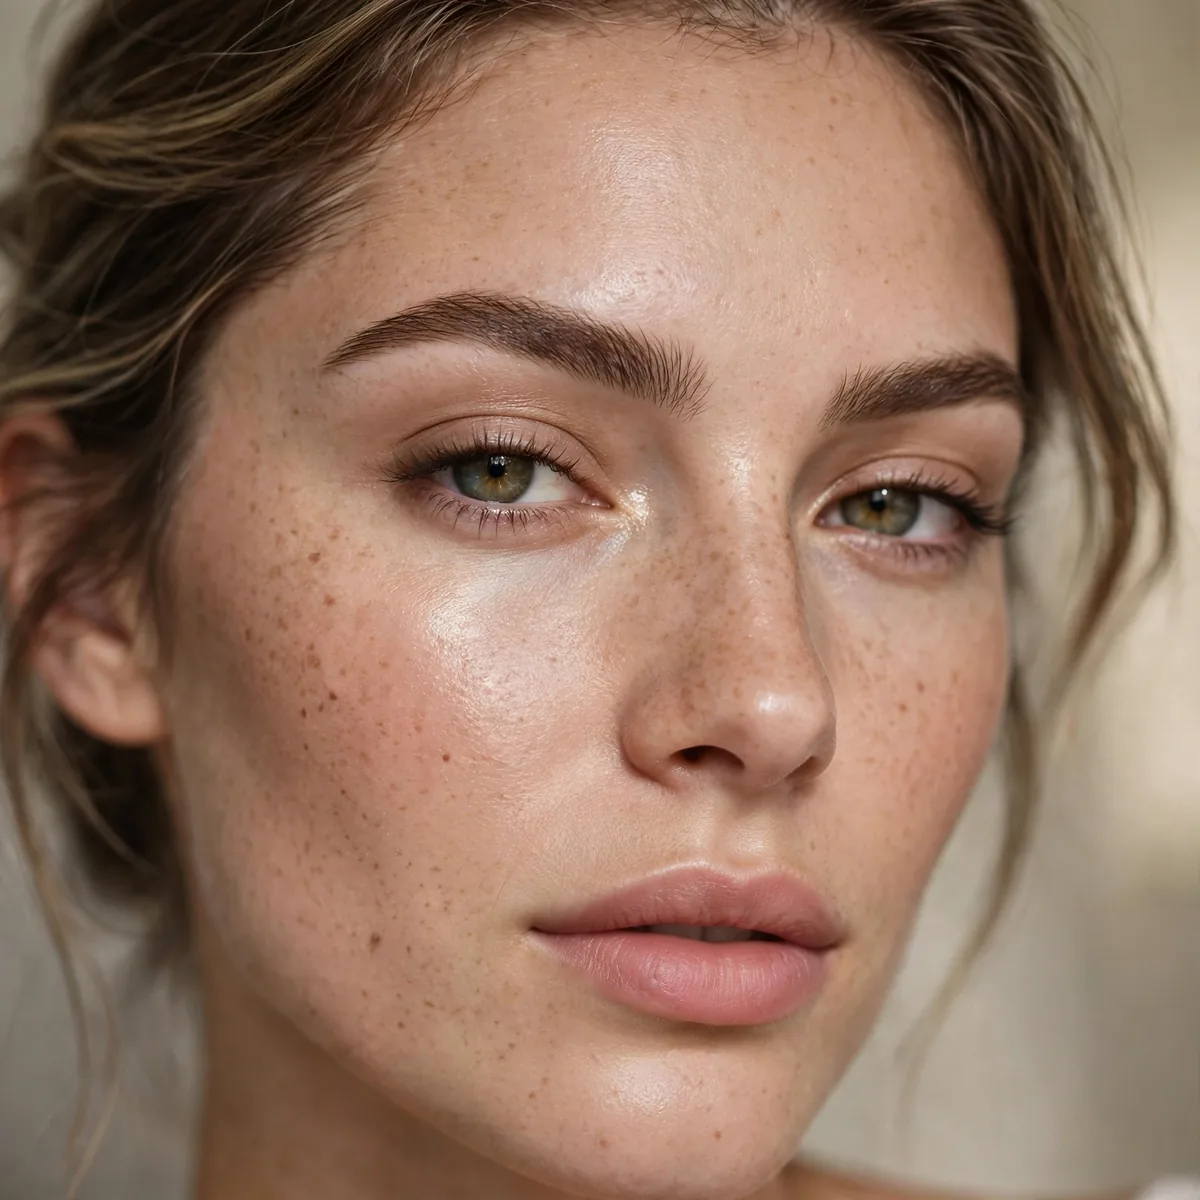
Spoolie, fill sparse spots, gel. Two minutes to polished.
The daily routine distilled. Everything else is optional.
Order matters for speed — spoolie first to reveal the shape, fill second while the true gaps are visible, gel last to lock everything. Keep all three tools in one pouch by the mirror so you never hunt for them mid-routine. Time yourself once; most people discover the whole sequence takes closer to ninety seconds when the tools are within reach.
On rushed mornings, the spoolie-plus-gel combo alone passes as polished — filling is the step you can skip, not the gel. For travel, a tinted gel replaces all three steps in one tube, which is why frequent flyers swear by it. Build the habit by anchoring it to something you already do, like right after moisturizer; routines stick when they attach to existing ones.
Natural is a skill — pin these techniques. For more definition, see eyebrow shapes for every face, or try laminated brows for extra fullness.




