
Winter steals your glow — indoor heating, cold wind, and short days leave skin dull and thirsty. Makeup can give it back.
The winter-glow strategy: hydrate aggressively, choose luminous over matte formulas, and layer cream textures that mimic healthy skin. Dew is the goal; powder is the enemy.
Prep matters as much as product here — exfoliation and rich moisturizer are the foundation of every look below.
Here are 20 ways to look lit-from-within all winter. Let’s get into it.
Hydrating Primer Base
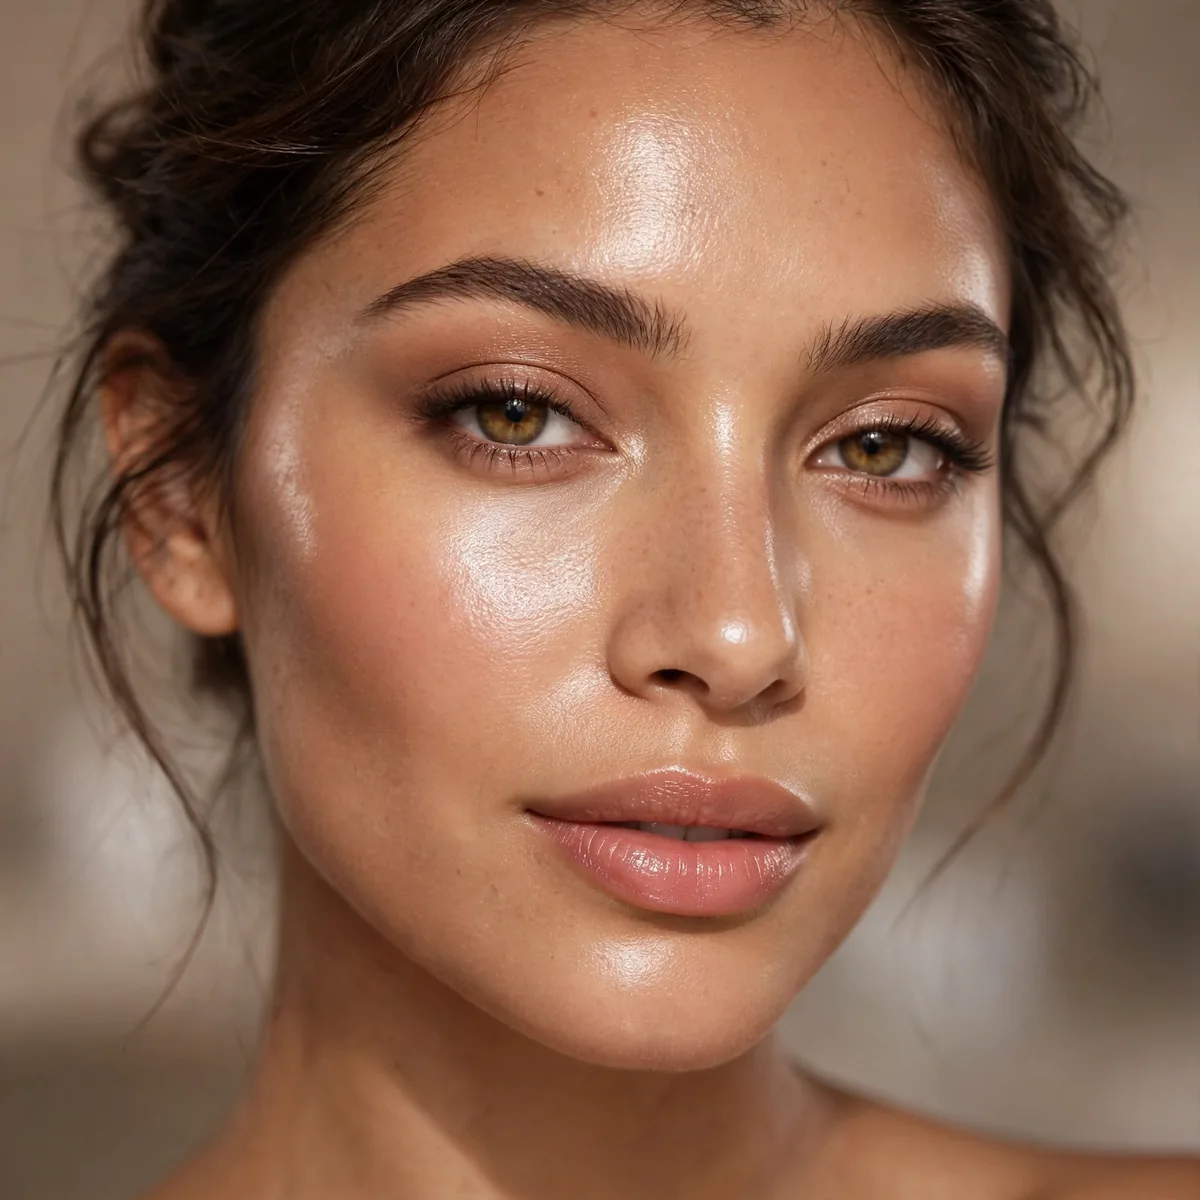
Start with a hydrating, illuminating primer. It’s the difference between makeup that sits on dry skin and makeup that melts in.
Best for: very dry skin. Think of primer as a drink of water for your face.
Press — don’t swipe — your primer into skin while it’s still slightly damp from moisturizer. Fingers warm the formula and push it into dry patches instead of letting it sit on top. A pea-sized amount covers the whole face; anything more pills under foundation. Ingredients like glycerin, hyaluronic acid, and niacinamide do the real hydrating work, so check the label before you buy.
The biggest winter mistake is pairing a hydrating primer with a mattifying foundation — the two formulas fight and the base separates by noon. If your T-zone gets shiny, apply hydrating primer only on dry cheeks and a blurring gel primer on the forehead. Normal skin can skip layering a separate serum underneath, but flaky or sensitive skin should sandwich a rich moisturizer between skincare and primer.
Dewy Foundation Finish
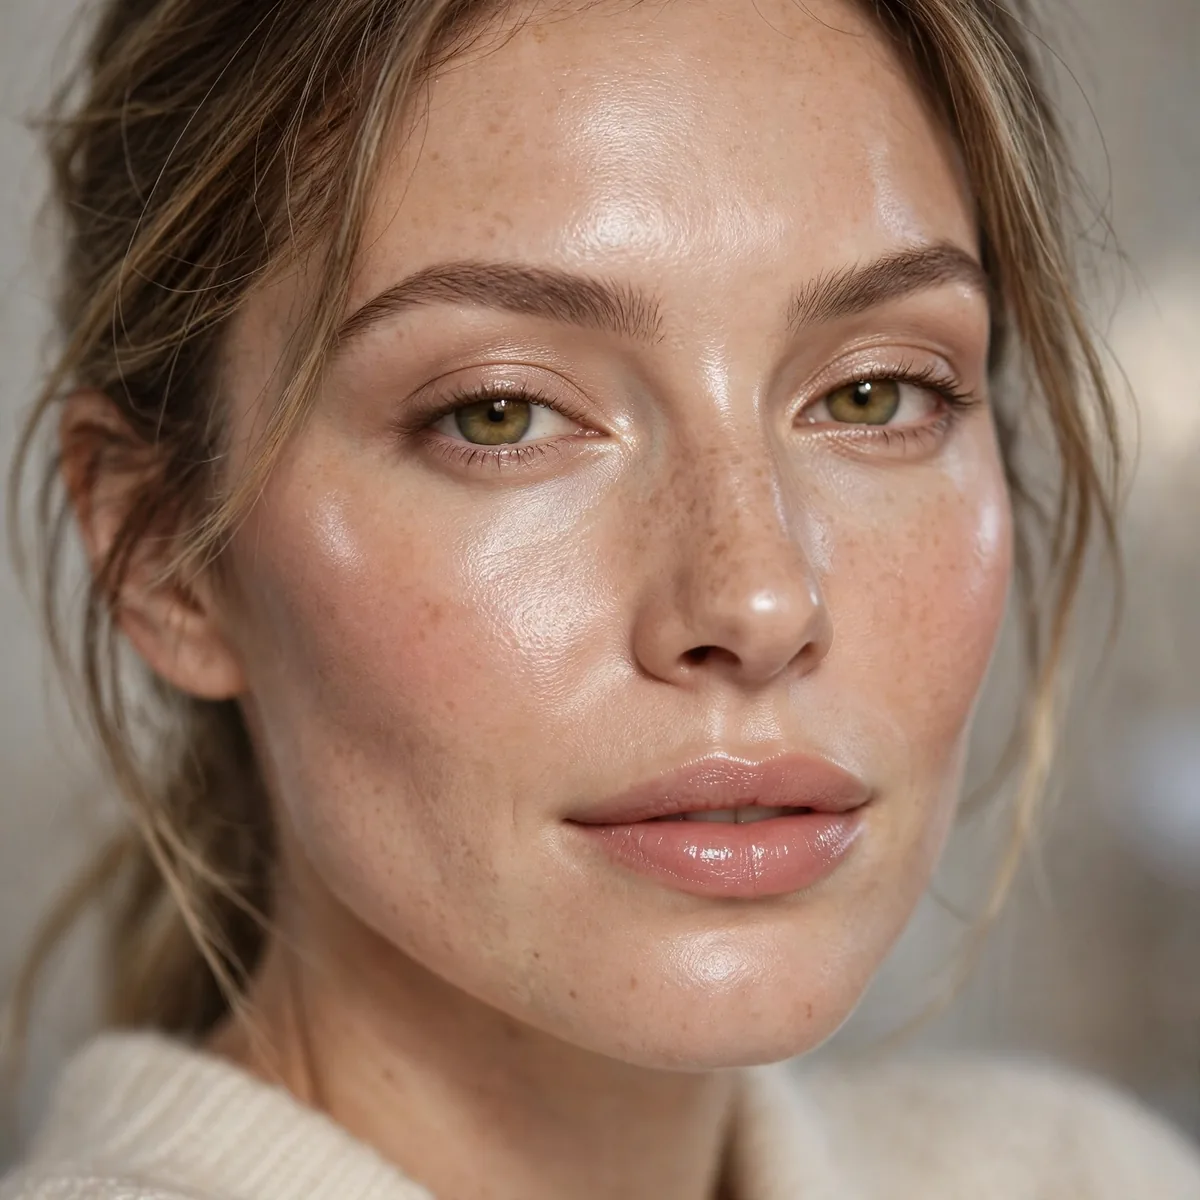
A luminous foundation applied with a damp sponge. Coverage that looks like glowing skin, not makeup.
Best for: dull complexions. Our dewy looks guide breaks down the best formulas.
A damp makeup sponge is non-negotiable here — it sheers out full-coverage formulas and bounces off the skin instead of dragging. Wet the sponge until it doubles in size, squeeze it dry, then bounce it in a stippling motion rather than wiping. Sheer-to-medium radiant foundations, skin tints, and serum foundations all qualify, and they suit dry, normal, and mature skin far better than matte formulas ever could.
The line between dewy and greasy is application placement. Keep luminous product on the cheeks, temples, and center of the forehead, and let the jawline stay natural — glow there reads as sweat. If you photograph under office fluorescents, dewy finishes look even better than outdoors because the light is diffused. Carry nothing for touch-ups; dewy bases get better as they meld with your skin’s natural oils through the day.
Liquid Highlighter Glow
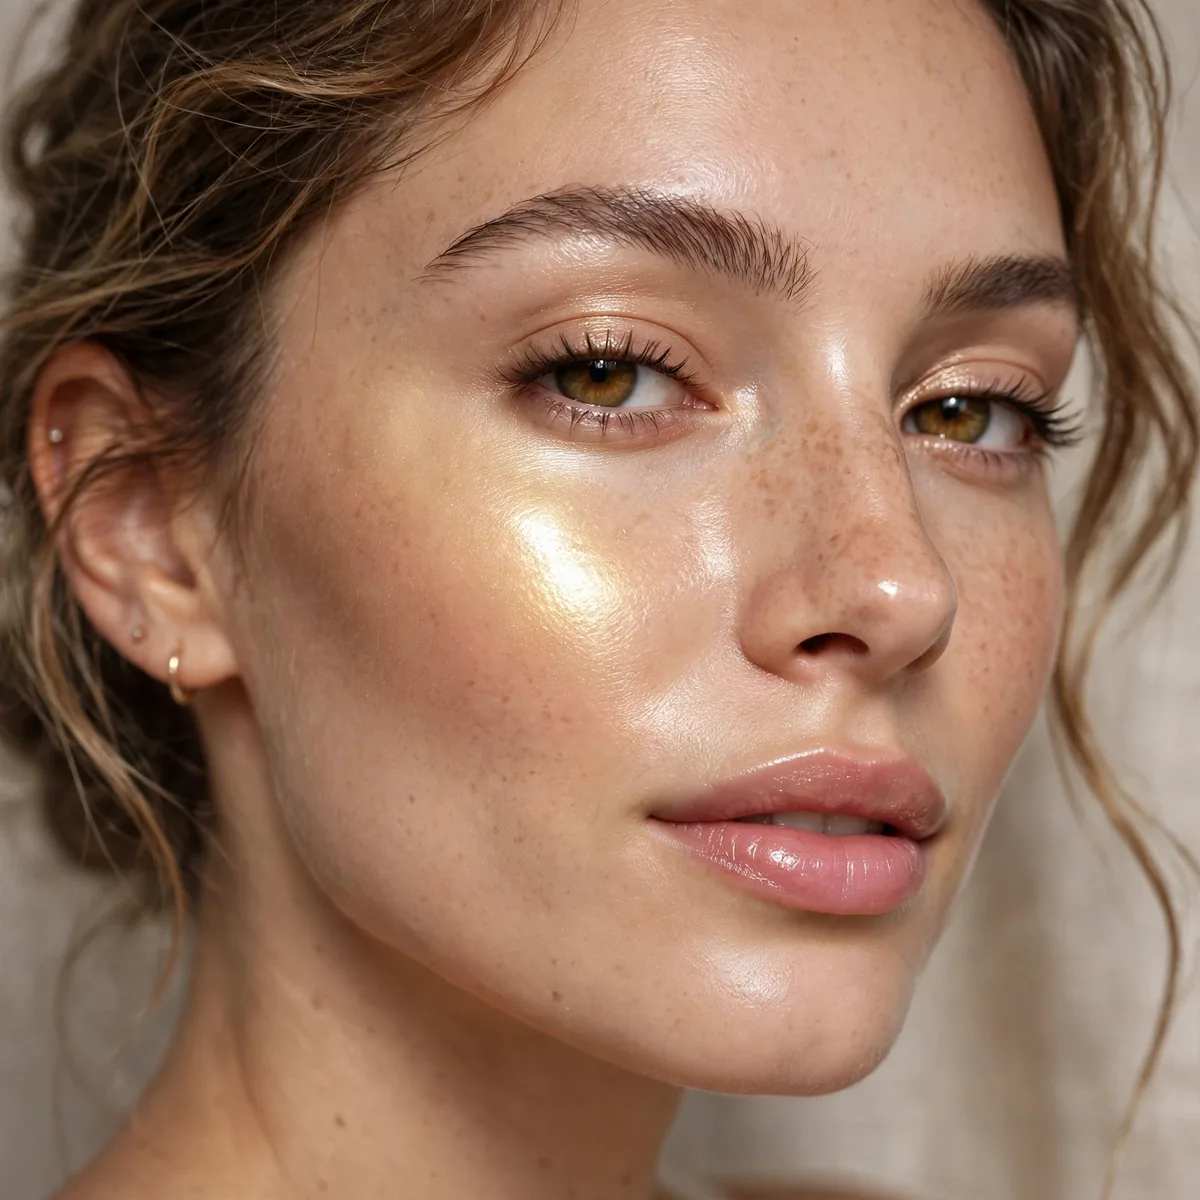
Liquid highlighter mixed into foundation or pressed on high points. Glow from within, not on top.
Best for: everyone. Liquids melt in; powders sit on dry winter skin.
Mix a pearl-sized drop into your foundation on the back of your hand, not straight onto your face — it disperses more evenly and you control the intensity. For targeted glow, tap it on cheekbones, the bridge of the nose, and the Cupid’s bow with a ring finger after base makeup. Champagne tones flatter fair and medium skin; gold or bronze illuminators warm up deeper complexions beautifully.
Powder highlighter over liquid creates a patchy, textured finish — commit to one texture per routine. Liquid formulas wear about eight hours on dry winter skin without fading, but oily noses will see them disappear by lunch, so keep the nose matte. If you overdo it, don’t wipe — press a clean sponge over the area to lift the excess without disturbing the base underneath.
Cream Blush Radiance
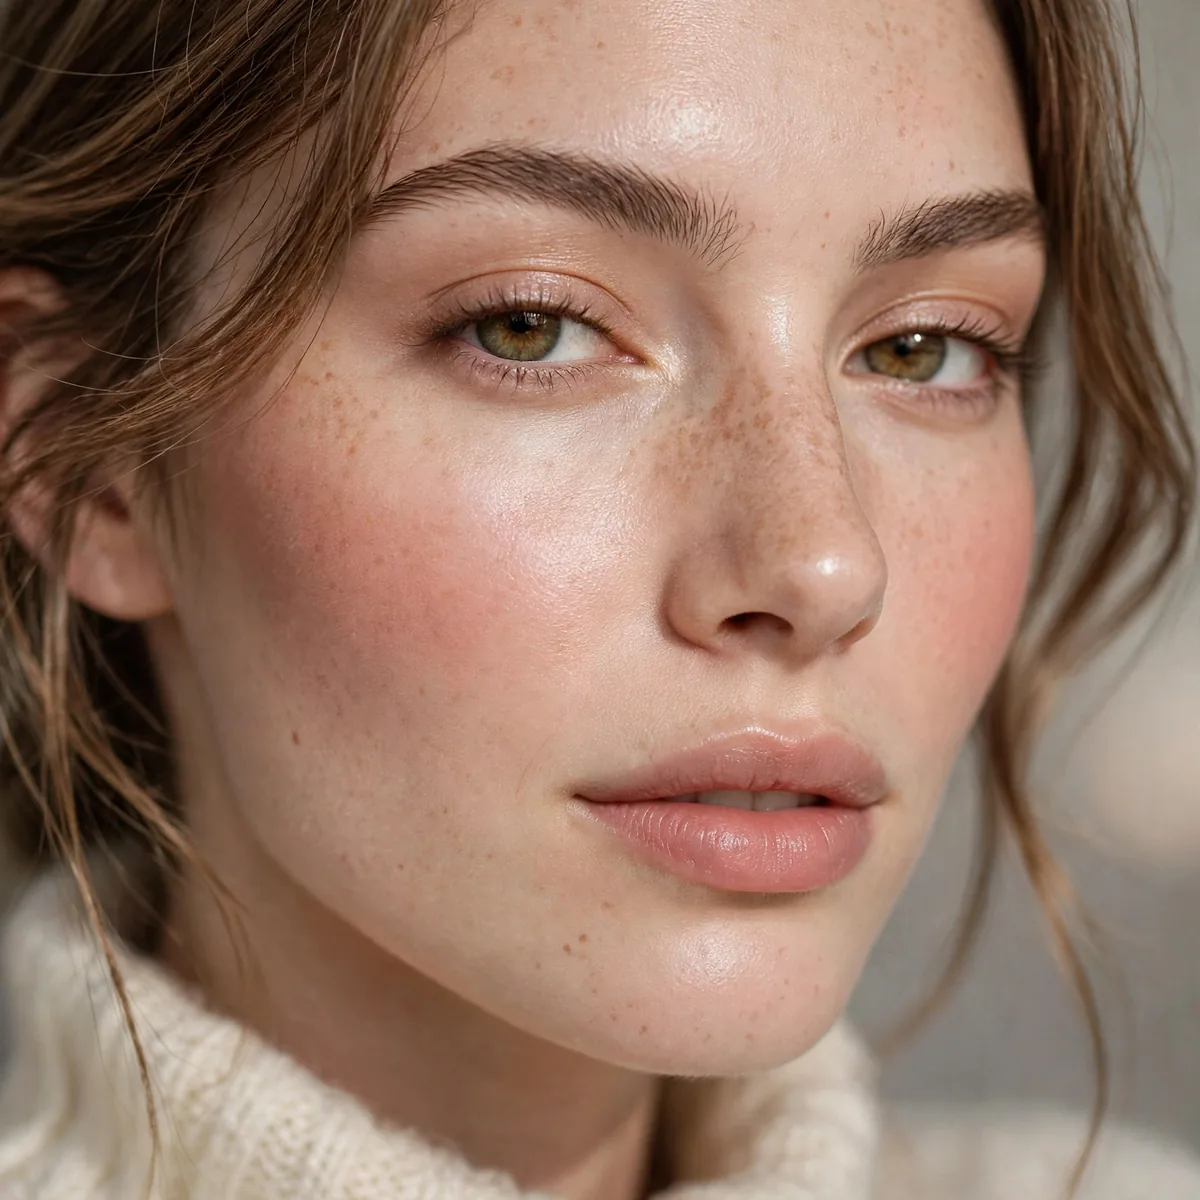
Cream blush in rosy or peachy tones — the flush of a winter walk, without the windburn.
Best for: pale winter skin. Cream adds both color and moisture.
Warm the blush between your fingertips before it touches your face — body heat melts the cream and prevents it from skipping over dry texture. Smile slightly and press it into the apples, then blend upward toward the temples in soft circles for a lifted effect. Peach flatters neutral undertones, rose suits cool ones, and terracotta warms up deeper skin tones in winter light.
Cream blush doubles as a lip tint — tap the same shade on your lips for a monochromatic winter look that takes seconds. The finish stays dewy for six to eight hours on dry skin, but if your cheeks get oily, blot gently rather than adding powder, which dulls the glow. One common error is placing blush too close to the nose, which flattens the face instead of lifting it.
Facial Oil Mix-In
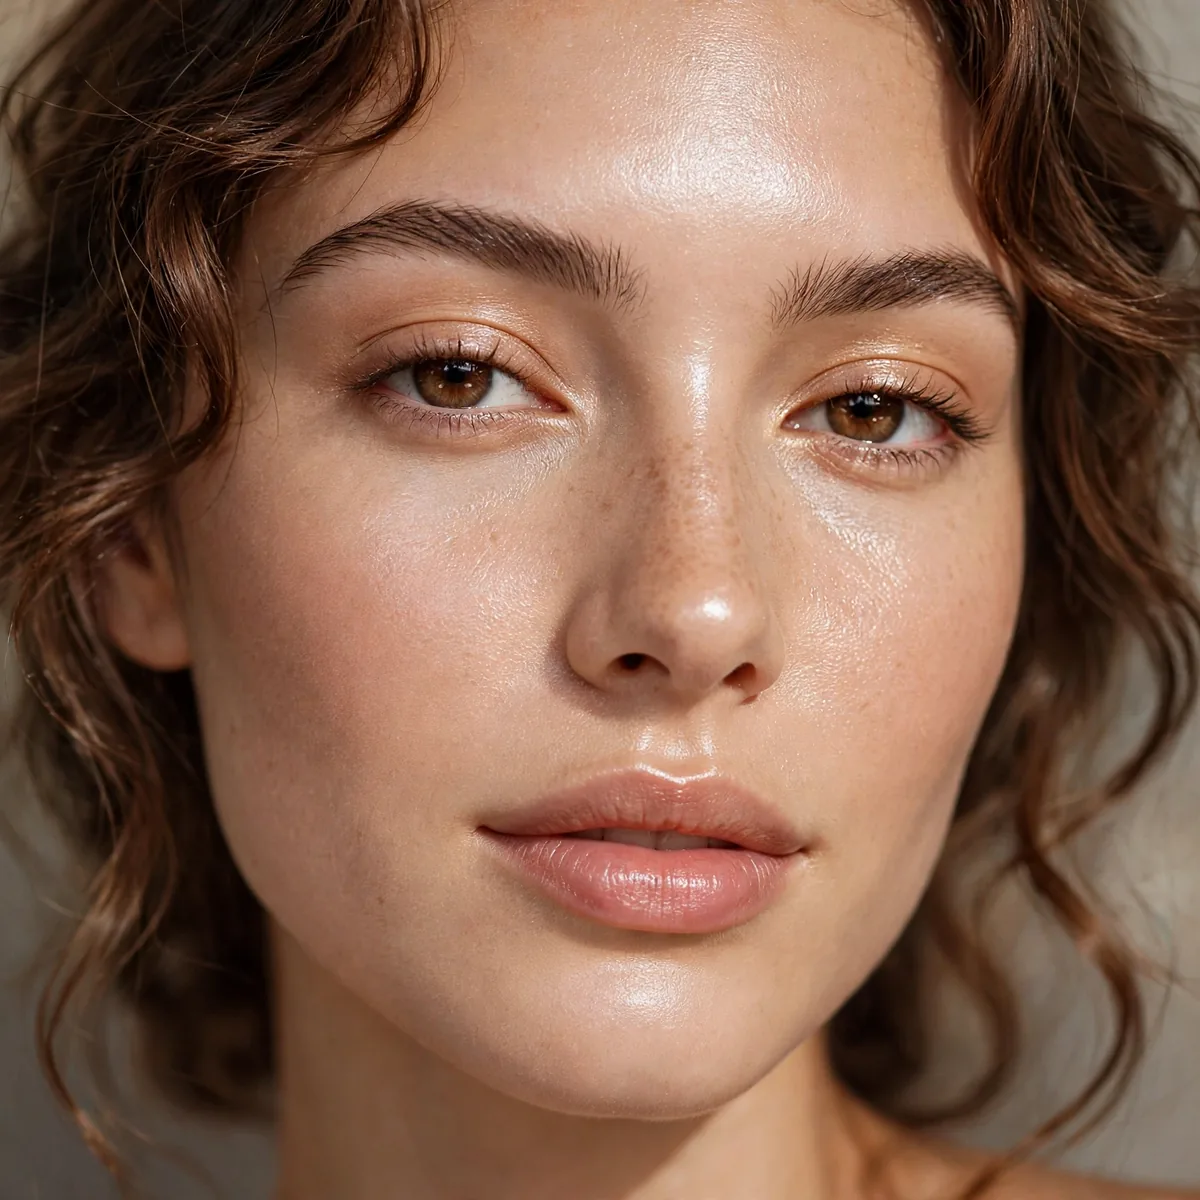
One drop of facial oil mixed into foundation. Instant luminosity and extra hydration.
Best for: very dry skin. Start with half a drop — you can always add more.
Add the oil to the foundation on your hand, not in the bottle — one drop of squalane, jojoba, or rosehip per pump is plenty. Stir with a clean finger, then apply with a sponge so the extra slip doesn’t turn brushes streaky. Heavier oils like argan suit very dry or mature skin, while squalane and jojoba feel weightless enough for combination skin to wear comfortably.
This trick shortens wear time — expect six hours instead of eight — because oil breaks down base makeup faster. Acne-prone skin should patch-test first, since some botanical oils clog pores even in tiny amounts. Never mix oil into long-wear or waterproof formulas; their chemistry resists the blend and separates on the skin. And always add oil last, after any water-based products, to avoid pilling.
Luminous Setting Spray
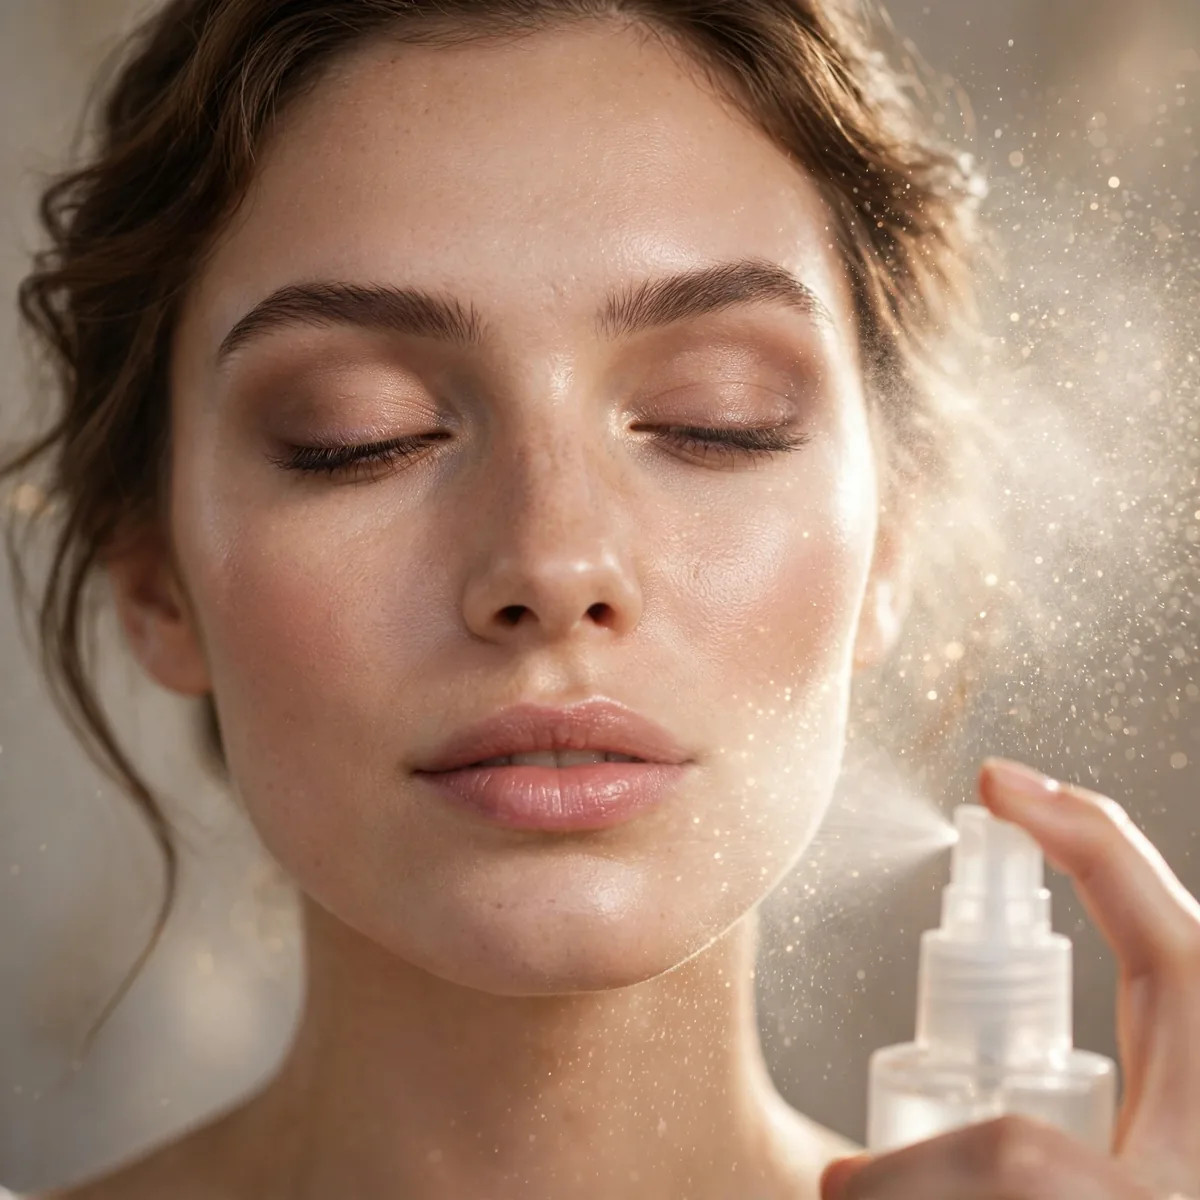
A glow-setting spray instead of matte. It sets makeup while adding radiance.
Best for: all-day glow. Mist twice — once mid-application, once at the end.
Mist from eight to ten inches away in an X pattern so the fine droplets land evenly instead of pooling in one spot. Hold your breath lightly to avoid the spray collecting on the upper lip, which can disturb lipstick. Glycerin-based sprays extend hydration while alcohol-free formulas suit sensitive skin — the alcohol ones evaporate faster but can sting tight winter skin.
A mid-application mist is what melts powder blush and bronzer into the skin so nothing looks layered. Let the spray dry for sixty seconds before touching your face, or you’ll smudge what you just set. Indoors at office parties, the glow reads candlelit and soft; in harsh winter sun, it can look shiny in photos, so check your look in the rear-facing camera before heading out.
Champagne Eyeshadow Light
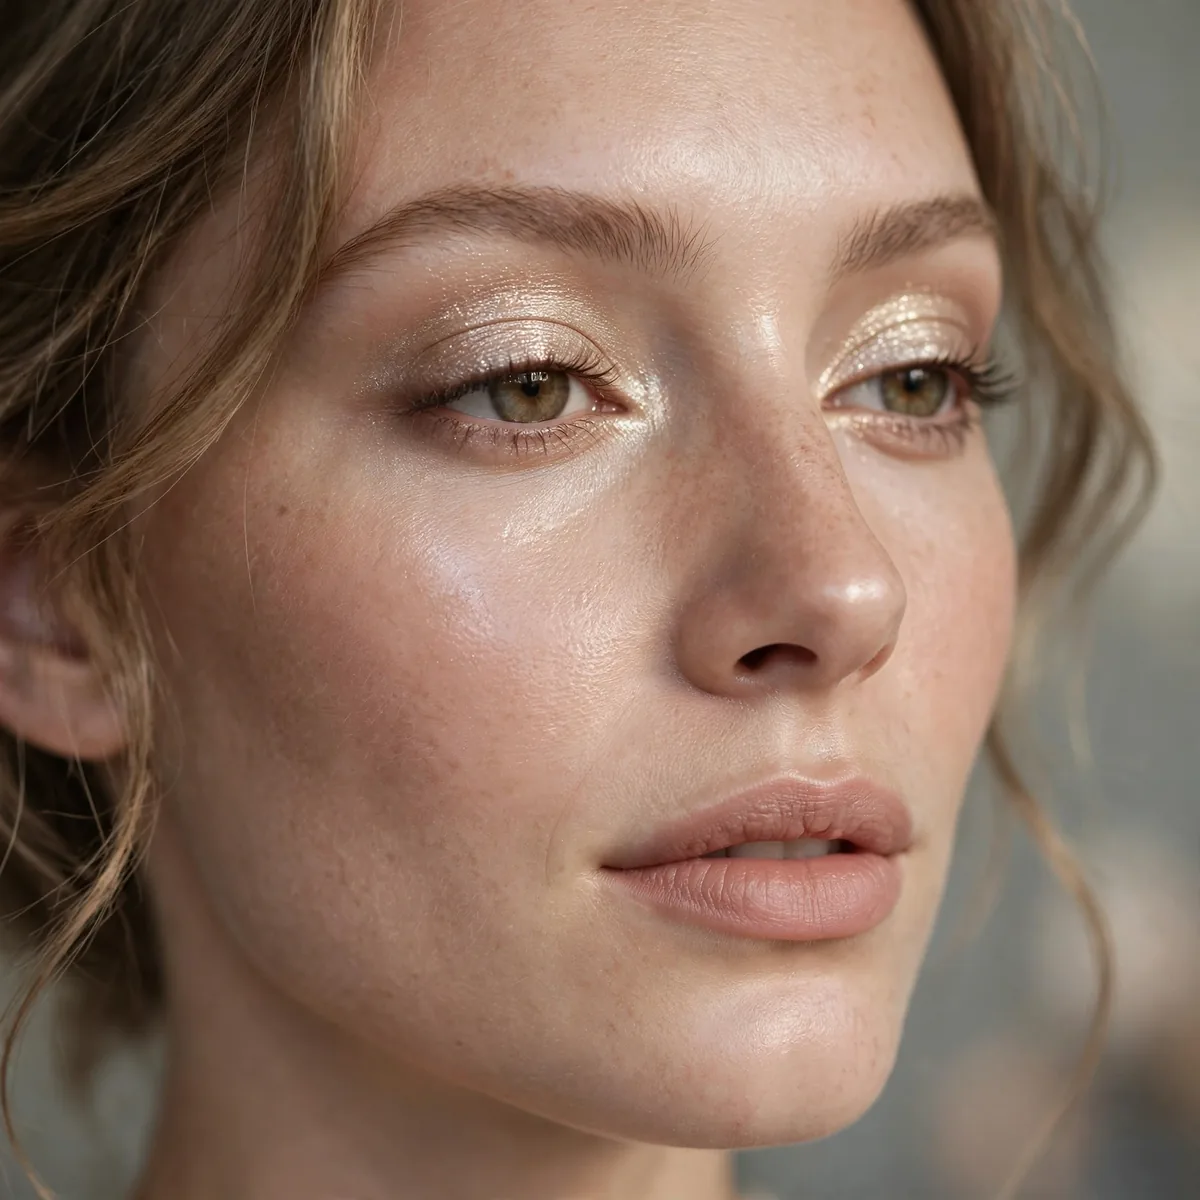
Champagne shimmer across the lids catches winter’s low light beautifully.
Best for: holiday season. It’s festive without trying.
Apply champagne shimmer with a flat shader brush pressed onto the lid — sweeping motions scatter the pigment and dull the shine. For hooded eyes, take the shimmer slightly above the crease so it’s visible when the eyes are open. Champagne works as an inner-corner highlight too, instantly brightening tired eyes in dim winter mornings. Gold-leaning champagnes flatter warm undertones; pink-leaning ones suit cool complexions.
Pair champagne lids with a warm brown liner instead of black for a softer winter finish that still defines. The shimmer wears about ten hours over a proper eyeshadow primer and creases fast without one, especially on oily lids. A common mistake is pairing champagne lids with frosty white highlighter on the cheeks — too much metallic light flattens the face, so keep the rest of the look satin.
Glossy Lip Hydration
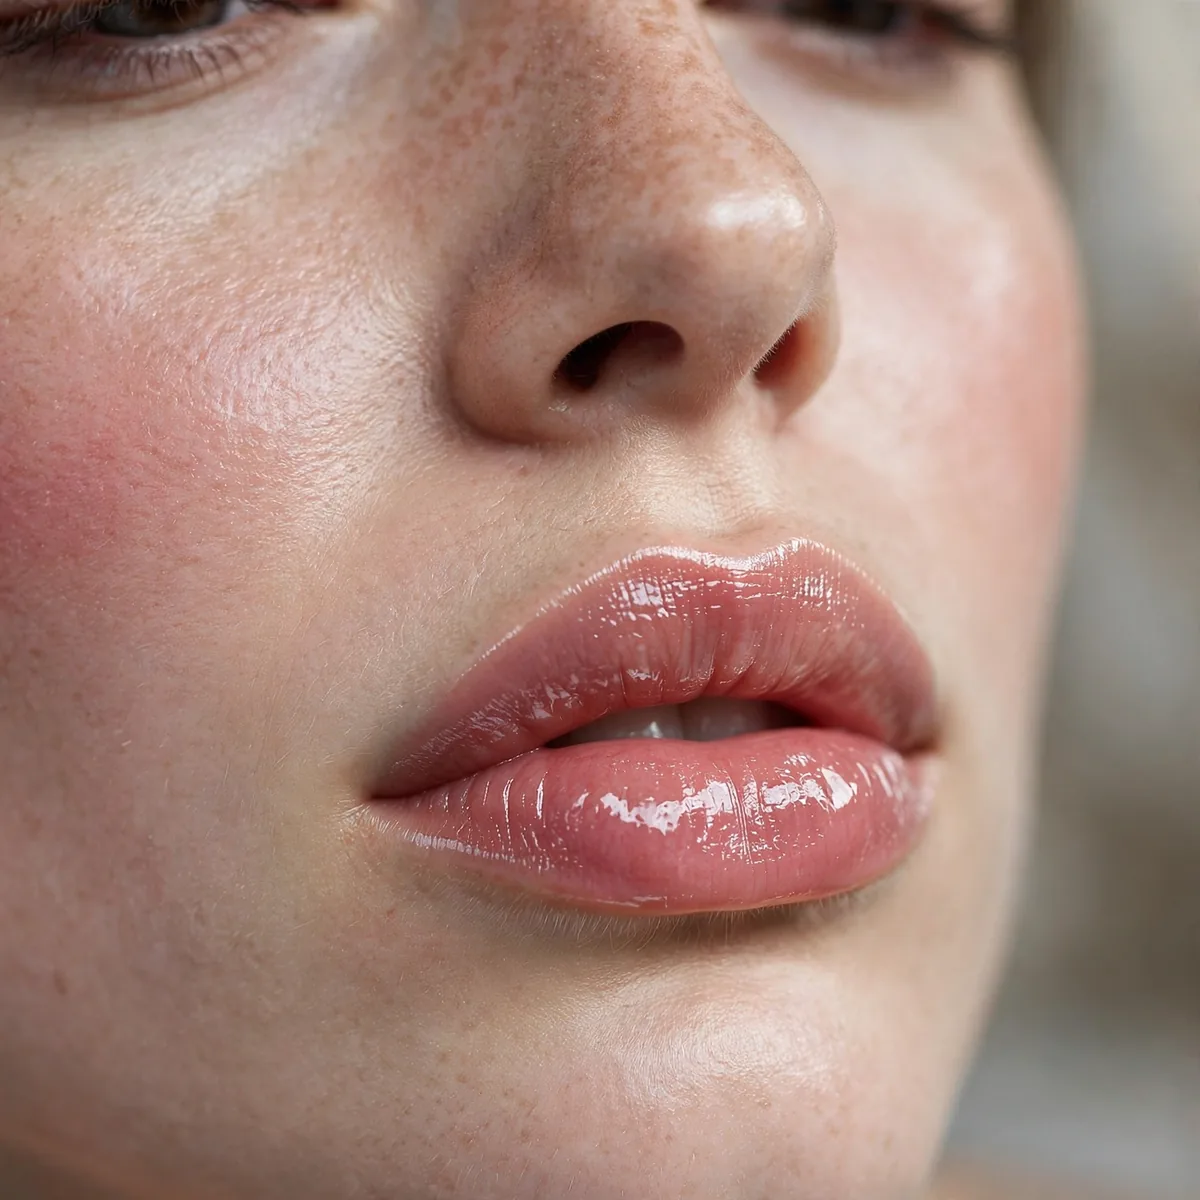
A hydrating gloss or lip oil — winter lips need moisture, and gloss delivers glow too.
Best for: chapped lips. Exfoliate first with a lip scrub for a smooth base.
Layer gloss over a matching lip liner, not bare lips — the liner gives the gloss something to grip and stops it from feathering into fine lines. Lip oils with squalane or jojoba sink in and hydrate, while traditional glosses sit on top for pure shine; choose based on whether your lips need repair or just polish. Pat the gloss onto the center of the lips only for a fuller-looking pout without the stickiness.
Gloss needs reapplying every two to three hours, which is fine — winter lips drink up the moisture between coats. Avoid petroleum-only formulas on badly cracked lips; they seal in dryness instead of healing it. For date nights and windy days, press a tissue lightly over the gloss once to remove tackiness while keeping the shine. Tinted glosses in berry or rose double as winter color without the commitment of lipstick.
Skip the Matte Powder
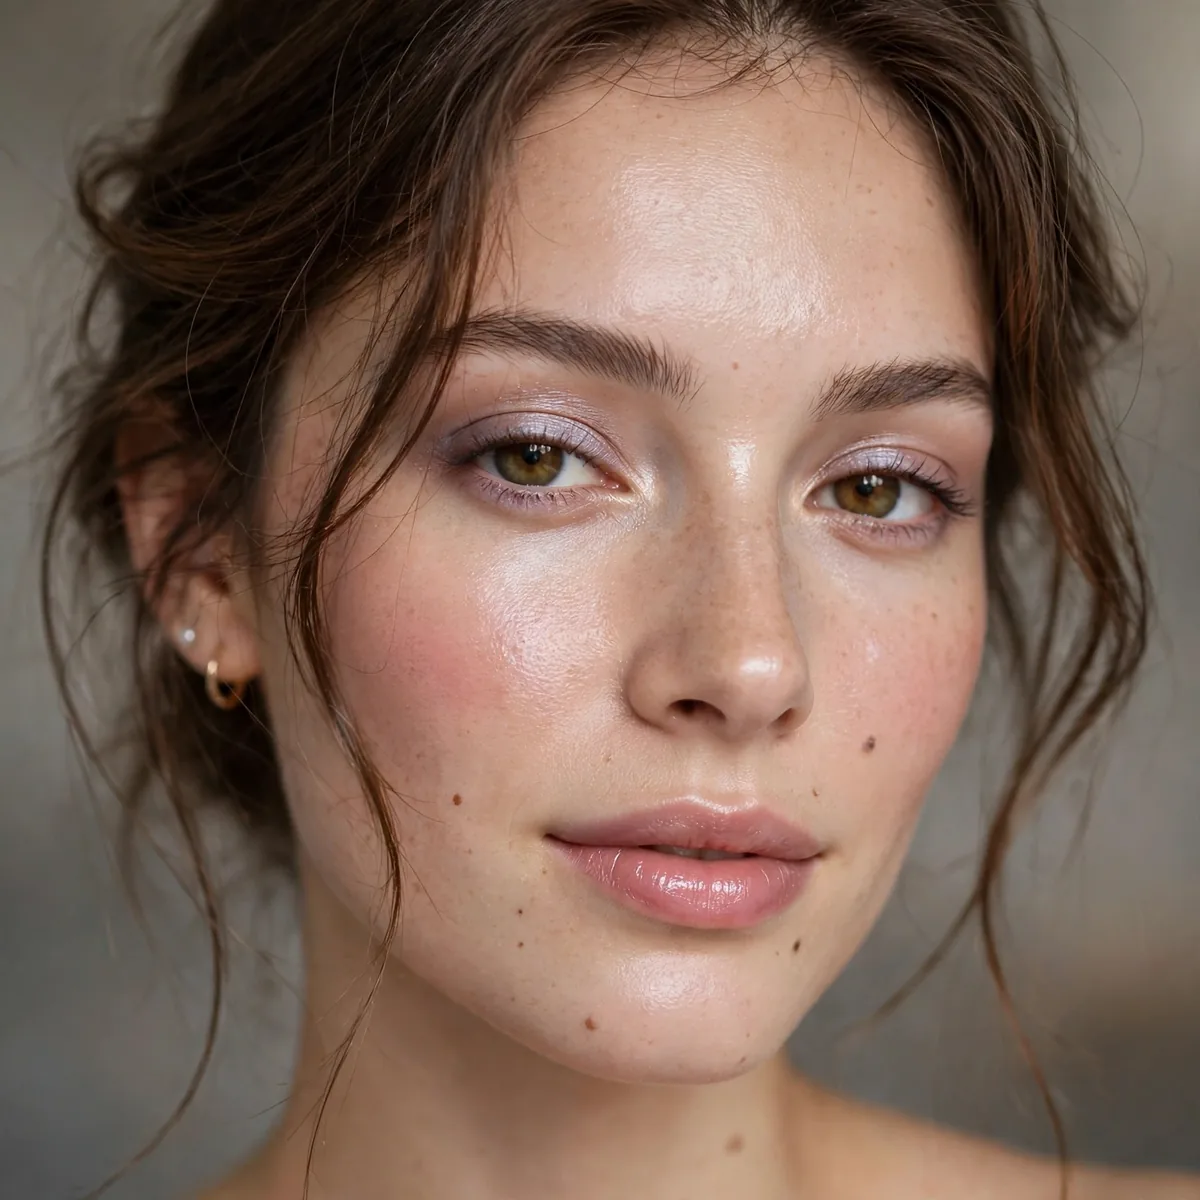
Put the mattifying powder away till spring. Winter glow needs zero powder.
Best for: dry skin. If you must, powder only the very center of the T-zone.
If you can’t give up powder entirely, switch to a loose translucent formula and tap it through the lid first so only a whisper lands on the brush. Press it only onto the very center of the forehead and chin — anywhere else steals the glow you built. Powder puffs deposit more product than brushes, so use a fluffy brush for a lighter hand. Remember that indoor heating actually reduces shine, so you need less powder than you think.
Going powder-free means your base will settle into a lived-in finish within an hour, which looks beautifully natural in winter light. The biggest risk is oil breakthrough on the nose, so press a single-ply tissue there midday instead of powdering. Dry, normal, and mature skin thrive without powder, while truly oily skin may need a satin finish powder — the compromise that keeps glow without the grease.
Hydrating Concealer
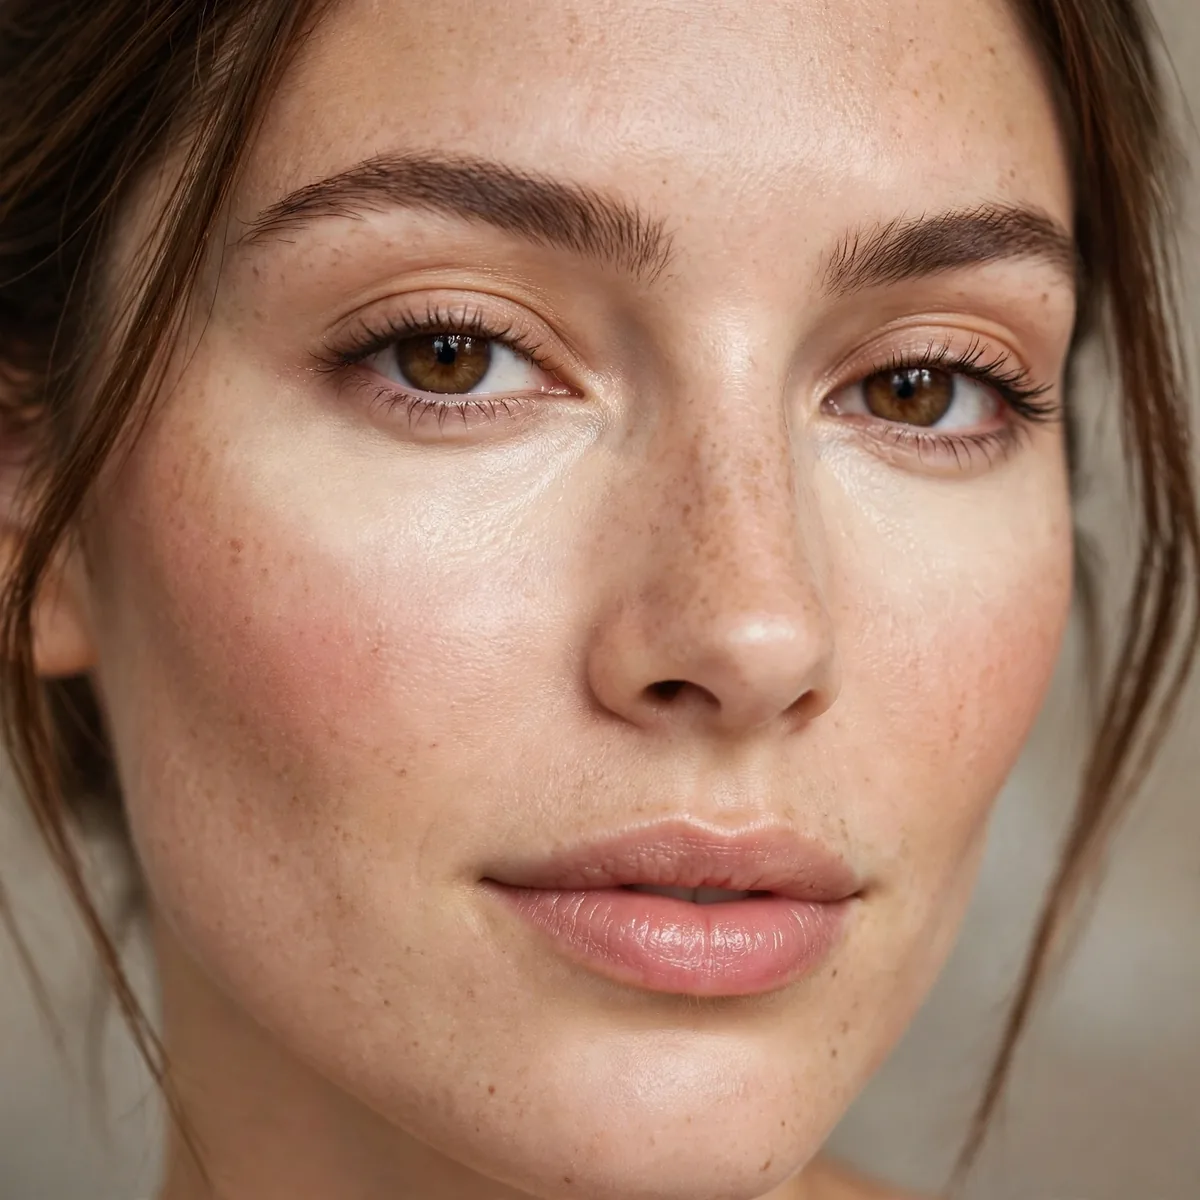
A hydrating, brightening concealer that doesn’t crease on dry under-eyes.
Best for: dark circles. Dry winter under-eyes punish thick concealers.
Apply concealer in a triangle with the point toward the nose and the base under the inner and outer corners, then blend the edges outward — this brightens without creating a white patch. Use half the amount you think you need and build up only where the shadow remains. Formulas with light-reflecting pigments, caffeine, and hyaluronic acid work best on thin winter skin that creases easily.
Set under-eye concealer with the tiniest amount of finely milled translucent powder on a small fluffy brush — skip this and winter dryness pulls the concealer into fine lines by afternoon. The classic mistake is choosing a shade two tones lighter, which looks gray on skin instead of bright. Match your skin tone exactly or go half a shade lighter, and warm the tube between your palms first for smoother glide.
Cream Bronzer Warmth
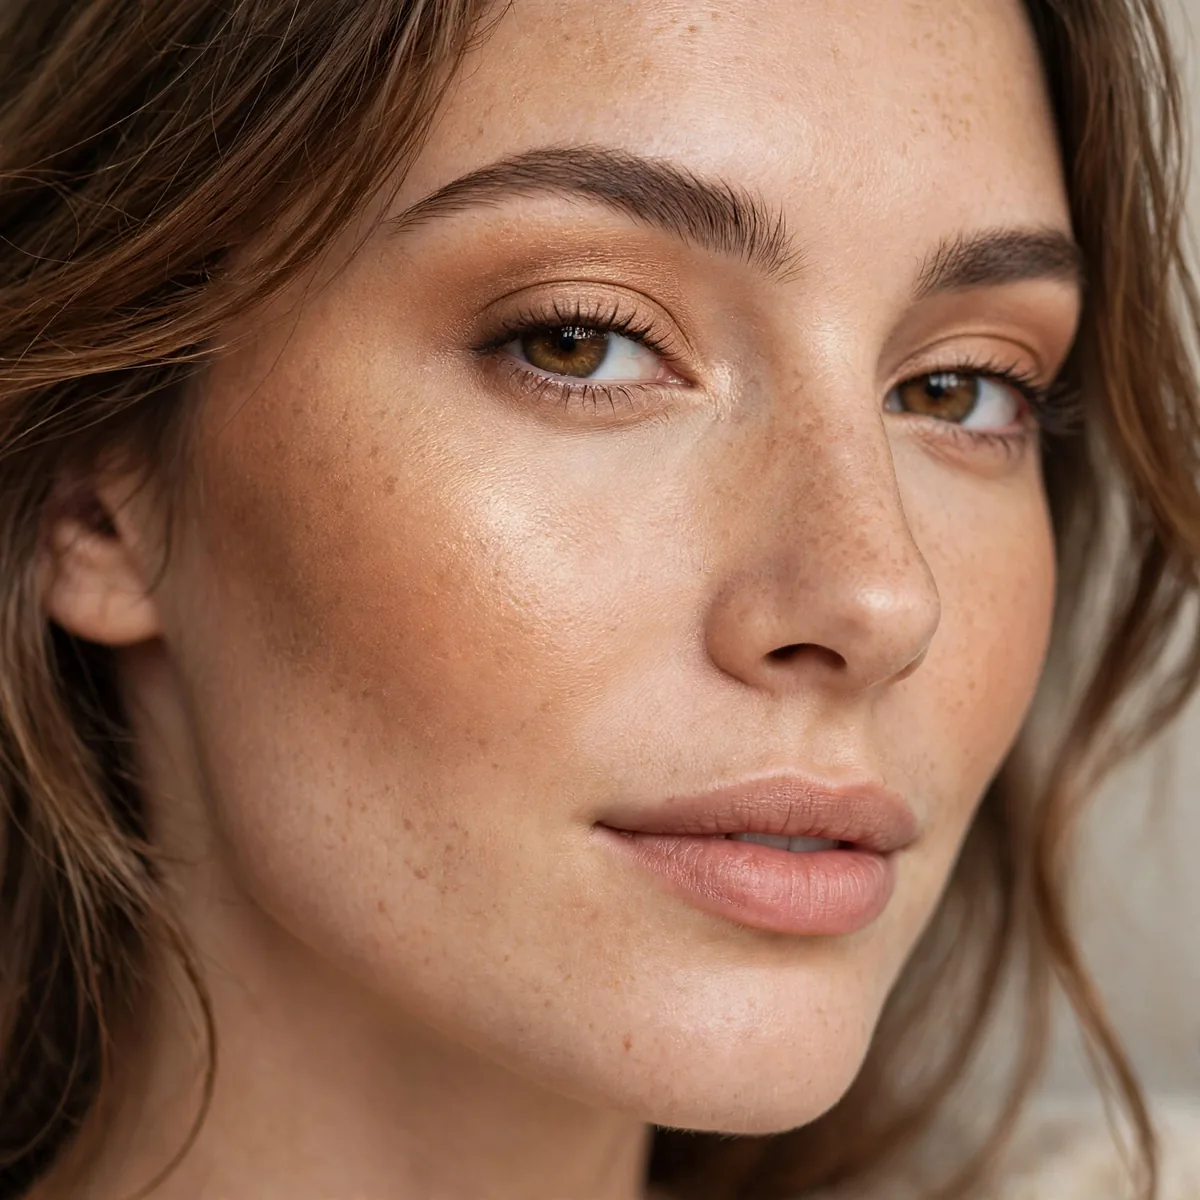
Cream bronzer restores the warmth winter steals. Healthy, sun-kissed (faking it) glow.
Best for: sallow winter skin. Warmth is what dullness is missing.
Apply cream bronzer in a figure-three motion along the forehead, temples, cheeks, and jawline for warmth that follows your bone structure. A stippling brush beats a dense kabuki here — it lays down sheer color instead of muddy streaks. Taupe-leaning bronzers contour fair skin naturally, while golden and copper tones bring out the richness of medium and deep complexions.
Cream bronzer melts beautifully over dewy bases but slides over silicone-heavy primers, so layer order matters. It wears five to seven hours before fading on the high points where faces are most touched. The biggest winter error is bronzer that’s too orange, which looks jarring against pale seasonal skin — swatch on your jawline in daylight and choose only one shade deeper than your natural tone.
Dewy Blush Layering
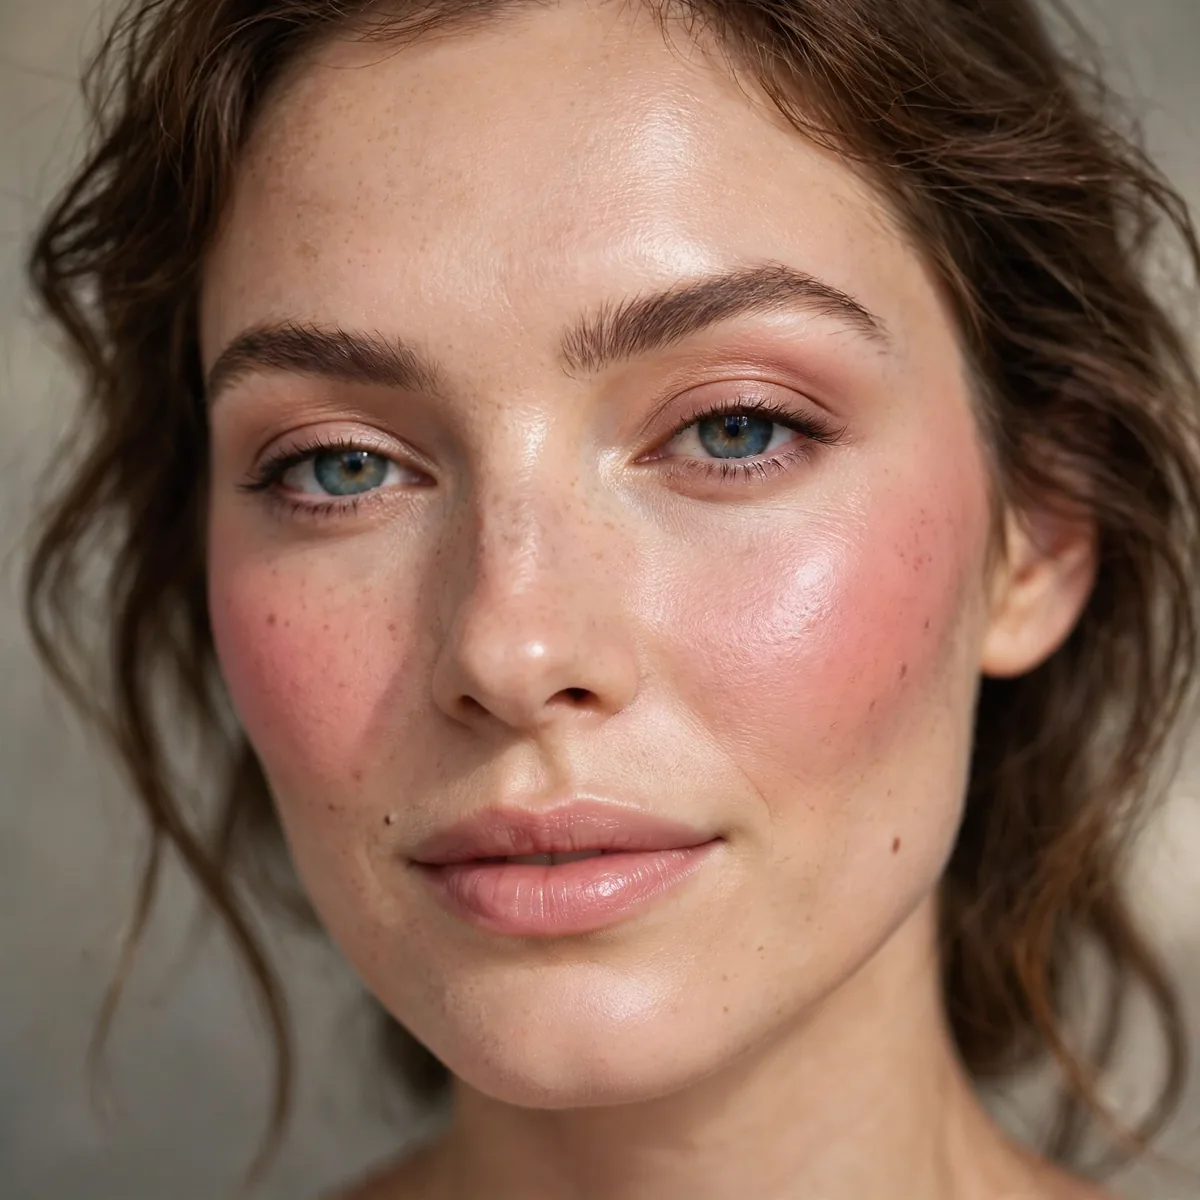
Cream blush, then a touch of powder blush on top, then highlighter. Dimension that lasts.
Best for: long winter days. Layering different textures builds lasting glow.
Order matters: cream first to lay down color and glow, then a whisper of powder blush exactly on the apples to anchor it, then highlighter on the high points last. Use a light hand with the powder — too much absorbs the dewiness you just built. Match the undertones across all three products so the layers read as one seamless flush rather than competing colors.
This layering technique is how makeup artists make blush survive wedding days and long holiday dinners — expect ten to twelve hours of wear. It suits every skin type, though oily skin can swap the highlighter for a satin blush topper. The common mistake is blending all three layers together into mud; instead, keep each layer’s placement distinct so the color, depth, and light each read on their own.
Inner Glow Drops
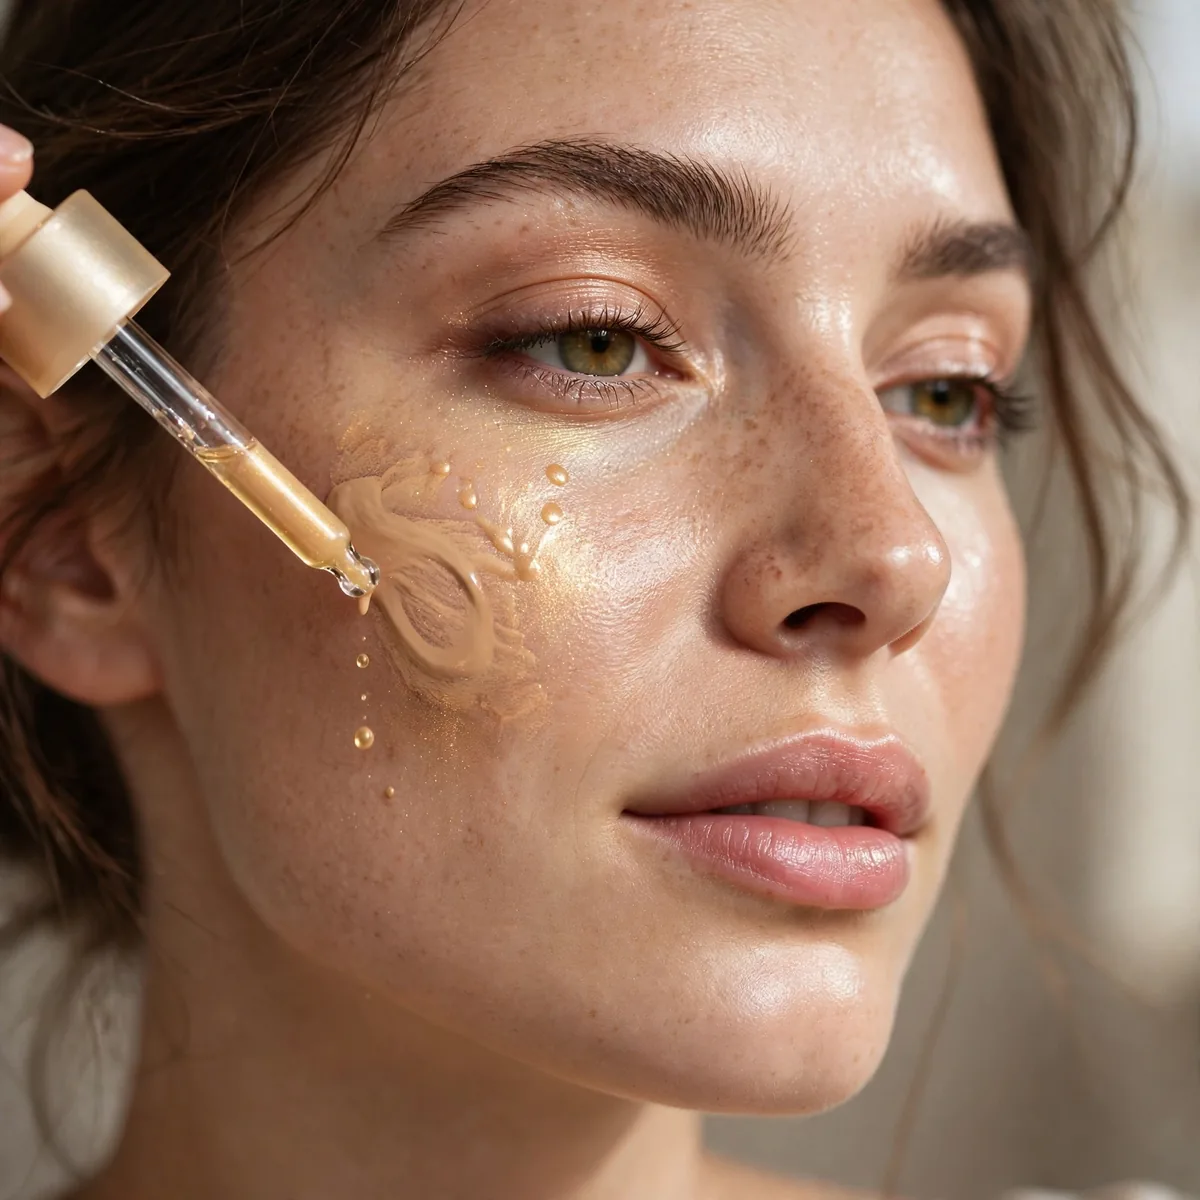
Illuminating drops mixed into foundation or moisturizer. Customizable radiance.
Best for: controlling intensity. One drop = subtle; three = full glow.
For a full-face glow, add two drops to your moisturizer before it fully absorbs so the radiance sits closer to the skin. For precision, tap one drop along the cheekbones after foundation — it reads more highlighter than base this way. Mixing drops into primer is the subtlest option, giving a candlelit finish that shows in photos but never looks glittery up close.
Choose your finish by drop type: pearl drops suit fair skin, gold drops flatter medium and warm undertones, and bronze drops glow on deep complexions. The danger zone is three drops too many — glow turns greasy once you cross it. If you overshoot, don’t start over; press translucent powder over the shiniest spots to pull the radiance back into a natural range.
Satin Finish Sweet Spot
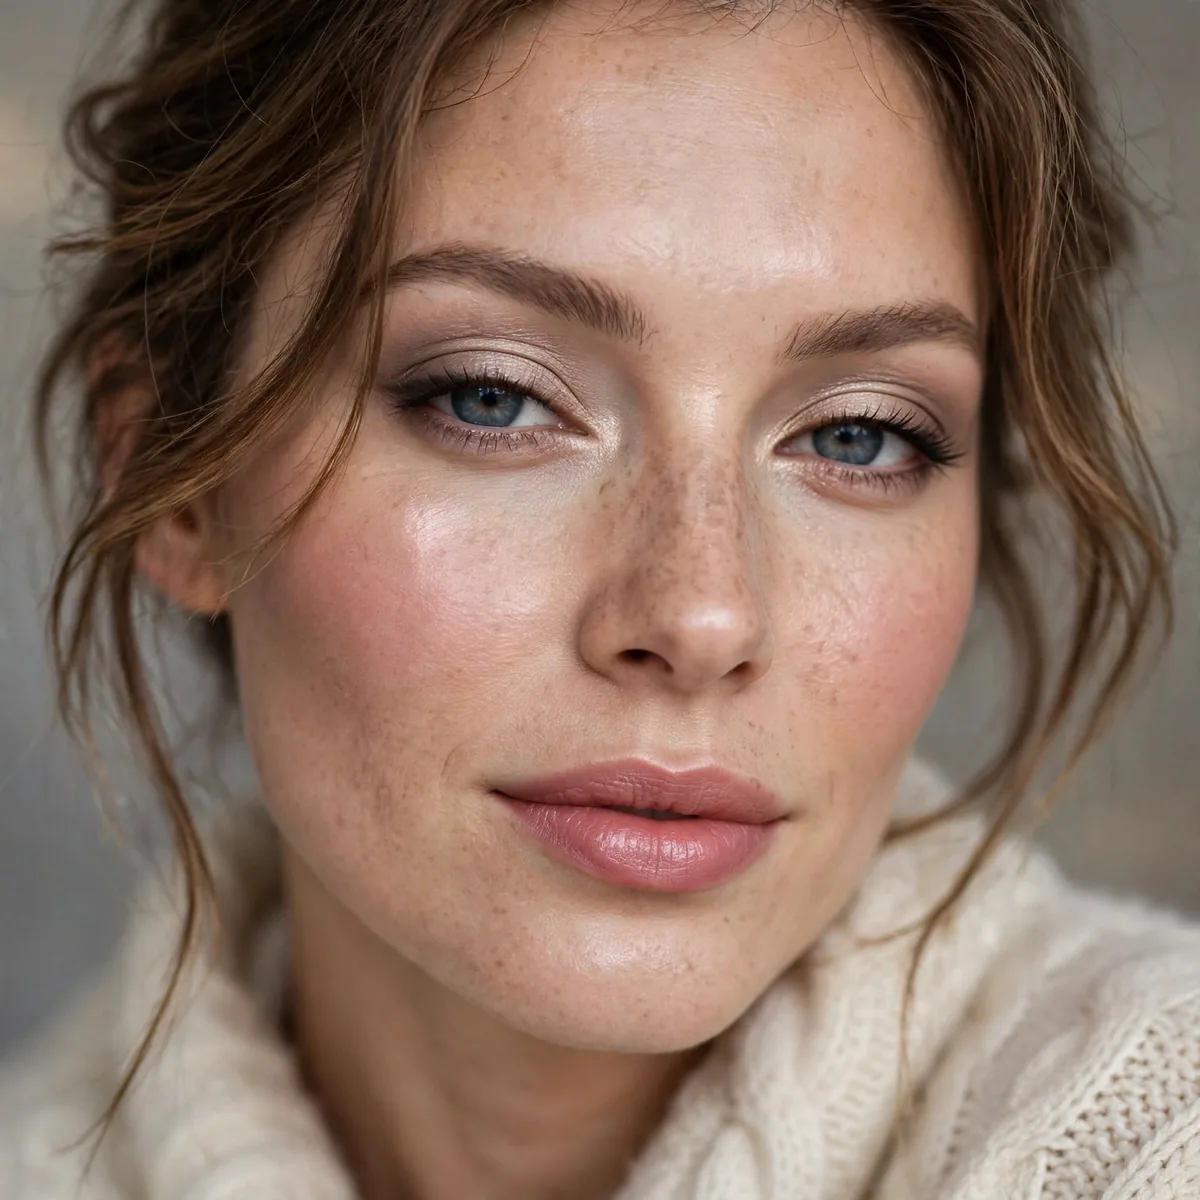
Not matte, not dewy — satin. The winter sweet spot that looks like healthy skin.
Best for: combination skin. Satin finishes flatter every skin type.
Satin foundations come in liquid, stick, and compact forms — liquids suit dry skin best, while sticks double as quick touch-up tools for combination skin. Test the finish in natural light near a window, because store lighting makes everything look more matte than it is. The sweet spot test: if your skin looks like itself but better after ten minutes of wear, you’ve found the right formula.
Satin is the most forgiving finish for textured skin and large pores, since it neither pools in lines like dewy formulas nor clings to flakes like matte ones. It wears a solid eight hours and photographs beautifully under both flash and daylight, which is why makeup artists choose it for weddings. Keep blush and bronzer satin too, and the whole face stays cohesive instead of fighting finishes.
Humidifier Trick
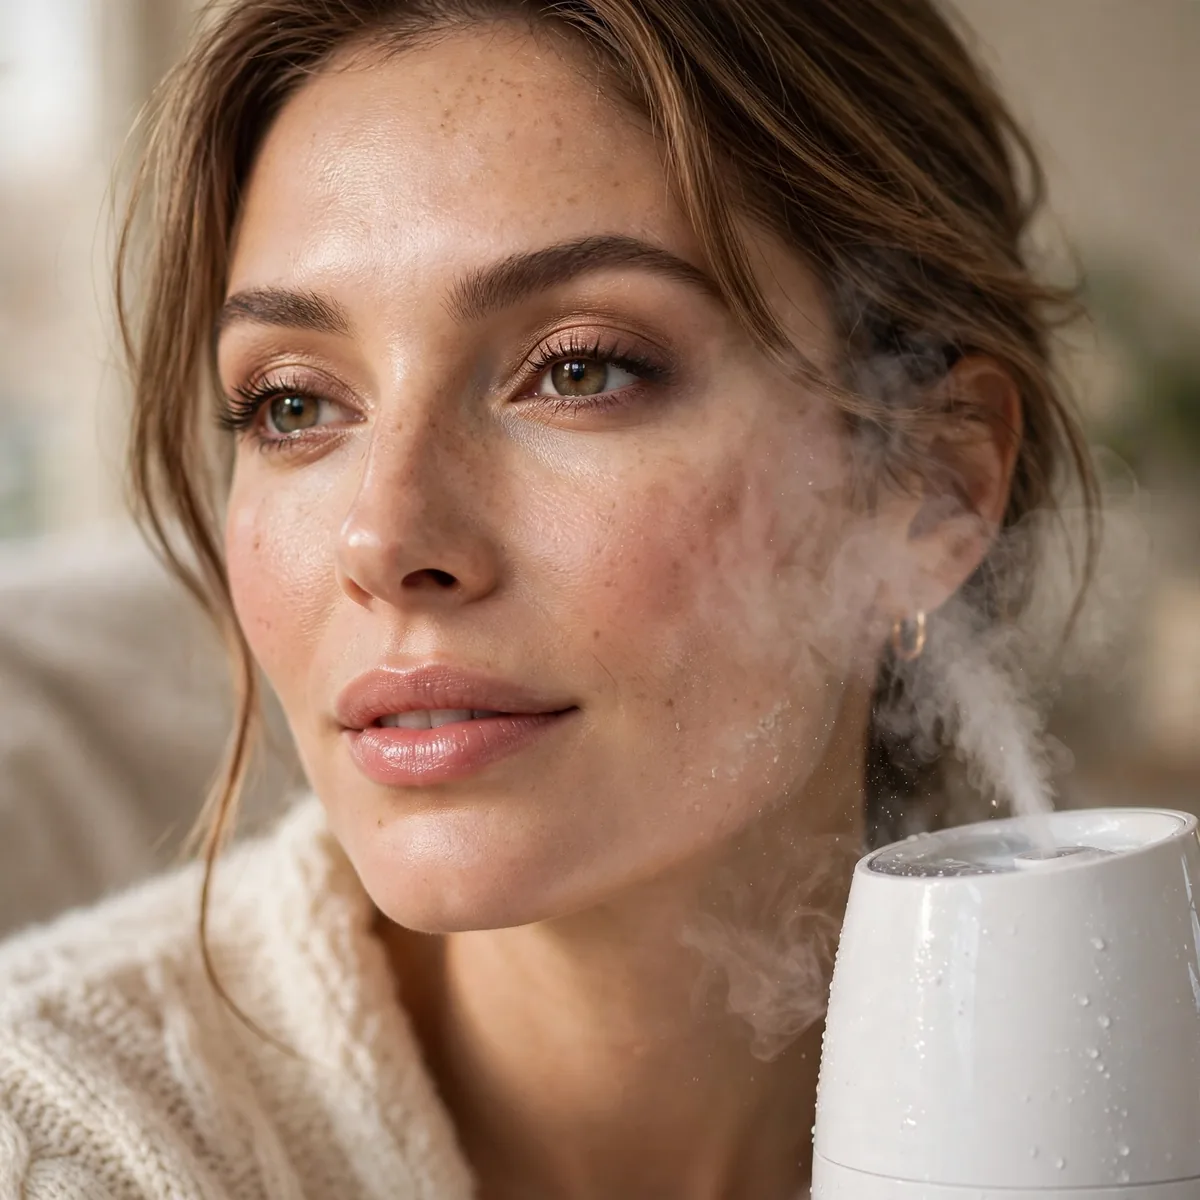
Run a humidifier while you get ready — hydrated air means hydrated makeup application.
Best for: extremely dry climates. Your skin (and your makeup) will thank you.
Place the humidifier in the bathroom where you do your makeup, not the bedroom — you want the moisture in the air during application. Cool-mist models work best and won’t fog mirrors as badly as warm-mist ones. Run it for twenty minutes before you start so the room reaches a comfortable humidity, and keep the door closed to trap the steam while you work.
This trick doubles as skincare — humid air slows transepidermal water loss, so your moisturizer actually performs better while you apply makeup over it. Dry foundation applies more evenly and cream products blend with fewer strokes. Clean the humidifier weekly, though, because moldy mist landing on freshly applied makeup is a breakout risk nobody needs in winter.
Exfoliation Prep
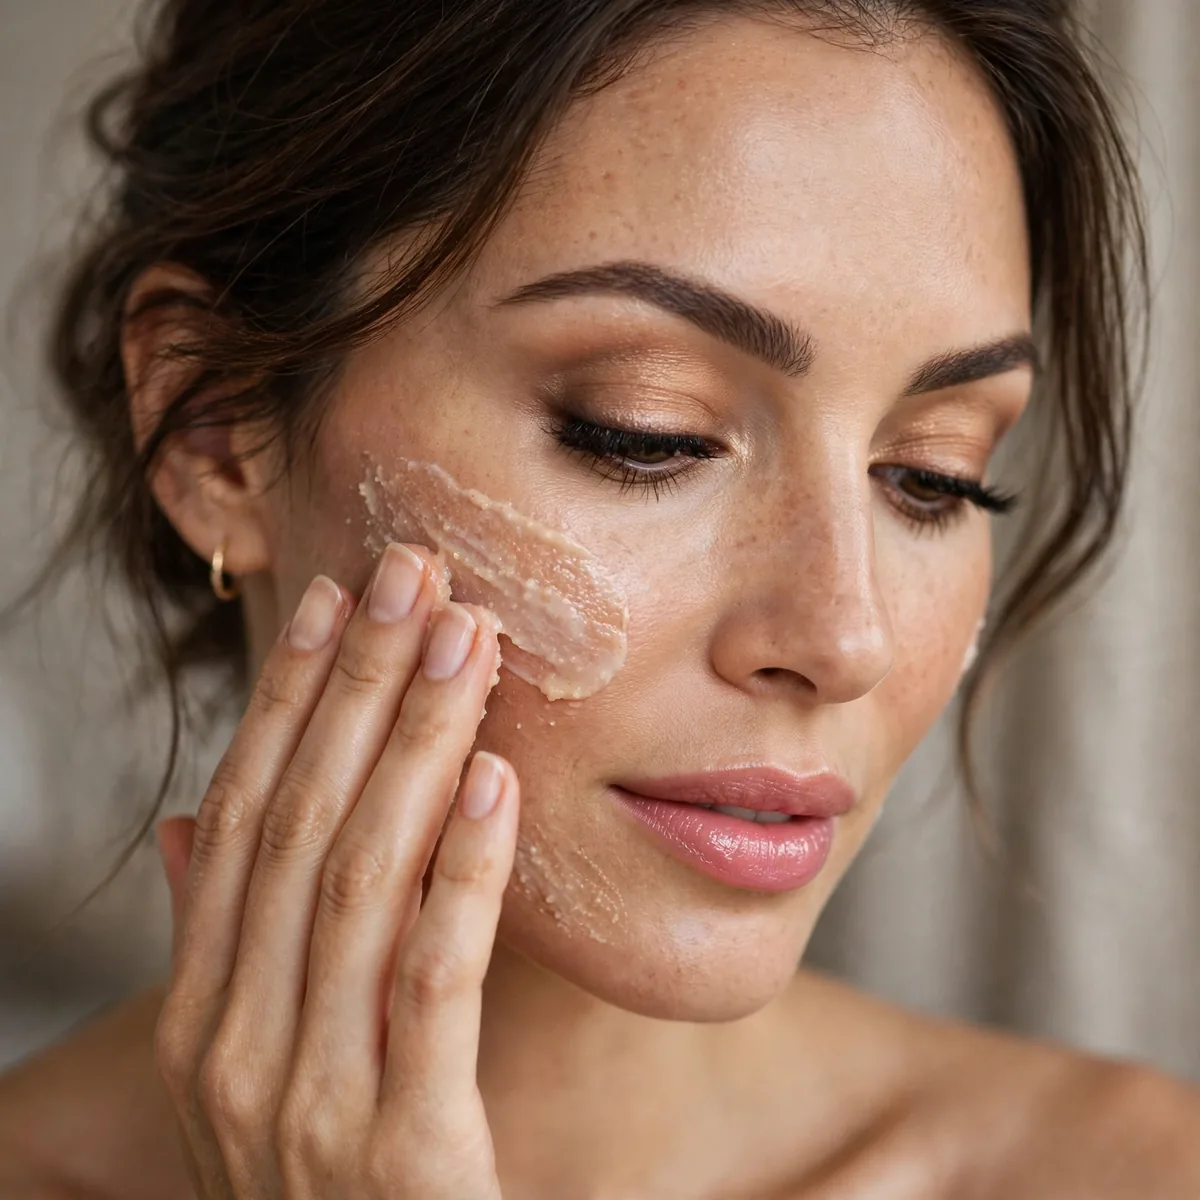
Gentle exfoliation 2-3x weekly removes the dull layer so glow products can shine.
Best for: flaky skin. Makeup can’t glow over dead skin — prep first.
Apply chemical exfoliants in the evening, never right before makeup — fresh AHAs make skin sun-sensitive and can sting under foundation. Start with lactic acid, the gentlest AHA, twice a week before working up to glycolic formulas. Sensitive skin can try PHA exfoliants, which are even milder, or enzyme powders that dissolve dull cells without any acid at all.
Over-exfoliation is the classic winter trap — redness, stinging, and makeup that pills over raw skin. If your barrier feels compromised, skip actives entirely and use a plain hydrating sheet mask instead. Properly prepped skin lets foundation apply in half the time and wear twice as long, which is why this step beats any glow product. Your December complexion will genuinely thank you.
Lip Scrub and Balm Base
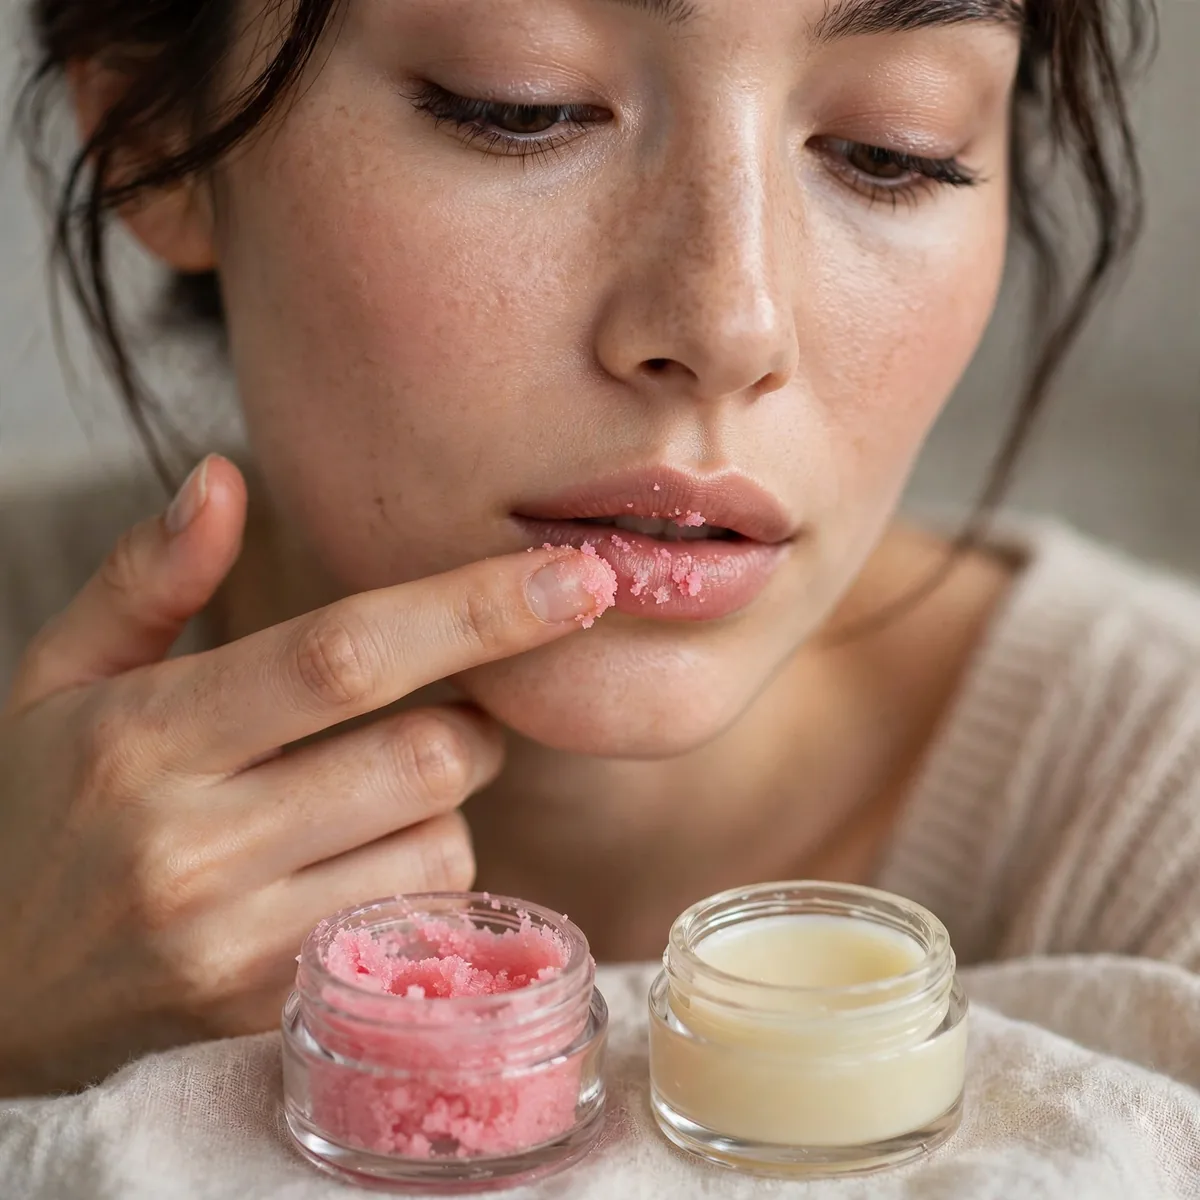
Scrub, then heavy balm, then color. Smooth lips reflect light; cracked lips don’t.
Best for: matte lipstick wearers. The prep makes all the difference.
Scrub with gentle circular motions for thirty seconds — any longer and you’ll create raw patches that color clings to. Sugar-based scrubs dissolve on their own, making them kinder than salt or nut-shell formulas. After scrubbing, press balm into the lips for two full minutes before blotting; the wait lets the balm sink in instead of sitting under your color like a slick barrier.
Ingredients matter here: look for ceramides and shea butter in your balm, and avoid menthol or camphor, which tingle but actually dry lips out. Scrubbing more than twice a week strips the delicate lip barrier, so stick to the schedule. This routine shines before matte liquid lipsticks — the color grips for six hours instead of cracking by lunch, and the edges stay crisp without feathering.
Luminous Under-Eye
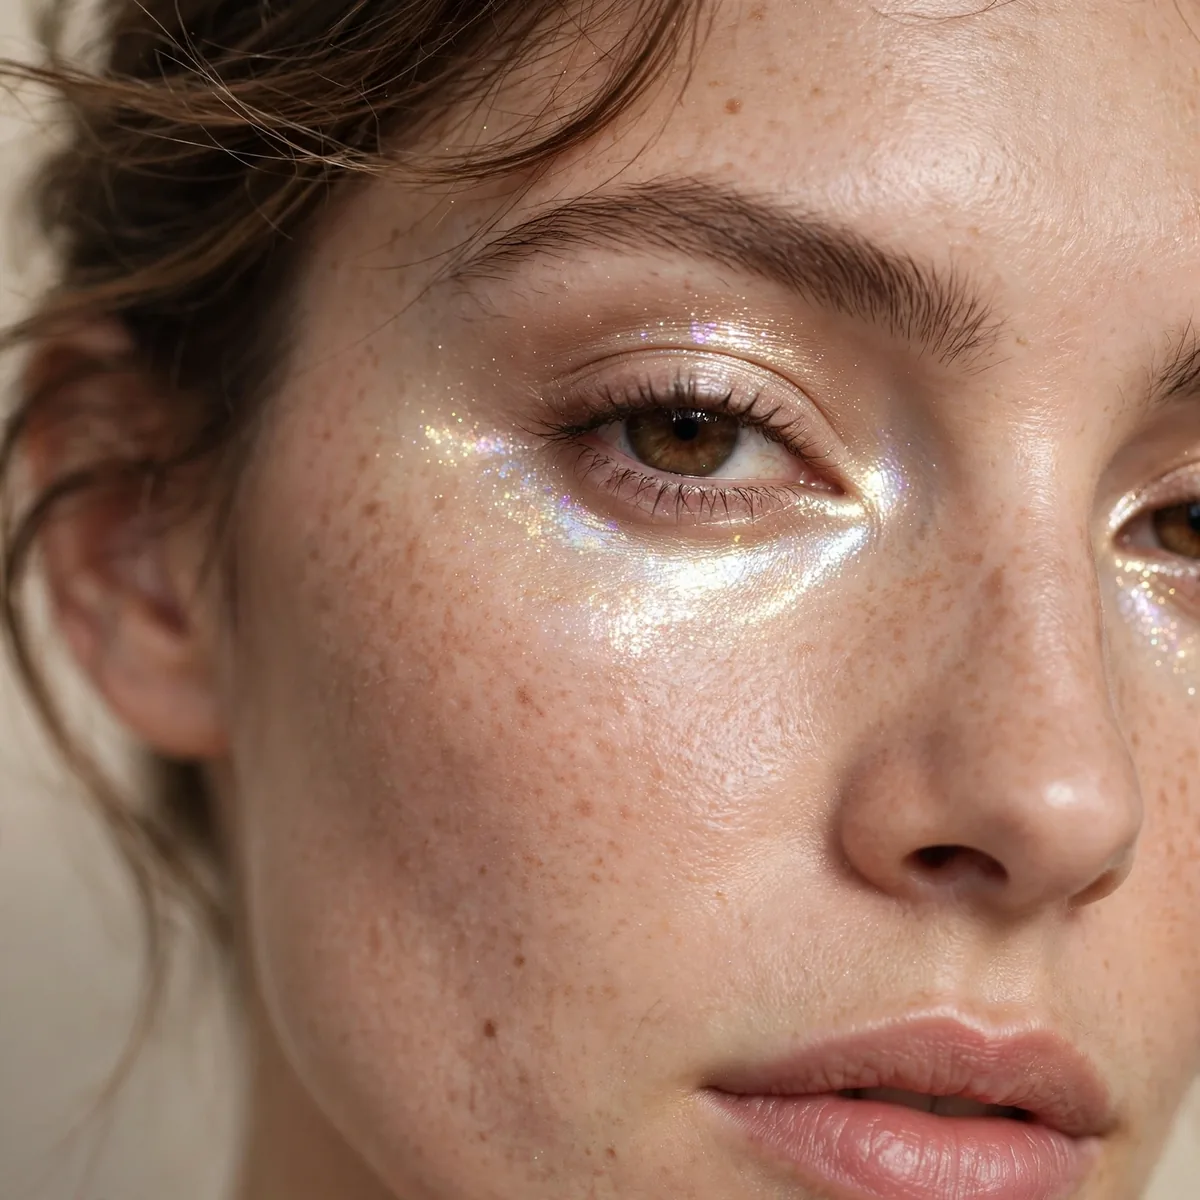
A brightening, light-reflecting concealer. Winter shadows disappear.
Best for: deep-set eyes. Light-reflecting particles fake eight hours of sleep.
Dot the concealer only where the shadow is darkest — the inner corner and the outer third — then leave the middle of the under-eye bare so it doesn’t look heavy. Blend with your ring finger using tiny tapping motions; the warmth melts the formula into thin skin better than any brush. A peach or salmon corrector underneath neutralizes blue and purple circles before concealer even goes on.
Light-reflecting particles are magic in person but can flash back in photos, so check your under-eyes with the flash on before an event. Deep-set eyes benefit most from this technique, while prominent eyes should keep the brightness minimal to avoid exaggerating them. Set with a whisper of powder only at the outer corner, where creasing starts first — the inner area stays dewy and bright all day.
Gold Tone Accents
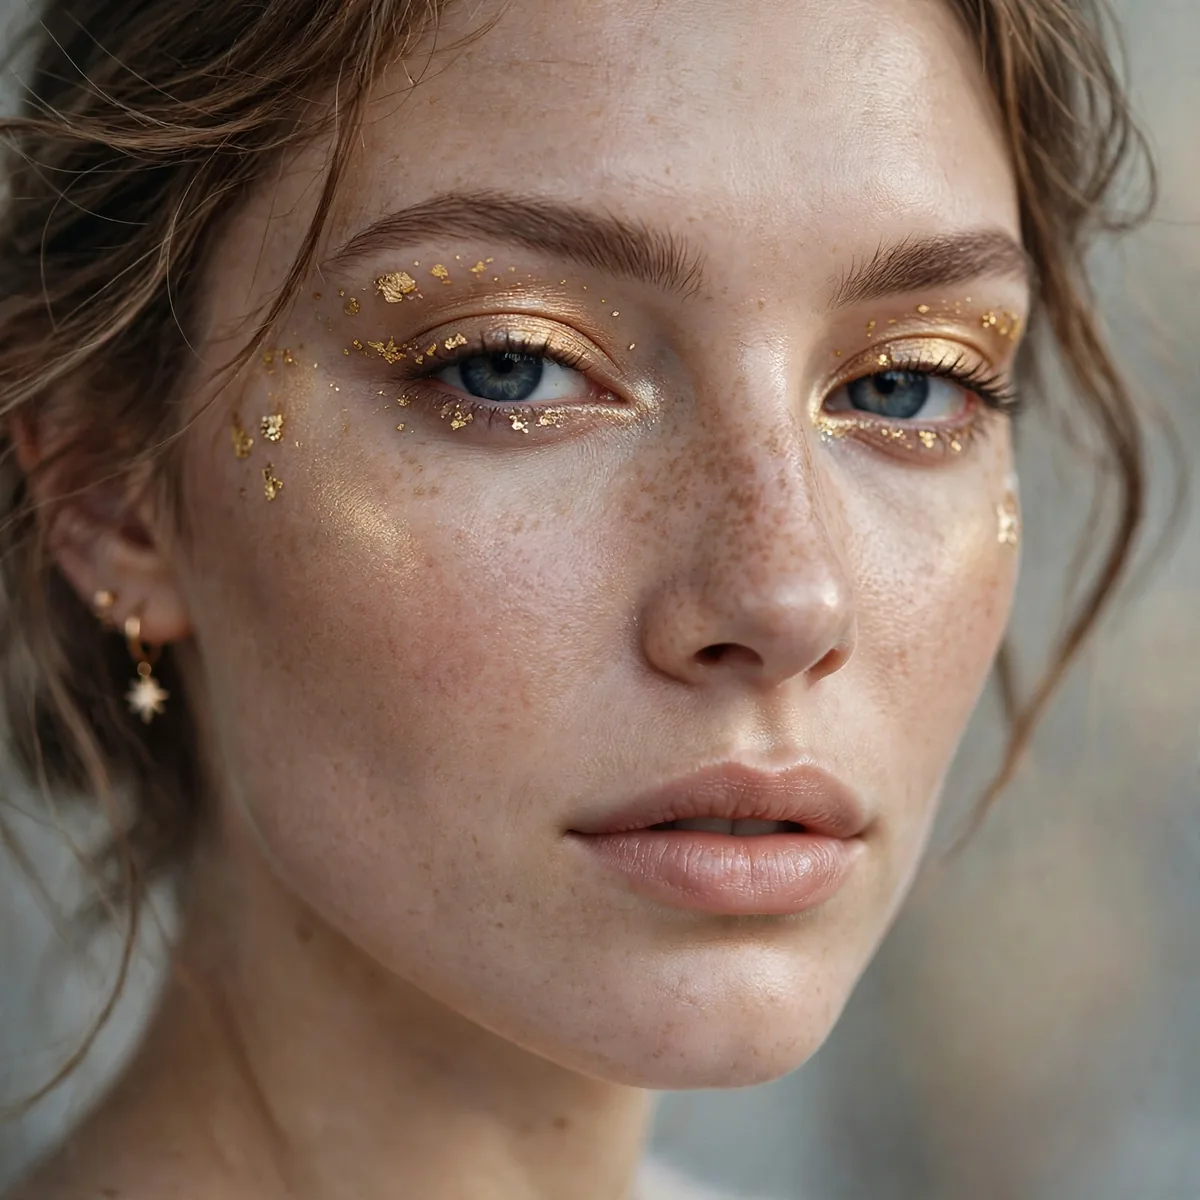
Gold eyeshadow, gold highlighter, warm gold tones everywhere. Winter’s most flattering metal.
Best for: warm undertones. Gold against winter-pale skin is stunning.
Build gold in layers for dimension: a matte warm brown in the crease first, then metallic gold pressed on the lid, then a champagne shimmer at the inner corner. This layering keeps gold from reading flat or costume-y. Gold highlighter on the cheekbones pairs best with neutral lips — a warm nude or soft brown — so the metal tones become the single star of the face.
Gold flatters warm and olive undertones most, but cool-toned skin can wear it by choosing rose-gold instead of yellow gold. The metallic finish lasts all evening over a primer and photographs beautifully under holiday lights. Skip gold eyeshadow on very textured lids, though — metallics emphasize crepiness the way mattes never do. And never pair gold eyes with orange blush; the two warm tones clash instead of harmonizing.
Overnight Mask Prep
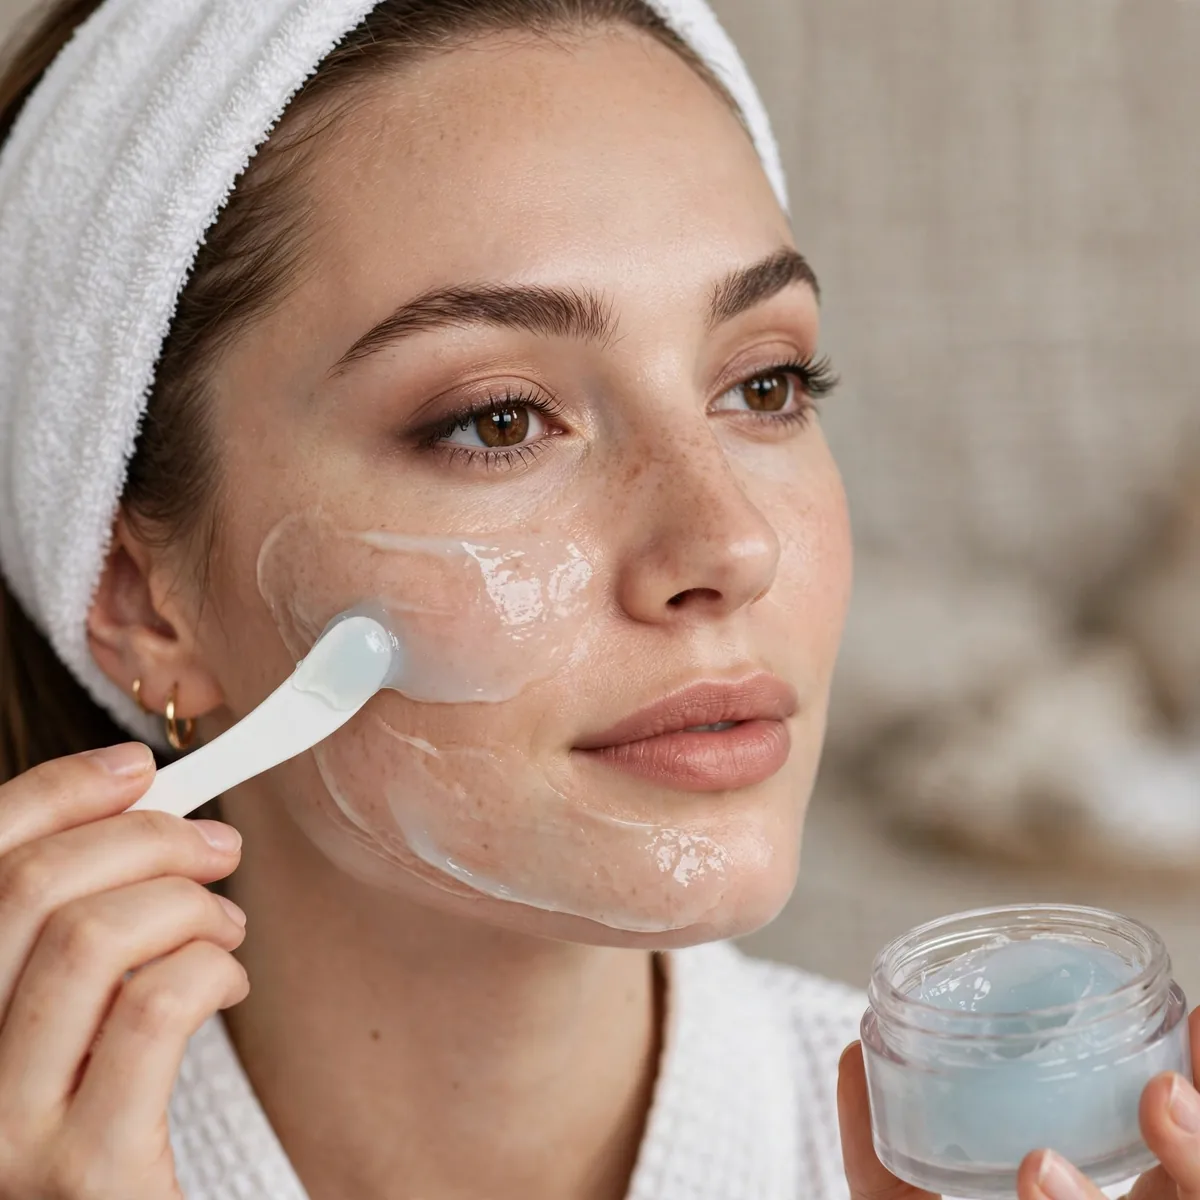
A hydrating sleeping mask the night before. Wake up with the glow already started.
Best for: special occasions. The best makeup prep happens while you sleep.
Apply the sleeping mask as the final step of your nighttime routine, over serum and moisturizer — it seals everything underneath and works while you sleep. Choose gel formulas for oily or combination skin and rich cream textures for dry skin; both deliver glow, just through different moisture levels. Give it twenty minutes to sink in before your face hits the pillow, or half the product ends up on the case.
Don’t use sleeping masks every night — two or three times a week is the sweet spot, and nightly use can overwhelm oily skin. For events, do the mask two nights before rather than the night of, so any surprise sensitivity settles in time. Layer a hydrating toner underneath on especially dry winter nights. This prep makes the next morning’s makeup apply in minutes, with a lit-from-within glow no highlighter can fully fake.
Glow all winter long. Save these radiance rescuers — and for the full hydration strategy, see our foundation tips for dry skin and dewy looks for dry skin.




