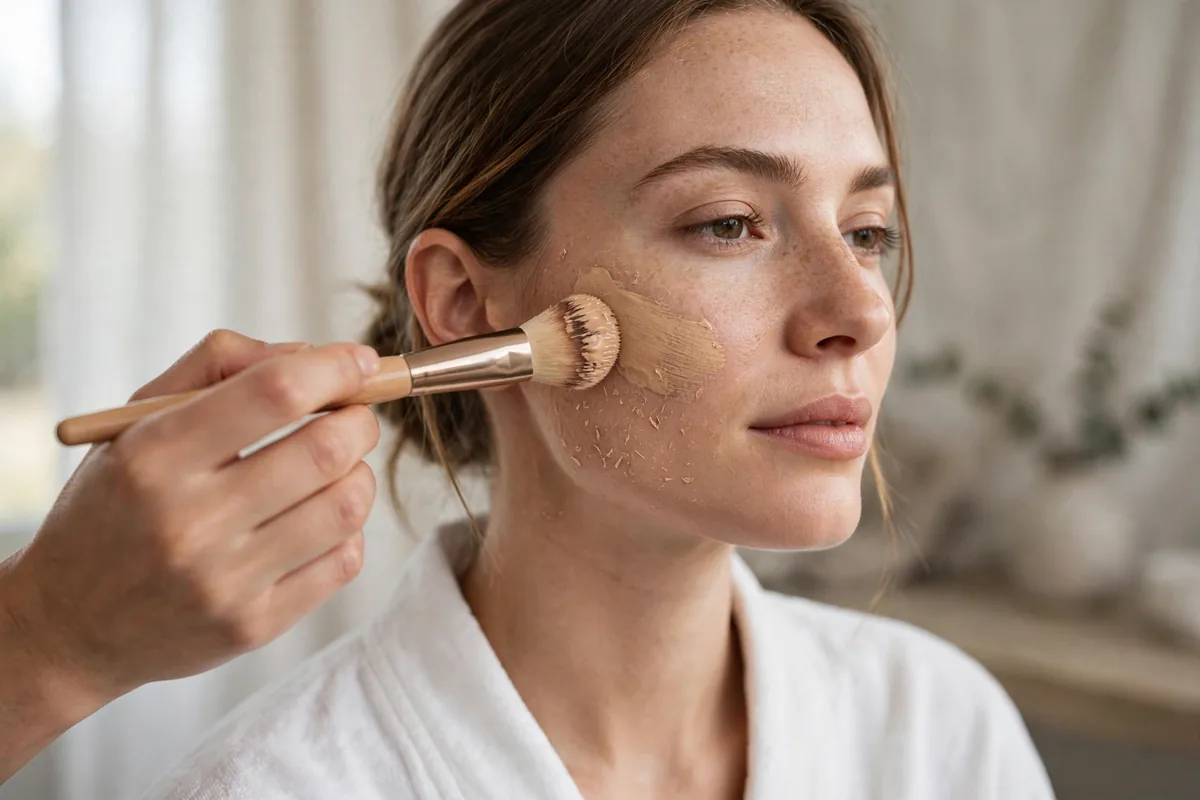
Cakey foundation on dry skin isn’t a product problem — it’s a prep problem.
Foundation clings to dry patches and settles into fine lines when skin underneath is thirsty. The fix is always hydration first, then the right formula, then light application.
Dry skin needs luminous, hydrating formulas — never matte, never full-coverage-everywhere. Less is genuinely more.
Here are 20 tips for a flawless dry-skin base. Let’s get into it.
Hydrate Before Anything
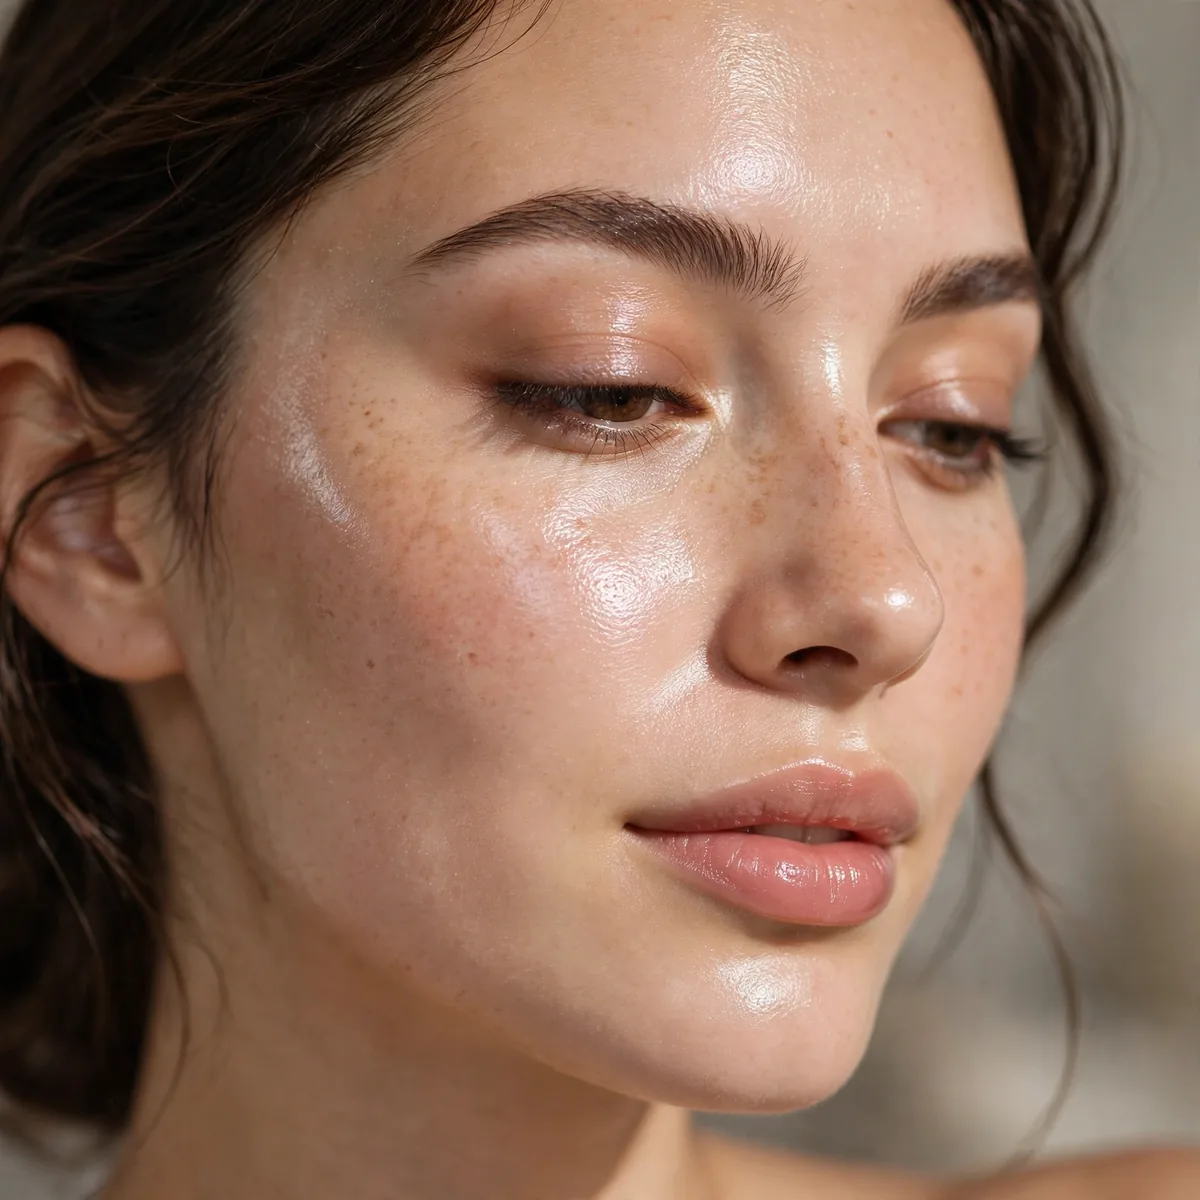
Apply moisturizer 5 minutes before foundation — hydrated skin takes makeup beautifully.
The wait matters. Rushing foundation onto damp moisturizer causes sliding.
Choose a moisturizer rich in hyaluronic acid and ceramides — humectants pull water into the skin while ceramides lock it there, creating the plump canvas foundation needs. In winter, layer a hydrating serum underneath for an extra reservoir of moisture. Skip moisturizers with high alcohol content before makeup; they evaporate quickly and leave skin thirstier than before. Your skin should feel supple, not tacky, when the five minutes are up.
This waiting period also lets you do your brows or eye makeup, so no time is wasted — multitask while the moisturizer sinks in. If your skin still feels dry after five minutes, it needs a richer formula, not more waiting; upgrade to a cream rather than a lotion. A common mistake is applying foundation to skin that feels tight — that tightness is dehydration, and foundation will only amplify it. Listen to the tightness and moisturize again instead.
Hydrating Primer Choice
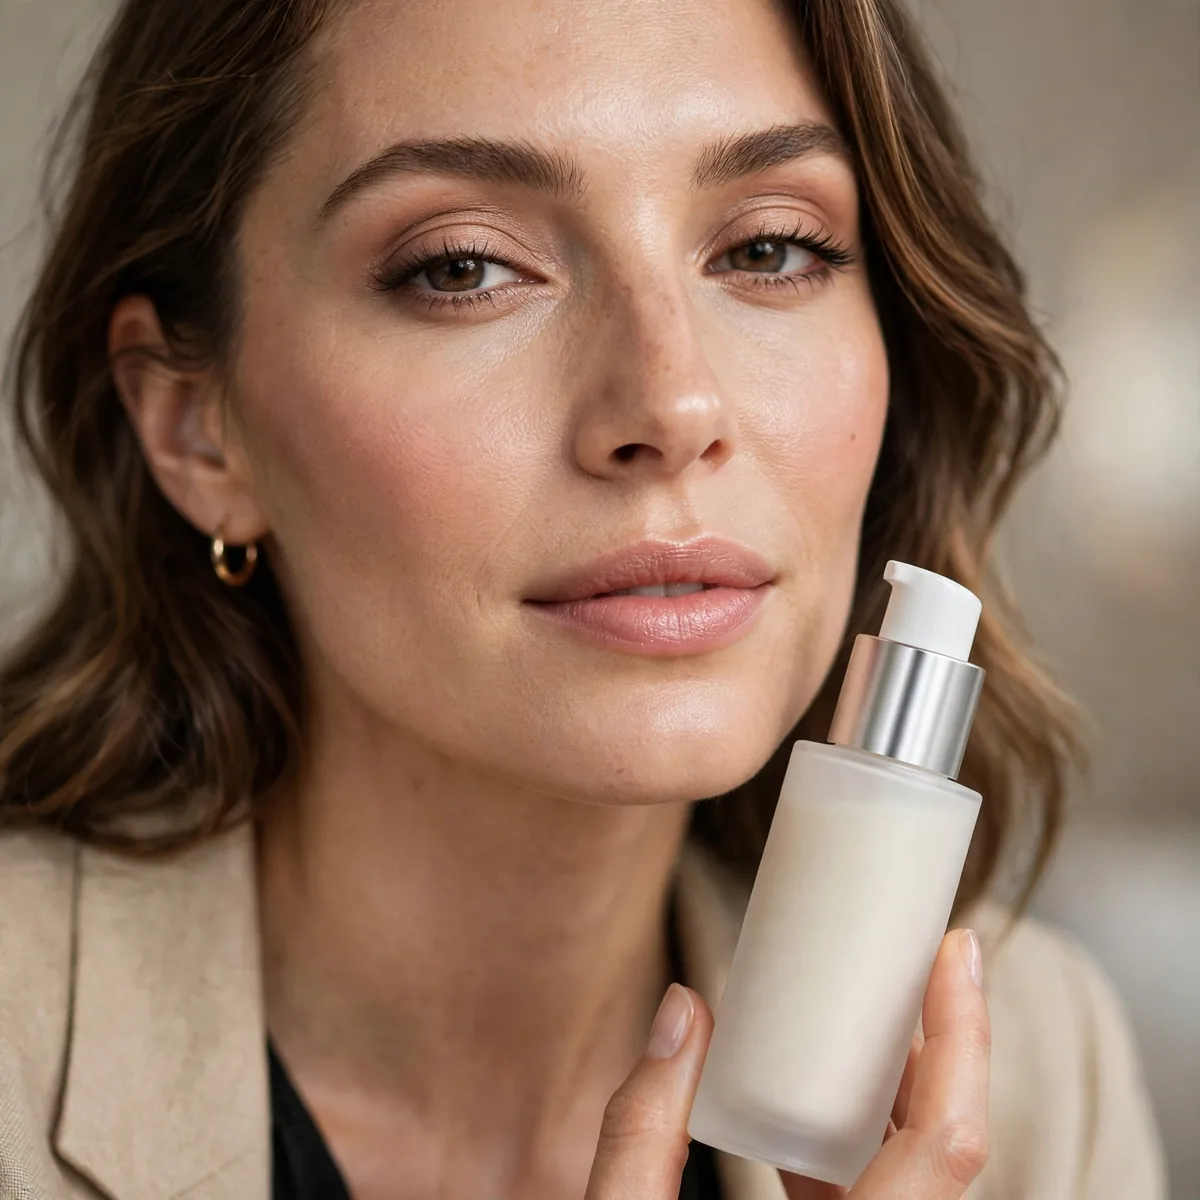
A hydrating primer creates a smooth, grippy base that prevents patchiness.
Primer fills the gap between skincare and makeup. Don’t skip it on dry skin.
Look for primers listing glycerin, squalane, or niacinamide high on the ingredient list — these attract and hold moisture while smoothing texture. Silicone-heavy primers can pill over rich moisturizers, so test the combination on your jawline first. Apply primer with fingertips, pressing it in rather than rubbing, and give it sixty seconds to set. That brief pause lets the primer form its gripping film before foundation arrives.
If your skin is extremely dry, try a primer with a slight illuminating finish — the subtle radiance peeks through foundation and fakes lit-from-within skin. Avoid mattifying or pore-blurring primers entirely; they contain absorbent powders that drink up your skin's moisture. One pump is plenty — over-priming creates a slippery layer foundation slides on. In summer humidity, you can sometimes skip primer if your moisturizer is substantial enough, but keep it in the routine for winter.
Luminous Formula Selection

Choose dewy, hydrating, or serum foundations — never matte on dry skin.
Formula is 70% of the battle. The right formula forgives; the wrong one punishes.
Read beyond the marketing words — check that the formula contains hydrating ingredients like hyaluronic acid or glycerin, not just a dewy-sounding name. Serum foundations and skin tints typically carry the most skincare benefits, while traditional liquid foundations offer more coverage with moderate hydration. Test the wear on your cheek for a full day before committing; a formula that looks dewy at 9 a.m. but cakes by 3 p.m. is not your formula. Satin finishes split the difference beautifully.
Match the formula to the season too — richer, creamier foundations for winter's dry air, lighter hydrating tints for humid summers when heavy formulas melt. If you love a matte foundation's coverage, mixing in a drop of facial oil converts it to dry-skin-friendly territory. Fair skin shows dry patches most visibly, so fair-skinned wearers should be the pickiest about luminosity. A common mistake is buying the same foundation year-round; your skin's needs genuinely change with the weather.
Less Product Rule

Use half the foundation you think you need — thin layers never cake.
Build coverage only where needed. All-over full coverage is what cakes.
Start with a pea-sized amount for the entire face — you can always add, but removing excess disturbs everything beneath. Dot the foundation on the forehead, cheeks, nose, and chin, then blend outward so coverage is heaviest at the center and sheers toward the edges. This center-out technique mimics how light hits the face and uses far less product. Areas without redness or unevenness need almost nothing; let your real skin show through there.
Sheer application flatters mature skin especially, since heavy foundation settles into fine lines and ages the face. If one area needs more coverage — a blemish, dark spots — spot-conceal after foundation rather than layering more base. A damp sponge sheers product out naturally, making it the ideal tool for this less-is-more approach. The mistake to avoid: pumping foundation directly onto the sponge, which wastes product and applies too much at once.
Damp Sponge Application
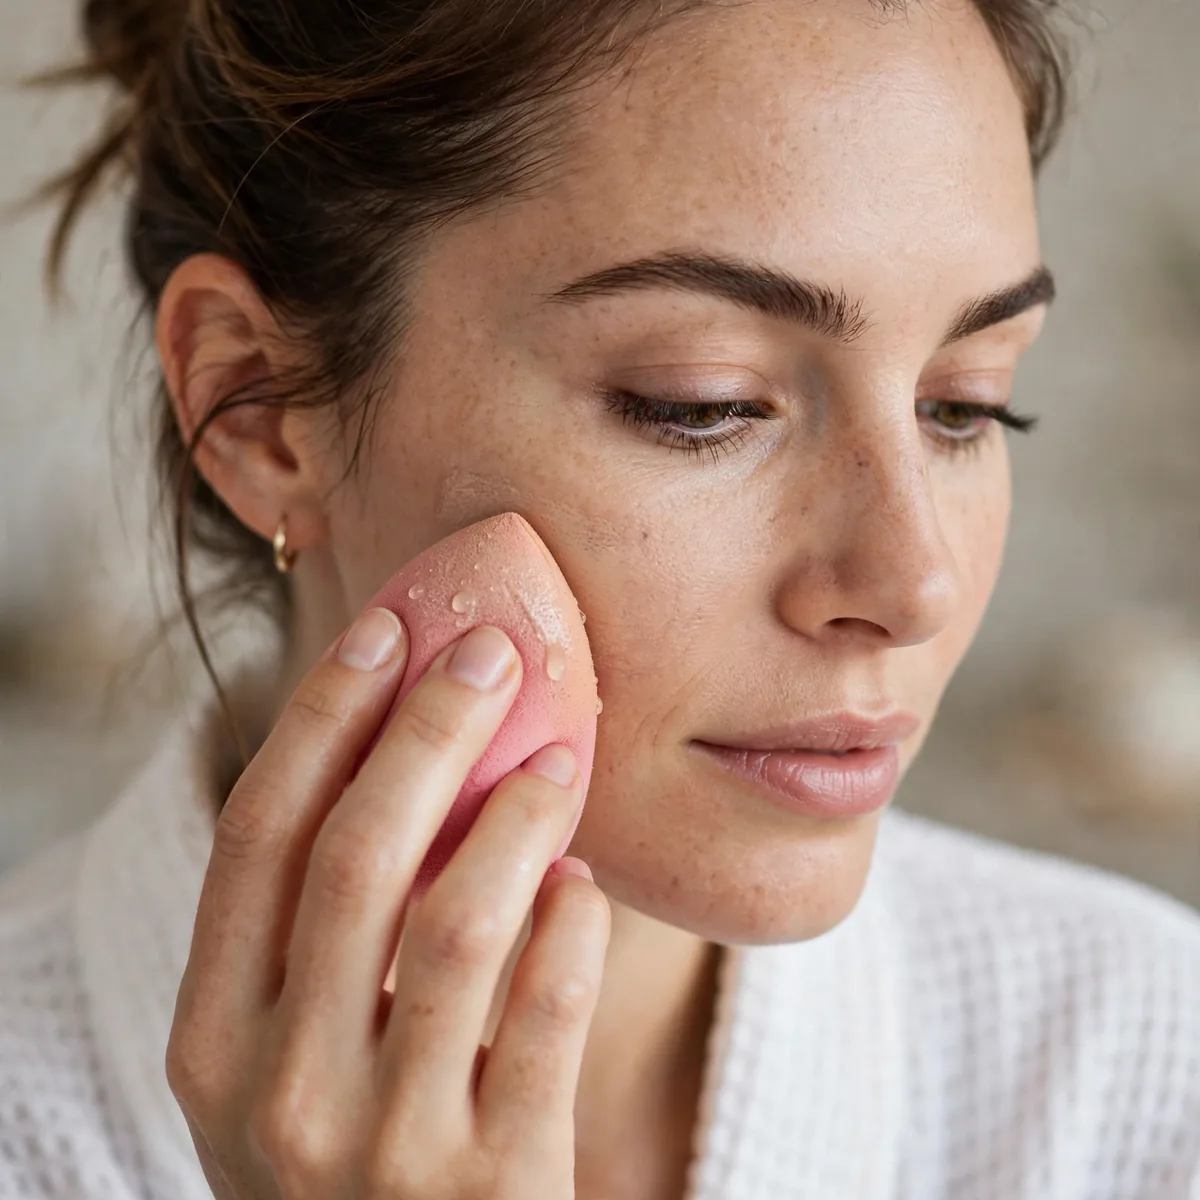
A damp sponge presses foundation in without disturbing dry skin.
The dampness adds hydration while blending. Dry brushes can emphasize flakes.
Wring the sponge until no water drips out — it should feel damp like a wrung-out towel, not wet. Bounce the sponge in a stippling motion rather than swiping; the bouncing presses foundation into skin while the dampness keeps it movable. Rinse and re-wring the sponge if it starts dragging, which signals it's absorbed too much product. Replace beauty sponges every one to three months, since old sponges harbor bacteria and lose their bounce.
The damp sponge technique suits textured and flaky skin best, since it lays product over flakes rather than pushing them around. If you prefer brushes, a dense buffing brush used with a patting motion is the closest brush equivalent — but nothing beats a sponge for dry skin. Clean the sponge with gentle soap after every few uses; product buildup makes blending streaky. A common mistake is using the sponge dry, which absorbs foundation and leaves a patchy, thirsty-looking finish.
Skip Powder (Mostly)

Skip powder everywhere except maybe the T-zone — powder is dry skin’s enemy.
If you must powder, use the tiniest amount with a fluffy brush. Less than you think.
If your T-zone gets shiny by midday, press a single sheer layer of finely milled translucent powder only on the nose and center forehead with a small fluffy brush — never the cheeks or under-eyes. Blotting papers first remove the oil so you powder less; powdering over oil cakes instantly. In winter, many dry-skinned wearers skip powder entirely and rely on setting spray. The goal is strategic shine control, not an all-over matte veil.
Powder choice matters enormously — avoid talc-heavy pressed powders that grip dry patches, and choose finely milled loose formulas with a luminous or satin finish. Apply with a light hand and a fluffy brush; dense brushes pack on too much. If you accidentally over-powder, a spritz of hydrating mist melts the excess back into skin. Mature dry skin should treat powder as strictly optional — the crease risk usually outweighs the shine benefit.
Facial Oil Mixing
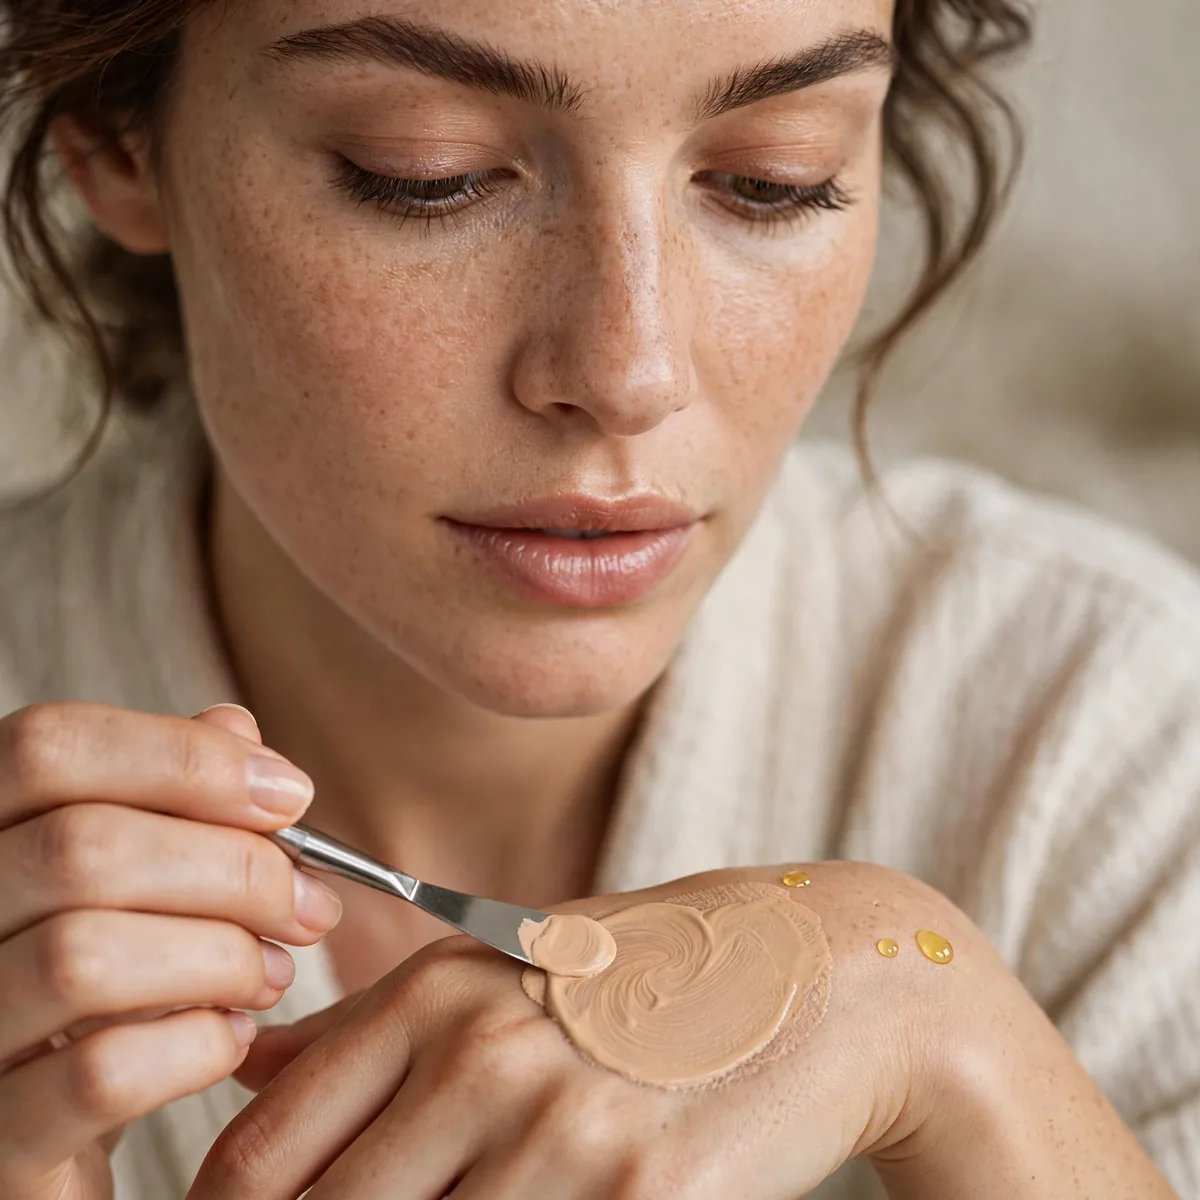
Mix a drop of facial oil into foundation for extra luminosity.
The oil thins the formula slightly and adds glow. A dry-skin game changer.
Add the oil to the back of your hand first, then mix with foundation using a clean fingertip or spatula — mixing directly on the face creates uneven ratios. Start with one drop per pump; more than two drops compromises coverage and wear time. Squalane and jojoba oils blend most seamlessly since they mimic skin's natural lipids. If the mixture separates, your oil and foundation formulas are incompatible — try a different oil rather than forcing it.
This trick shines in winter and on mature skin, when dryness peaks and luminosity fades fastest. In humid weather, skip the oil — your skin produces enough of its own and added oil invites sliding. Apply the mixture with a damp sponge for the most skin-like finish. A common mistake is using a heavy or fragranced oil, which can irritate skin and pill under foundation; stick to lightweight, fragrance-free options designed for the face.
Exfoliate Regularly

Gentle exfoliation 2x weekly removes the flakes foundation clings to.
Chemical exfoliants (lactic acid) beat scrubs for dry skin — gentler and more even.
Lactic acid at 5 to 10 percent is the sweet spot for dry skin — strong enough to dissolve flakes, gentle enough for twice-weekly use. Apply the exfoliant at night on clean skin, then follow with moisturizer once it absorbs. Skip exfoliation the night before a big event if your skin feels sensitive; freshly exfoliated skin can react to new products. If you prefer physical exfoliation, a soft konjac sponge offers the gentlest possible buffing.
Exfoliation timing matters — the evening before makeup day gives skin overnight to calm and rehydrate. Over-exfoliating is the classic dry-skin mistake: redness, stinging, and even more flaking mean you're doing it too often. Pair exfoliation nights with a rich overnight mask to replenish what the acid removes. Sensitive and rosacea-prone skin should start at once weekly and only increase if skin stays calm. Consistency beats intensity every time.
The Sandwich Method
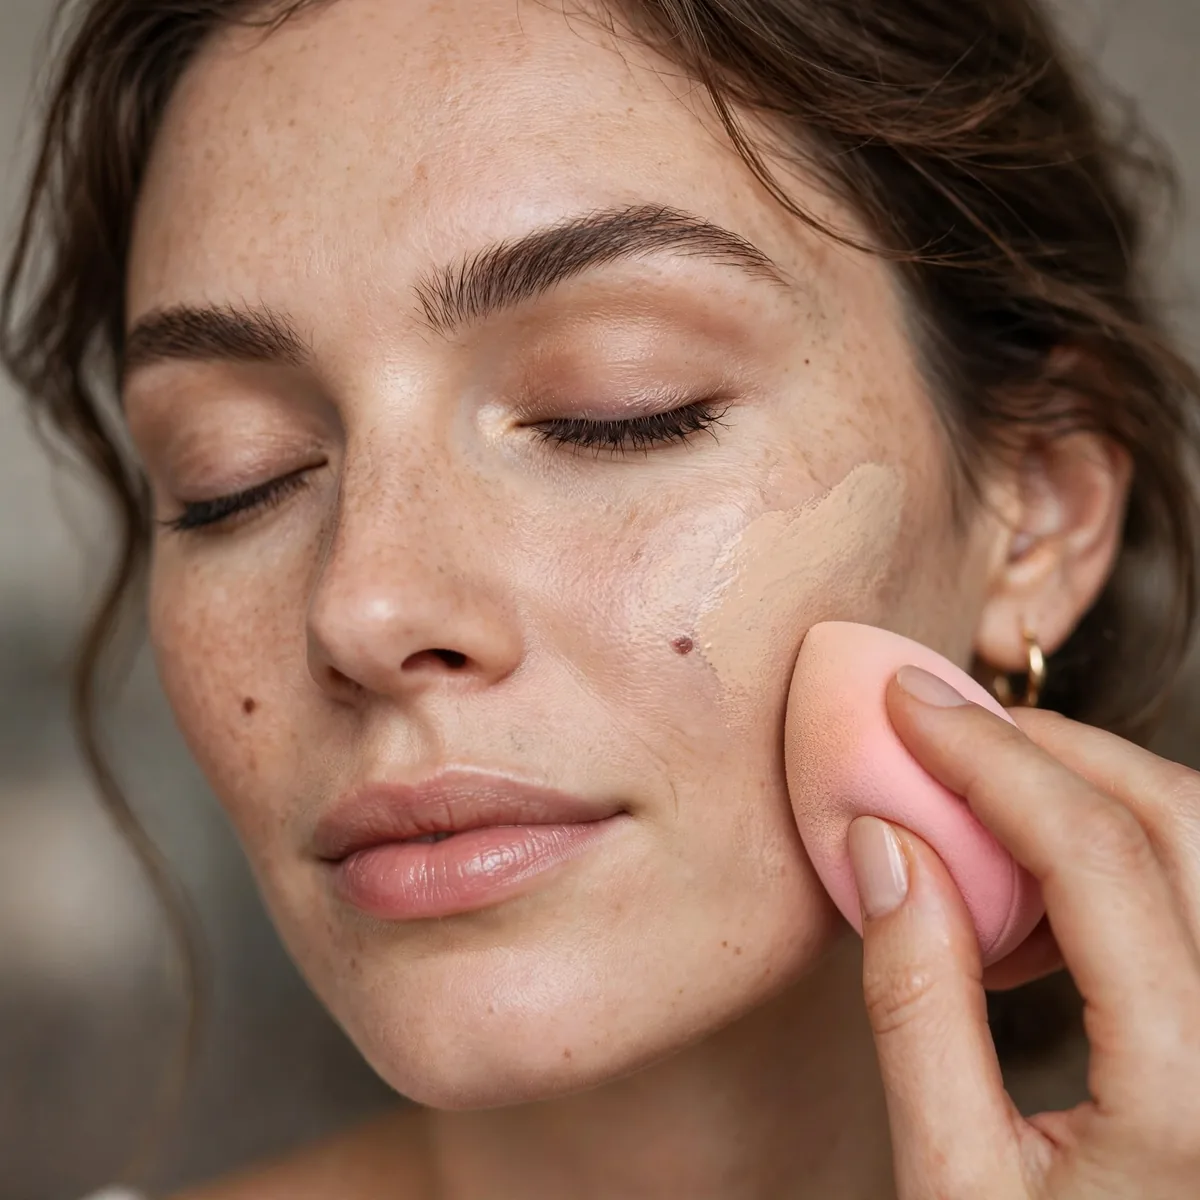
Moisturizer, foundation, facial mist, light moisturizer — the hydration sandwich.
Layering hydration around makeup keeps it fresh for hours. It’s transformative.
Choose a fine, alcohol-free facial mist for the middle layer — heavy sprays disturb foundation, while a fine mist settles it. Hold the bottle eight inches from your face and mist in an X pattern for even coverage. Let each layer absorb for about a minute before adding the next; rushing the sandwich defeats its purpose. The final light moisturizer layer should be a gel-cream texture, not a heavy balm, so it sits over makeup without sliding it.
This method transforms winter makeup days, when indoor heating and cold air team up against dry skin. In summer, you can lighten the sandwich to moisturizer, foundation, and mist alone. The technique suits long-wear needs — weddings, workdays, travel — where touch-ups aren't possible. A common mistake is using a mattifying mist in the middle; it contains absorbents that undo the hydration you're layering. Keep every layer in the sandwich hydrating and your makeup stays fresh for hours.
Cream Over Powder Products

Use cream blush, bronzer, and highlight — powders emphasize dryness.
Our powder vs cream guide breaks it down. Creams melt in; powders sit on top.
Apply cream blush with a damp sponge or fingertips, pressing it into the apples of the cheeks and blending upward toward the temples. Cream bronzer works best warmed between the fingers first, then pressed along the hollows. Because creams have more slip than powders, they need a light hand — start with half the amount you'd use of powder. Layer cream highlighter on the high points last, since it sits most beautifully over the other creams.
Cream formulas flatter mature and textured skin especially, since they don't catch on fine lines the way powders do. In hot weather, set cream cheek products with the faintest dusting of translucent powder — just enough to lock them without dulling the finish. If creams fade by afternoon, the culprit is usually skipping primer underneath. Keep a cream blush in your bag for touch-ups; unlike powder, it melds into existing makeup without caking.
Setting Spray Instead of Powder
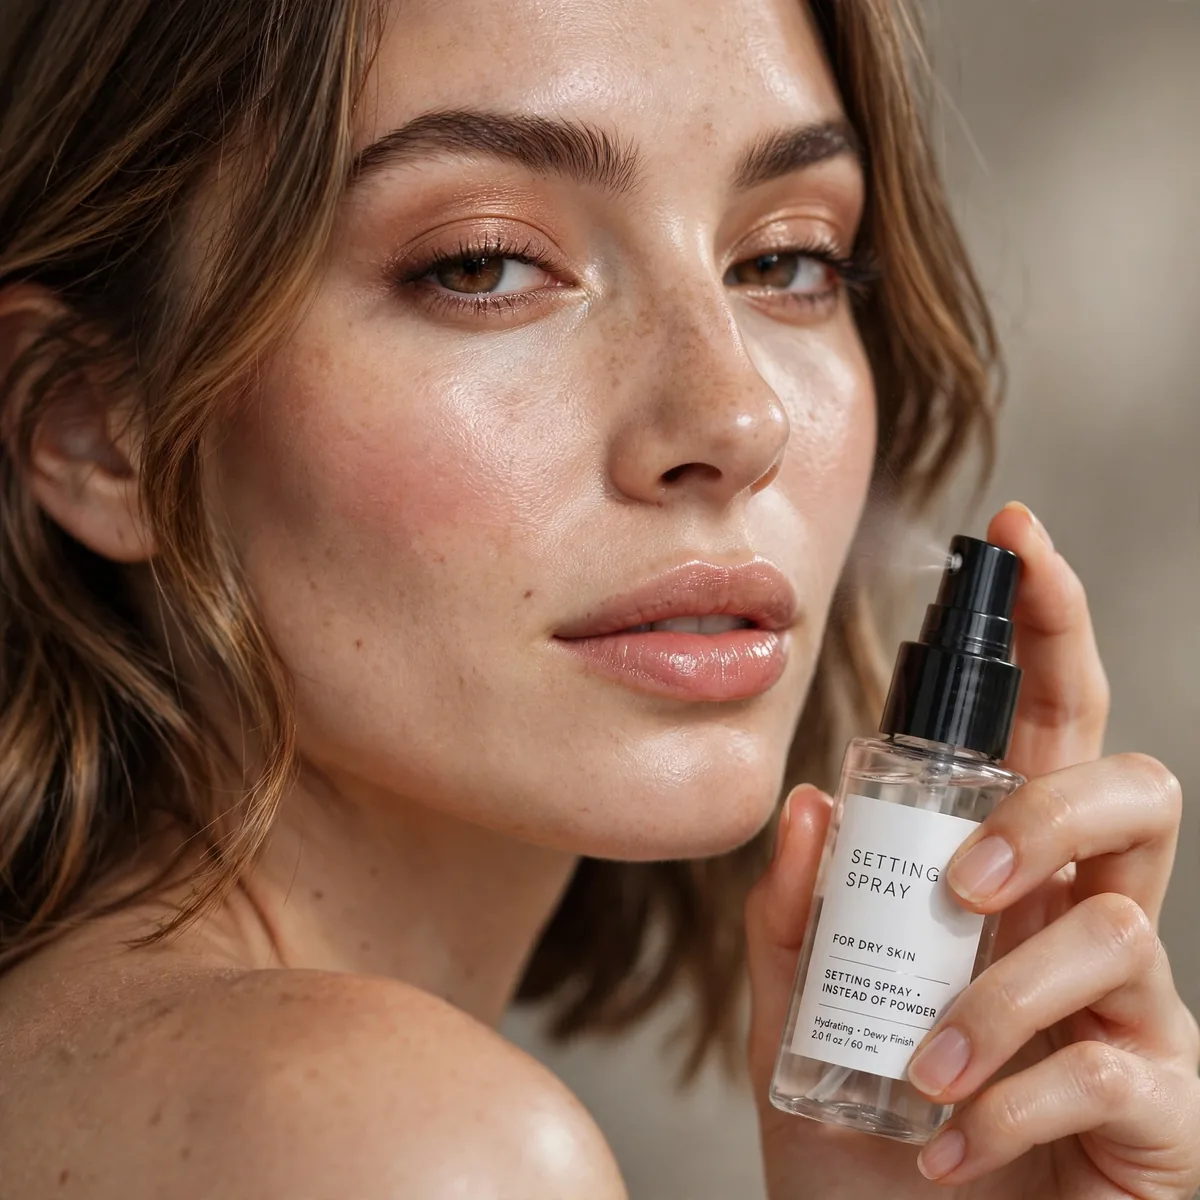
Set with hydrating spray instead of powder for longevity without dryness.
Spray melts everything together into skin. The finish looks like skin, not makeup.
Choose a spray labeled hydrating or dewy — many setting sprays are alcohol-heavy and designed to mattify, which defeats the purpose on dry skin. Mist in an X and T pattern from eight inches away, then let it air-dry without fanning; the drying time is when the polymers set. Two light layers beat one heavy drench. If your spray nozzle sputters large droplets, hold it farther back — big droplets disturb foundation.
Setting spray suits long days when powder touch-ups would build up and cake — weddings, travel, office days. In very humid climates, pair the spray with the tiniest amount of powder on the T-zone for the best of both worlds. A common mistake is spraying before foundation is fully blended; the spray locks in half-blended edges. Always blend first, spray second. Keep a travel-size bottle for midday refreshes — a quick mist revives the finish without adding any product.
Avoid Matte Concealer
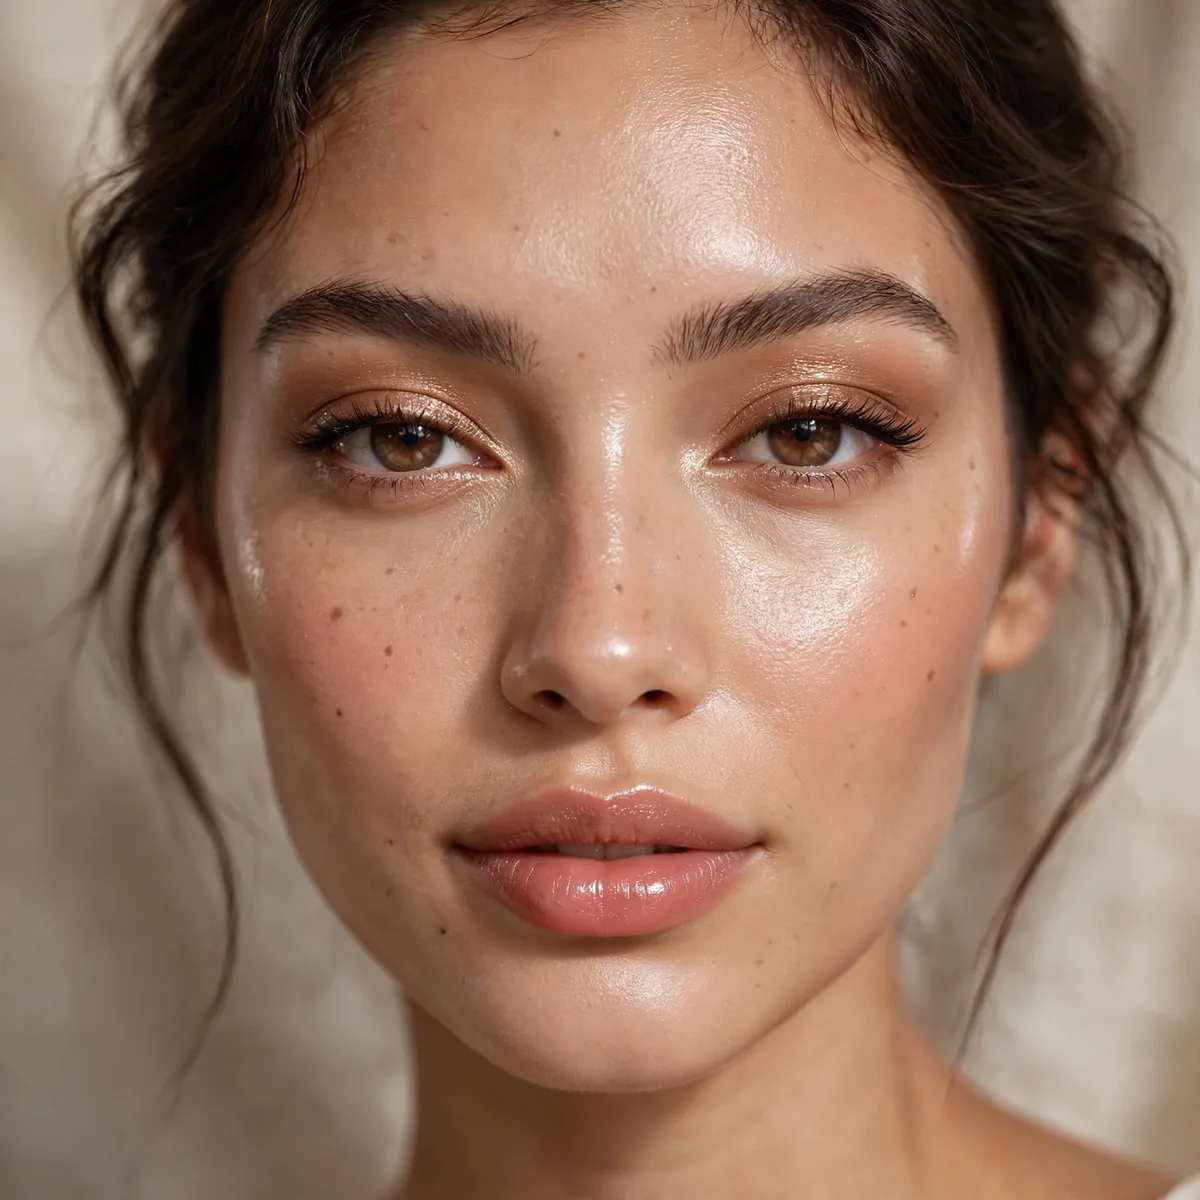
Choose hydrating concealers — matte concealer creases instantly on dry skin.
The under-eye area is driest. Treat it gently with creamy formulas.
Look for concealers labeled hydrating, creamy, or serum — these contain emollients that keep the under-eye area supple. Apply with a damp sponge using a pressing motion, and use the smallest amount that does the job; thick concealer creases no matter the formula. If you need more coverage, layer two thin passes rather than one thick one. Set with the barest touch of finely milled powder only if you must, or skip setting entirely.
The under-eye area shows age first, so hydrating concealer is doubly important for mature skin — matte formulas settle into every fine line within an hour. Prep with eye cream and give it two minutes to absorb before concealer; applying concealer over tacky eye cream causes sliding. For dark circles, a peach-toned hydrating corrector underneath means you need less concealer overall. A common mistake is dragging concealer with a finger — the tugging creates more lines over time.
Midday Mist Refresh

A midday mist revives foundation without adding layers.
Keep a mini mist in your bag. It’s the dry-skin touch-up.
Choose a mist with glycerin or rose water rather than plain water — humectants actually add moisture instead of just wetting the surface. Hold the bottle at arm's length and mist lightly; a heavy hand disturbs foundation. After misting, press a clean damp sponge gently over any areas that look dry — the pressing re-melts foundation into skin. Avoid mists with alcohol or heavy fragrance, which dry skin out further over time.
The midday mist suits office workers and travelers, whose skin battles air conditioning and recycled cabin air all day. In winter, mist more often — heated indoor air is brutally drying. Keep the mini bottle in an easily reached pocket, not buried in your bag, so you actually use it. A common mistake is misting over powdery buildup; if foundation has already caked, misting won't fix it — blot gently first, then mist to revive what's underneath.
Nightly Hydration Investment
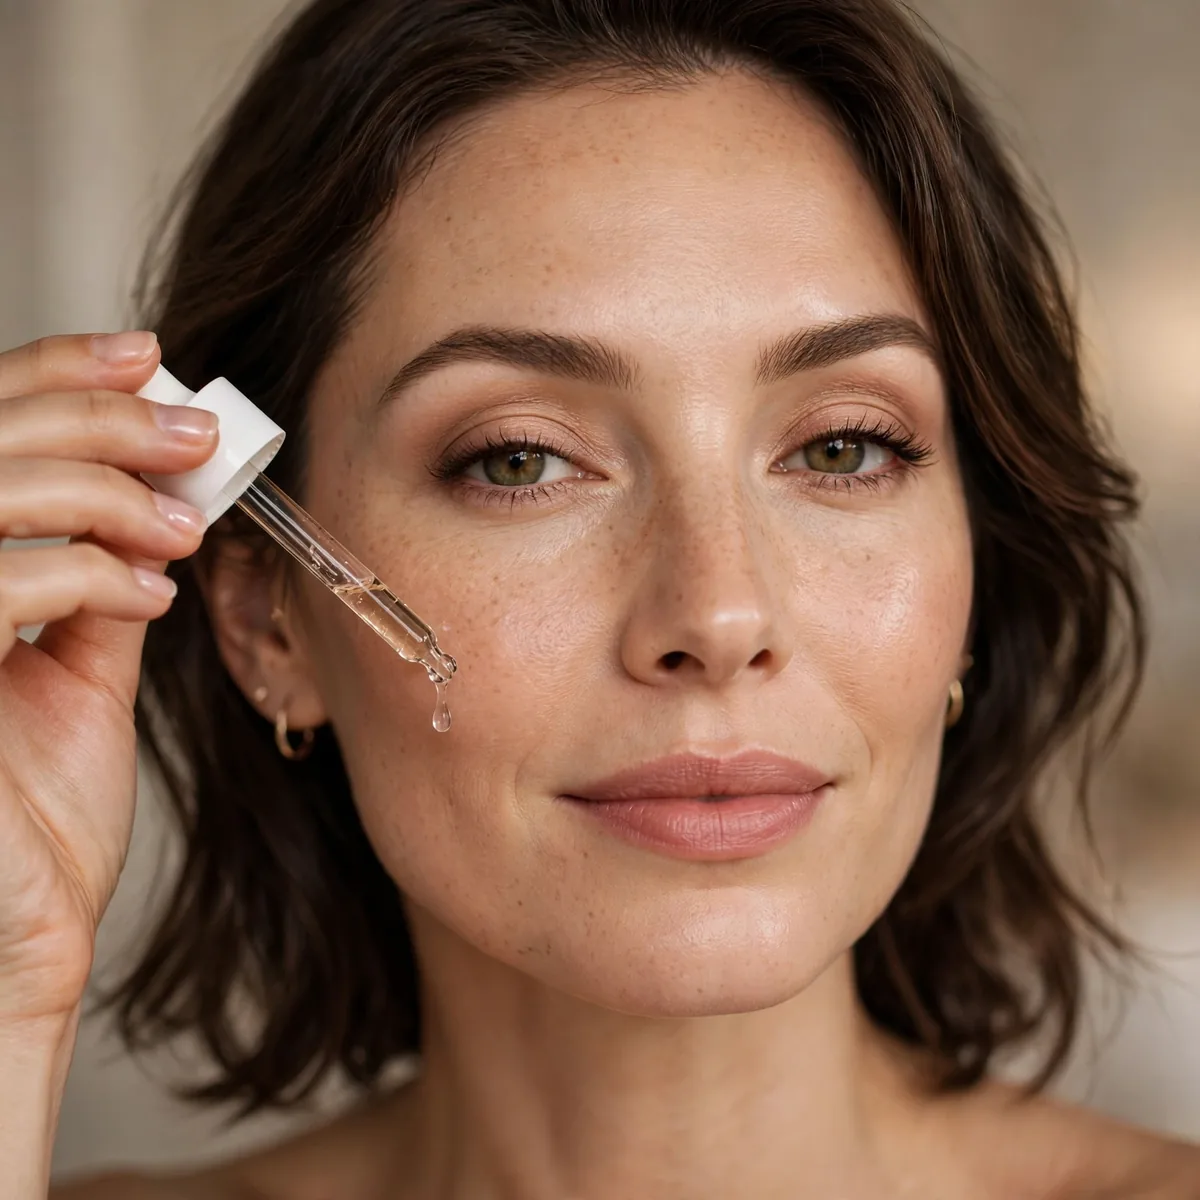
Overnight masks and rich creams mean better makeup the next morning.
Makeup looks as good as the skin underneath. Night care is day makeup prep.
Layer a hydrating serum with hyaluronic acid under your night cream — the serum delivers water while the cream seals it in, the same sandwich logic as daytime makeup. Overnight sleeping masks two or three times weekly give an extra boost; look for ones with ceramides or squalane. Sleep on your back when possible, since pressing your face into a pillow all night creases skin and wipes off product. A silk pillowcase reduces both friction and moisture loss.
Night care pays off most visibly on mature skin, where overnight repair slows and morning dryness hits hardest. In winter, switch to a richer night cream or add a facial oil as the final step — the occlusive layer prevents moisture escaping while you sleep. A common mistake is skipping night care because you're tired; even a single layer of moisturizer beats nothing. Think of it as an investment account: small nightly deposits compound into visibly better makeup mornings.
Humidifier Help
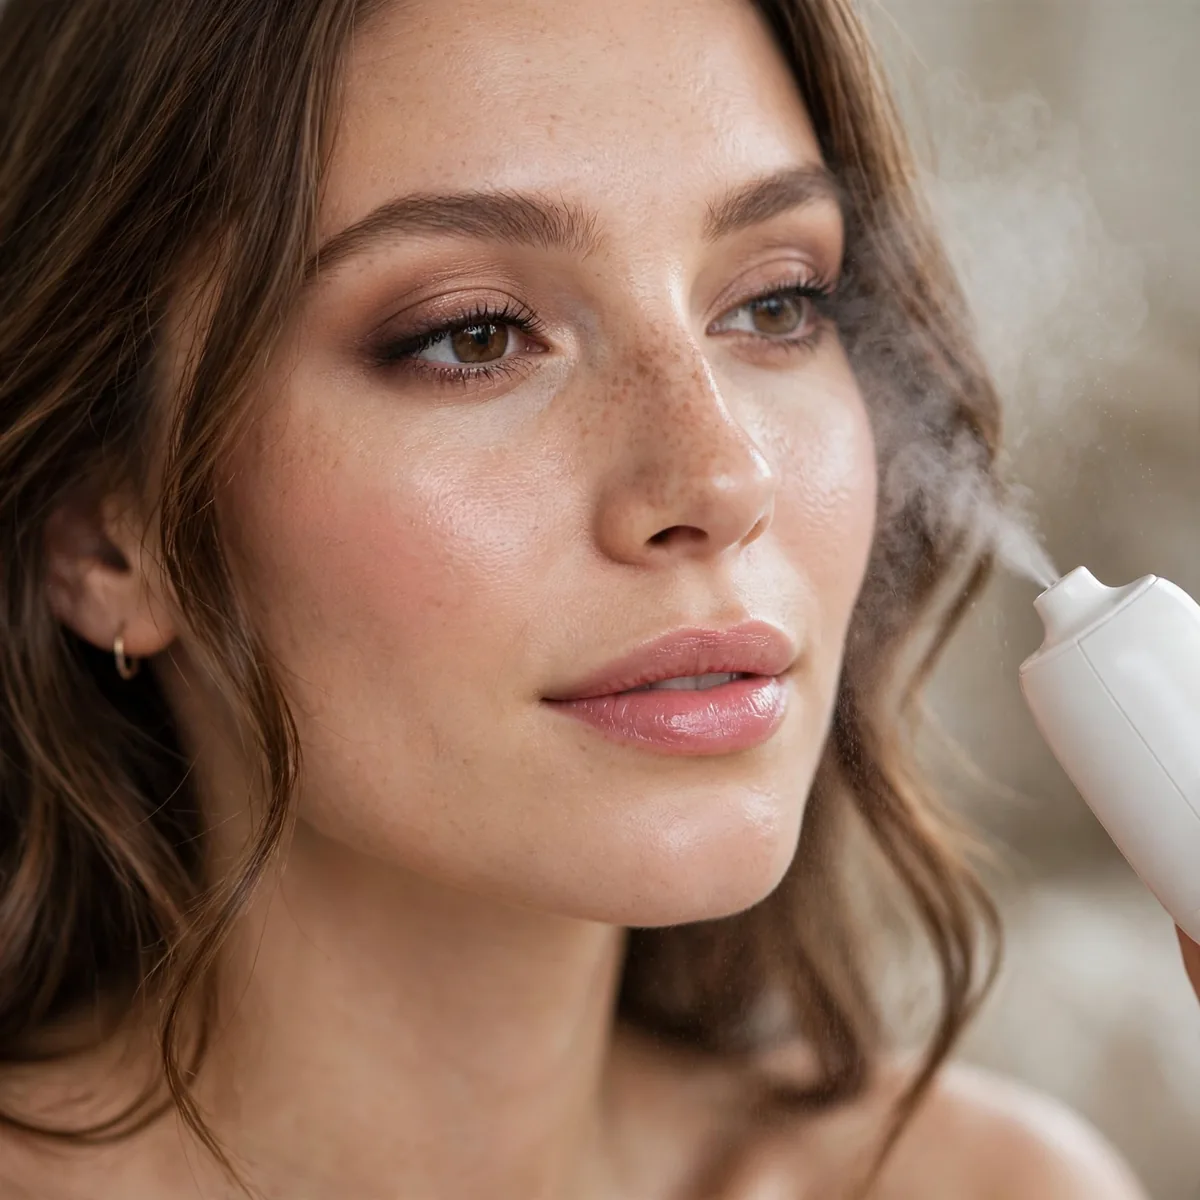
Sleeping with a humidifier improves skin hydration measurably.
It sounds unrelated to makeup, but hydrated mornings need less foundation. Everything connects.
Run the humidifier in your bedroom, where you spend seven to nine hours breathing the air — that's the exposure that counts. Aim for 40 to 60 percent humidity; below 30 percent, skin loses moisture to the air all night. Clean the humidifier weekly with vinegar to prevent mold, since dirty humidifiers do more harm than good. A cool-mist model suits most bedrooms, and a medium room needs only a modest-sized unit.
Humidifiers earn their keep in winter, when heating systems drop indoor humidity to desert levels. If you wake with tight, flaky skin despite a good routine, low bedroom humidity is often the missing culprit. The benefit compounds: hydrated mornings need less foundation, which means less product sitting on dry skin all day. A common mistake is running the humidifier only occasionally — consistency matters more than intensity, so make it part of the nightly routine.
Foundation Shade in Natural Light

Match foundation in natural light — dry skin shows mismatches more.
Store lighting lies. Natural light reveals the true match.
Test three shades along your jawline — one that looks right, one slightly lighter, one slightly darker — then step outside or to a window and check in daylight. The shade that disappears into your skin is the match; the others will show an edge. Check again after fifteen minutes, since some foundations oxidize darker as they dry. Dry skin shows oxidation more obviously because the formula clings to dry patches unevenly.
Shade matching matters most for dry skin because mismatches cling to flakes and texture, drawing the eye exactly where you don't want it. If you're between shades, choose the lighter one — you can warm it with bronzer, but a too-dark foundation is unforgiving. Test on the jawline, not the wrist or hand, since hand skin is a different tone entirely. Re-test seasonally; most people shift a shade darker in summer and lighter in winter.
The Pat-Don’t-Drag Rule
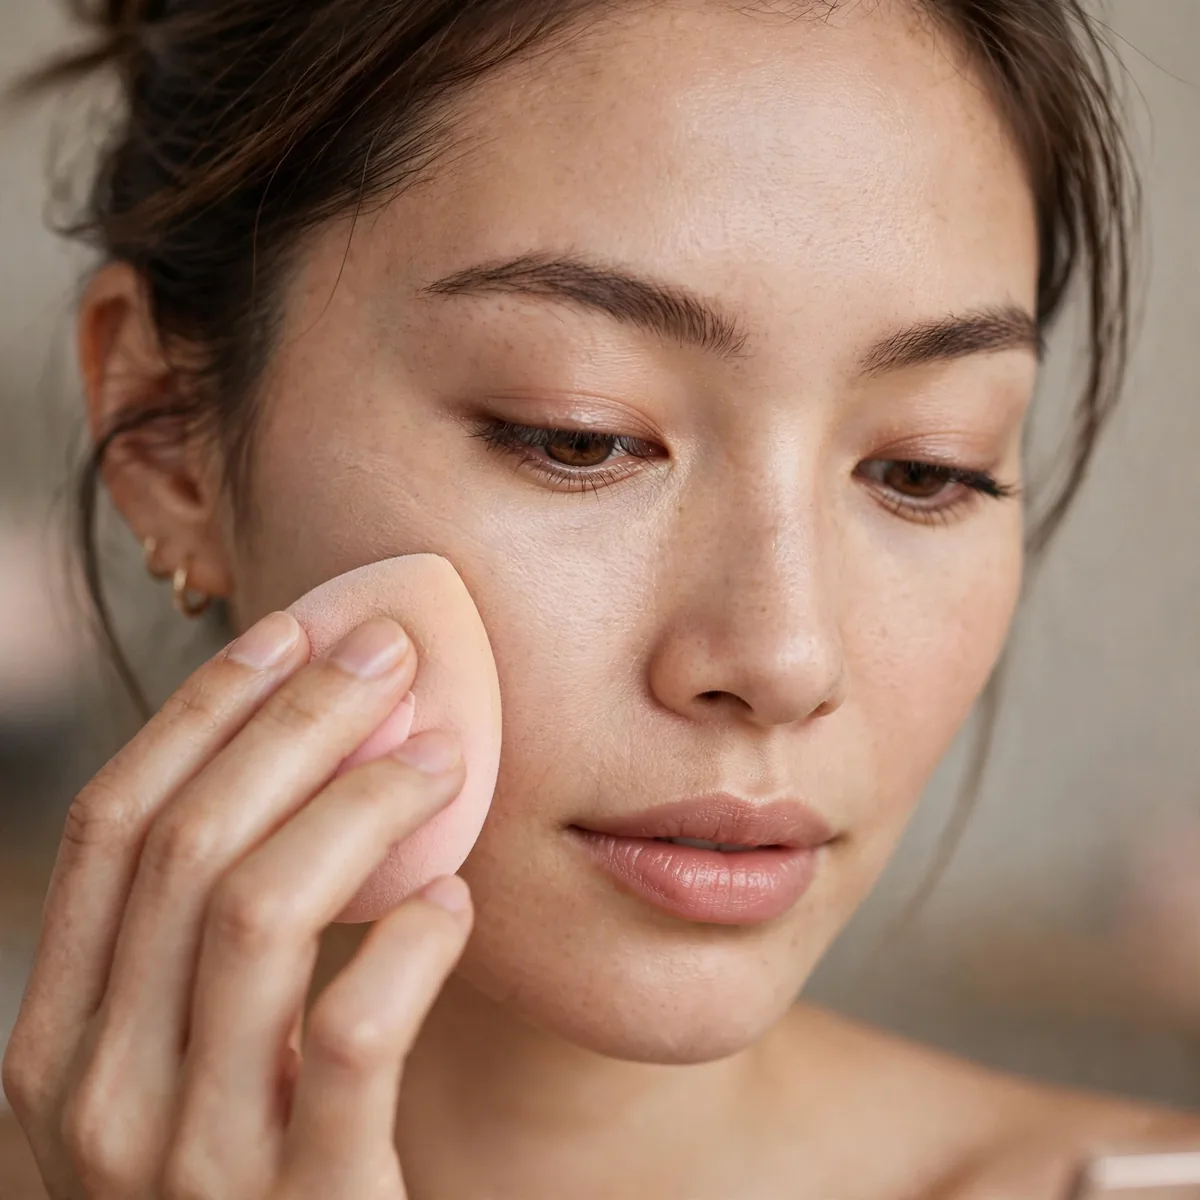
Pat foundation on; never drag — dragging disturbs dry patches.
Patting presses product in. Dragging moves skin and creates streaks.
Use a stippling or bouncing motion with your sponge, lifting it between presses rather than sliding it across the face. Around the nose and mouth, where skin moves most, patting prevents foundation from settling into expression lines. If you use a brush, choose a dense stippling brush and use the same press-and-lift technique — the brush type matters less than the motion. Work in small sections so each area gets proper attention before the product starts setting.
Patting suits mature skin best, since dragging tugs at skin that's already losing elasticity. If foundation looks streaky, the cause is usually dragging or a too-dry sponge — re-wet the sponge and press over the streaks to fix them. Around dry patches, pat extra gently and avoid going over the same spot repeatedly; overworking one area lifts the product back off. The golden rule: once an area looks blended, leave it alone and move on.
Lip and Eye Prep Too
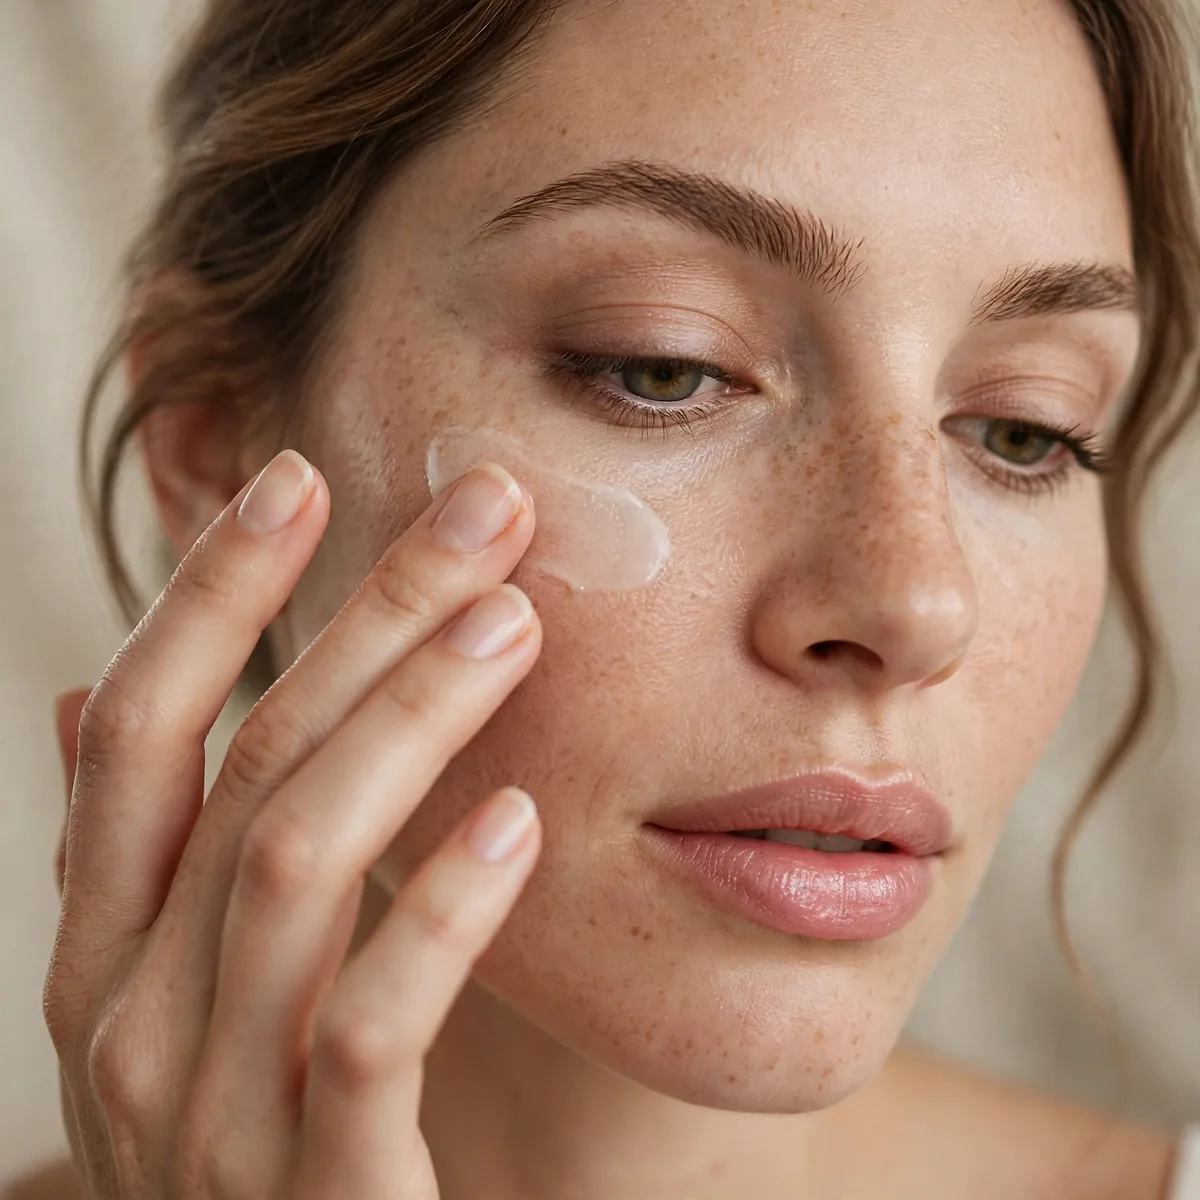
Exfoliate lips and hydrate eyelids — dry skin affects the whole face.
Lip scrub plus balm before lipstick. Eye cream before concealer. Full-face prep.
Exfoliate lips with a sugar scrub or a damp washcloth in gentle circles, then immediately seal with a hydrating lip balm — the exfoliation is pointless without the moisture lock. For eyelids, pat on a lightweight eye cream and wait two minutes before any concealer or shadow; lids are thin and crease-prone without this step. Choose fragrance-free formulas for both areas, since lips and eyelids react fastest to irritants.
Lip prep matters most before matte lipsticks, which magnify every flake and crack — even the priciest matte looks cheap on unprepared lips. For the eyes, prepped lids mean shadow applies evenly and concealer doesn't crease by noon. A common mistake is applying lip balm right before lipstick; the slip makes color slide. Blot the balm down to a thin layer first. Make full-face prep a habit and every product you own performs better.
Know When to Skip Foundation

On very dry days, tinted moisturizer beats foundation.
For the full philosophy, our dewy looks for dry skin guide embraces it. Sometimes less makeup is the best makeup.
Tinted moisturizers with SPF give dry skin hydration, light evening, and sun protection in one step — ideal for low-makeup days. BB creams offer slightly more coverage while keeping the skincare-first texture dry skin loves. On no-makeup days, a good moisturizer plus concealer only where needed often looks better than a full base. Listen to your skin's daily condition rather than following a rigid routine; flexibility is the real skill.
Skipping foundation suits weekends, work-from-home days, and any day your skin feels parched — forcing base onto very dry skin always backfires. Use the foundation-free day to let heavy skincare absorb fully; it's a recovery day for your skin barrier. If you miss the polished look, a tinted lip balm and groomed brows add structure without a full base. A common mistake is feeling guilty about skipping — makeup should serve your skin, not punish it.
The Dewy Maintenance Routine

Blot oil (not dryness) gently, mist, pat — the dry-skin maintenance trio.
Maintain, don’t add. The goal is preserving the morning’s work, not rebuilding it.
Blot with oil-absorbing sheets by pressing, never rubbing — rubbing disturbs foundation and creates patchiness. Focus blotting on the nose, chin, and center forehead where oil actually appears; the cheeks rarely need it. After blotting, mist lightly and press with a clean sponge to re-meld everything. Carry a small cream blush to revive color on the cheeks, since blush fades fastest on dry skin throughout the day.
This maintenance trio suits long workdays and travel, when you can't redo your makeup from scratch. In the evening, the same routine transitions day makeup to night — blot, mist, press, then add a fresh layer of cream blush and lipstick. Avoid powdering during touch-ups; adding powder over existing makeup is the fastest route to cakiness. A common mistake is touching up too aggressively — gentle maintenance preserves the morning's work far better than rebuilding it.
Hydration is the foundation of foundation — pin these tips. For more dry-skin love, see dewy makeup looks, or master natural foundation looks.




