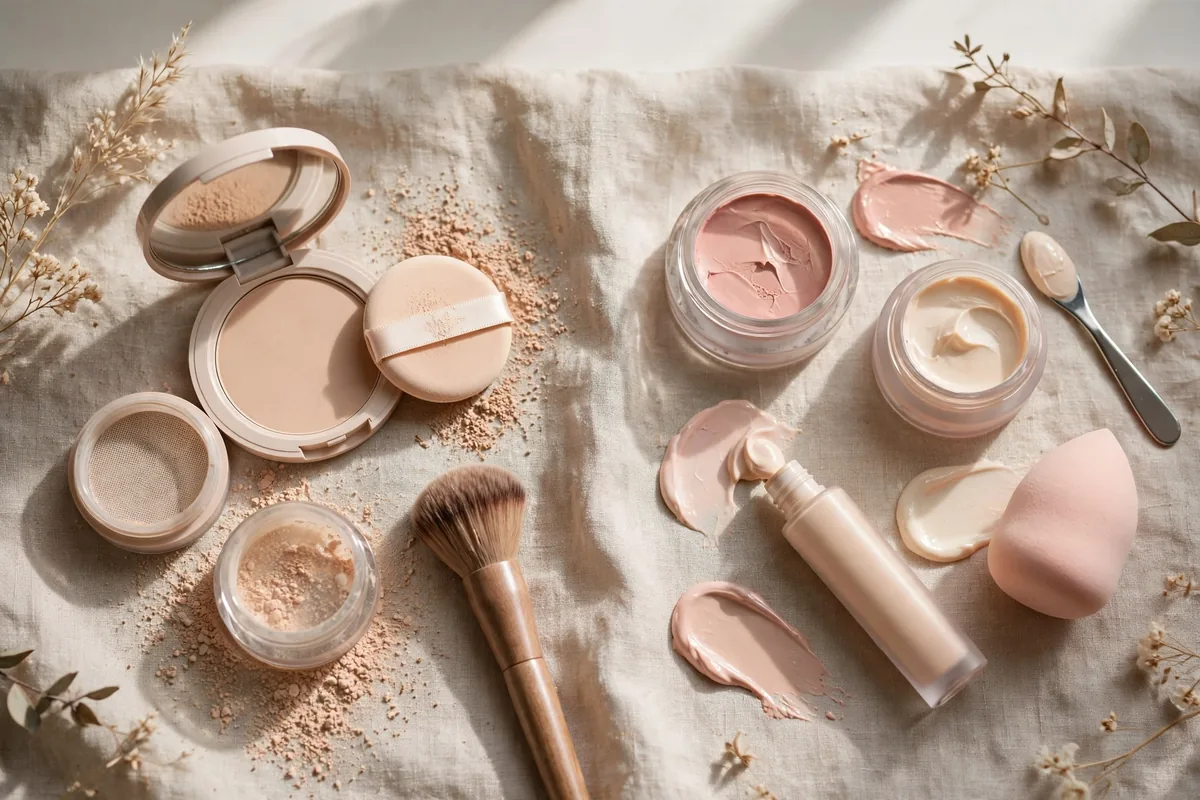
Powder vs cream isn’t about preference — it’s about physics.
Creams melt into skin for a natural finish; powders sit on top for definition and longevity. Different jobs, different tools. Using the wrong one is why makeup looks "off" without an obvious reason.
Skin type is the main decider: dry skin loves creams, oily skin needs powders, and everyone benefits from mixing strategically.
Here are 15 comparisons. Let’s get into it.
Blush: Cream Wins for Dry
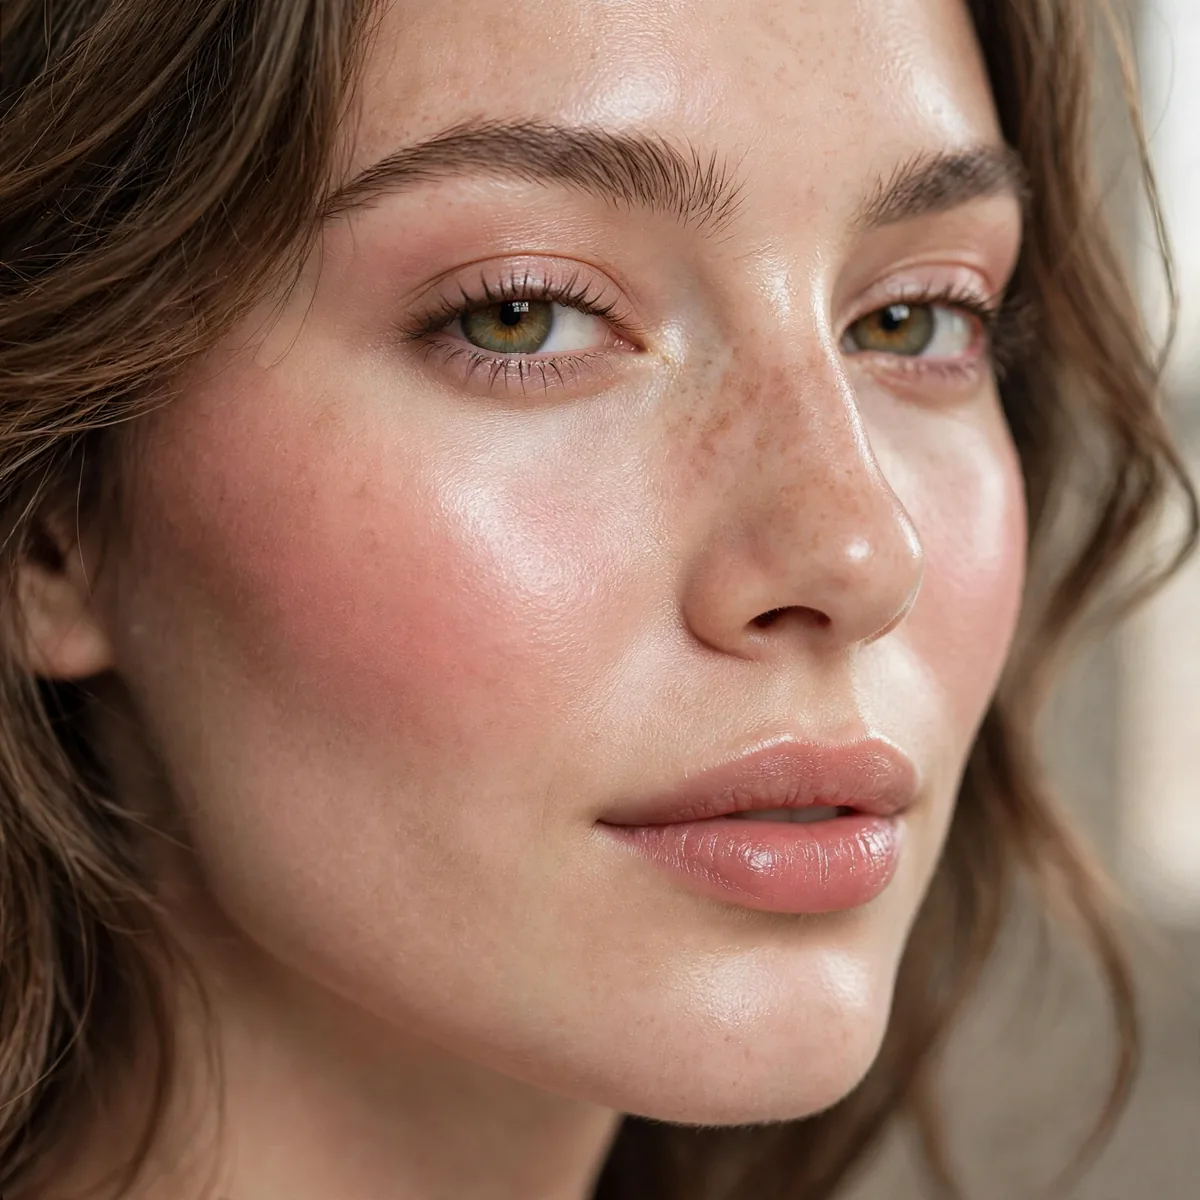
Cream blush melts into dry skin; powder emphasizes flakes.
Dry skin should default to cream blush. The finish difference is dramatic.
Warm the product between your fingertips before pressing it onto the apples of your cheeks, because body heat loosens the emollients and helps the pigment grip evenly. A dense stippling brush or a damp sponge both work, but pressing rather than swiping avoids disturbing the foundation underneath. Layer a sheer second coat at the center for intensity instead of going heavy all at once.
Cream blush breaks down fastest where facial oils collect, so keep it on the higher planes of the cheek rather than near the nose. A single spritz of hydrating setting spray revives the glow around midday without adding another layer of product. In winter, when indoor heating parches skin, creams keep their luminous finish far longer than in humid summer weather.
Blush: Powder Wins for Oily
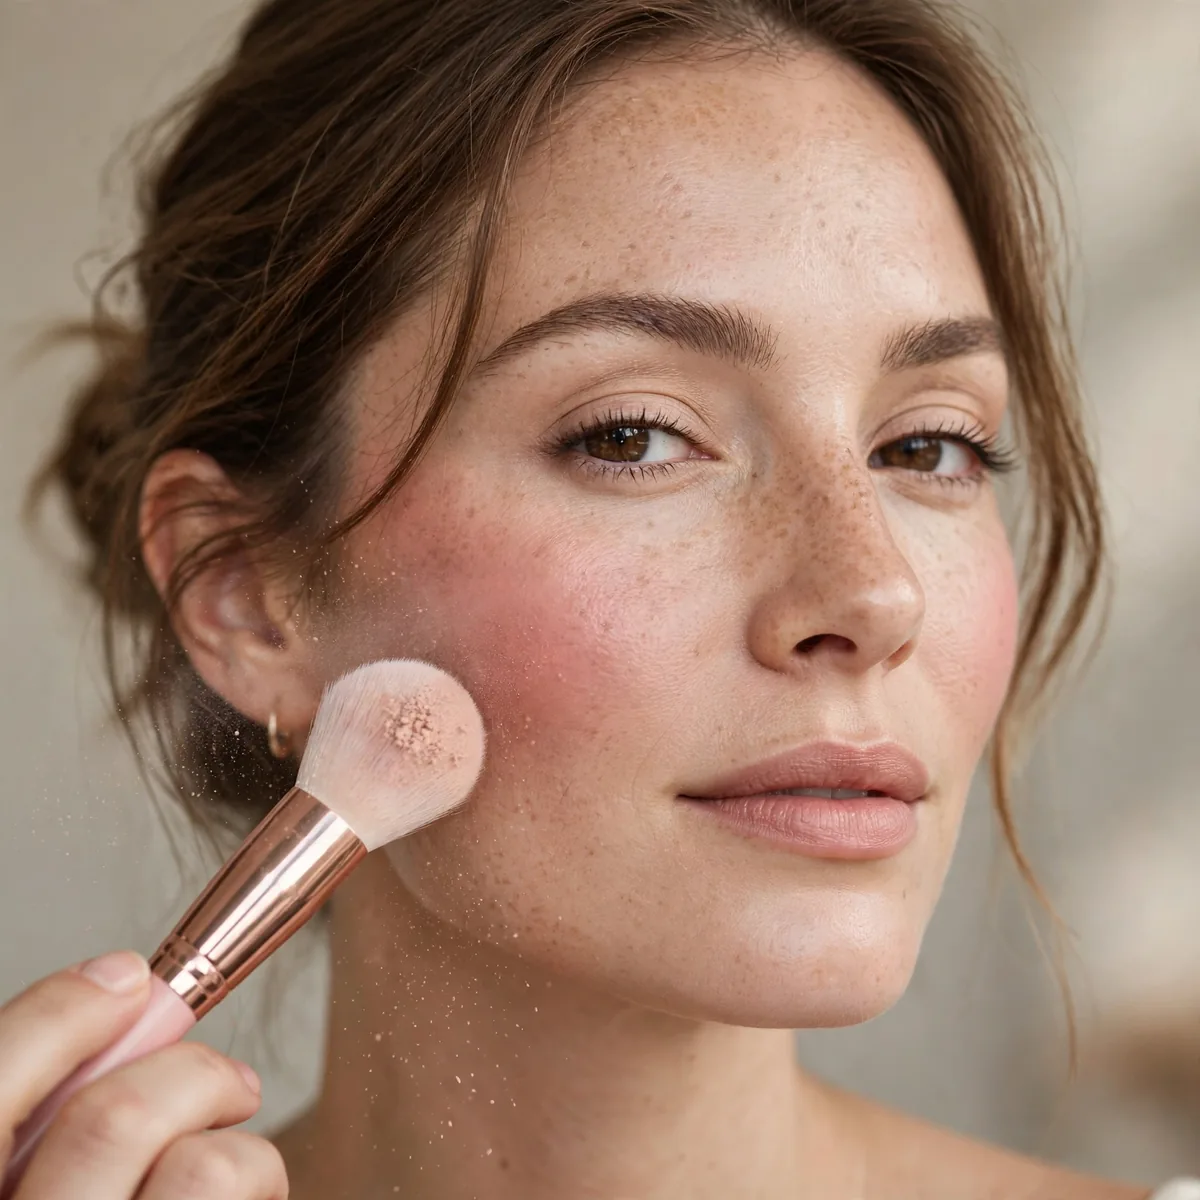
Powder blush stays put on oily skin; cream slides by noon.
Oily skin needs powder’s staying power. Cream can’t compete with oil.
Choose a slightly deeper shade than you think you need, since powder reads lighter once it diffuses across the skin. Buff it in circular motions starting from the outer cheek and sweeping inward, which deposits less pigment where cheeks meet the nose. A fan brush gives a soft-focus veil for daytime, while a denser angled brush builds the saturated color that photographs beautifully at evening events.
Pressing powder blush over a thin layer of translucent setting powder — rather than directly onto foundation — prevents patchiness on combination skin. If you over-apply, a clean fluffy brush swirled in loose powder acts as an eraser without disturbing the base underneath. Cream-to-powder formulas can split the difference, offering the ease of cream with the staying power of powder.
Foundation: Match to Skin
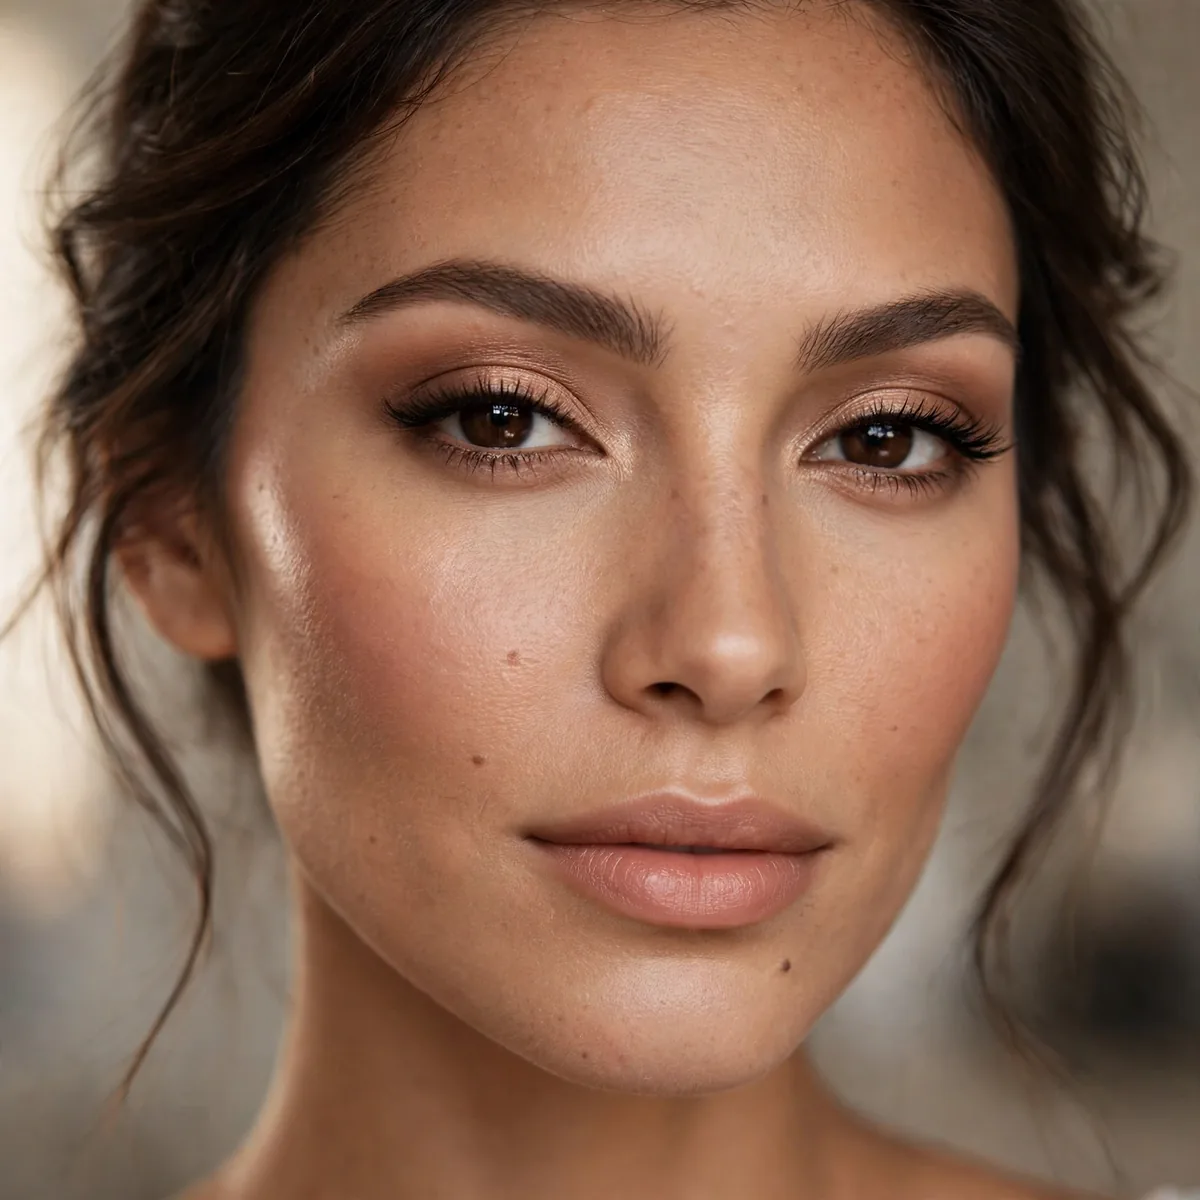
Dry: hydrating liquid/cream. Oily: matte liquid or powder. It’s that simple.
Foundation formula is the highest-impact choice. Get this right first.
Undertones matter as much as finish: dry skin with pink undertones glows in peachy cream formulas, while olive undertones lean toward golden bronzes that sit better in satin finishes. Test foundation along the jawline in natural daylight and let it oxidize for ten minutes before judging, since many liquid formulas deepen as they dry. Your neck, not your wrist, is the only honest color reference.
Combination skin often needs two formulas — a hydrating liquid through the cheeks and a matte, oil-absorbing liquid across the T-zone. A color-correcting primer underneath lets you pick a lighter foundation shade, which means less product overall and a more skin-like result. Reassess your formula seasonally: most people need something richer in winter and more matte by mid-summer.
Bronzer: Powder for Definition
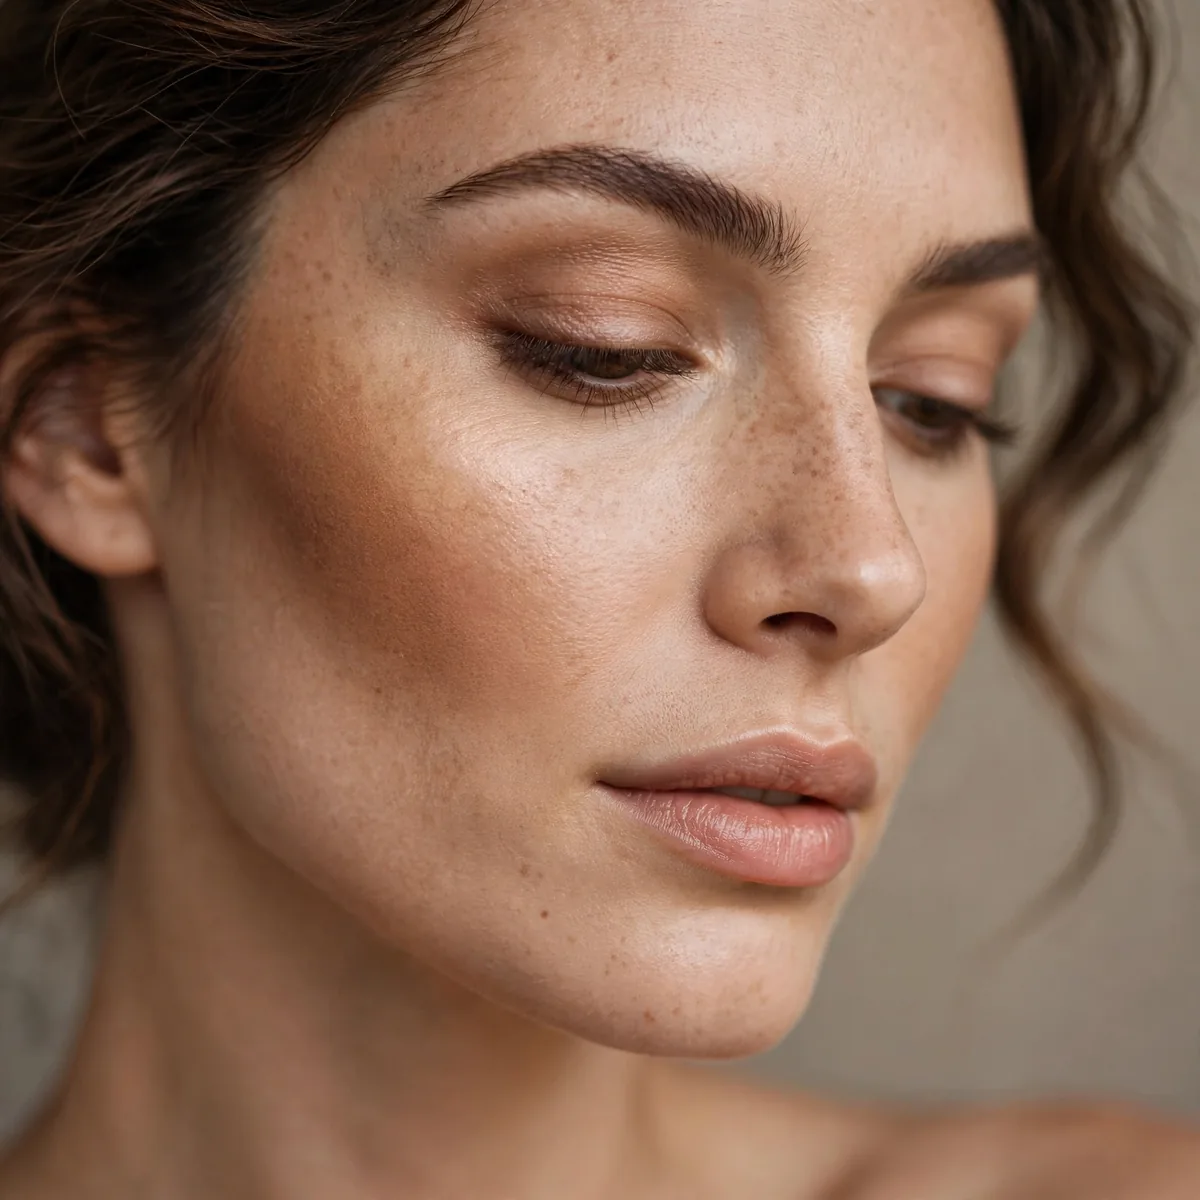
Powder bronzer gives more precise contour-like definition.
When you want sculpted warmth, powder’s precision wins.
Apply powder bronzer after blush to avoid a muddy overlap, and tap the brush before touching your face so excess product never lands in one spot. The classic placement sweeps across the forehead temples, hollows of the cheeks, and jawline in a loose three shape. Matte formulas sculpt most convincingly, while a faint shimmer version doubles as a subtle evening glow when evening light flatters the skin.
Powder bronzers with neutral undertones flatter fair skin without turning orange, whereas deeper complexions can handle richer, redder tones that read as warmth rather than contour. Blend past the jawline onto the neck so the warmth looks environmental rather than applied. If edges look harsh, a clean kabuki brush buffed in soft circles melts the pigment into the surrounding skin.
Bronzer: Cream for Glow
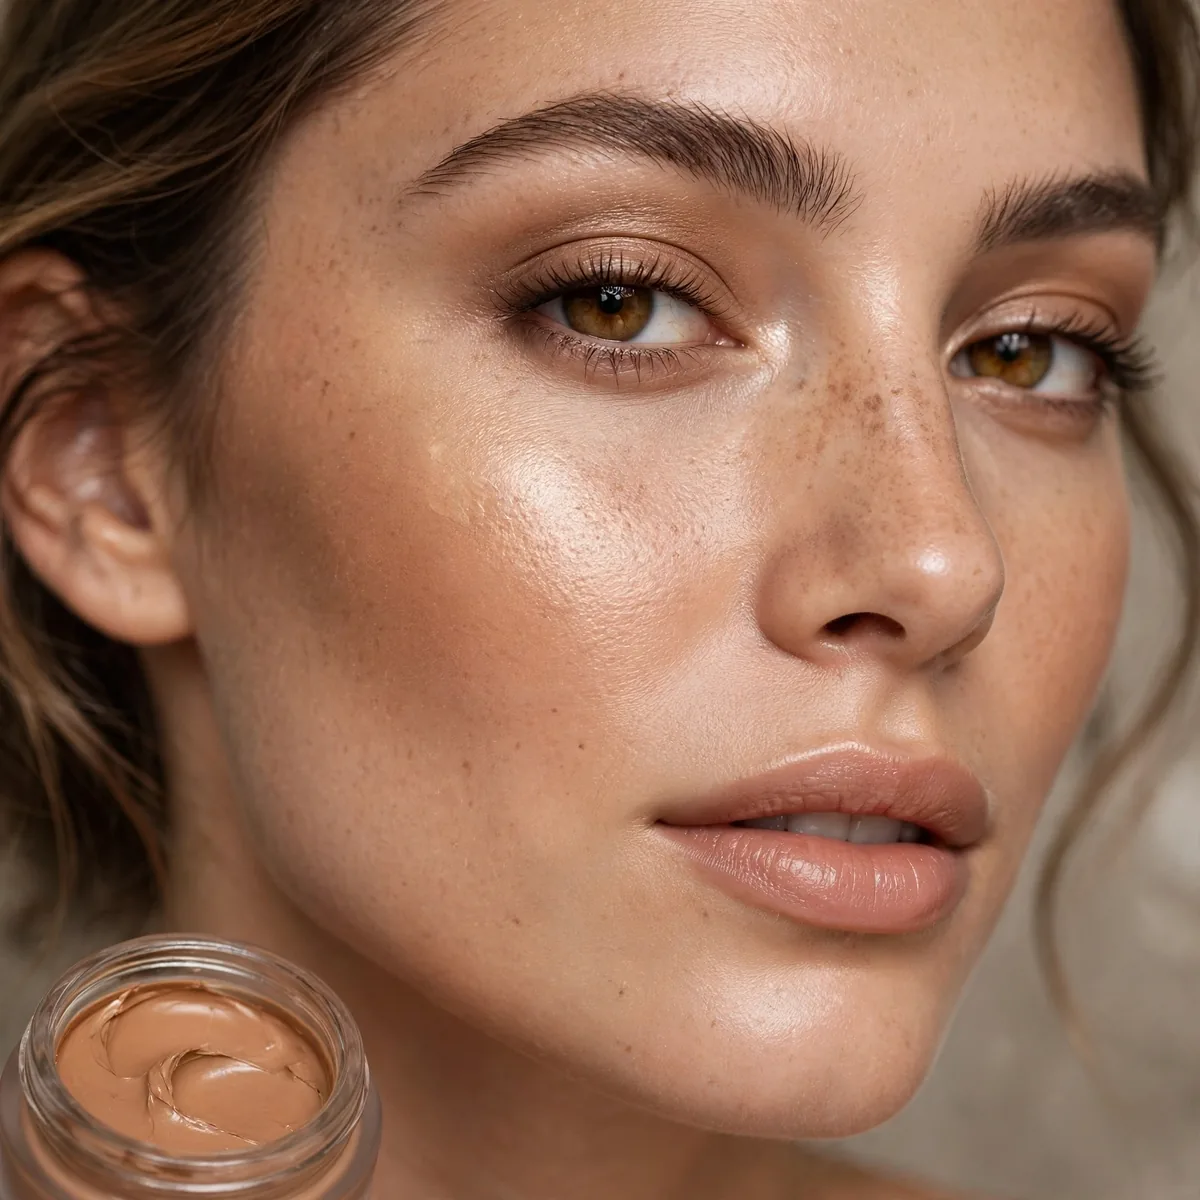
Cream bronzer gives a sun-kissed glow that looks like skin.
For natural warmth, cream is unbeatable. It mimics real sun exposure.
Cream bronzer applies best over a still-tacky base — a completely set foundation makes it skip and streak. Dot it where sunlight naturally hits: temples, the bridge of the nose, the tops of cheekbones, and a whisper across the chin. Then blur the edges with a damp beauty sponge using small rolling motions, which presses the pigment into the skin instead of sitting on top.
For a just-back-from-the-coast effect, add a tiny extra dot across the nose bridge and tops of the cheeks where a real tan would settle. Warm undertones in the bronzer itself make the result look sun-earned rather than drawn on. Set only the T-zone with powder afterward, leaving the bronzed areas to keep their dewy, light-catching finish through the evening.
Highlighter: Cream Under, Powder Over
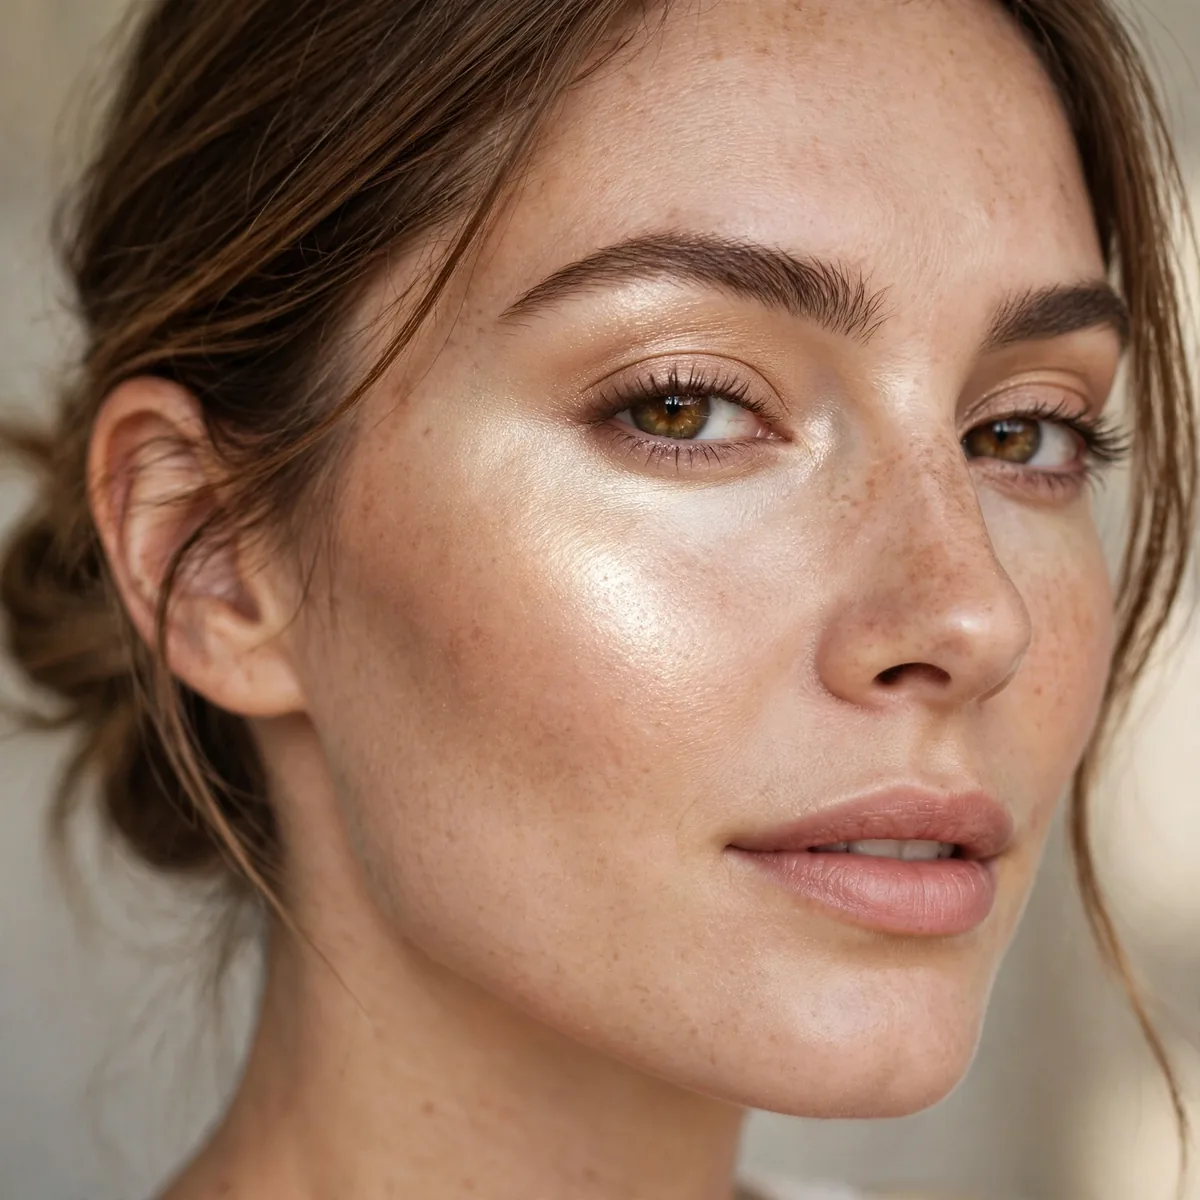
Layer both: cream for depth, powder for pop.
Our highlight guide details placement. Layering finishes is the pro move.
Start with the cream highlighter as a lit-from-within base on the high points of the face, using a fingertip so the warmth melts the product into the skin. Once it sets for a minute, tap a fine-milled powder highlighter exactly on top with a small tapered brush to amplify the shine. This stacking creates dimension that reads in photographs, where a single layer often falls flat under flash.
Keep the layered area tight — the top of the cheekbone, the brow bone, and the cupid’s bow — because spreading shine across too much real estate makes skin look oily rather than lit. A spritz of setting spray after layering fuses the two finishes and takes off the powdery edge. Champagne tones flatter warm undertones, while pearly pink suits cooler complexions.
Eyeshadow: Powder for Blend
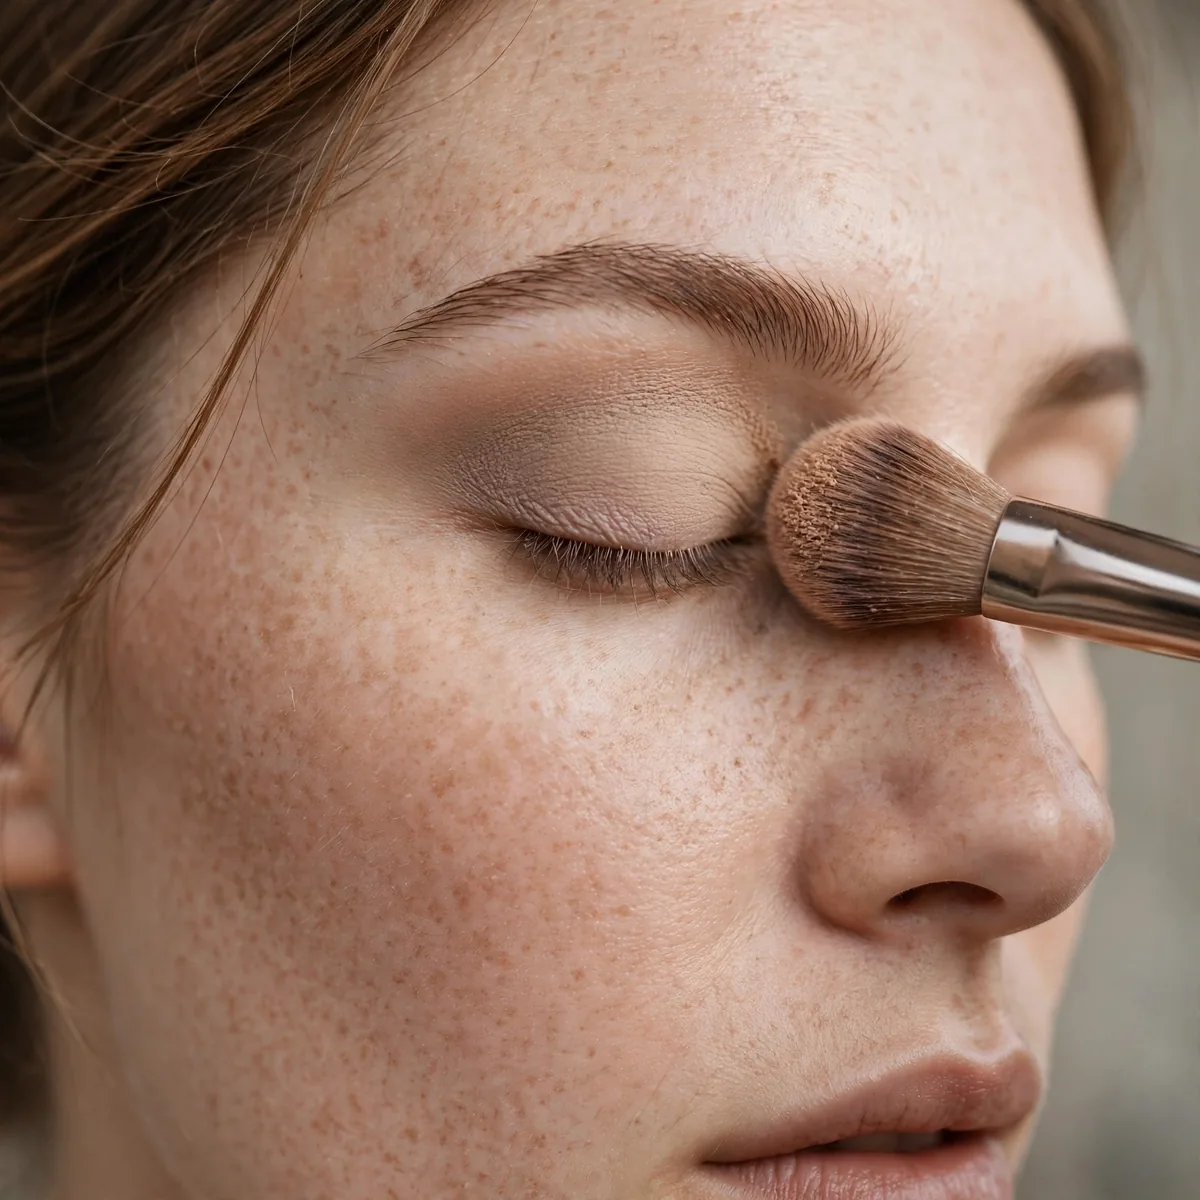
Powder shadows blend more easily for complex eye looks.
Multi-shade blending needs powder’s workability. Creams are for simple washes.
Build powder eyeshadow from the lightest transition shade upward, placing the transition color slightly above the crease so deeper tones have somewhere to blend into. Patting metallic shades onto the lid with a fingertip or flat shader brush gives maximum reflectivity, while a fluffy blending brush in small windshield-wiper motions softens the edges. Clean brushes between colors prevent the muddy gray that ruins multi-shade looks.
Talc-free formulas can be drier and require a tacky primer to grip, so prime lids whenever you plan a complex blend. Deep-set eyes need the darkest shade kept tight to the lash line with the crease color lifted higher to create the illusion of space. Knockout looks photograph better when the transition is buffed a full minute longer than feels necessary.
Eyeshadow: Cream for Wash
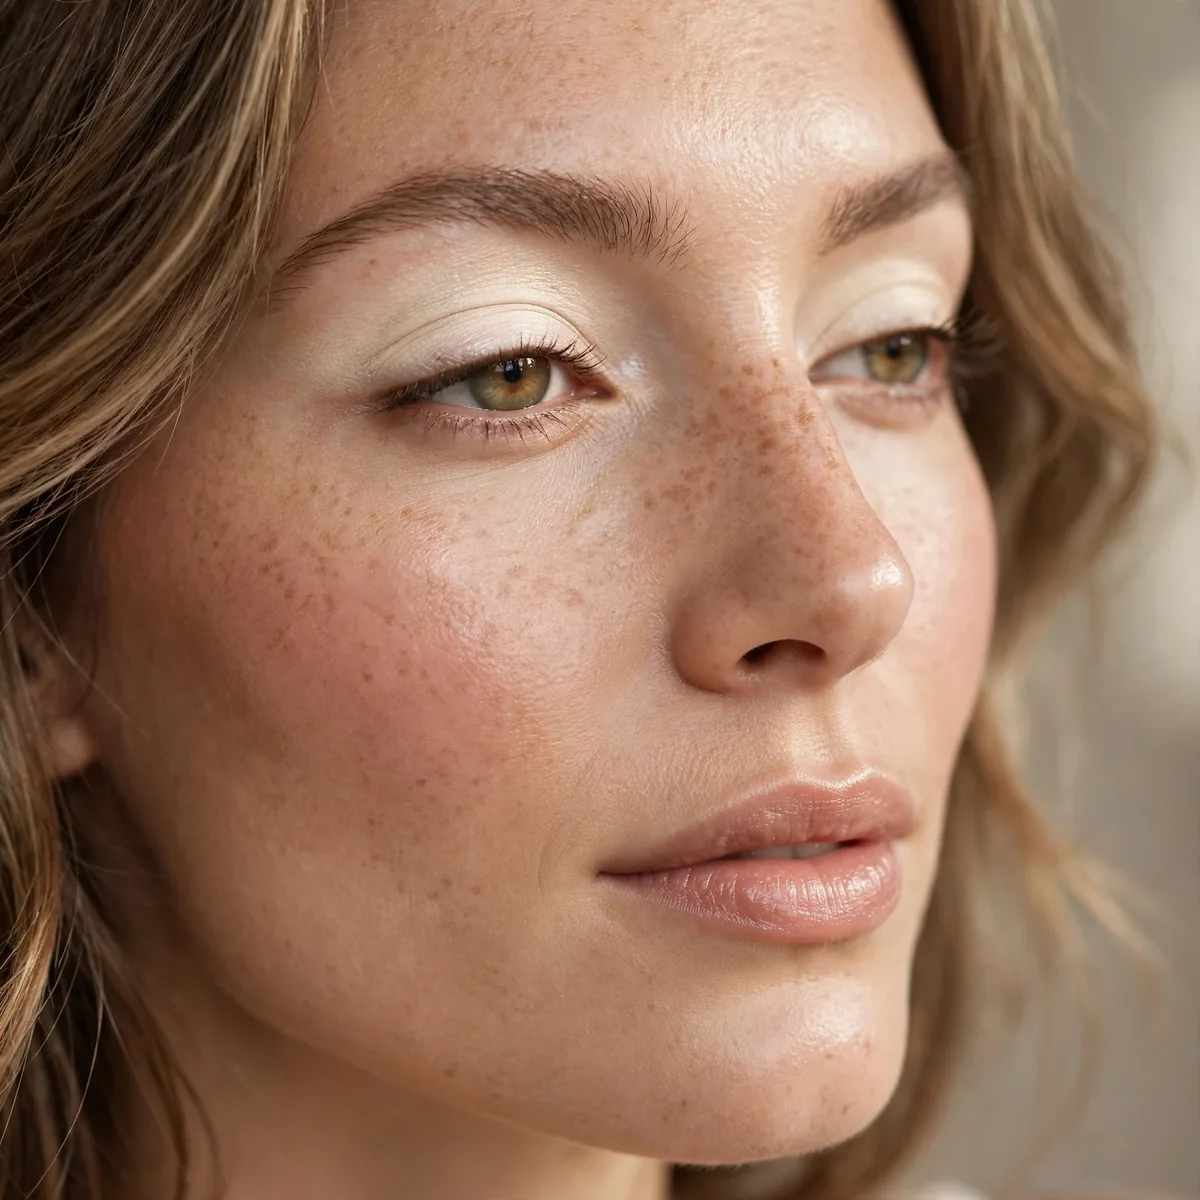
Cream shadow for one-swipe washes — fast and luminous.
Single-shade looks are cream’s territory. Quick, pretty, done.
Swipe cream shadow straight from the stick or pot onto the lid, then blend the edges with a clean fingertip in under thirty seconds before it sets. One wash of champagne or bronze across the whole lid plus mascara is a complete morning look. Cream sticks with a built-in smudger end make touch-ups effortless, and the dewy finish keeps mature lids looking smooth rather than crepey.
Cream shadows double as eyeliner when drawn along the upper lashes with a small angled brush and left to set. On oily lids, a whisper of translucent powder over the primer first gives the cream something to anchor to, preventing the sliding that happens by afternoon. Bronze and taupe shades suit virtually every eye color and never look overdone for daytime.
Concealer: Cream Always
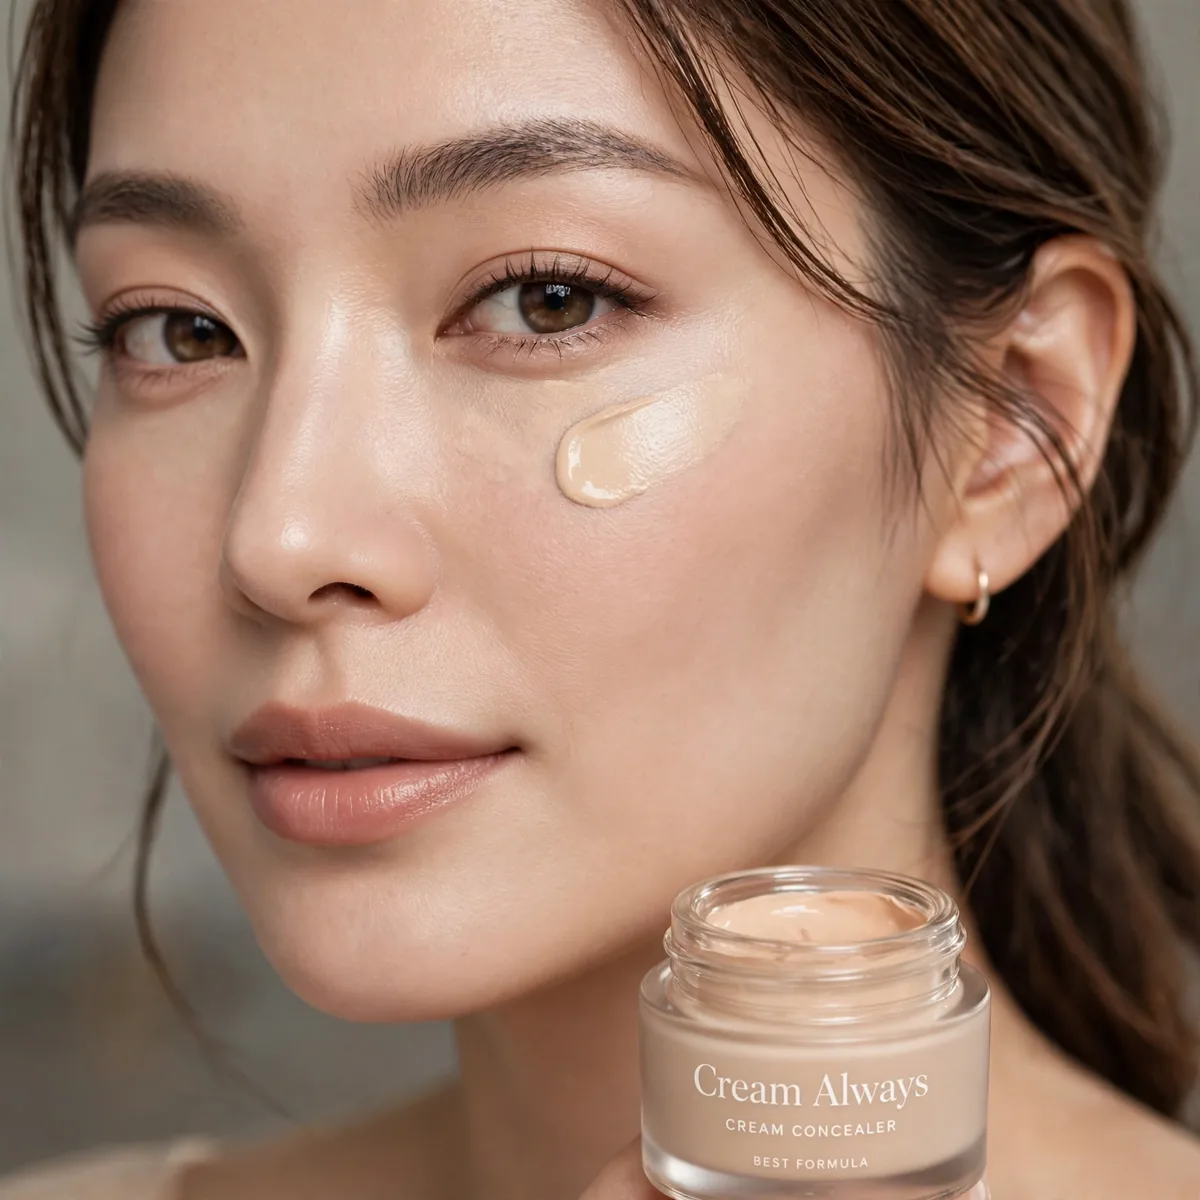
Concealer should almost always be cream — powder concealer creases.
The under-eye area needs cream’s flexibility. Powder here is a mistake.
Dot cream concealer in a triangle under the eye rather than a half-moon hugging the lashes, because extending it toward the cheekbone lifts the whole midface. Let it warm on the skin for thirty seconds before blending with a damp sponge — that brief wait improves adhesion and coverage. One thin layer, patted rather than dragged, covers better than two rushed layers.
Set concealer with a tiny amount of finely milled translucent powder pressed on with a small puff, not swept, to avoid creasing. Skip setting under the eyes if the skin is dry; instead, mist lightly with setting spray for hold without powder texture. Shade one tone lighter than foundation brightens, but anything lighter than that reads ashy on deeper skin tones.
Setting: Powder’s Job
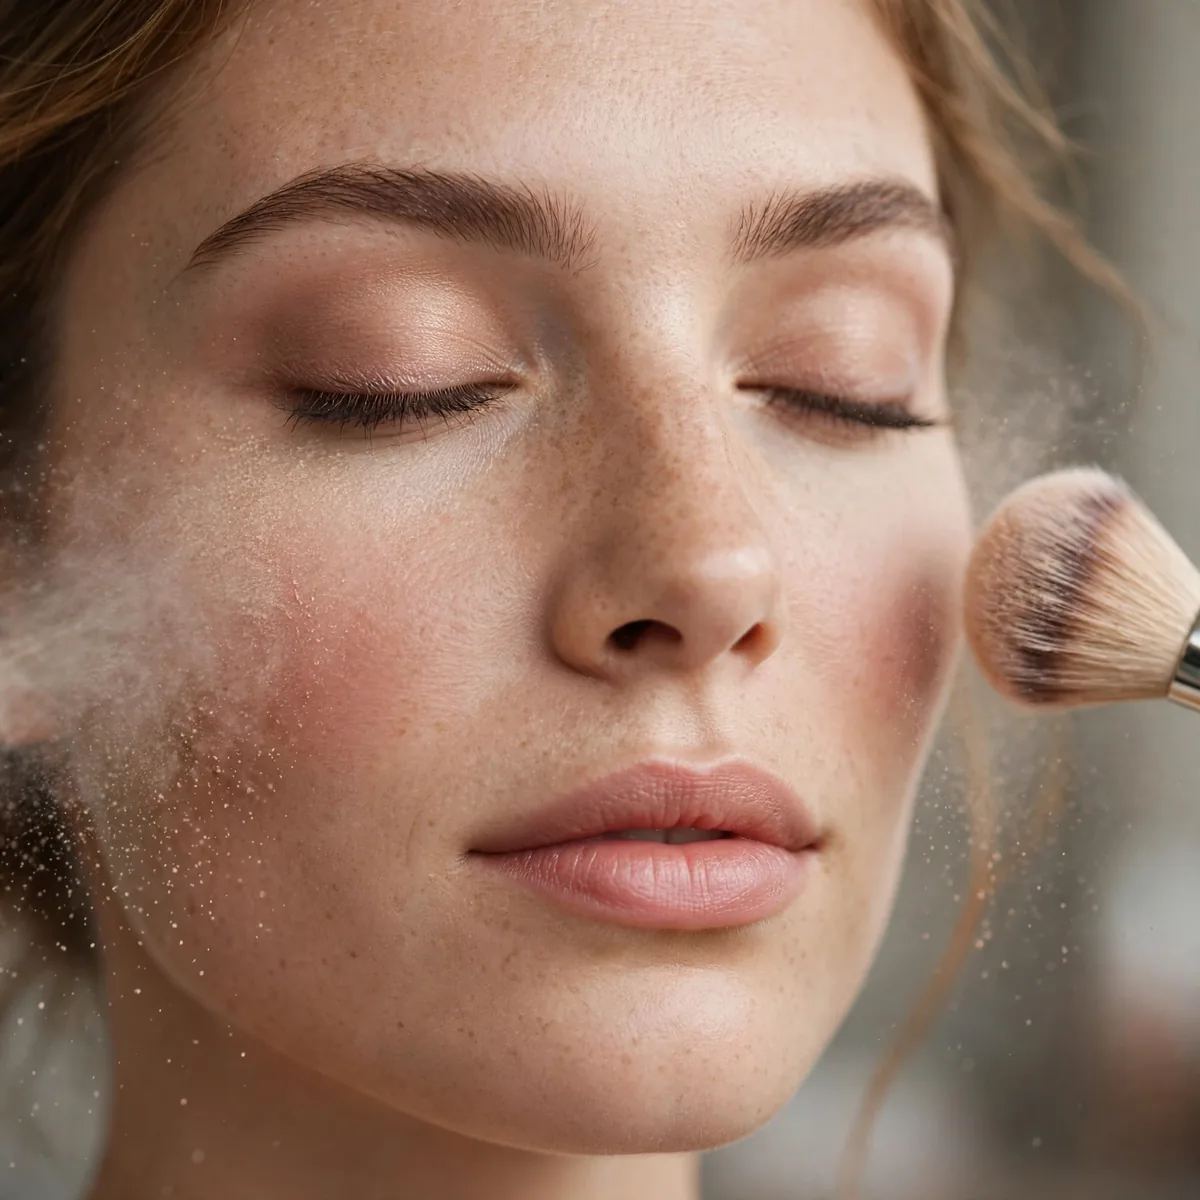
Setting is powder’s primary job — it locks creams in place.
Every cream needs a powder to set it (where longevity matters). They’re partners.
Choose a setting powder shade that matches your skin, since translucent versions can flash back white in photographs. Press it into the T-zone with a puff using a rolling motion, then sweep off the excess with a large fluffy brush — the press-and-sweep method locks makeup without a cakey layer. Loose powder sets more firmly than pressed, which is better for travel touch-ups.
Baking — leaving a thick layer of powder on for several minutes before dusting off — works for special events but looks heavy in daylight. Instead, set once and carry blotting papers for oil breakthrough, re-powdering only where shine actually appears. Hyaluronic acid–based setting sprays over powder keep the finish looking like skin rather than plaster.
Contour: Cream for Natural
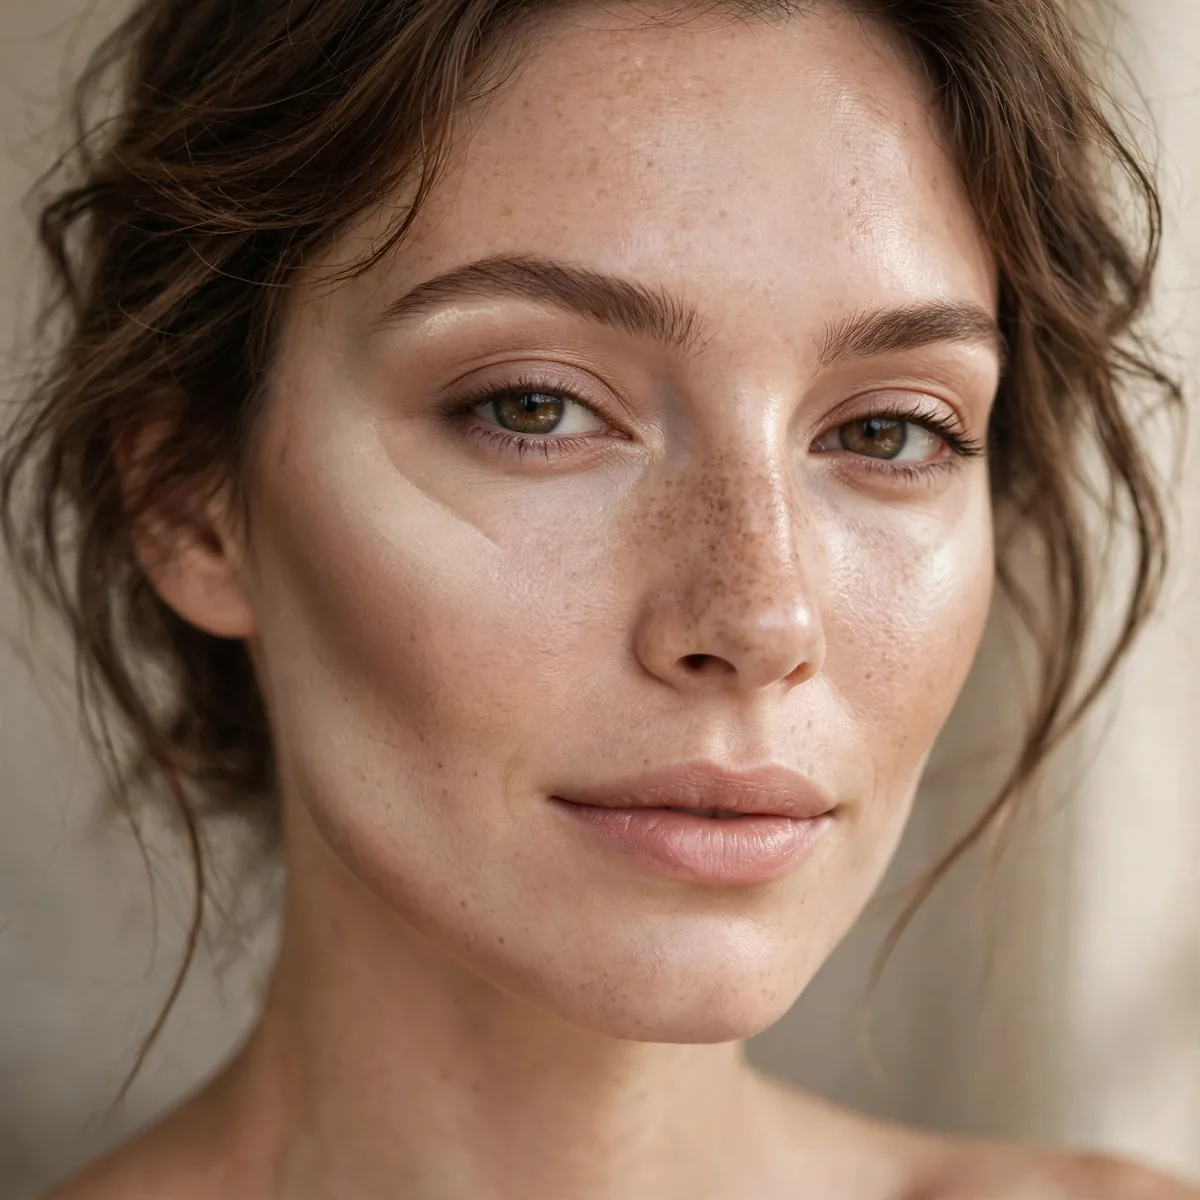
Cream contour blends most naturally into skin.
For invisible sculpting, cream wins. Our contour guide starts here.
Cream contour blends best when the skin still has some slip, so work quickly before foundation fully sets. Draw cool-toned stripes along the hairline, under the cheekbones, and down the sides of the nose, then diffuse each with a damp sponge using stippling motions rather than wiping. Because cream sheers out easily, start with less product than you think — you can always deepen the second pass.
Match the contour undertone to your skin: fair skin needs taupe-gray shades that mimic natural shadow, while deeper tones look best with richer cool browns that won’t read orange. Cream contour layered under a whisper of matching powder contour gives the softest yet longest-wearing definition. Clean the sponge between areas so forehead warmth doesn’t muddy the cheek hollows.
Contour: Powder for Drama
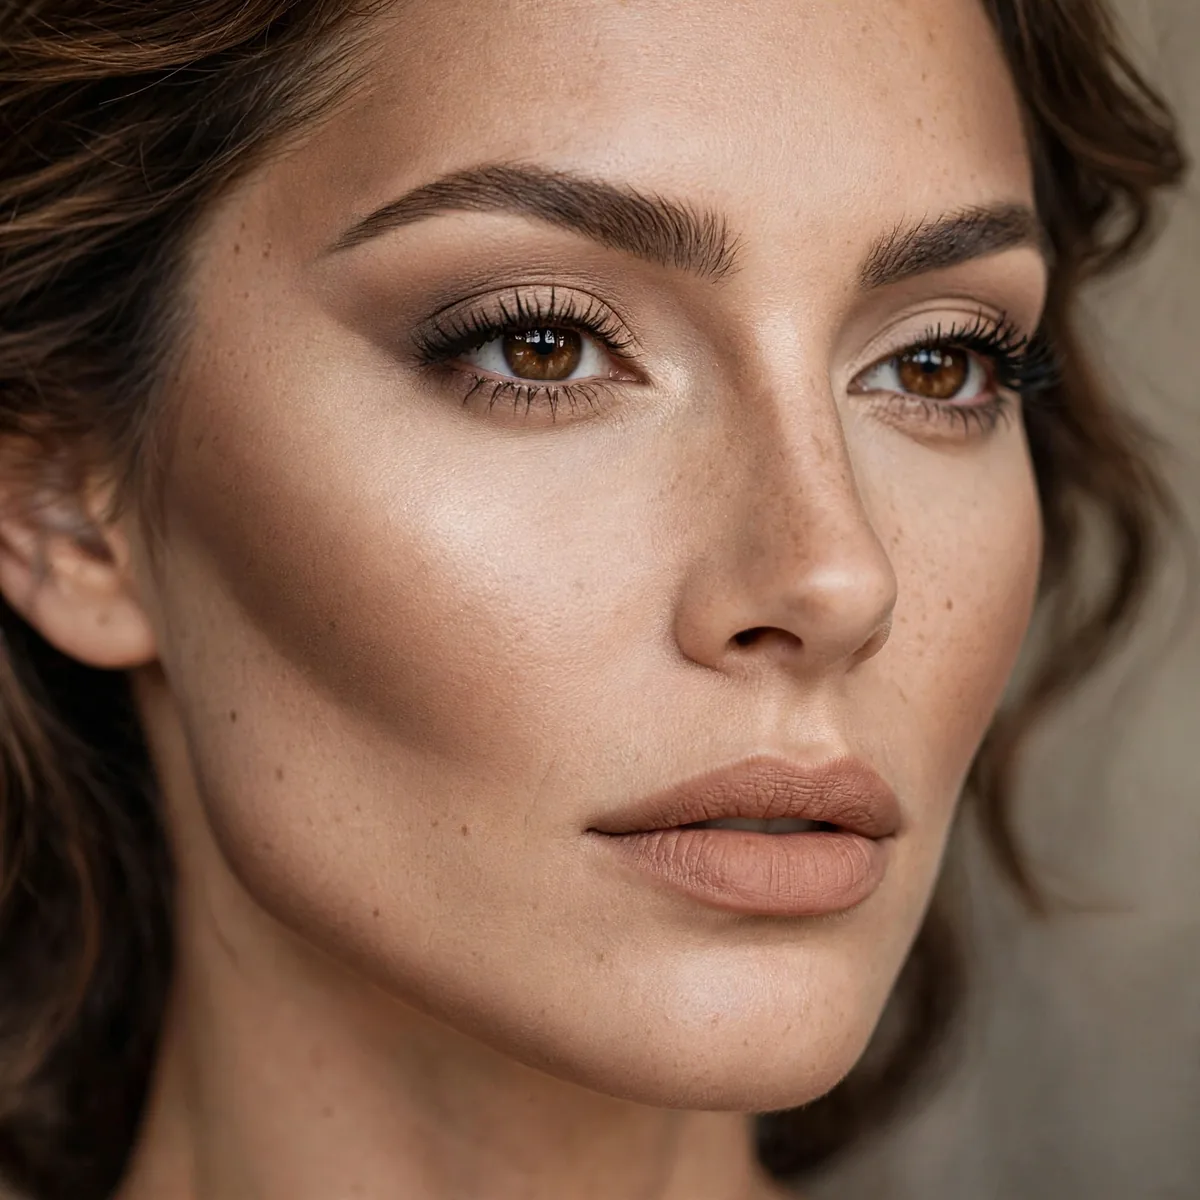
Powder contour gives stronger, more defined sculpting.
When you want visible structure, powder’s opacity delivers.
Powder contour gives the strongest definition when applied with a small, precise brush after the base is fully set — any tackiness causes dragging. Focus pigment exactly where shadows would fall: the hollows of the cheeks, temples, and jawline edges, keeping the color above the mouth line on the face to lift rather than drag the features. Build in sheer layers, checking in a mirror from a few feet back between passes.
Deep skin tones should reach for contour shades with enough depth to actually register — ashy grays disappear and warm bronzes read as blush. Powder contour lasts longest on oily skin, where cream versions can migrate by afternoon. A matte highlighter down the nose bridge and chin centers the sculpted contrast, making the whole face look more structured without reading heavy.
The Combination Routine
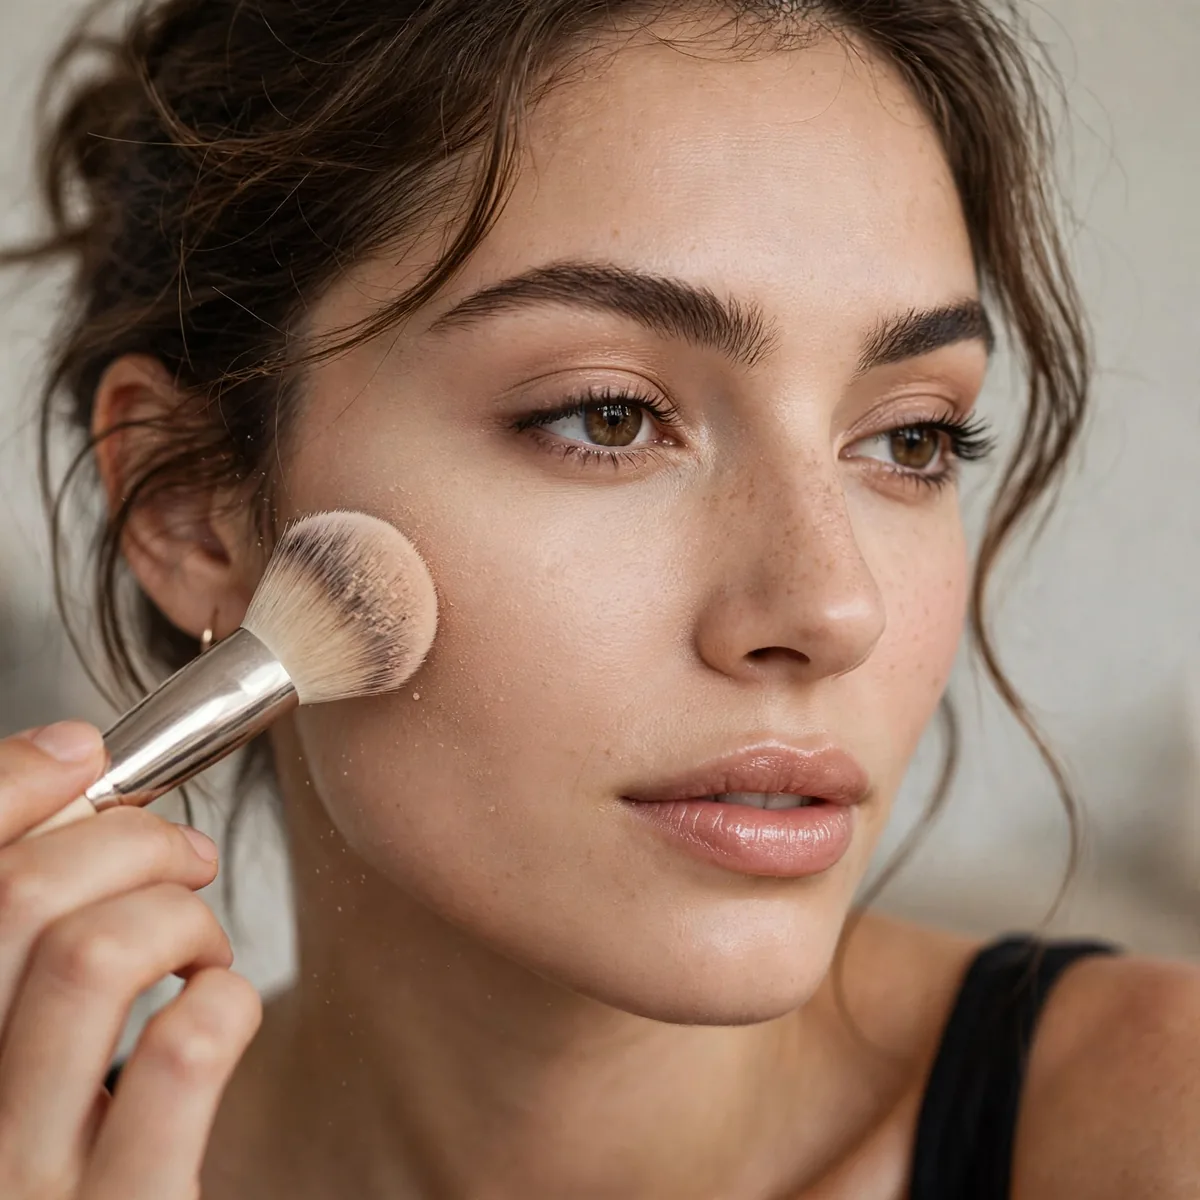
Best routine: creams first, powders to set — the professional order.
Creams create the look; powders preserve it. This order is non-negotiable.
The order matters more than the products: moisturizer and sunscreen first, then primers, then all creams — foundation, concealer, blush, bronzer, contour — and only then powders to set and add color. Liquids and creams bond to each other, while powder on top of powder stacks chalky. Give each cream layer a minute to settle before the next so nothing pills or balls up.
Carry pressed powder and a lip product for midday touch-ups; everything else can stay home. If your skin runs dry, replace the powder step with a long-wear setting spray and skip setting the cheeks entirely, letting the creams live. Oily skin types can set twice — once lightly after foundation and again at the end — for insurance that holds through heat and humidity.
Mature Skin Preference
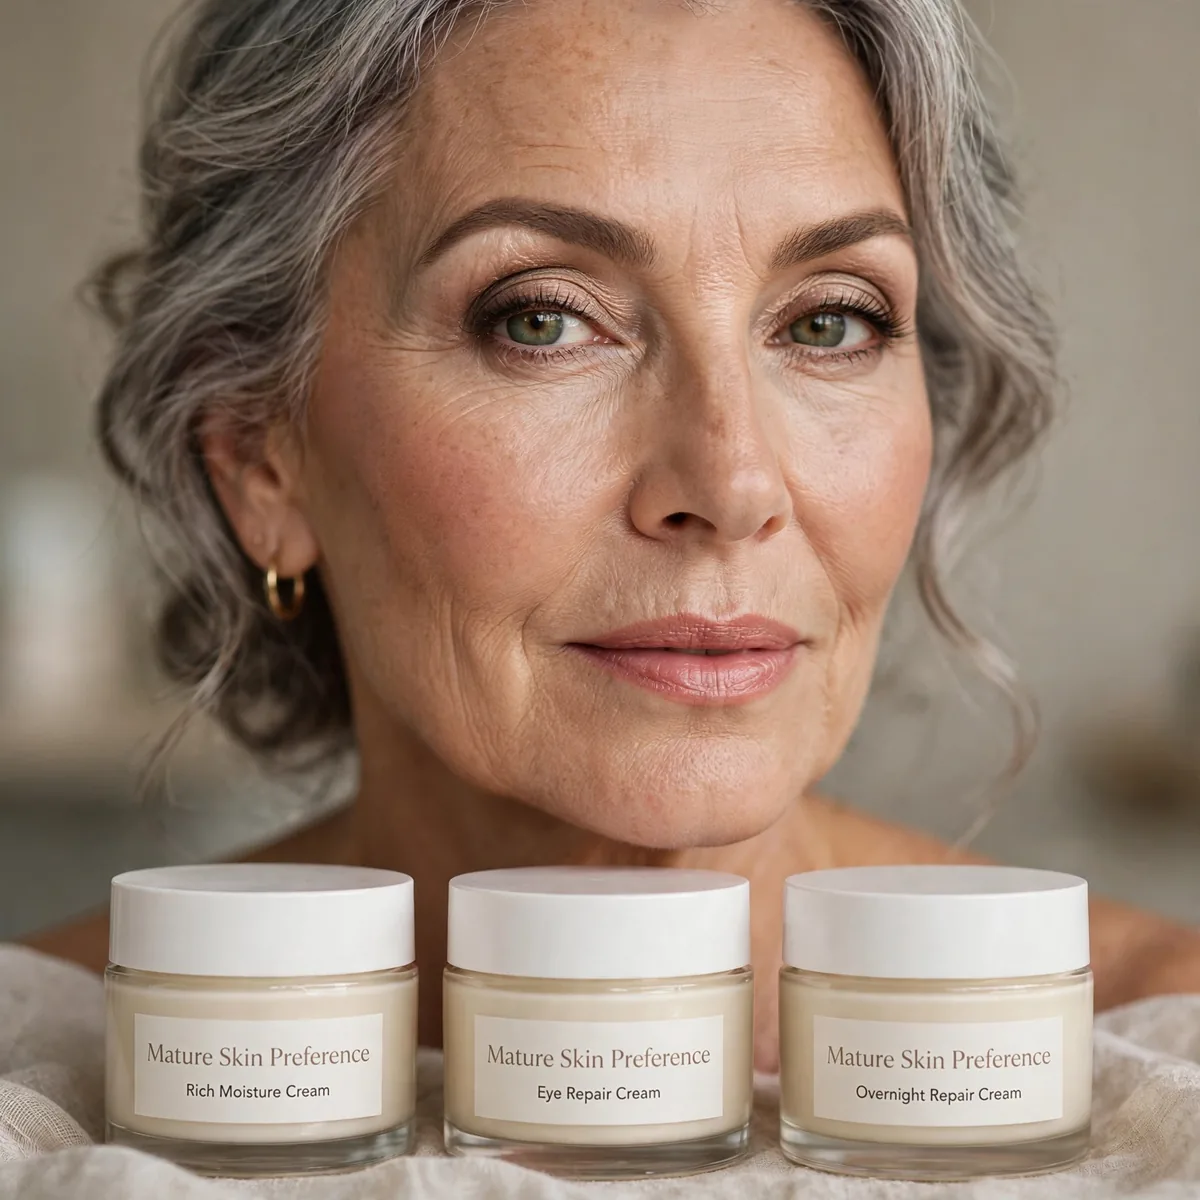
Mature skin generally prefers creams — powders emphasize texture.
For the full reasoning, our mature skin guide explains. Creams are kinder to texture.
Fine lines around the eyes and mouth benefit from cream blush and concealer applied with a patting motion that doesn’t drag delicate skin. Hydrating primers containing squalane or niacinamide plump the surface so creams glide instead of settling into texture. Choose satin and cream-to-powder finishes over glittery ones, since large shimmer particles spotlight the very texture you want to soften.
Skincare underneath matters more than formula choice: a well-moisturized face lets even powder sit gracefully, while dry, unprepped skin makes creams cling unevenly. Use powder only where strictly needed — the T-zone and under-eye set — and leave cheeks powder-free for a youthful bounce. Cream lipsticks and glosses over matte liquids complete the age-friendly routine.
Your Formula Wardrobe
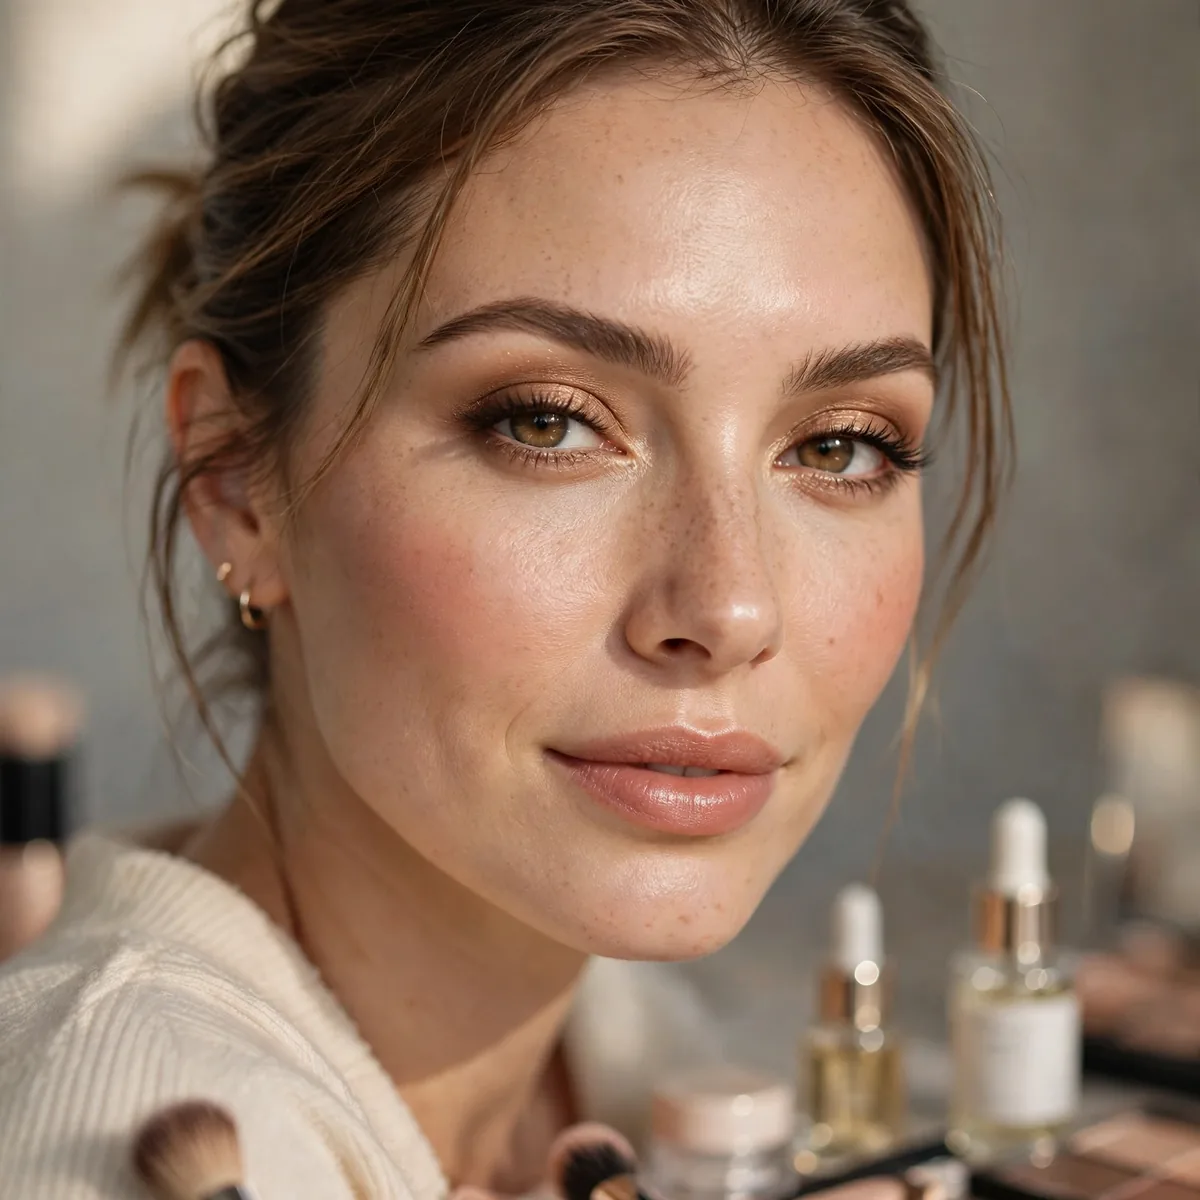
Own both formulas in key categories — the right tool for each job.
Versatility beats loyalty. The best kit has options.
Start with a core kit: one cream blush, one powder bronzer, a cream concealer, a setting powder, and a highlighter in each finish. Test new formulas on a low-stakes day rather than before an event, so you learn how they wear across real hours. Photograph your makeup in different lighting — daylight, office fluorescents, evening warm light — because finishes behave differently under each.
Watch for formula interactions: silicone-heavy primers can repel water-based creams and cause pilling, while powder over a dewy sunscreen needs a few minutes to grip. Keep a small notebook or phone note of what works; memory fades, but a written record turns good makeup days into a repeatable formula. Versatility grows kit by kit, not all at once.
Right formula, right job — pin this decoder. For cream mastery, see cream blush looks, or compare finishes with dewy vs matte.




