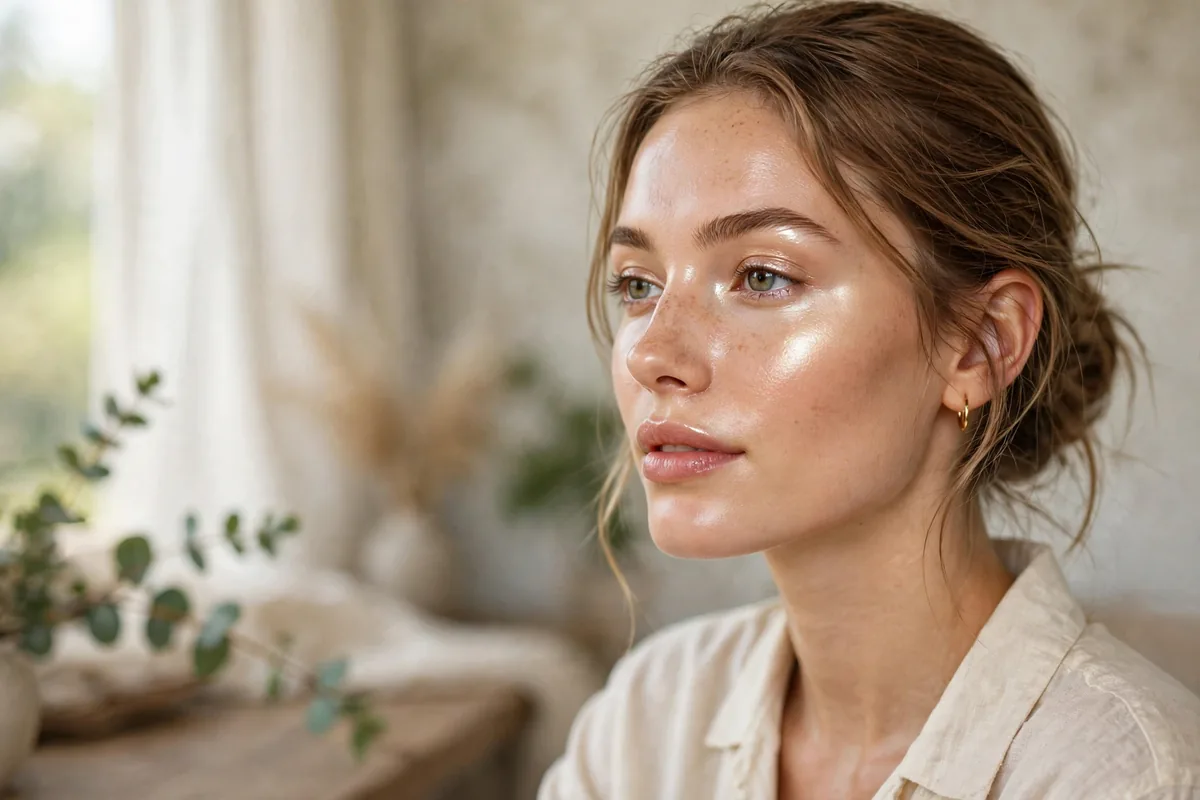
Highlighter isn’t about shimmer. It’s about light.
The lit-from-within look comes from placing glow where light naturally hits the face: high cheekbones, brow bones, nose bridge, cupid’s bow. Mimic nature and it looks natural.
The mistakes: too much product, wrong undertone, glitter instead of sheen. All fixable.
Here are 20 placement ideas. Let’s get into it.
High Cheekbone Classic
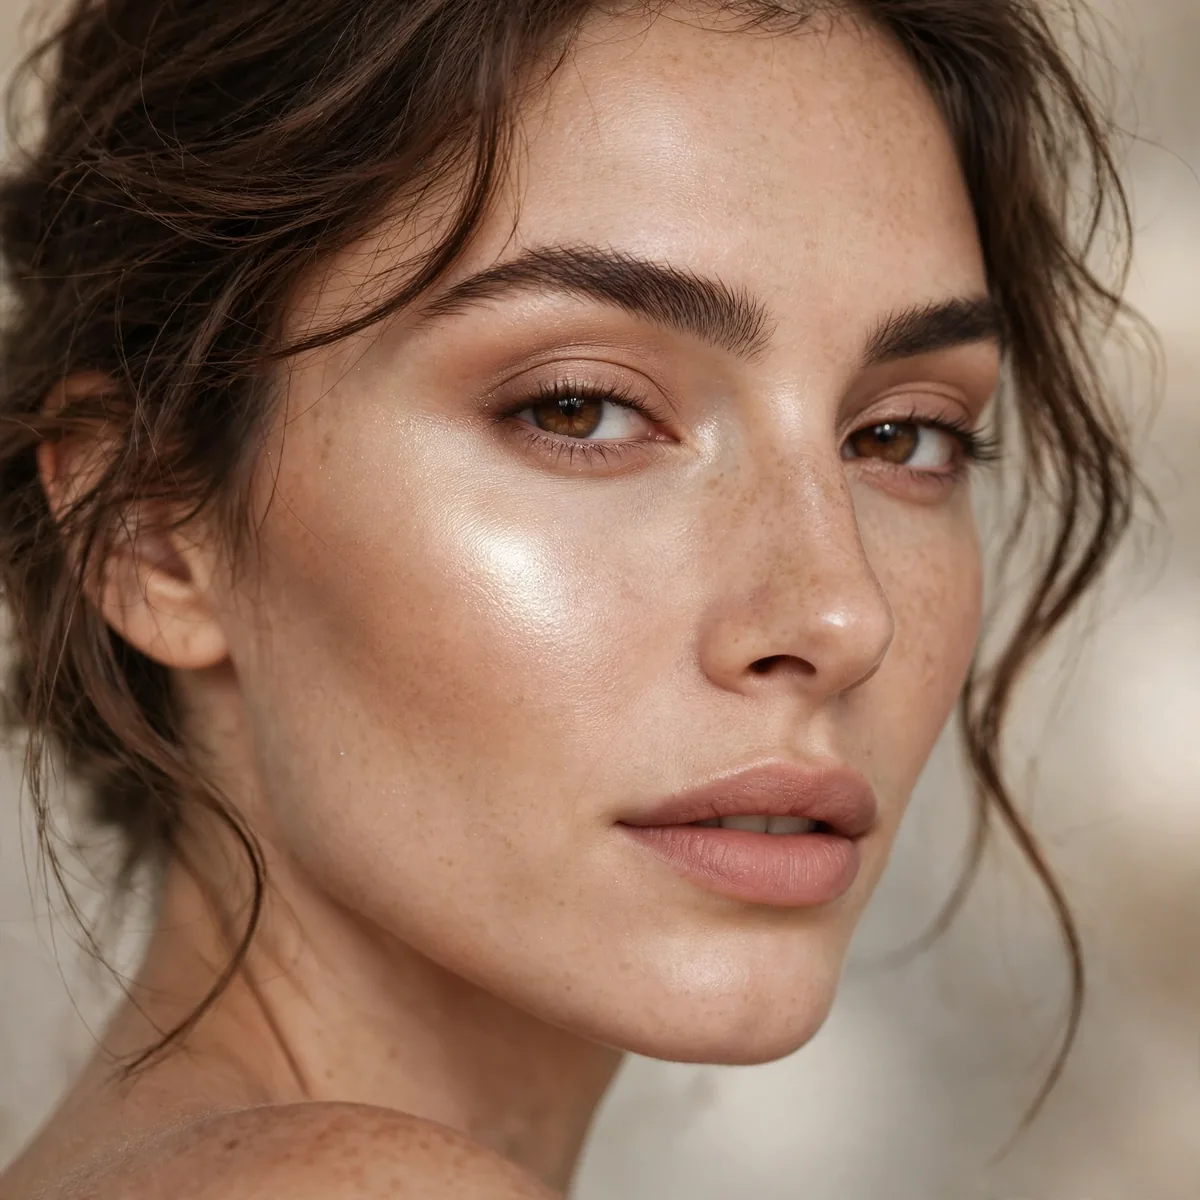
The tops of the cheekbones — the classic highlight placement.
Apply where light hits when you turn slightly. That’s your placement map.
Use a fan brush for powder formulas to keep the glow diffused, or fingertips for cream formulas so body warmth melts the product in. Smile slightly to locate the plane of the cheekbone, then apply just above it rather than on the apple. Building in two thin layers beats one heavy swipe, which is where most chalky finishes come from.
Match the shade to your skin tone: pearlescent champagne for fair skin, warm gold for medium, bronze-copper for deep tones. On textured skin, satin finishes read far more expensive than frosty ones, which magnify pores. For daytime, sheer everything out with a damp sponge so the glow looks like skin, not makeup.
Brow Bone Lift
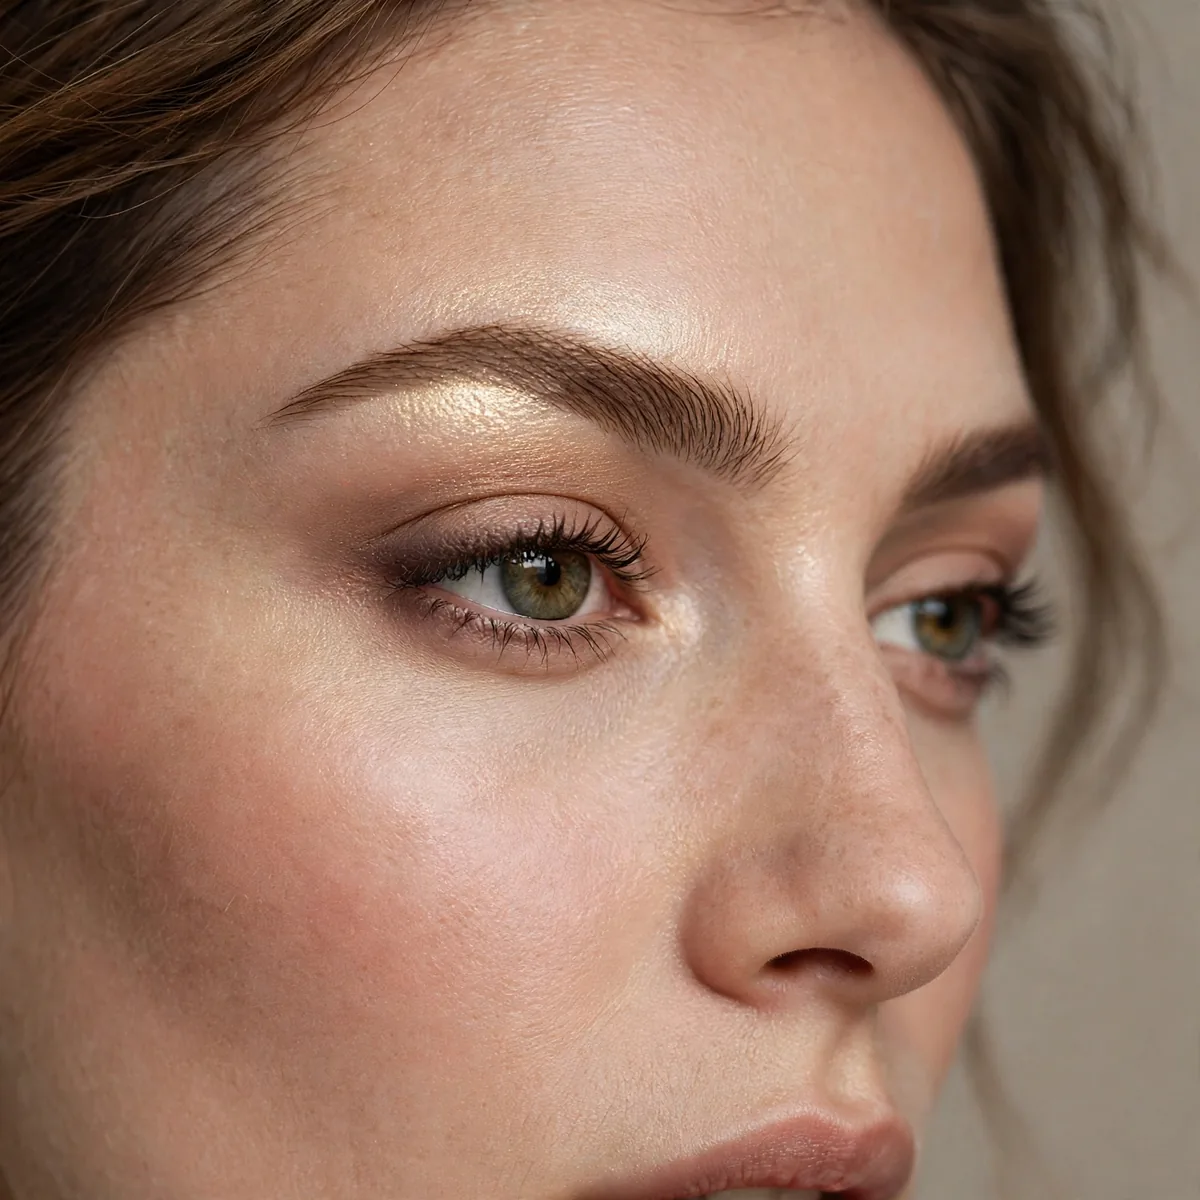
Just under the brow arch — it lifts the whole eye area.
Subtle sheen, not shimmer. The brow bone should glow, not glitter.
For daytime, swap true highlighter for a matte or satin eyeshadow one shade lighter than your skin — it lifts without any sparkle. Place it in a thin strip directly under the arch with a flat shader brush, then blend the edges thoroughly so no visible line remains. The effect should read as brightness, not product.
Hooded eyes benefit most from this placement, since the brightness creates an illusion of lid space. Deep-set eyes should keep it sheer to avoid emphasizing the socket. Pair it with tightlining along the upper lashes for a wide-awake effect that needs no eyeshadow at all. A waterproof pencil tightline keeps the pairing intact through long days.
Nose Bridge Line
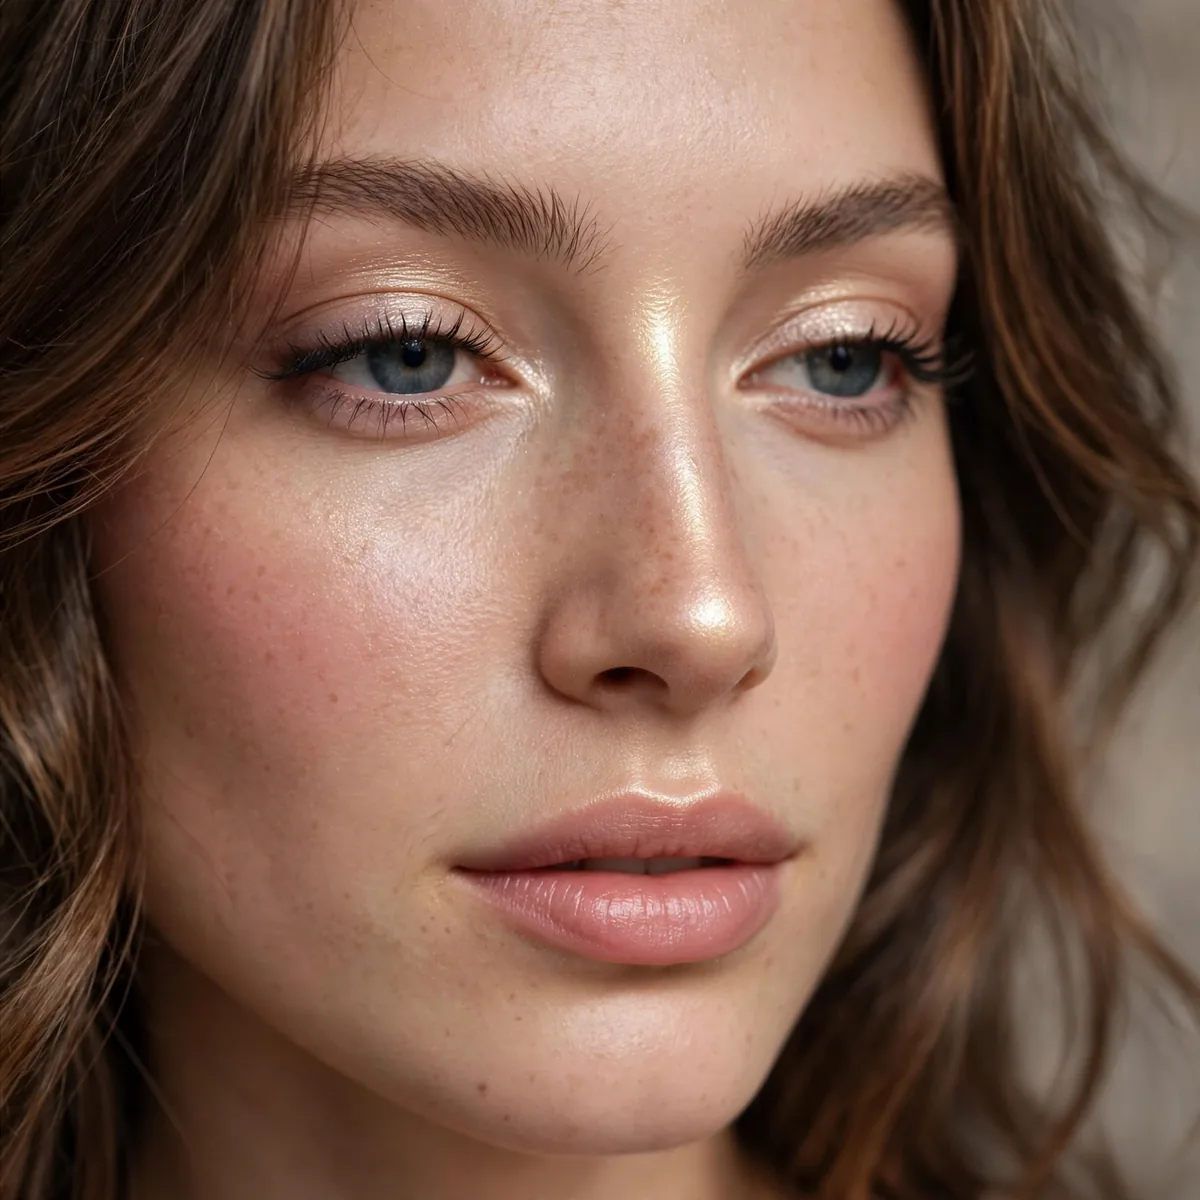
A thin line down the nose bridge — it straightens and refines.
Stop before the tip unless you want to emphasize it. Placement precision matters.
Control is everything on the nose: use a small tapered brush or your pinky finger, and keep the line half as wide as your instinct suggests. Precision beats coverage here — a narrow stripe refines, while a wide one just adds shine. Set it with a whisper of translucent powder so the product does not migrate by afternoon.
Long noses should start the line at mid-bridge rather than between the brows to avoid elongating further. Wide noses need the narrowest possible stripe down the center. The classic mistake is carrying highlight onto the tip, which visually widens the nose instead of refining it. Blend the stripe's edges with a clean fingertip so no harsh lines remain.
Cupid’s Bow Pop
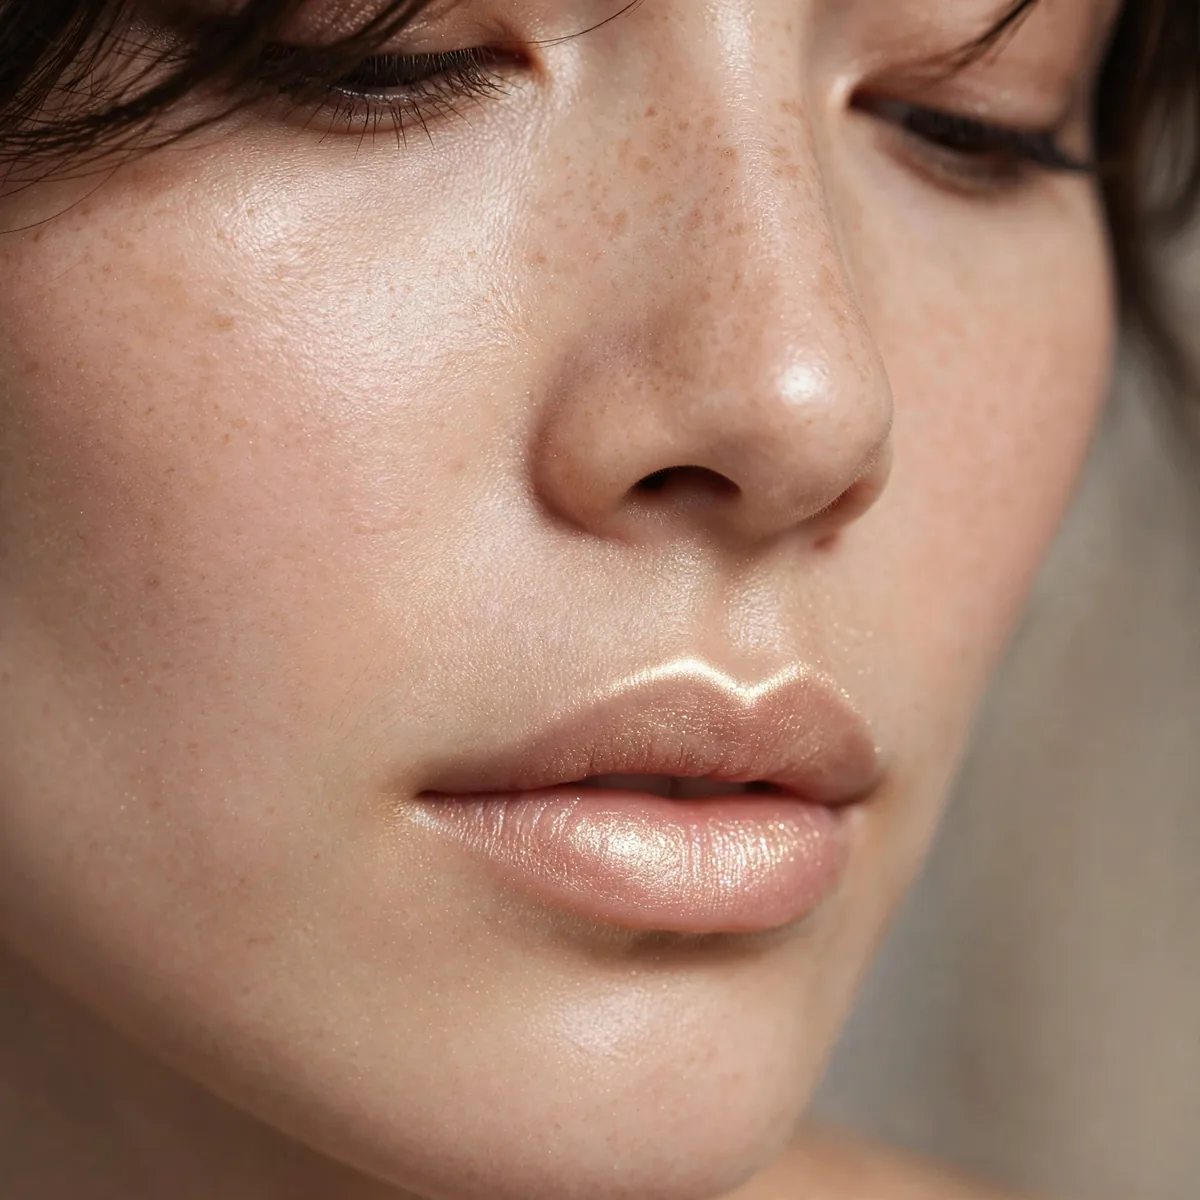
A dab on the cupid’s bow makes lips look fuller.
The light draws the eye to the lips’ center. Fuller-looking lips, zero product on them.
Apply with a tiny brush after lipstick, placing a dab smaller than a grain of rice, then blot once so the finish does not look wet. A champagne cream formula works better than powder here, since powder can look dry and cakey on the lips. The light should sit exactly on the peaks of the bow.
This is a wedding and evening-makeup staple, where lips are often the focal point. It pairs beautifully with matte lipstick — the contrast makes the glow pop. Skip it with glossy lips, since too much shine concentrated in one zone reads oily rather than luminous. Reapply after eating, since the tiny dab fades faster than lipstick.
Inner Corner Bright
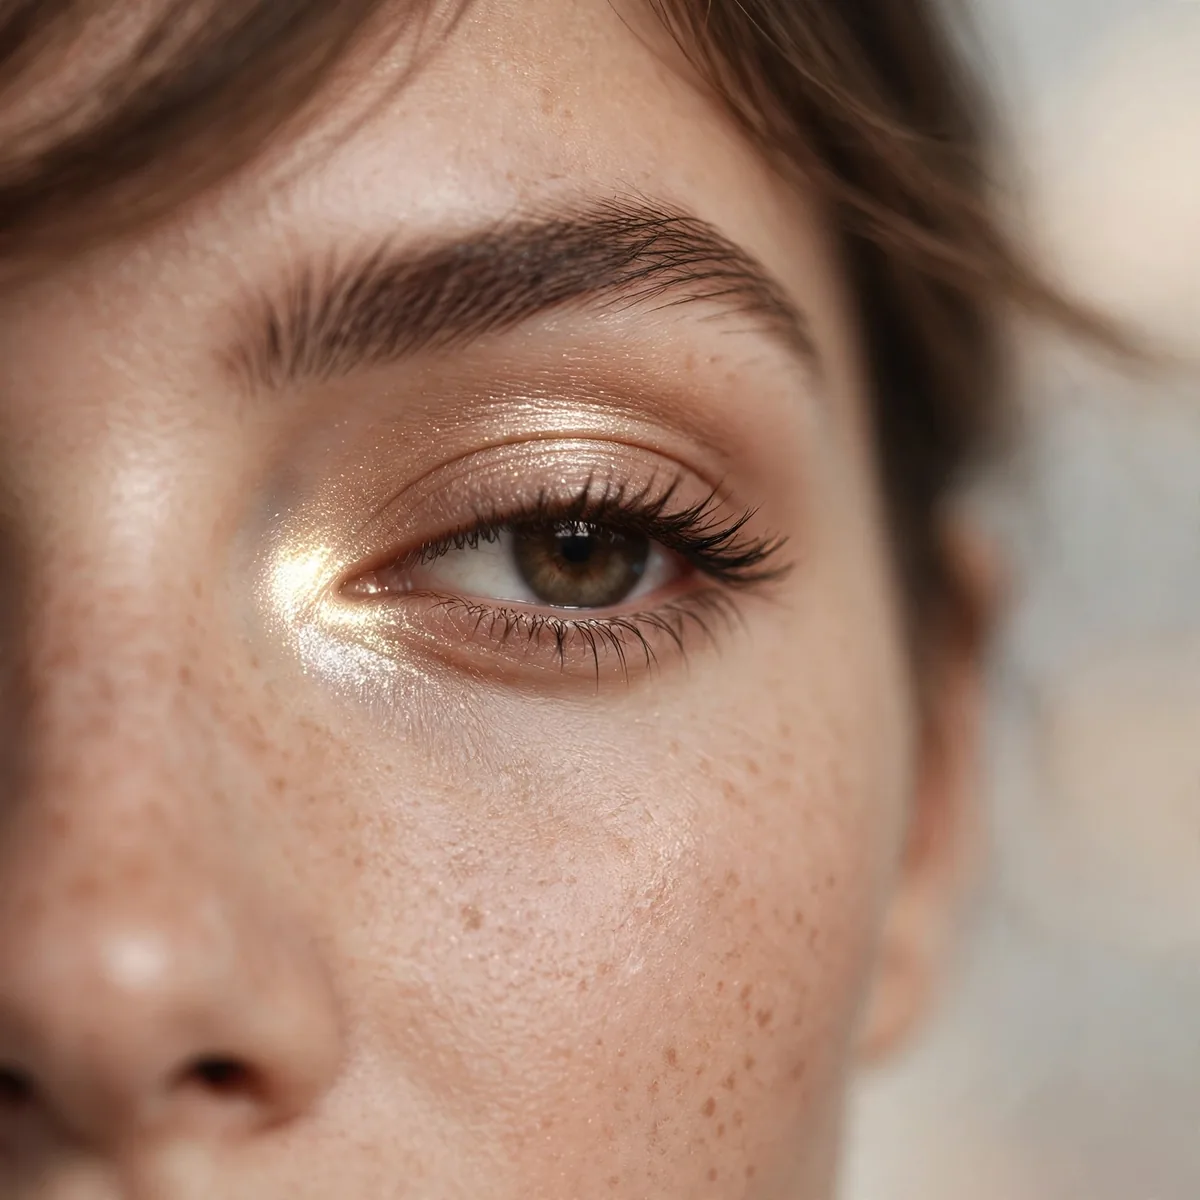
Inner eye corners — the brightening essential.
It opens up the whole eye area. Small placement, huge impact.
A shimmery champagne or pale gold eyeshadow doubles as an inner-corner highlight just as well as a dedicated product. Apply it with a small pencil brush in a tight V shape hugging the corner. Layering it over a dab of eye primer keeps the brightness intact past noon instead of fading by lunch.
Close-set eyes gain perceived width from this tiny placement, while tired eyes look instantly rested — it is the classic red-eye-flight trick. For hooded eyes, keep the application low and tight so it does not emphasize the fold. It takes ten seconds and transforms the whole face. A champagne shade suits warm undertones; icy pearl suits cool ones.
Collarbone Glow
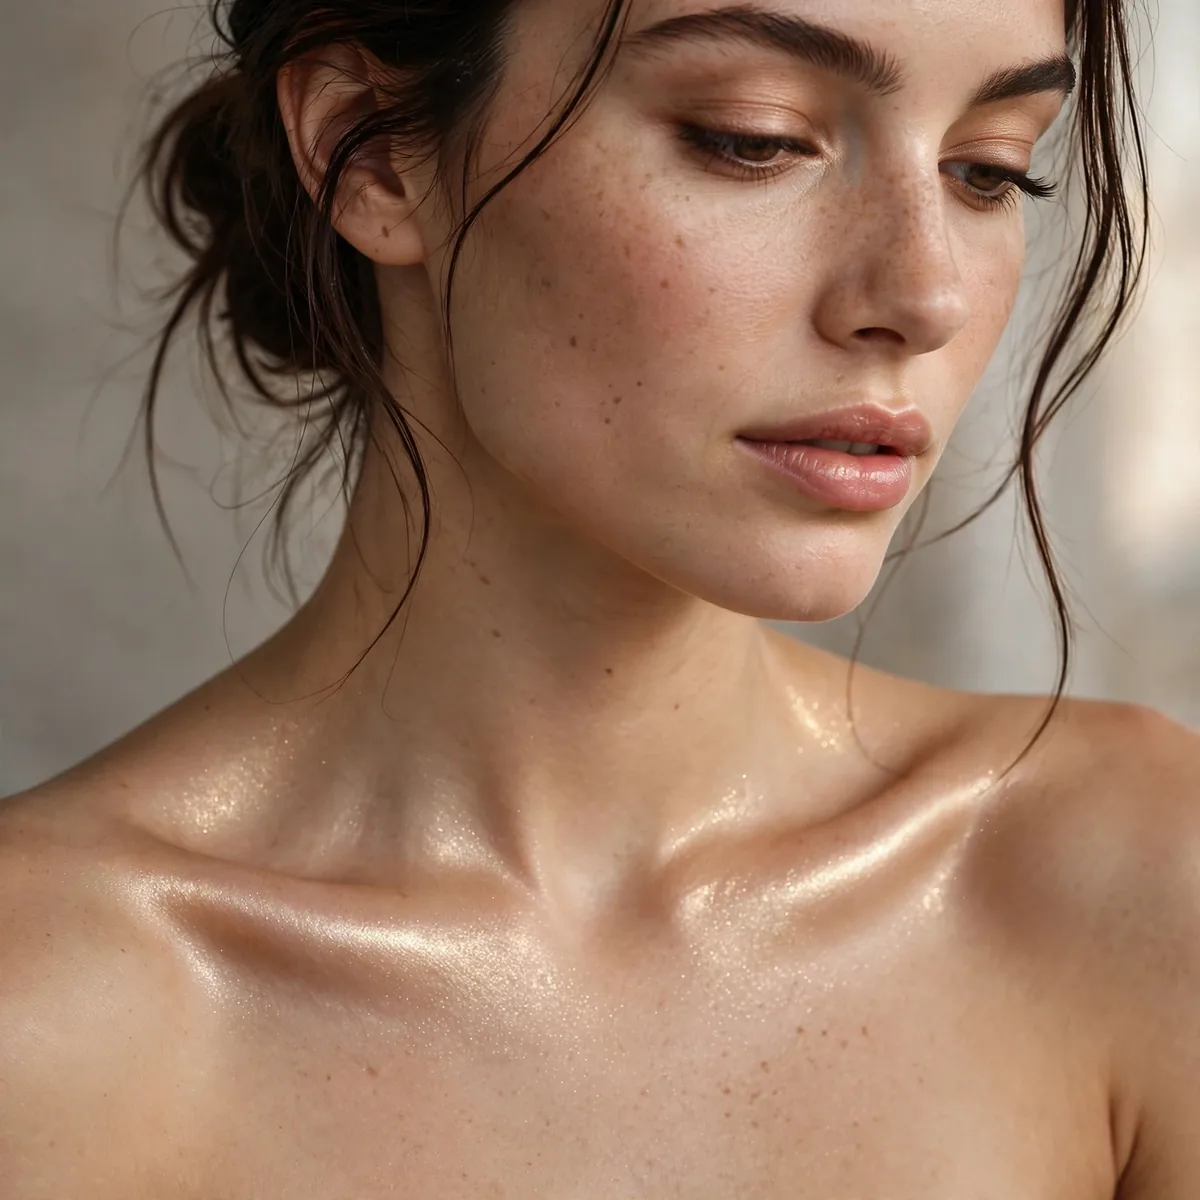
Collarbones for evening — the glow extends beyond the face.
Body highlight is the evening secret. Collarbones catch light beautifully.
On the body, always reach for cream or liquid formulas — powder highlighter looks chalky on collarbones. Mix a liquid highlighter with your regular body moisturizer, or use a shimmering body oil, and apply with your hands in long sweeping strokes. The sheen should move with the skin, catching light as you do.
This placement belongs to strapless, off-shoulder, and V-neck necklines. The common mistake is stopping at the jaw: blend the glow down the neck first so there is no visible boundary. In photographs, collarbone glow adds dimension that flat event lighting tends to erase. Carry a travel-size body oil for touch-ups before evening photos.
Shoulder Sheen
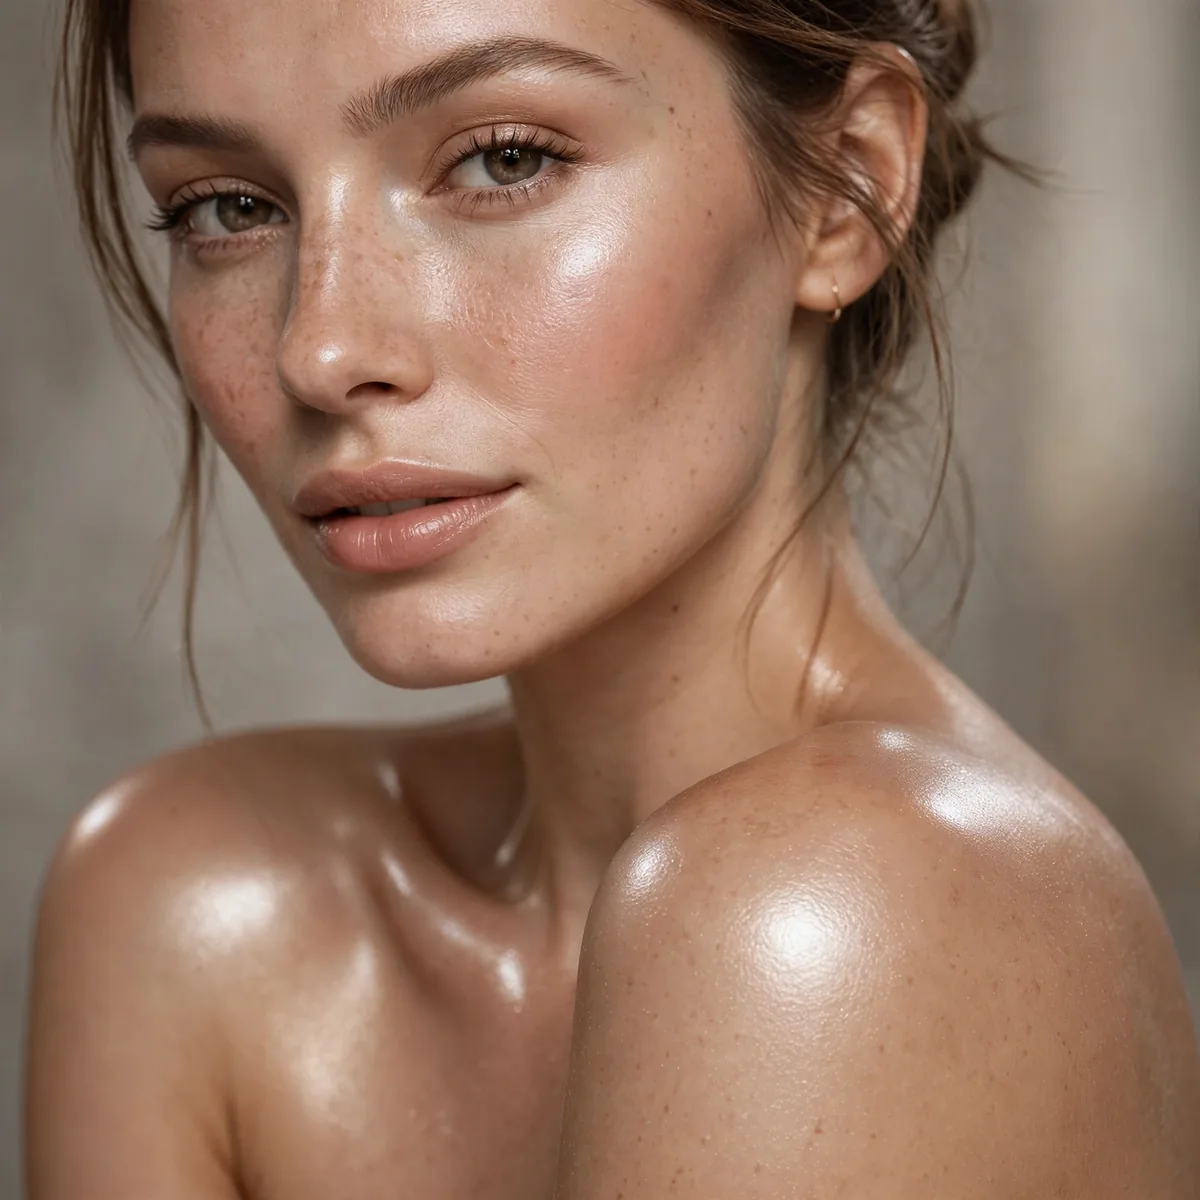
Shoulders for strapless moments — luminous skin everywhere.
The cohesive glow from face to shoulders looks incredibly polished.
A shimmering body oil applied over moisturizer gives shoulders the most natural-looking sheen — avoid glitter-heavy formulas. Focus on the tops of the shoulders where light genuinely lands, and reapply shortly before photos since body products transfer onto clothing. Less is more; the goal is a gleam, not a disco effect.
Summer weddings and beach events are the natural home for shoulder sheen. In winter it is mostly pointless under covered clothing, though holiday parties with bare shoulders are the exception. Keep the finish cohesive with your face — if your face is satin, your shoulders should not be metallic. Test the oil on fabric first, since some formulas stain delicate materials.
Chin Center Touch
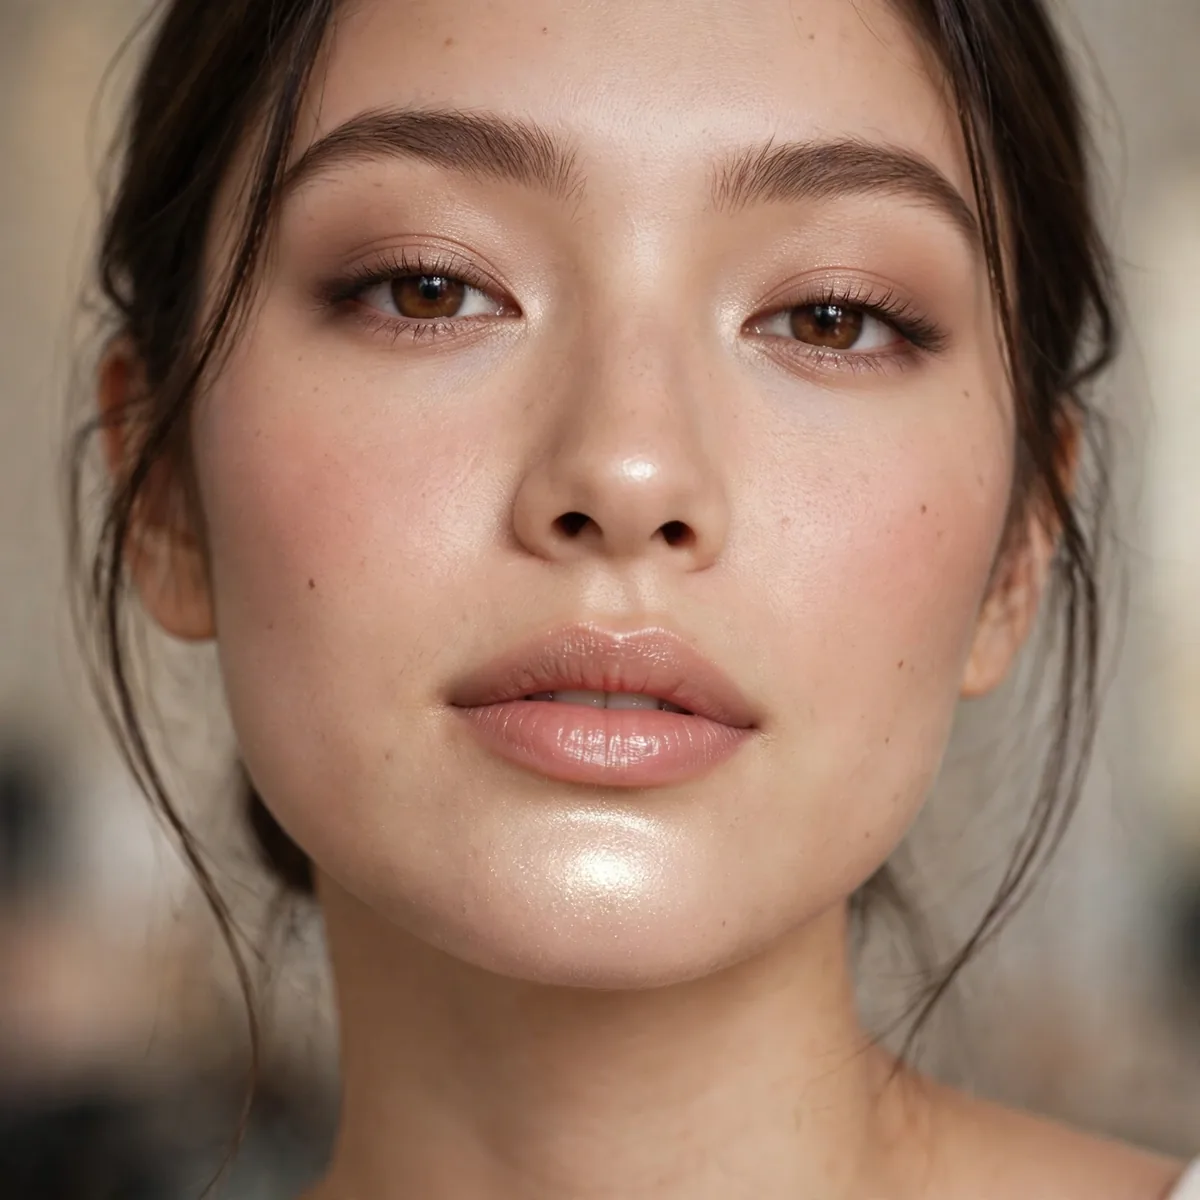
A tiny touch on the chin center balances the face’s glow points.
Chin highlight is often forgotten. It completes the facial glow map.
Use only the very tip of a fan brush for the chin, and blend slightly downward so no harsh dot remains. If you have a prominent chin, keep the application minimal, since highlight visually advances whatever it touches. A satin finish is safer than shimmer here — sparkle magnifies any texture or blemishes on the chin.
Round faces should skip this placement or sheer it out significantly, since it can emphasize width. Long faces benefit, as a chin touch balances a highlighted forehead. Think of it as the final punctuation mark on your facial glow map: small, deliberate, and easy to overdo. Apply it last, after all other highlight placements are finished.
Forehead Center Glow
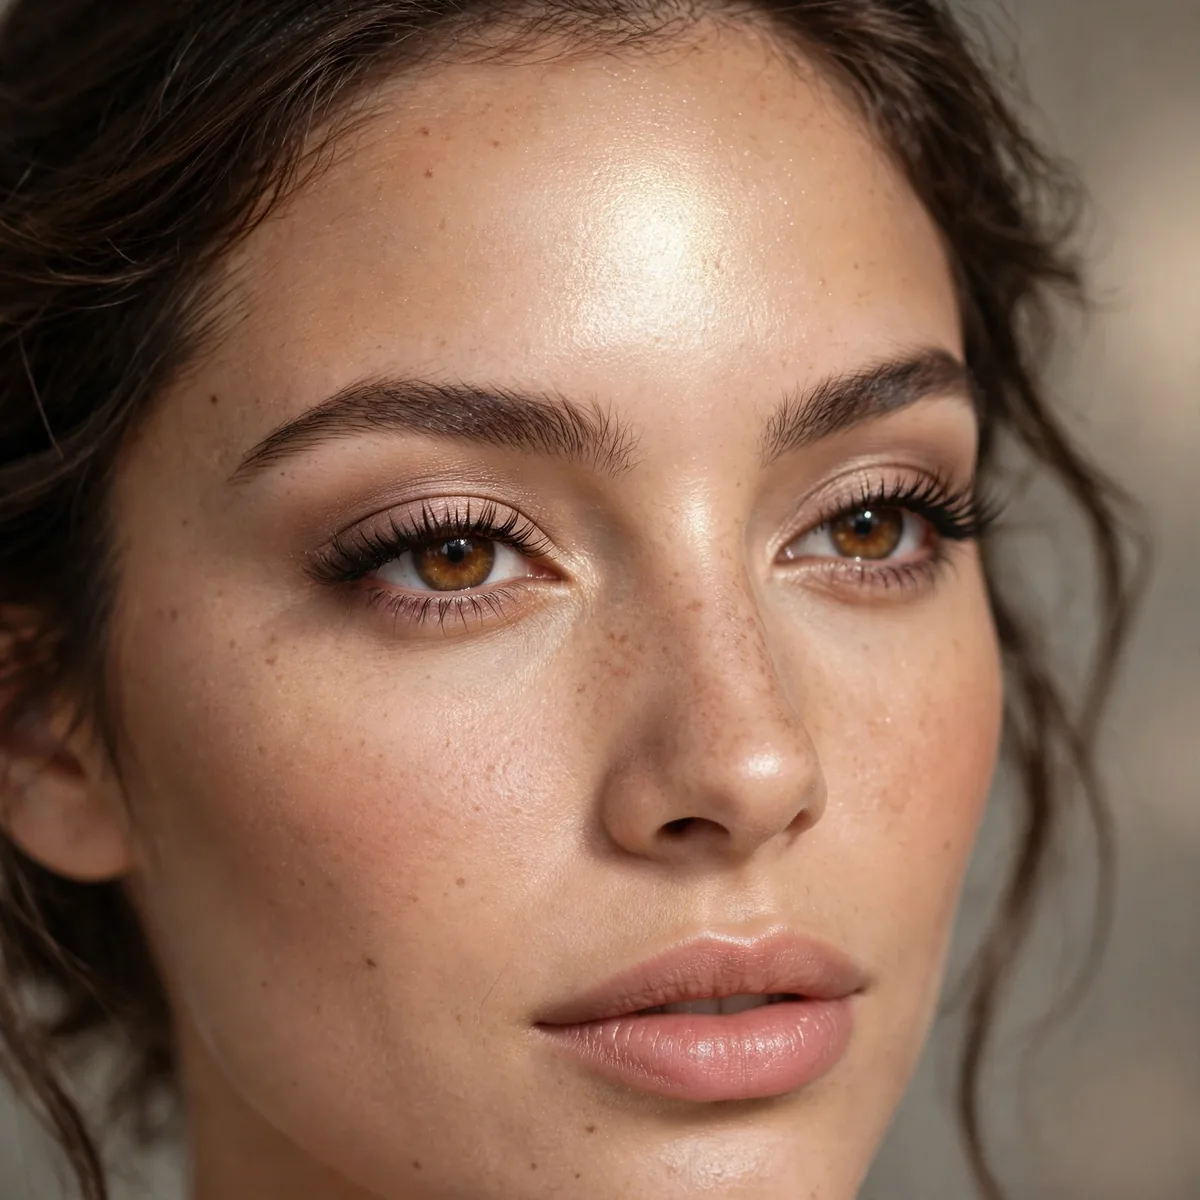
Center forehead — but only on balanced to dry skin.
Skip if you get oily here. Forehead highlight plus oil equals shine overload.
Keep the glow zone between the brows and the midpoint of the forehead, shaped as a soft vertical oval — never creeping toward the hairline. A liquid highlight sheered into foundation works better than powder here, which can look dusty. Blend the edges thoroughly, since visible borders are the giveaway of forehead highlight.
Dry skin types gain youthful dimension from this placement, while oily skin should substitute a matte finish and get glow elsewhere. The classic error is placing it too high, where it reads as sweat rather than radiance. When in doubt, skip the forehead and double down on the cheekbones. Blotting papers midday keep the forehead glow from turning greasy.
Above the Blush
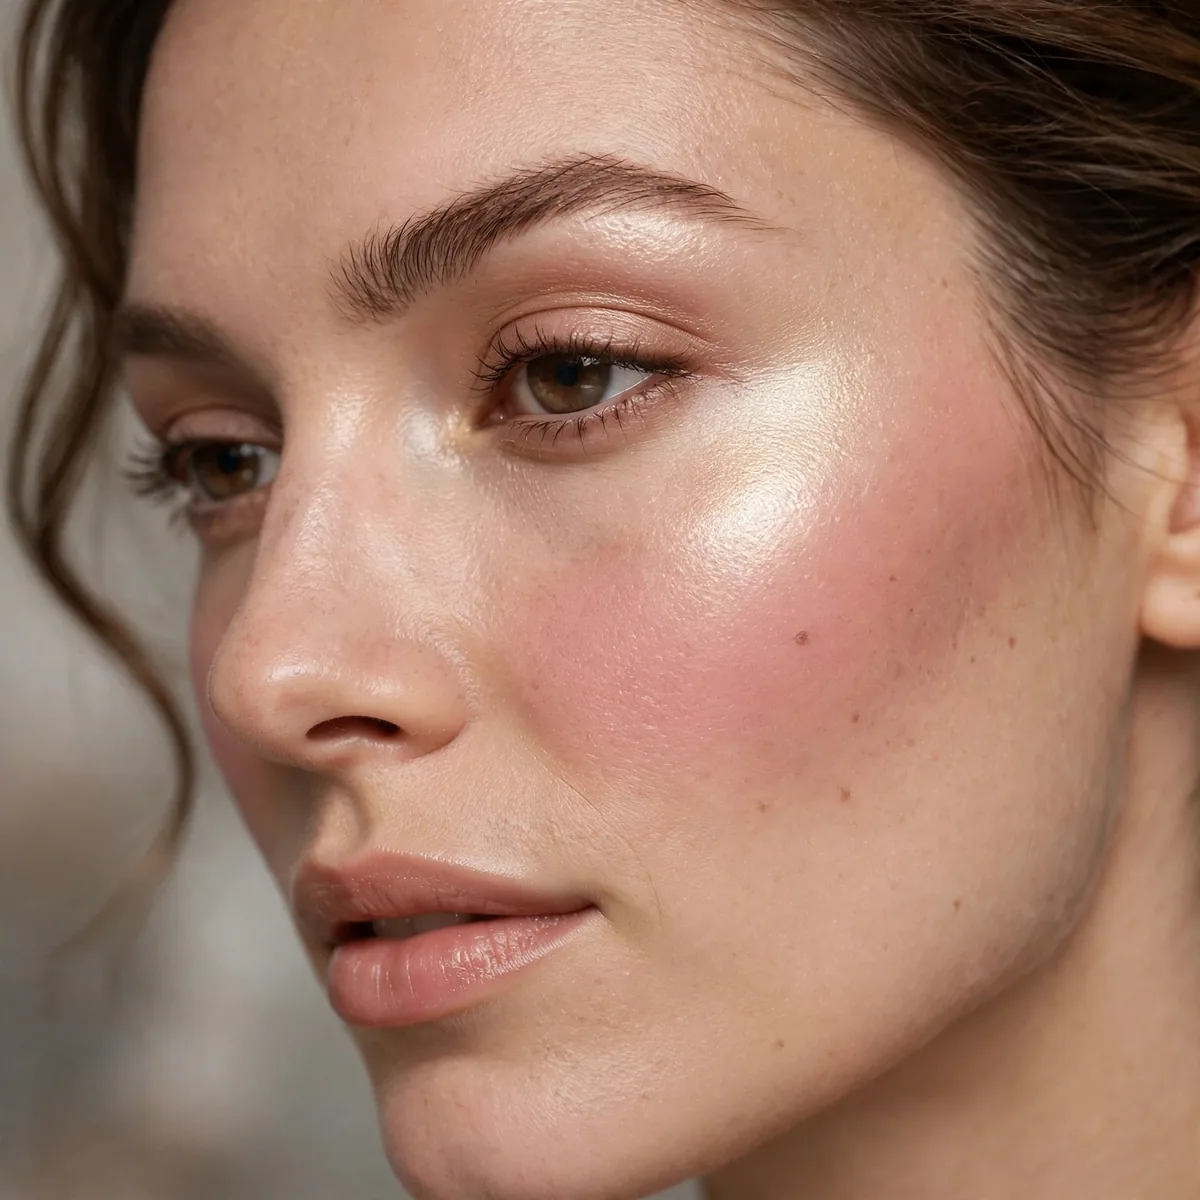
Highlight just above blush on the cheekbone — the layered glow.
Our blush guide sets the base. The highlight sits on top, literally and figuratively.
Apply blush first and let it set, then place the highlight about half a centimeter above the blush's top edge. Use a smaller brush than you think you need — the two products should kiss, not overlap. Muddiness almost always comes from the formulas mixing together rather than sitting in clean layers.
Cream blush under powder highlight creates beautiful dimension, while powder blush under cream highlight can pill — so reverse the order if needed. For daytime, sheer both products out; for evening, intensify the highlight while keeping the blush soft so the glow stays the star. A stippling brush blends the layers without disturbing what is underneath.
The C-Shape
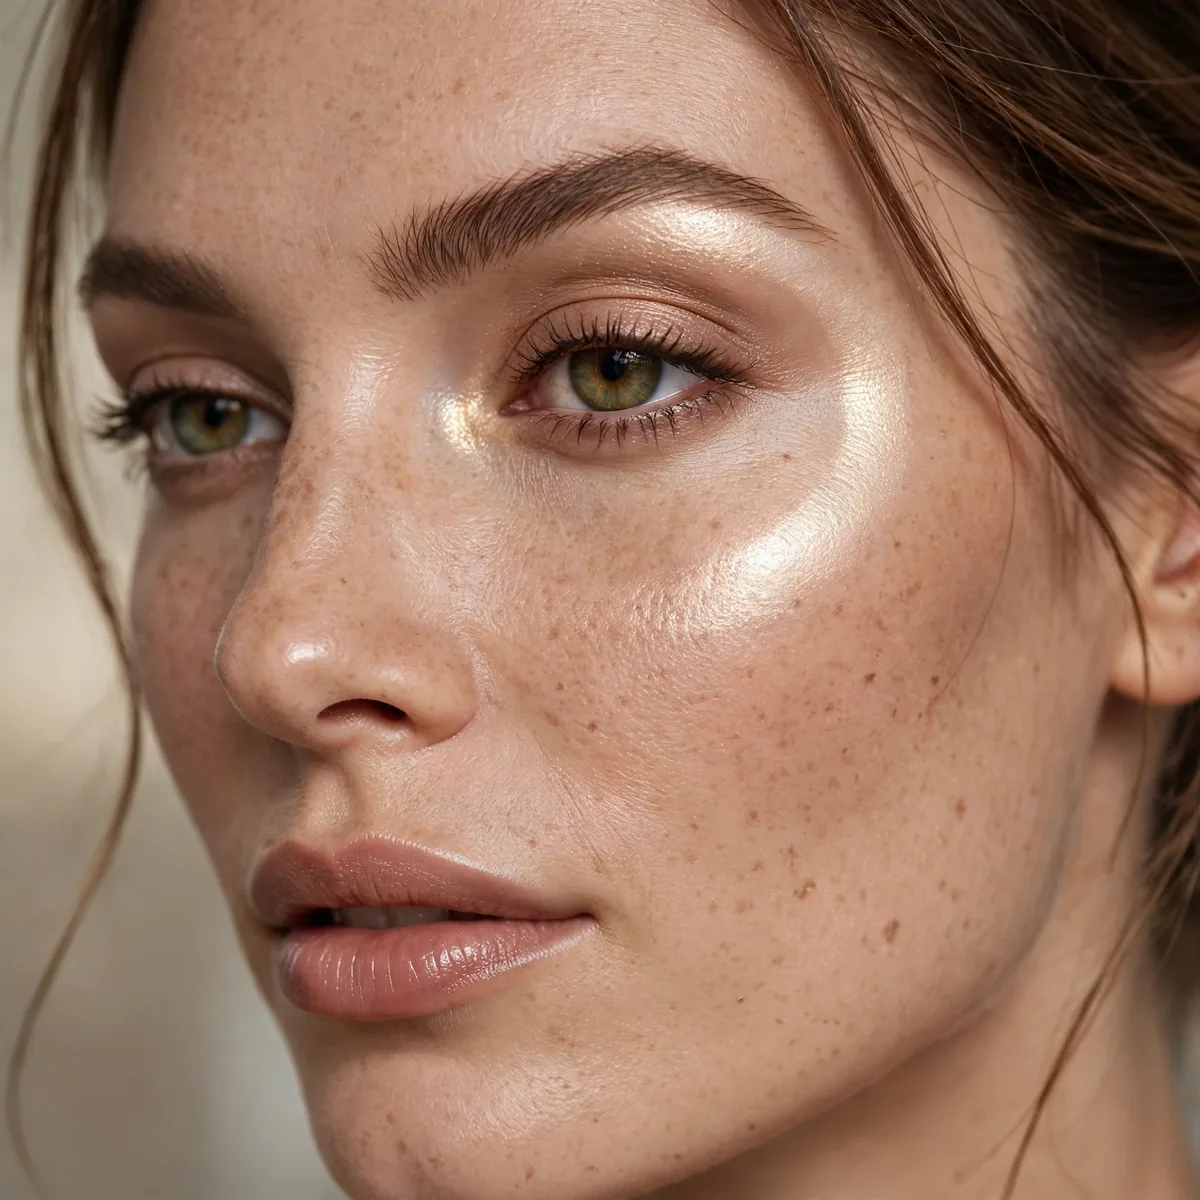
Sweep in a C from brow bone around to cheekbone — the connected glow.
The C-shape unifies the eye and cheek glow. It’s the professional’s placement.
Use one continuous motion with a tapered brush, sweeping from the brow bone down around the temple to the cheekbone. Keep the temple portion sheer — heavy product there emphasizes fine lines. This is fundamentally a nighttime placement; scale the intensity back significantly for daytime wear. A fan brush works well for keeping the sweep light and diffused.
Oval faces wear the C-shape beautifully, while wider faces should keep the C tight to avoid adding width. The common mistake is sweeping the glow into the hairline — stop at the temple's edge. When done right, the connected glow looks seamless rather than like separate placements. Practice the motion twice on the back of your hand first.
Under-Brow Precision
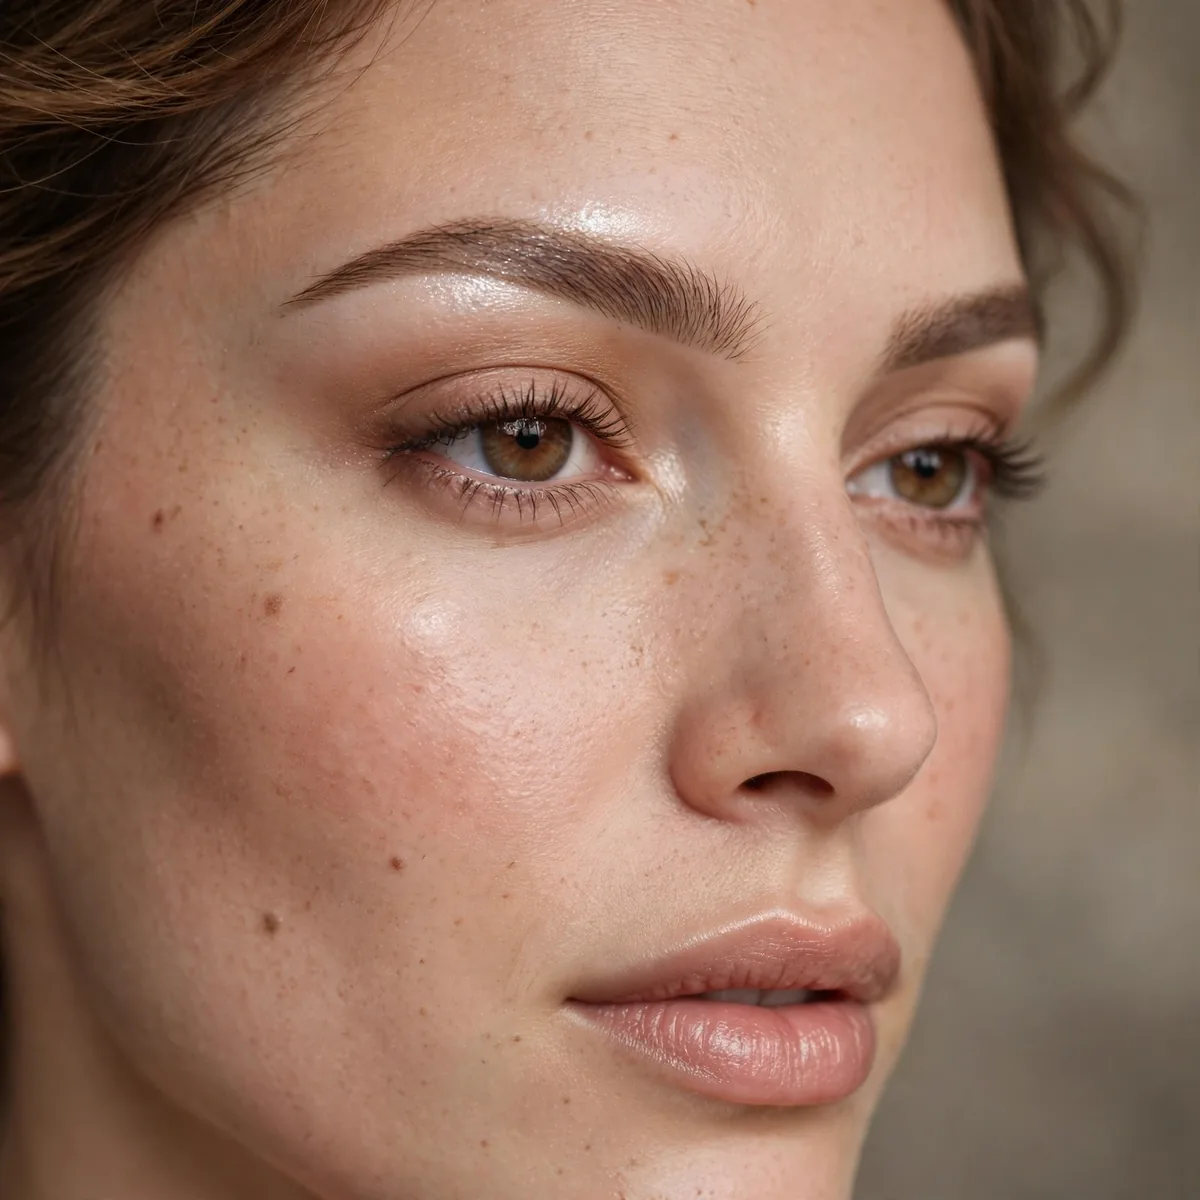
Precise highlight directly under the brow’s highest point.
Precision here maximizes the lifting illusion. Placement is everything.
A small flat brush gives the cleanest line directly beneath the brow's highest point. Choose a shade close to your skin tone with a satin finish — stark white highlight looks dated and harsh. If the brow area gets oily, set the placement with a whisper of powder so it lasts.
This is a bridal-makeup staple, since the lift reads beautifully in photographs. It pairs naturally with defined brows — the highlight sharpens the arch's edge. On mature eyes, keep the finish satin: shimmer settles into crepey texture and undermines the lifting effect. Carry the shade in your touch-up kit for pre-ceremony photos and the reception.
Liquid Under Powder
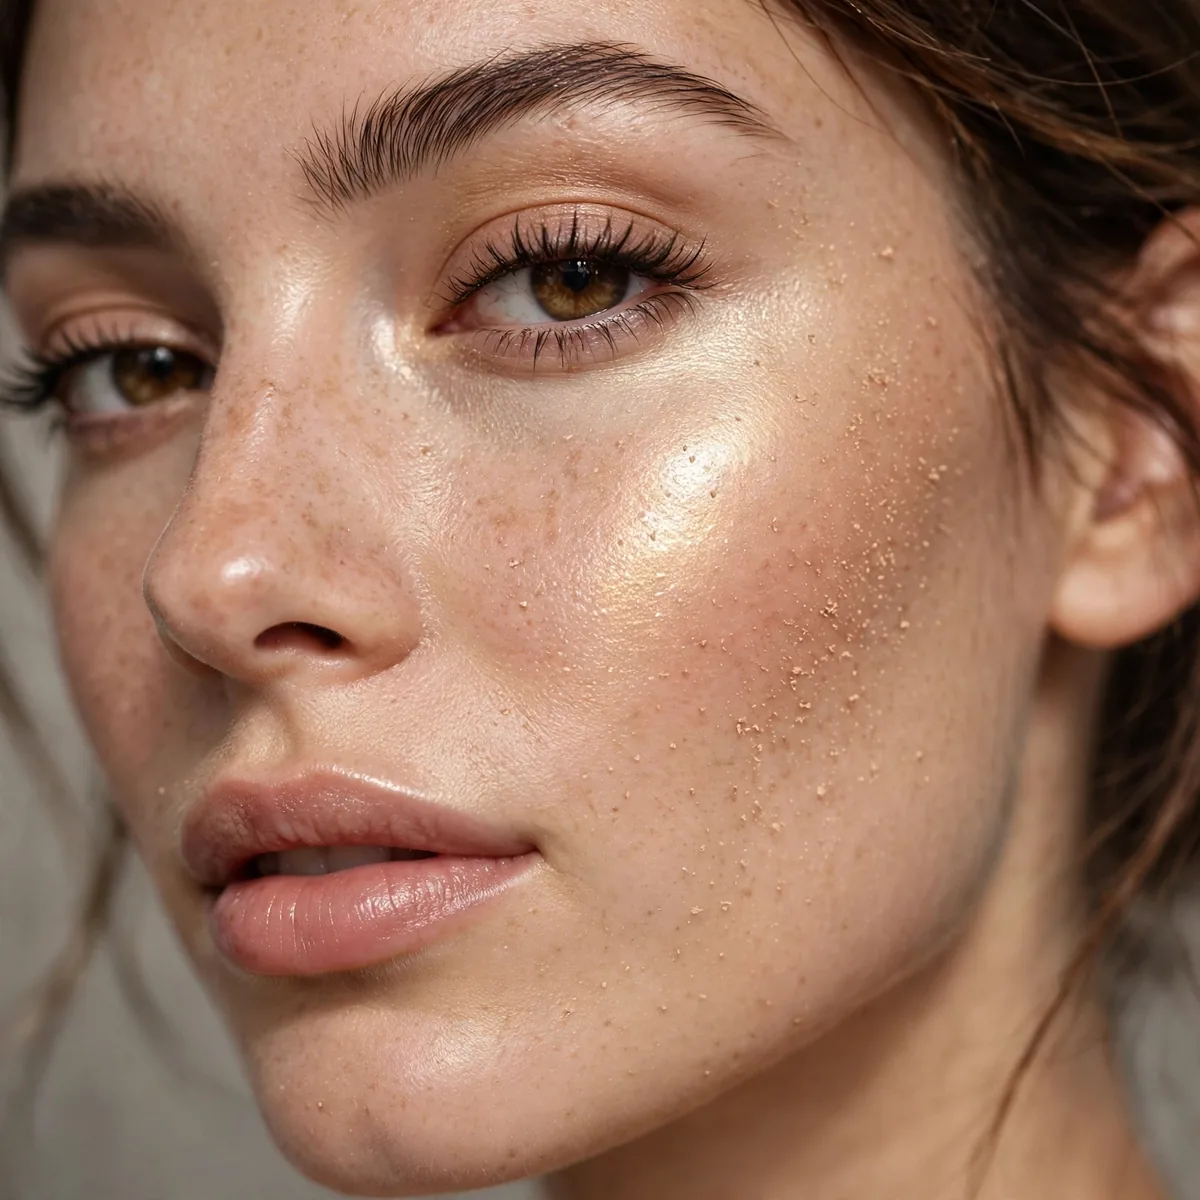
Liquid highlight under base for glow from within — literally.
The under-layer glows through sheer base. It’s the most natural highlight technique.
Mix a single drop of liquid highlighter into your moisturizer or primer rather than applying it straight — the dilution is what makes it look like skin. Apply before foundation, then use a sheer-to-medium base so the glow shows through. Full-coverage foundation simply buries the under-layer and wastes the effort.
Dry skin loves this technique, since it adds moisture-looking radiance from within. Oily skin should use it sparingly on high points only. It is a winter-skin hero, counteracting seasonal dullness — in summer, choose an oil-free liquid so the glow does not tip into excess shine. Hyaluronic-acid-based liquids layer best under foundation without pilling.
Powder Over Cream
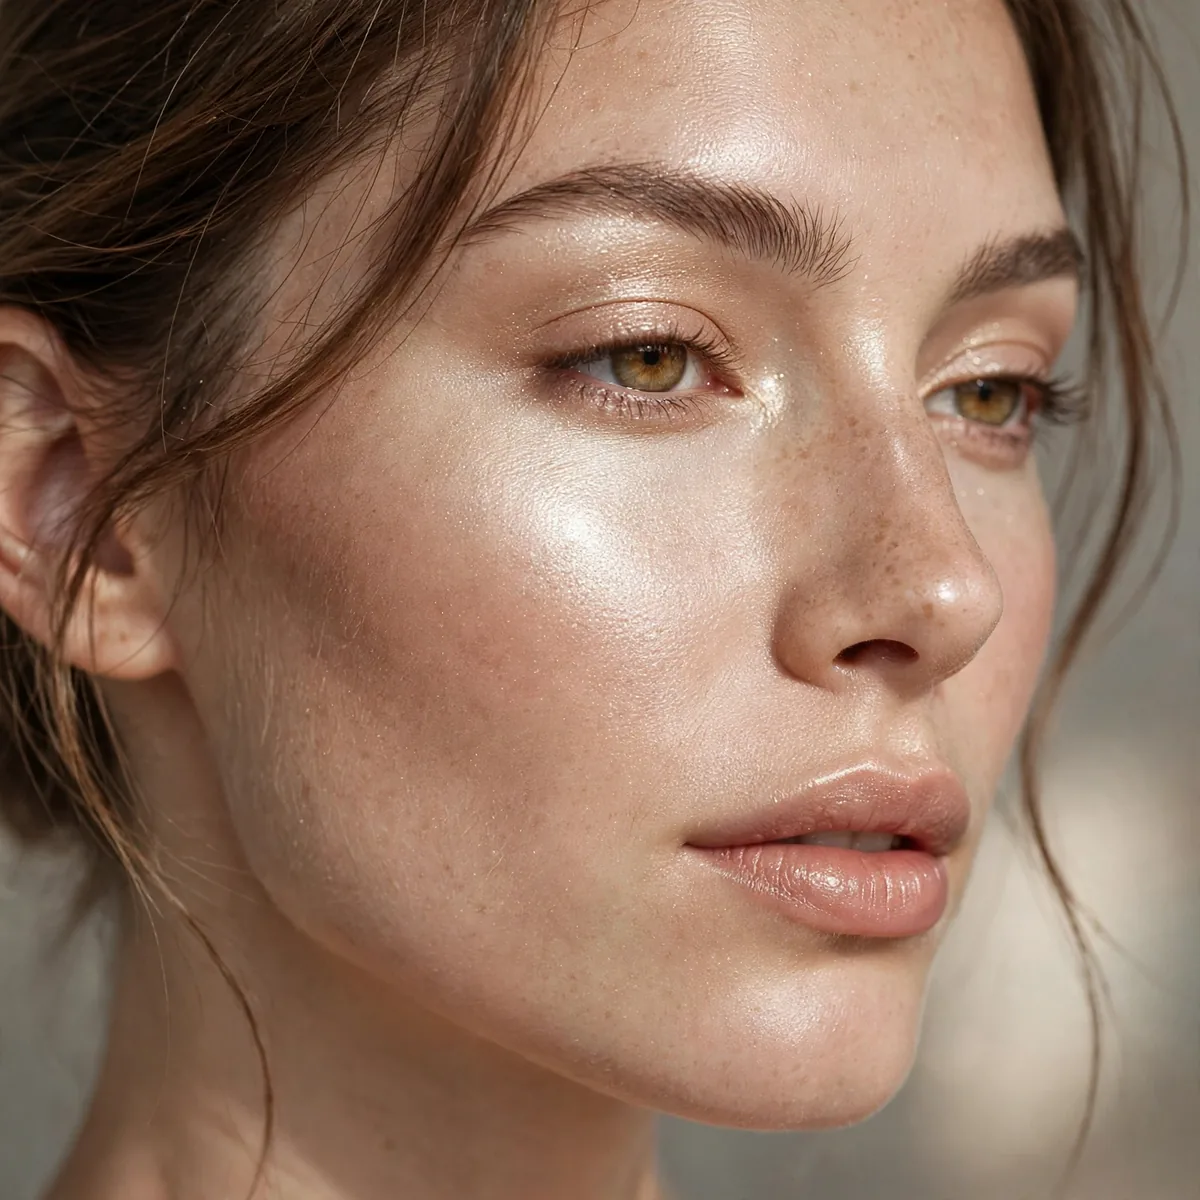
Cream highlight set with powder highlight — intensity plus longevity.
Layering finishes builds a glow that lasts. Cream for depth, powder for pop.
Warm the cream in with your fingers first — body heat melts it seamlessly into skin. Wait about a minute, then press the powder highlight on top with a damp sponge rather than sweeping it. Match the undertones of both layers, since mismatched warm and cool products create an ashy, off cast.
This is the twelve-hour makeup technique: brides, long events, and humid climates. Layering outlasts either formula alone when the air is damp. For an ordinary day, skip the powder layer entirely and let the cream shine solo — the full layering is overkill for daytime. Setting spray applied between the layers adds even more staying power.
Subtle Nose Tip
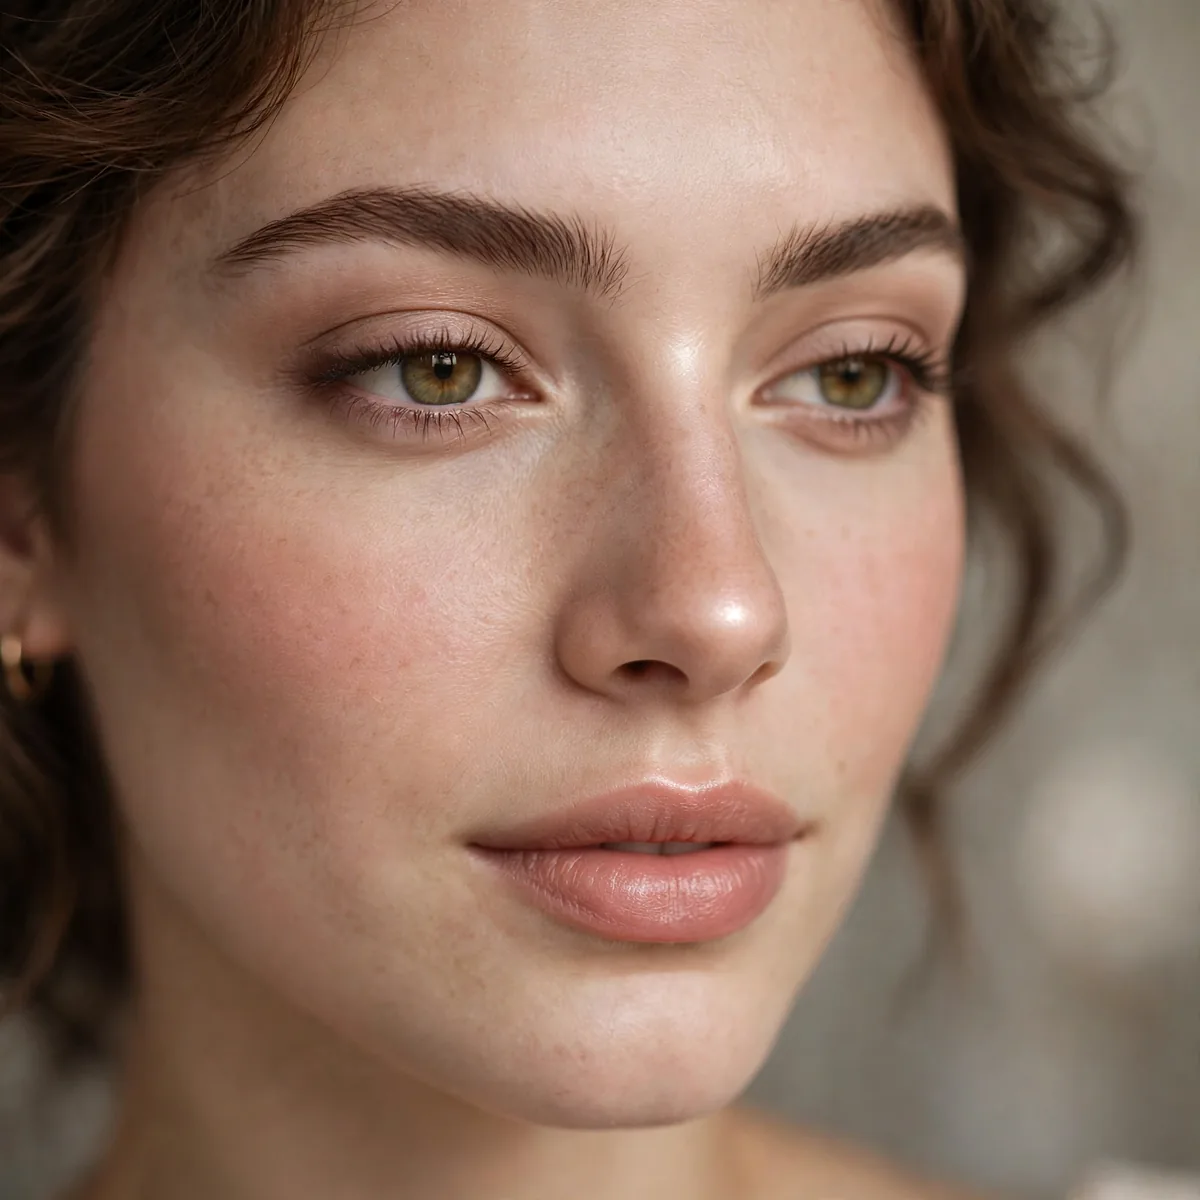
The tiniest touch on the nose tip — cute and youthful.
Minimal is key. Too much nose-tip highlight looks like shine, not glow.
Tap the product on with a fingertip rather than a brush for the softest, most melted application. A cream formula looks most natural on the nose tip, where powder can appear dusty. This placement flatters button and slightly upturned noses best — it accentuates a shape that is already cute.
Overdoing it is the classic error: too much reads as oil, not glow. Skip this placement on very long noses, since it draws the eye downward. It is charming for daytime and casual looks, but leave it out of formal, contour-heavy makeup where it fights the sculpting. If you overshoot, press a clean fingertip over the spot to lift excess.
Temple Glow
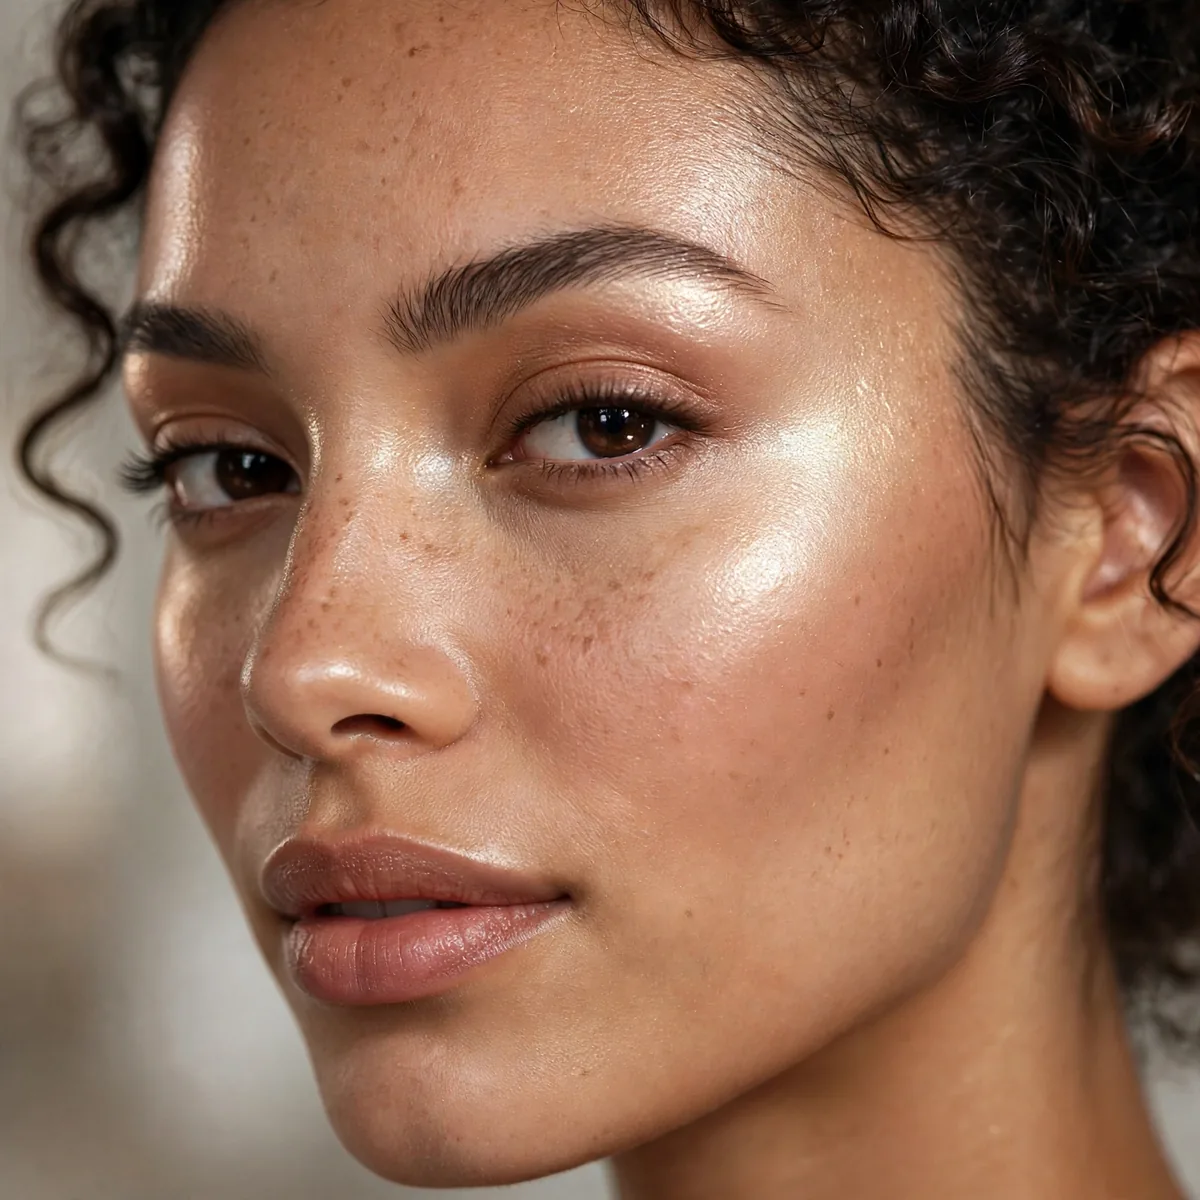
Temples catch light naturally — enhance what’s already there.
Temple glow connects face to hair beautifully. It’s the finishing frame.
Sweep whatever product remains on your brush after the cheekbones — no fresh product needed for the temples. Keep the application diffused, since temples should never show a visible highlight stripe. This placement especially flatters pulled-back hairstyles, bridging the gap between skin and hairline elegantly. A large fluffy brush keeps the sweep soft and impossible to overdo.
Evening looks benefit most from temple glow. Wide foreheads should keep the temples matte and skip this entirely. It pairs beautifully with updos, where the glow connects the face to the hair in a way that looks intentional and polished rather than accidental. Sleek buns and ponytails show off this placement better than loose waves.
Eyelid Center Pop
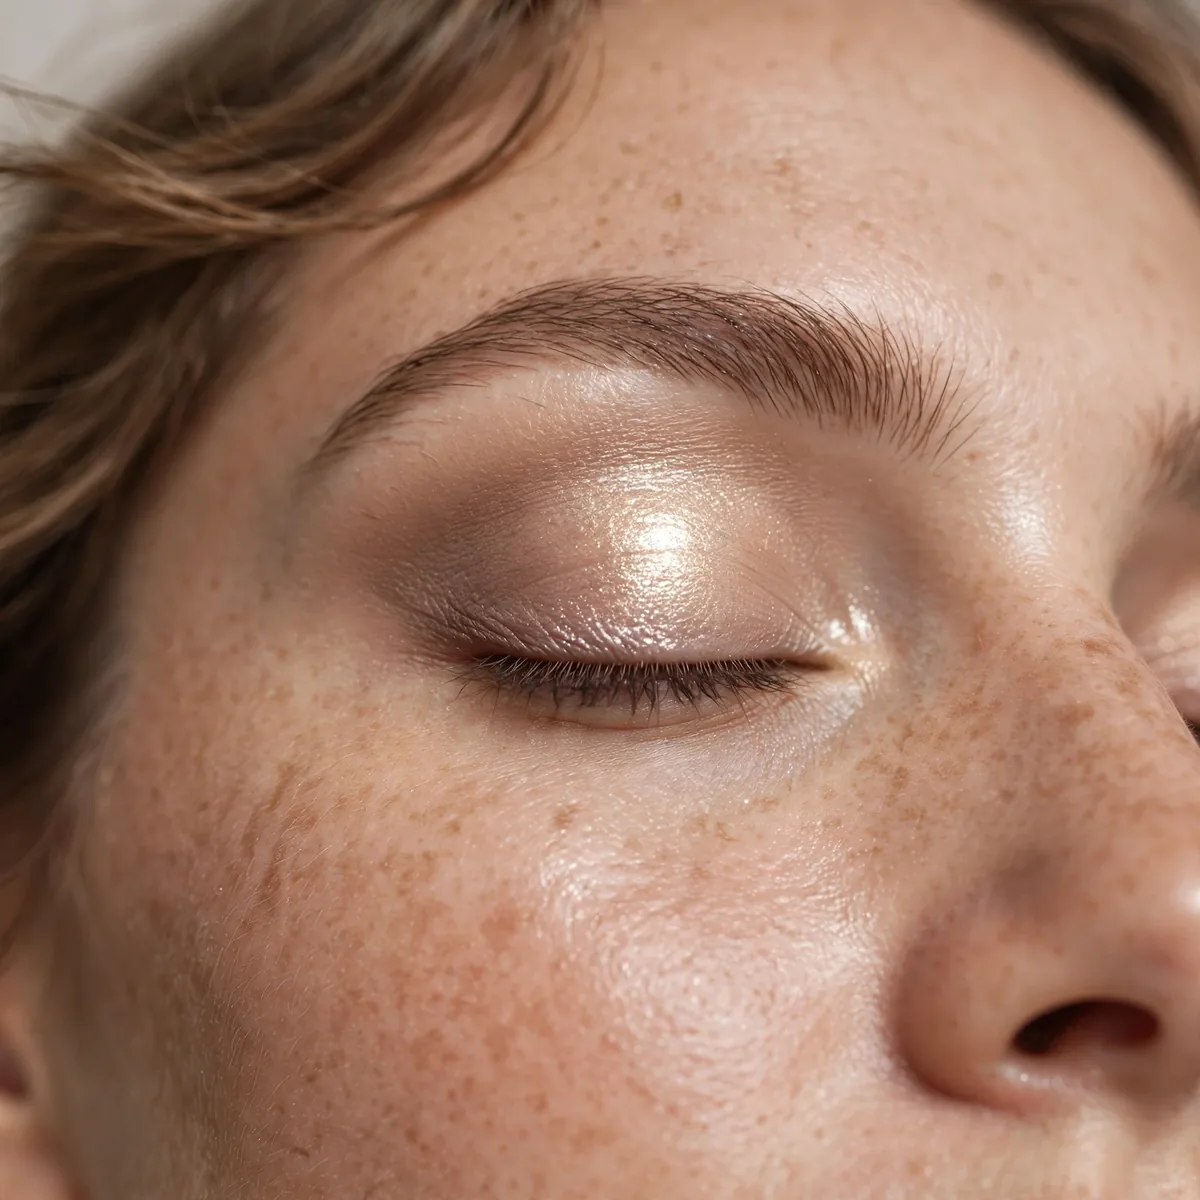
Center of the lid for a wide-awake eye glow.
It makes eyes look bigger and more open. The lid pop is transformative.
Pat — never sweep — a shimmer shadow onto the center of the lid with your fingertip for maximum payoff. Apply it over something tacky like concealer so the shimmer grips instead of fading. Keep the inner and outer thirds of the lid matte; the contrast is what amplifies the center pop.
Hooded eyes should place the pop slightly above the crease so it remains visible with eyes open. On round eyes, the center placement elongates the perceived shape. It is a party-makeup essential — in daylight, swap the full shimmer for a satin finish to keep it wearable. A damp brush intensifies the shimmer for nighttime without adding more product.
Jawline Sheen
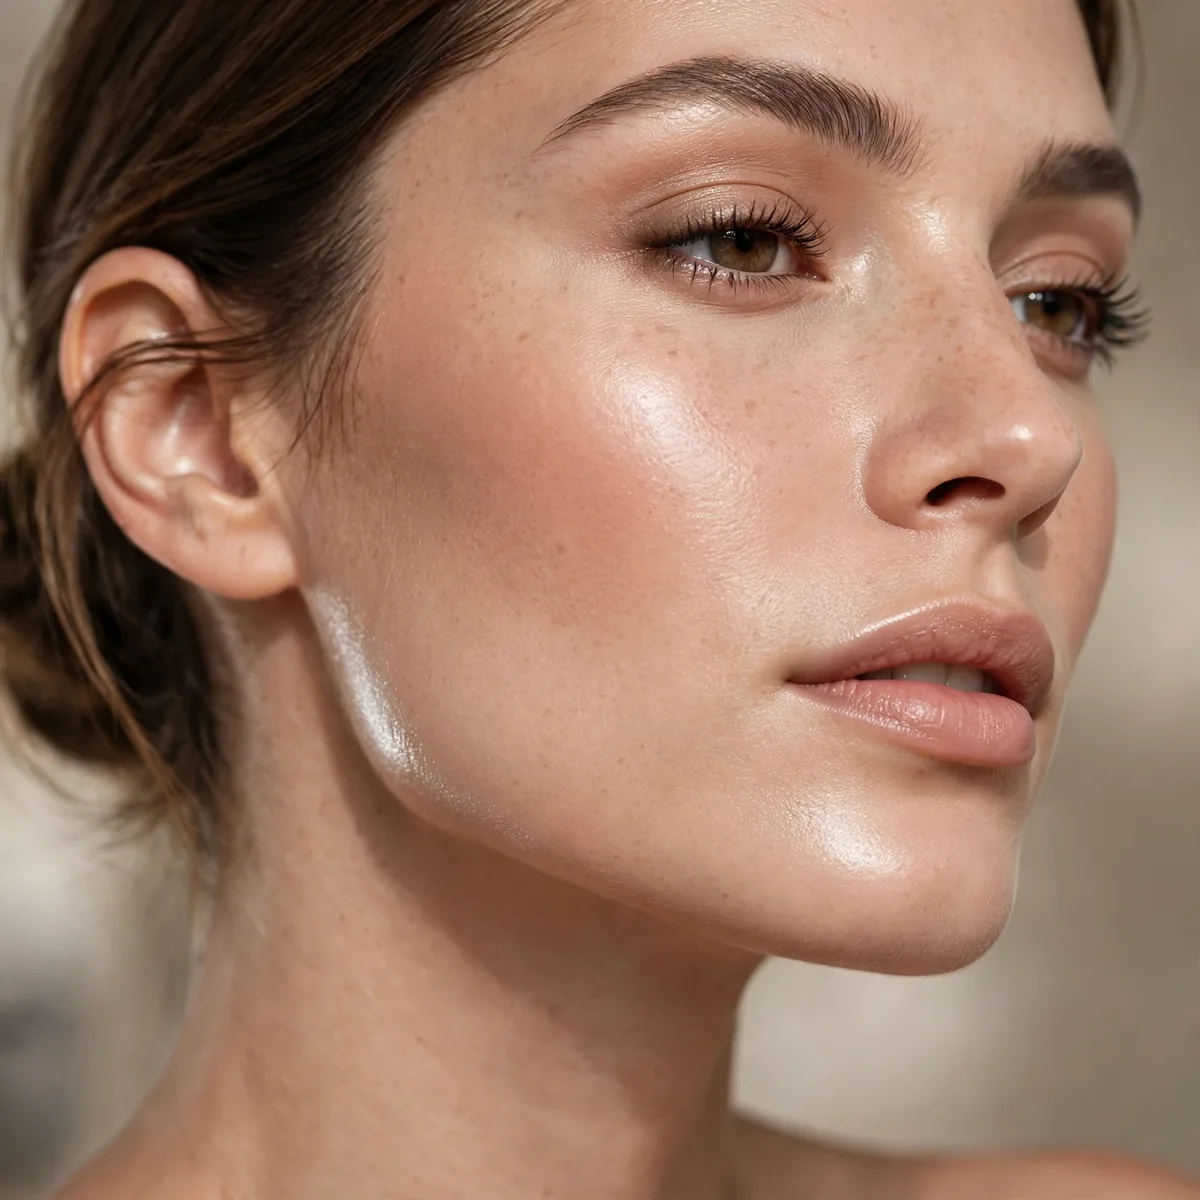
The faintest sheen along the jawline for definition.
Subtle is the operative word. Jawline highlight should be felt, not seen.
Run a nearly-clean brush along the top edge of the jawline — the product left over from other placements is plenty. Cream formulas blend more invisibly than powder here, which can look stripey. Think of it as contour's quiet partner: place it just above a subtle contour shade for gentle dimension.
This defines soft jawlines beautifully in photographs. Very square jaws should skip it, since highlight emphasizes width. The test is simple: if you can see distinct sparkle, you have applied too much. Jawline sheen should be felt as definition, never seen as shimmer. Blend downward into the neck so the definition fades naturally.
The All-Over Lit Look
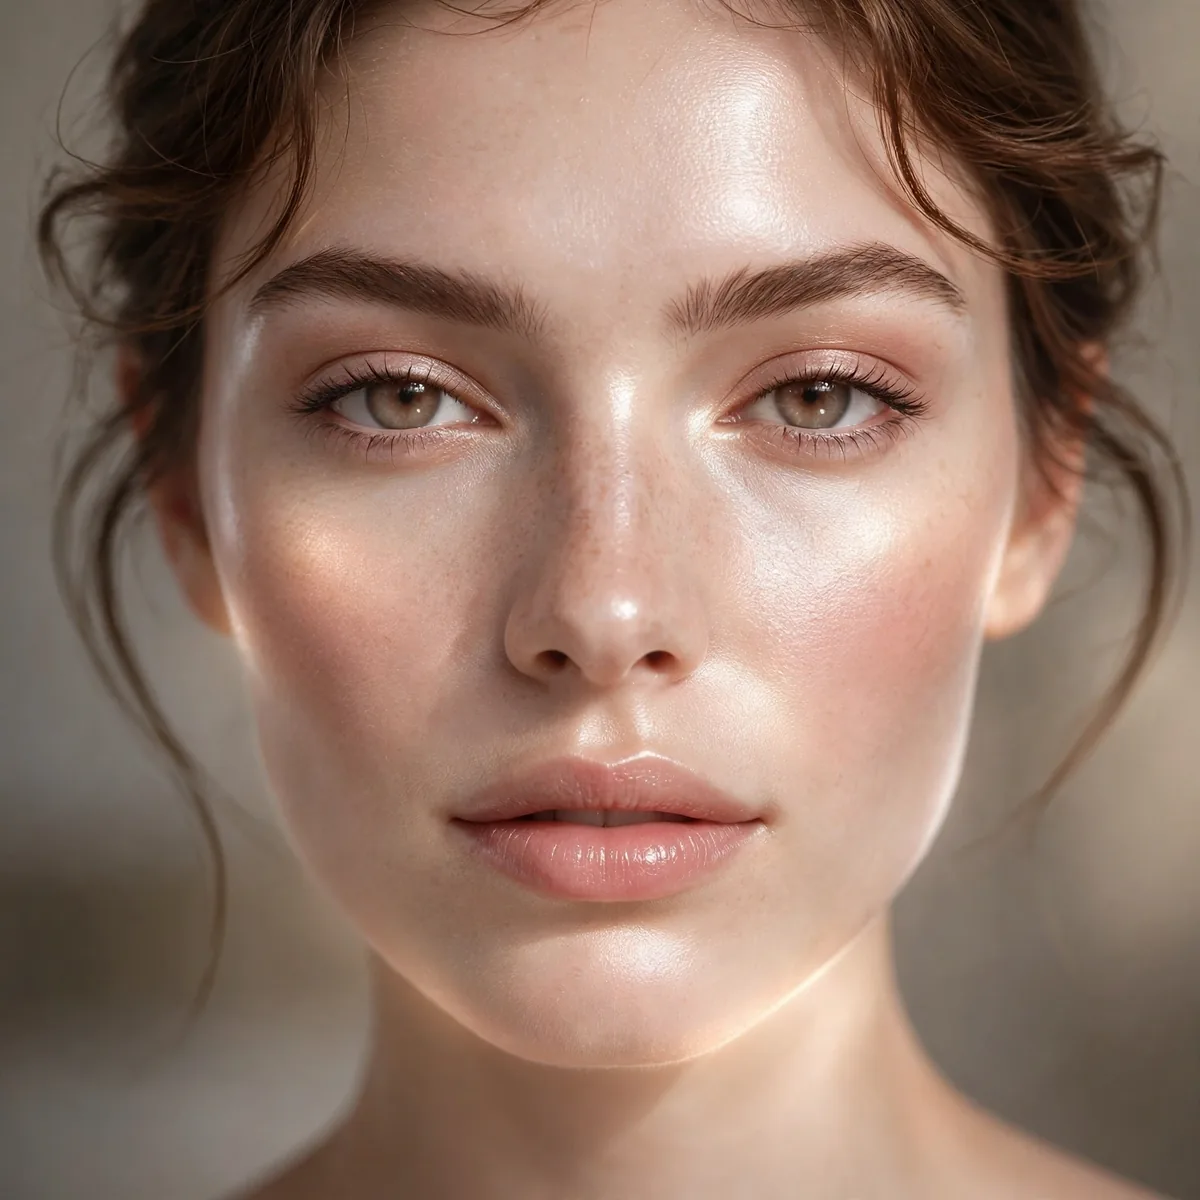
Combine placements for the full lit-from-within effect — strategic, not all-over.
For the complete radiant base, our glass skin routine builds the foundation. Restraint at each point; richness in total.
Choose a maximum of five placements — cheekbones, brow bone, inner corners, cupid's bow, and nose bridge is a classic set. Apply each at about half the intensity you think you need; the sum of restrained placements creates the effect. Step back and check everything in natural light before leaving the house.
Skin prep decides the result: exfoliate and hydrate first, since highlight magnifies dry patches mercilessly. Pair the look with a luminous rather than matte foundation. In flash photography, cream formulas photograph softer and more skin-like than powders, which can flash back harshly. A hydrating primer with niacinamide gives the glow something smooth to grip.
Photography Glow Check
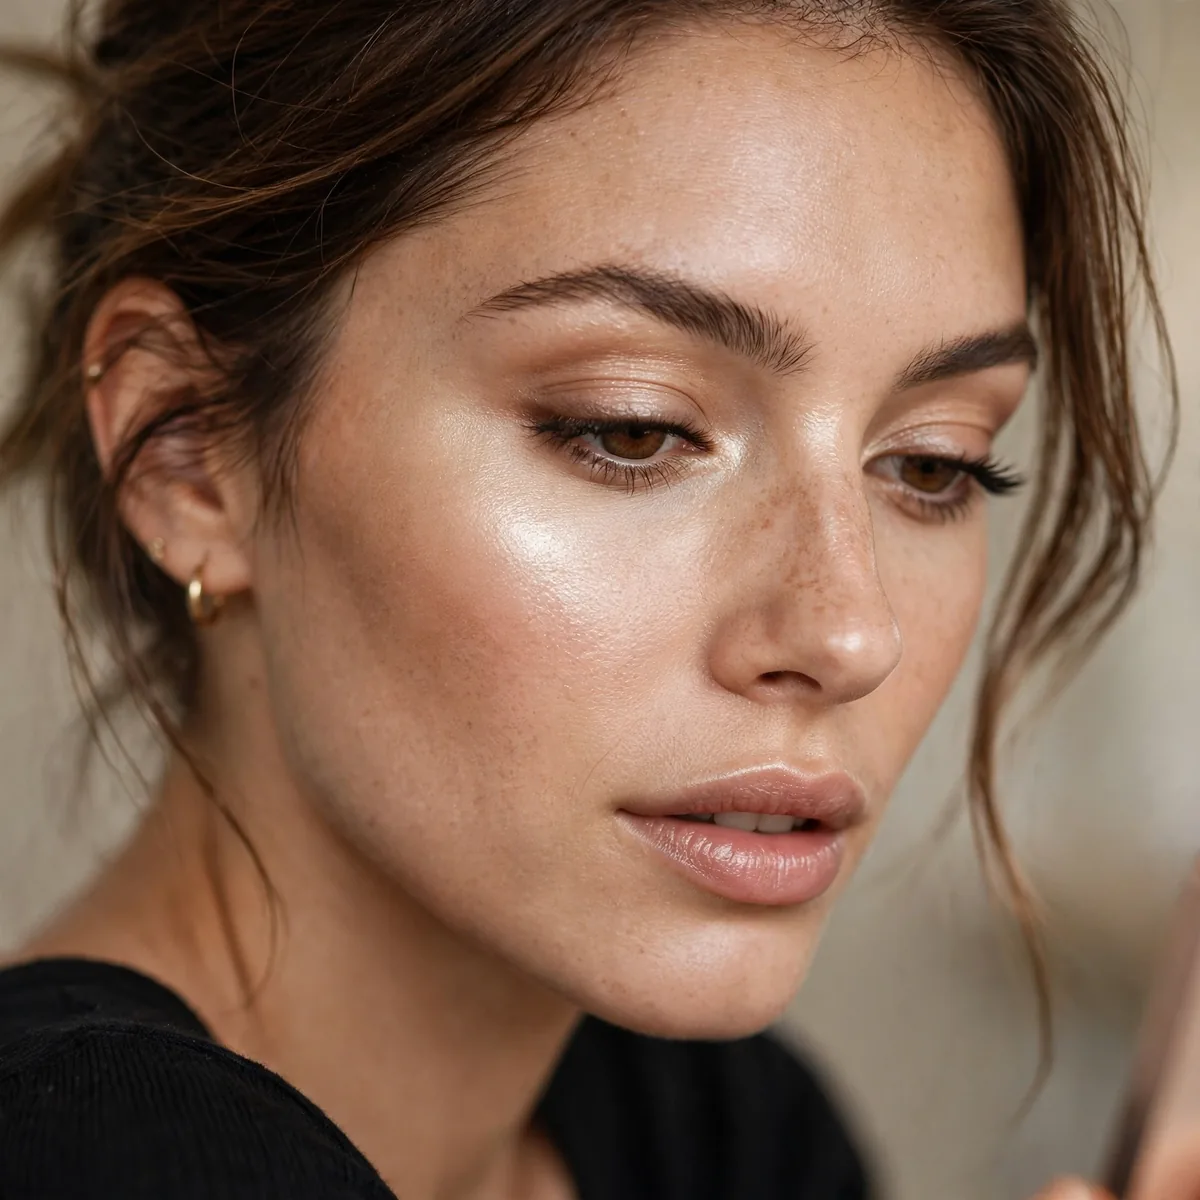
Check highlight in photos — cameras amplify glow significantly.
What looks subtle in person can look shiny on camera. Verify before events.
Take your test photo in the actual event lighting, because bathroom light lies about glow. Check both flash and no-flash shots — each reveals different problems. Video calls have become the new honesty test: webcam lighting is brutally unforgiving of overdone highlighter. Ask a friend to snap a candid too, since posed shots hide harsh edges.
This check is essential before weddings and any event with a photographer. If photos reveal shine rather than glow, blot with tissue and press translucent powder over the area — never add more product. Keep blotting papers in your clutch for mid-event touch-ups without disturbing the base. A small powder compact travels better than loose powder for on-the-go fixes.
Glow strategically — pin these placements. For the full radiant base, try glass skin routine, or sculpt with contour tips.




