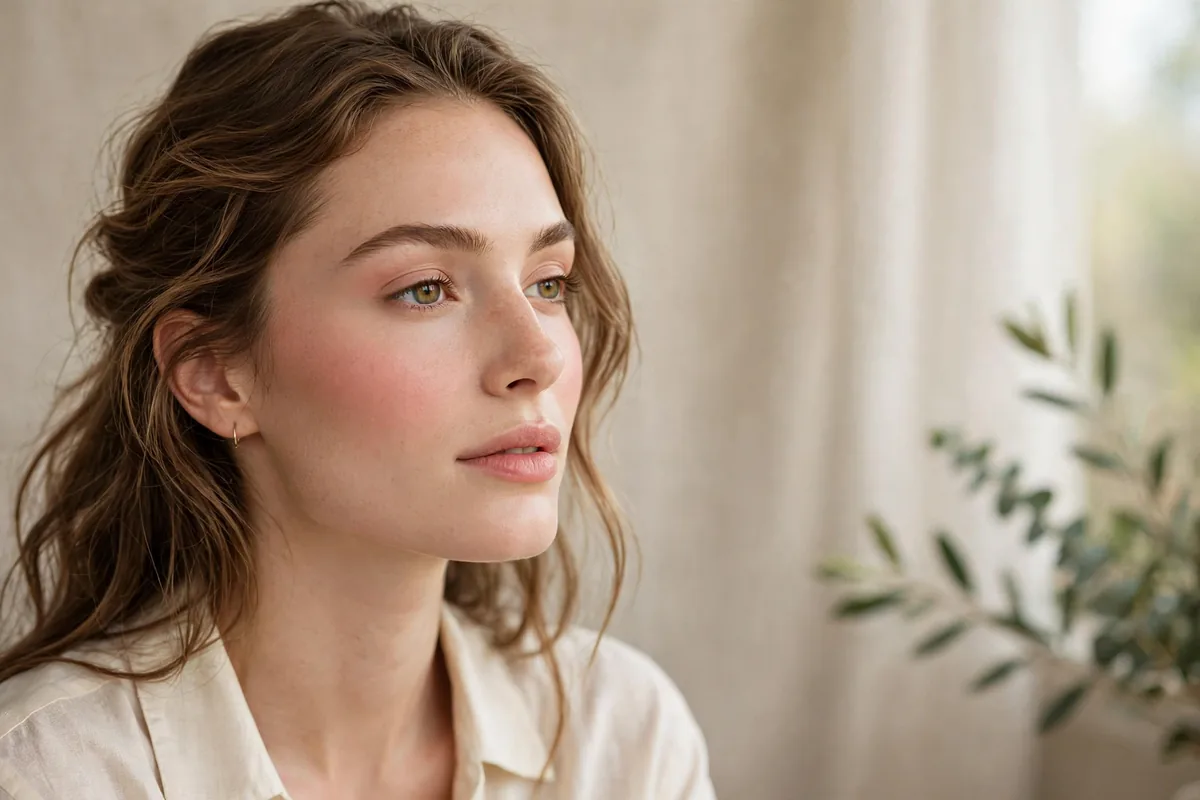
Where you put blush matters more than which blush you buy.
Blush placement can lift, slim, widen, or warm the face — it’s practically contouring with color. The old "smile and apply to apples" advice is outdated and often unflattering.
Modern placement sits higher and more outward, creating lift rather than roundness. Face shape determines the exact map.
Here are 20 placement tips. Let’s get into it.
The Lifted Placement
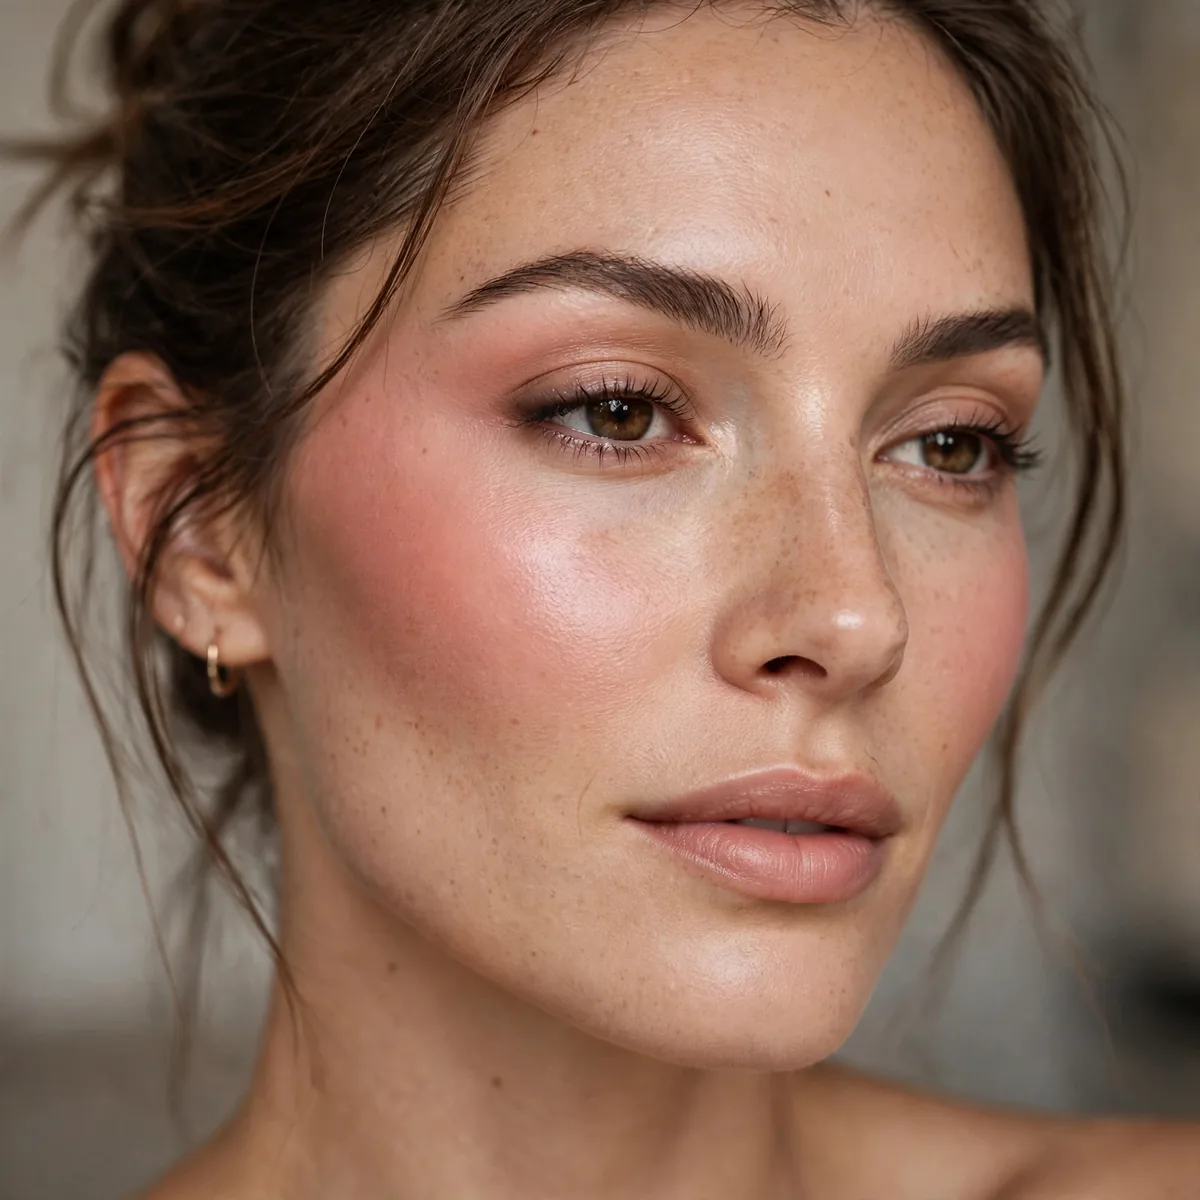
Apply blush on the upper cheekbone, blending toward the temple — the lifting placement.
High and outward creates lift. Low and inward creates roundness. Choose lift.
Find the sweet spot by placing two fingers flat along your cheekbone — blush belongs on the upper edge, not below it. Start with less product than you think you need and build in sheer layers. Smile slightly while applying, then relax your face to check the real placement; blush applied only while smiling migrates downward at rest.
This placement flatters nearly every face but works hardest on round and square shapes, where lift counteracts width. Pair it with highlighter just above the blush for a sculpted glow that photographs beautifully. The common mistake is stopping the blend too early — carry the color softly toward the temple so no harsh edge shows in daylight.
Face Shape Mapping
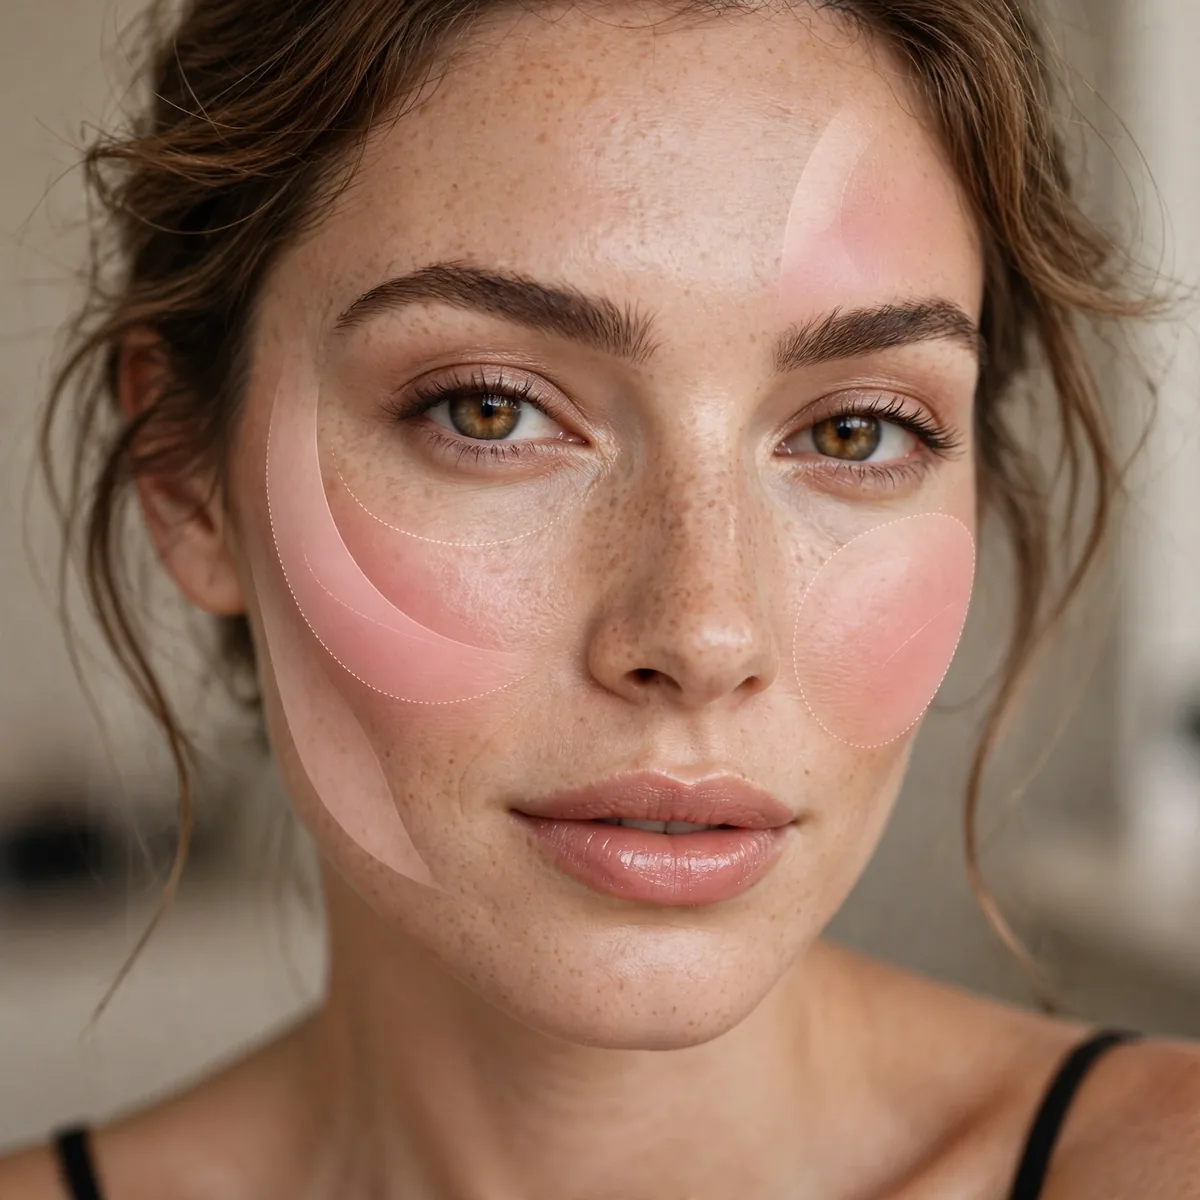
Round faces: higher and more angled. Long faces: more horizontal. Heart faces: soften the cheek width.
One placement doesn’t fit all. Map to your structure.
Oval faces can wear blush centered high on the cheekbone with a soft outward sweep. Square faces should angle the color upward to soften a strong jawline visually. Diamond faces benefit from blush slightly lower on the apples to balance a narrow chin. Take a straight-on photo, trace your face shape, and map placement to what you see.
Lighting changes everything — map your placement in the light you will actually be seen in, ideally daylight. Bathroom fluorescents cast shadows that mislead your hand. If you are between two face shapes, blend both techniques and favor the higher placement. Remember that mapping is a starting guide, not a rulebook; your bone structure always gets the final vote.
The Draping Technique
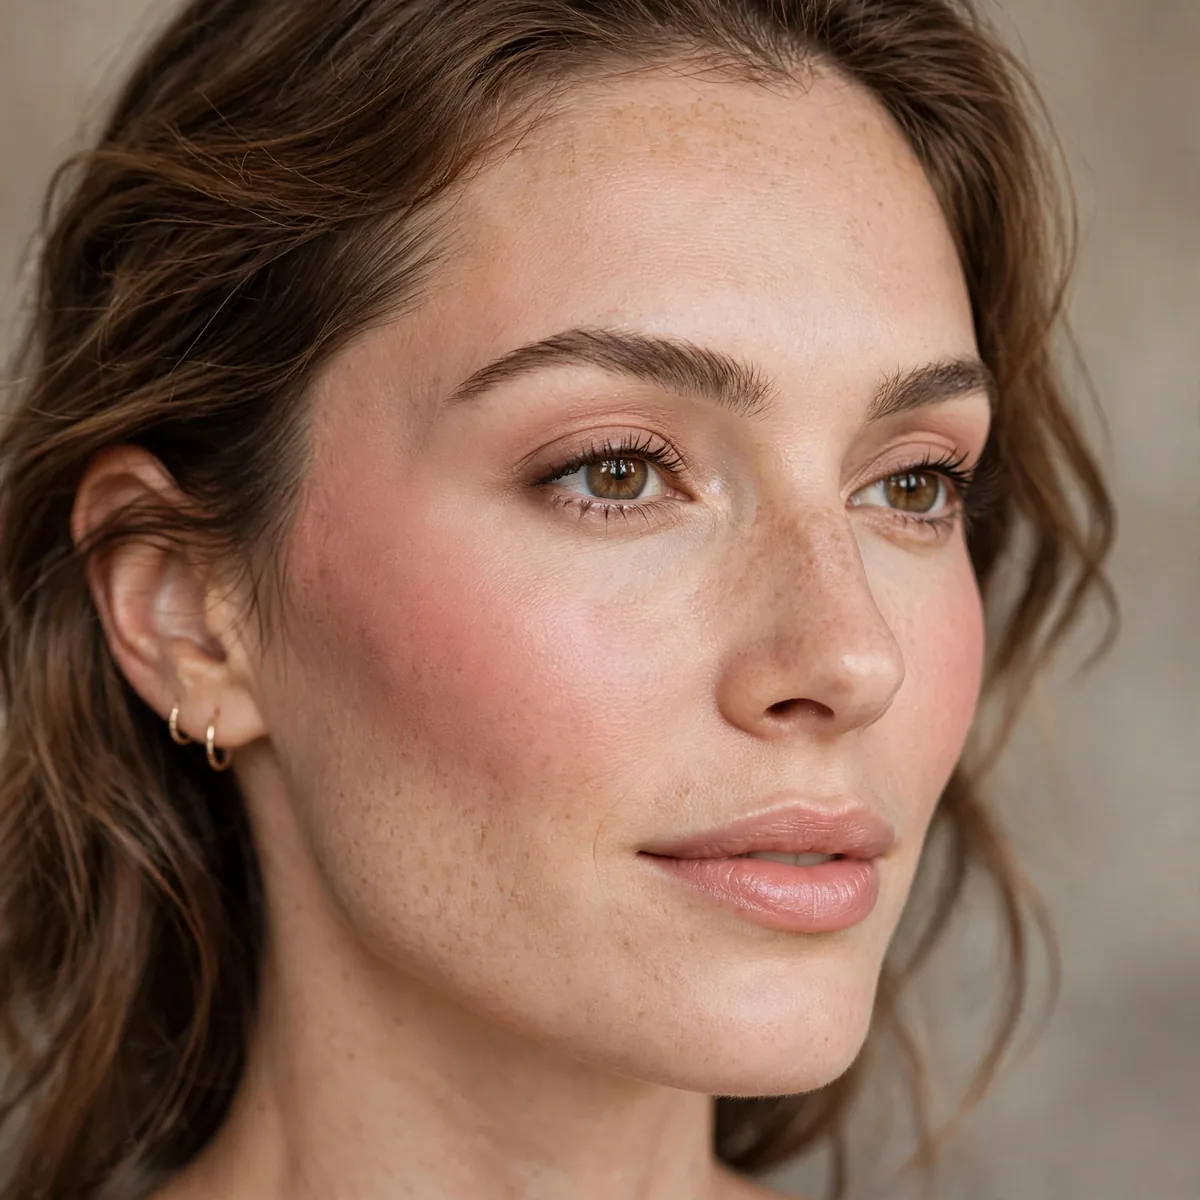
Drape blush from cheek up toward temple in a C shape — the 70s technique, modernized.
Draping sculpts while it colors. It’s blush and contour in one.
A large fluffy angled brush is the ideal tool — it lays down a diffused wash rather than a stripe. Cream and liquid blushes drape more easily than powders because they meld into skin. Work in the C shape with light pressure, building color gradually. The technique originated on 1970s runways and keeps resurfacing because the sculpted result is timeless.
Draping suits medium to full coverage looks best, since the broad placement needs a polished base to look intentional. On bare skin it can read as sunburn, so keep the color sheer for daytime. Blend the tail of the C well into the temple — an abrupt stop near the hairline is the giveaway of a rushed job. Finish with a clean brush to soften edges.
Nose Bridge Flush
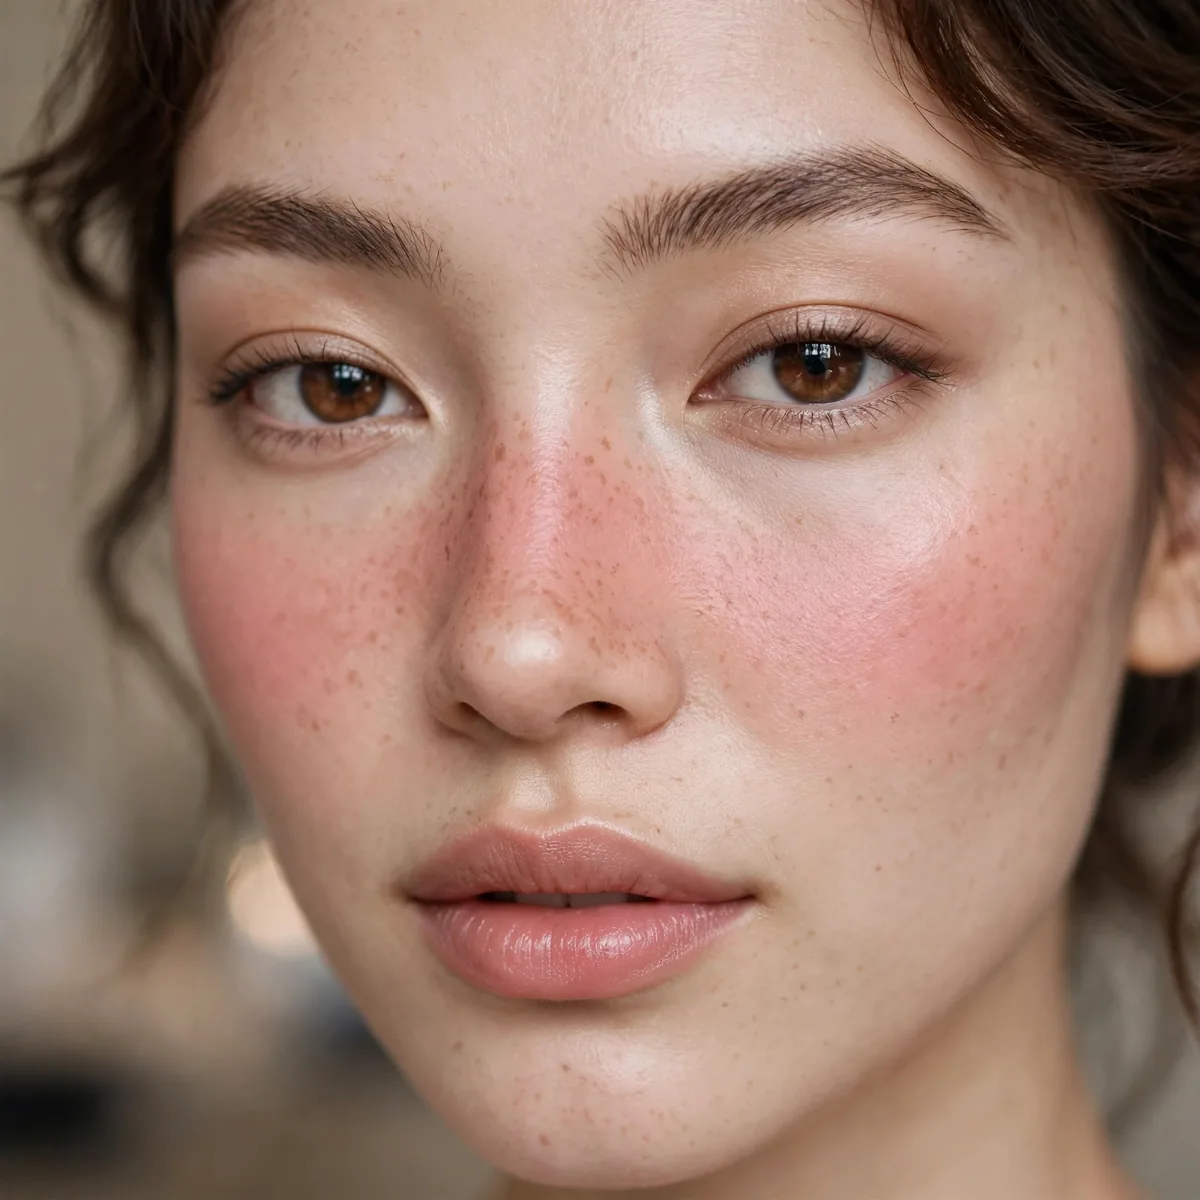
A touch across the nose bridge — the sun-kissed, youthful flush.
The nose flush reads as natural warmth. It’s the "just came inside from cold" look.
Use whatever remains on your brush after the cheeks — never load fresh product for the nose. One light pass across the bridge is enough; the goal is warmth, not a red nose. This trick pairs beautifully with faux freckles for a full sun-kissed effect. Skip it if your nose tends to get shiny, since color draws attention to oil.
Longer noses should keep the flush minimal and centered to avoid emphasizing length. The technique works across seasons but feels most natural in spring and summer with bronzed skin. For photography, go slightly lighter than you think — cameras amplify redness on the nose. Blot the nose with tissue first so the color sits on matte skin.
Under-Eye Brightening Blush
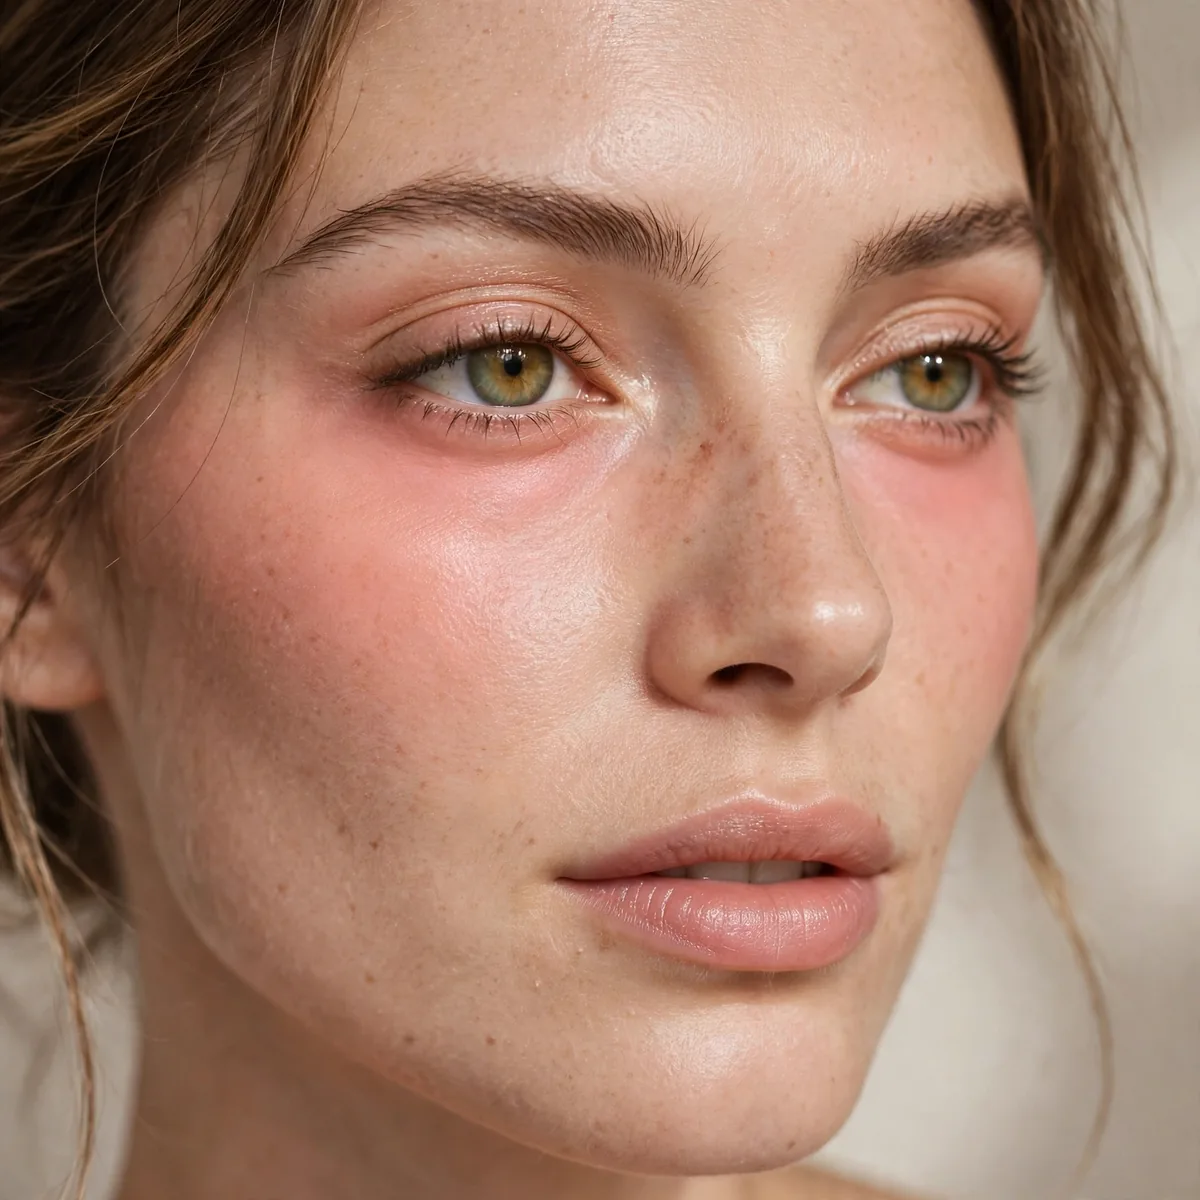
Blush placed high, near the under-eye, brightens the whole area.
High placement lifts and brightens simultaneously. Two benefits, one product.
Peachy and apricot shades double as color correctors here, neutralizing blue under-eye tones while adding flush. Cream formulas work best — they will not settle into fine lines the way powder can. Apply with a damp sponge and press, never drag. This placement is a secret weapon for tired mornings when concealer alone is not enough.
Keep the color sheerer than your cheek blush — heavy pigment near the eyes looks bruised, not bright. Set very lightly with translucent powder to prevent creasing, but skip heavy baking here. This trick flatters deeper skin tones especially well, where warm blush tones mimic natural radiance. Always blend the edge where blush meets concealer so no line shows.
The W Shape
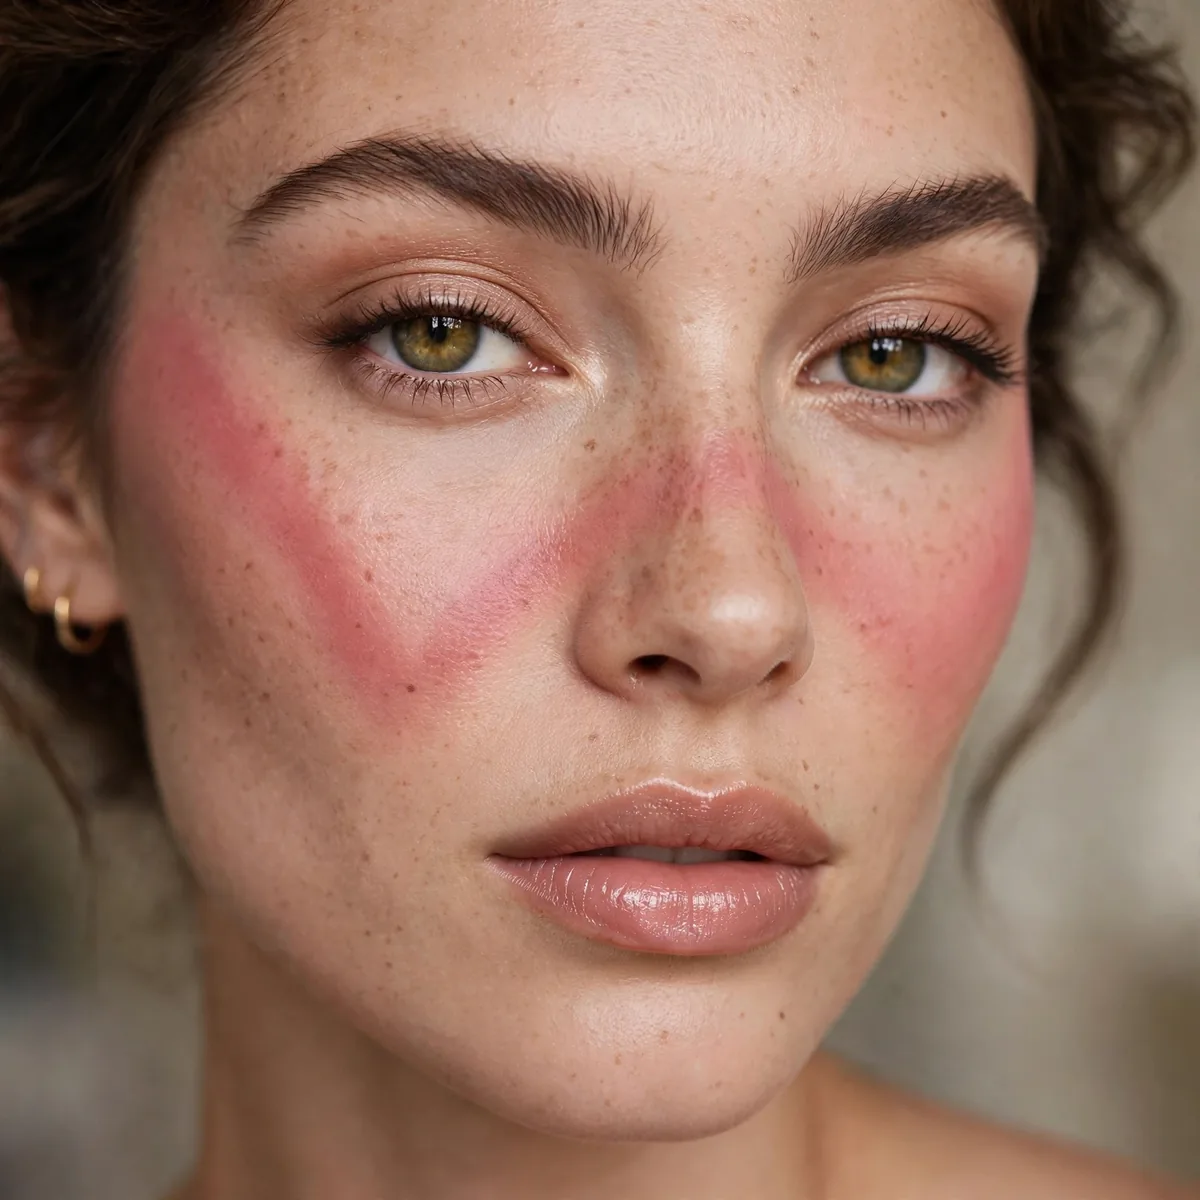
Sweep blush in a W across cheeks and nose — the beach-day flush.
The W mimics natural sun exposure. It’s the most natural-looking placement.
Load the brush once and sweep continuously — lifting and reloading creates patchy spots. Use a sheer, buildable formula so the overlapping strokes stay translucent. This placement loves summer: pair it with dewy skin and glossy lips for the full beach effect. In winter it still works, but choose a cooler rose tone for believability.
The classic mistake is a heavy hand on the nose bridge, which turns sun-kissed into sunburned. Keep the center of the W the lightest part. This technique suits fair to medium skin tones most naturally, since the flush mimics how their skin actually tans. Set with a whisper of powder only on the T-zone so the cheeks keep their glow.
Temple Blush
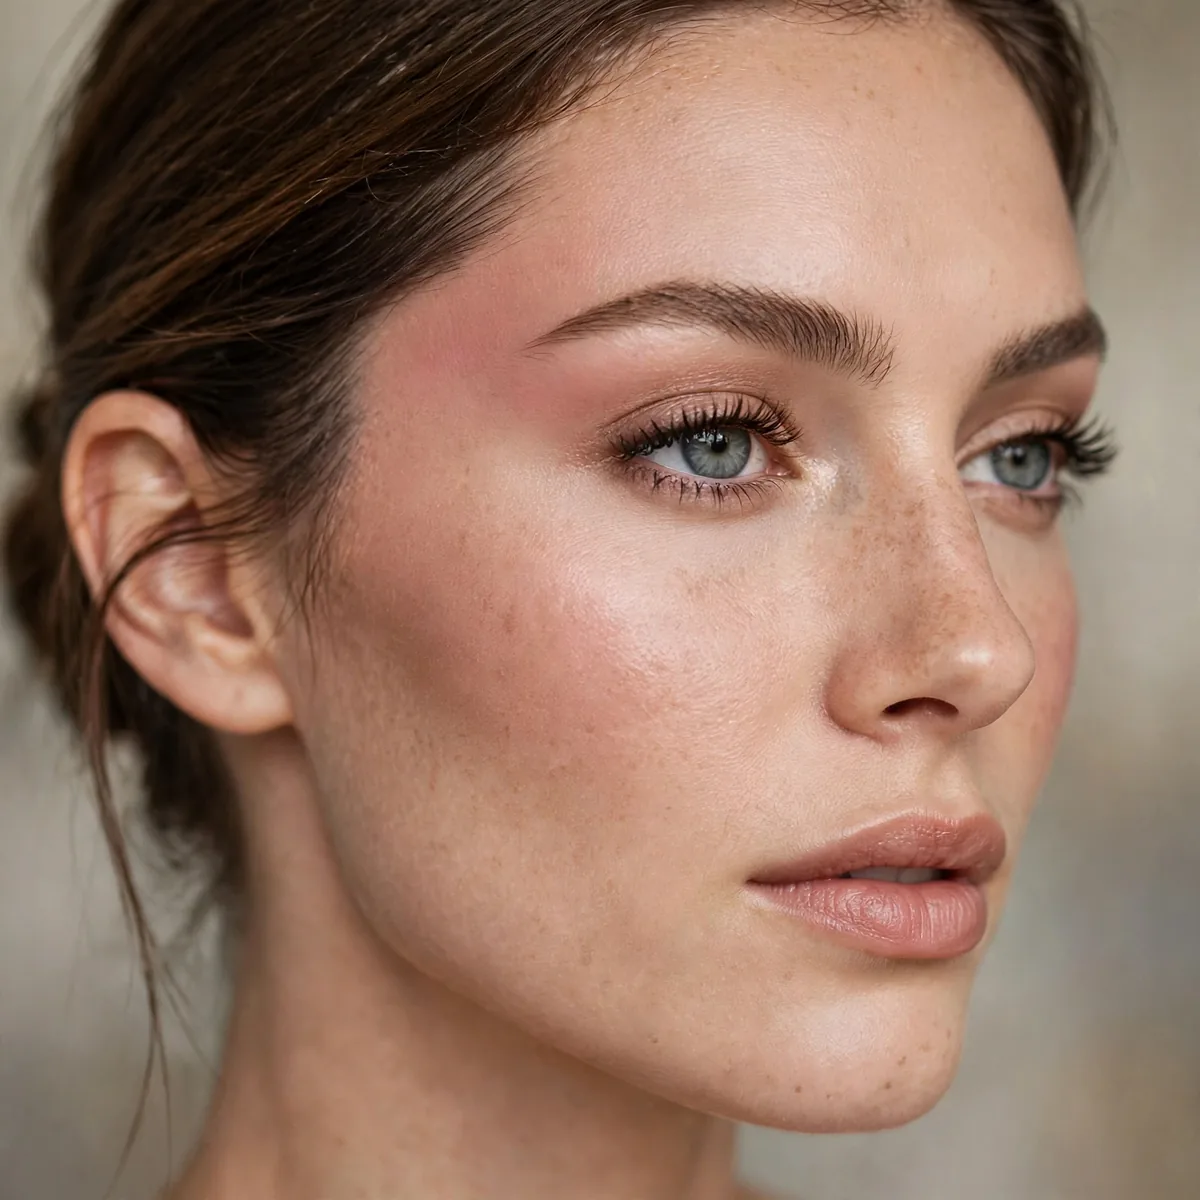
Extend blush to the temples for a lifted, sculpted effect.
Temple blush pulls the eye upward and outward. Maximum lift placement.
Blend the temple color up into the hairline so it melts rather than stops — visible edges near the forehead look like a mistake. This placement pairs beautifully with updos and ponytails, which expose the temples. Use the same shade as your cheeks for cohesion. A stippling brush gives the softest diffusion in this bony area.
Go easy on product here — the temple area has less natural color, so pigment shows up stronger than on the cheeks. Build in two sheer passes rather than one heavy one. This placement is especially flattering on long faces, where the upward pull balances length. Avoid shimmer formulas on the temples if you have texture there; matte keeps it smooth.
Avoid the Apples (Mostly)
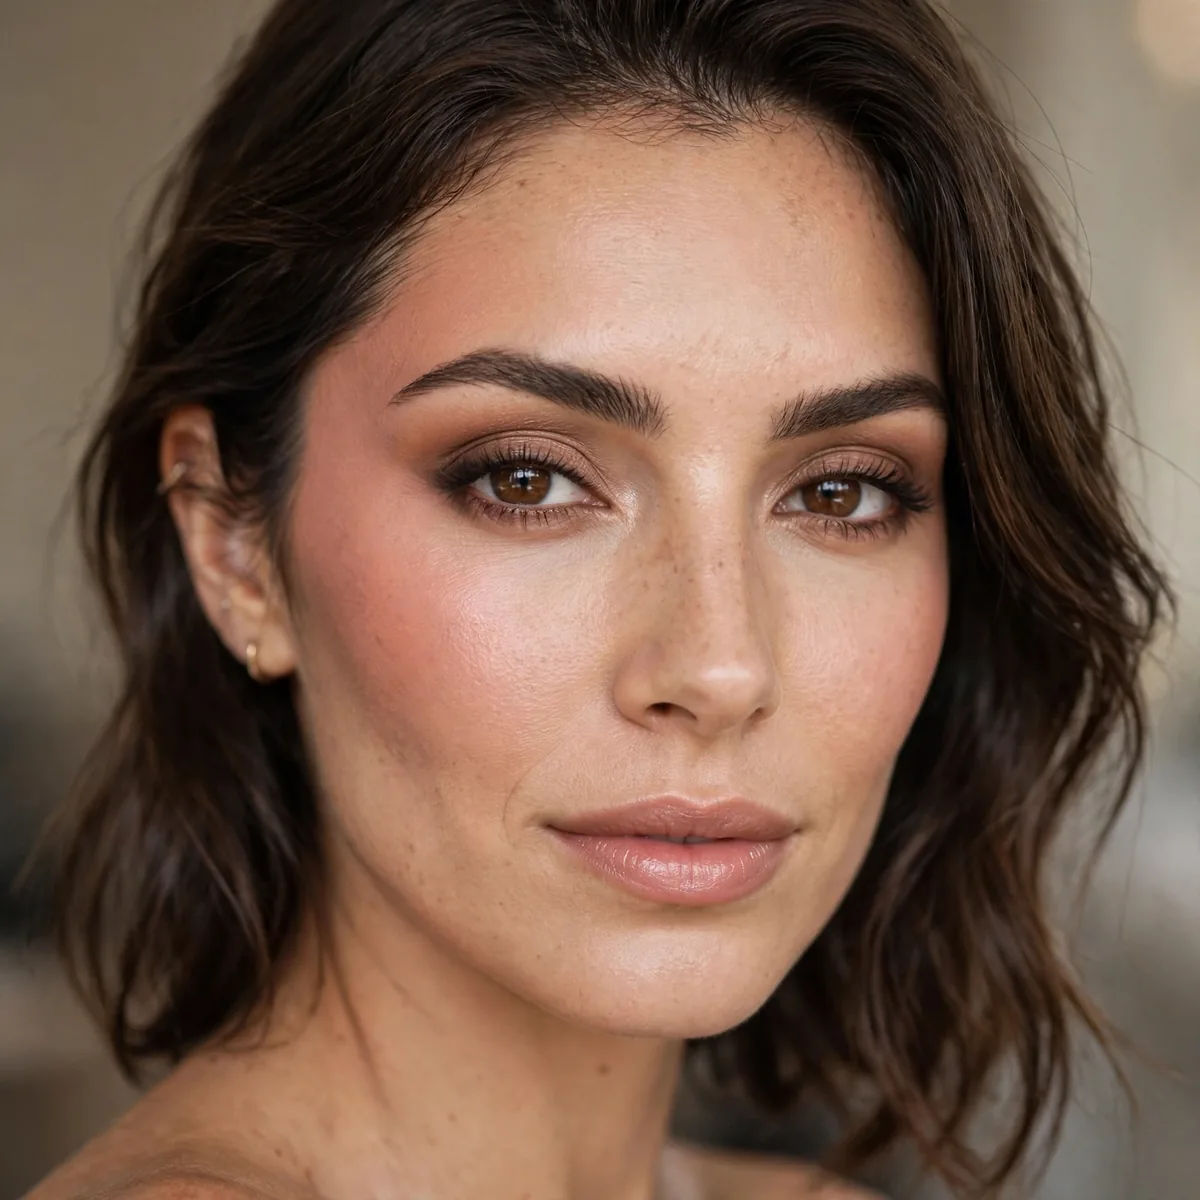
Blush only on the apples can drag the face down and look dated.
The apples are a starting point, not the destination. Blend up and out from there.
The apples still have their place — on very young skin, a centered pop of blush looks fresh and innocent. Editorial and runway looks also use apple placement deliberately for a doll-like effect. The key is knowing it is a choice, not a default. If you love the apple look, blend upward from the apples so you get the charm without the drag.
Smile, place the product, then relax your face and blend — this keeps the color where it belongs once your expression settles. The smile-and-relax method prevents the common error of blush sitting too low at rest. Check your placement with a neutral face in the mirror, not a grin. What looks cute mid-smile often lands in the wrong spot when you stop.
Cream Before Powder
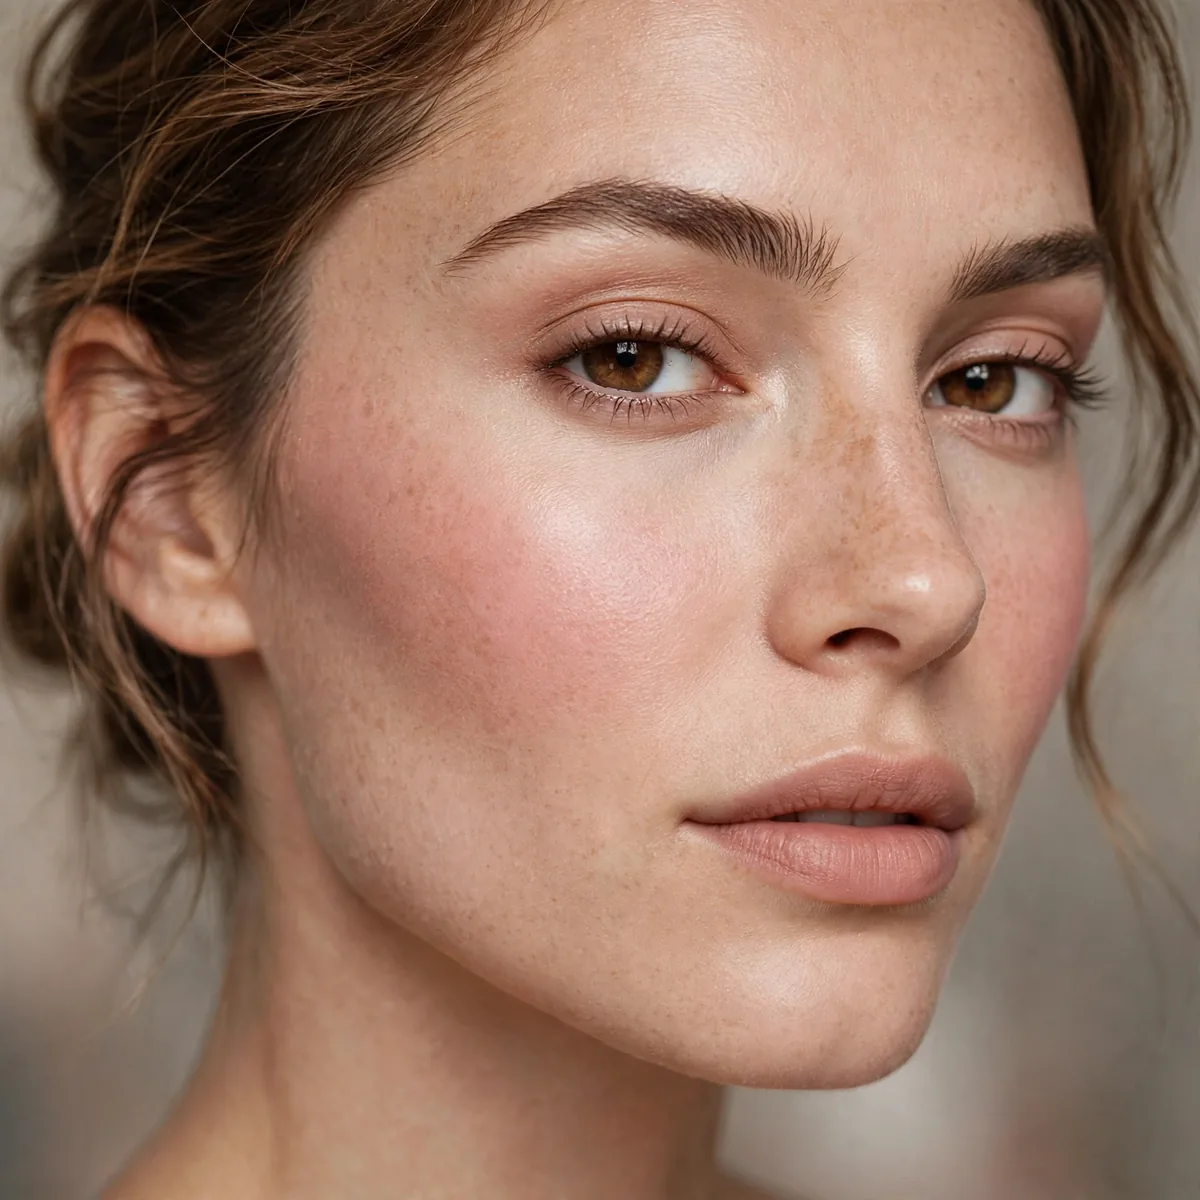
Layer cream blush under powder blush for dimension that lasts.
The cream gives glow; the powder sets it. Layering is the longevity secret.
Apply the cream with a damp sponge using a stippling motion — pressing, not swiping — for the most skin-like finish. Let it set for a minute before dusting powder blush over the top. Match the undertones of both layers so they harmonize instead of clashing. This layering also lets you mix finishes, like a dewy cream under a satin powder.
Reverse the order only if you want a stained, long-lasting base — powder first can grip cream, but the finish looks heavier. For oily skin, this double layer is a longevity game-changer on long days. Blot between layers with tissue to remove excess oil without disturbing color. The technique works with liquid blush too; the principle is wet layer first, dry layer second.
Blush and Contour Order
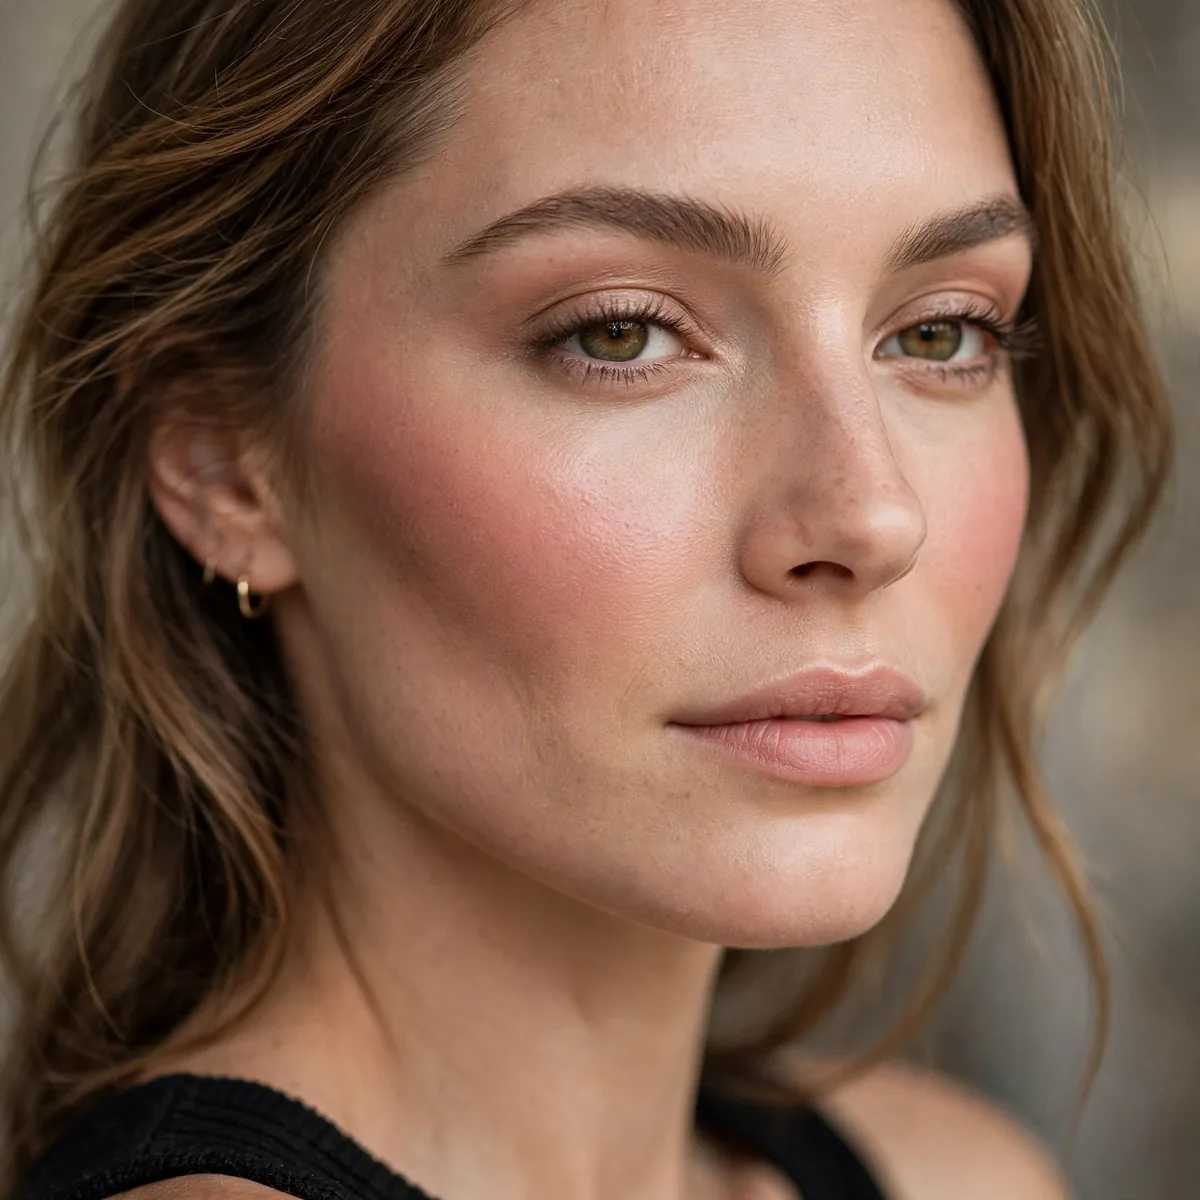
Apply contour first, then blush above it — the sculpted flush.
Our contour guide covers the base. Order creates the structure; blush adds the life.
Think of it as architecture: contour carves the structure underneath, blush brings the warmth on top. Leave a small buffer zone where the two meet, then blend the boundary with a clean brush so no stripe shows. Bronzer can substitute for contour in everyday looks — the same order applies. This sequence keeps each product doing its own job cleanly.
Applying blush first and contour second muddies both — the darker product drags the bright color down. If you use cream versions of both, blend contour fully before the blush layer goes on. For a quick everyday version, skip contour and let a slightly deeper blush placement do the sculpting. Fewer layers, same lifted illusion, half the effort.
The Vertical Lift
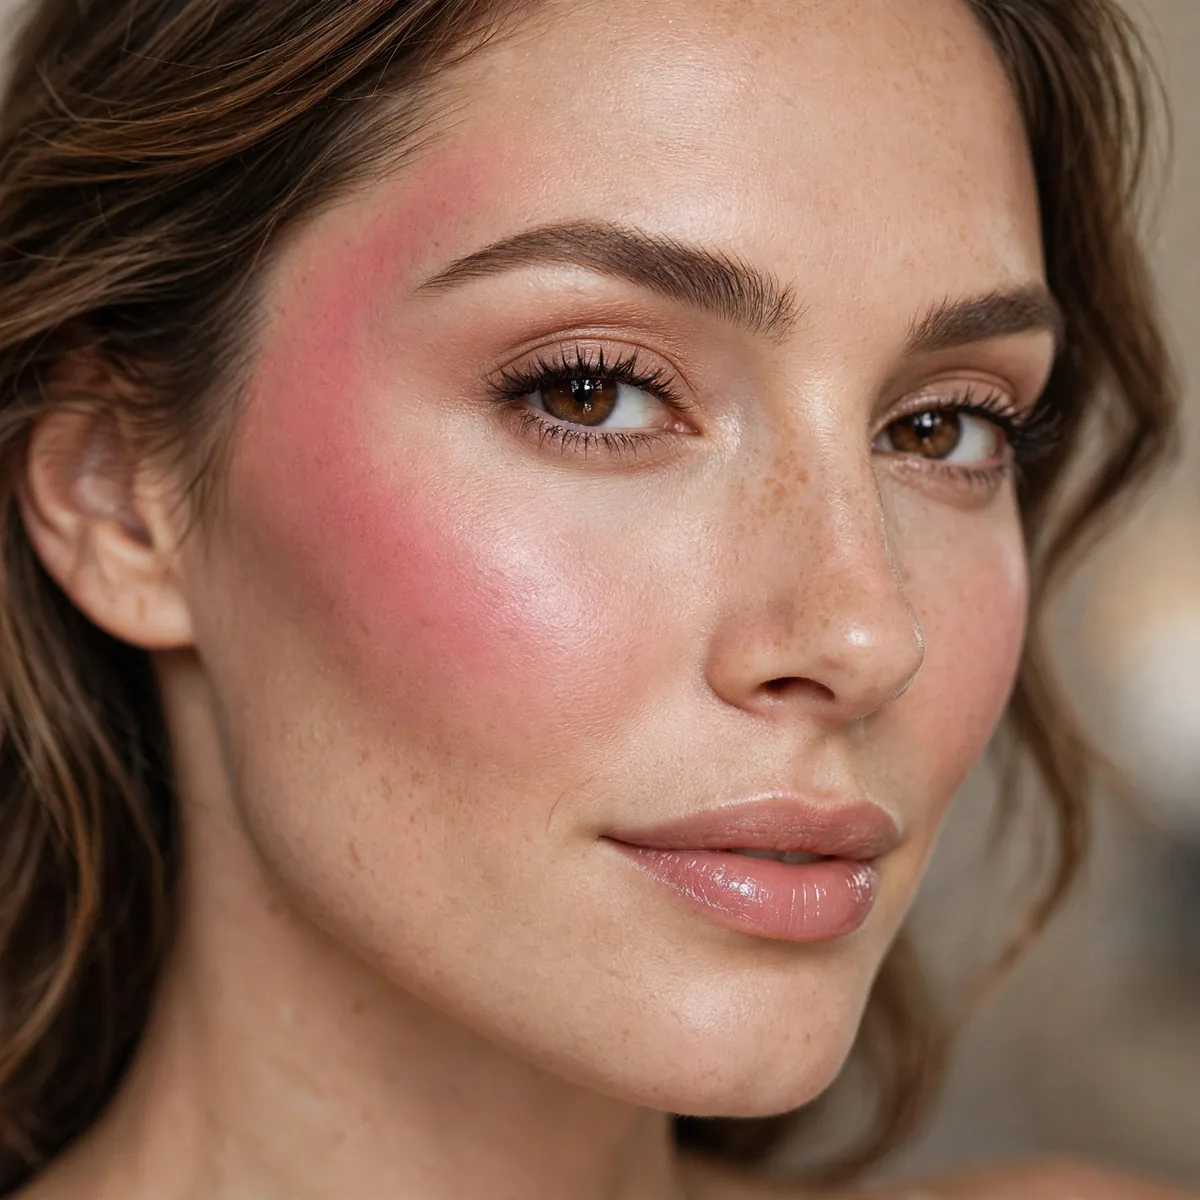
Blend blush in upward strokes only — never downward.
Upward blending physically lifts the product placement. Direction is destiny.
Use the edge of a dense brush and stroke straight up, as if you are painting the color toward your temples. Short, controlled strokes beat long sweeps for precision. This direction is especially helpful along the jawline area, where downward blending emphasizes jowls. Think of it as training both the product and the eye to move upward.
Downward strokes do not just place color lower — they can drag foundation and concealer with them, creating texture. If you catch yourself sweeping down out of habit, switch to a stippling press instead. This technique pairs well with upward-blended contour for a fully lifted face. Over time the upward habit becomes automatic, and your whole routine looks more polished.
Mature Face Placement
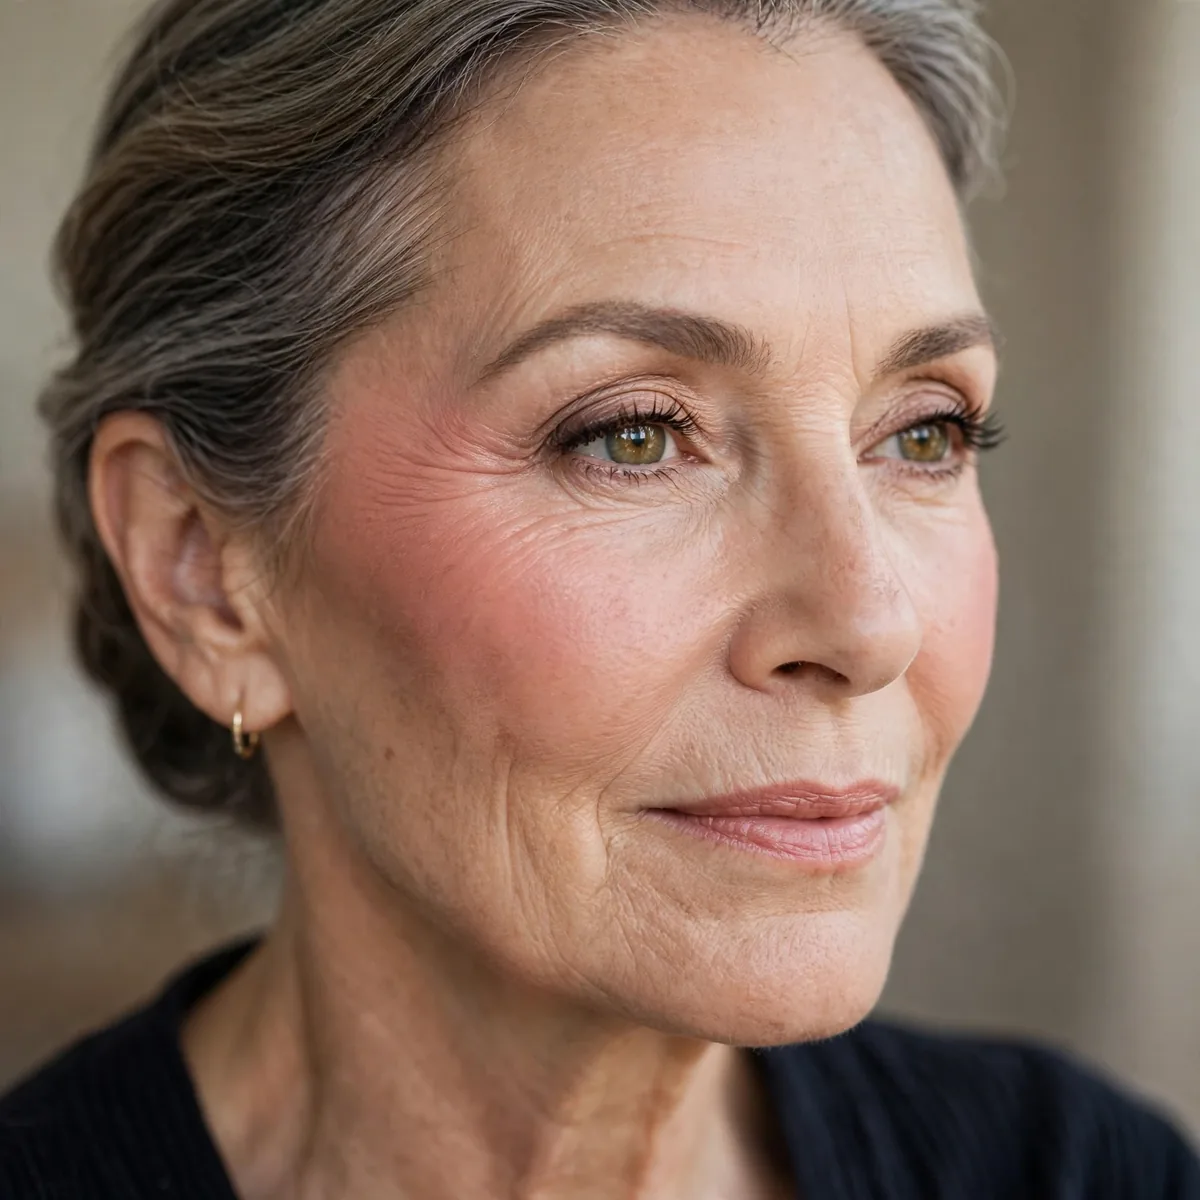
Higher placement counteracts gravity’s effect on the face.
For mature skin, our mature skin tips complement. Higher is younger — always.
Choose cream or liquid formulas with hydrating ingredients like hyaluronic acid and squalane — they glide over fine lines instead of settling in. Apply with fingers or a damp sponge for a melted finish. Skip shimmer blushes on textured areas, since sparkle magnifies every line; satin finishes give glow without the emphasis. Less product, placed higher, always wins.
Prep matters more with age — well-moisturized skin holds blush beautifully, while dry skin grabs it patchily. Wait for moisturizer to absorb fully before applying color. The higher placement also lifts the eye area visually, which reads as rested. Revisit your shade too; softer roses and warm peaches flatter mature skin better than bright pinks.
The Monochrome Tie-In
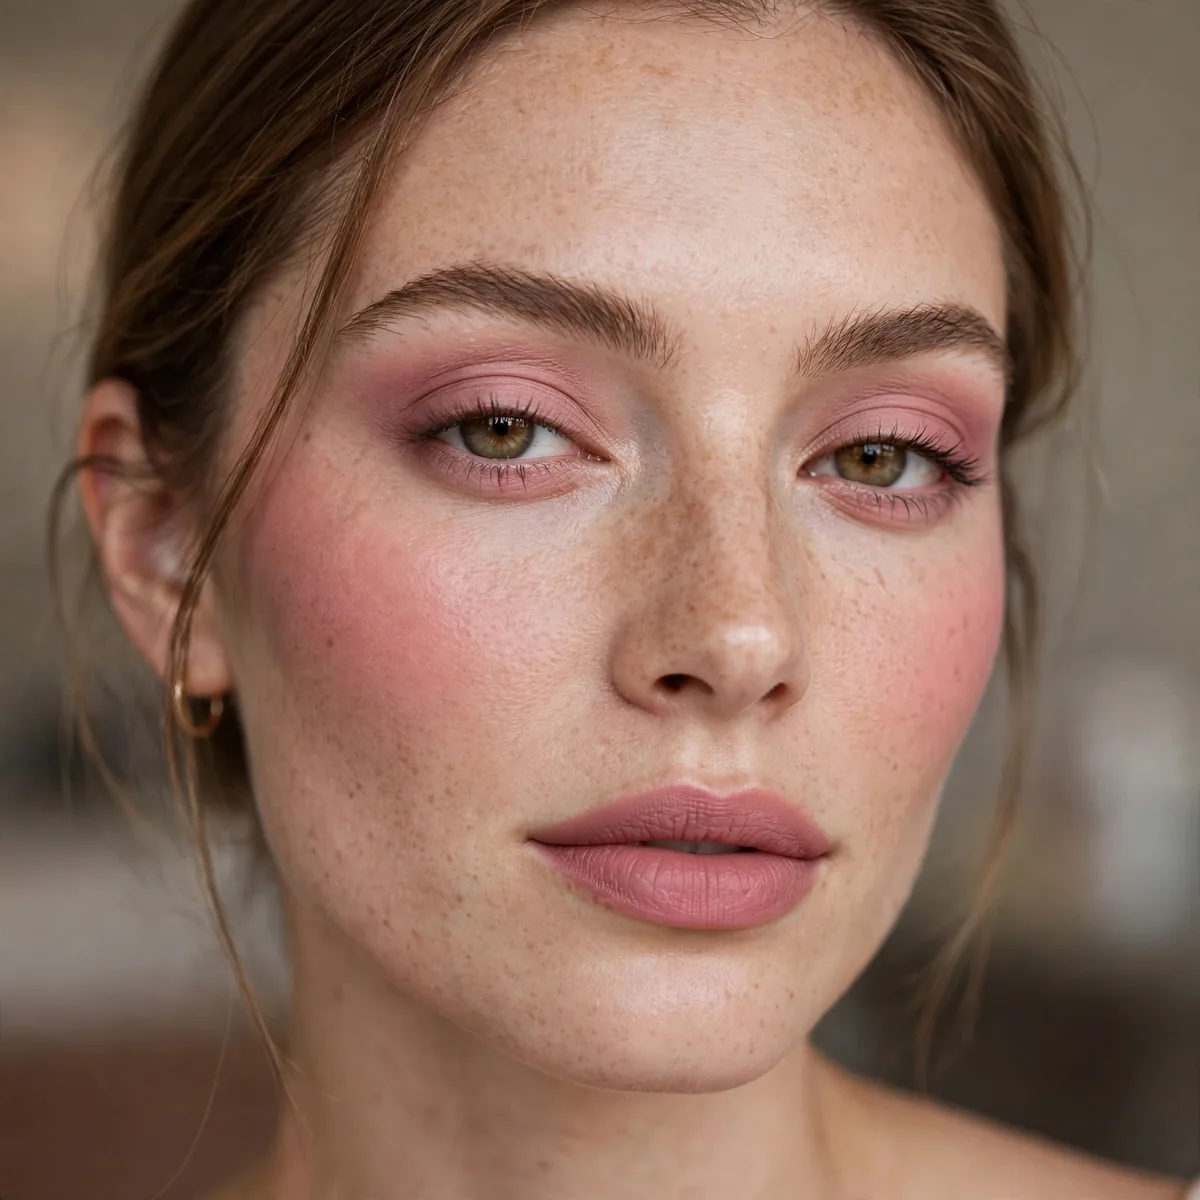
Match blush to lip color for a harmonious monochrome flush.
Coordination looks intentional and polished. Monochrome is effortlessly chic.
Lip stains and tinted balms double perfectly as cheek color — the match is automatic. Dab the lip product on cheeks with fingers and blend fast before it sets. Berry, rose, and terracotta tones translate best across lips, cheeks, and even lids. This trick also lightens your makeup bag to nearly nothing for travel.
Keep the rest of the face quiet so the monochrome story stays the star — strong eyes plus bold monochrome cheeks compete. For evening, deepen the lip one shade while keeping the cheek wash light. This look photographs beautifully because the color harmony reads as intentional. It is also the fastest full-face routine when you are running late.
Subtle vs Bold Placement
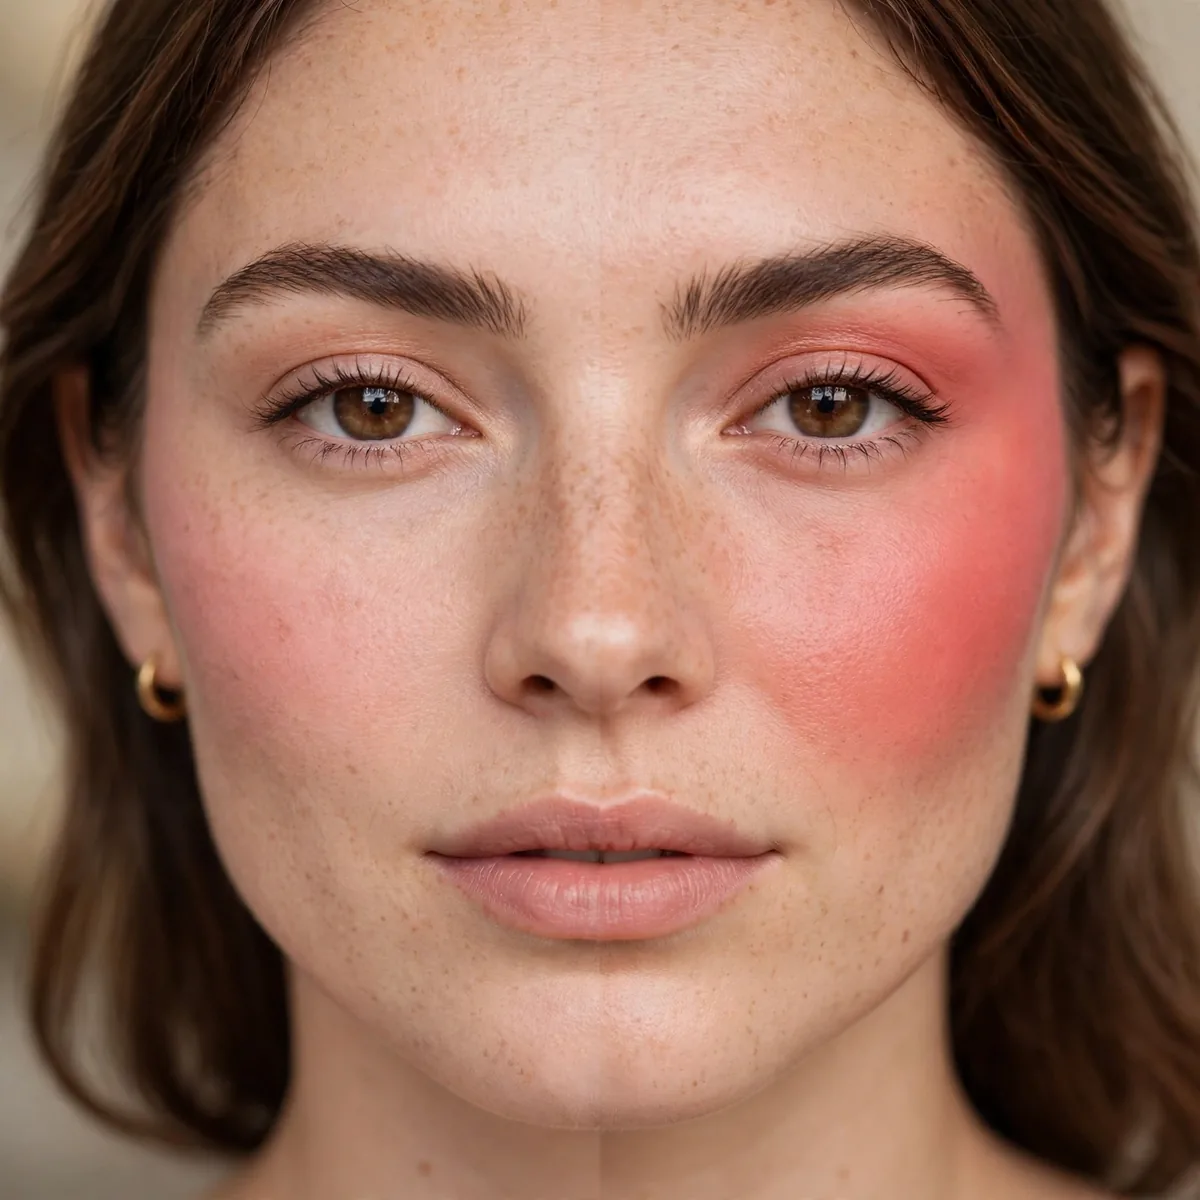
Bold blush needs precise placement; subtle blush forgives.
The bolder the color, the more precise the placement must be. Scale precision with pigment.
Build bold color in three sheer layers rather than one heavy pass — layering gives control that a single swipe never does. Let each layer set for thirty seconds before adding the next. Highly pigmented blushes reward a light hand and a dense brush tapped off first. Patience here is the difference between editorial and clownish.
When blush goes bold, pull everything else back — nude lips, soft eyes, minimal bronzer. The bold cheek becomes the single focal point, which is what makes it chic instead of chaotic. For daytime bold, choose warm terracotta or soft coral; they read as confident, not costume. And always do a daylight check before leaving — indoor lighting lies about intensity.
Blush on Bare Skin
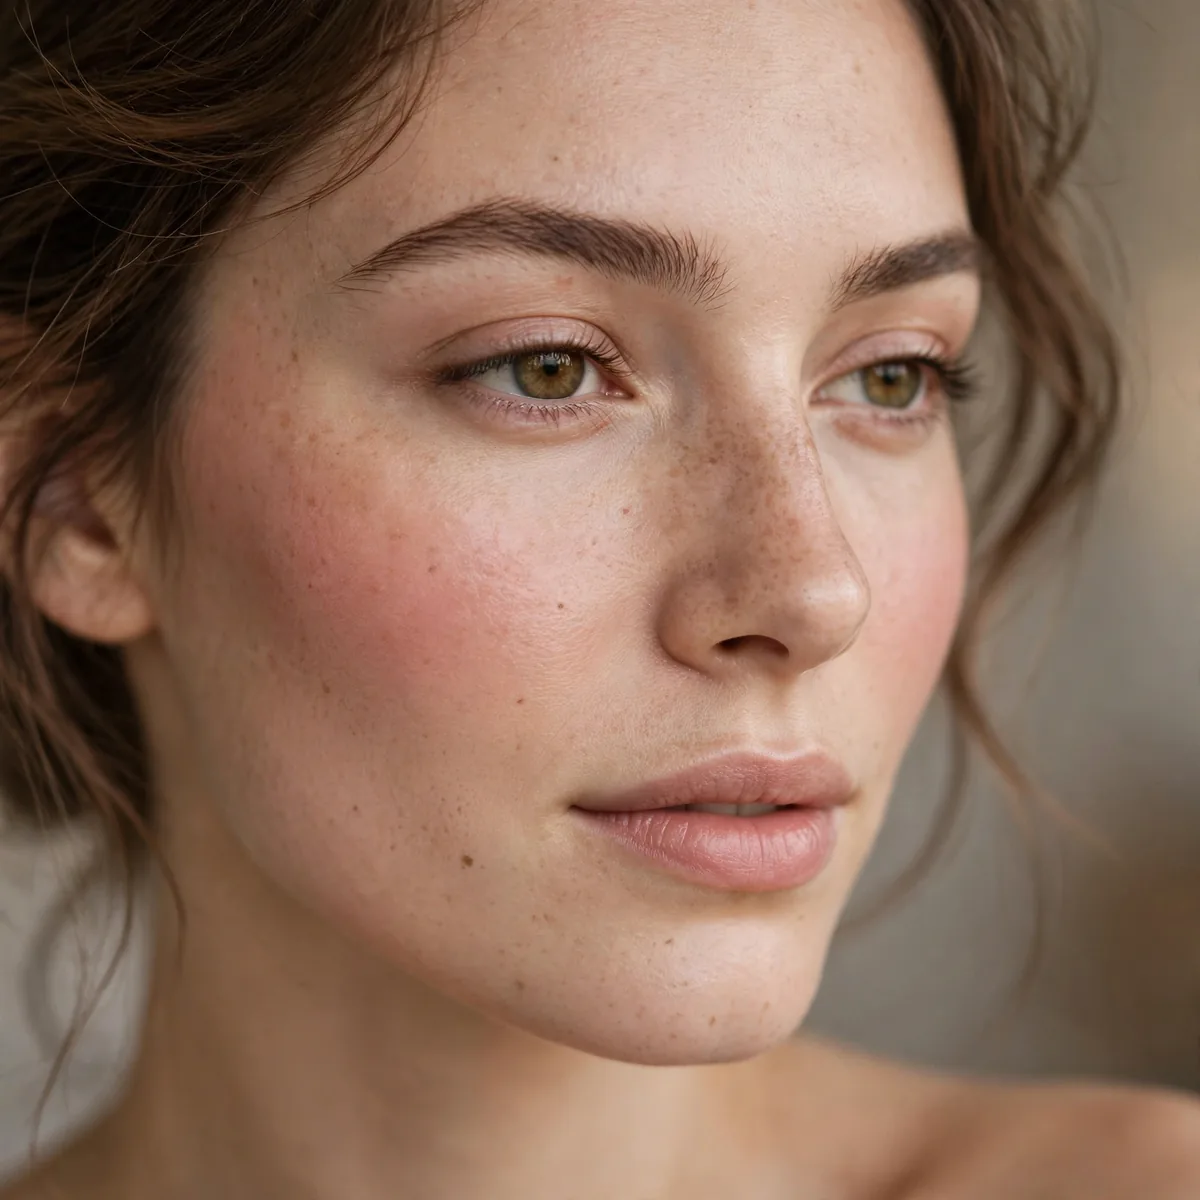
Cream blush on bare moisturized skin — the most natural flush possible.
No base needed. Blush alone on good skin looks incredibly fresh.
Skincare prep is the whole game — exfoliated, moisturized skin takes cream blush like a dream, while dry patches grab it unevenly. Wait until SPF and moisturizer fully absorb, about five minutes. Tinted moisturizer is the perfect middle ground if you want a hint of coverage. The result should look like a flush, not like makeup.
This minimal routine shines on good-skin days, gym mornings, and beach vacations. Reapply SPF over the blush with a cushion compact rather than rubbing, which would move the color. Choose shades that mimic your natural flush — pinch your cheek to see it. Cream and gel tints last longest on bare skin; powders fade fast without a base.
The Ear-to-Cheek Blend
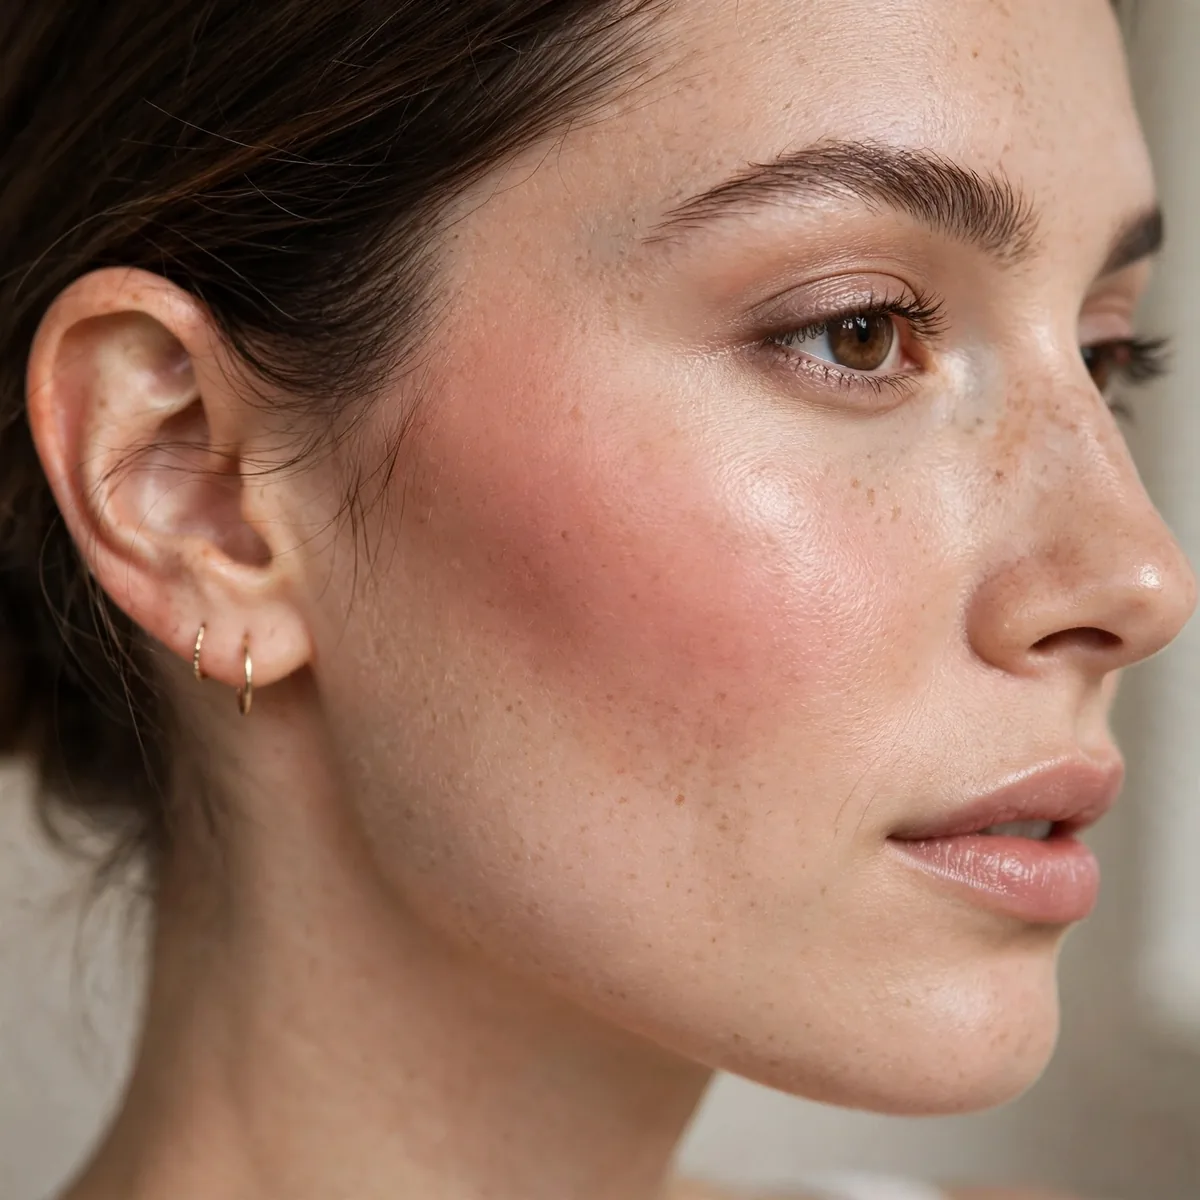
Start near the ear and blend forward — the reverse application.
Starting at the ear deposits the most product where lift is wanted. Counterintuitive and effective.
This reverse method is ideal for highly pigmented blushes that punish beginners — the heaviest deposit lands where lift is wanted, not on the apple. Tap the brush once before starting to shake off excess. Use small circular motions as you travel forward. Stop two finger-widths from the nose to keep the color lifted and sculpted.
Blend forward only — going back toward the ear re-deposits color and muddies the gradient. Finish with a clean fluffy brush swept over the whole area to marry the edges. This technique also works beautifully with bronzer for a one-product sculpted look. Practice it three or four times and the backward motion starts feeling completely natural.
Layering Different Finishes
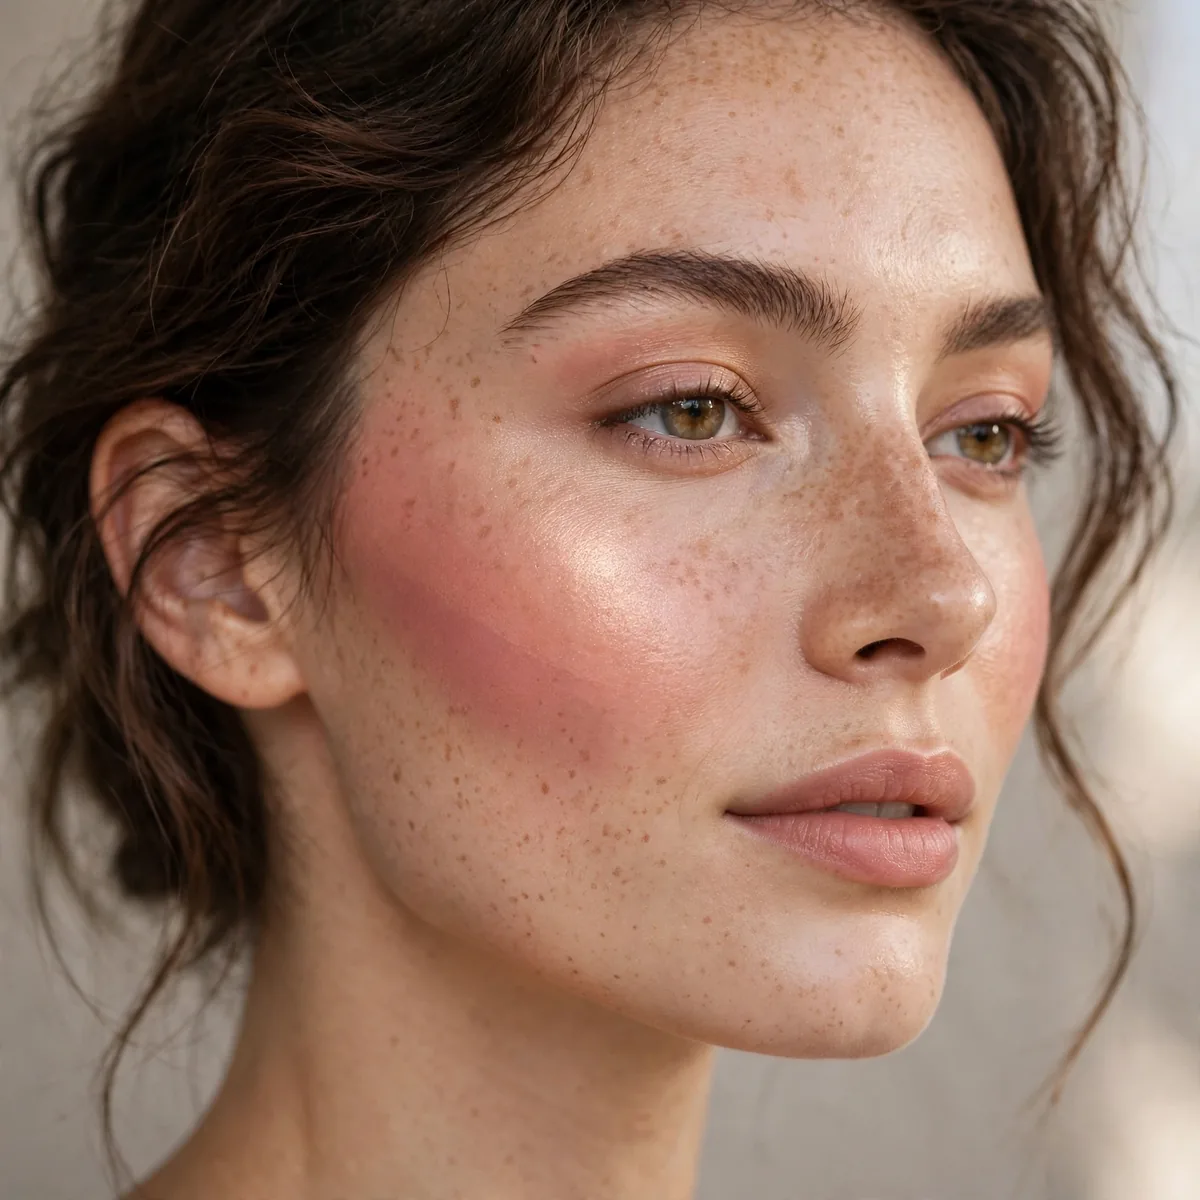
Matte blush for shape, shimmer blush on top for glow — the dimensional flush.
Different finishes do different jobs. Layer them for complexity.
Place the matte layer first to carve the shape, then tap the shimmer formula only on the highest point of the cheekbone. A satin blush can do both jobs alone if you prefer one product. Keep shimmer away from pores and texture — light reflection magnifies them. The dimensional result catches light as you move, which reads as healthy skin.
Cream-to-powder formulas are the easiest way to get this layered effect in one step — they set down matte then buff to a glow. For evening, add a touch of liquid highlighter over the shimmer layer for extra dimension. Avoid layering three heavy formulas; two is the sweet spot before texture builds up. Blot with tissue if the glow tips into shine.
Blush for Photography
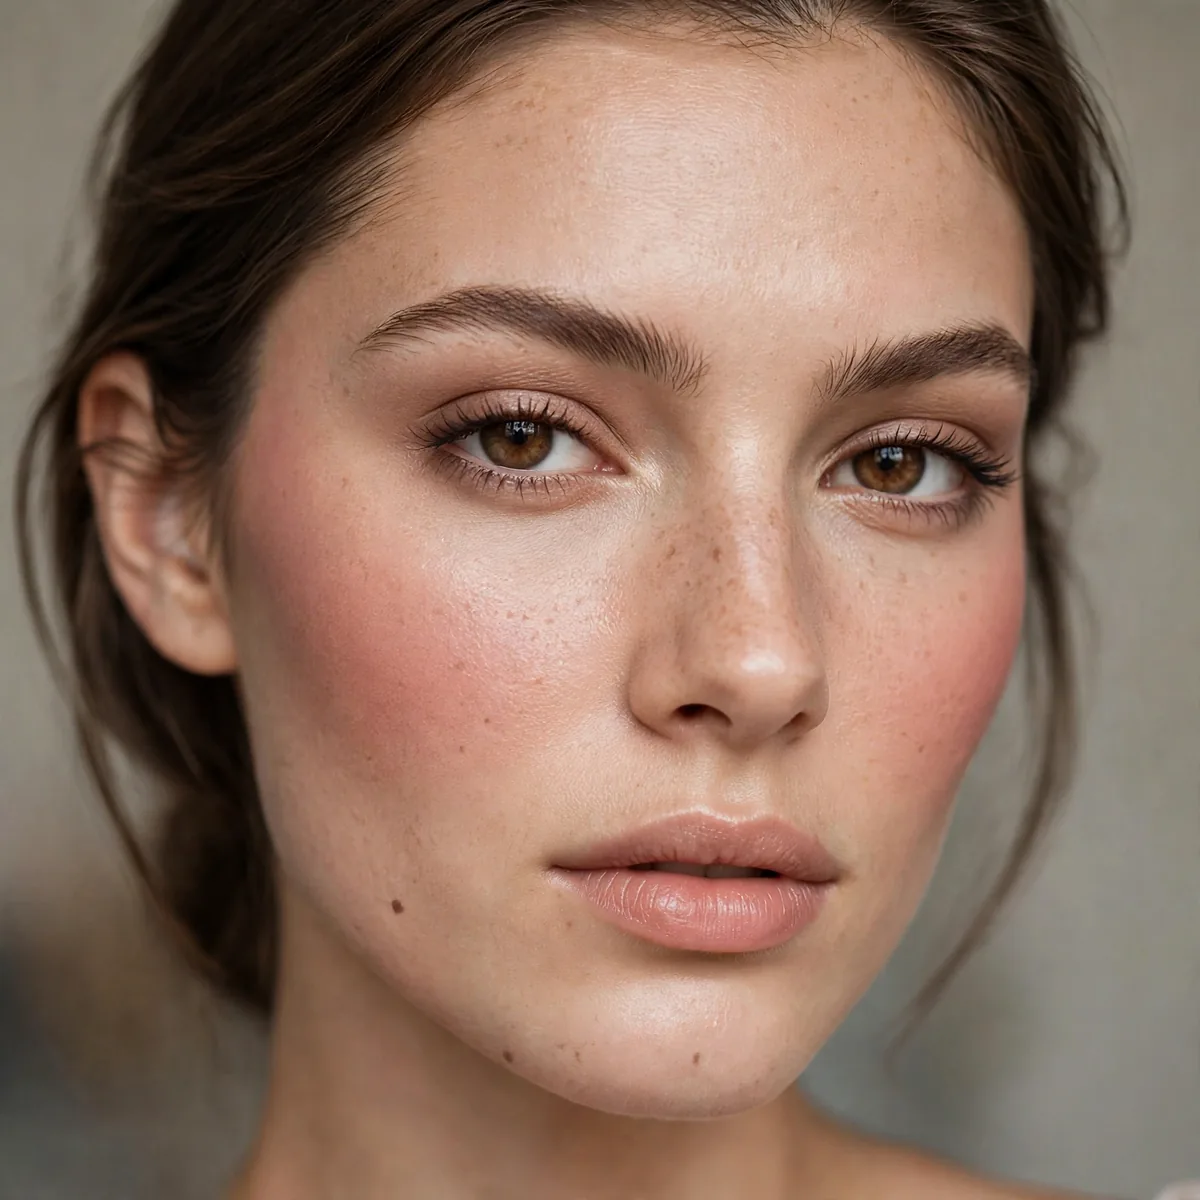
Apply slightly more blush than usual for photos — cameras wash out color.
What looks like "too much" in person looks perfect on camera. Compensate accordingly.
Flash photography eats up to thirty percent of visible color, so build your blush slightly stronger than feels natural. Blend extra thoroughly — cameras magnify harsh edges mercilessly. Matte formulas photograph most reliably; heavy shimmer can blow out into white spots under flash. Do a test photo in similar lighting before the real event.
For weddings and events, choose long-wear or waterproof formulas that survive tears, hugs, and hours. Apply your photo-level blush, then take a phone selfie in the venue lighting to confirm. Keep a travel blush for touch-ups — color fades fastest on the cheeks from smiling and touching. Brides should do a full trial run weeks ahead, photos included.
The Finger-Press Method
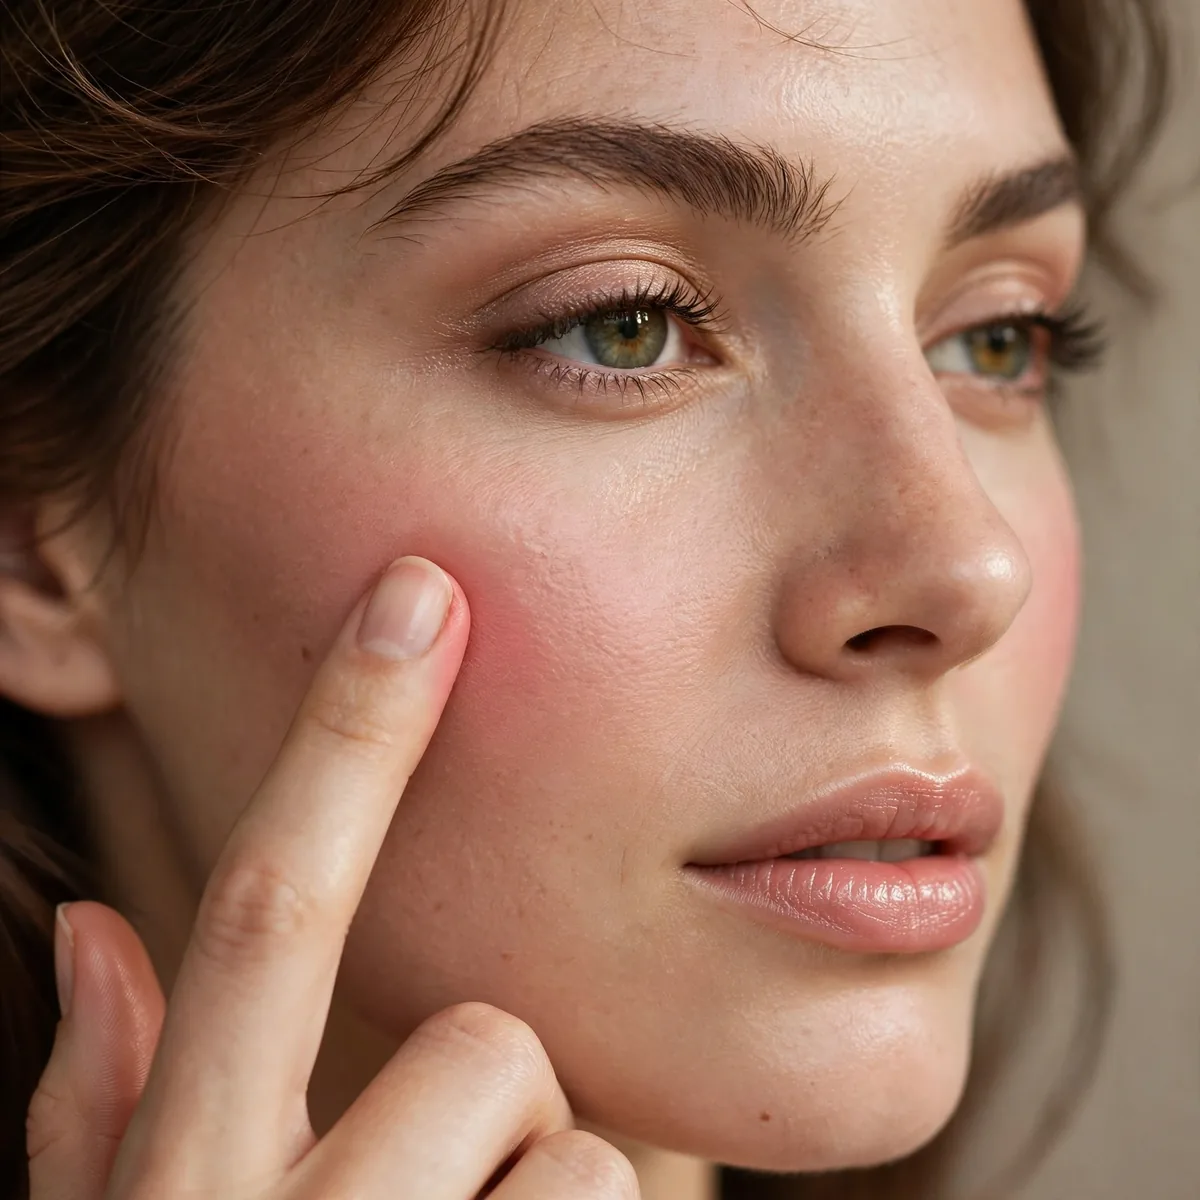
Press cream blush with fingers for the most natural meld into skin.
Fingers warm the product and press it in. The finish is uniquely seamless.
Use your ring finger — it applies the least pressure of all ten, which keeps the application gentle. Warm the cream between fingertips for a few seconds so it melts on contact. Press and roll the product into skin rather than dragging, which moves foundation. This method gives the most second-skin finish of any application technique.
Wash hands before you start — fingers carry oils and bacteria that transfer to cream products. Work one cheek at a time so the product does not set before you blend. For precise placement, press with the fingertip, then diffuse the edges with a clean sponge. This technique is unbeatable for travel, when brushes are not an option.
Placement Practice
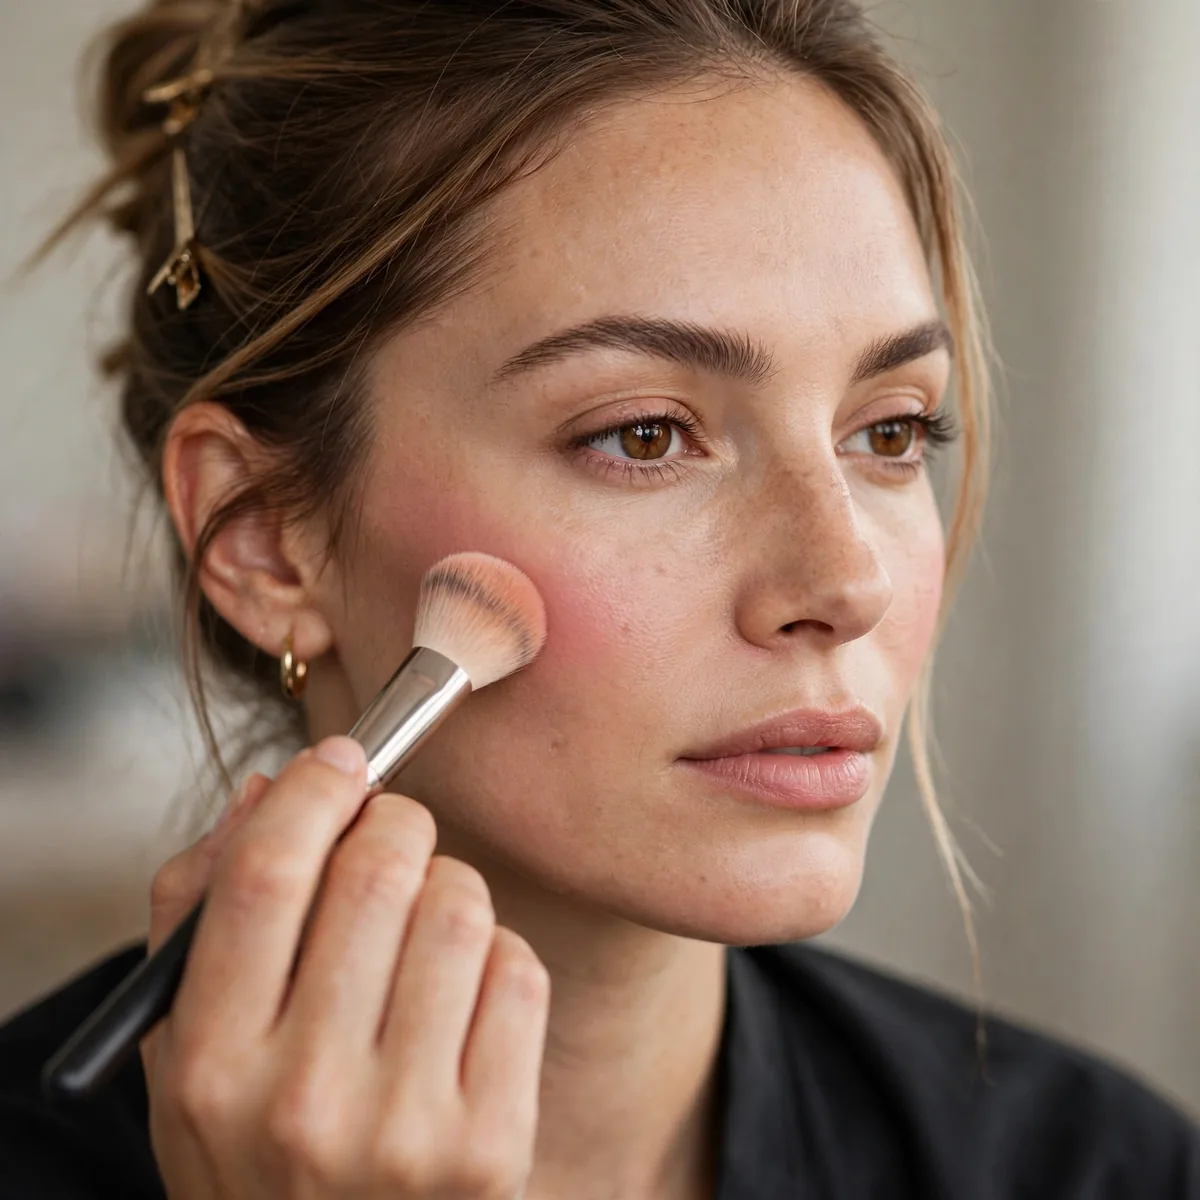
Try different placements on different days — find your face’s sweet spot.
Your face is unique. Experimentation beats any universal rule.
Take a selfie in the same spot and lighting each time you try a new placement — consistent conditions make comparisons honest. Save the photos in a dedicated album so you can scroll the evolution. Note the product, brush, and placement in your phone for each look. After two weeks you will have a personal reference library no tutorial can match.
Practice before big events, never during — event-day experimentation is how makeup disasters happen. Try bold placements on quiet weekends when mistakes cost nothing. Ask a honest friend for feedback; mirrors lie, but other people see what the world sees. Your face changes with seasons and age, so repeat the experiment yearly and update your sweet spot.
Placement is power — pin your map. For product picks, see cream blush looks, or sculpt further with contour tips.




