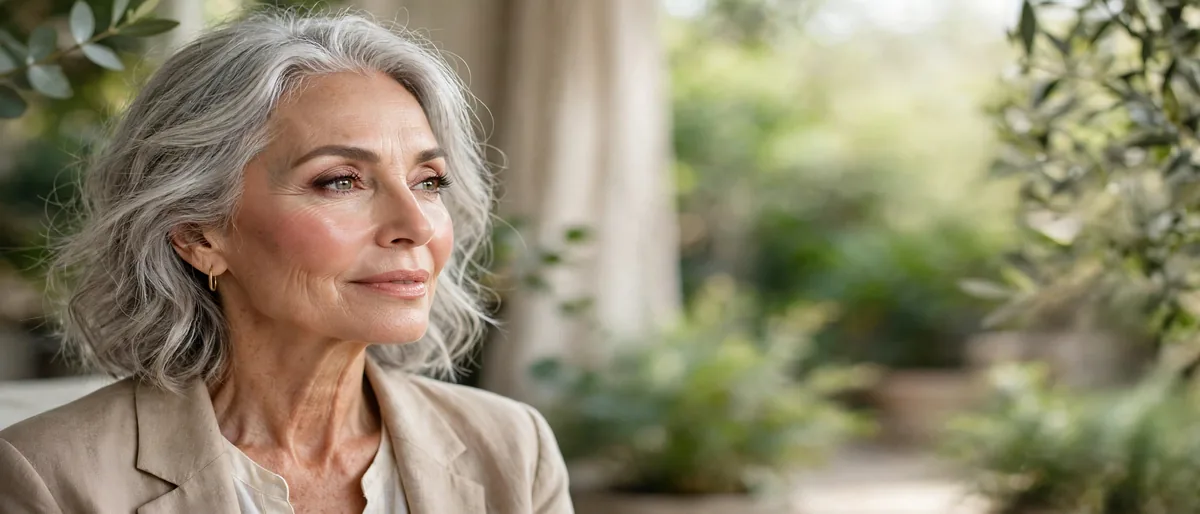
Mature skin isn’t problem skin. It just needs a different approach.
As skin matures, it gets drier, thinner, and more textured. The techniques that worked at 25 — matte everything, heavy powder, full coverage — actively work against you now.
The mature-skin playbook: hydration first, sheer coverage, cream formulas, minimal powder, and strategic placement. Every tip here follows those principles.
Here are 18 of them. Let’s get into it.
Hydration Is Foundation
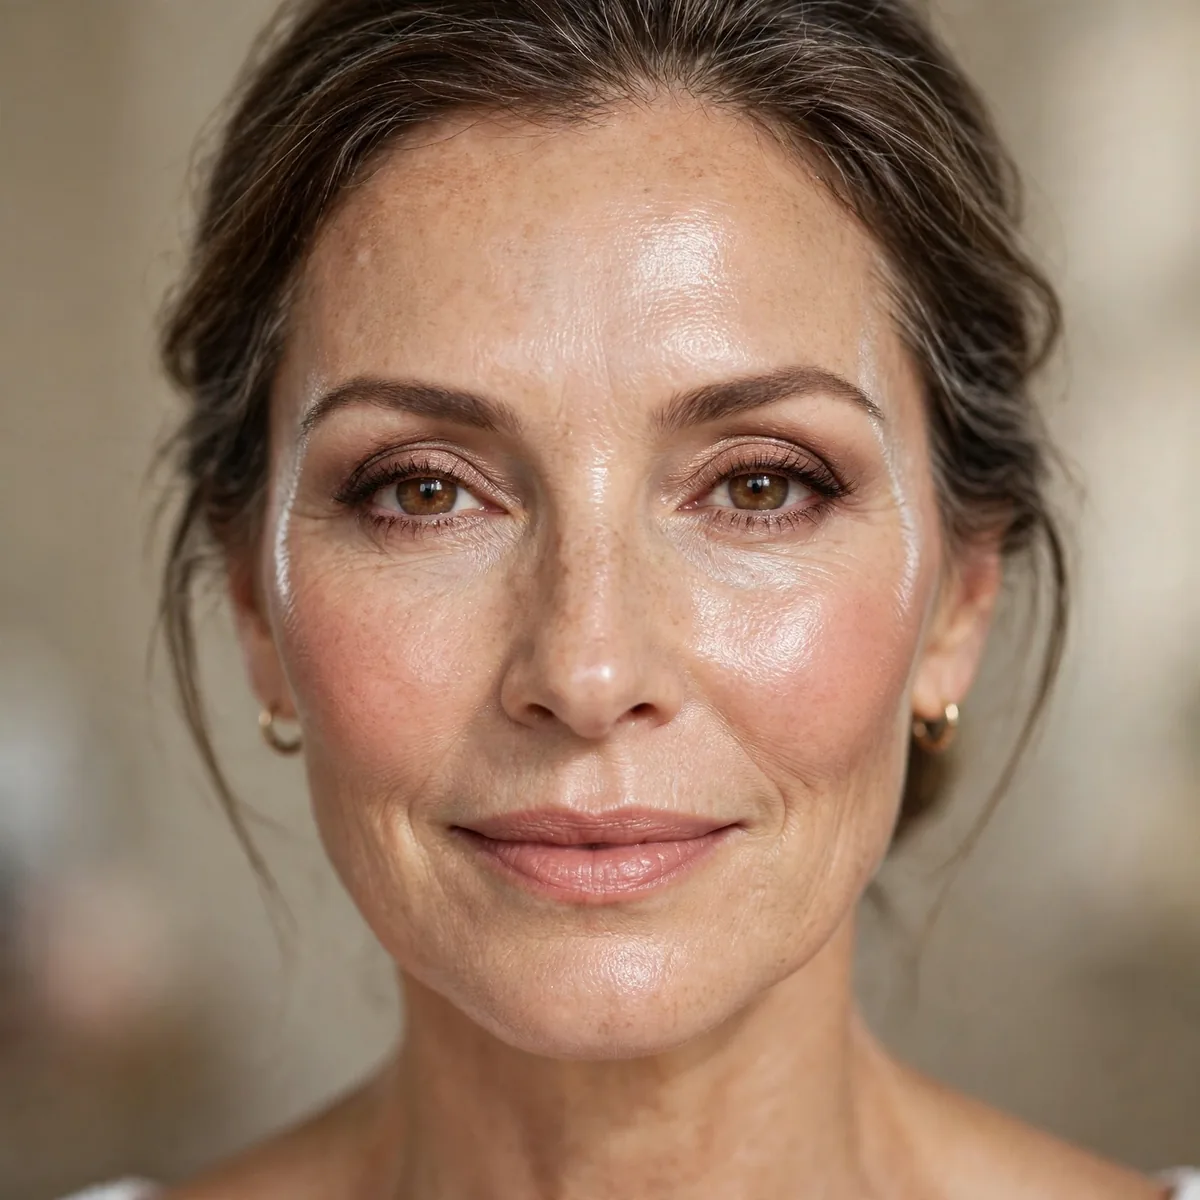
Rich moisturizer plus facial oil before makeup — the non-negotiable base.
Mature skin drinks product. Give it hydration first or makeup will take it from your skin.
Look for moisturizers with hyaluronic acid to draw in water, ceramides to seal it in, and squalane for weightless nourishment — this trio keeps mature skin plump under makeup. Apply to slightly damp skin and wait a full two to three minutes before foundation; rushing this step is why base makeup pills. In very dry climates, layer a hydrating serum underneath the moisturizer for an extra reservoir of moisture.
The mistake is drowning the skin in oil — too much facial oil creates a slippery canvas and foundation slides within hours. Use three to four drops maximum, pressed in rather than rubbed, and blot any excess with a tissue before priming. Another error is skipping moisturizer because the oil feels like enough; oil seals, but only moisturizer truly hydrates. Both layers earn their place, in the right amounts.
Sheer Over Full Coverage
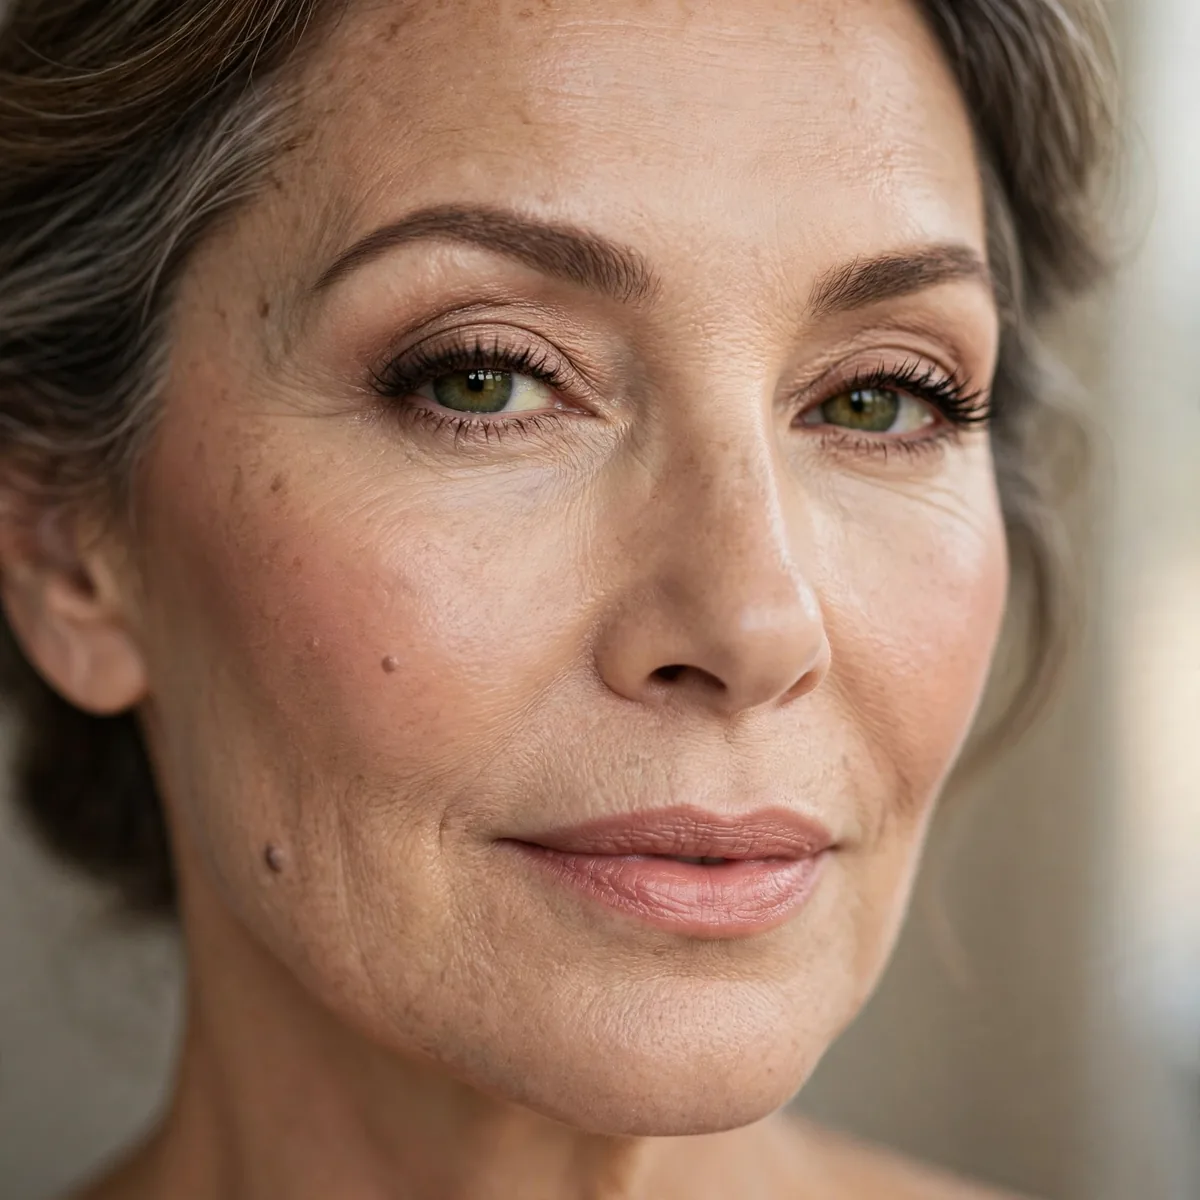
Sheer to medium coverage looks better than full on mature skin — always.
Full coverage settles into every line. Sheer coverage lets skin look like skin.
Skin tints, tinted moisturizers, and serum foundations are the mature-skin heroes — they even tone without masking. Look for formulas with light-reflecting pigments or a satin finish, which blur texture optically. Avoid anything labeled full-coverage or 24-hour wear; those formulas are built to grip, and they grip every line. A sheer base with strategic concealer only where needed always beats an all-over mask.
Apply sheer base with a damp sponge using a stippling, pressing motion — never drag, which deposits product unevenly into lines. Start at the center of the face and blend outward, using the least product at the perimeter. Build a second sheer layer only on areas with redness or discoloration, leaving the rest alone. The sponge's dampness sheers everything out; a dry sponge or brush applies far more than intended.
Cream Blush Only
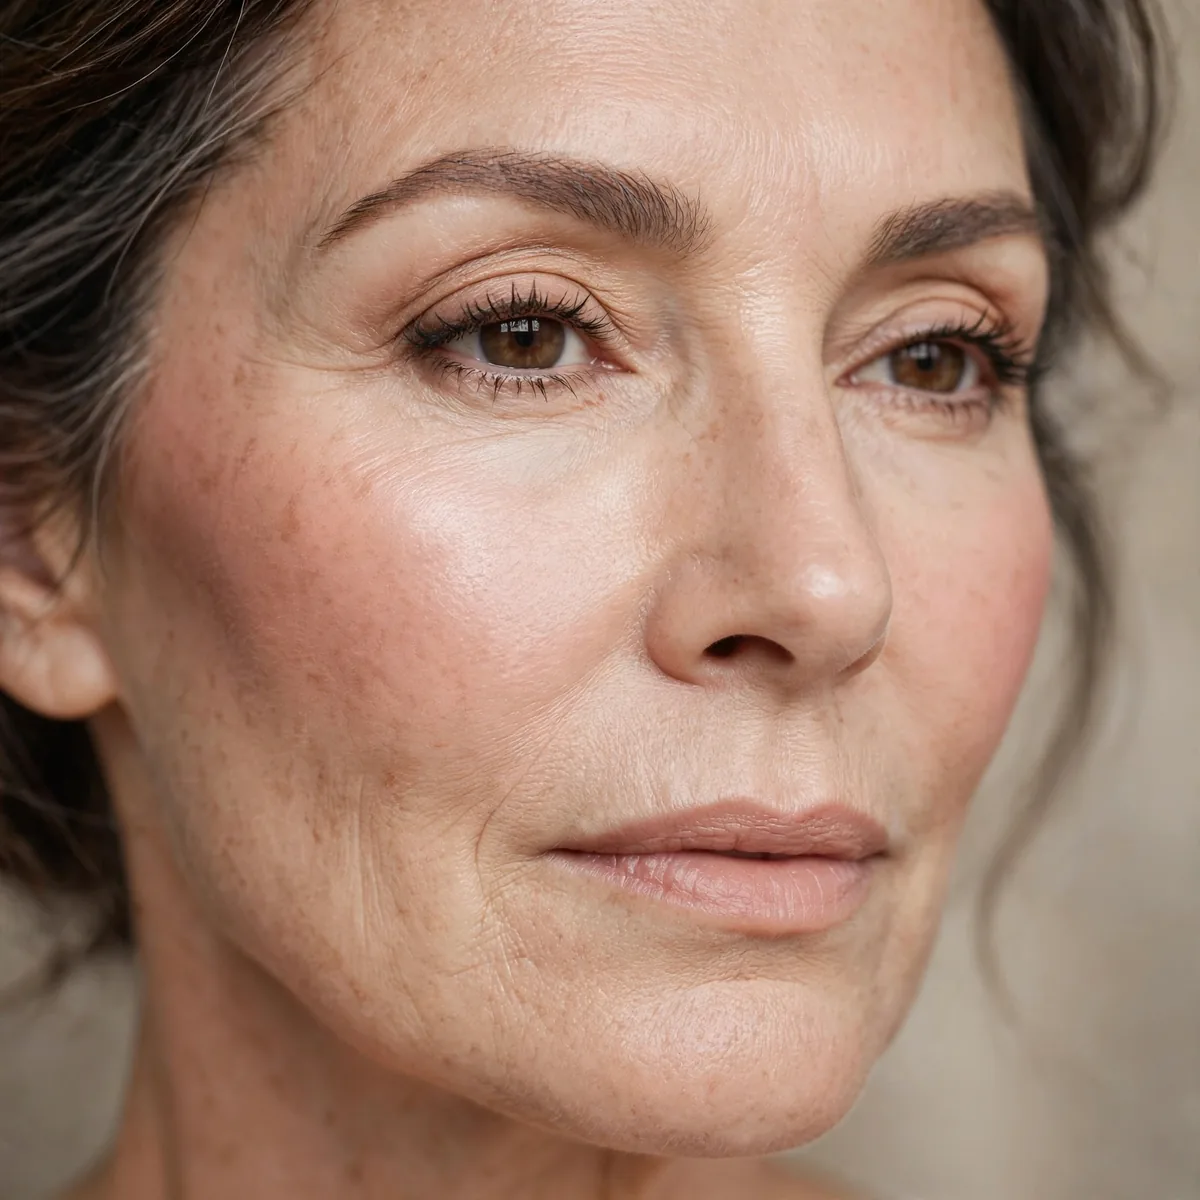
Cream blush melts in; powder blush sits on texture.
Our cream blush guide has techniques. This single switch transforms mature makeup.
Warm the cream between your fingers first, then press and tap it into the skin — stippling melts it in, while rubbing moves your base makeup around. A damp sponge works beautifully too, giving the most seamless finish. Apply before any powder, since powder over cream creates patchiness; the correct order is cream products first, then the tiniest veil of powder only where needed. Build in thin layers for the most natural flush.
Warm rose, peach, and soft terracotta flatter mature skin best — they mimic the natural flush that fades with age. Cool, blue-based pinks can look harsh against mature complexions and emphasize redness. If your skin has significant warmth, a soft coral brings life without clashing. Test blush in natural light; indoor lighting makes every shade look more flattering than it is, and daylight reveals the truth about undertones.
Skip Powder (Almost)
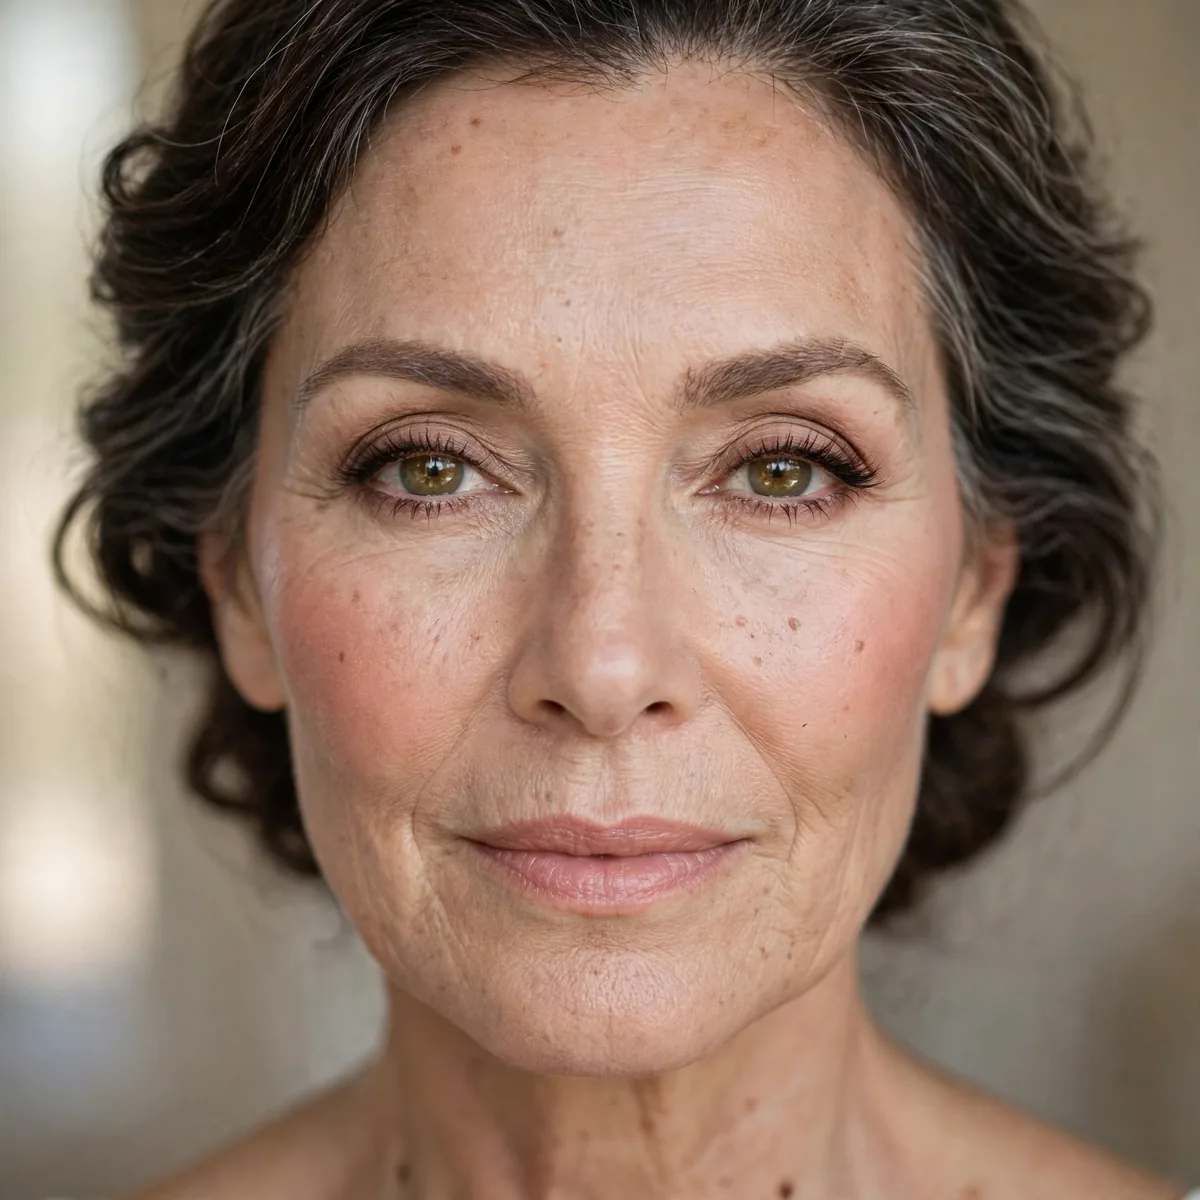
Powder emphasizes every line and pore. Use the absolute minimum.
If you must, press (don’t sweep) a tiny amount only where needed.
If shine breaks through, press a finely-milled translucent powder only onto the T-zone with a puff — pressing, not sweeping, keeps it from settling into lines. A small, dense brush works for precise touch-ups around the nose. Avoid powdering the cheeks, under-eyes, and smile lines entirely; those are the areas where powder ages most visibly. One light press is enough — you can always add more, but removing excess powder is nearly impossible.
Blotting papers are the mature skin's secret weapon — they lift oil without disturbing makeup or adding texture. Press one onto shiny areas midday instead of reaching for powder. A hydrating setting spray also revives the base and melts any powdery look back into skin. If you must set more thoroughly, try a finely-milled setting powder applied with a damp sponge in a pressing motion; the dampness prevents the dry, cakey finish loose powder creates.
Eye Primer Essential
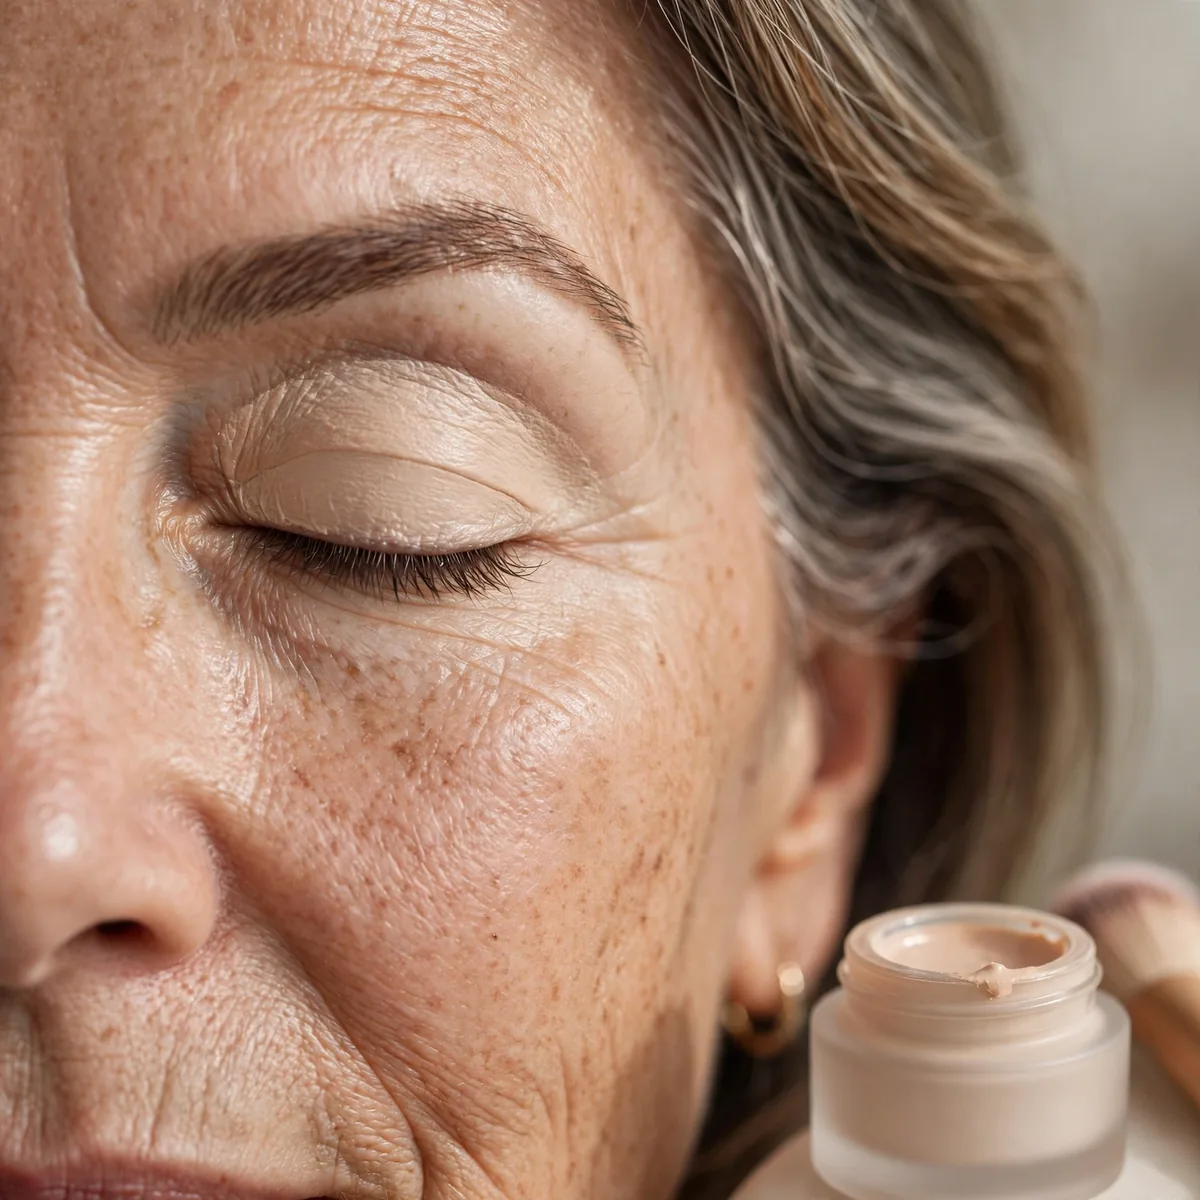
Lids get thinner and more textured — primer prevents creasing and fading.
Primer is the difference between 2-hour and 8-hour eye makeup on mature lids.
Tinted primers do double duty on mature lids — they grip shadow while evening out the discoloration and veining that increase with age. Silicone-based formulas fill in fine texture, creating a smoother canvas than standard primers. Choose a shade close to your skin tone rather than stark white; white bases can make mature lids look ashy. A primer with a slight tackiness holds shimmer and satin shades far longer than dry, powdery ones.
Apply the thinnest possible layer — a rice-grain amount per lid, blended from lash line to brow bone with a fingertip. Too much primer creases on its own, defeating the purpose. Let it set for sixty seconds until tacky before applying shadow. Lock it in further by pressing a skin-tone matte shadow over the primer; this creates a perfectly smooth, even base that keeps every subsequent shade true and crease-free for hours.
Satin Eyeshadow Finishes
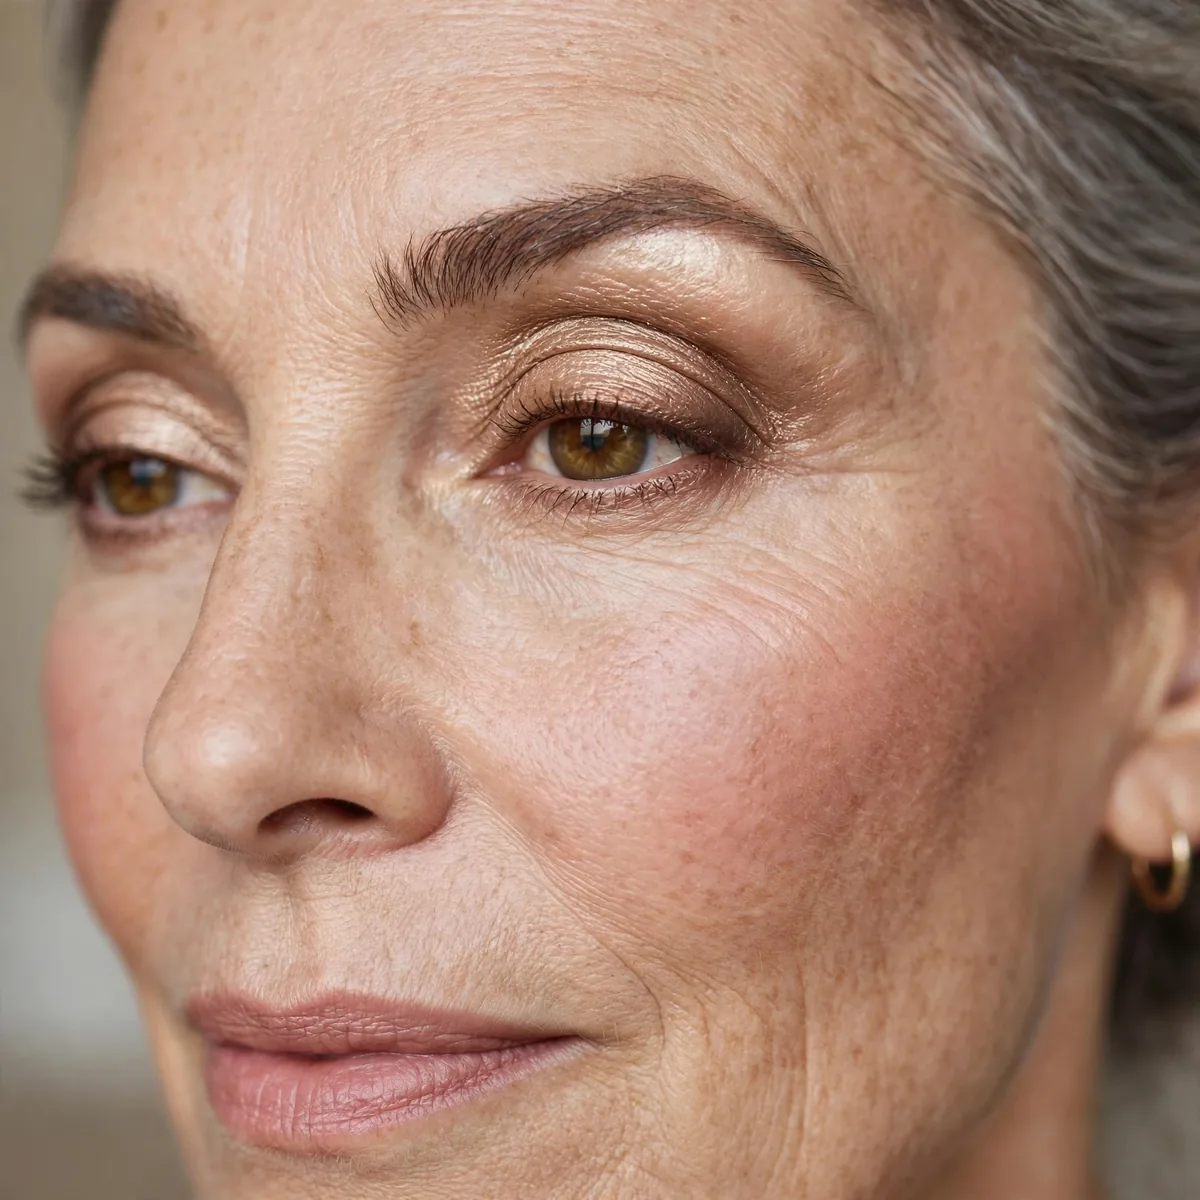
Satin finishes flatter; chunky glitter and frost emphasize texture.
Our shimmer guide for mature eyes details this. Luminosity yes, glitter no.
The winning formula is matte through the crease and outer corner for definition, with satin reserved for the mobile lid where light hits. Apply the satin shade with a flat brush in a patting motion to maximize its luminosity without scattering shimmer. Keep the brow bone matte — highlight there with a skin-tone shade instead. This strategic placement gives radiance exactly where it flatters and restraint everywhere else.
Placing shimmer or frost in the crease is the classic mature-eye error — it catches light in the fold and exaggerates hooding and texture. Another mistake is applying luminosity all over the lid up to the brow bone, which reads dated. Keep reflective finishes confined to the center of the mobile lid. If a shade looks glittery in the pan, it will look ten times more textured on a mature lid — when in doubt, choose the satin.
Defined Brows Lift
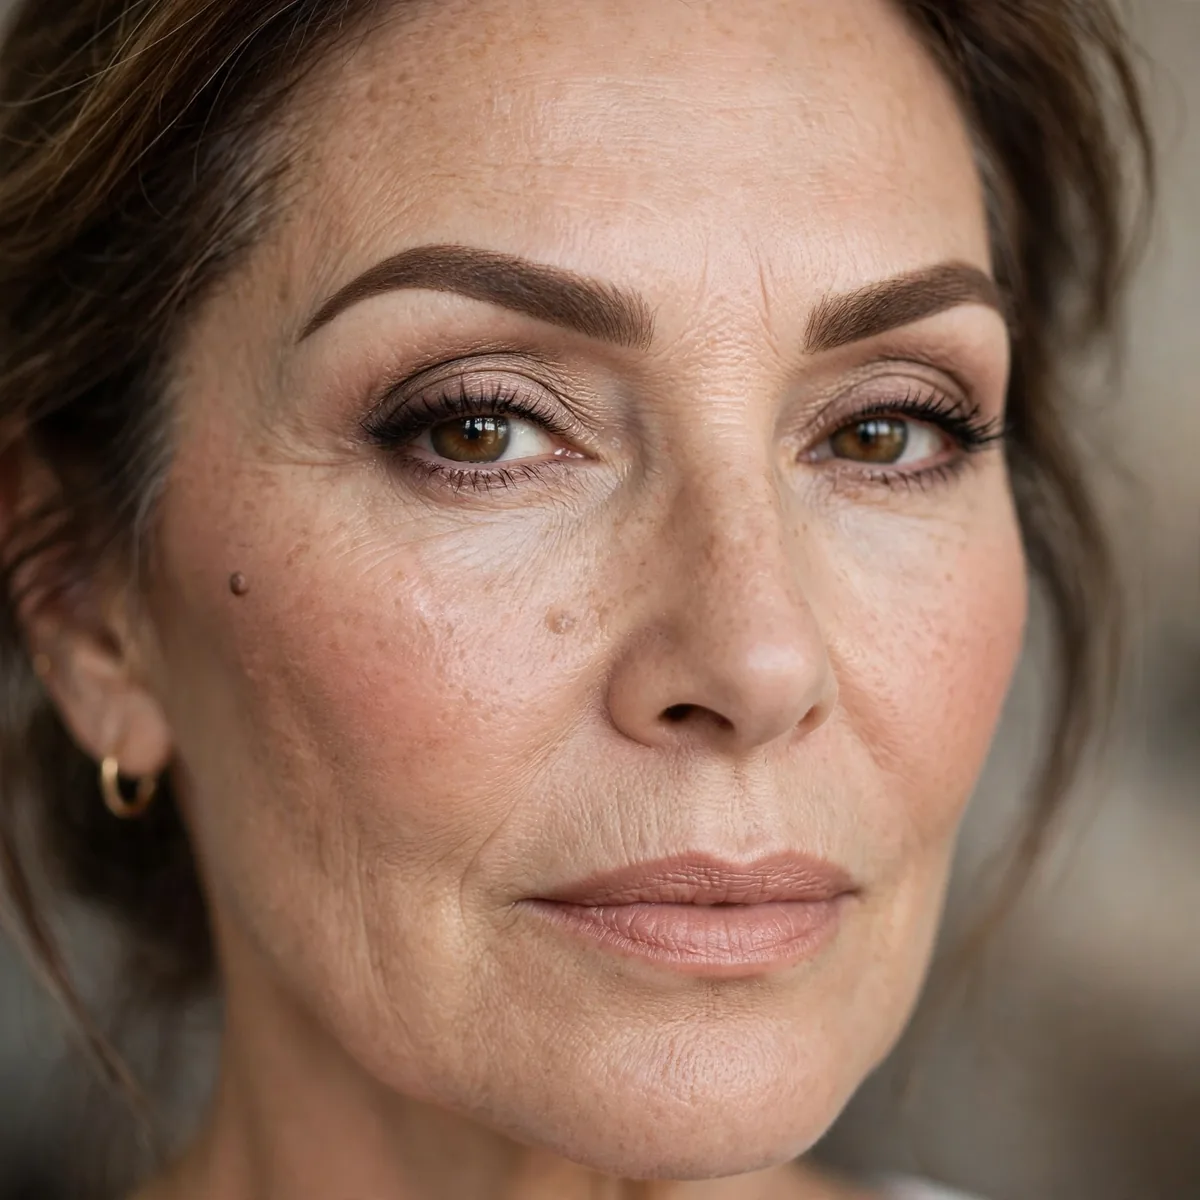
Fuller, defined brows take years off — thinning brows age the face.
Don’t over-tweeze. Fullness is youth; sparseness is age.
A fine-tipped brow pencil is the mature brow's precision instrument — use it to draw hair-like strokes in sparse areas, following the natural direction of growth. A spoolie brushed through afterward softens the strokes into believability. For very sparse brows, stamp a brow powder through first for a soft base, then add pencil strokes on top. Finish with a tinted gel, which adds the appearance of fullness even where hairs are missing.
Women with gray or silver hair should match brows to their current color using ash-toned products — dark brown brows against silver hair look harsh and aging. If brows have thinned to near-invisible, a slightly fuller shape than feels natural actually looks more youthful; restraint reads as age here. Those with warm gray hair can lean taupe, while cool silver pairs with soft ash. The brow should harmonize with the hair, not fight it.
Lip Liner Prevents Feathering
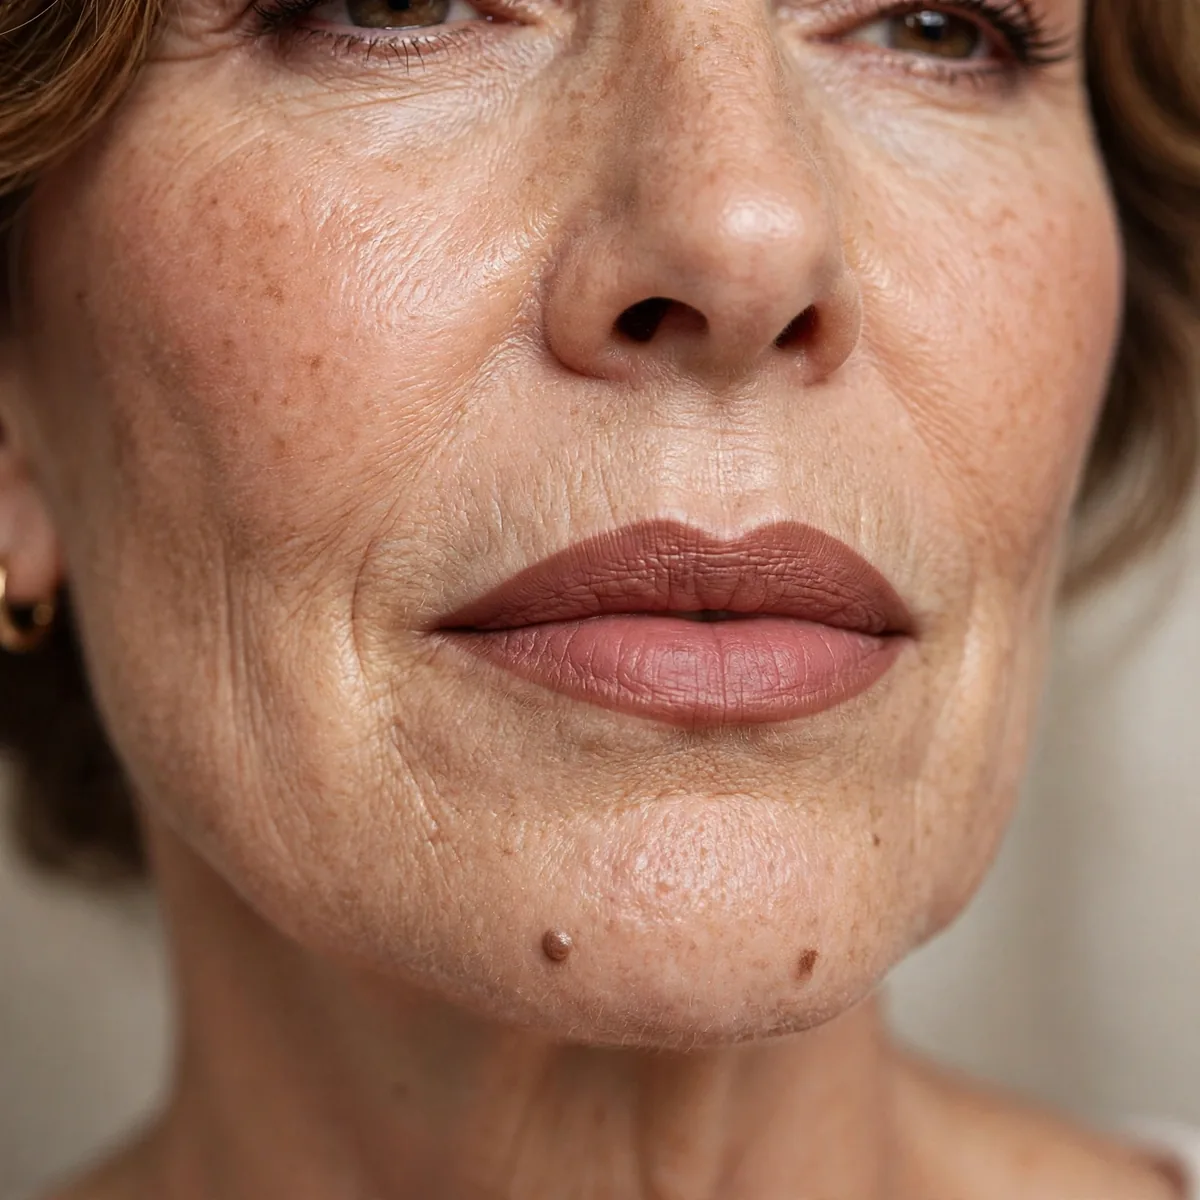
Lipstick migrates into lip lines without liner as we age.
Line and fill the whole lip with pencil — it’s the feathering barrier.
Line the lips, then fill the entire lip area with the pencil before any lipstick goes on — the filled base grips color and creates an even barrier against feathering. Match the liner to your lipstick shade or go one tone deeper, never lighter. Use short strokes and a light hand; pressing hard deposits too much wax and looks obvious. Blot once after filling, then apply lipstick over the top for a seamless finish.
Waxy, long-wear liner formulas create the most reliable feathering barrier — they stay put where creamy pencils migrate. Look for liners labeled transfer-proof or waterproof, and keep the pencil sharp for precise application. A clear, wax-based lip primer applied before liner adds an invisible second barrier for deep lip lines. Avoid lining with lipstick itself; it lacks the wax content that makes pencil such an effective seal.
Creamy Lip Formulas
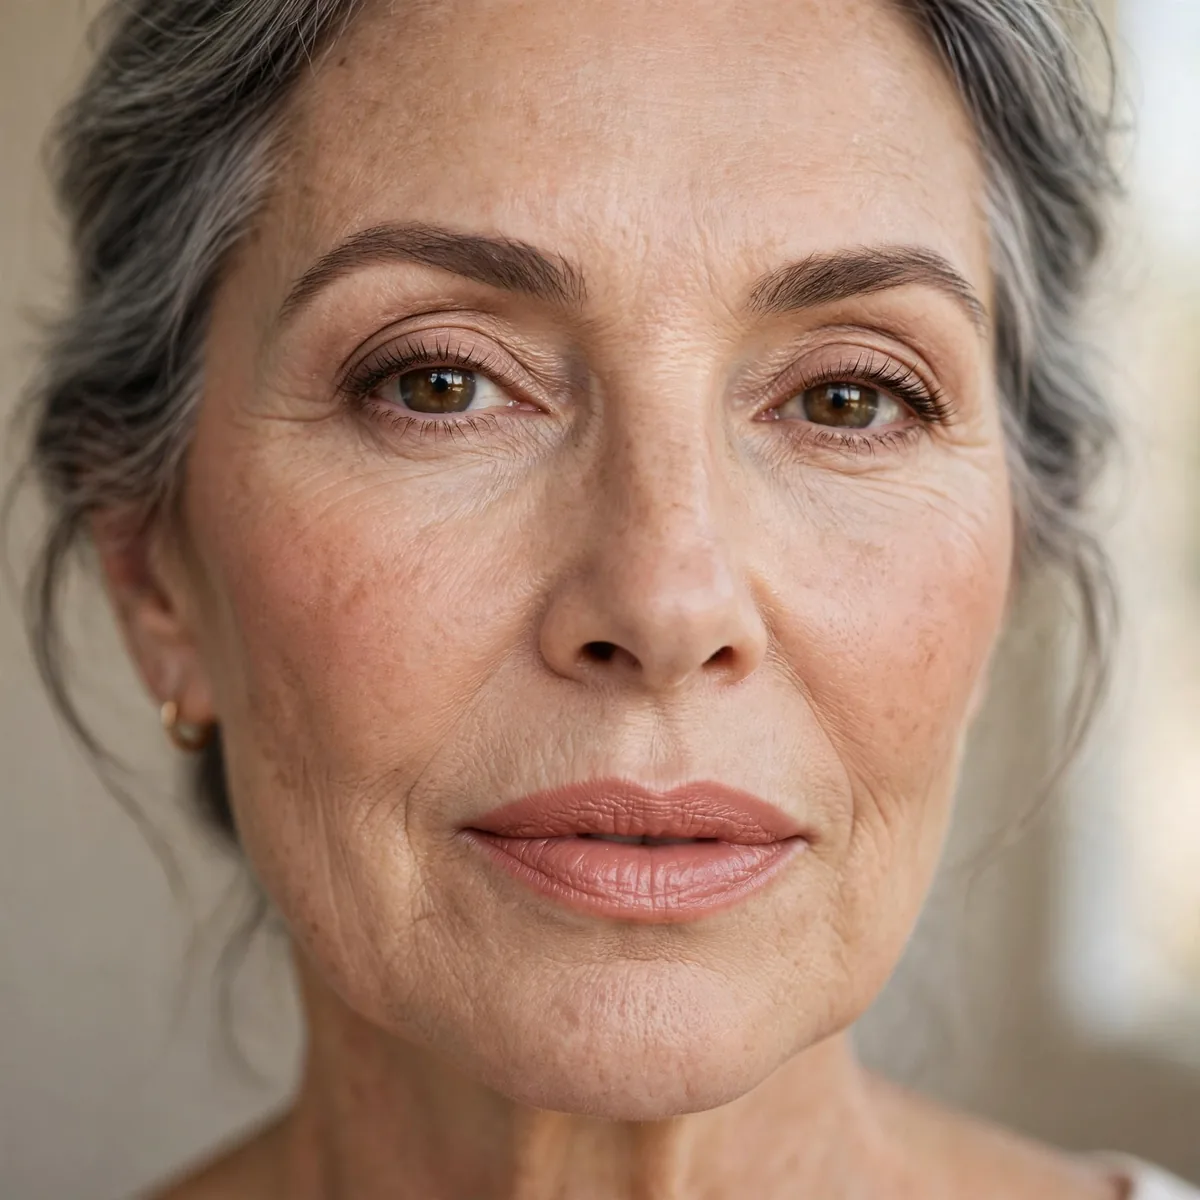
Creamy and satin lipsticks flatter; matte dries and emphasizes lines.
Hydration in the formula matters as much as the color. Choose comfort.
Seek out lipsticks with shea butter, jojoba oil, and vitamin E — these emollients keep lips supple and prevent the cracking that emphasizes lines. Peptide-infused formulas offer subtle plumping without irritation. Hyaluronic acid in lip products draws moisture to the surface for a smoother appearance. Avoid lipsticks with high alcohol content or heavy fragrances, both of which dry mature lips and make every line more visible.
The classic error is choosing a dark matte lipstick for drama — on mature lips, dark mattes shrink the lips visually and settle into every line. Another mistake is skipping lip balm underneath; even creamy formulas perform better over hydrated lips. If you love bold color, choose it in a satin or creamy finish and keep the edges soft. Bold is absolutely possible after fifty — it just needs the right texture.
Under-Eye Lightness
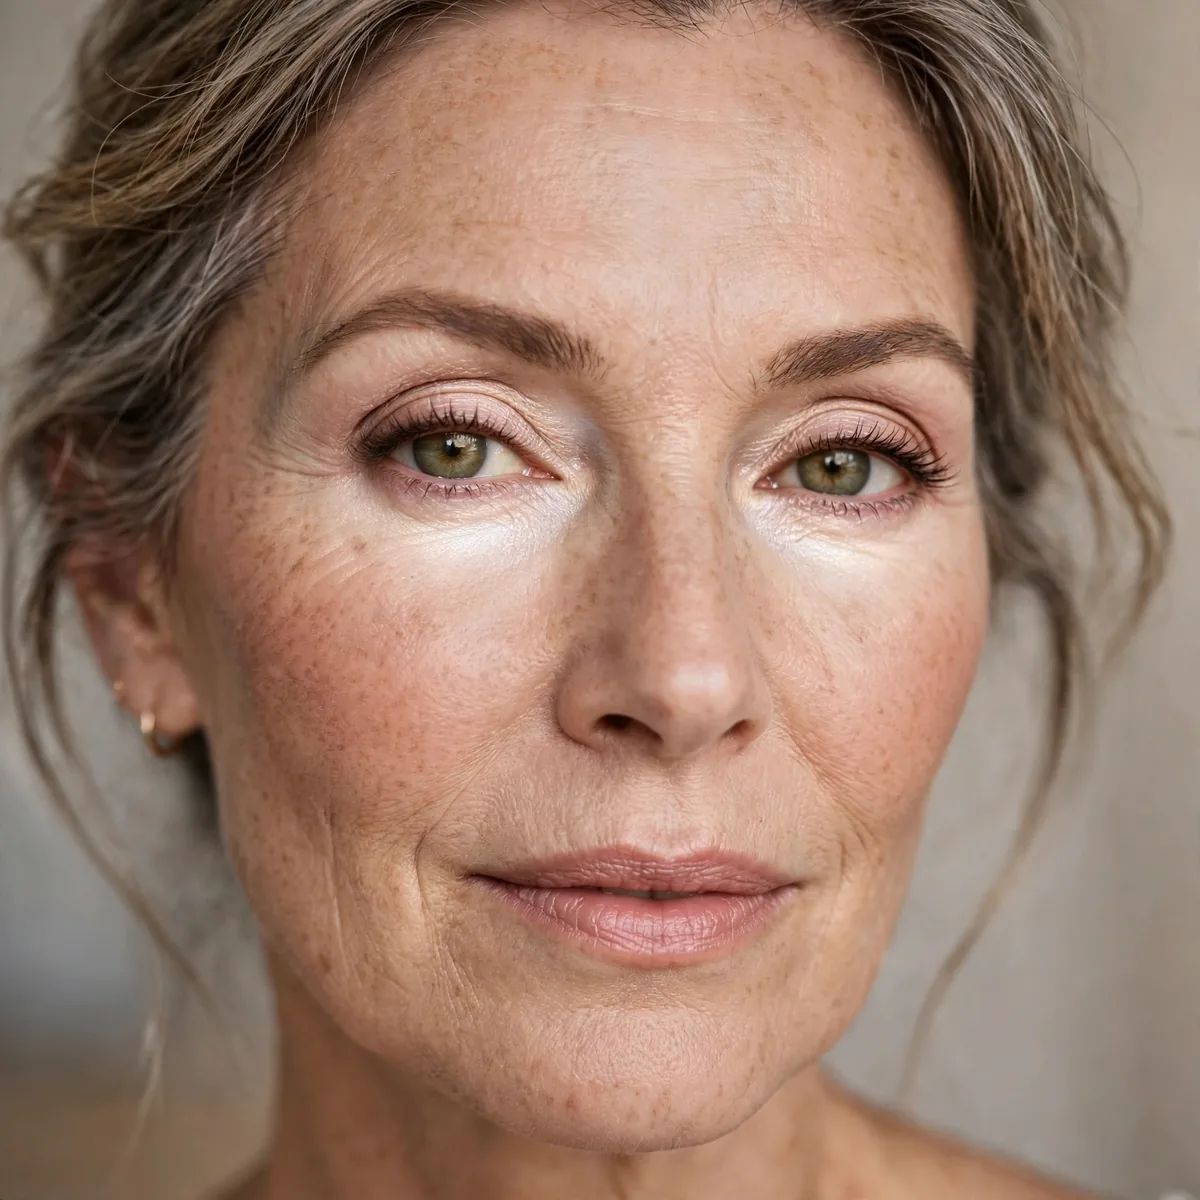
Minimal under-eye product — heavy concealer is the fastest ager.
Brighten with the least product possible. Less truly is more here.
A peach or salmon-toned corrector neutralizes blue-purple darkness with far less product than concealer alone — color correction means you need barely any coverage on top. Follow with a hydrating, lightweight concealer one shade lighter than your foundation, never more. Look for formulas with light-reflecting pigments rather than heavy matte coverage. Creamy stick concealers tend to be too dry for mature under-eyes; fluid formulas melt in better.
Apply concealer only to the inner corner and the darkest part of the circle — covering the entire under-eye area is what creates the heavy, aging look. Use a small brush or fingertip to press the product in, then bounce a damp sponge over it to sheer out the edges. Set with the tiniest amount of finely-milled powder, pressed only where creasing occurs. Less product in fewer places always looks younger.
Blush Placement High
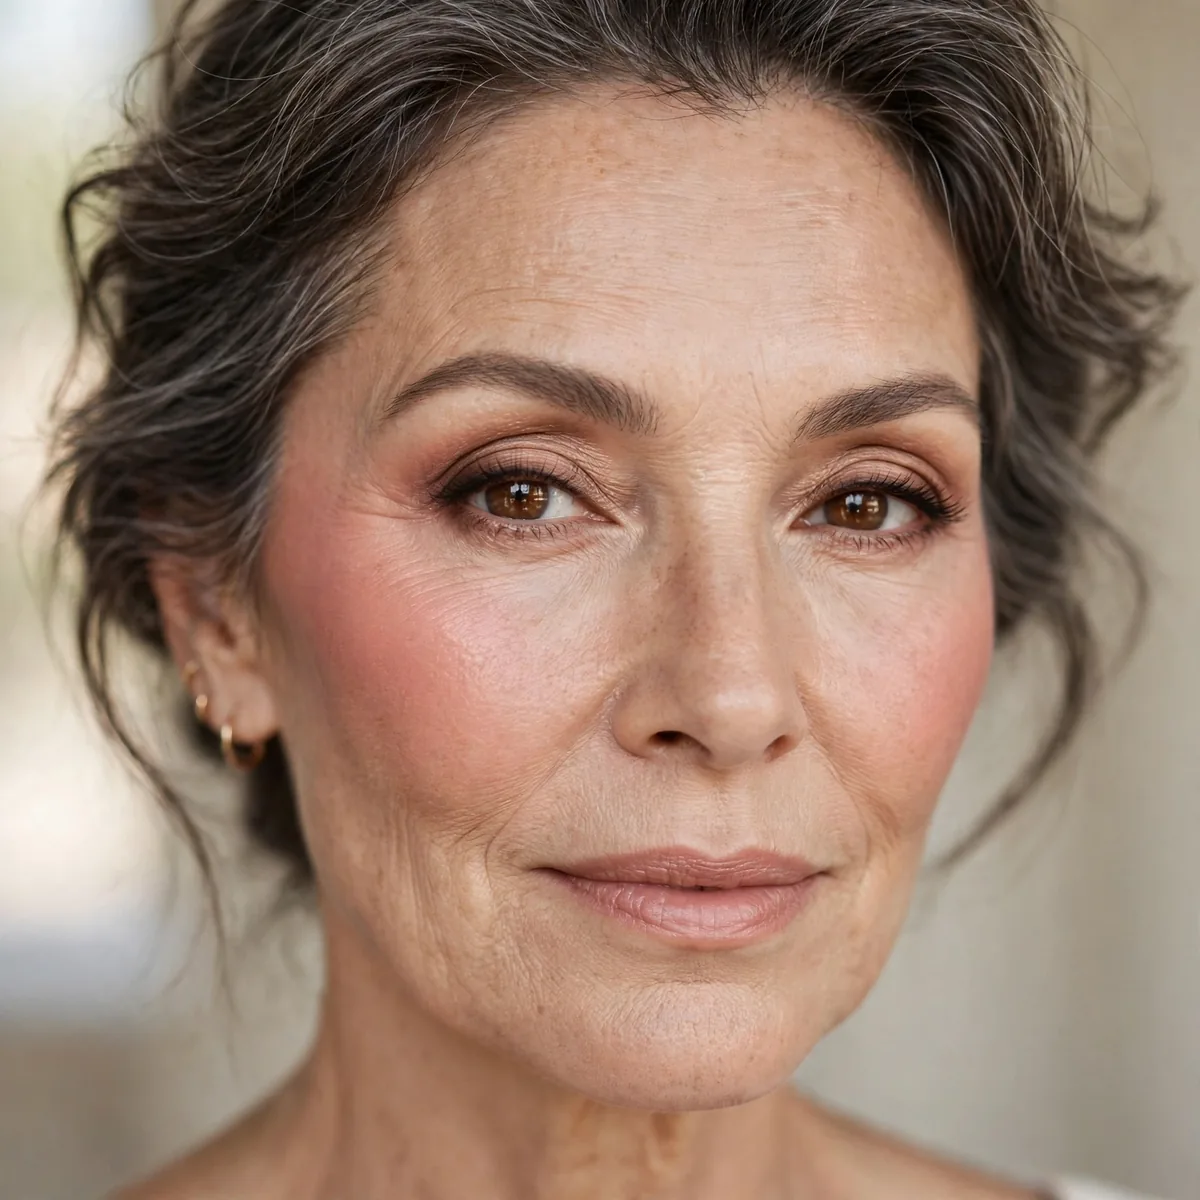
Place blush higher on the cheekbone for a lifting effect.
Our blush placement guide covers it. High placement counteracts gravity visually.
Smile, find the top of the cheekbone, then place the blush just above it — higher than instinct suggests. Blend upward and outward toward the temple in soft, diffused strokes; the direction of blending should always travel up, never down. A cream or liquid formula melds into skin most naturally here. The blush should sit on the plane of the cheekbone, not below it, creating a lifted rather than droopy effect.
Placing blush on the apples of the cheeks — the old smile-and-apply method — drags a mature face downward, since the apples sit lower than they did at twenty-five. Another error is blending downward toward the jaw, which visually pulls everything south. The blush should never extend below the nostril line. When in doubt, place it higher and blend it more; over-blended high blush still lifts, while precise low blush always drags.
Soft Eyeliner Only
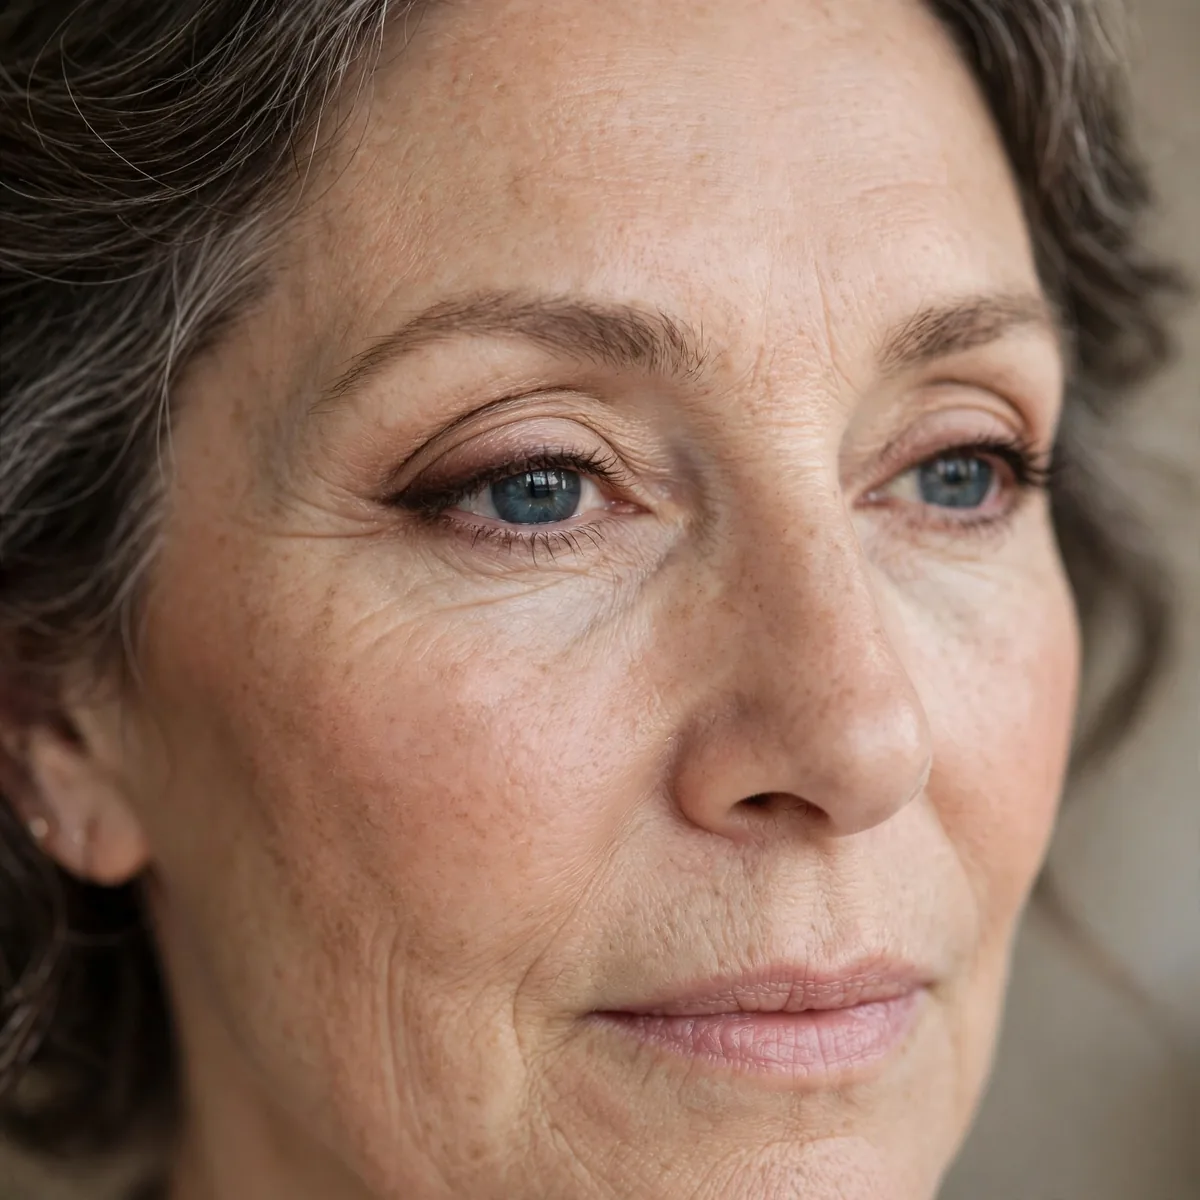
Smudged shadow or soft pencil — harsh liquid lines age the eye.
Soft definition flatters; harsh lines emphasize. The gentleness is the point.
An eyeshadow applied as liner with a small damp angled brush gives the softest definition — choose a deep brown, charcoal, or plum rather than black. Kohl pencils with a creamy, blendable formula are the next best option; draw close to the lashes and smudge immediately. Gel liners in a pot offer precision without the harshness of liquid, since the finish is softer. Whatever the tool, the line should look diffused, not drawn.
Tightlining — filling between the upper lash roots — gives mature eyes definition without any visible liner line at all. It makes lashes look naturally fuller and the eyes more defined, with zero harshness. Use a waterproof pencil and short, gentle strokes, then follow with mascara to meld everything together. This technique alone can replace traditional eyeliner for daytime, delivering polish that never reads as harsh or aging.
Mascara on Top Only (Mostly)
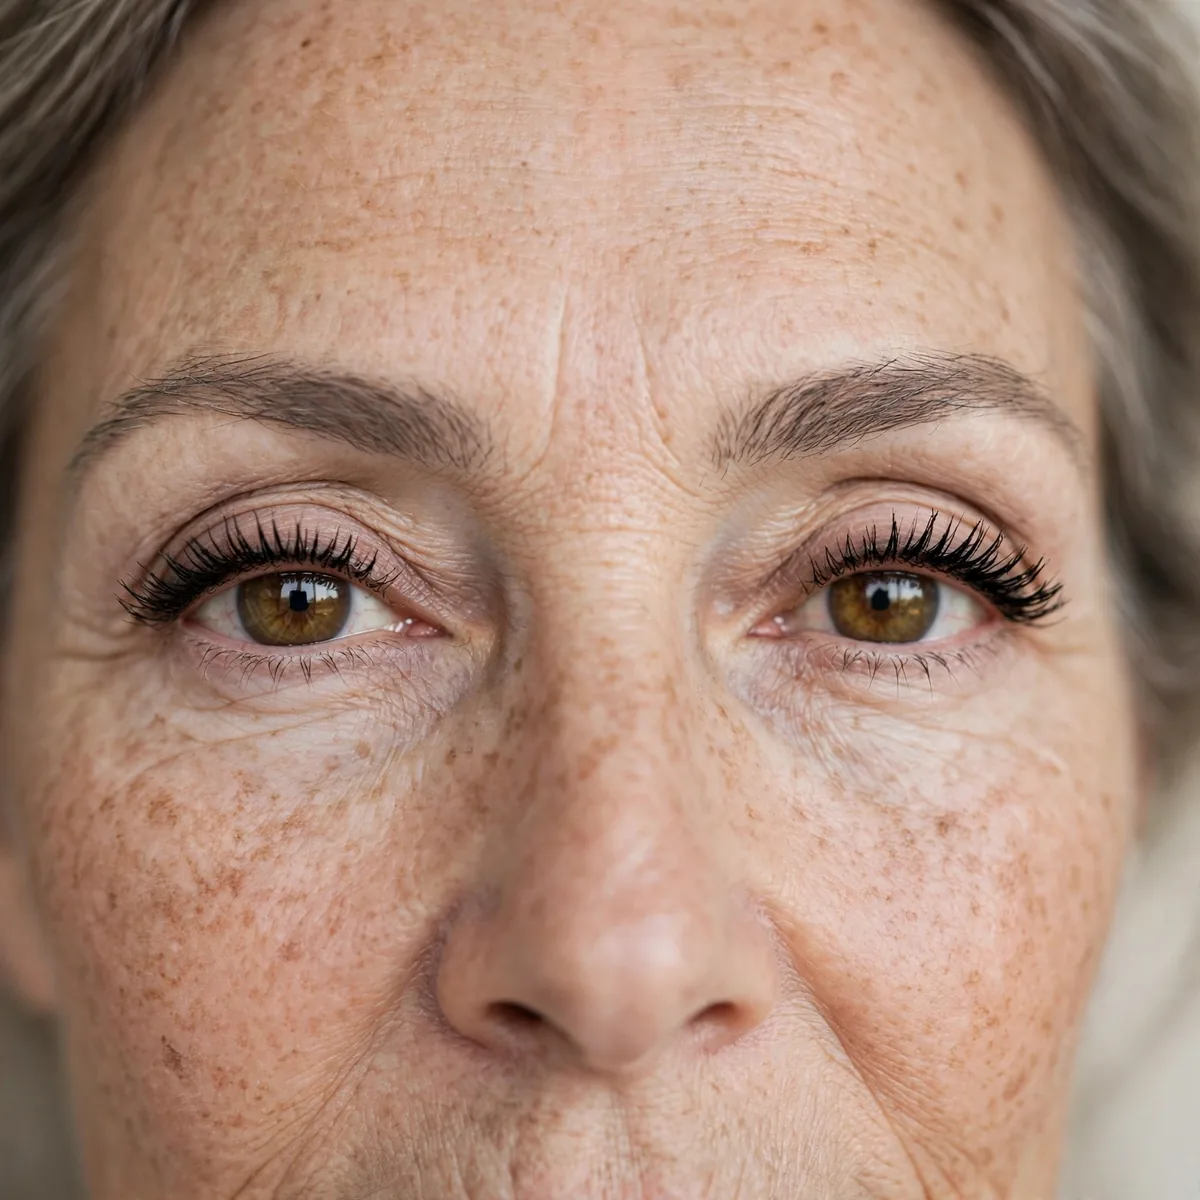
Focus mascara on top lashes; heavy bottom mascara ages.
Top-lash emphasis opens and lifts. Bottom heaviness drags down.
Curl lashes first — the lift opens the eye more than any mascara formula can. Then wiggle the wand at the base of the upper lashes and pull through to the tips; the wiggle deposits volume where it matters most. Two thin coats beat one heavy one, which clumps and looks spidery on mature lashes. If a little product lands below, leave it; attempting cleanup usually smears and draws attention to the area.
Tubing mascaras are the mature-eye miracle — they wrap each lash in a water-resistant tube that never smudges, flakes, or gives panda eyes, yet slides off with warm water alone. Lengthening formulas flatter more than volumizing ones, which can look heavy on sparser lashes. Avoid waterproof traditional mascaras for daily wear; their removal tugs at delicate lashes and the fragile skin around mature eyes far too aggressively.
Dewy Setting Spray
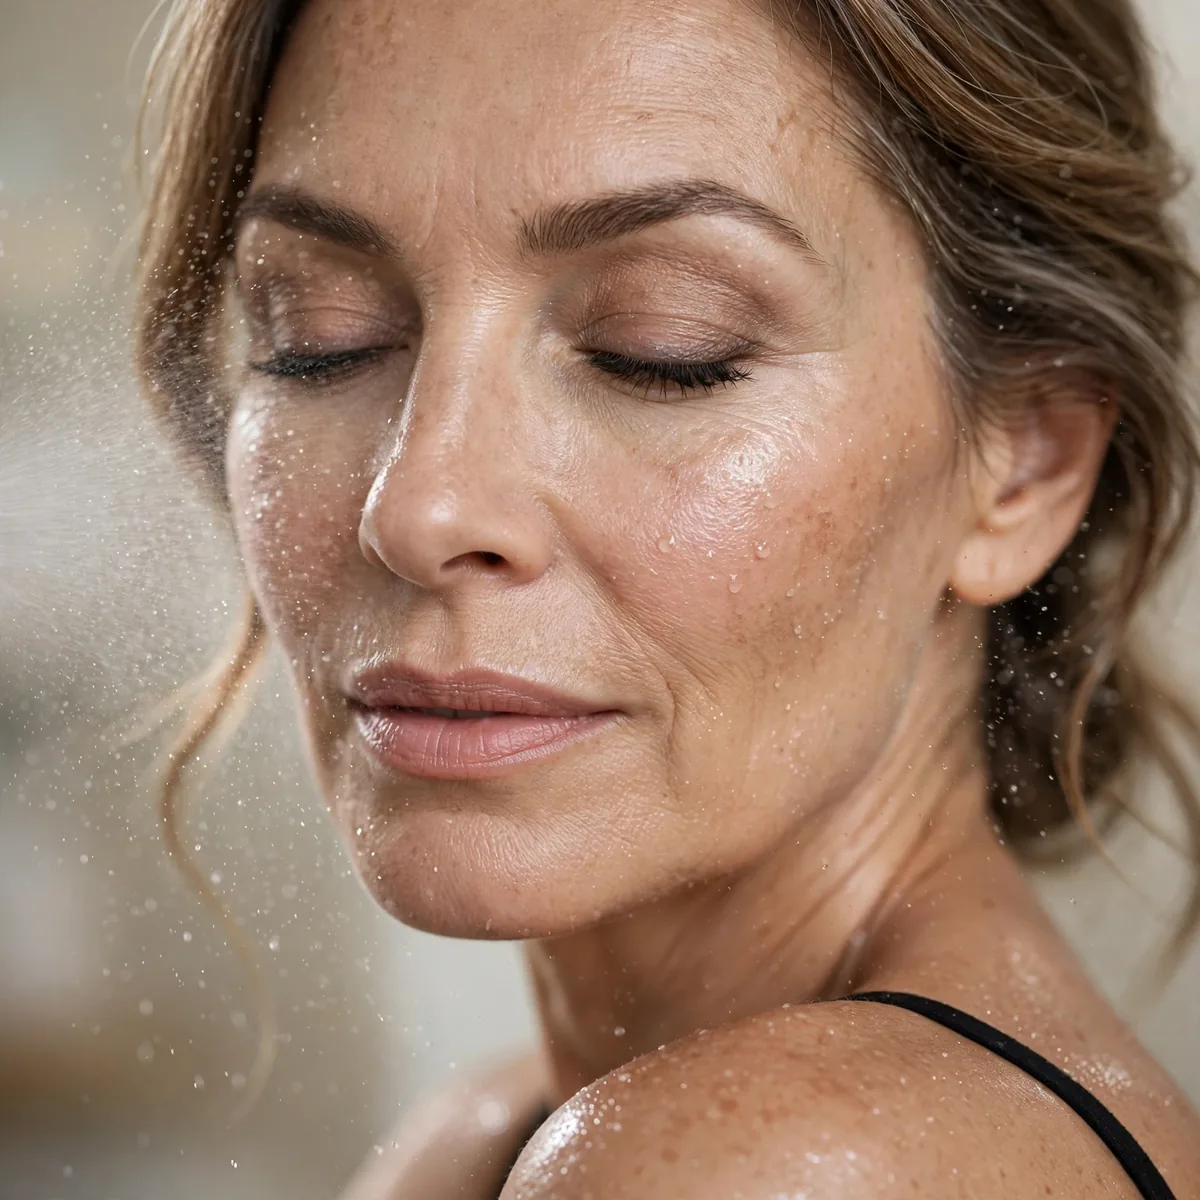
Dewy spray melts everything into skin and removes any powdery look.
The final step that unifies everything. Never skip it on mature skin.
Hold the bottle eight to ten inches from the face and mist in an X and then a T pattern — this covers evenly without soaking any one area. Keep eyes closed and let the mist settle for thirty seconds; fanning the face disrupts the even layer. One generous application after all makeup is complete works better than spritzing between layers. The spray needs that final, undisturbed moment to melt everything into a unified finish.
Look for sprays with glycerin, rosewater, or aloe in the formula — these humectants add genuine hydration, not just the illusion of dew. Avoid sprays with high alcohol content, which dry mature skin and undo all your careful prep. Dewy or luminous finishes suit mature skin; matte setting sprays defeat the purpose entirely. A spray with light-reflecting particles adds an extra glow, but test first — some read as glitter in daylight.
Less Is More Philosophy
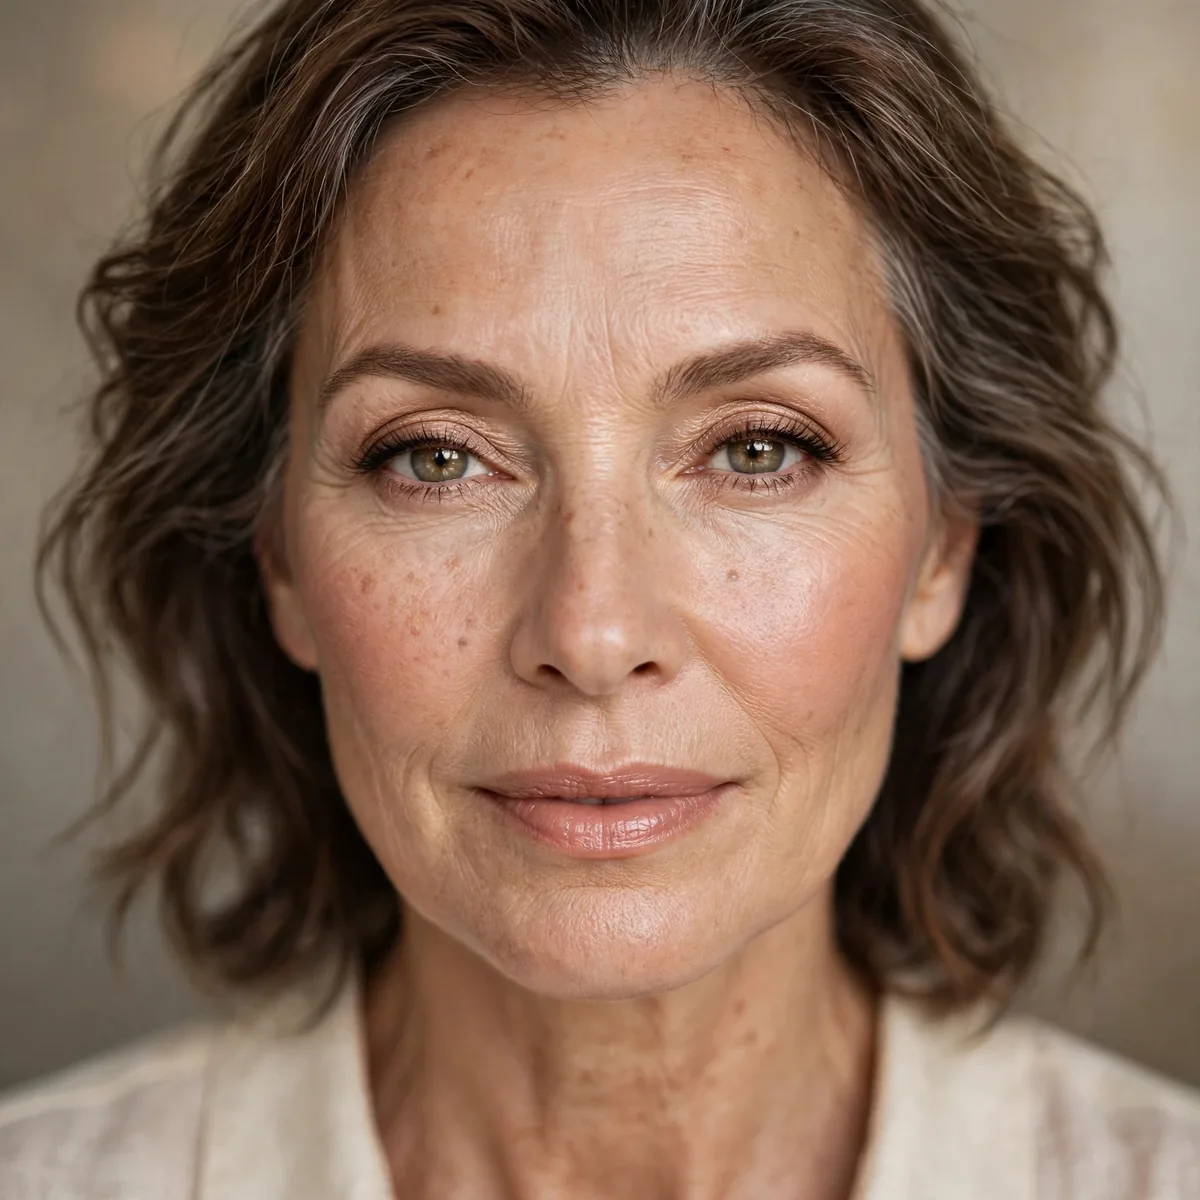
Every product should earn its place. Edit ruthlessly.
The mature-skin mantra: what can I remove? Simplicity flatters.
Audit your routine product by product and ask what each one actually does — if two products serve the same purpose, one goes. Multipurpose products are the editor's best friend: a lip-and-cheek tint replaces two steps, and a tinted moisturizer with SPF covers three. The edited routine should take fifteen minutes and use fewer than eight products. What remains earns its place daily; everything else becomes occasional, not essential.
The less-is-more rule bends, not breaks, for evenings — choose one focal point and let it shine while everything else stays edited. A deeper lip with minimal eyes, or a soft smokey eye with a nude lip, gives occasion polish without heaviness. Resist adding products back for events; instead, intensify what is already there. The philosophy holds at any hour: every product must still earn its place, even under evening lights.
Skincare Investment
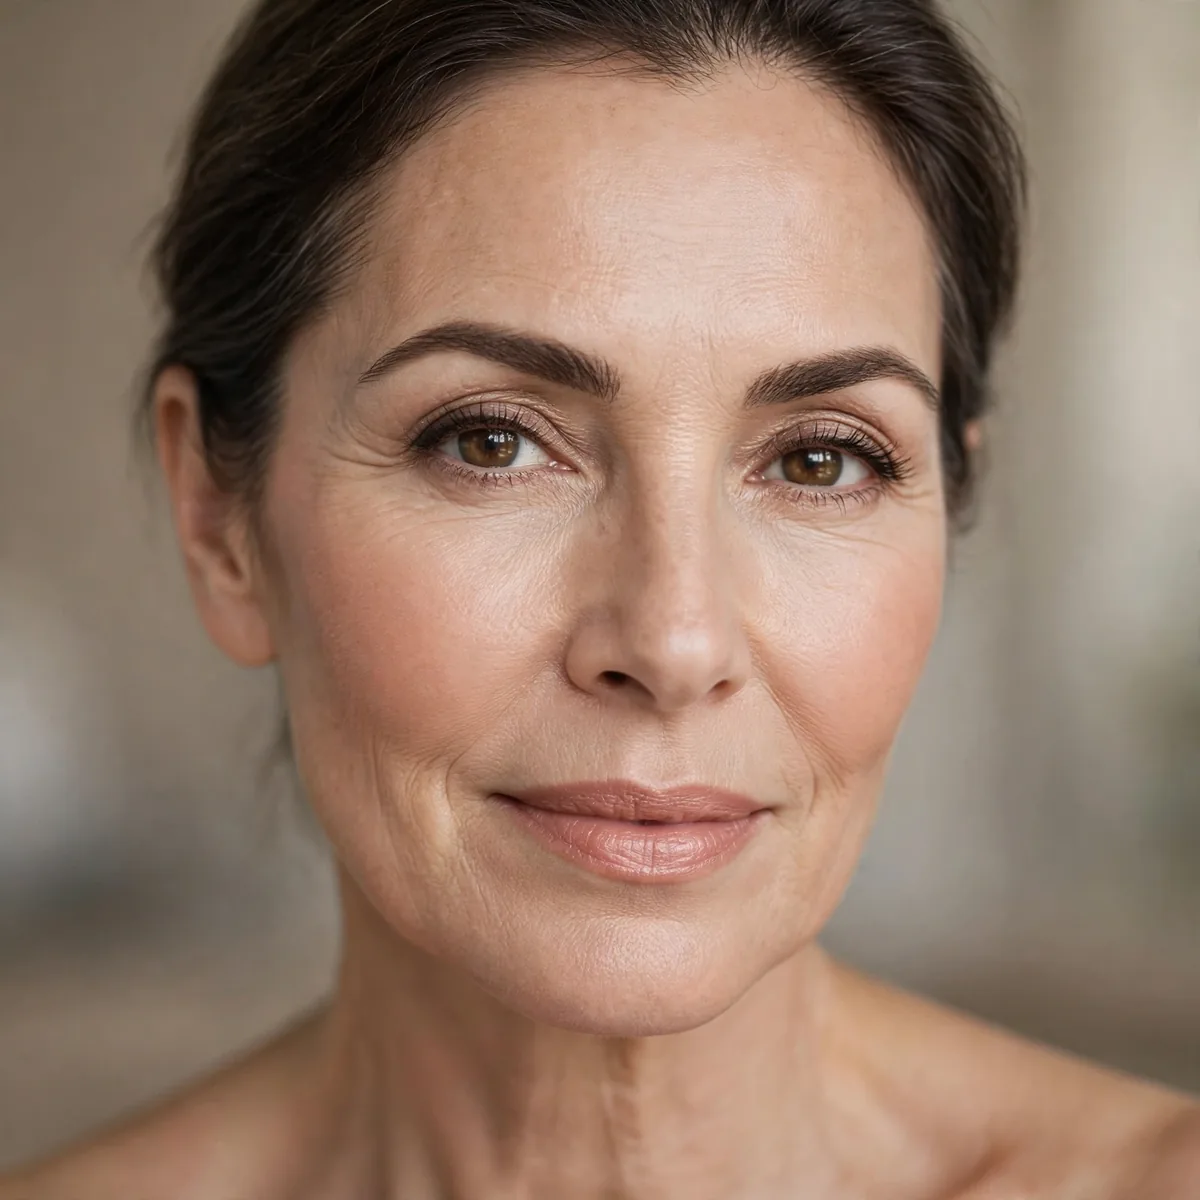
Retinoids, vitamin C, hydration — great skin needs less makeup.
The best mature makeup tip isn’t makeup at all. Skin care is base care.
Layer actives in the right order: vitamin C serum in the morning under SPF, retinoid at night after cleansing, and rich hydration to support both. Introduce retinoids slowly — twice a week at first — since mature skin can be sensitive. Give any new routine eight to twelve weeks before judging; skin cell turnover is slower with age. Consistency with three good products beats a chaotic shelf of twelve every time.
Skincare improves texture, tone, and firmness gradually — it will not erase deep wrinkles or replace what only procedures address, and honest expectations prevent disappointment. What it reliably delivers is a smoother, more even canvas that needs noticeably less makeup within two to three months. Think of it as compounding interest for your face: small daily deposits of SPF, retinoid, and hydration that pay off quietly but substantially over time.
Lighting Awareness
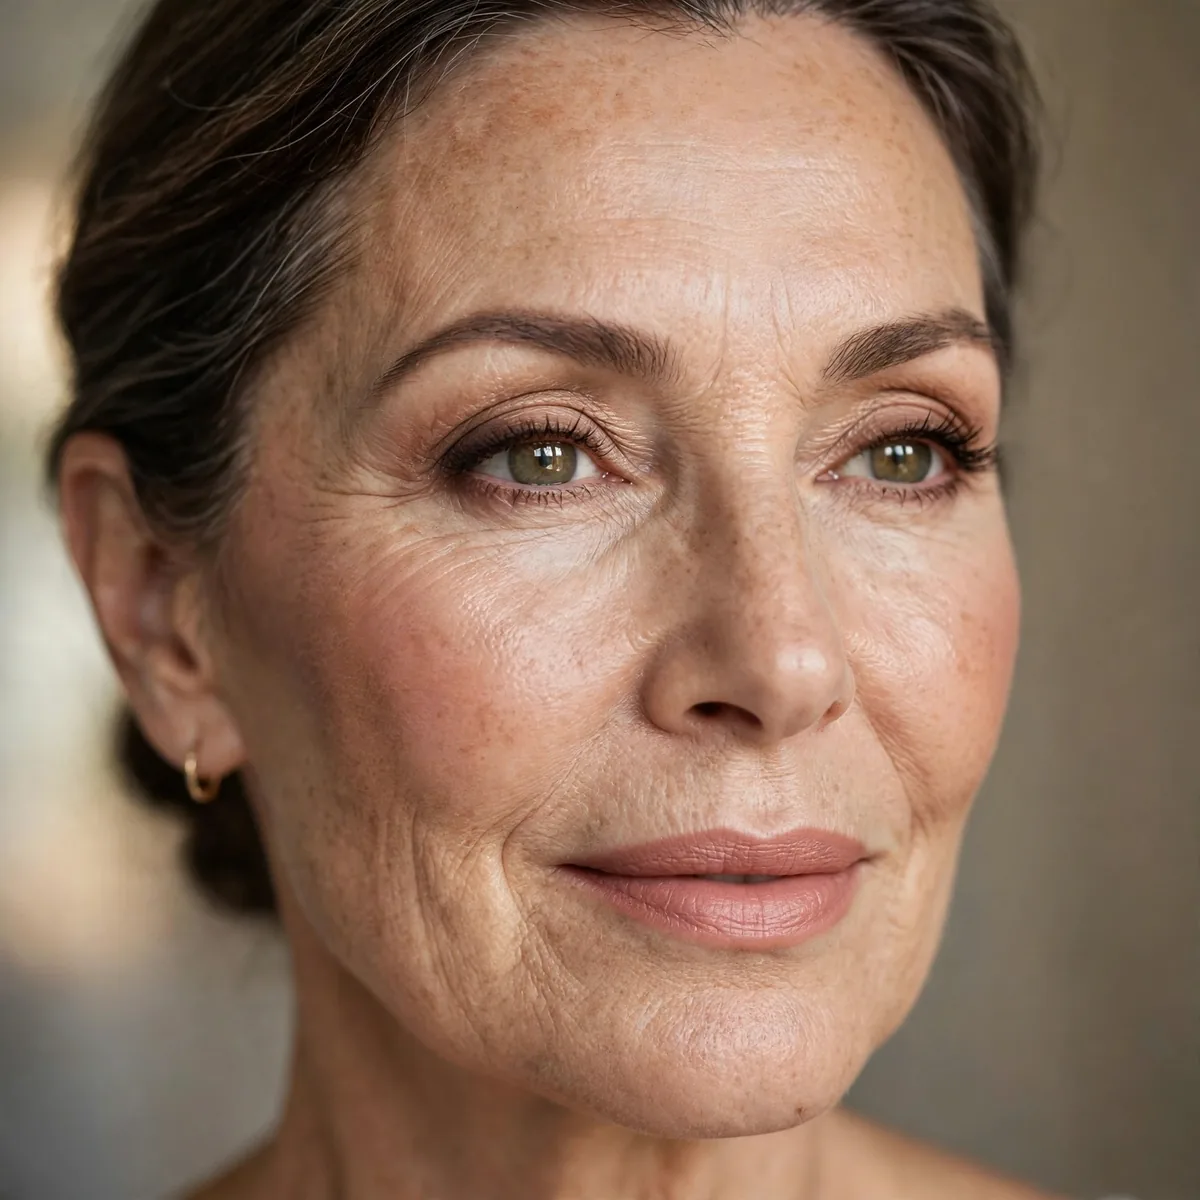
Apply in natural light — indoor lighting hides what daylight reveals.
What looks smooth indoors can look textured outdoors. Always verify.
Set up near a window with indirect daylight — north-facing light is the most flattering and honest for makeup application. If natural light is unavailable, use daylight-balanced bulbs around 5000 to 6500 Kelvin; warm bulbs hide flaws that daylight will expose. A simple suction-cup mirror on the window works beautifully. Apply the base and eye makeup in this light, then do a final check outdoors or in the car mirror before leaving.
Bathroom downlighting is the great deceiver — overhead lights cast shadows into every line and hollow, tempting heavy-handed correction that looks clownish in daylight. Another trap is applying makeup under yellow bedroom lamps, which make everything look warmer and smoother than it is. Always do the final verification in natural light; if the makeup survives daylight, it survives everywhere. Indoor-only application is how overdone makeup happens.
Confidence Is the Finish
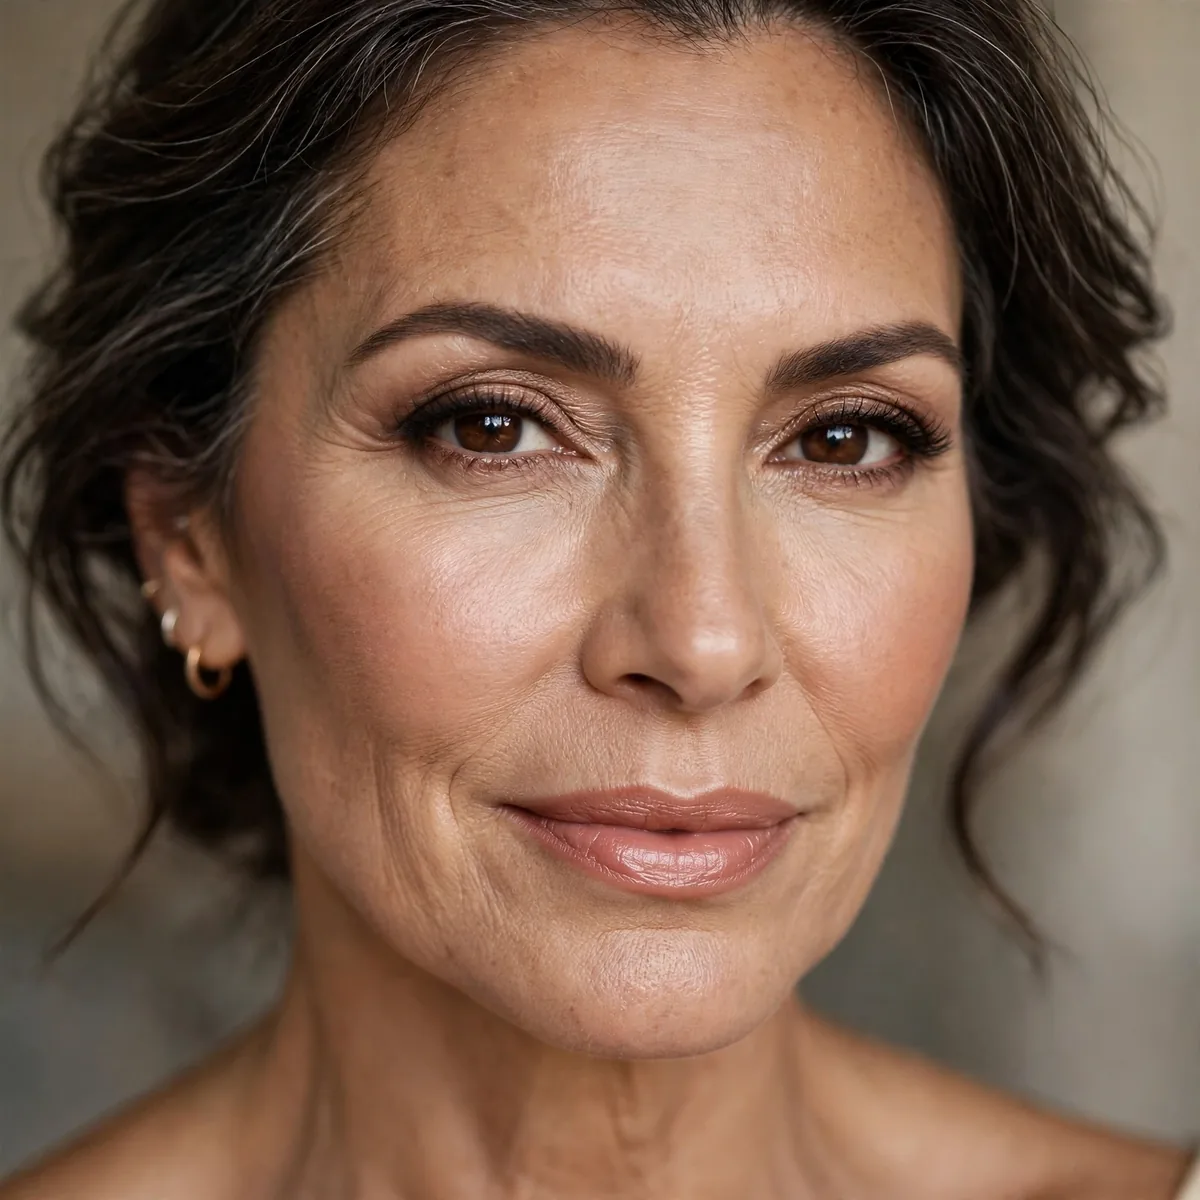
The best mature makeup tip: wear what makes you feel beautiful.
For occasion glam, our mother of the bride guide applies these principles. Confidence outshines technique.
Develop a signature — the lip shade that feels like you, the brow shape you have perfected, the blush placement you trust. A signature look worn with conviction outshines technically perfect makeup worn hesitantly. Notice which compliments repeat and lean into whatever earns them; other people often see what flatters us before we do. Personal style is not a limitation — it is the filter that makes every trend wearable.
Makeup after fifty is enhancement, not correction — the goal is to look like yourself on your most radiant day, not like someone else entirely. Release the urge to chase the face you had at thirty; work with the face you have today and it will reward you. The women who look most beautiful at any age share one trait: they enjoy the ritual. Pleasure in the process shows in the result.
Age is an asset — pin these tips. For luminous eyes, see shimmer for mature eyes, or perfect your base with foundation for dry skin.




