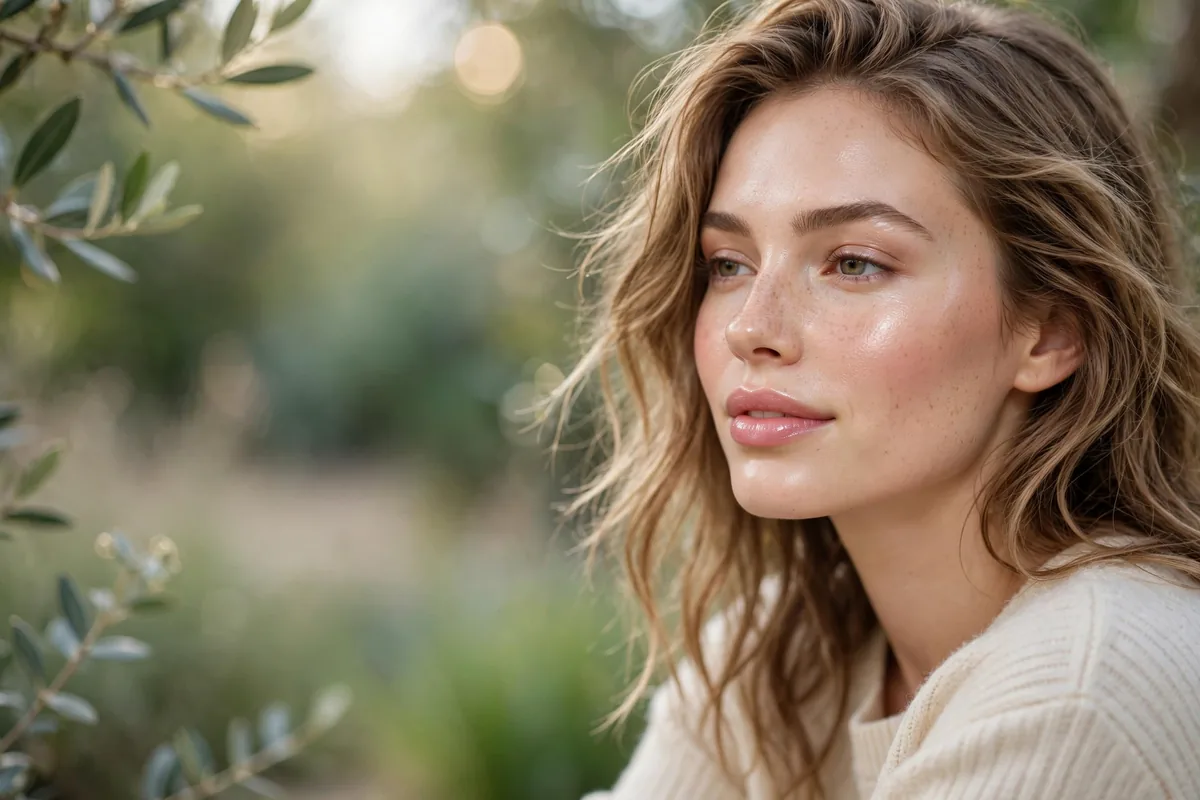
Cream blush doesn’t sit on skin. It becomes skin.
That’s the magic: creams melt with body heat and meld into your base, creating a flush that looks like it’s coming from within rather than sitting on top.
They’re also the most forgiving blush format — blendable, buildable, and nearly impossible to overdo.
Here are 15 looks and techniques. Let’s get into it.
The Finger Blend
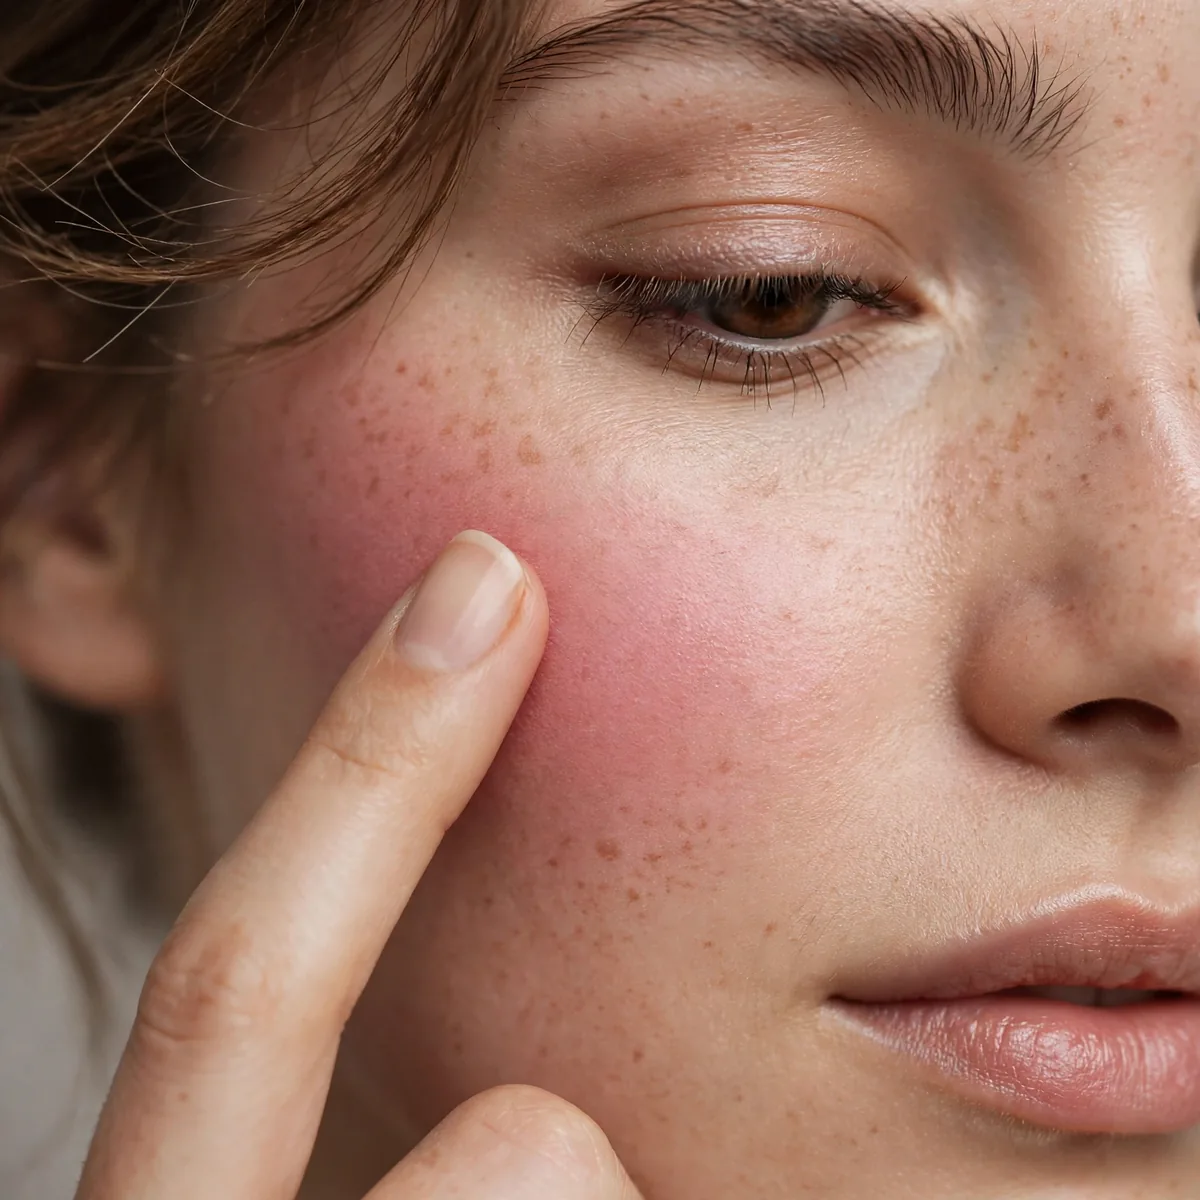
Warm cream blush on fingers, press and blend — the most natural application.
Fingers are the original cream-blush tool. Warmth plus pressure equals seamless.
Clean hands are non-negotiable here, since fingers press product directly into the skin. Wash with soap, dry fully, and avoid touching your face beforehand. This method suits normal to dry skin beautifully, as the warmth of the fingers melts the cream into a skin-like finish. Very oily skin may prefer a sponge, which deposits less of the skin's natural oils back onto the cheek.
Dot the blush on the apples first, then press and roll outward toward the temples rather than rubbing back and forth. The pressing motion keeps coverage even and prevents the cream from pilling over foundation. Start with less than you think you need; cream blush builds beautifully in a second pass, but removing excess disturbs the base underneath.
Damp Sponge Finish
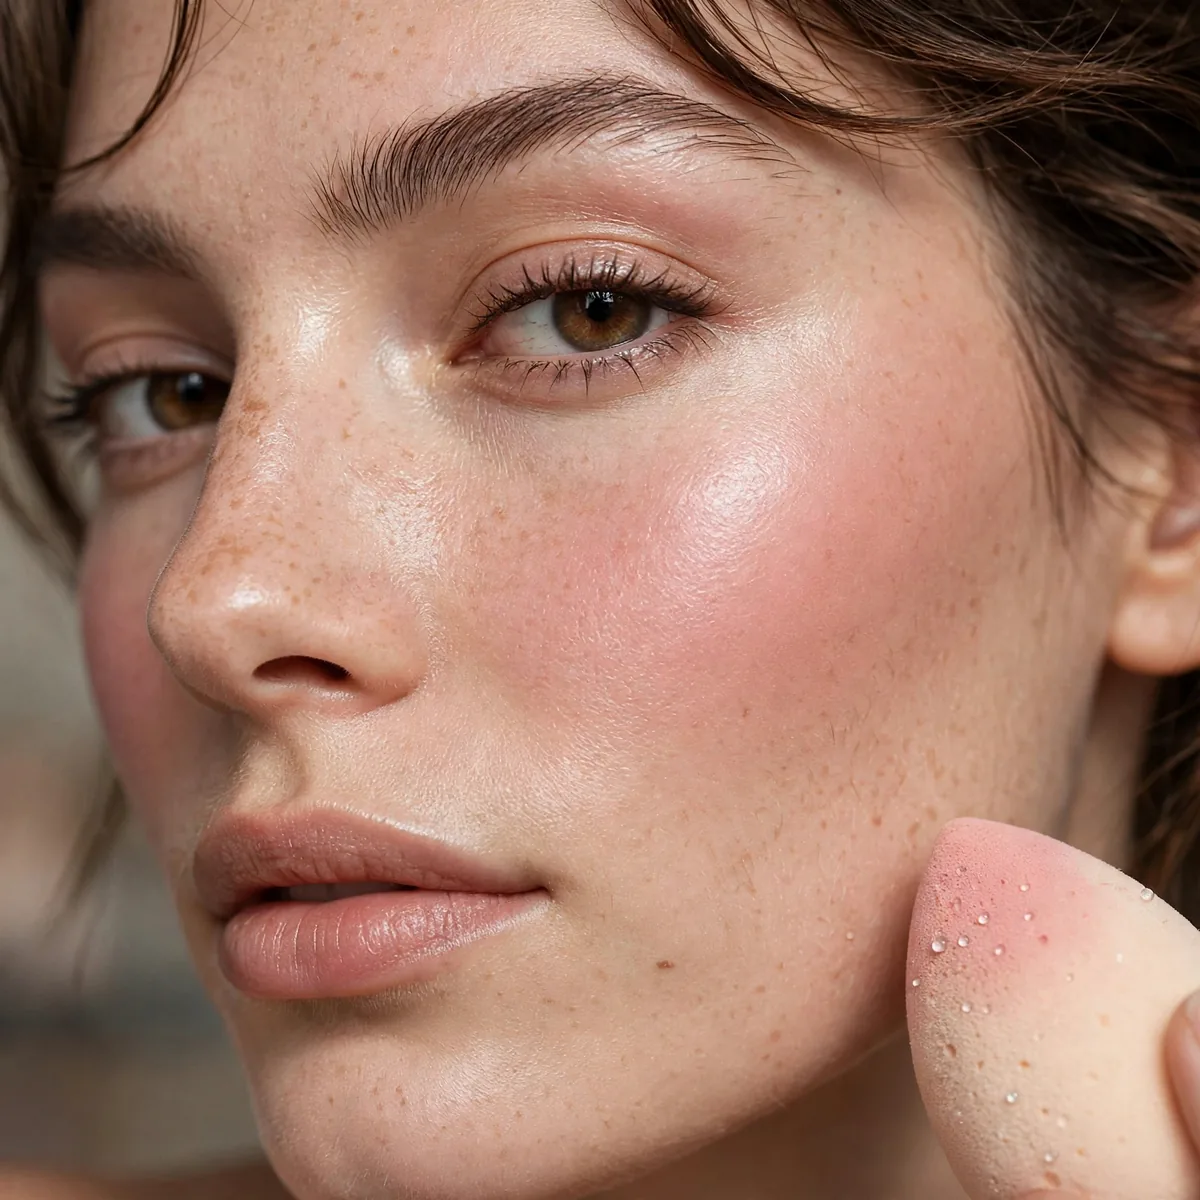
Apply with fingers, perfect with a damp sponge — the pro combination.
The sponge sheers and blends edges. Fingers deposit; sponge perfects.
Squeeze the sponge until it is damp, not wet; excess water sheers the blush into nothing. Bounce the rounded end over the cheek in a stippling motion instead of dragging, which would streak the cream. The damp surface picks up harsh edges and melts them into the skin, giving that airbrushed finish that fingers alone cannot quite achieve.
Oily skin can still wear cream blush all day with the right prep. Start with a mattifying primer on the cheeks and let it set for a minute before applying any cream. The damp sponge step actually helps longevity here, since it presses the pigment in thinly rather than leaving a thick layer that slides. Blot once at midday with a tissue instead of adding more product.
The Lit-From-Within Flush
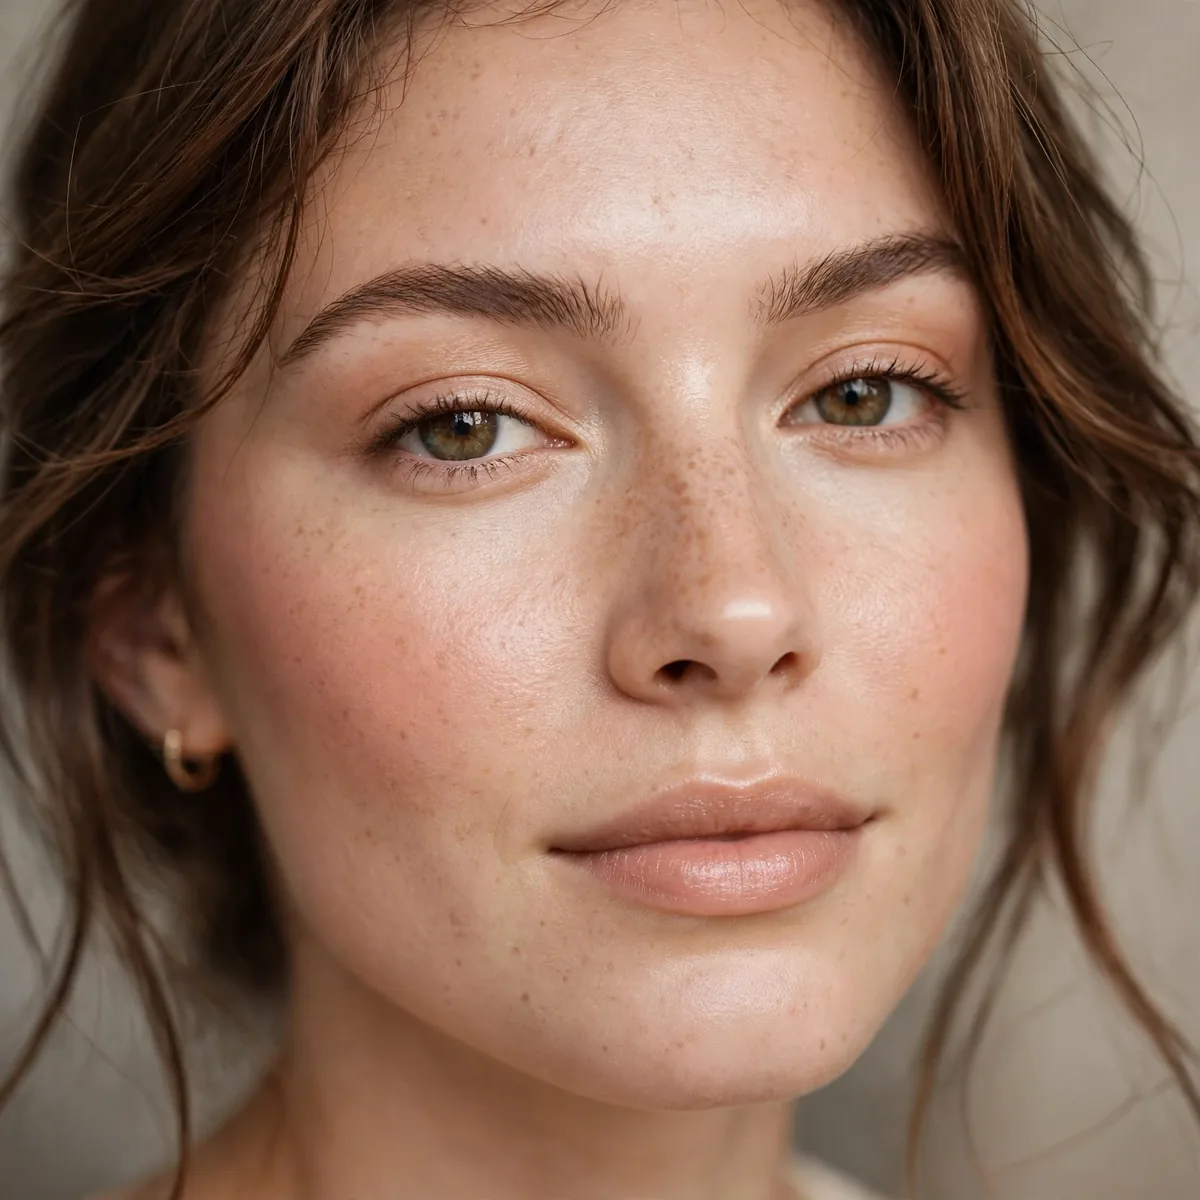
Sheer cream blush layered under foundation — glow from beneath.
Applying blush BEFORE base creates the most natural flush imaginable. It’s revolutionary.
This under-foundation technique flatters fair and light skin tones most dramatically, where a whisper of color beneath the base reads as genuine circulation. Deeper skin tones can absolutely wear it too; choose a richer berry or terracotta cream so the glow shows through the foundation. Anyone chasing the no-makeup glow will find this more convincing than blush applied on top.
Apply the cream blush to bare, moisturized skin, then press a sheer-to-medium foundation over it with a damp sponge, avoiding heavy rubbing that would erase the flush. Use less blush than feels intuitive; foundation mutes roughly half the intensity. The classic mistake is applying the usual amount of blush, then wondering why the glow never quite appears through the base.
Berry Cream Drama
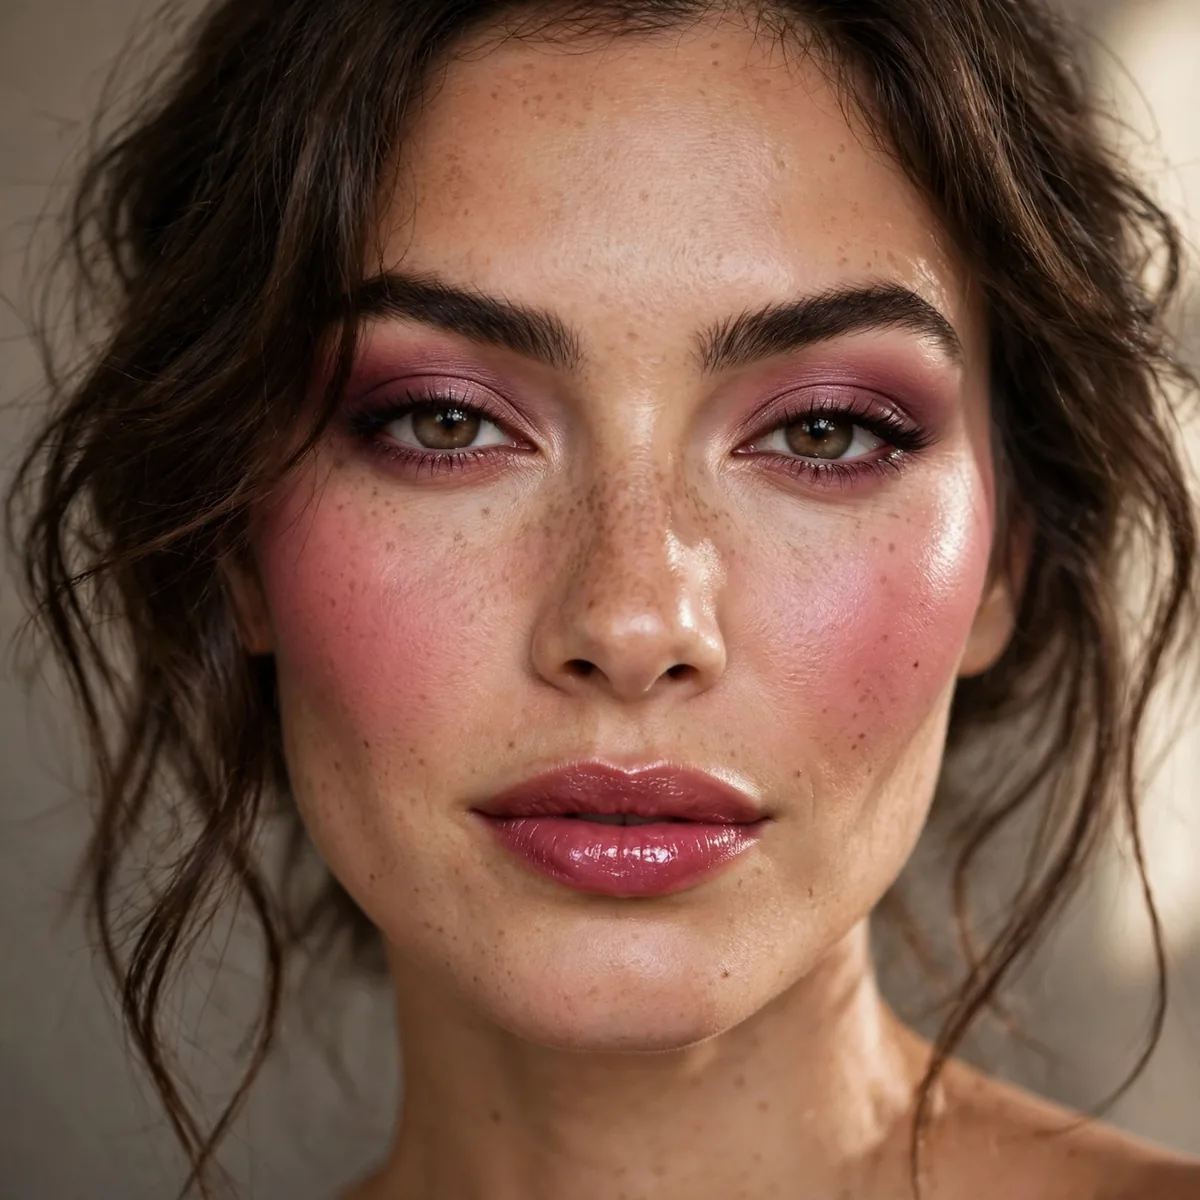
Deep berry cream for a bold flush — cream makes bold wearable.
The cream format tames bold colors. Berry in cream is soft; berry in powder is intense.
Berry cream is a gift for medium to deep skin tones, where the pigment shows as rich, believable color rather than a stain. Fair skin can wear it too, applied sheerly and blended well past the apples. Save the full-intensity version for evening; under candlelight or restaurant lighting, berry flush looks expensive and intentional rather than bold.
Keep the eyes neutral when berry cheeks take the lead; a simple mascara-and-groomed-brow eye lets the flush own the face. Match the lip loosely rather than exactly: a soft berry stain or a neutral rose gloss echoes the cheek without creating a costume effect. Over-matching lips and cheeks in the same bold berry can tip the look from striking to theatrical.
Peach Cream Freshness
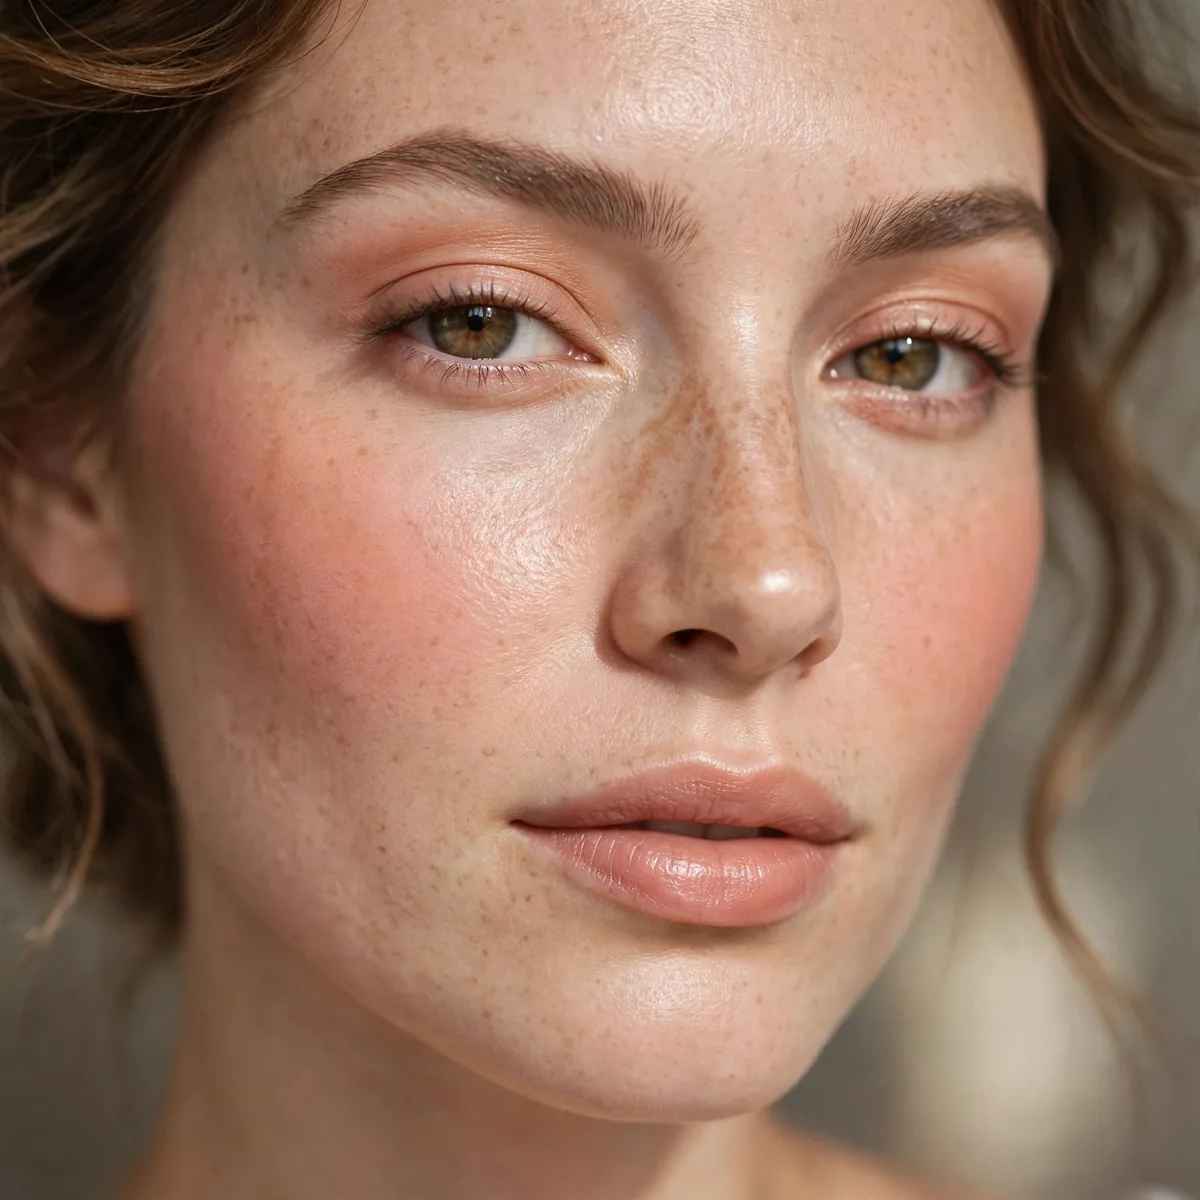
Peach cream — the fresh-faced flush.
Peach creams are universally flattering. The warmth suits every skin tone.
Peach is spring and summer bottled; it mirrors the flush skin gets after time in warm air. Warm undertones wear it most naturally, but neutral skin takes it beautifully too. On cool undertones, look for peach creams with a pink lean so the shade does not turn sallow. It is the blush equivalent of golden-hour light.
Peach cheeks love a glossy lip in a matching warm nude or soft coral; the shared warmth ties the whole face together. Keep eyes fresh and simple: curled lashes, one coat of mascara, and a groomed brow. A touch of the same peach cream tapped onto the eyelids unifies the look and takes ten seconds.
Rose Cream Romance
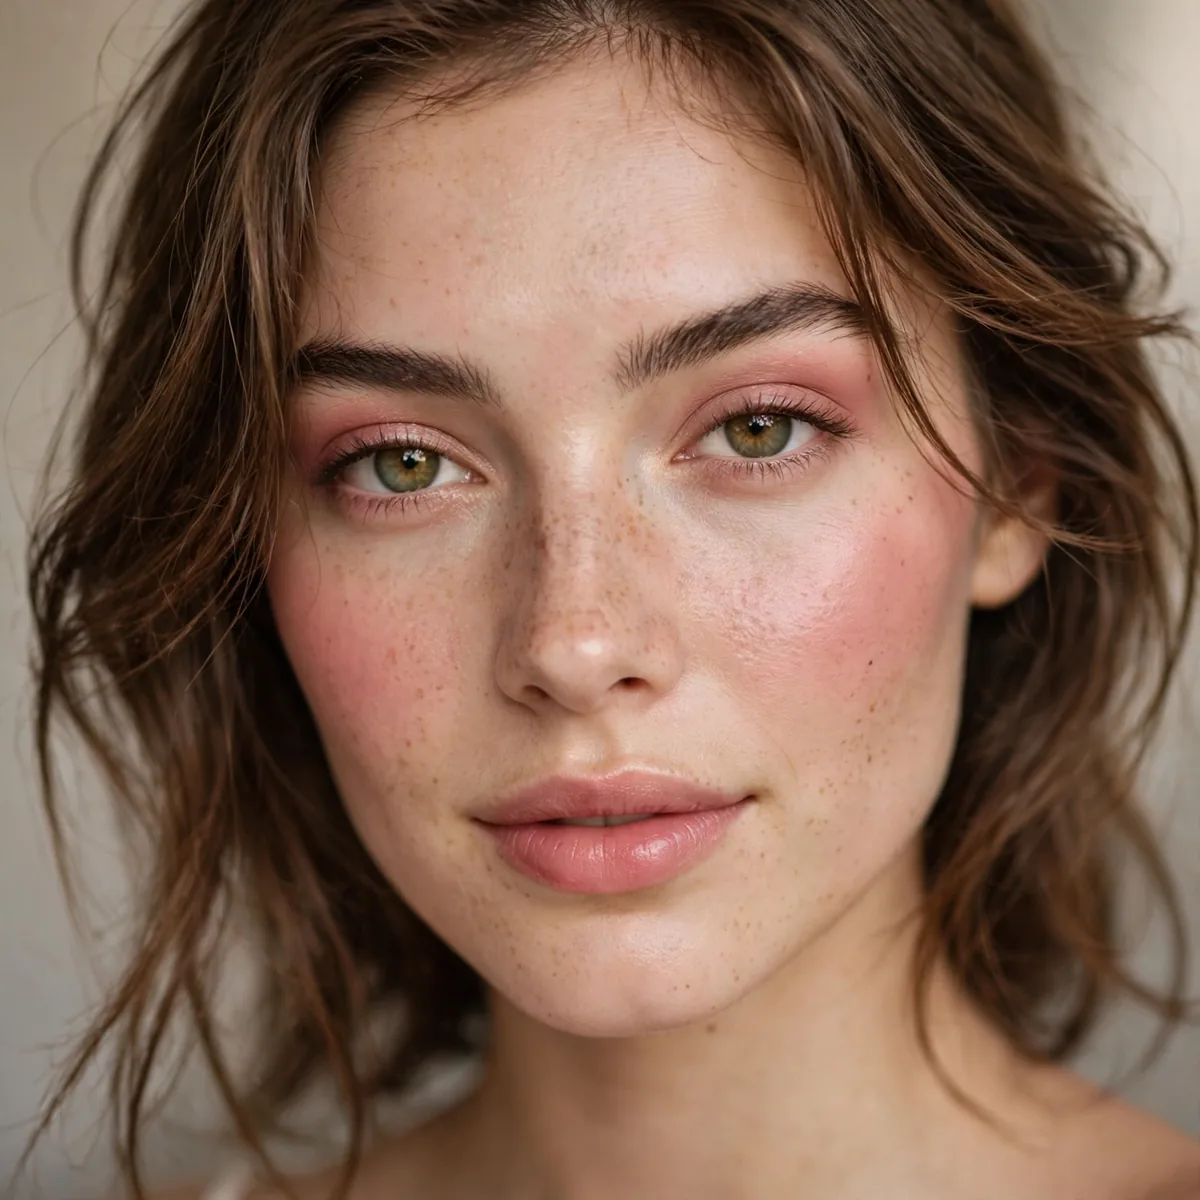
Classic rose in cream form — romantic and timeless.
Rose cream is the "your cheeks but better" shade. It never misses.
Rose cream was made for romantic occasions: date nights, anniversaries, and weddings, where its soft flush photographs beautifully. Brides favor it because it reads as natural happiness rather than obvious makeup in photos. For everyday romance, sheer it out for a just-pinched look that suggests you have been laughing rather than applying blush.
Cool and neutral undertones wear classic rose most effortlessly, since the pink mirrors their natural flush. Warm undertones should choose roses with a warm, almost coral base to avoid a chalky contrast. Mature skin adores cream rose; the dewy finish plumps the look of cheeks far better than powder, which can settle into fine lines.
Coral Cream Energy
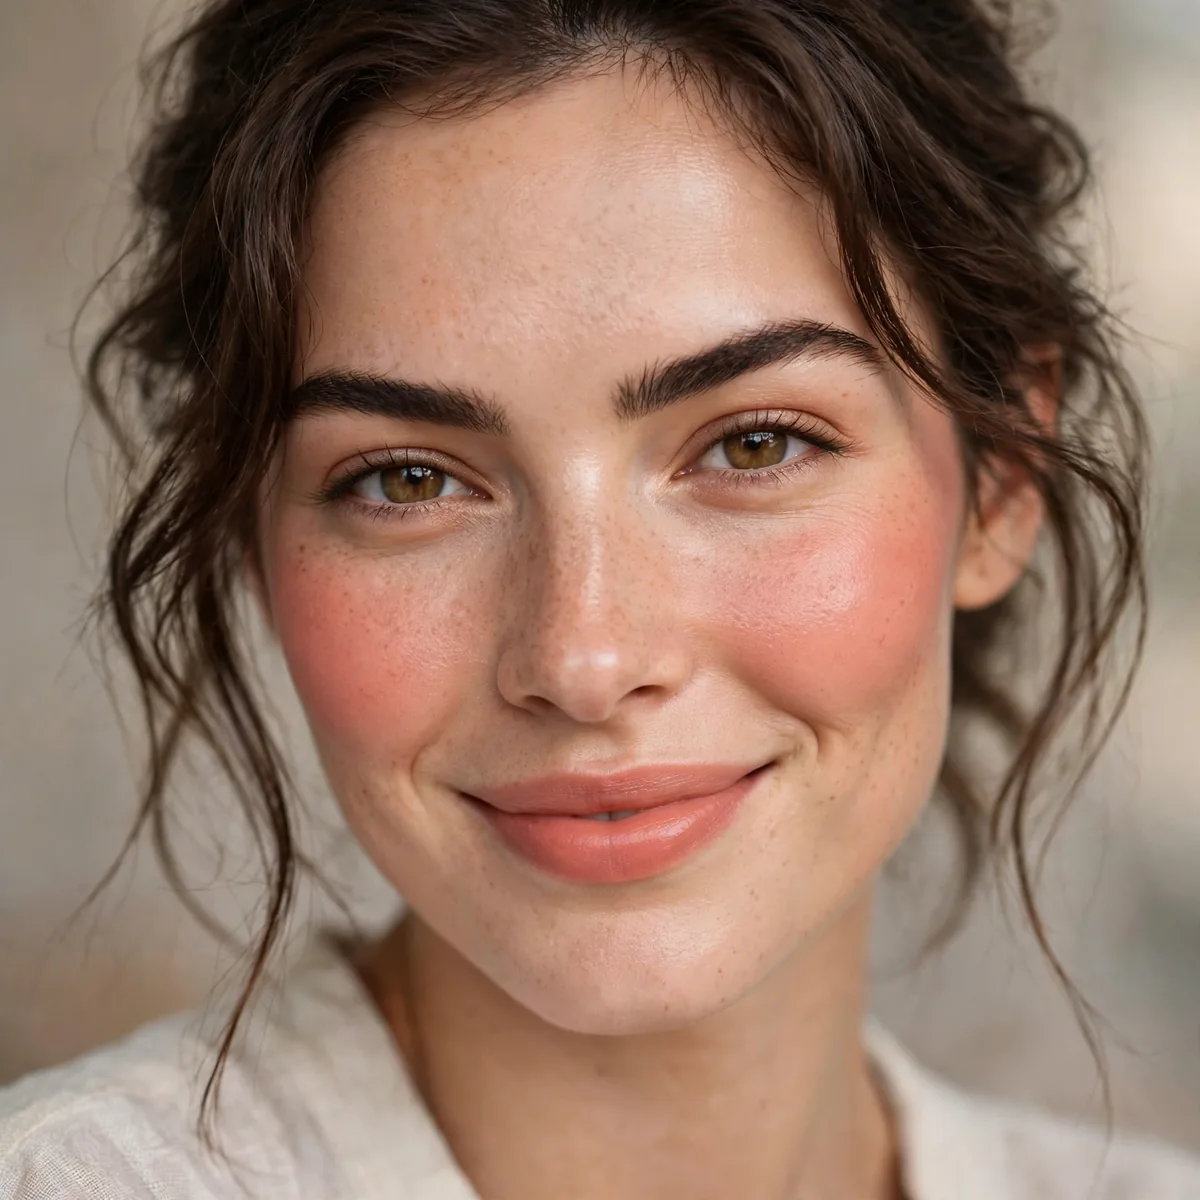
Coral cream for vibrant, energetic flush.
Coral wakes up the whole face. It’s the espresso shot of blush shades.
Coral comes alive on medium and tan skin tones, where its orange-pink balance glows against warm complexions. Fair skin can absolutely join in; choose a softer, pink-leaning coral and blend generously. It is also a secret weapon for sallow or tired skin, since the warmth counteracts dullness more effectively than any pink.
The number one coral mistake is applying with a heavy hand, which reads more sunburn than energy. Start with half the amount you would use of a neutral shade and build slowly. Blend the edges past where you think they should end; coral's brightness makes unblended edges far more obvious than a muted shade would.
Mauve Cream Sophistication
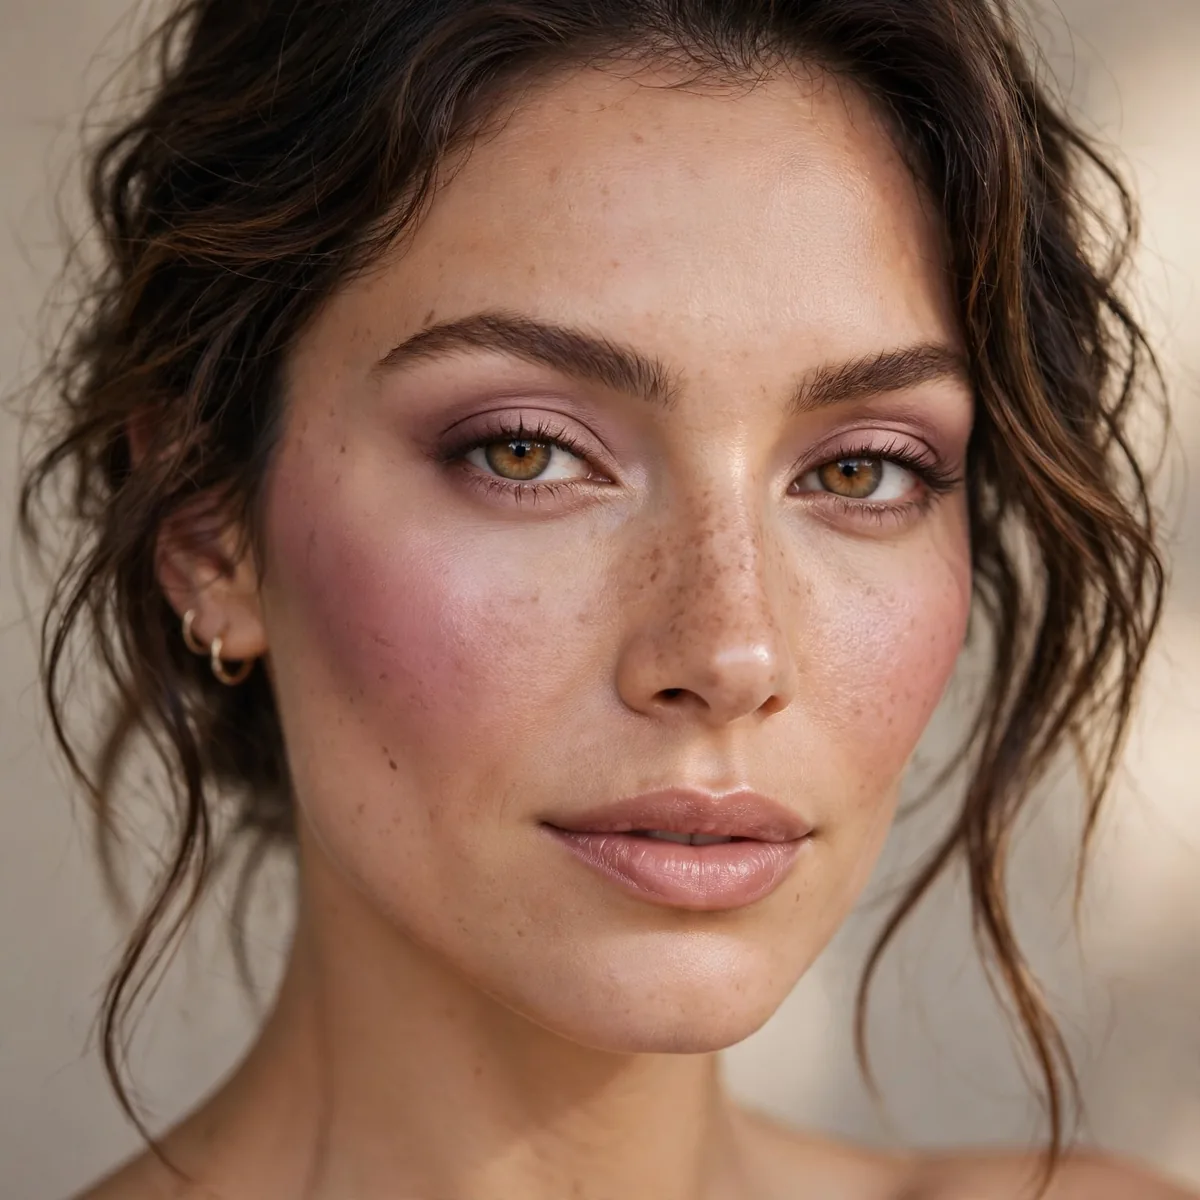
Muted mauve cream — the sophisticated neutral flush.
Mauve is the insider’s blush shade. Understated and chic.
Mauve is the thinking person's neutral: cool undertones wear it as their perfect everyday flush, while olive skin finds it beautifully harmonizing. It suits professional settings and women who find pink too sweet and peach too warm. If your wardrobe runs to grays, navies, and black, mauve blush will feel like it was designed for your closet.
Echo mauve on the lips with a matching satin lipstick for a polished, pulled-together effect that never tries too hard. Keep eyes defined but neutral: soft brown liner and mascara rather than anything colorful. A whisper of cool-toned contour on the cheekbones underneath the blush adds structure that suits mauve's sophisticated mood perfectly.
The Nose Flush
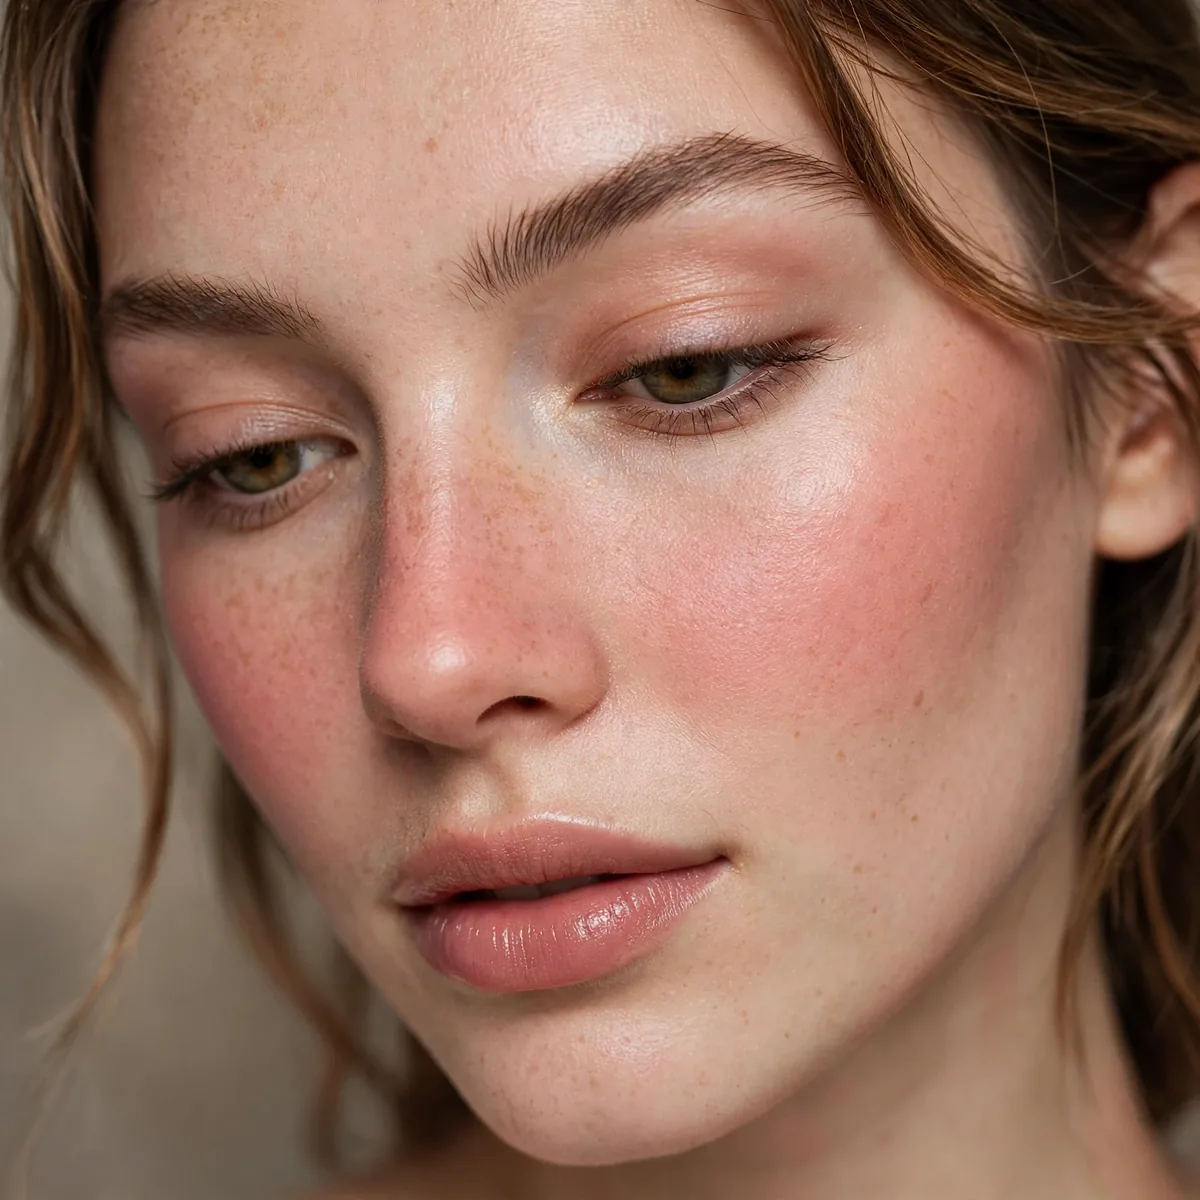
Cream blush across the nose — the sun-kissed effect.
Creams make the nose flush look natural, not sunburned. Blend well.
Use whatever blush remains on your fingers after doing the cheeks; a fresh dip is almost always too much for the nose. Sweep lightly across the bridge and the tip, then blend outward so no stripe remains. The goal is a diffused wash suggesting sun, not a painted line. Less product and more blending is the entire secret.
The nose flush suits youthful, casual looks best: beach days, festivals, and no-makeup weekends. Skip it for formal or professional settings, where it can read as sunburn rather than style. The critical mistake is extending the color too far down the sides of the nose, which narrows it oddly; keep the wash centered on the bridge.
Layered Cream Intensity
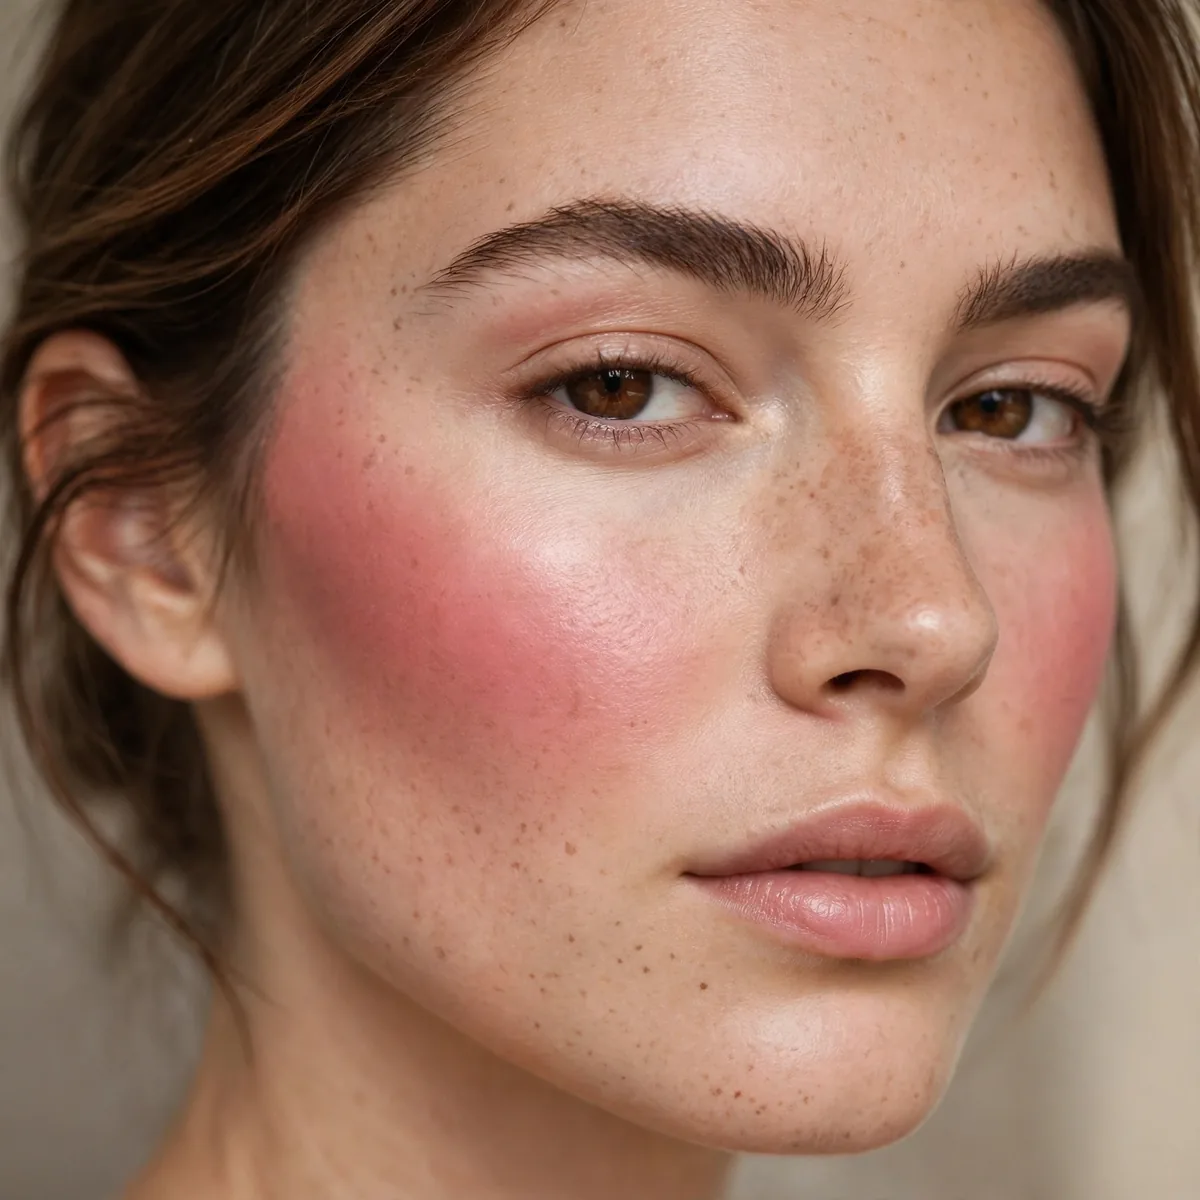
Build cream in thin layers for intensity without heaviness.
Layers beat single heavy application. Patience creates the most natural bold flush.
Wait thirty seconds between layers so each one sets before the next goes on; rushing causes the layers to slide and pill. Press each new layer only where you want the most intensity, usually the apples, and let the edges stay sheer. Two to three thin passes deliver richer color than any single heavy application ever could.
Thin layers outlast thick ones because each sheer pass bonds to the skin instead of sitting on top of it. This is why the patient approach survives oily afternoons and humid evenings that melt a single heavy layer within hours. If you need all-day wear, finish with the lightest press of translucent powder just on the outer edges.
Cream Over Powder Blush
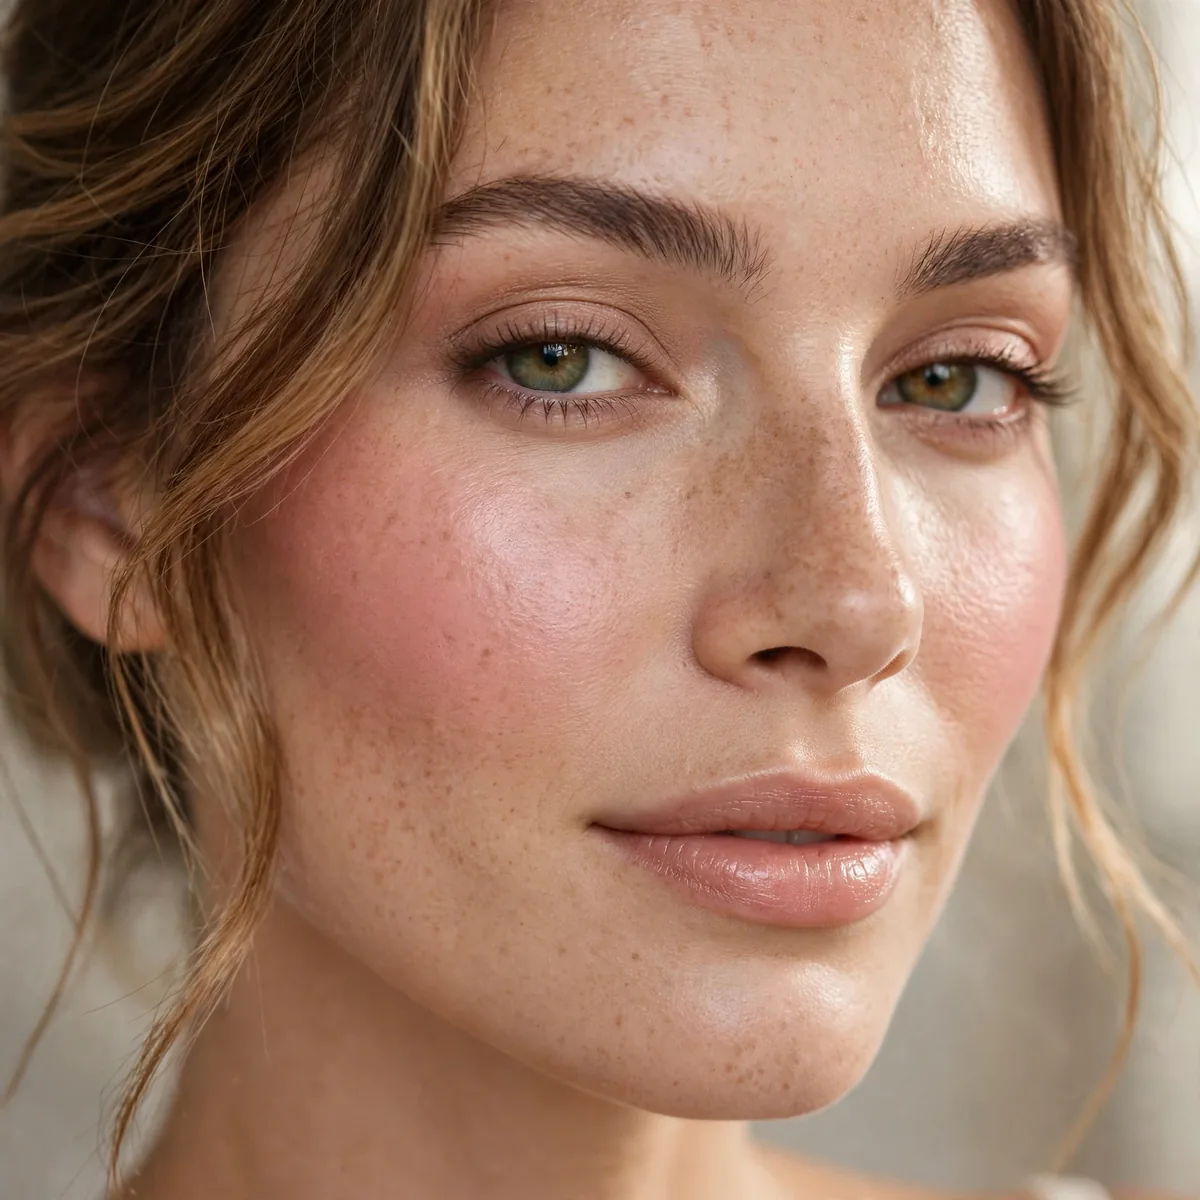
Cream blush patted over powder blush for glow plus longevity.
The powder gives staying power; the cream gives life. Together they’re unbeatable.
Apply the powder blush first and blend it fully, then pat the cream over the center of the color with fingertips or a sponge, never sweeping. Sweeping would disturb the powder layer beneath and create patchiness. The cream should sit like a dewy veil on top; you are adding glow, not moving color around.
Reserve this double-layer method for long days: weddings, twelve-hour workdays, and evenings that run late. It is overkill for a quick grocery run, where a single cream layer does the job. For photography-heavy events, the combination is unbeatable; powder holds the color in place while cream keeps the skin looking alive on camera.
The Monochrome Cream
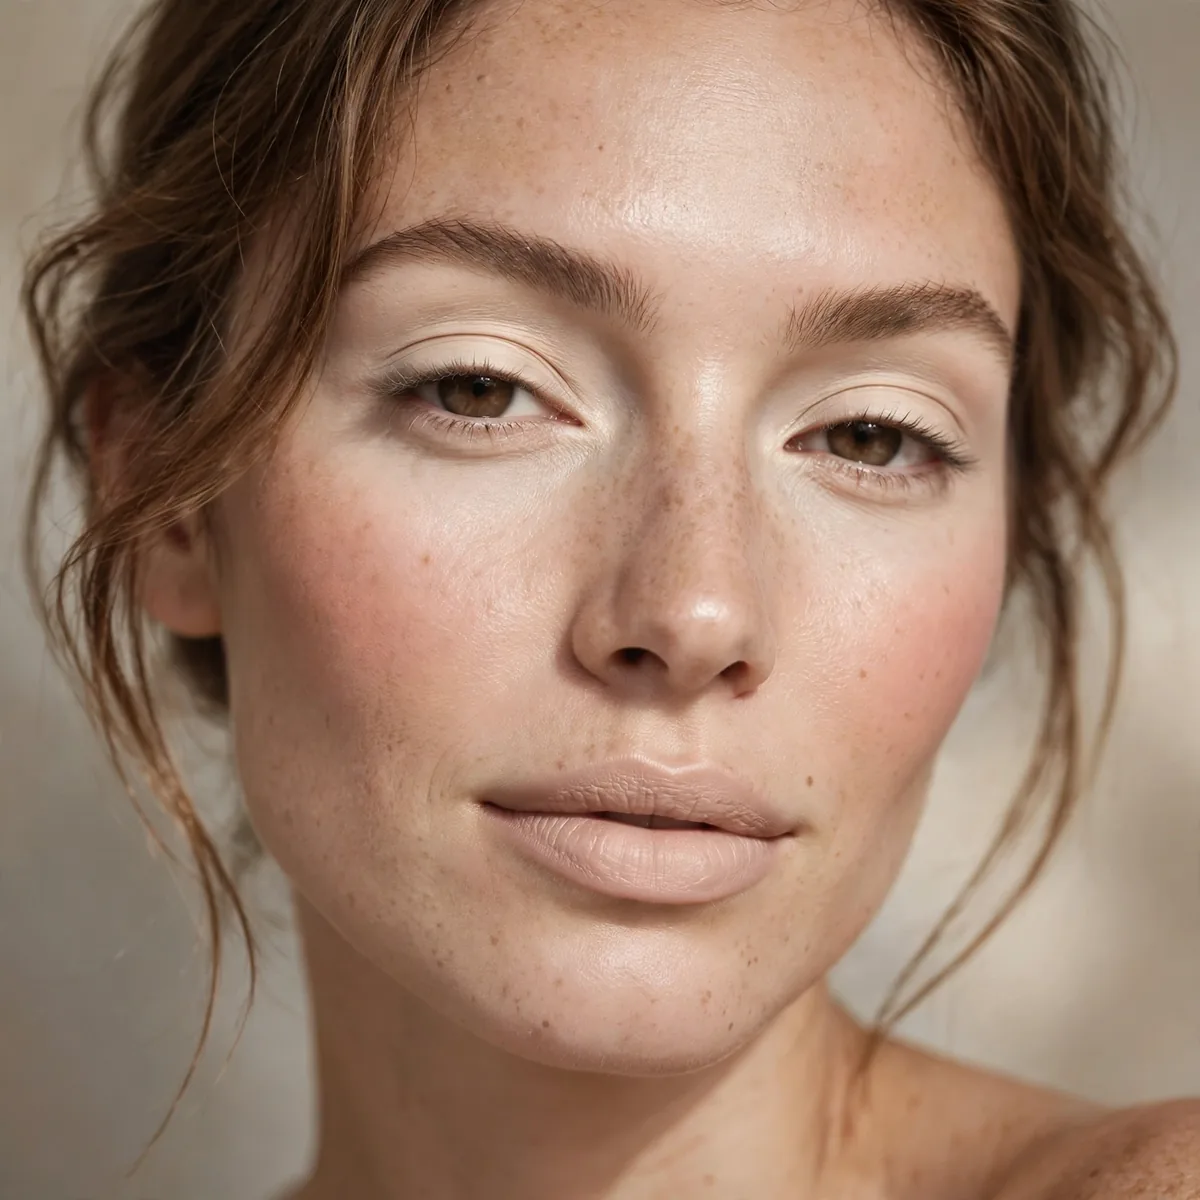
Same cream on cheeks, lids, and lips — the monochrome flush.
One product, three placements. The coordination looks incredibly polished.
One cream stick replaces blush, eyeshadow, and lip color in a travel bag, which is why minimalists swear by the monochrome method. It also guarantees harmony; shades chosen separately can clash subtly, but a single product cannot fight with itself. For carry-on-only trips, this trick cuts the makeup bag down to a handful of items.
Vary the intensity by placement: fullest on the cheeks, sheered out on the lids with a fluffy brush, and blotted on the lips for a stain effect. The eyes need the lightest touch, since cream can crease on lids without a primer underneath. Blend each zone into the next so the color flows rather than sitting in three separate blocks.
Dewy Cheek Highlight Combo
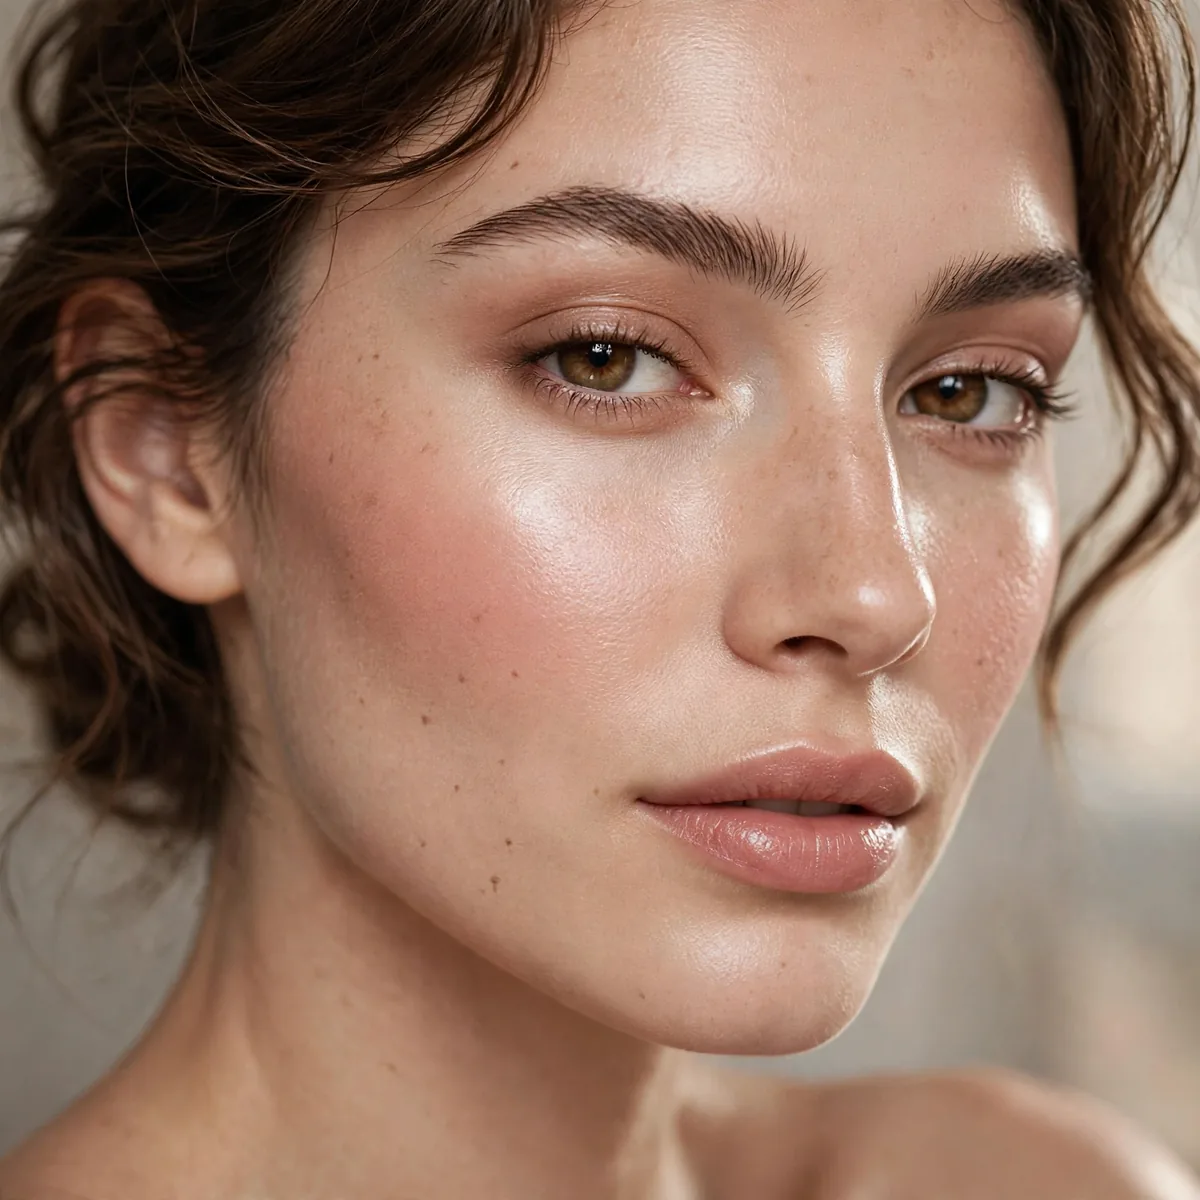
Cream blush plus cream highlight on the cheekbone — the dewy duo.
For highlight technique, our highlight guide helps. Creams layer beautifully together.
Place the cream highlight on the highest plane of the cheekbone, just above where the blush sits, so the two colors meet but never fully overlap. Overlapping turns both into a muddy shimmer. Use a smaller brush or a fingertip for the highlight to keep it precise; blush can be diffused widely, but highlight needs a defined zone to read as glow.
Dry and normal skin types get the most from this dewy duo, since their skin drinks up the glow rather than turning it greasy. Oily skin should use a light hand and skip the highlight on the nose and forehead. The classic mistake is choosing a glittery highlight; fine, pearl-like shimmer reads as dew, while visible glitter reads as disco.
Long-Wear Cream Setting
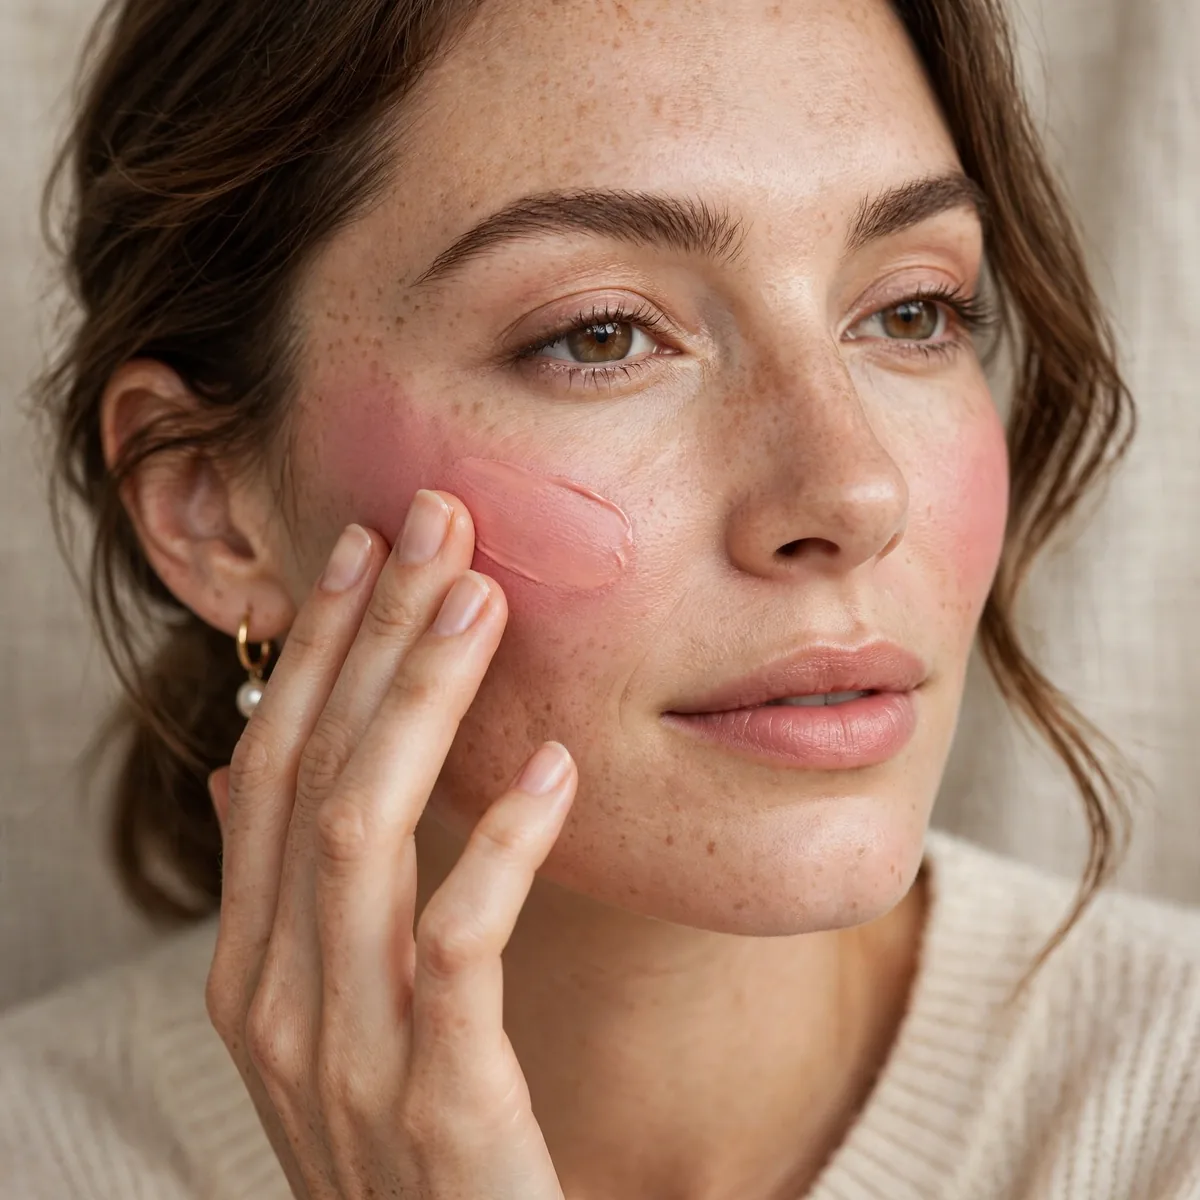
Set cream blush edges with translucent powder for longevity.
Powder just the perimeter, not the center — preserve the glow where it matters.
Use a small, fluffy brush to dust translucent powder only around the outer perimeter of the blush, leaving the center untouched and glowing. Press rather than sweep so you do not disturb the cream beneath. The powder creates a dry frame that locks the edges in place; the luminous middle stays free to catch the light all day.
This perimeter-setting trick is essential for oily skin and humid climates, where cream blush otherwise migrates by noon. Combination skin can set just the T-zone-adjacent edges and leave the rest dewy. If your skin runs dry, skip the powder entirely; the natural oils that appear through the day will not disturb a well-blended cream.
The Everyday Cream
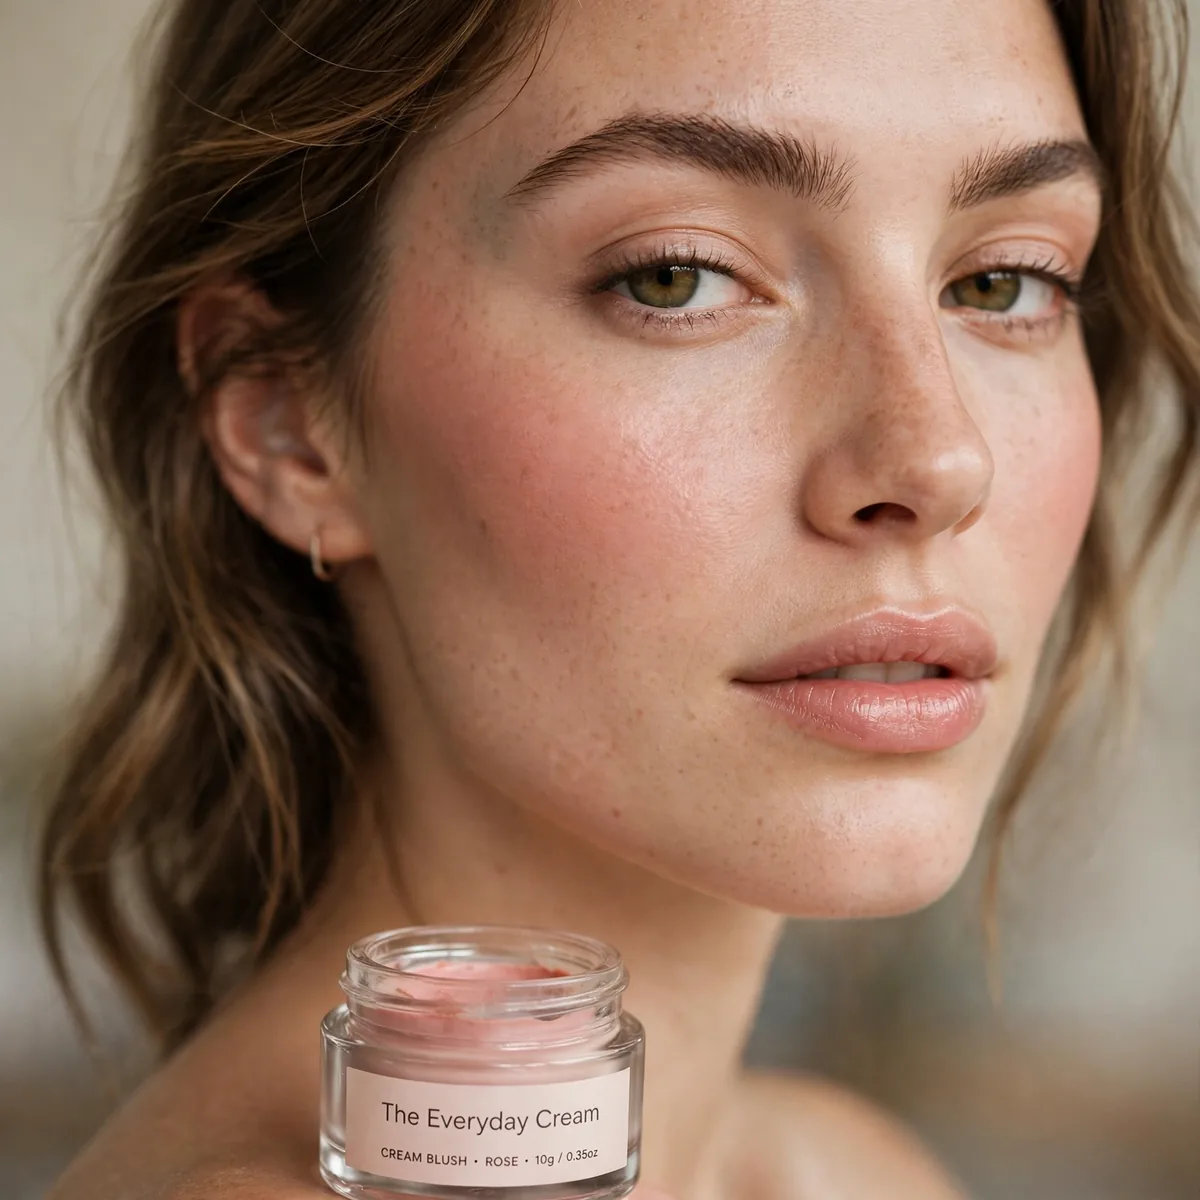
Your perfect neutral cream, applied in 30 seconds — the daily driver.
For placement mastery, see our blush placement tips. Find your shade and simplify your routine forever.
Find your perfect neutral with the pinch test: gently pinch your cheek and note the color that rises to the surface, then choose a cream one shade deeper. Test on the jawline in daylight, never under store lighting, which skews pink. Your everyday shade should disappear into the skin at arm's length while still adding visible life up close.
Build a five-minute face around it: tinted moisturizer, this blush, curled lashes with mascara, groomed brows, and a tinted lip balm. The whole routine uses six products and fits in a small pouch. Because the blush does the heavy lifting for color, everything else can stay sheer; that restraint is what makes the everyday face look fresh rather than done.
Cream is the flush of the future — pin your favorites. For placement, master blush placement, or explore powder vs cream for the full comparison.




