
Good contour is invisible. Bad contour is all anyone sees.
The beginner mistake is treating contour like paint — harsh lines, wrong shades, too much product. Real contour is shadow simulation: subtle, blended, believable.
The rules: cool-toned products (real shadows aren’t warm), less product than you think, and blending until there are no lines.
Here are 18 tips for soft sculpting. Let’s get into it.
Cool Tone Selection
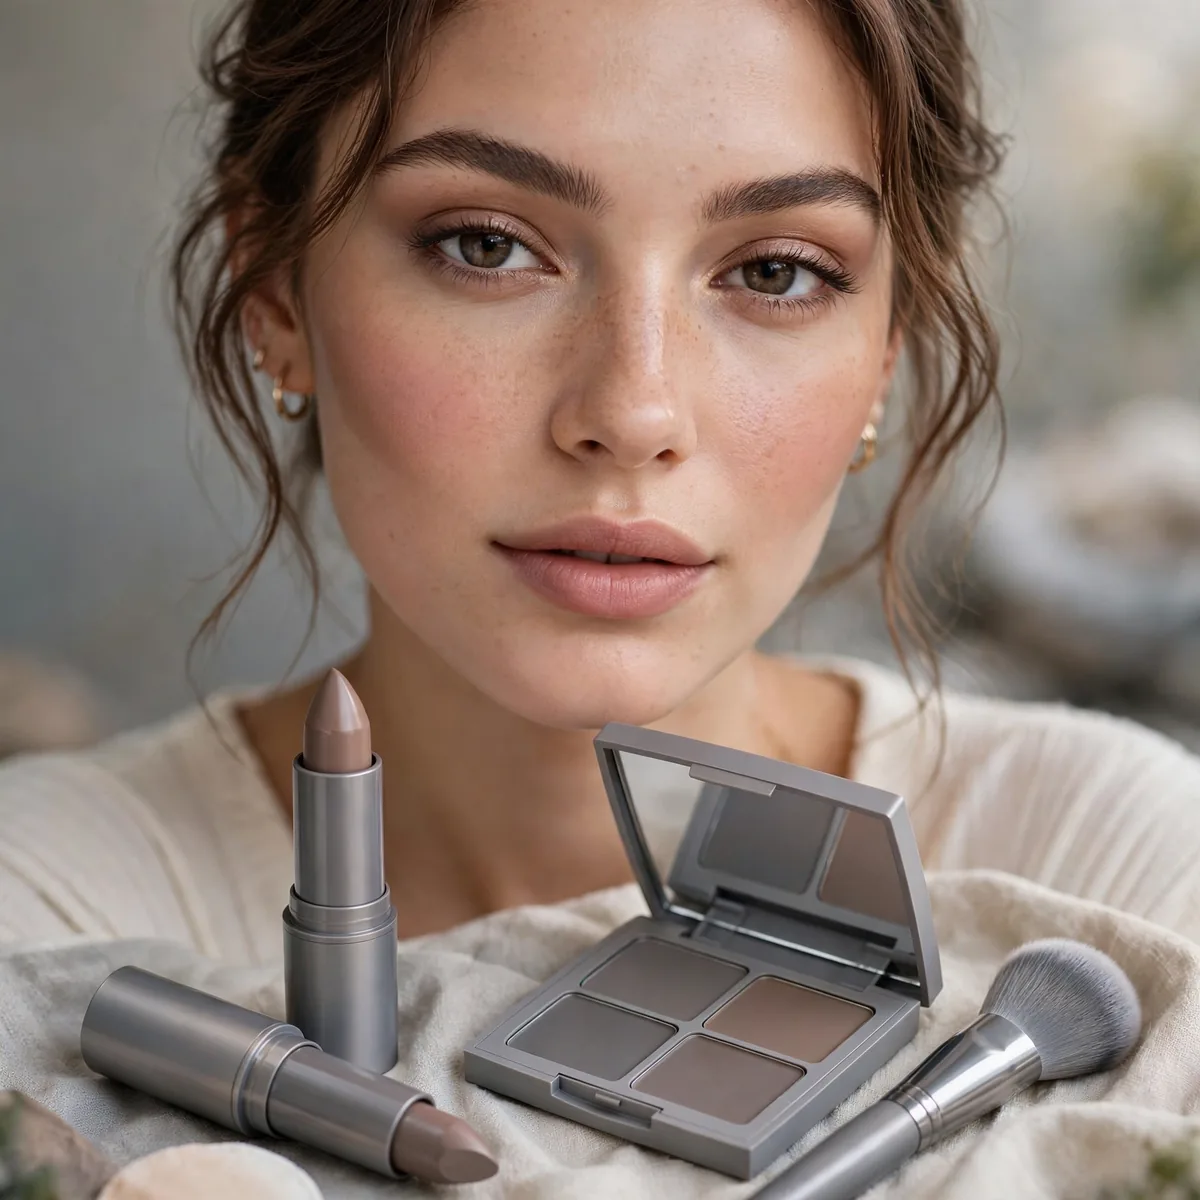
Choose contour 2 shades deeper than skin with cool/gray undertones — shadows are cool.
Warm bronzer is not contour. The undertone distinction is everything.
Very fair skin tones should look for taupe or mushroom shades that mimic real shadow without turning orange, while medium and deep skin tones need richer cool browns that still read as shadow rather than warmth. Swatch along your jawline in daylight and pick the tone that disappears into your skin while still defining.
One common mistake is applying contour before foundation, which makes it hard to blend and easy to overdo. Apply your base first, then sketch contour lightly and buff the edges until the product reads as a soft shadow rather than visible makeup, remembering that cool tones should never look muddy.
The Cheekbone Map
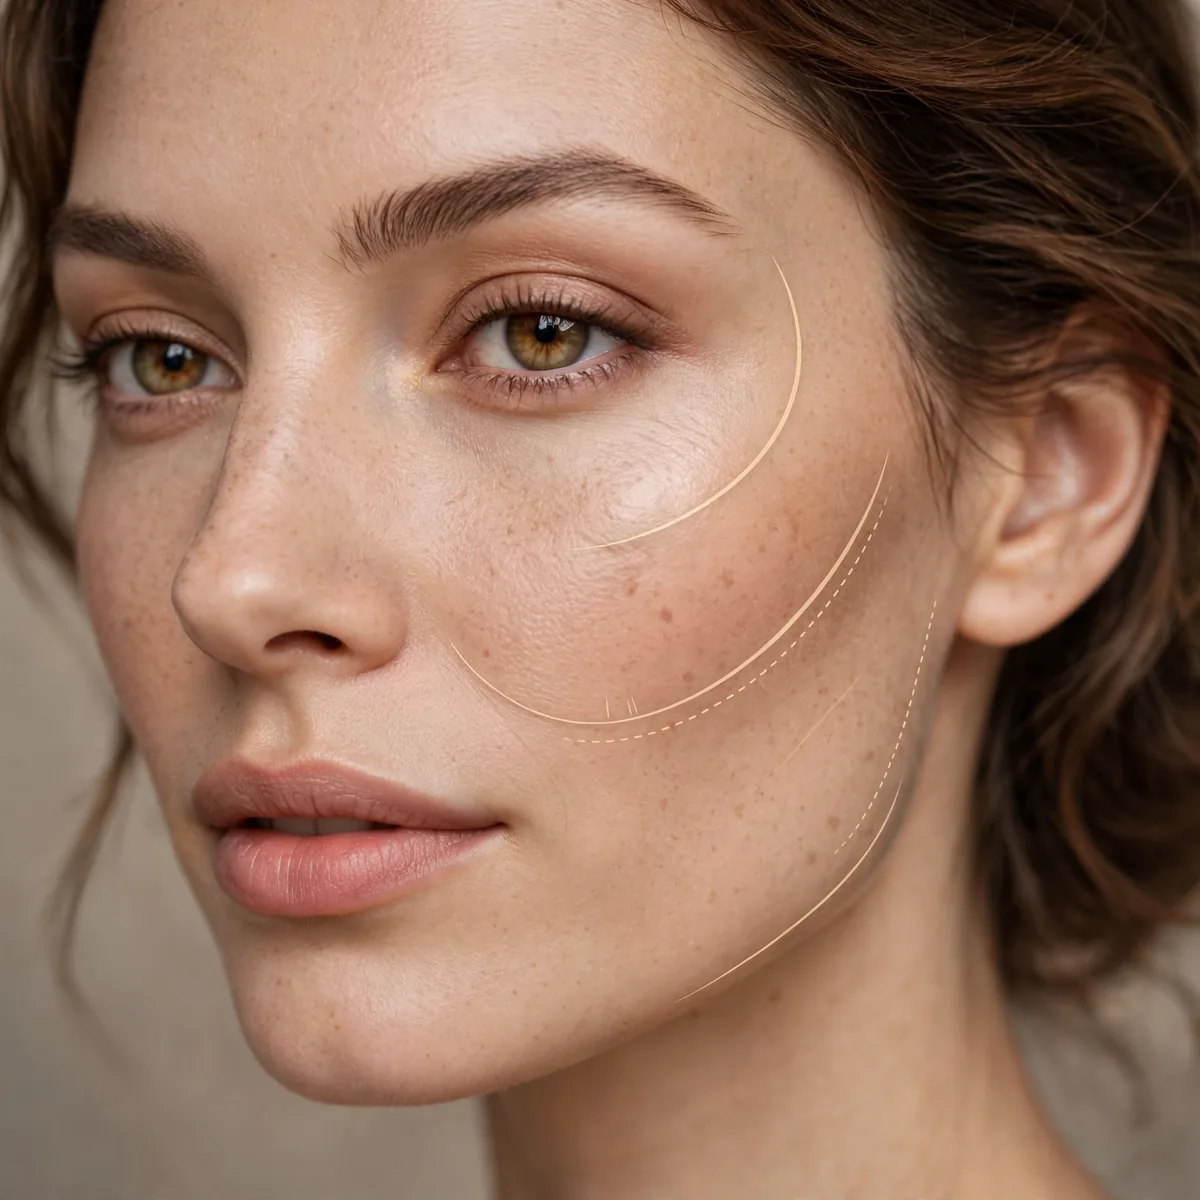
Suck in cheeks lightly to find the hollow — contour goes there, not on the bone.
Placement in the hollow creates the shadow. On the bone creates highlight confusion.
A handy trick is to smile slightly and place two fingers on the apple of your cheek, then slide them back along the bone until they drop into the hollow — that dip is your placement zone. Mark it with a soft line no longer than two finger-widths from the ear toward the mouth.
Avoid the mistake of running contour too close to the mouth, which hollows the face in an unflattering way and can make you look tired. Stop the line at least two fingers away from the corner of your lips, and keep the heaviest concentration near the ear where real shadows naturally sit.
Less Product Rule

Start with half the product you think you need — you can always add.
Beginner over-application is the #1 contour mistake. Restraint first.
Cream contour on a fingertip or the corner of a sponge deposits plenty of product, so tap off excess before touching your face. You can build a sheer wash into deeper definition with a second pass, and each light layer blends more easily than one heavy stripe ever will on skin.
Heavy contour that looks fine in your bathroom mirror often photographs as harsh stripes, because cameras flatten the subtle blending your eyes perceive in person. Start subtle, take a quick phone photo in daylight, and add more only if the image shows your current work looks perfectly soft — the camera is usually the honest critic your mirror refuses to be.
The Upward Blend
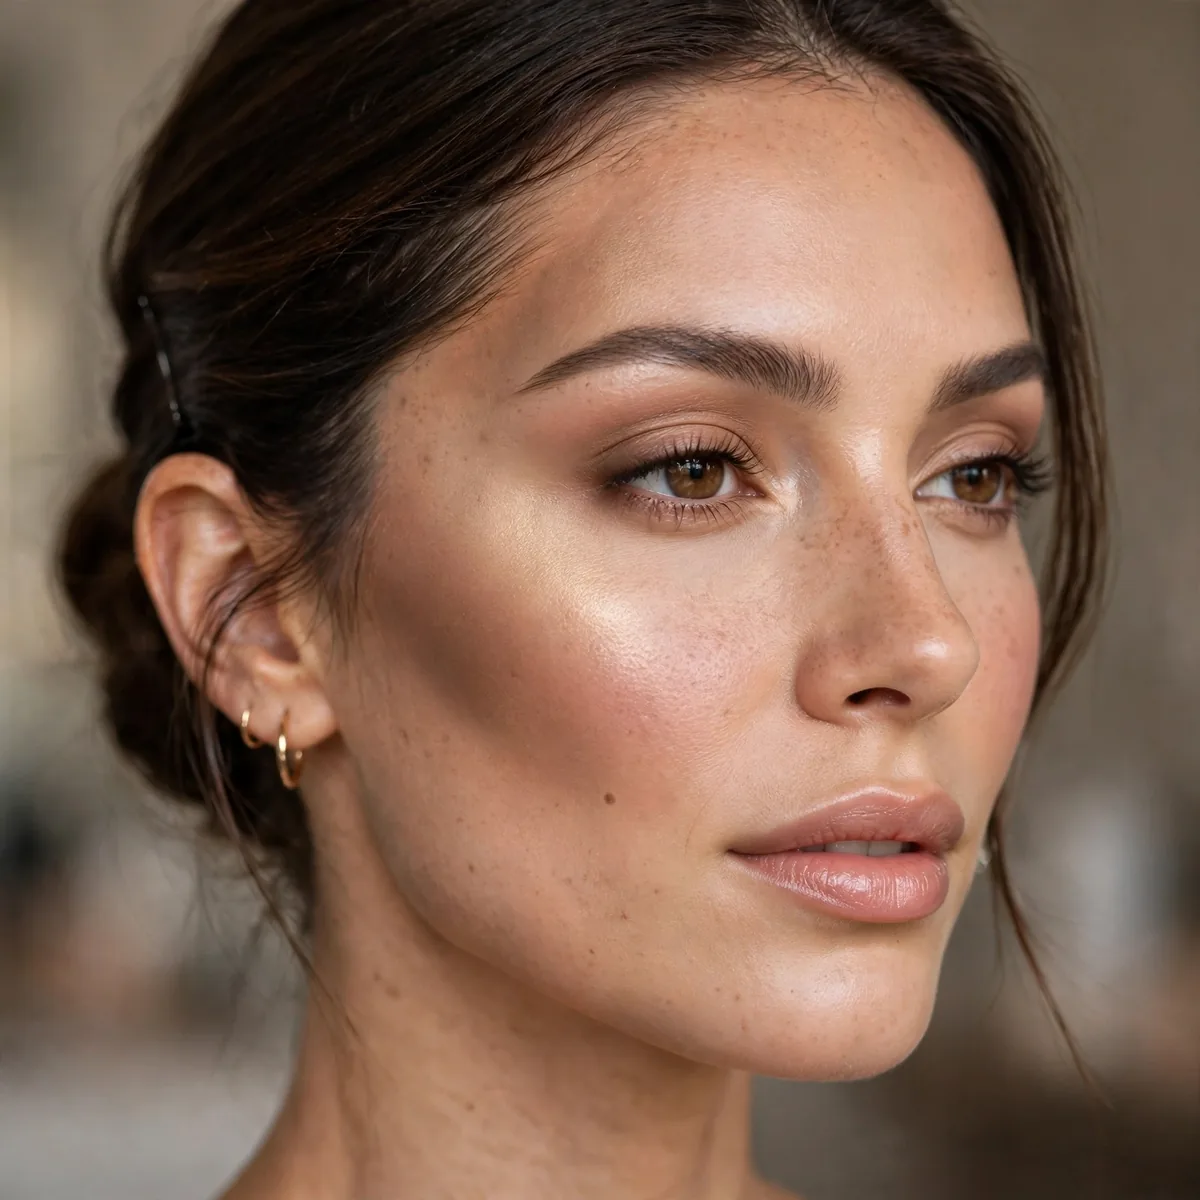
Blend contour upward toward the temple, never downward.
Upward blending lifts; downward blending drags. Direction determines the effect.
Always use short, feathered flicks with your brush angled toward the hairline rather than long sweeping strokes that drag product downward and dull the effect. Keep the color concentrated along the original placement line and soften only the edges into skin, which preserves the shadow while eliminating any visible border.
Upward blending matters most on mature skin, where downward strokes emphasize sagging and fine lines around the mouth. Lifting every stroke toward the temple creates the illusion of firmer, more sculpted cheekbones, and the technique doubles as a guide for placing blush slightly higher than you might expect. Pair it with a damp sponge pressed along the lower edge to clean up any fallout without moving the shadow itself.
Cream Before Powder
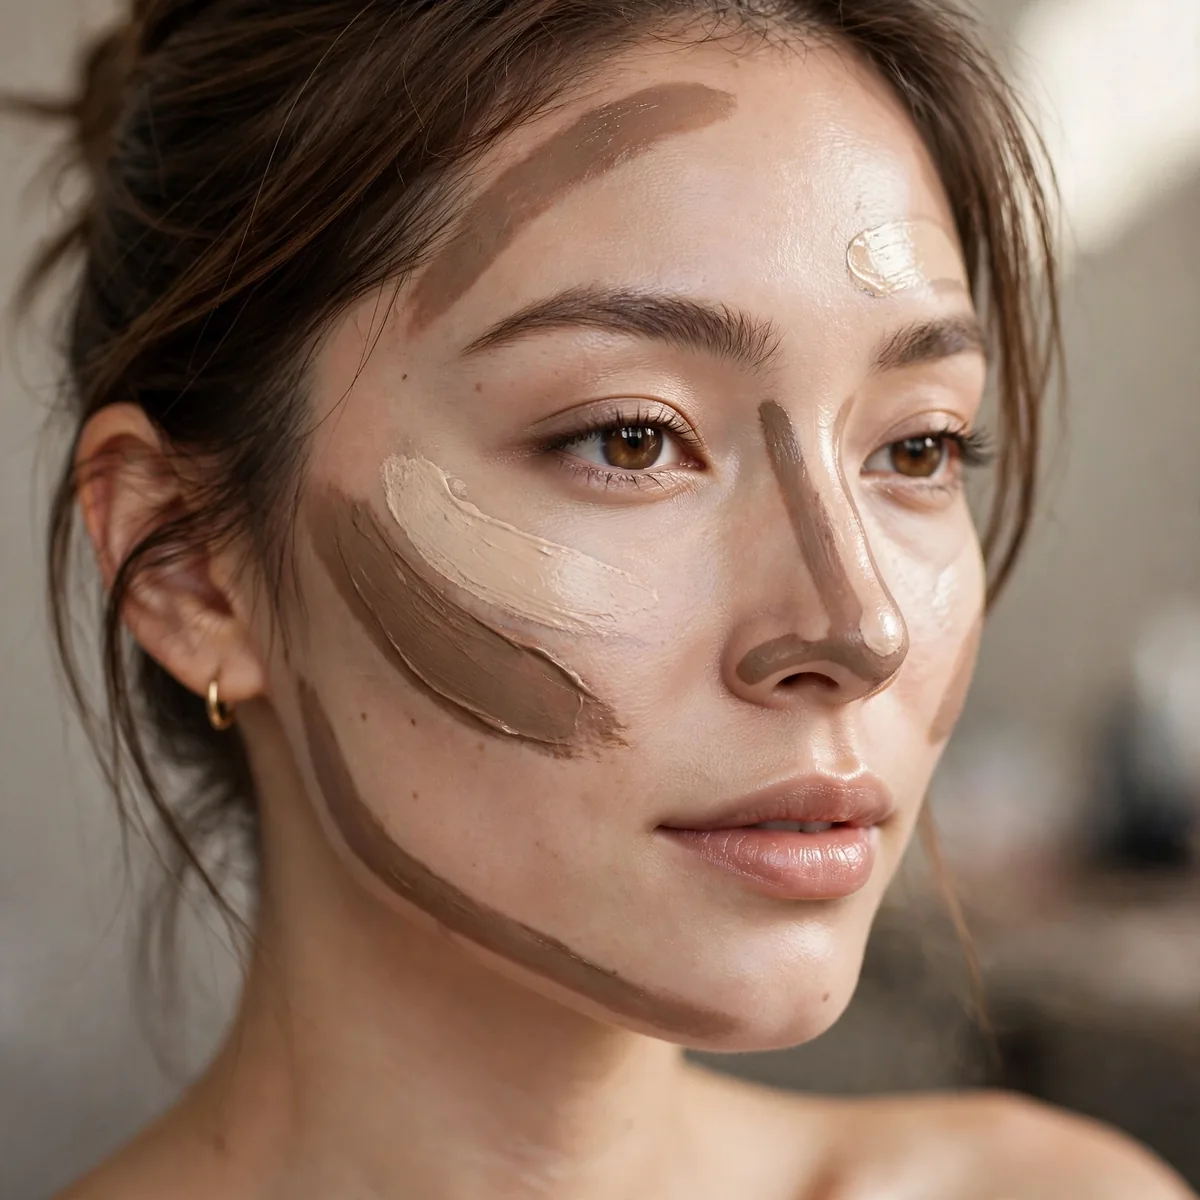
Cream contour under powder products blends most naturally.
Creams meld into base seamlessly. Powders can look separate. Start with cream.
Cream formulas melt into moisturized, primed skin and mimic how real shadows fall across the face, especially in daylight where powder contour can look dusty. Warm the product on the back of your hand first so it glides rather than tugs, then press it into the hollow with a damp sponge.
The biggest mistake beginners make with cream contour is skipping setting powder elsewhere, which lets foundation slide over the cream and smudge the work. Set the rest of your face first with a light translucent powder, keeping the contoured areas slightly tacky so the two textures marry instead of separating.
Nose Contour Subtlety
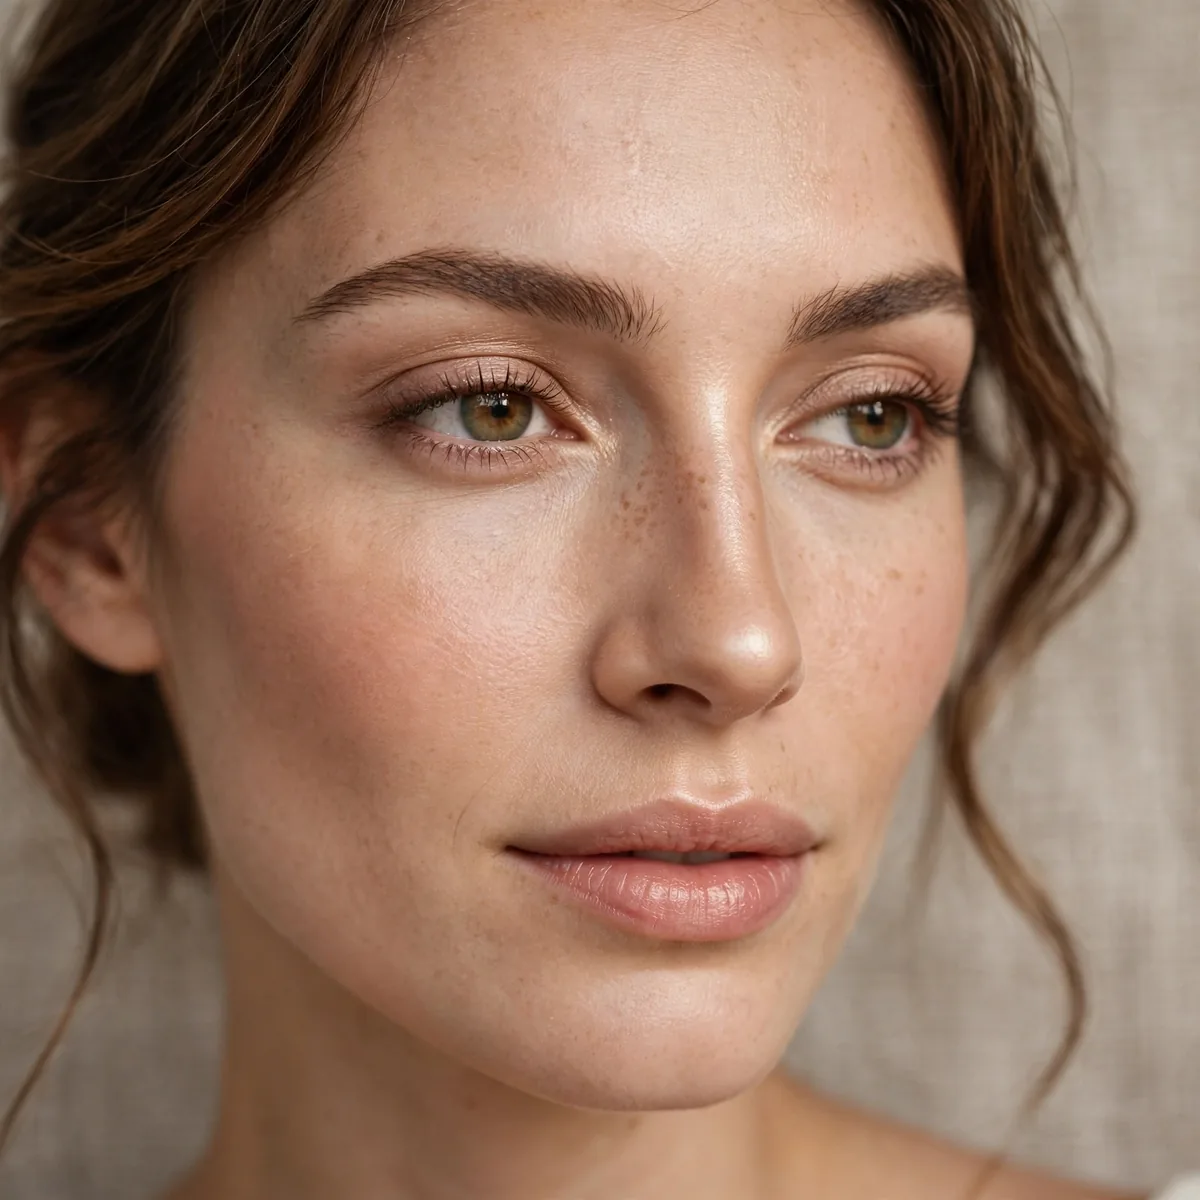
Two thin lines down the nose sides, blended thoroughly — subtle slimming.
Nose contour should be barely visible. If you can see lines, blend more.
Start nose contour from the inner corner of the brow and draw the lines no wider than a matchstick, tapering slightly inward as you approach the tip. Connecting the line to the brow bone creates a continuous shadow that reads as natural bone structure rather than obvious makeup. Blend the tip with a tiny dot of highlight on the very end to suggest a refined shape without harsh edges.
Because noses vary so much, resist copying someone else’s nose contour map and instead study where light naturally falls on your own nose in a mirror. Most people need far less product than tutorials suggest, and a slightly stronger line on one side can correct asymmetry without either side looking drawn on.
Jawline Definition
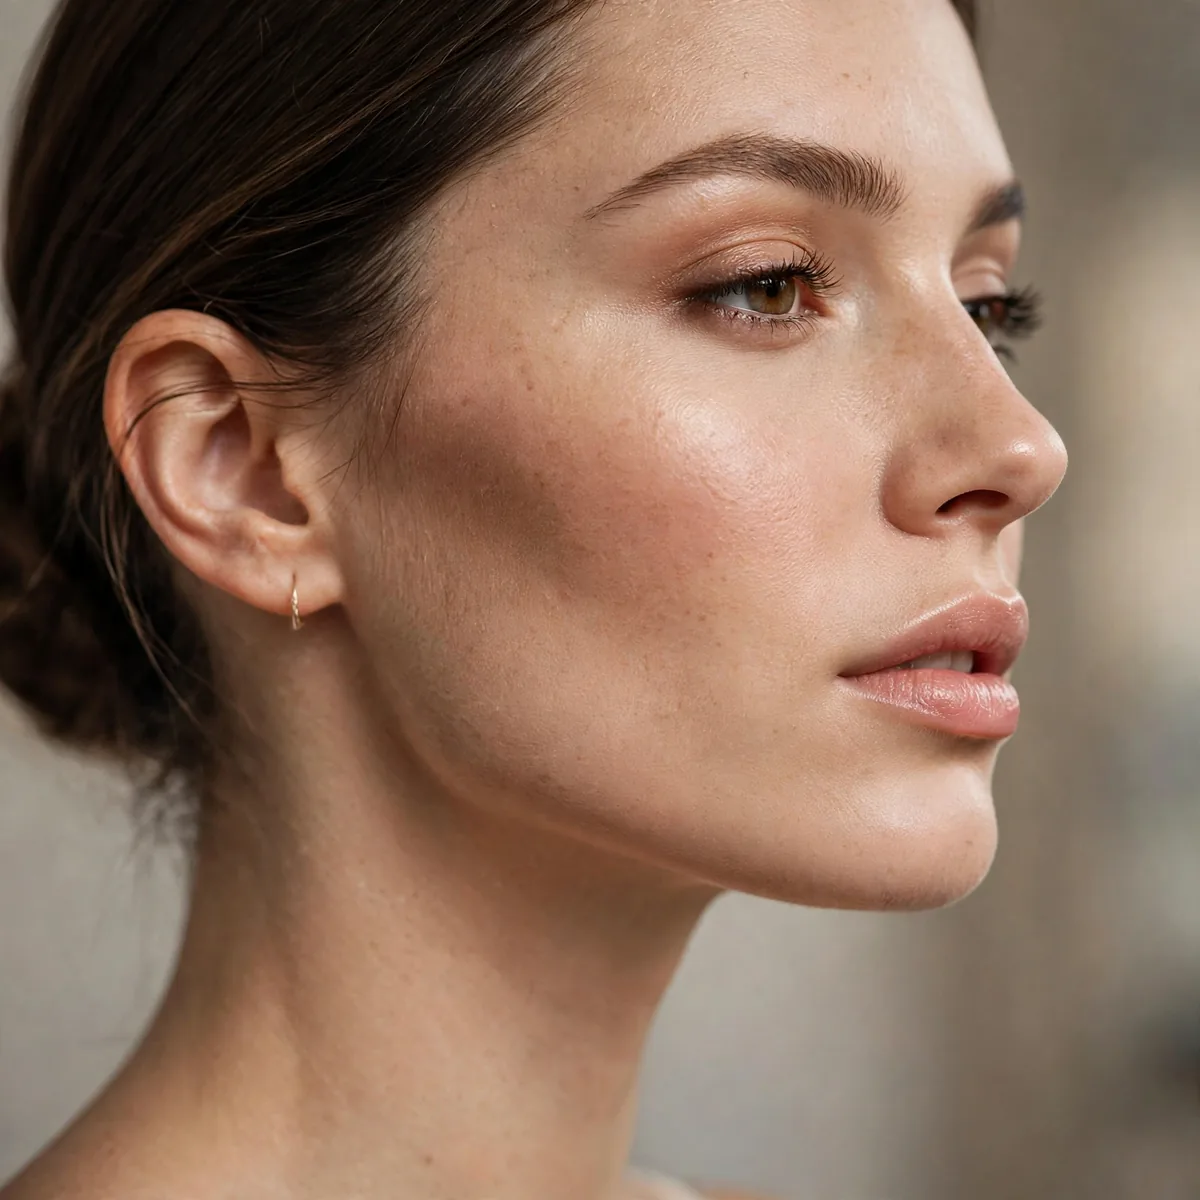
Contour under the jawline for definition — blend downward onto the neck.
The jaw shadow creates separation between face and neck. Blend the transition.
Angle your head slightly down and look straight into the mirror so you can see exactly where your face ends and your neck begins. Apply the product directly under that natural line of demarcation, keeping it tight to the bone so the shadow sharpens the jaw rather than widening the lower face.
For photographs and evening events, deepen the jaw shadow slightly more than you would for daytime, since cameras and dim lighting swallow definition. Blend the transition down the neck with a clean sponge so there is no visible line where face makeup ends and bare neck begins. This neck-blending step is the detail that separates amateur contour from a genuinely professional finish.
Forehead Framing
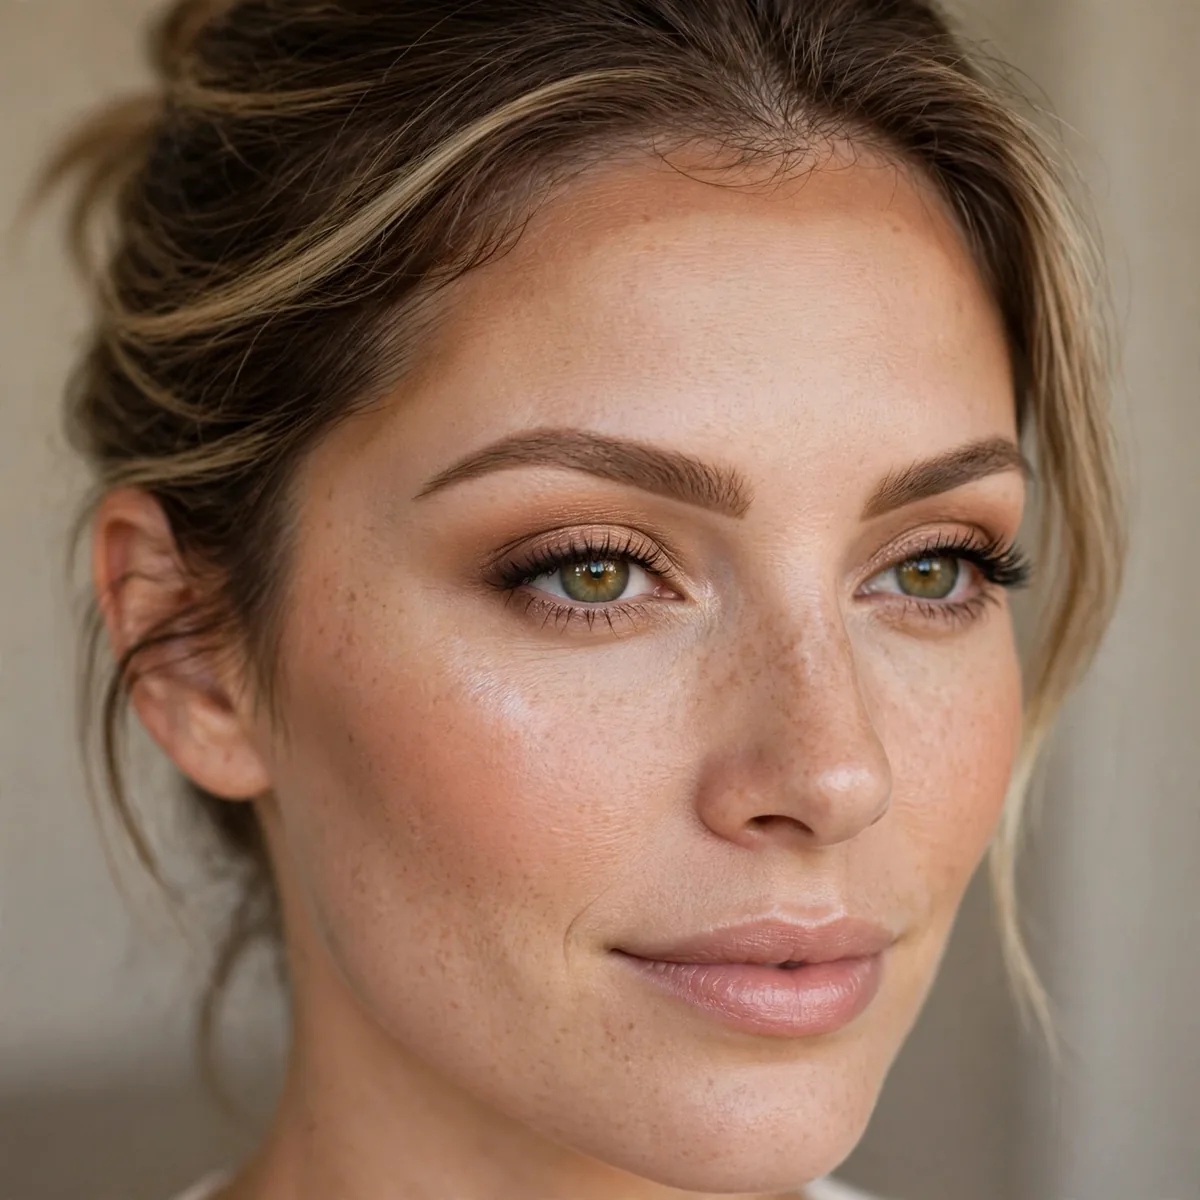
Contour the temples and hairline to frame and balance the forehead.
Small foreheads need minimal contour here. Adjust to your proportions.
Trace contour along the hairline only where your forehead meets the temples, using the softest pressure so the product diffuses into baby hairs naturally. Harsh lines near the hairline are the fastest giveaway of beginner contour, so blend upward into the roots until the transition disappears completely. A small angled brush gives you the control this delicate zone demands.
If you have bangs or a fringe, you can usually skip forehead contour entirely, since the hair already creates the shadow and framing you are chasing. Focus that saved effort on the cheeks and jaw instead, where contour shows up better and makes a bigger difference to your overall face shape.
The 3-Shape Method
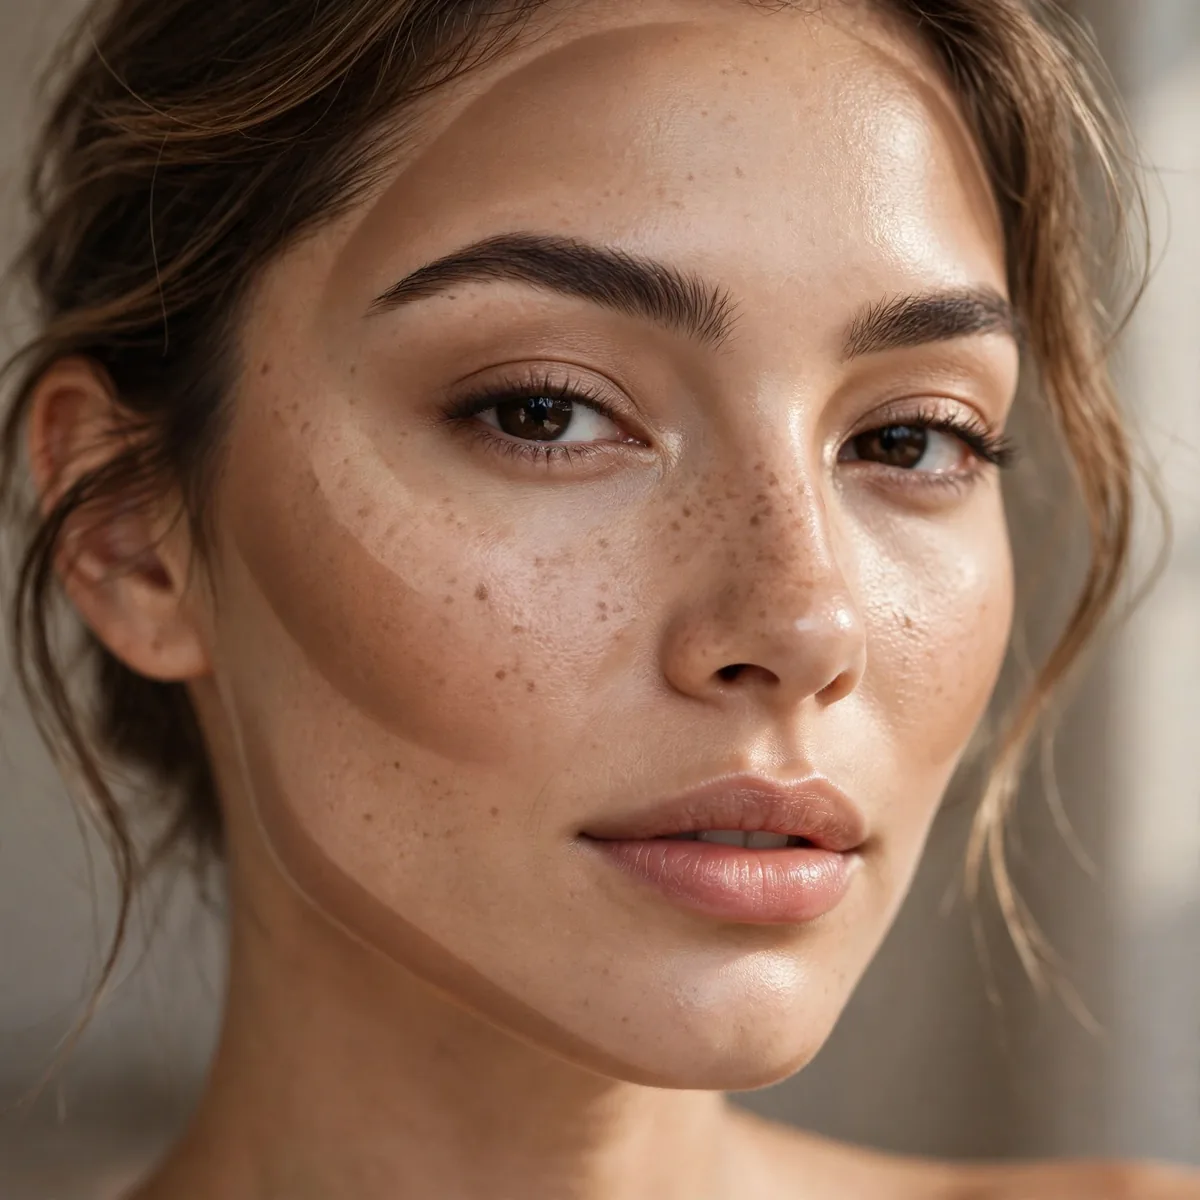
Draw a 3 on each side: temple, cheek hollow, jawline — the classic map.
The 3 connects all contour zones naturally. It’s the beginner’s roadmap.
When drawing the 3, keep each segment light and separate rather than one continuous heavy stroke, connecting them only during blending. The temple segment should be shortest, the cheek segment most defined, and the jaw segment blended down into the neck so the whole shape reads as one soft shadow.
Practice the 3-shape on one side of your face first and compare it to the bare side before mirroring, which teaches you what good placement looks like. This half-face check is the fastest way to train your eye, and within a week you will place contour confidently without needing to compare.
Blending Tool Choice
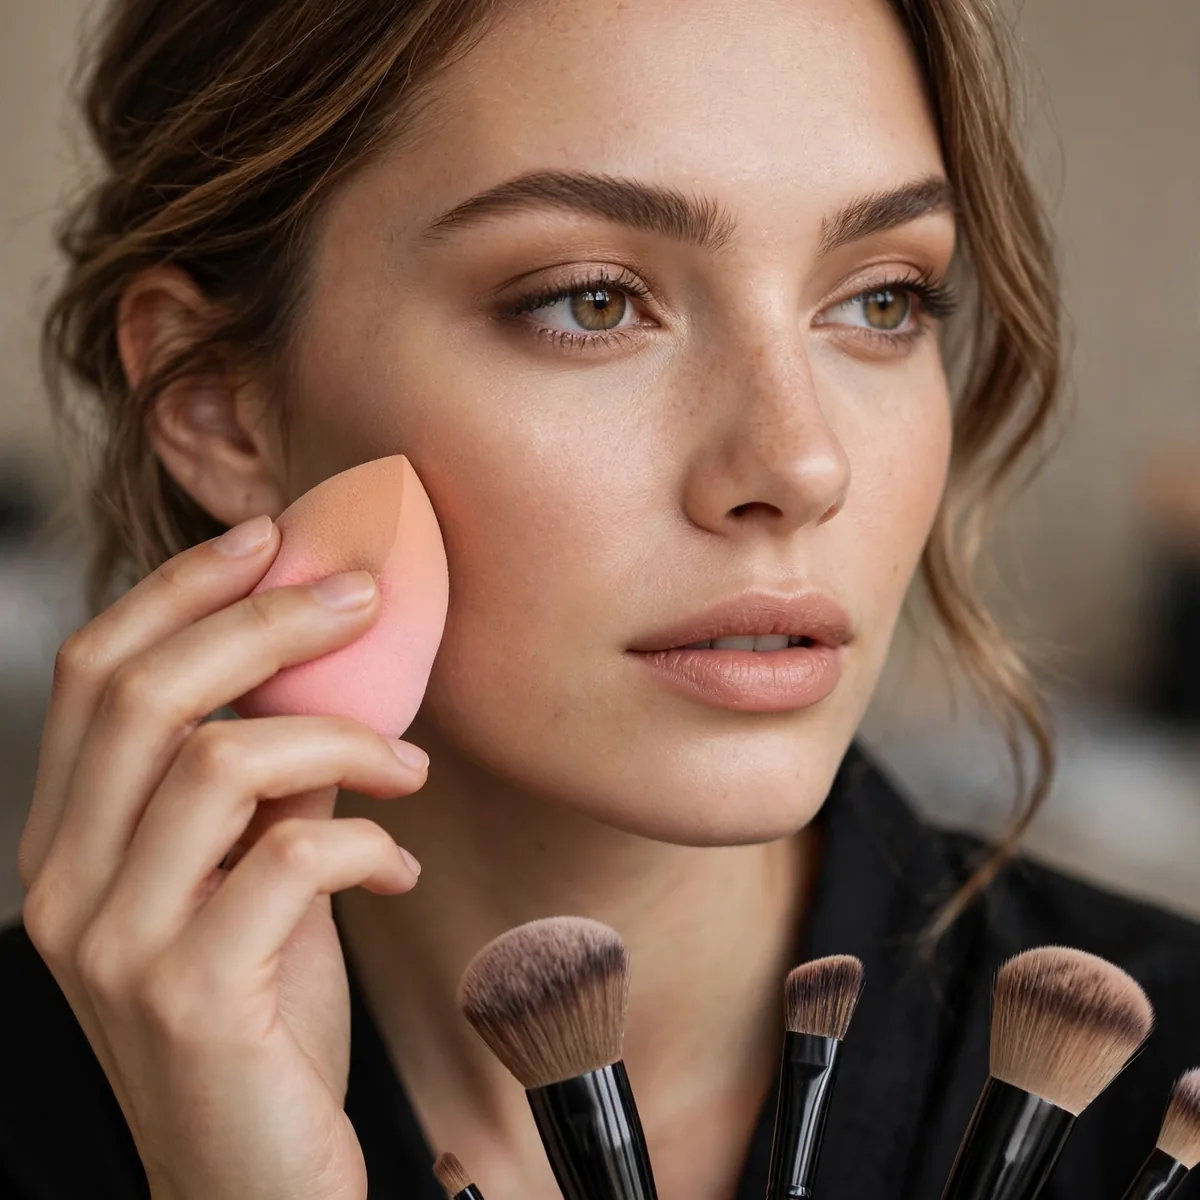
A damp sponge or dense brush blends contour seamlessly.
The tool matters as much as the product. Dense brushes buff; sponges press.
Dense, flat-top kabuki brushes work best for cream contour because they buff product into skin without lifting your foundation underneath. For powder contour, a tapered fluffy brush diffuses edges more naturally, and a damp sponge works beautifully for pressing everything together as the final step. Clean your brushes weekly, since dirty tools deposit uneven color and make seamless blending nearly impossible.
Whatever tool you choose, the motion matters more than the brand: small circular buffing for creams, soft windshield-wiper strokes for powders. Avoid dragging motions that move product away from where you placed it, and always blend edges outward so the shadow fades gradually into bare skin. Two minutes of patient buffing beats any expensive brush used in a hurry.
Natural Light Check

Always check contour in natural light — indoor lighting lies.
What looks blended indoors can look striped in daylight. Verify before leaving.
Warm bathroom bulbs add yellow tones that hide ashy mistakes and make everything look more blended than it really is. Step to a window or doorway and check your contour from a slight distance, since flaws invisible at arm’s length in warm light often appear clearly in cooler daylight outside.
If stepping outside is not possible, hold a piece of white paper near your face to neutralize the room’s color cast and reveal true tones. Phone cameras on the front-facing setting also help, and checking both mirror and photo before leaving catches almost every blending mistake worth fixing. Make this check a habit and your contour will look polished everywhere you go.
Contour and Blush Order
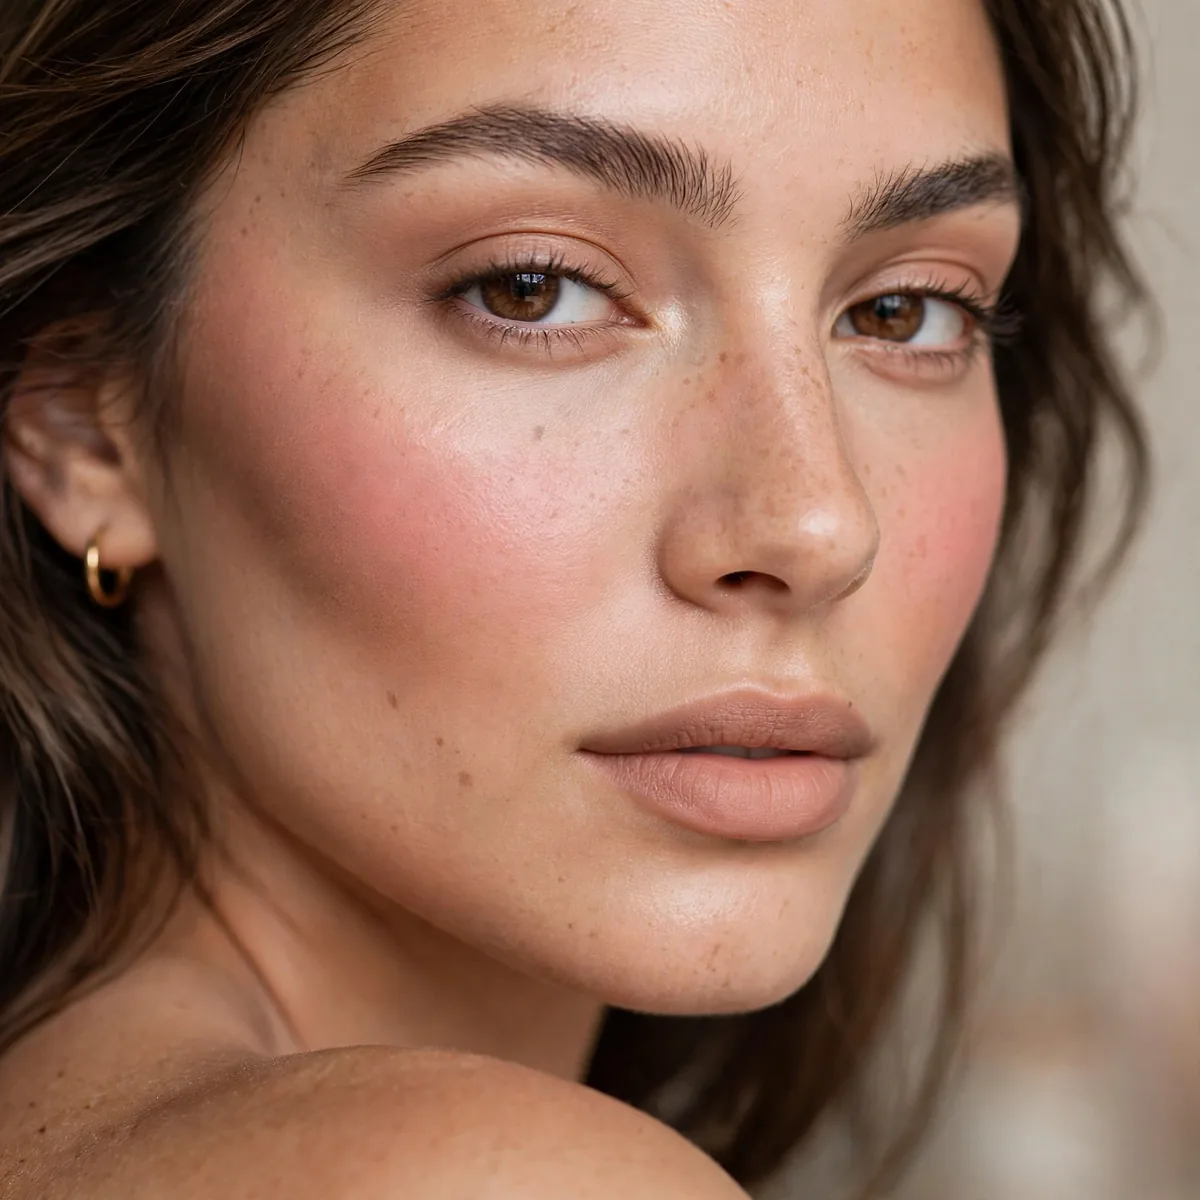
Contour first, then blush above it — structure before color.
Our blush placement guide builds on this. Order creates the architecture.
Applying blush over unblended contour can mix the two into a muddy patch, so make sure each layer is fully buffed before adding the next. Think of your face like a painting: structure and shadow go down first, then the warmer color sits on top where the light would naturally hit.
Once contour and blush are set, a light dusting of highlighter on the high points of the cheekbones ties the whole structure together. The three products should melt into each other with no visible borders, creating dimension that looks like naturally beautiful bone structure rather than layered makeup. Blend the meeting points with a clean fluffy brush to guarantee that seamless, skin-like finish.
The No-Contour Contour
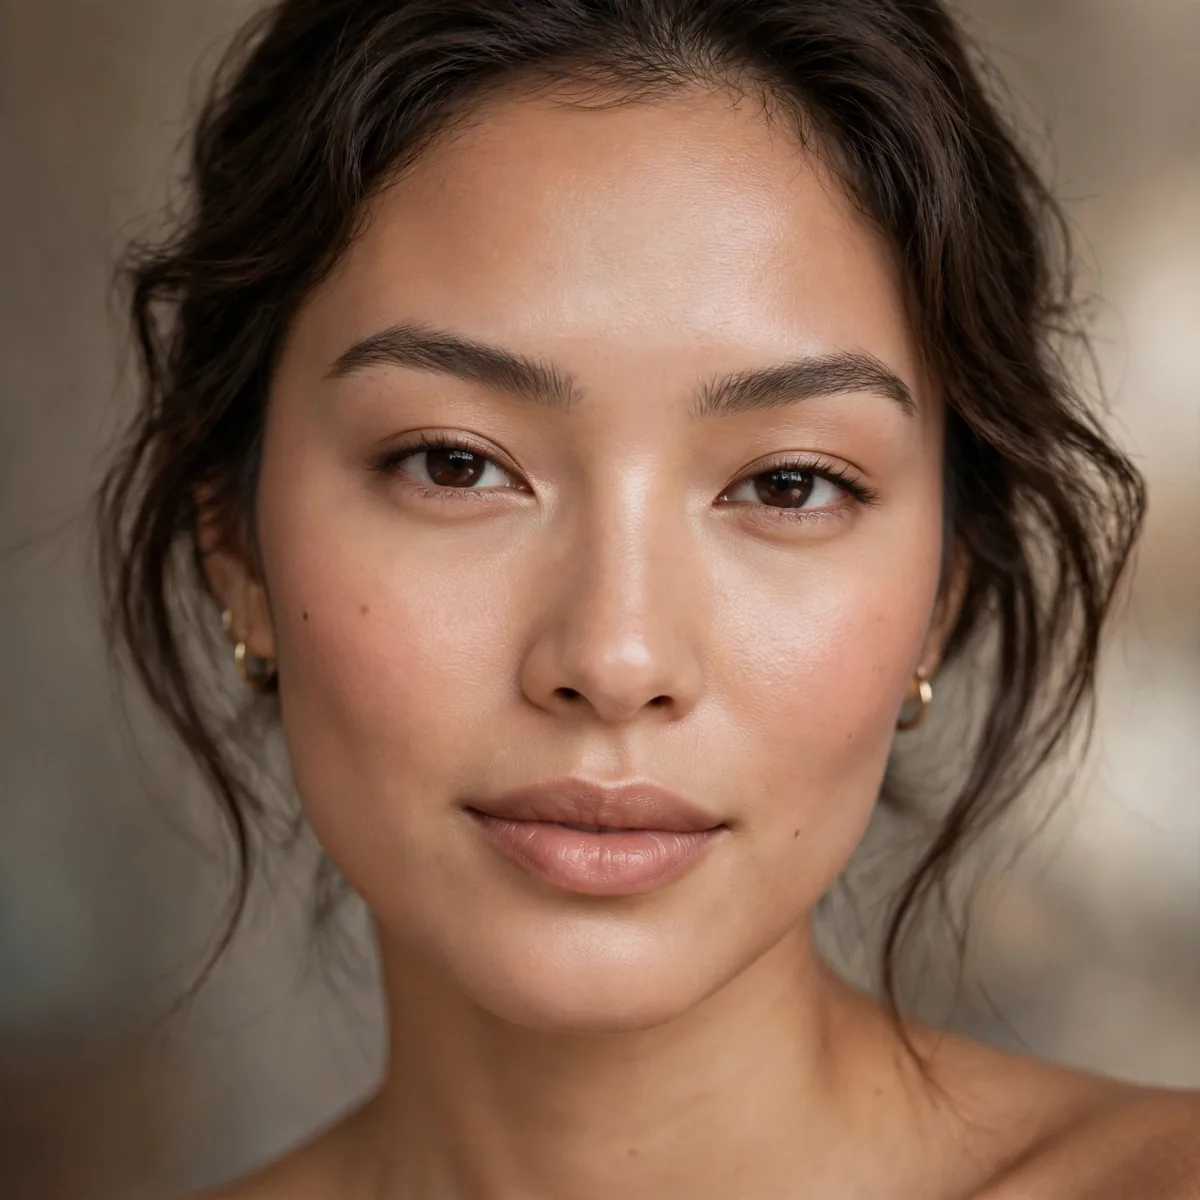
Bronzer placed like contour gives warmth plus soft definition.
For contour-shy beginners, bronzer is the gateway. Warmth with a hint of structure.
Choose a matte bronzer one to two shades deeper than your skin and apply it exactly where contour would go: under the cheekbones, along the temples, and beneath the jaw. The warmth flatters most skin tones and photographs beautifully, making this the perfect everyday shortcut when full contour feels like too much.
This bronzer method also suits warm-undertone skin better than cool contour, since it enhances rather than fights your natural coloring. On days when you want definition without the sculpted-makeup look, reach for bronzer with a fluffy brush and keep the application light and diffused. It transitions effortlessly from office daytime to casual evening plans with just a touch more blush on top.
Powder Contour Setting
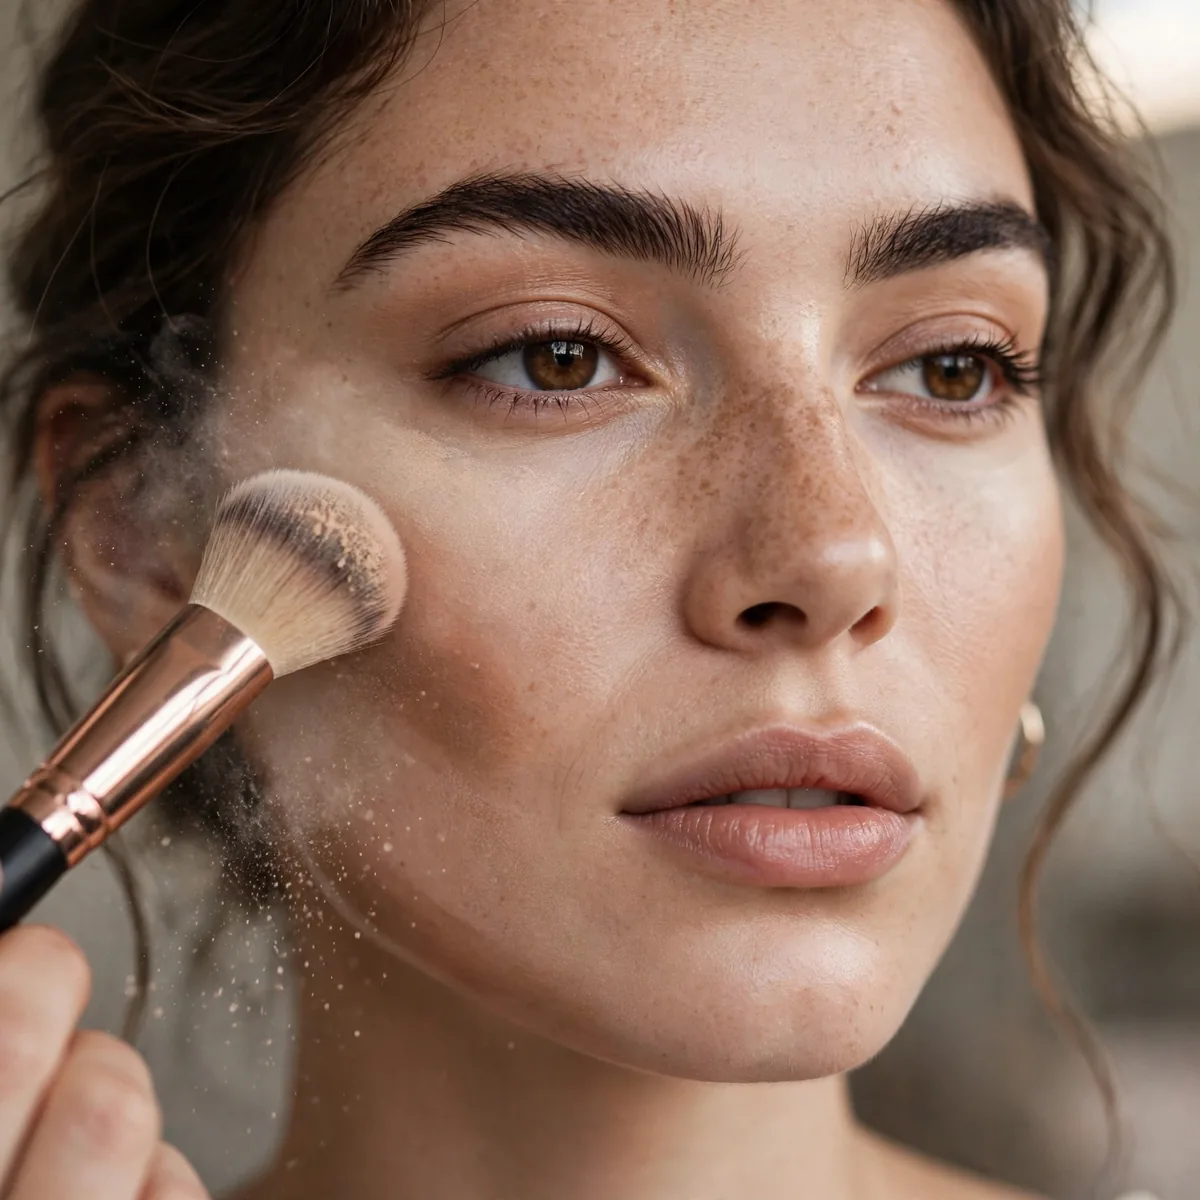
Set cream contour with a touch of powder contour for longevity.
The powder locks the cream in place. Layering extends wear significantly.
Use a small, precise brush to press powder contour exactly over the cream placement rather than sweeping it broadly across the cheek. Pressing locks the two layers together without shifting them, and targeting the same zone keeps the shadow concentrated where it belongs instead of spreading it thin. A light hand here is everything, since too much powder over cream can turn cakey by midday.
This layering technique is especially valuable for oily skin, where cream products tend to break down and slide by afternoon. The powder acts as an anchor that absorbs excess oil throughout the day, so your sculpted cheekbones stay defined from morning meetings through evening plans. Carry blotting papers for touch-ups rather than piling on more powder, which can look heavy.
Chin and Lip Contour
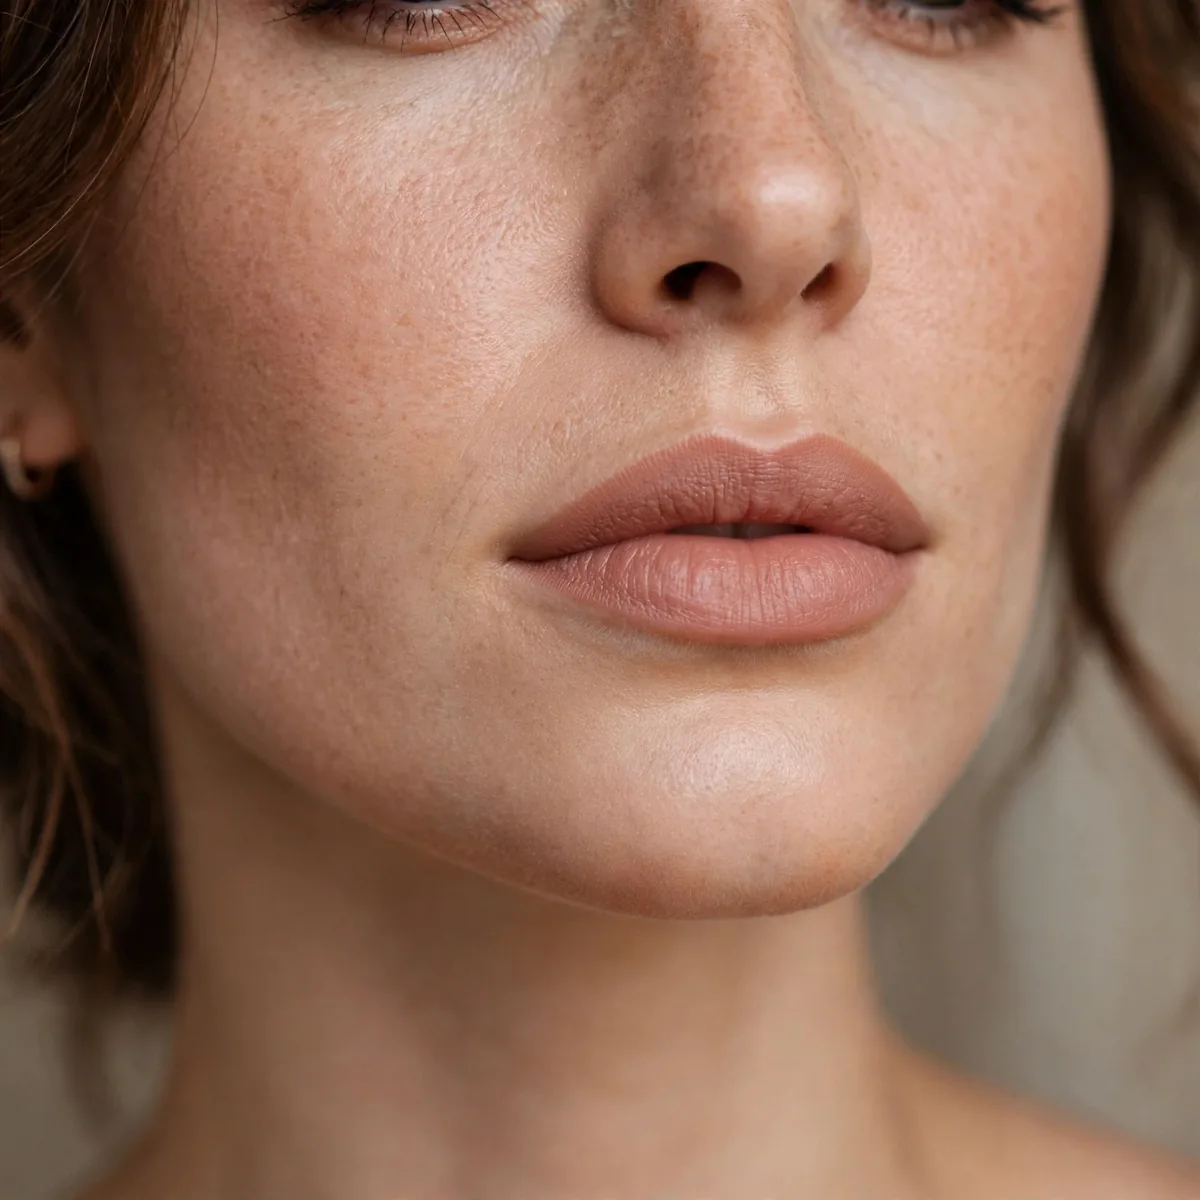
A touch under the lower lip enhances fullness; chin contour adds definition.
Small placements, big impact. These details elevate the whole contour.
For the under-lip shadow, use the very tip of a small brush with almost no product and blend it into a soft half-moon shape. Too much color here looks like dirt, so build the effect gradually and step back from the mirror often to make sure the fullness illusion stays subtle.
Chin contour works best placed in the small crease beneath the lower lip and along the very center of the chin, never on the sides. Pair these details with a touch of highlighter on the chin’s center and the cupid’s bow to maximize the plumping, defined effect without adding any extra products.
Avoiding the Stripe

If you see a line, you haven’t blended enough — keep going.
The stripe test: squint at your reflection. Visible lines mean more blending needed.
If blending feels endless, you probably placed too much product, so remove some with a clean damp sponge pressed along the line before continuing. Taking product away is faster than buffing excess around, and the sponge lifts the top layer while leaving a soft wash of color behind. This rescue trick works for powder contour too, using a clean fluffy brush instead.
Squinting works because it blurs detail the way a camera does, revealing only value contrast — which is exactly what contour is. If the stripe survives the squint test, buff perpendicular to the line rather than along it, since cross-blending breaks up edges more effectively than following the original stroke.
Contour for Your Face Shape
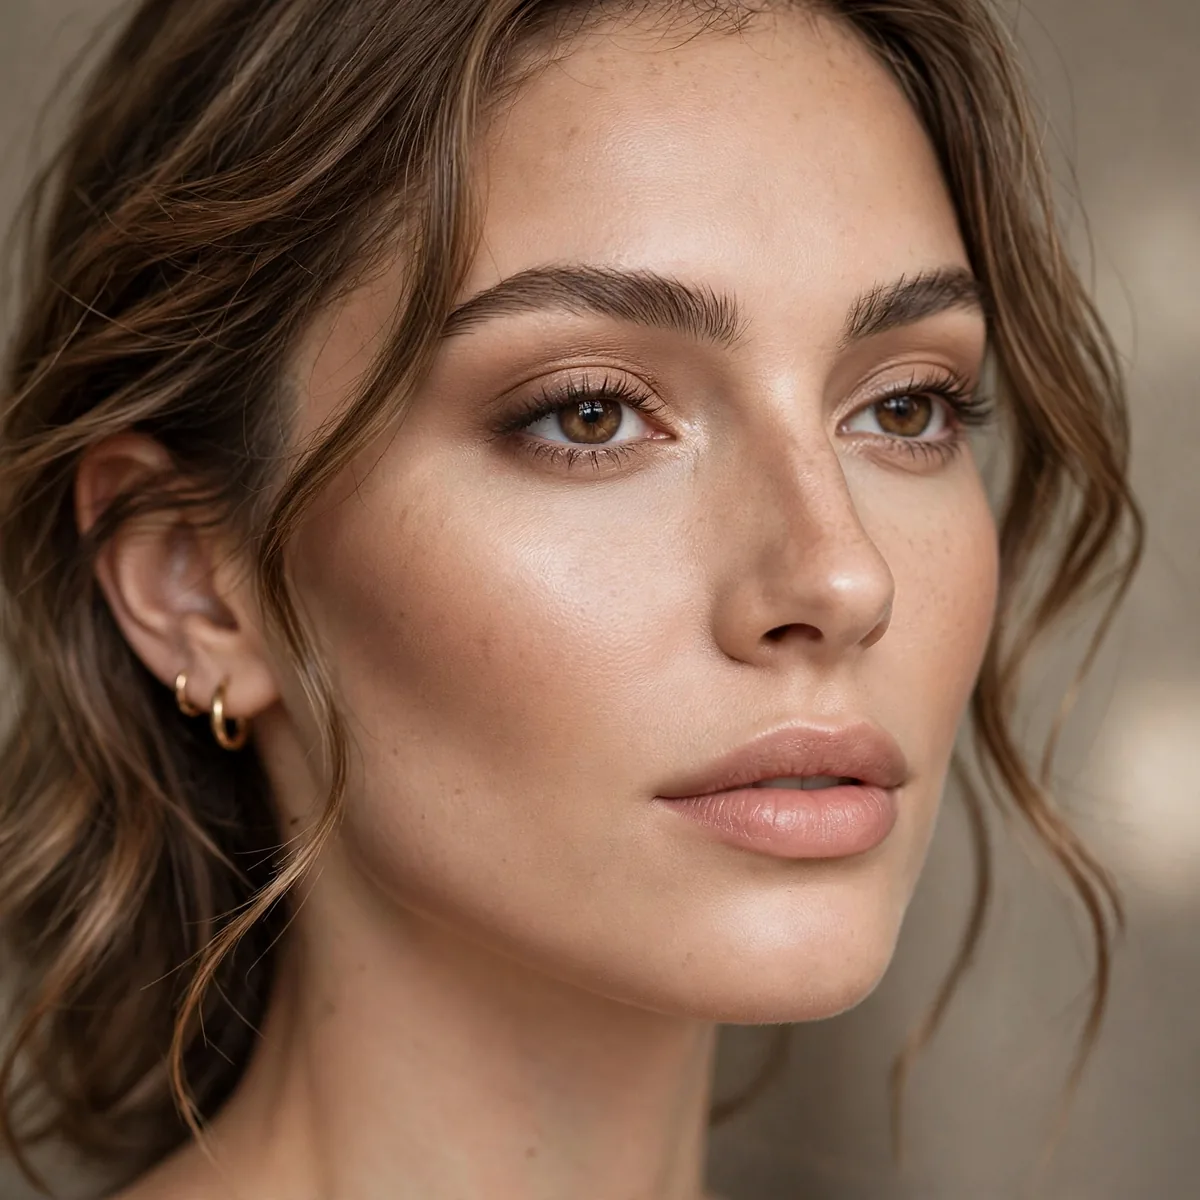
Round faces: more contour. Long faces: less on the forehead. Square faces: soften the jaw.
Adapt the map to your structure. Generic contour ignores individual needs.
Heart-shaped faces should focus contour on the temples and forehead to balance a wider upper face, while oval faces need only the lightest touch everywhere. Identify your shape by pulling hair back and tracing your face in a mirror with a dry-erase marker, then contour the areas outside your ideal oval.
Remember that most faces are combinations rather than textbook shapes, so mix and match techniques freely. A round face with a strong jaw might need cheek contour plus jaw softening, and experimenting with placement over a few days teaches you more than any chart ever could. Take progress photos in the same lighting to track what actually flatters your unique structure.
The Confident Blend

Blend until you’re sure it’s gone, then blend once more — the confidence test.
For the full sculpted face, pair with highlight placement. Over-blending beats under-blending every time.
Set a timer for two full minutes of blending if you are learning, since beginners almost always stop too early. Work in small sections with clean tools, and finish by pressing a damp sponge over everything to meld the layers into skin so the final result looks airbrushed rather than applied.
Confidence also means knowing when your contour is done for the occasion: sheer for the office, slightly deeper for evenings, and barely-there for beach days. Match the intensity to your setting and the rest of your makeup, since balanced makeup always looks more polished than one dramatic feature. When in doubt, sheer it out — understated contour flatters everyone.
Sculpt softly — pin these tips. For the full face, add highlight placement, or perfect your flush with blush placement.




