
Glass skin isn’t a product. It’s a layering philosophy.
The K-beauty ideal — skin so hydrated and smooth it reflects light like glass — comes from thin layers of hydrating products, each sealed by the next. Makeup plays a supporting role to skincare.
It works best on well-prepped skin. The routine is 70% skincare, 30% makeup. Accept that ratio and you’ll succeed.
Here are 18 routine elements. Let’s get into it.
Double Cleanse Start
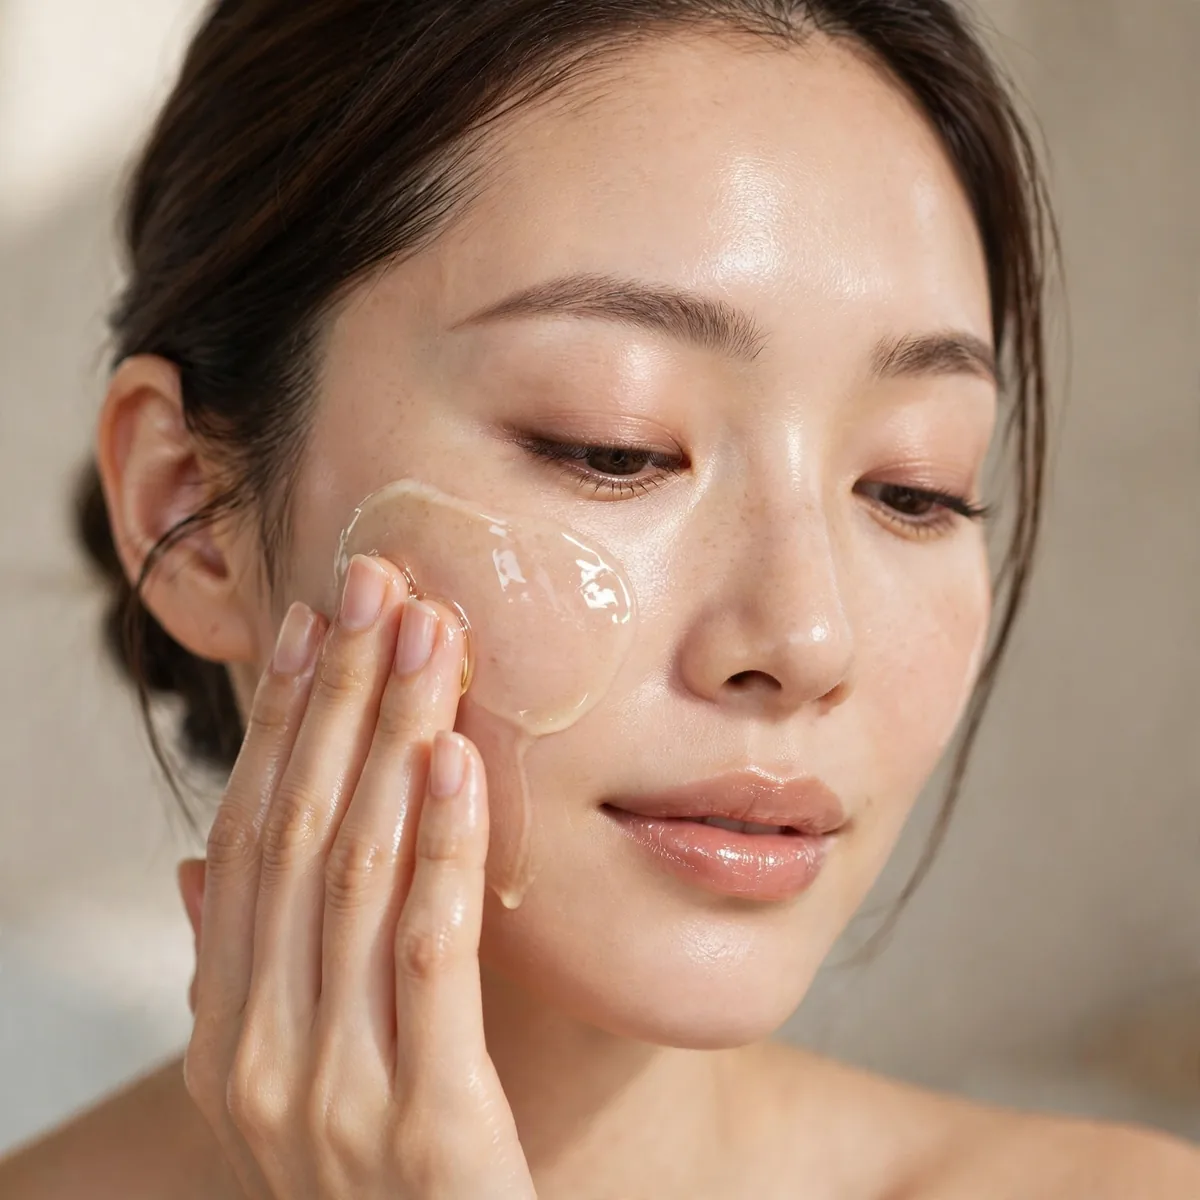
Oil cleanse then foam cleanse — the clean canvas.
Glass skin starts with perfectly clean skin. Residue blocks hydration absorption.
The oil cleanser dissolves sunscreen, makeup, and sebum that water-based cleansers cannot fully lift, while the foam cleanser removes the remaining residue and the oil itself. Massage the oil for a full sixty seconds; rushing this step leaves a film that blocks everything layered afterward. Those with very dry skin can swap the foam for a gentle milky cleanser to avoid stripping.
Evening double cleansing matters most, since the day's buildup is heaviest, but a single gentle cleanse suffices most mornings. Over-cleansing damages the moisture barrier, which is the opposite of glass skin; tight, squeaky skin cannot hold hydration. Lukewarm water is essential; hot water strips natural oils and leaves skin too compromised to achieve the glass effect.
Hydrating Toner Layers
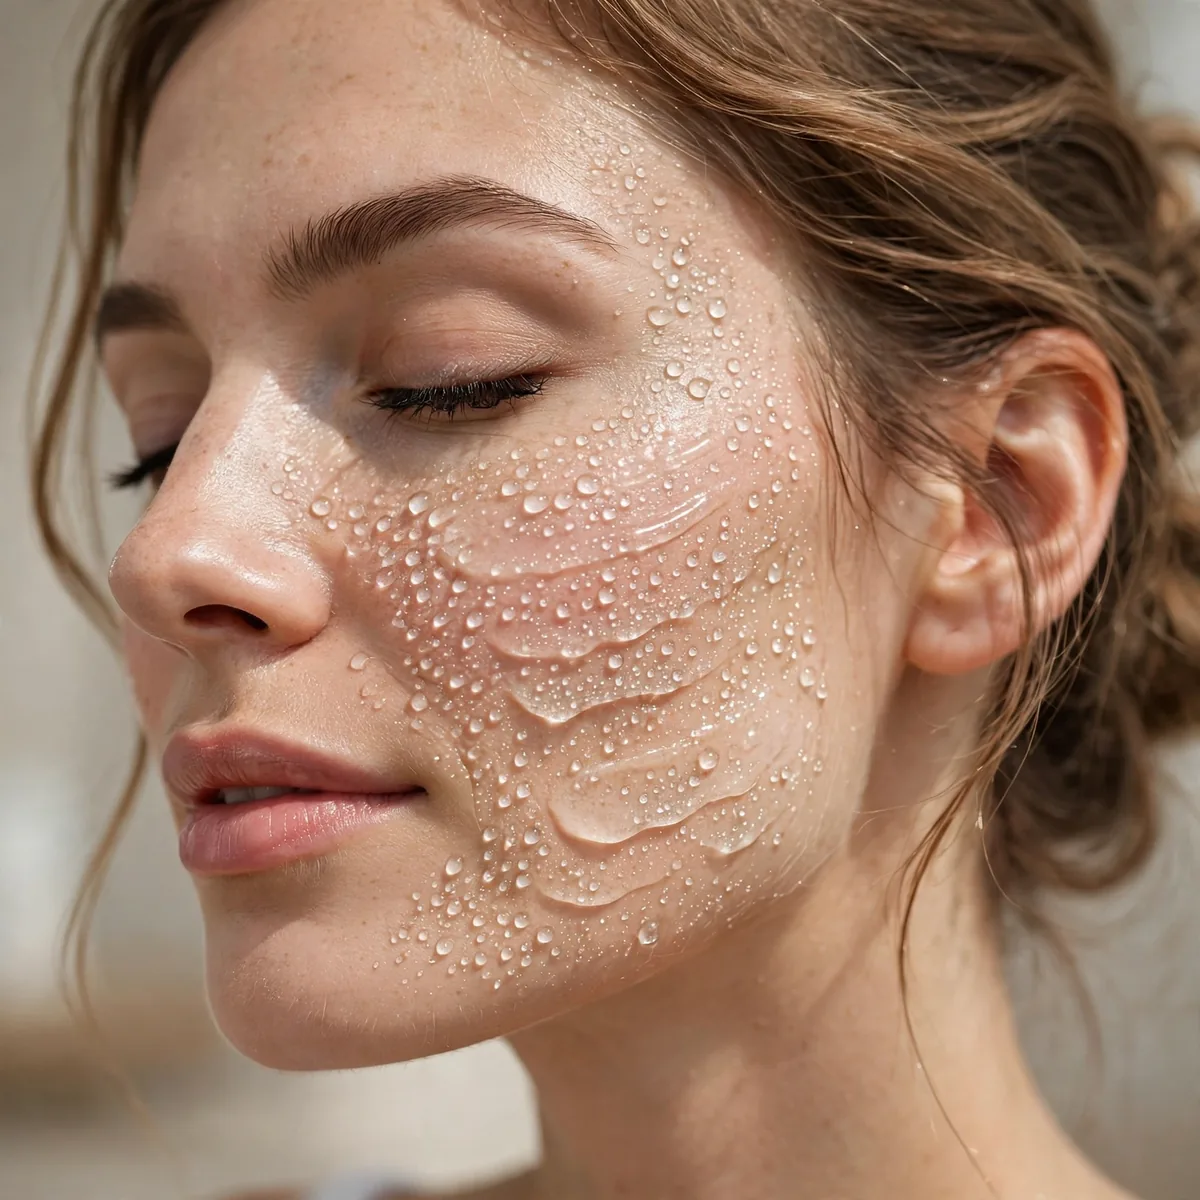
Multiple thin toner layers (the 7-skin method, lite version).
Three thin layers beat one thick one. Hydration builds cumulatively.
Thin layers absorb fully while thick ones sit on the surface, which is why three light passes outperform one heavy one. Pat each layer in with your palms and wait until the skin feels damp, not wet, before adding the next. Look for toners with glycerin, hyaluronic acid, or beta-glucan, which are humectants that pull water into the skin.
The 7-skin method's full seven layers suit very dry skin, but three to four layers hit the sweet spot for most people without pilling. If toner starts balling up, you are layering too fast; slow down and let each pass absorb. In humid climates, fewer layers suffice since the air itself supplies moisture; adjust the count to your environment and season.
Essence Application
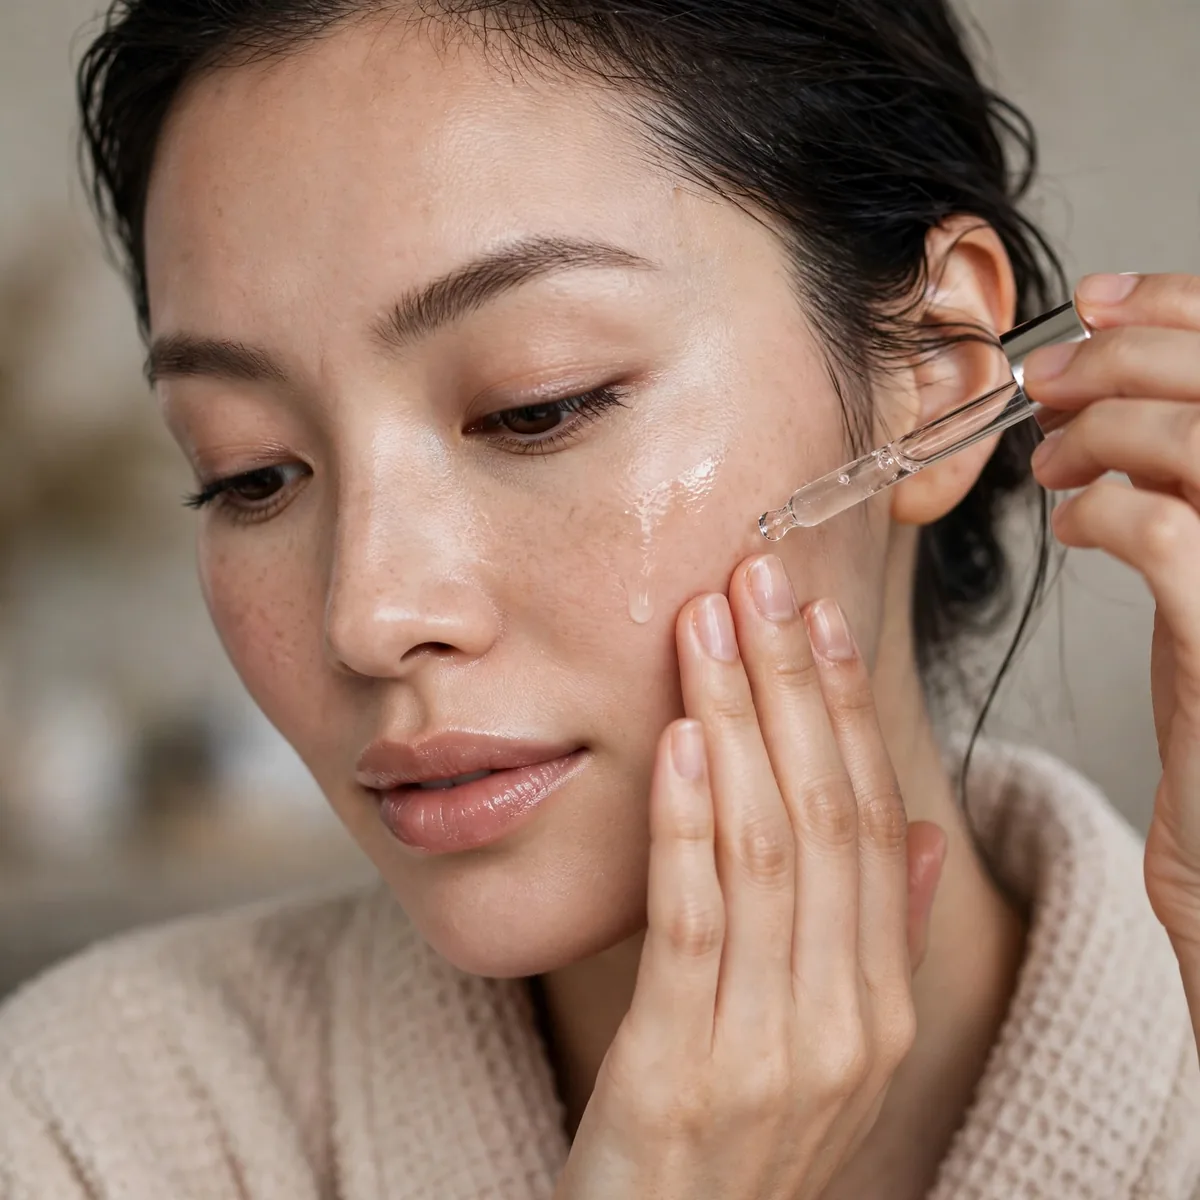
A hydrating essence adds the watery plumpness glass skin needs.
Essences are hydration concentrates. They’re the glass-skin secret weapon.
Essences sit between toner and serum in texture; more concentrated than toner, lighter than serum, and they deliver the watery bounce that defines glass skin. Press the essence into skin with your palms rather than rubbing; pressing drives the product in while rubbing can cause pilling. Fermented ingredients like galactomyces are classic essence actives that brighten over time.
One essence is enough; layering multiple essences adds little beyond the first since they perform similar functions. Apply it while the toner layers are still slightly damp to lock in that moisture sandwich. Those with oily skin should choose a lightweight, watery essence, while dry skin benefits from slightly viscous formulas with added ceramides.
Serum Layering
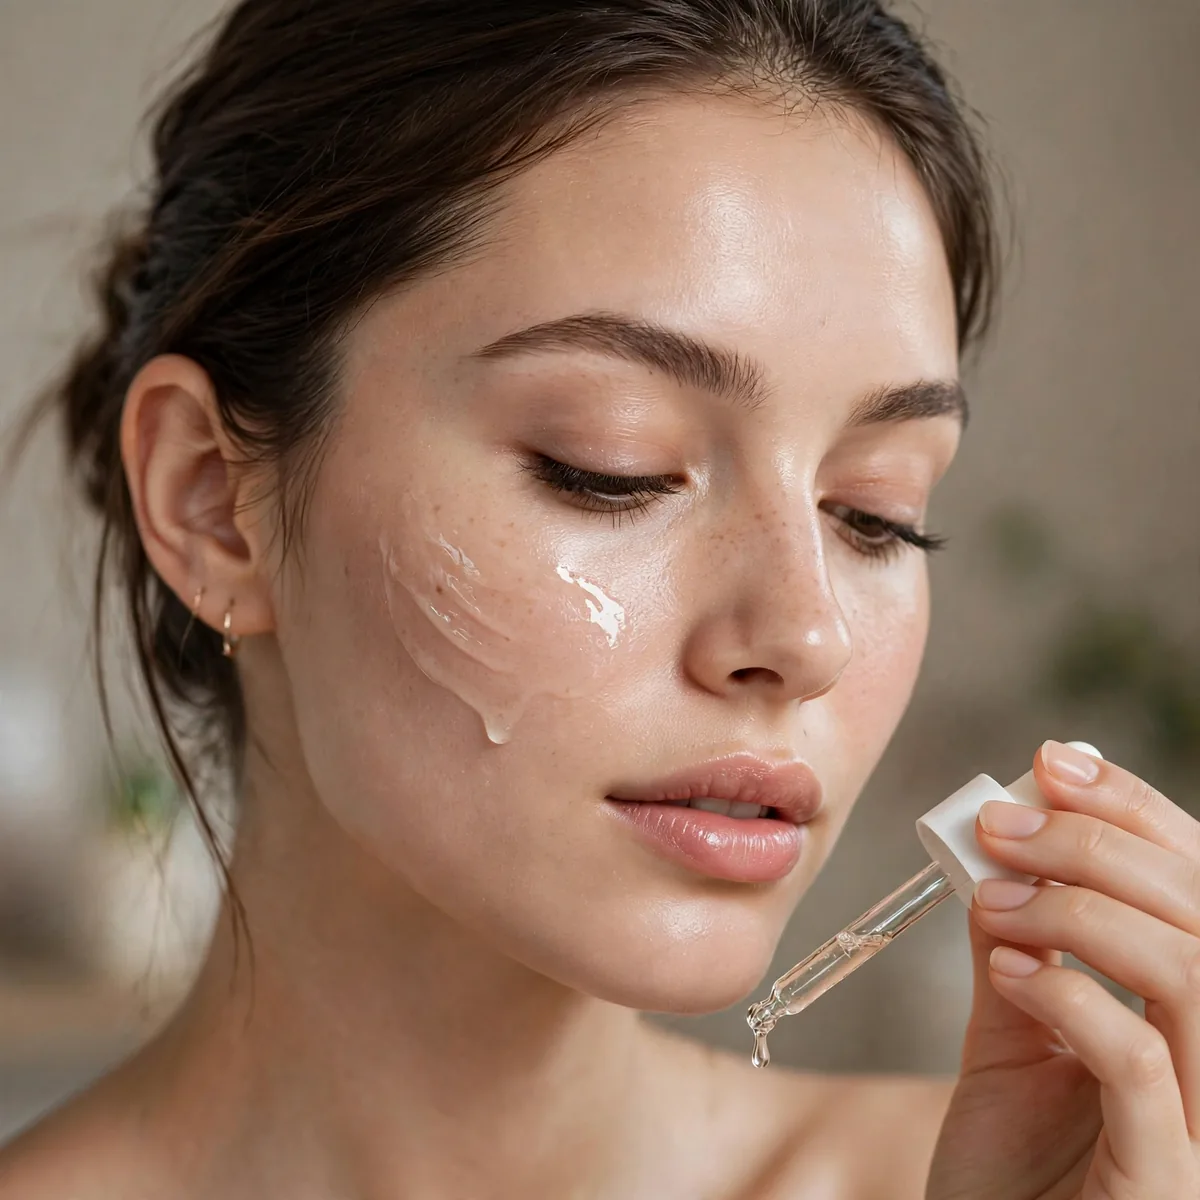
Hyaluronic acid serum on damp skin for maximum hydration.
Damp skin absorbs serum better. Never apply HA to dry skin — it can backfire.
Hyaluronic acid is a humectant that can hold many times its weight in water, but it needs that water present; on dry skin it can actually pull moisture out of the deeper layers. Mist your face or apply to damp skin, then seal quickly with moisturizer to trap the hydration. Layer watery serums before thicker ones, and give each thirty seconds to absorb.
Niacinamide is the ideal companion serum for glass skin, refining pores and strengthening the barrier while hyaluronic acid handles hydration. Avoid layering strong actives like high-concentration vitamin C or exfoliating acids in the same routine; they can irritate freshly hydrated skin. Morning glass routines should keep serums simple; save the potent treatments for nighttime.
Moisturizer Seal
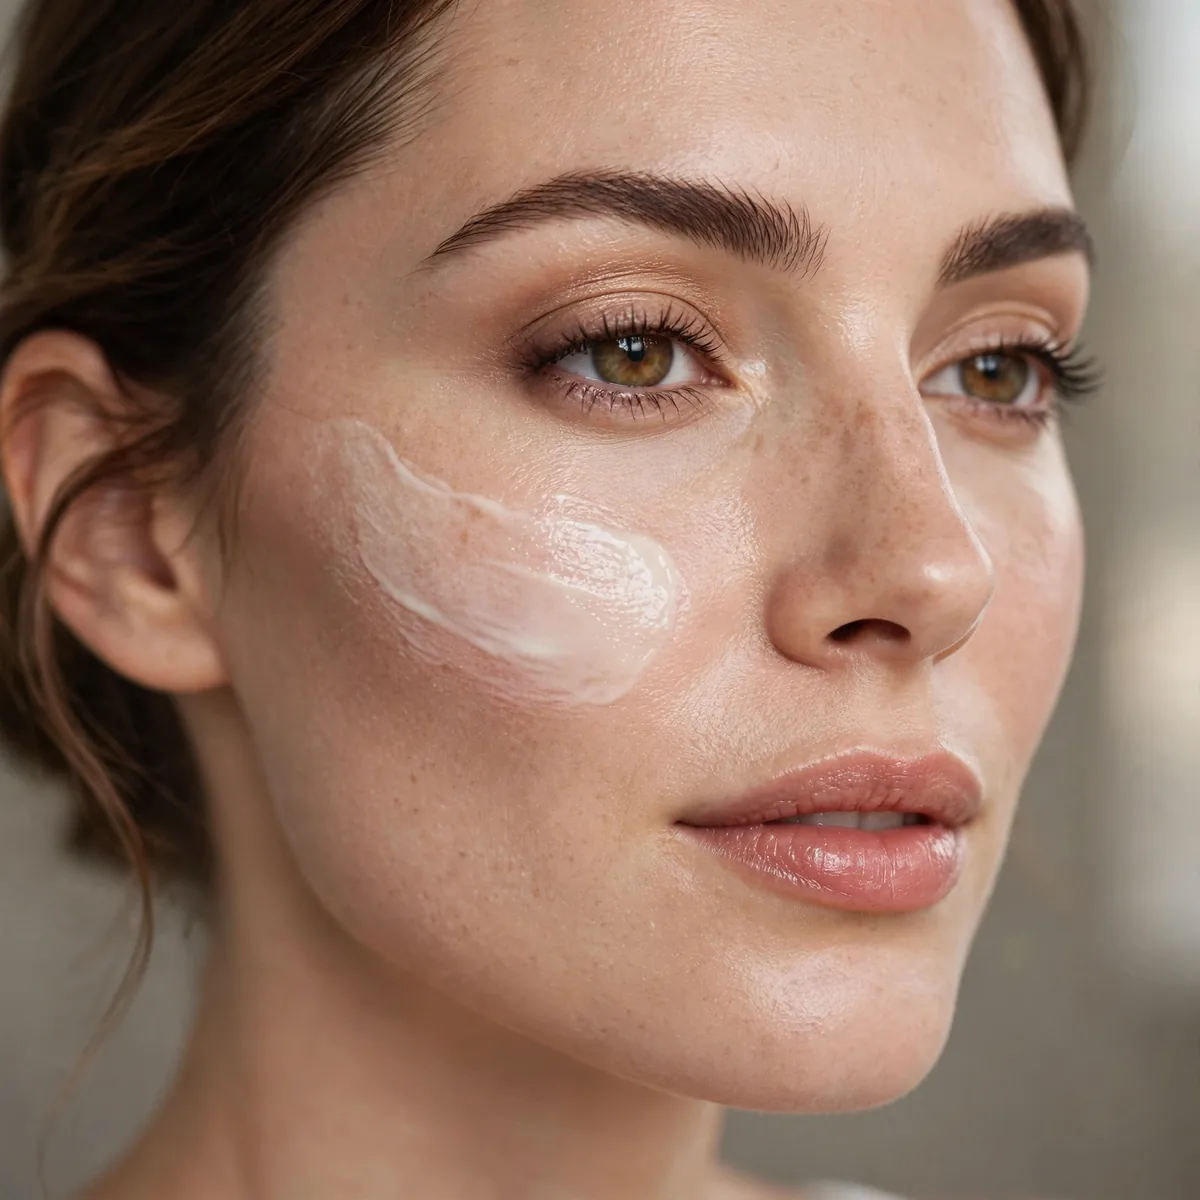
A gel-cream moisturizer seals in all the watery layers.
The seal prevents evaporation. Unsealed hydration disappears within the hour.
Gel-cream textures are the glass-skin sweet spot: light enough to layer over watery products without pilling, occlusive enough to slow evaporation. Look for ceramides and squalane on the ingredient list; they reinforce the barrier while sealing. Apply with upward pressing motions, using a nickel-sized amount for the full face and neck.
Skipping this seal is the most common reason glass routines fail; all the watery layers evaporate within an hour without an occlusive top. Oily skin types should choose an oil-free gel moisturizer to avoid excess shine that reads as greasy rather than glassy. In winter, layer a facial oil over the moisturizer for extra sealing power against dry heated air.
Illuminating Primer
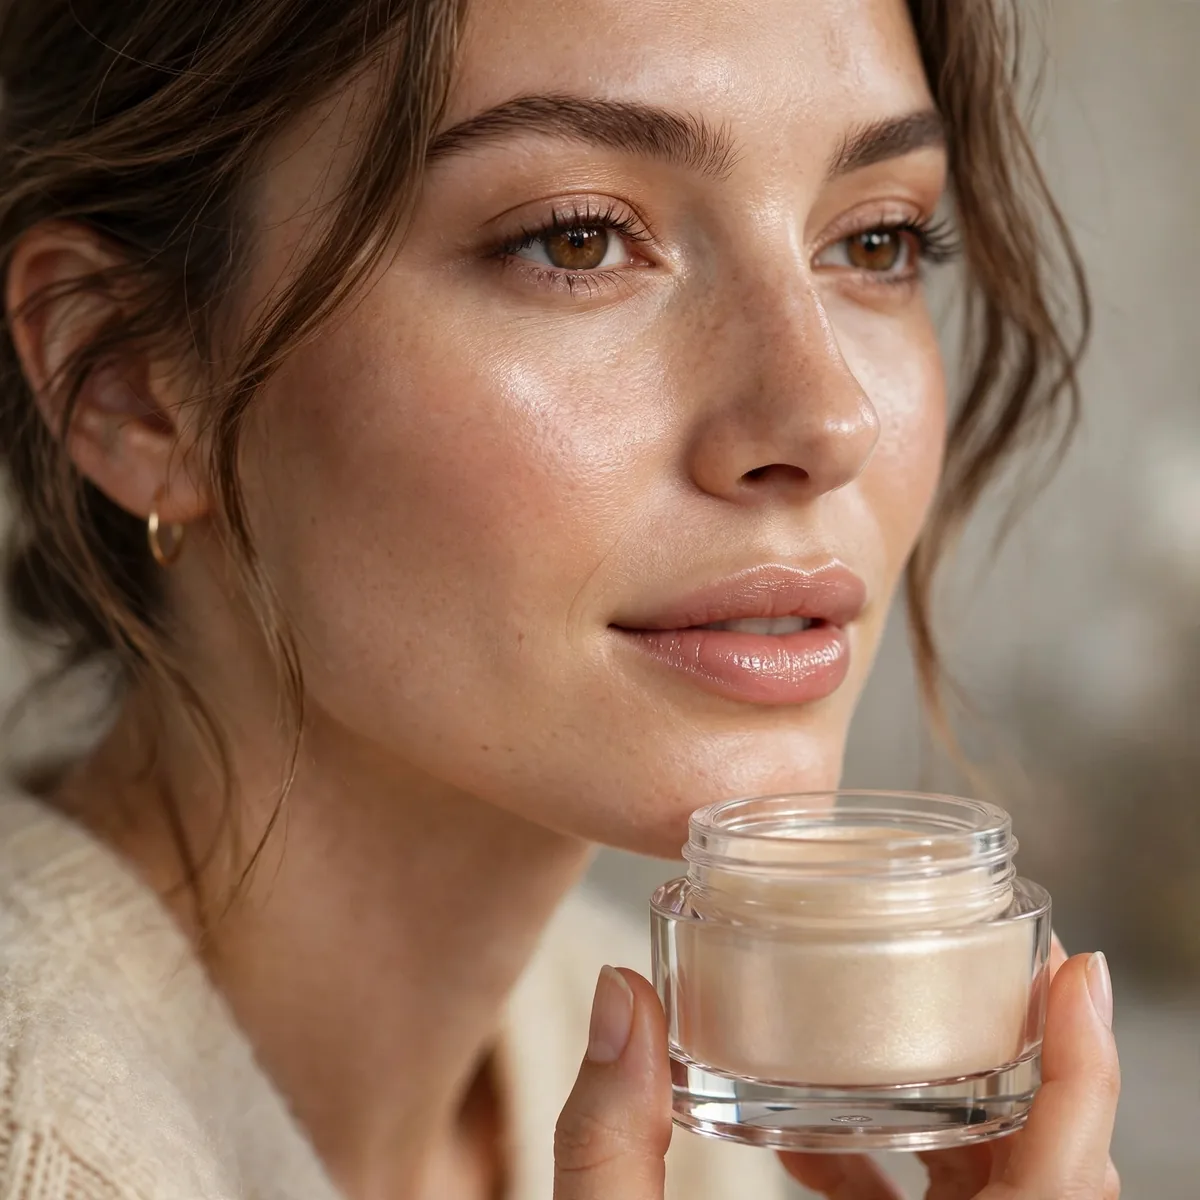
A luminous primer bridges skincare and makeup.
The primer’s glow shows through sheer base. It’s the makeup transition.
Illuminating primers contain fine light-reflecting particles that create glow from beneath sheer base makeup, unlike highlighters that sit on top. Choose a primer whose glow matches your undertone; champagne for warm, pearl for cool, so the luminosity looks like skin, not glitter. Apply a thin, even layer; too much primer pills under foundation.
Those with textured skin or large pores should use the illuminating primer only on the high points rather than all over, since all-over glow can emphasize texture. Alternatively, mix a drop of liquid highlighter into your regular primer for a customized glow level. Let the primer set for a minute before base makeup so the layers bond instead of sliding.
Sheer Luminous Base
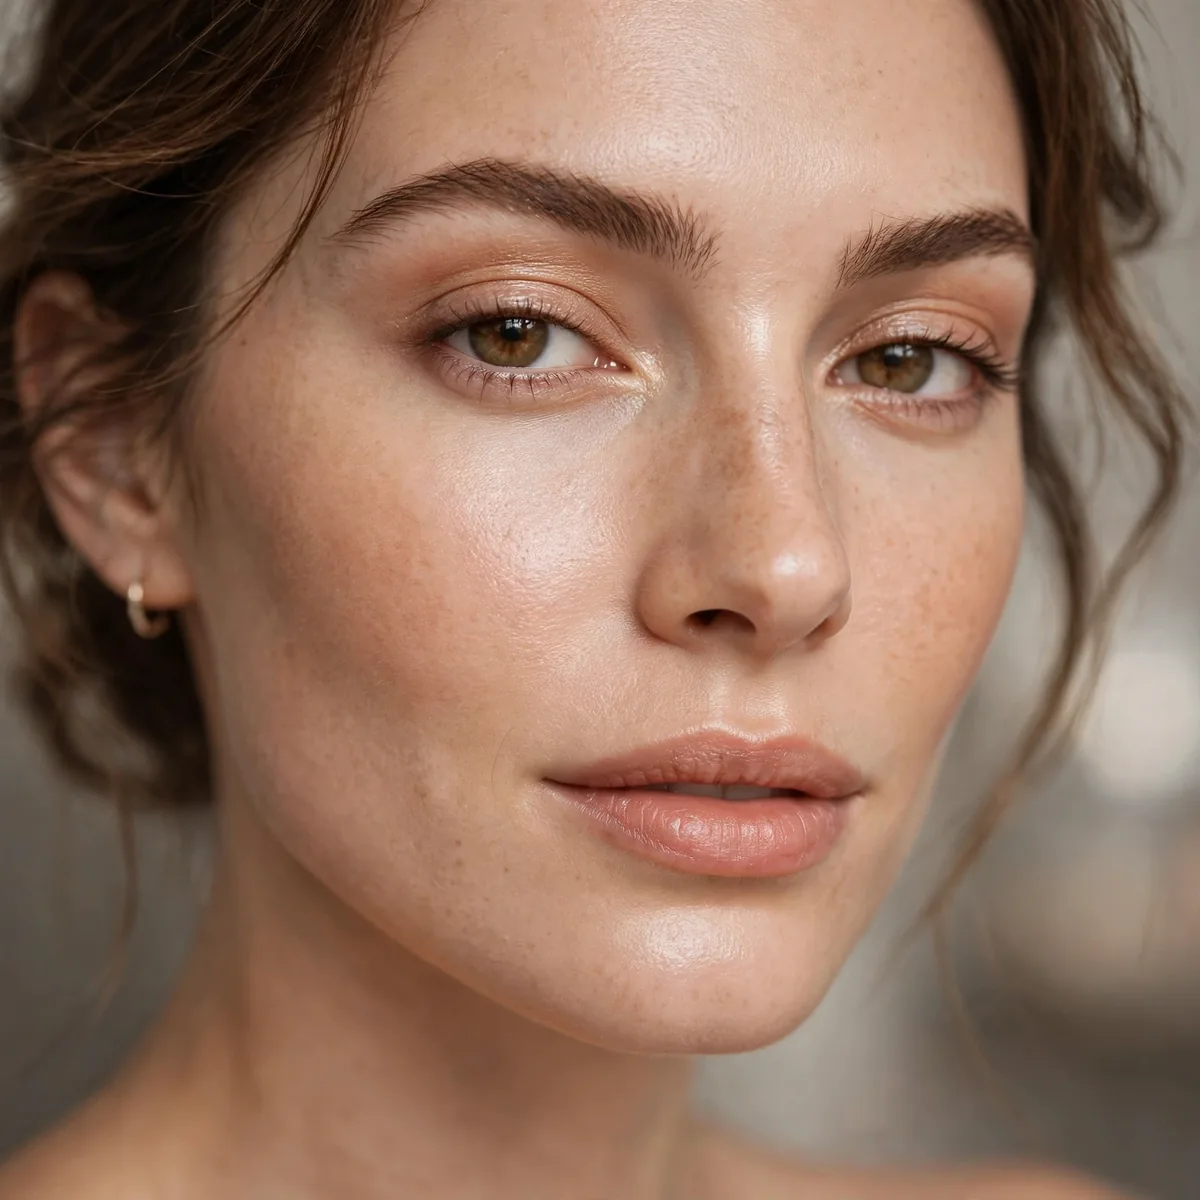
The sheerest luminous tint — coverage is the enemy of glass.
Our natural foundation guide covers sheer technique. Glass needs transparency.
Sheer bases let your real skin show through, which is the entire philosophy of glass; the glow must look like it comes from within. Apply with damp fingers or a wet sponge in thin layers, building coverage only where needed. Tinted moisturizers and skin tints with luminous finishes outperform traditional foundations here, since they are formulated for transparency.
Color matching matters more with sheer bases because there is nowhere to hide; test along the jawline in daylight. If you need more coverage in spots, use a pinpoint concealer rather than building up the base; keeping the base sheer preserves the glass effect. Set nothing with powder at this stage; the dewiness is intentional and powder would undo it.
Liquid Highlight Strategically
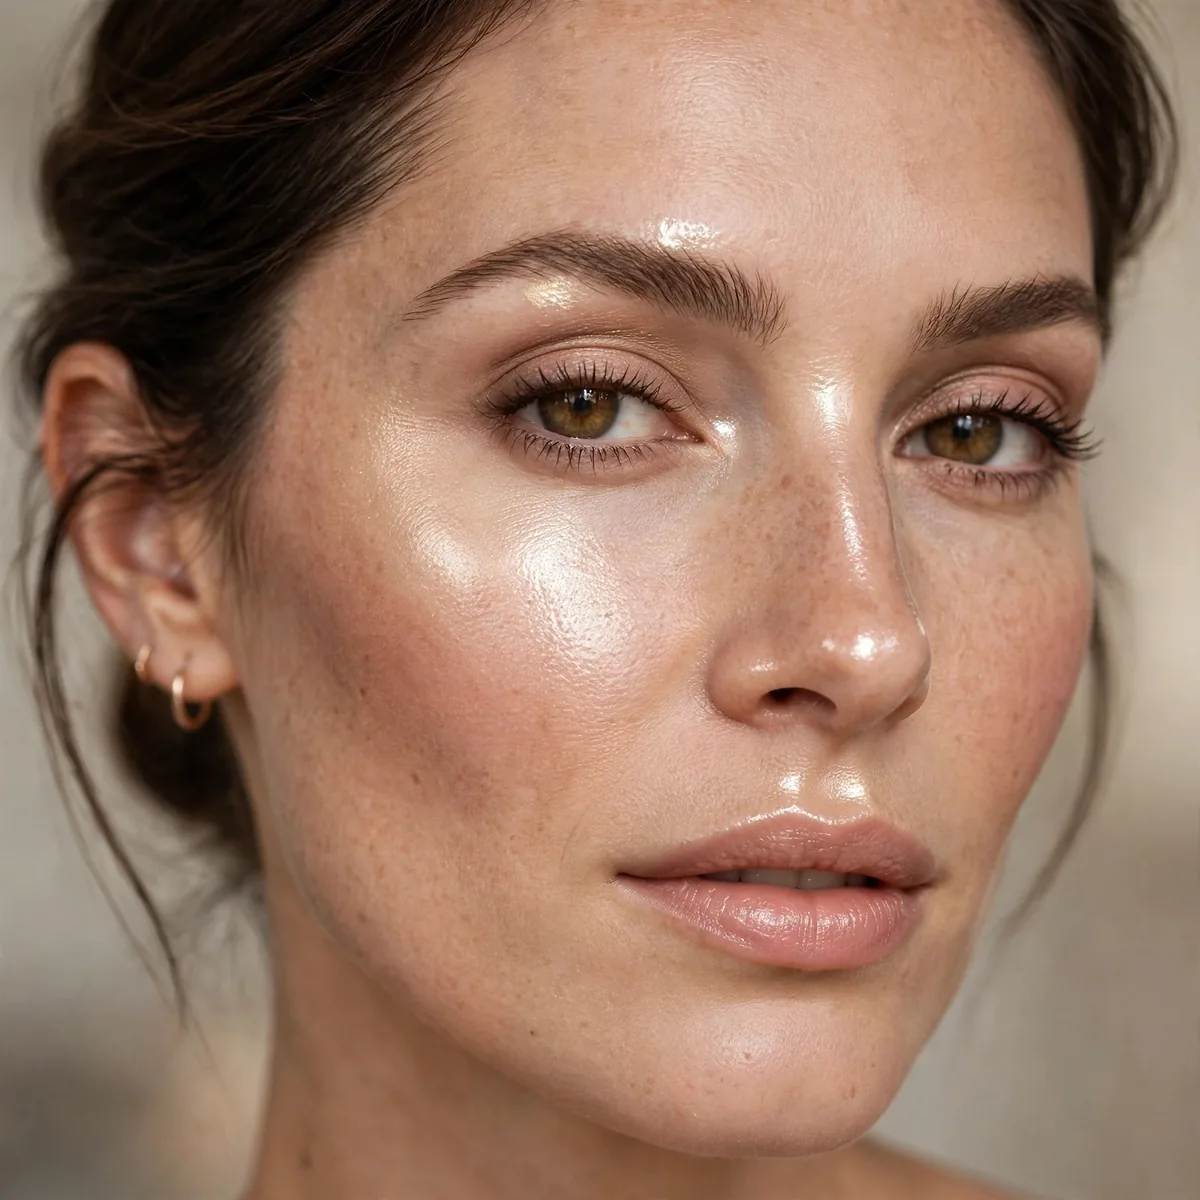
Liquid highlight on high points only — cheekbones, brow bone, nose.
Our highlight guide maps placement. Strategic, not all-over.
High points, the tops of cheekbones, brow bone, bridge of the nose, and cupid's bow, are where light naturally hits, so highlight there reads as realistic radiance. Dot the liquid on and tap it in with a fingertip or damp sponge; the warmth of your finger melts it seamlessly into the base. Less is more; you can always add a second dot.
Avoid placing highlight on areas with texture, like the center of the chin or around blemishes, where shine draws unwanted attention. For a more intense glow, layer a powder highlighter over the liquid in the exact same spots; the double application amplifies reflectivity. In daylight, step back from the mirror to check the glow reads as luminous, not metallic.
Cream Blush Flush
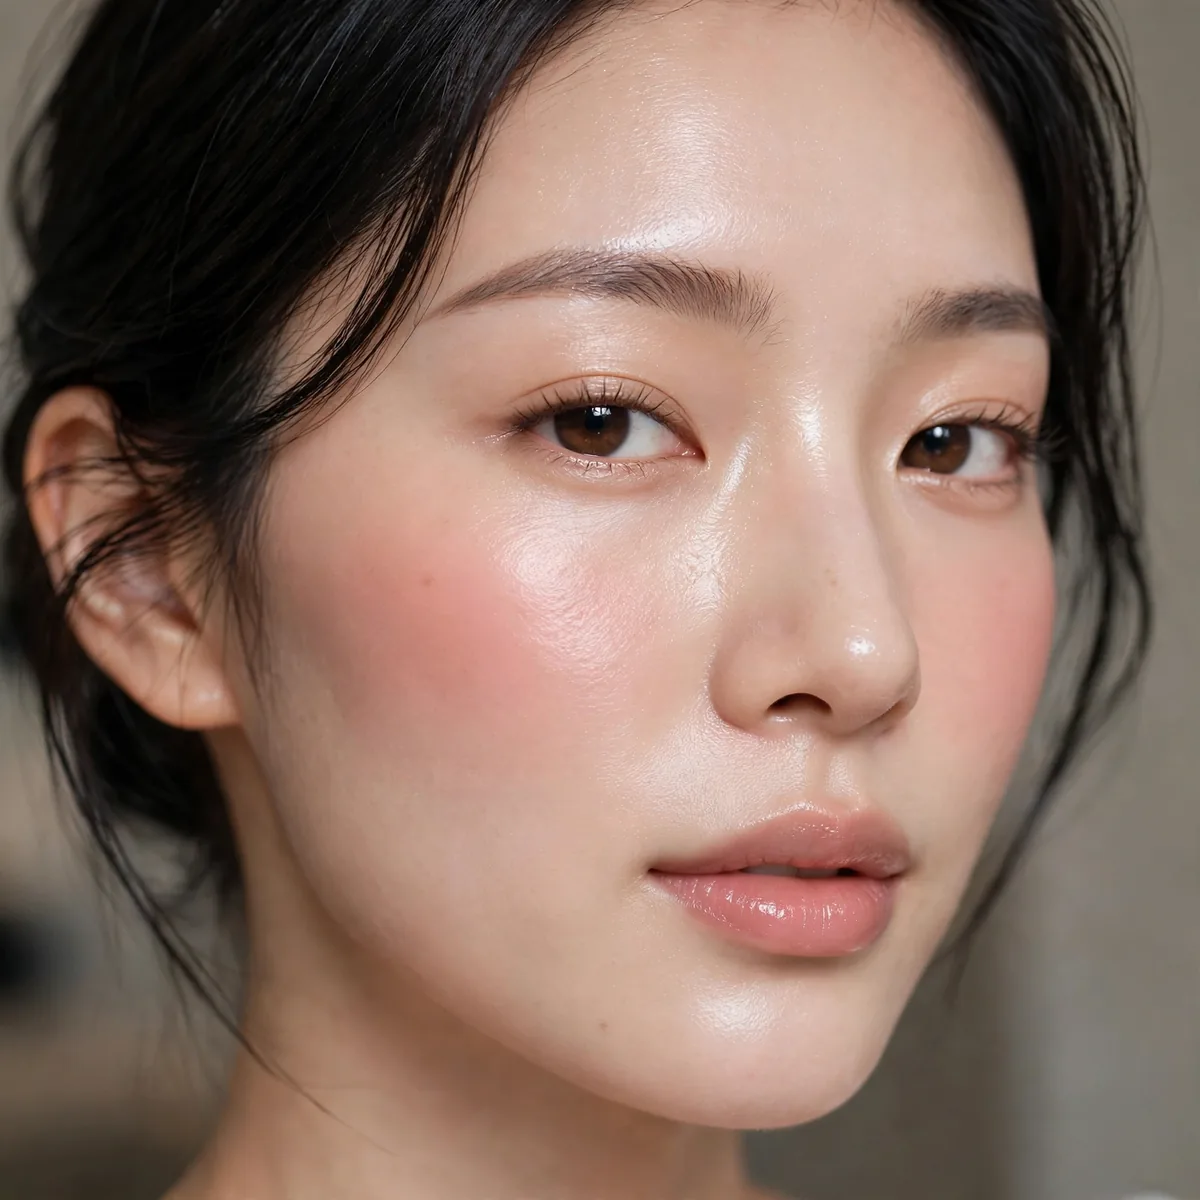
Cream blush for the translucent flush.
Creams maintain the glass illusion. Powders would break it immediately.
Cream blush melts into the dewy base instead of sitting on top, creating a flush that looks like it blooms from within the skin. Smile and press the color onto the apples of the cheeks, then blend upward toward the temples for a lifted effect. Fingers are the ideal tool; the warmth helps the cream fuse with the base.
Choose shades with a translucent quality rather than opaque pigment; sheerness keeps the glass illusion intact. Berry and rose tones suit cool undertones, while peach and coral flatter warm ones. For longevity, layer a matching powder blush very lightly over the cream; the powder grips the cream and extends wear without visibly mattifying.
No Powder Rule

Skip powder entirely — it’s the enemy of glass.
If you must, one press on the nose only. Everywhere else stays dewy.
Powder's mattifying effect directly opposes glass skin's reflective quality; even a light dusting scatters light instead of letting it bounce, dulling the glow. If your T-zone gets oily, try blotting papers first; they remove oil without depositing the matte finish powder creates. Most people find that proper skincare prep controls oil better than powder ever did.
The single exception is a tiny press of translucent powder right on the sides of the nose, where glasses sit or oil pools heaviest. Use a small brush and the barest amount; the goal is oil control in one spot, not an all-over set. As your skin adjusts to the routine over a few weeks, you will likely find even that one spot needs less intervention.
Mist Between Layers
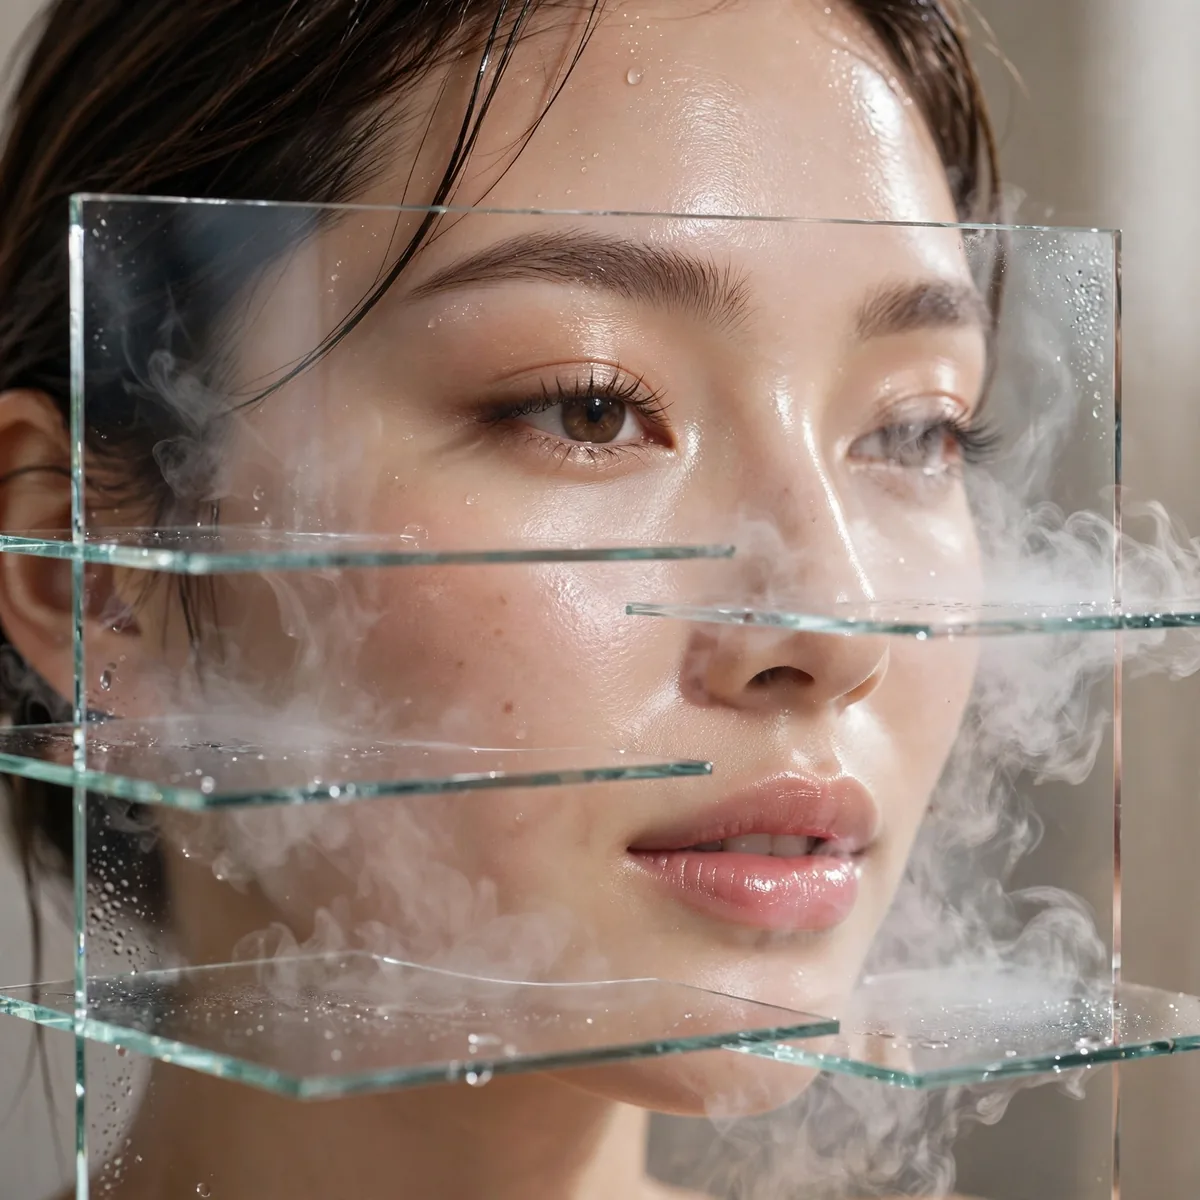
Mist between every layer — the hydration sandwich.
Each misting melts layers together. The unity creates the glass effect.
Misting between layers serves two purposes: it re-dampens the skin so the next watery product absorbs better, and it helps each layer meld into a unified veil rather than separate strata. Use a fine-mist thermal or rose water spray held at arm's length. Two to three spritzes per layer is plenty; soaking the face dilutes the products.
This technique is borrowed from the hydration sandwich method popularized in Korean skincare, where moisture is trapped between every step. Keep a travel mist in your bag for midday refreshes too; it revives the glass effect without disturbing makeup. Avoid mists with high alcohol content, which evaporate quickly and can actually dehydrate the skin they are meant to refresh.
Glossy Lip Finish

High-shine gloss completes the reflective aesthetic.
Our glossy lip guide has options. Reflective lips match reflective skin.
High-shine gloss mirrors the skin's reflectivity, making lips look like a natural extension of the glass aesthetic rather than a separate feature. Choose a gloss with hydrating ingredients like squalane or hyaluronic acid so the shine comes with care. Apply over a matching lip tint for color that survives the gloss fading; the tint stains while the gloss shines.
To prevent the gloss from migrating, trace the lip line with a matching lip liner first; the liner acts as a dam. Blot once after application and reapply a thin second coat for longer wear without goopiness. Clear gloss over bare lips is the most low-maintenance option and keeps the focus firmly on the skin's glow.
Subtle Eye Glow
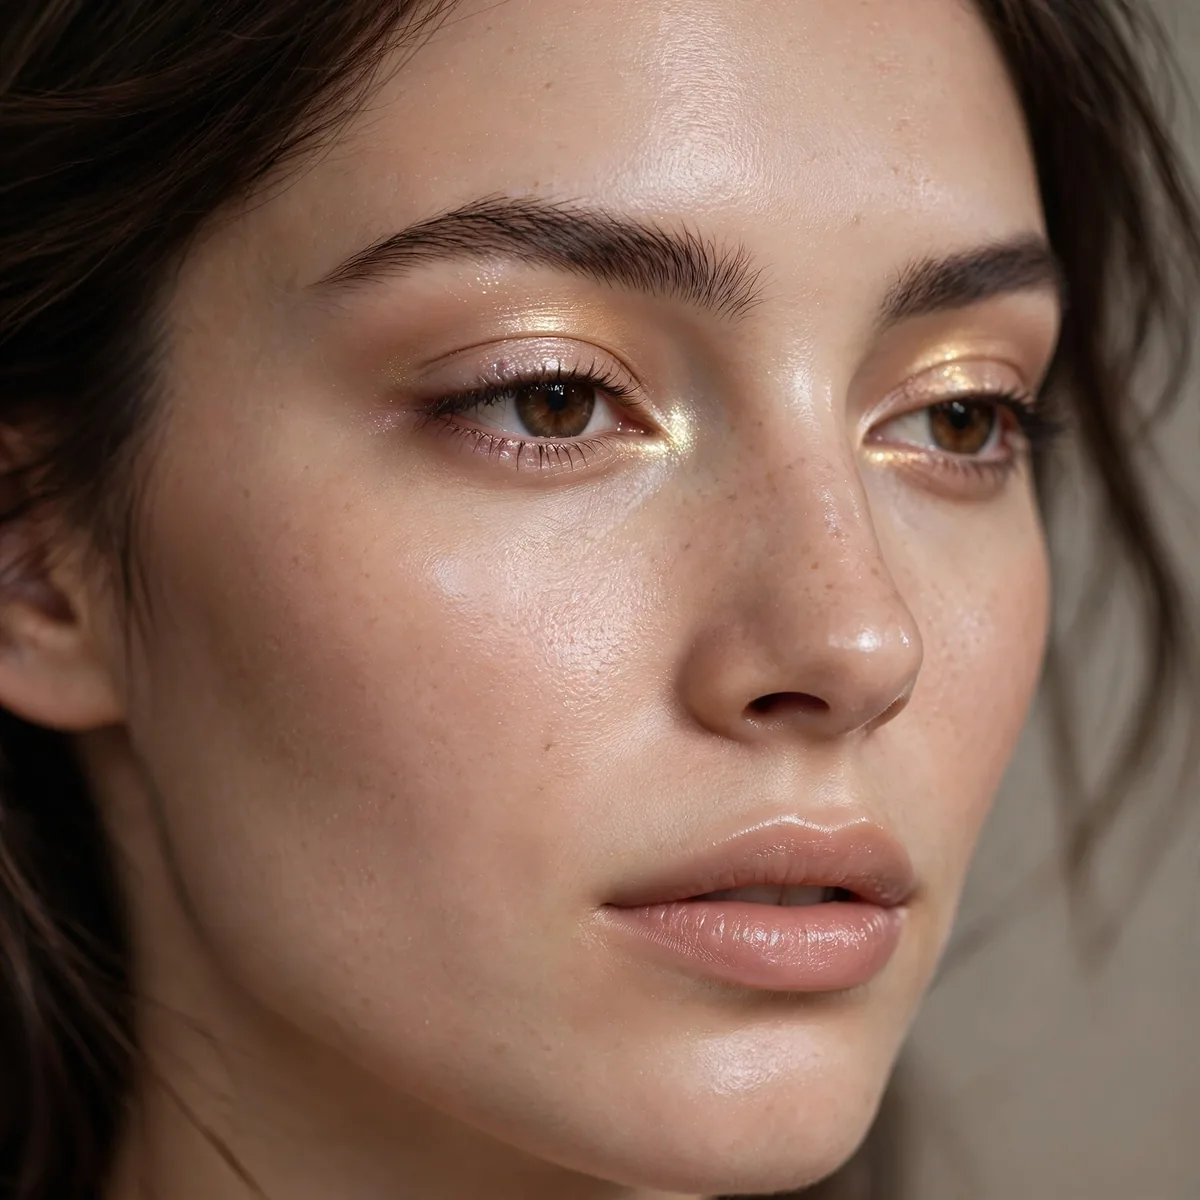
Cream shadow with a hint of sheen — glowing, not made-up eyes.
Eyes stay minimal. The skin is the star; eyes support quietly.
A wash of cream shadow in a champagne or soft bronze adds just enough dimension to keep eyes from disappearing against the luminous skin. Apply with a fingertip and blend the edges until they vanish; visible lines would break the ethereal mood. Skip dark liner; a single coat of brown mascara provides all the definition this look needs.
Cream formulas are ideal here because their natural sheen harmonizes with the dewy base, while powder shadows can look dry by comparison. For evening, deepen the outer corner slightly with a medium bronze cream; the same product, just layered. Keep brows soft and feathery to match; anything too sculpted clashes with the barely-there eye.
Feathered Brow Finish
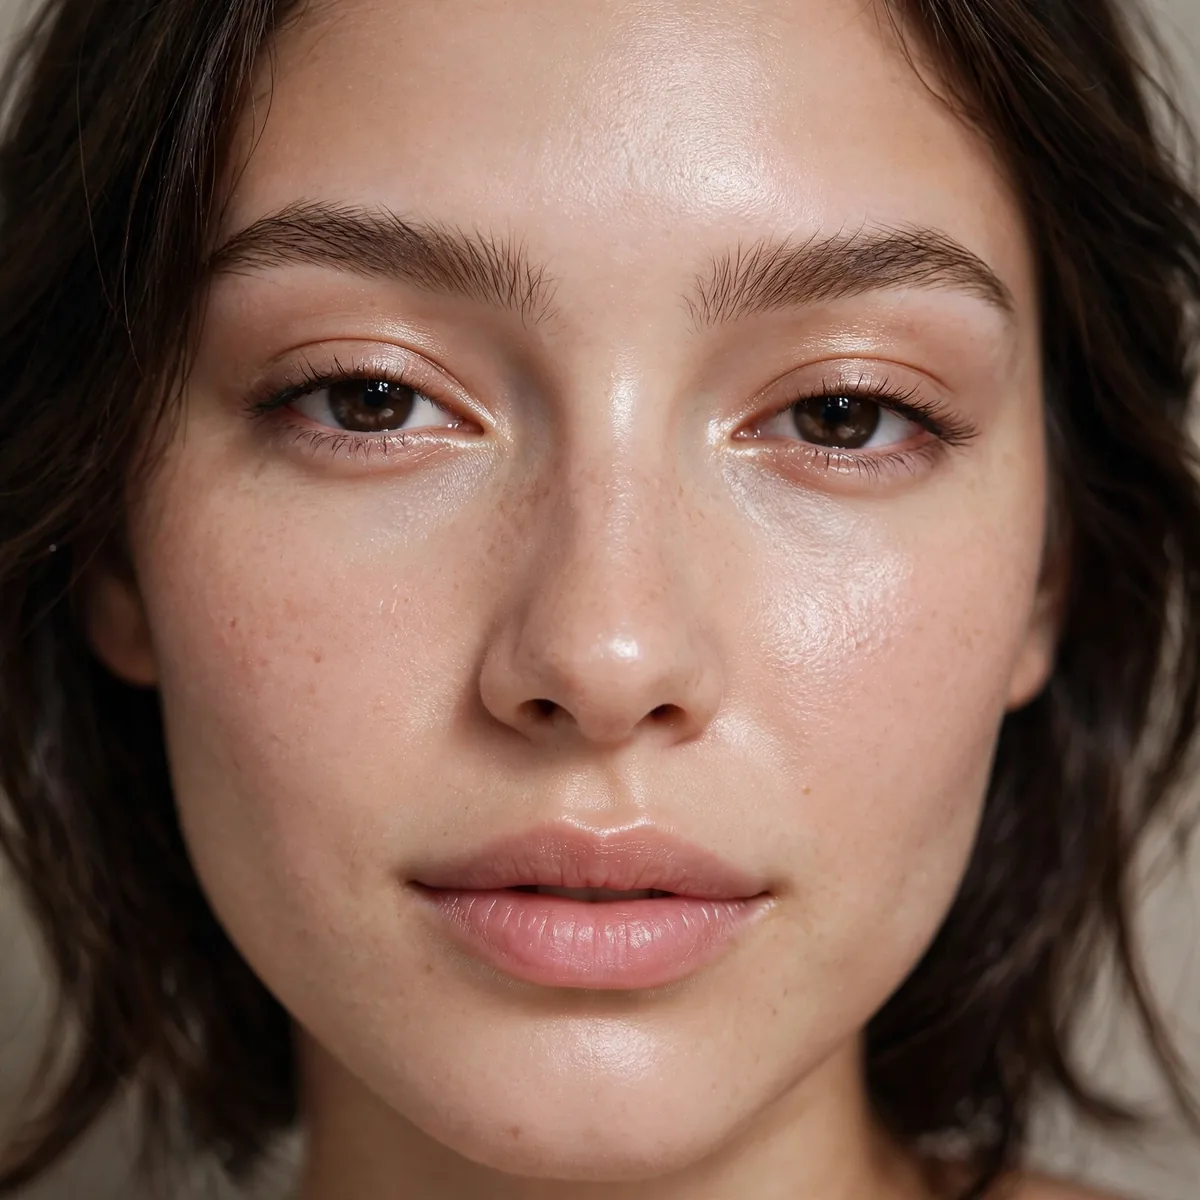
Natural feathered brows — nothing harsh to break the illusion.
Our natural brow guide fits perfectly. Soft brows maintain the ethereal aesthetic.
Feathered brows complement glass skin because their soft, hair-like texture echoes the natural, untouched quality of the whole look. Brush hairs upward with a clear or tinted brow gel, then fill only the sparsest spots with fine strokes. The goal is fullness that looks grown, not drawn; restraint is the technique.
Avoid harsh pomades and stamped shapes here; their graphic precision fights the dewy softness everywhere else. If your brows are naturally full, gel alone may be all you need. For sparse brows, a microfine pencil used sparingly builds believable density. The finished brow should look like a better version of your natural one, nothing more.
Setting Spray Seal
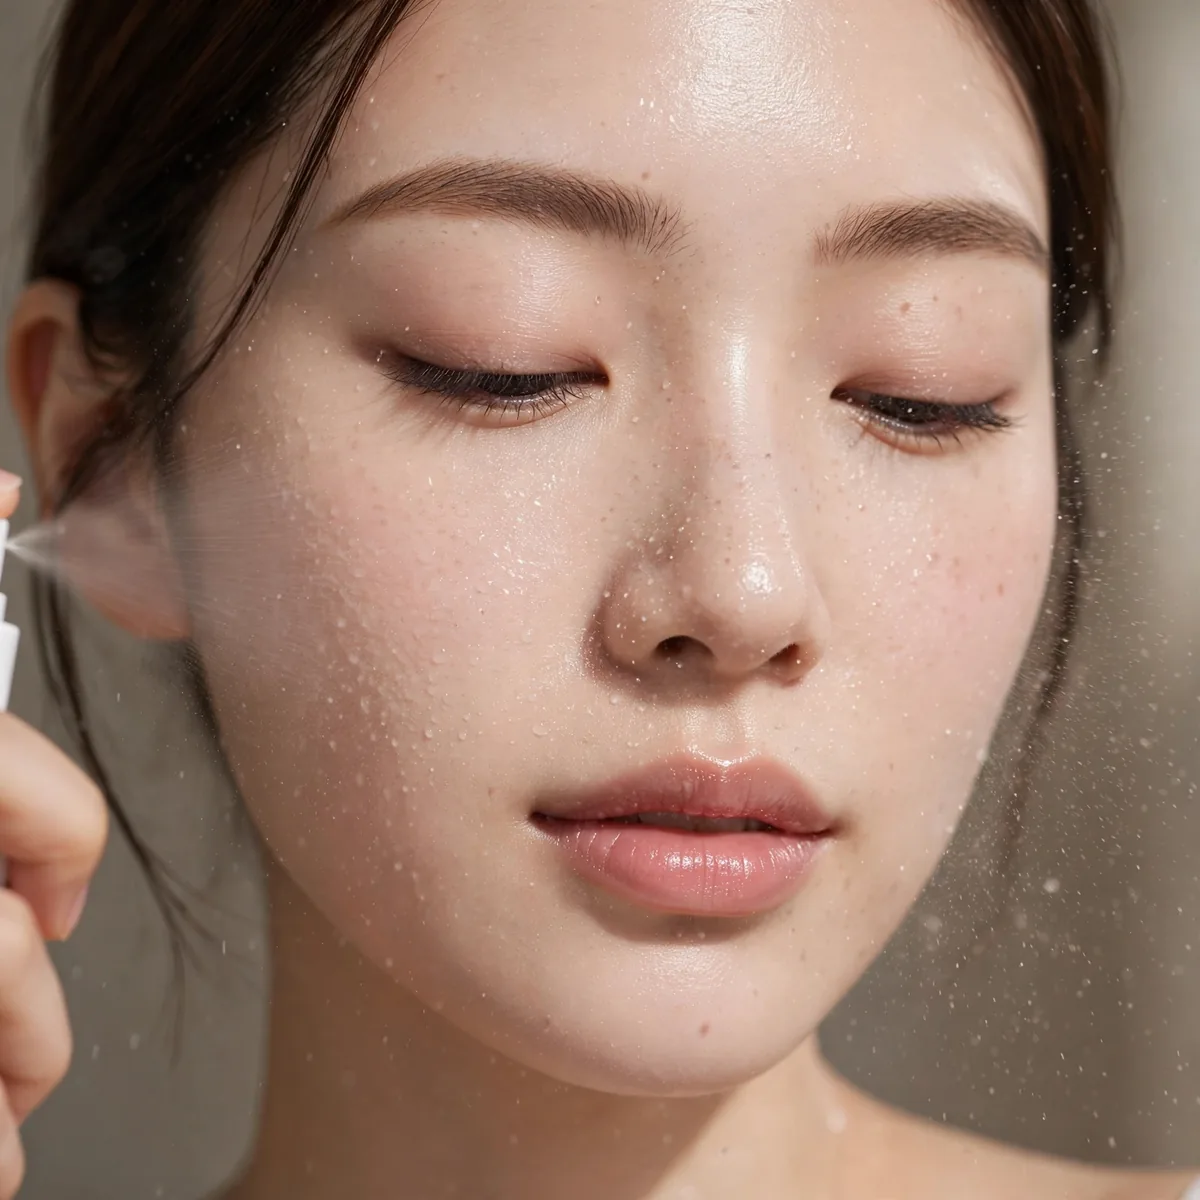
Dewy setting spray as the final seal.
The spray unifies everything into one glass-like layer. Don’t skip the finale.
A dewy setting spray melts the powder-free layers into one continuous veil, eliminating any edges between base, blush, and highlight. Mist in an X and T pattern from about eight inches away, then let it dry naturally; fanning speeds drying but can disturb the finish. Look for sprays labeled dewy, luminous, or hydrating rather than matte.
This final seal also extends wear time, which sheer dewy bases desperately need without powder's help. For extra longevity, mist once before base makeup as well; the sandwich technique grips both sides. Carry the spray for midday revival; a quick mist over the finished face refreshes the glass effect without adding product.
Touch-Up Misting
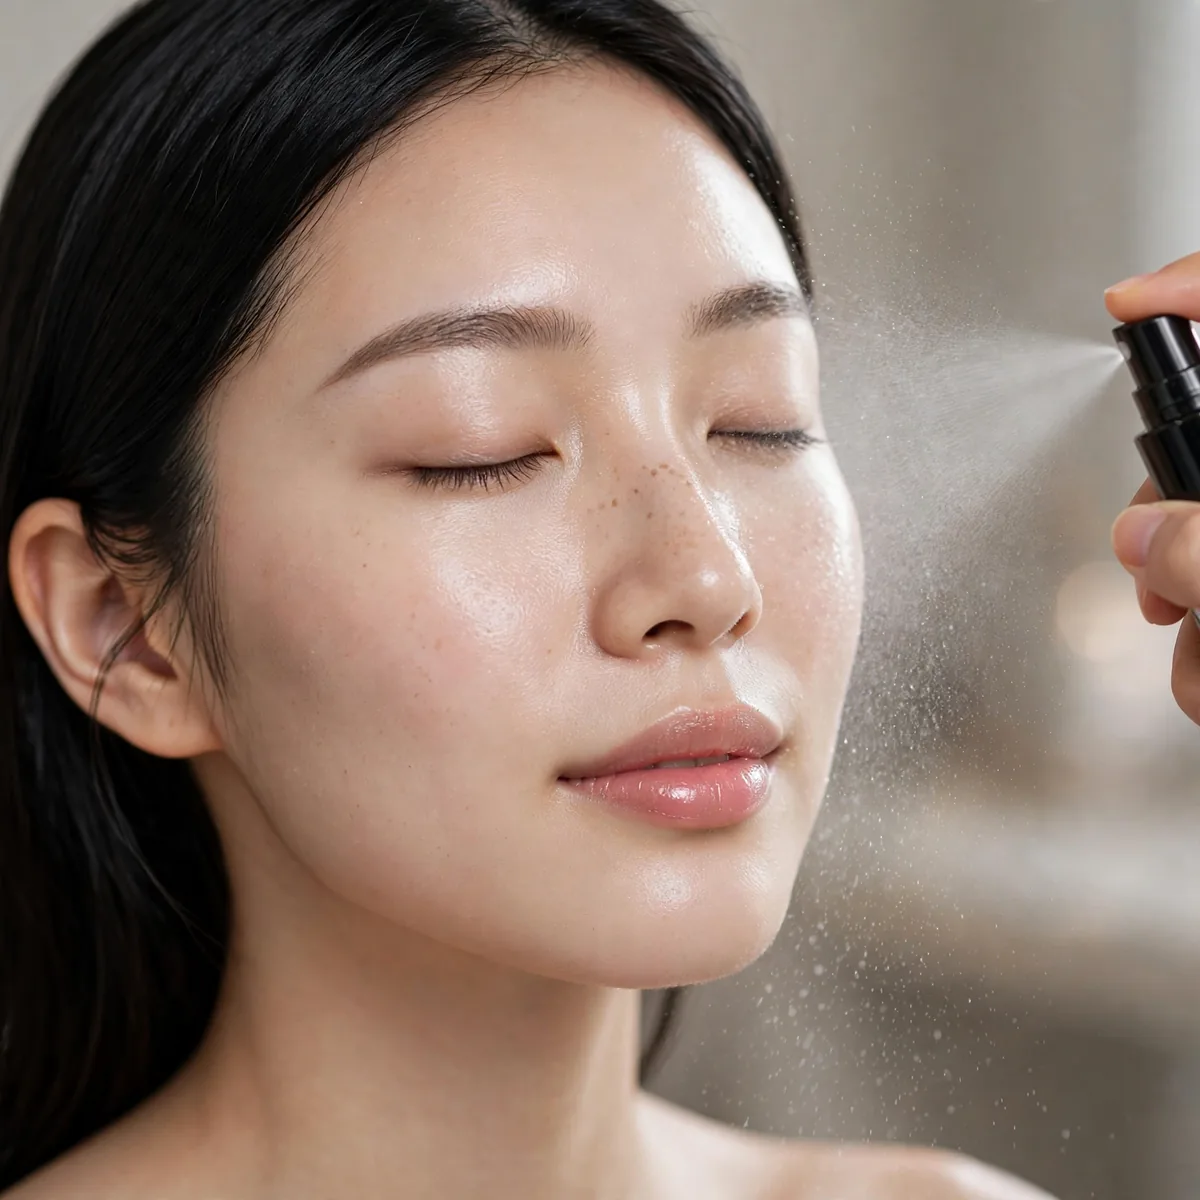
Mist to refresh — never powder over glass skin.
Powder touch-ups destroy the effect. Mist is the only touch-up allowed.
Midday misting rehydrates the layers and reactivates the glow, since the water wakes up the humectants sitting on your skin. Blot excess oil first with blotting paper, then mist lightly; spraying over oil just moves it around. The refreshed finish often looks better than the morning application, as the layers have fully melded by then.
Never reach for powder at touch-up time; even one application creates a matte patch that breaks the uniform glass. If shine crosses from glowy to greasy, blotting papers are the only correction allowed. Keep the mist and blotting papers together in your bag as a dedicated glass-skin touch-up kit; the two tools handle every midday scenario.
Night Routine Matters
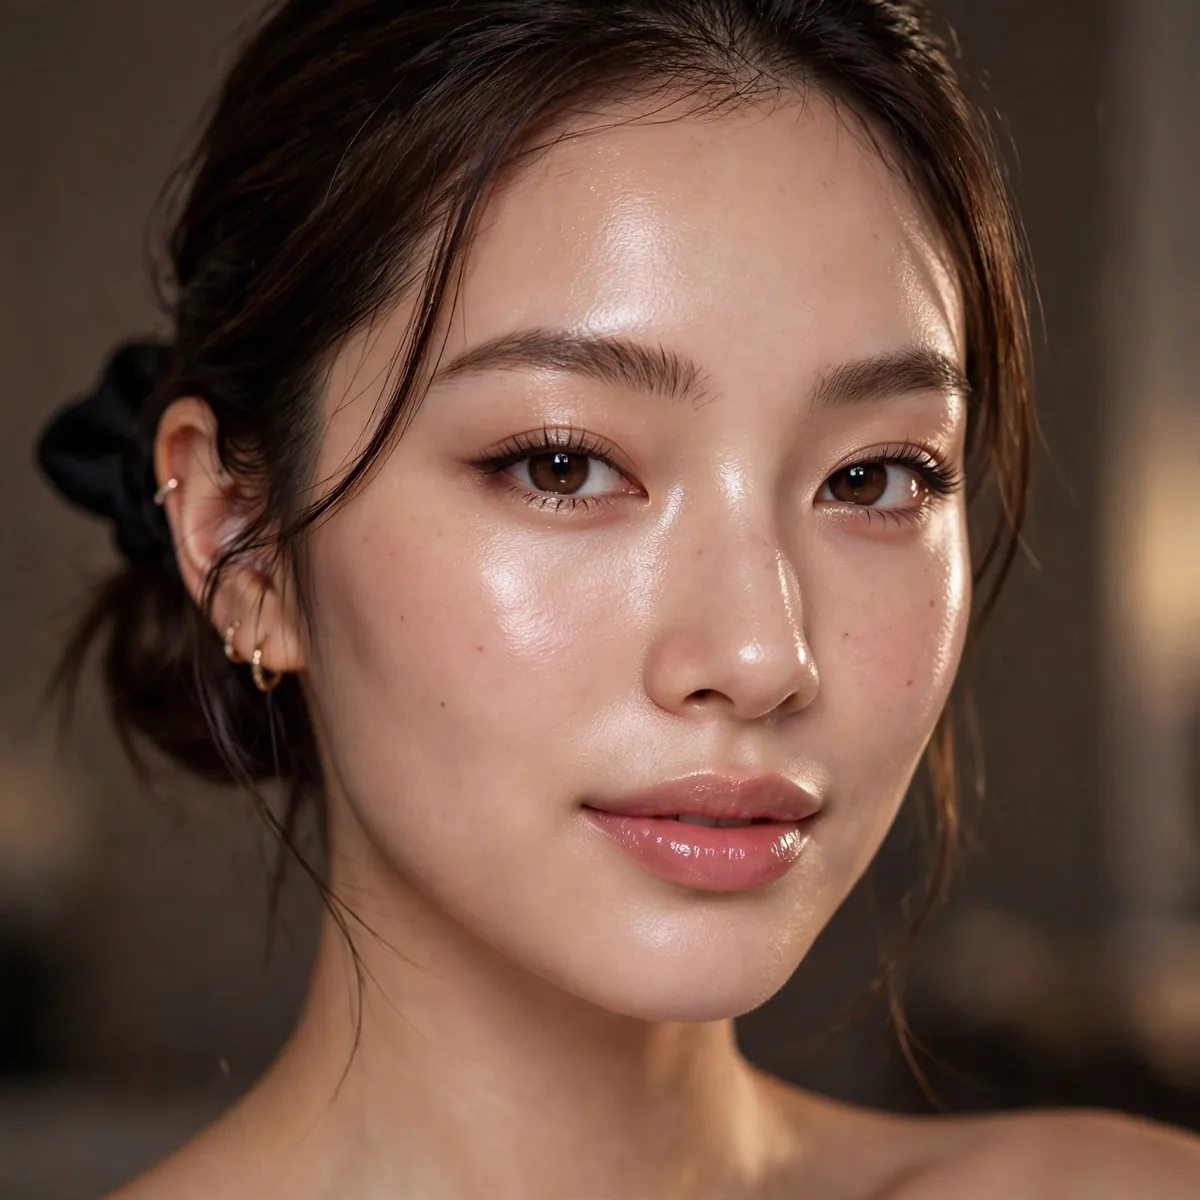
Overnight hydration determines morning glass potential.
Sleeping masks and rich night creams build the base. Glass is a 24-hour project.
Overnight is when skin does its deepest repair, so a rich night cream or sleeping mask loaded with ceramides and peptides builds the plump, even base that morning glass requires. Apply your heaviest hydrating layers at night without worrying about makeup compatibility; this is skincare's unrestricted shift. Consistency matters more than any single product; nightly effort compounds.
Those chasing glass should also consider a humidifier in dry climates, since parched overnight air undoes the work of rich products. Silk pillowcases reduce friction that can irritate freshly treated skin. Think of the night routine as laying the foundation and the morning routine as polishing it; neither works well without the other.
The Glass Confidence
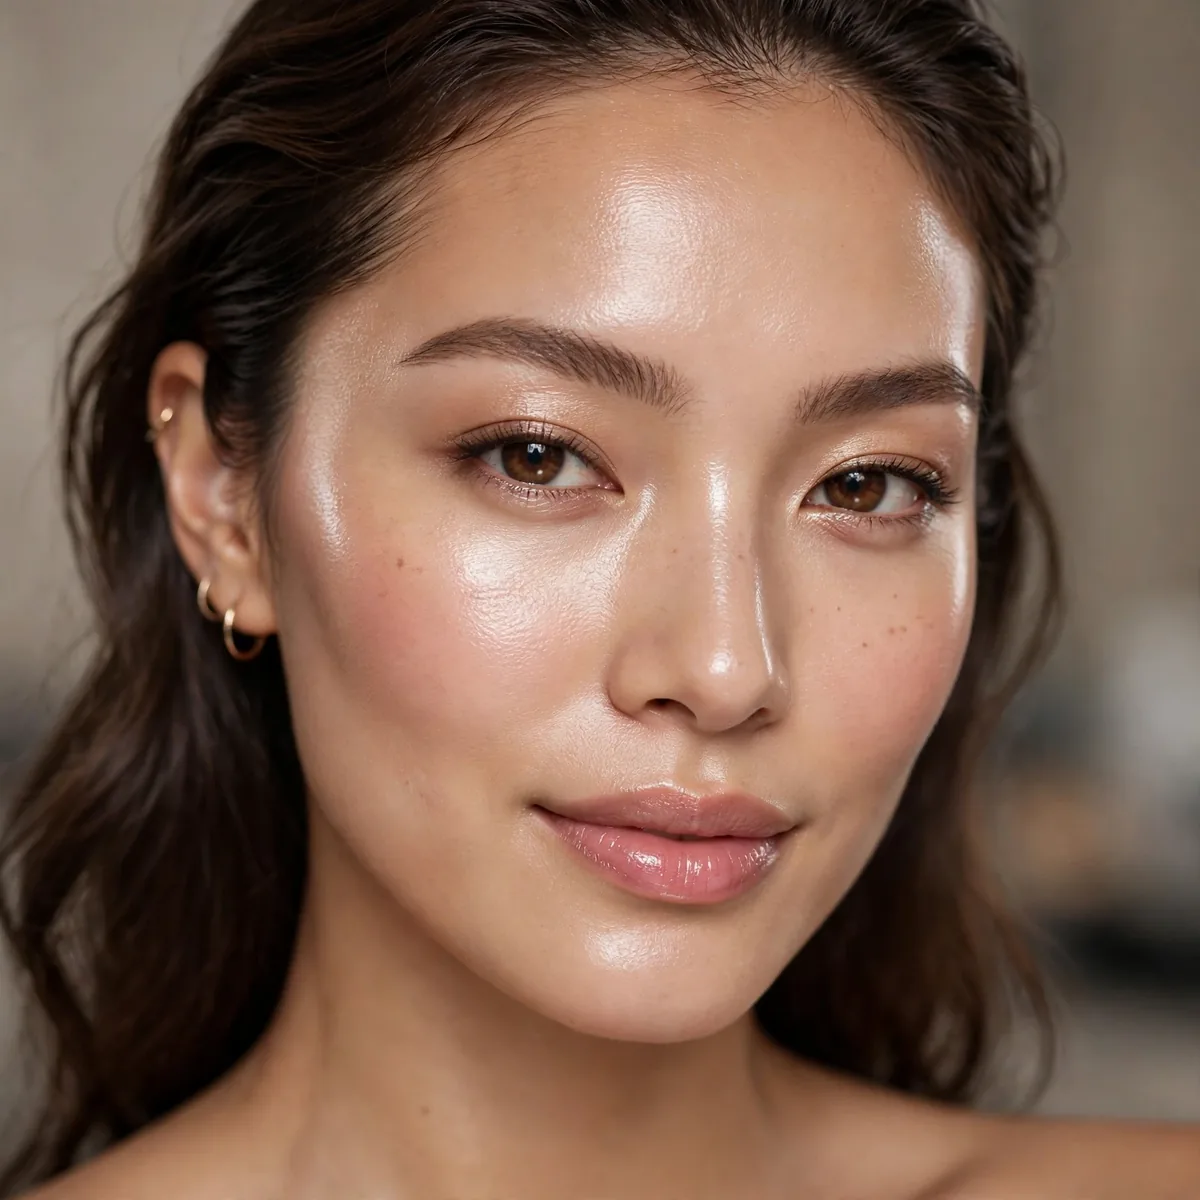
Glass skin requires confidence — the sheer base shows real skin.
For dry-skin glass, our dewy looks guide adapts. Trust the process; the glow is worth it.
Sheer bases reveal freckles, redness, and texture that full coverage would hide, which is precisely why the look reads as confident; it signals comfort in your own skin. Reframe imperfections as the texture that makes glass look real rather than filtered. The glow draws the eye first anyway; nobody studies your pores when your skin is luminous.
Start wearing glass on low-stakes days to build comfort before debuting it at events. Pair the sheer base with one polished feature, a bold lip or defined brow, if bareness feels too exposed; the contrast keeps the look intentional. Confidence with glass skin grows like a muscle: each wear makes the next one easier.
Glass is a lifestyle — pin this routine. For everyday radiance, see dewy looks for dry skin, or perfect highlight placement.




