
Skin-like foundation is the hardest finish to achieve — and the most rewarding.
The paradox: natural-looking base requires the most technique. Sheer formulas show every mistake, so prep, shade match, and application all have to be right.
The goal is even tone with visible skin texture. Not mask, not bare — the perfect middle.
Here are 18 techniques for the skin-like finish. Let’s get into it.
Sheer Formula Selection
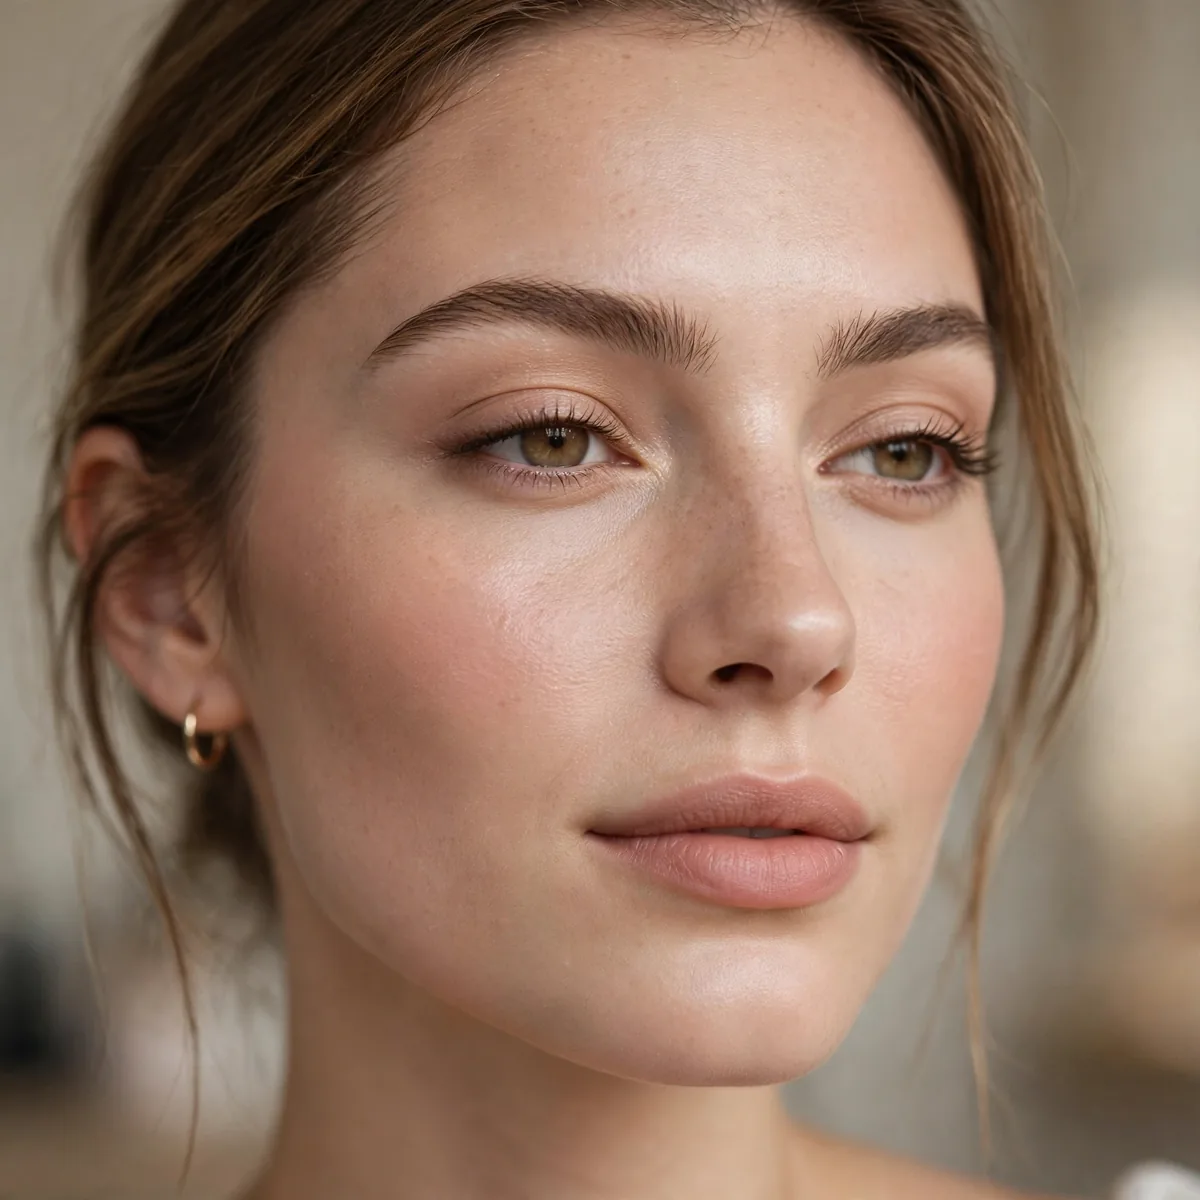
Choose sheer to light coverage — you can’t fake skin-like with full coverage.
Tinted moisturizers, skin tints, and sheer foundations are the category. Start here.
Look for skin-loving extras in the formula — hyaluronic acid and squalane keep sheer coverage from clinging to dry patches, while niacinamide quietly calms redness underneath. Dry skin types do best with dewy, serum-like textures; oily skin should reach for water-based tints that set down without sliding. Finish is the tell: a satin or natural glow reads as real skin, whereas anything overly luminous can look greasy by midday.
The most common mistake is choosing a shade slightly too light, hoping sheer coverage will forgive it — instead, skin can look ashy or ghostly, especially on medium to deep tones. Go half a shade deeper than you think if you fall between shades, and always let the formula sit for two minutes before judging, since many sheer tints oxidize. Patience beats guesswork at the counter.
Center-Out Application
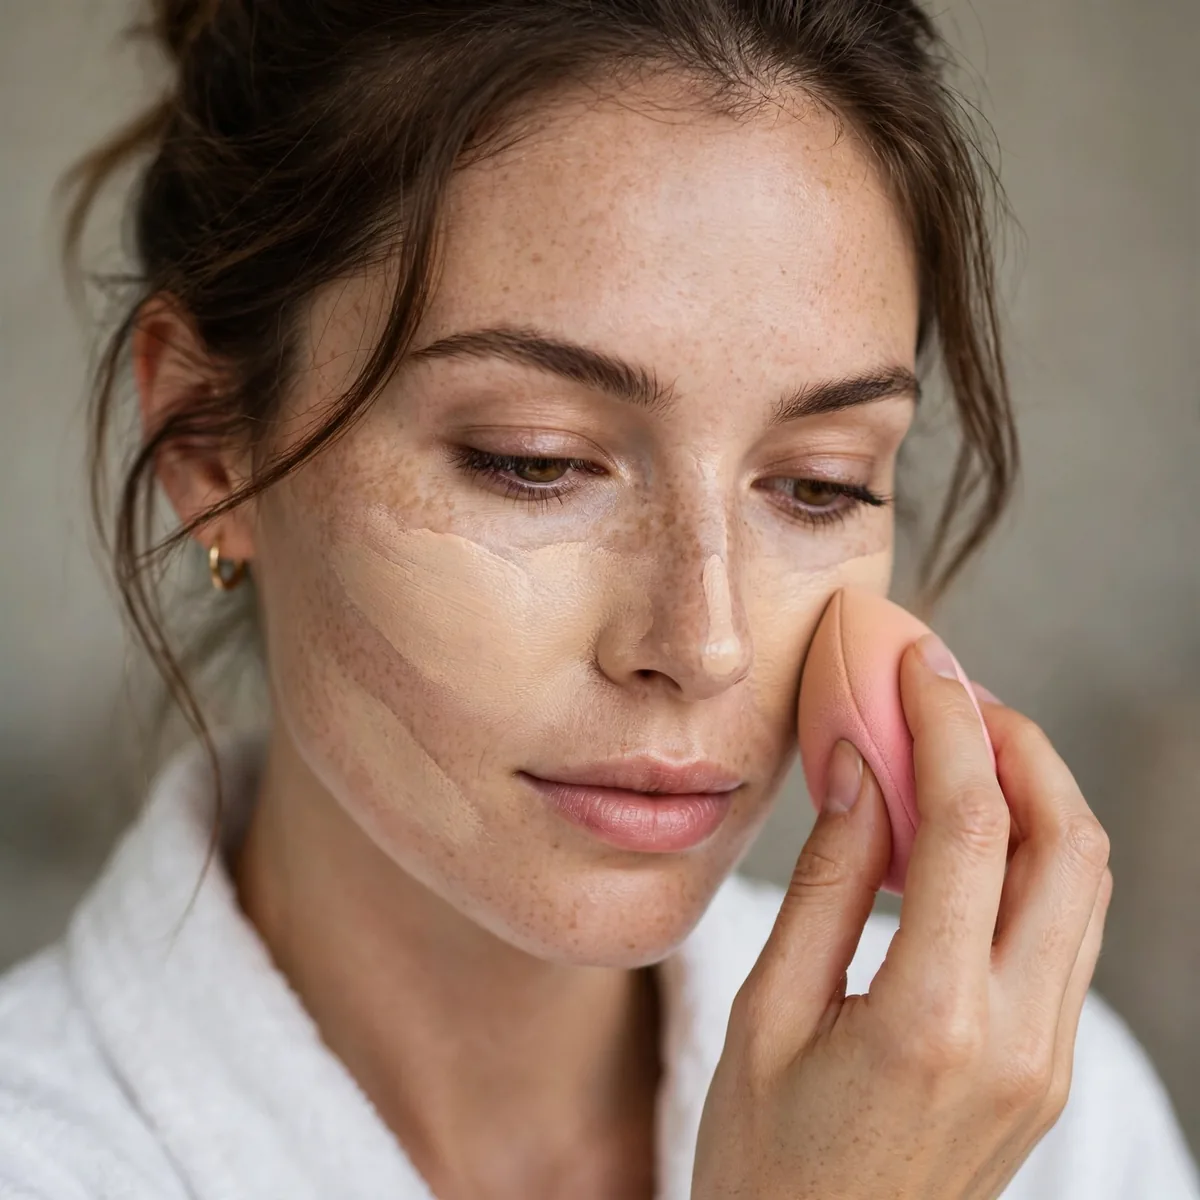
Apply most product in the center of the face, blending outward to nothing.
The center needs coverage; the perimeter doesn’t. This gradient looks naturally even.
The amount matters as much as placement — one thin pump is usually enough for the entire face, with extra dabbed only where redness lives. Work in sheer, stippled layers rather than one heavy pass, letting each layer settle for thirty seconds. The outer edges should get almost nothing: brows, hairline, and jaw corners look most natural when the product simply fades into bare skin.
Where people go wrong is repeating the same pressure across the whole face, which creates a visible mask edge near the ears and hairline. Check your blend by smoothing fingertips along the jawline — if you feel a textural ridge, you have applied too much. Keep a clean, dry sponge handy to diffuse any harsh borders without adding product. Subtraction fixes nearly every blending error.
Spot Conceal, Don’t Mask
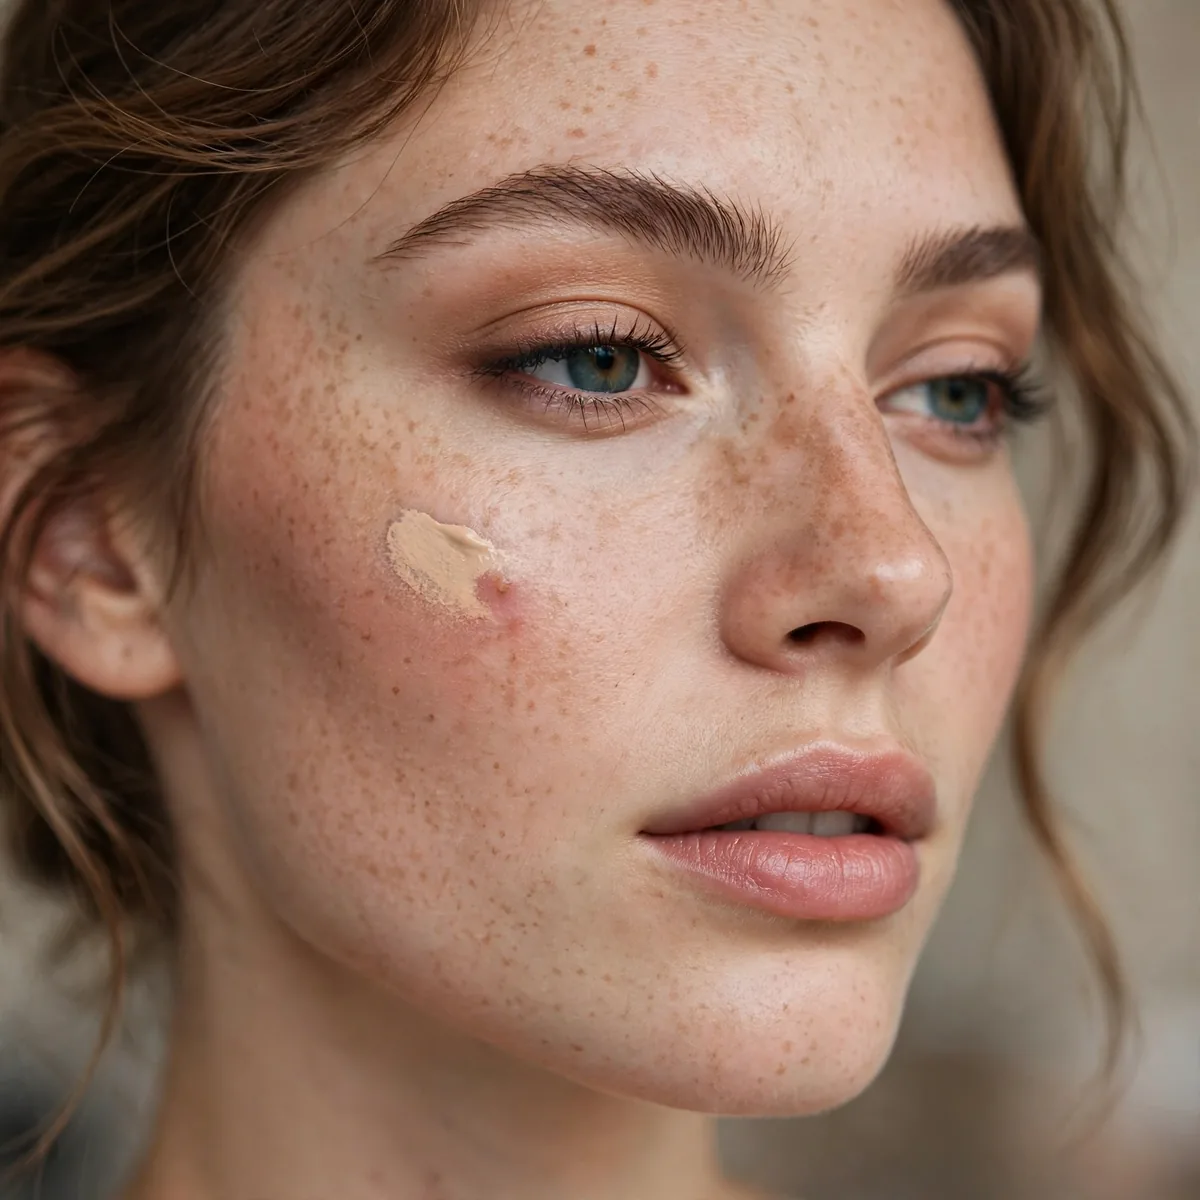
Conceal blemishes and darkness individually; keep base sheer everywhere else.
Targeted coverage plus sheer base equals natural perfection. It’s the pro approach.
Use a small, flat synthetic brush to place concealer precisely on the blemish, then feather only the outer rim so the center stays opaque. Let each dot set for about a minute before feathering — rushing smears coverage thin. Creamy, medium-coverage formulas outperform thick, drying ones here, since a chalky patch surrounded by dewy skin breaks the illusion faster than the spot itself ever could.
Targeted concealer can fade by afternoon, especially on oily zones, so carry your mini brush for touch-ups rather than dusting powder over everything. If a spot shows through again, press a fresh dot on top instead of layering heavily; thin layers bond better than thick ones. This approach also photographs beautifully, because cameras punish full-coverage masks but reward skin with visible dimension.
Fingers for Warmth
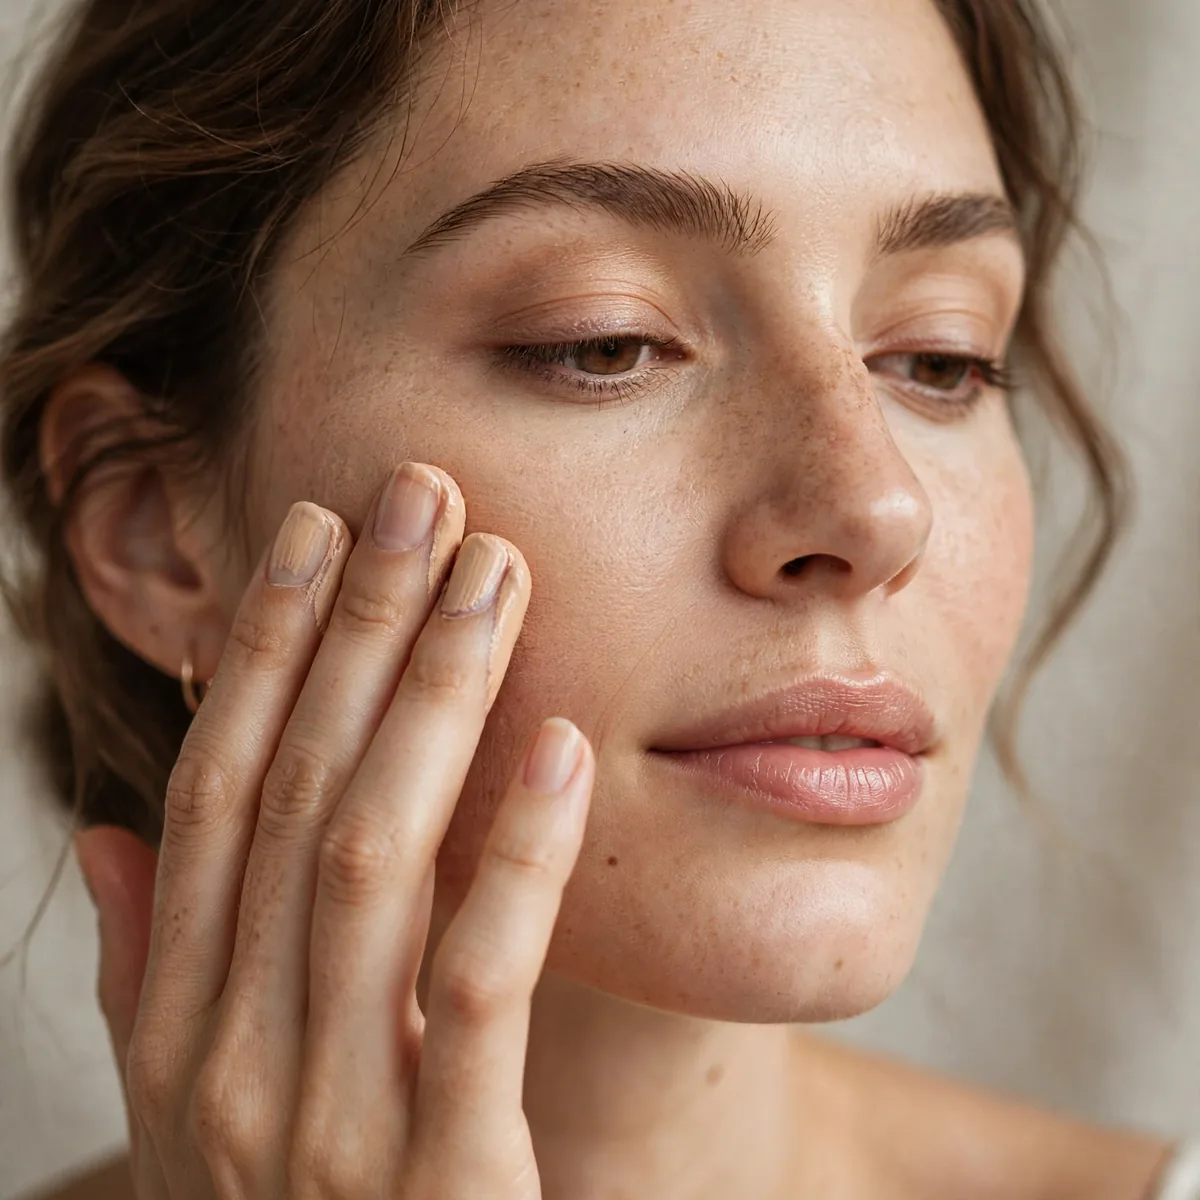
Fingers melt sheer foundation into skin better than any tool.
Body heat thins the formula slightly. The finish is uniquely skin-like.
Reserve fingertip application for days your skin is calm — active breakouts and open blemishes deserve a clean brush to avoid transferring bacteria. Start at the nose and mouth, where product is needed most, and work outward with light patting motions rather than dragging. The patting builds coverage exactly where redness concentrates, and the warmth of your skin does the blending work for you.
Fingertips excel at sheer layering but can leave streaks if you rush, so slow down and let the first layer melt in before deciding you need more. Wash your hands right before application, and skip this technique with very matte formulas, which set too fast for the warmth to matter. For cream-to-powder textures, a damp sponge remains the safer tool of choice.
The Right Shade Match
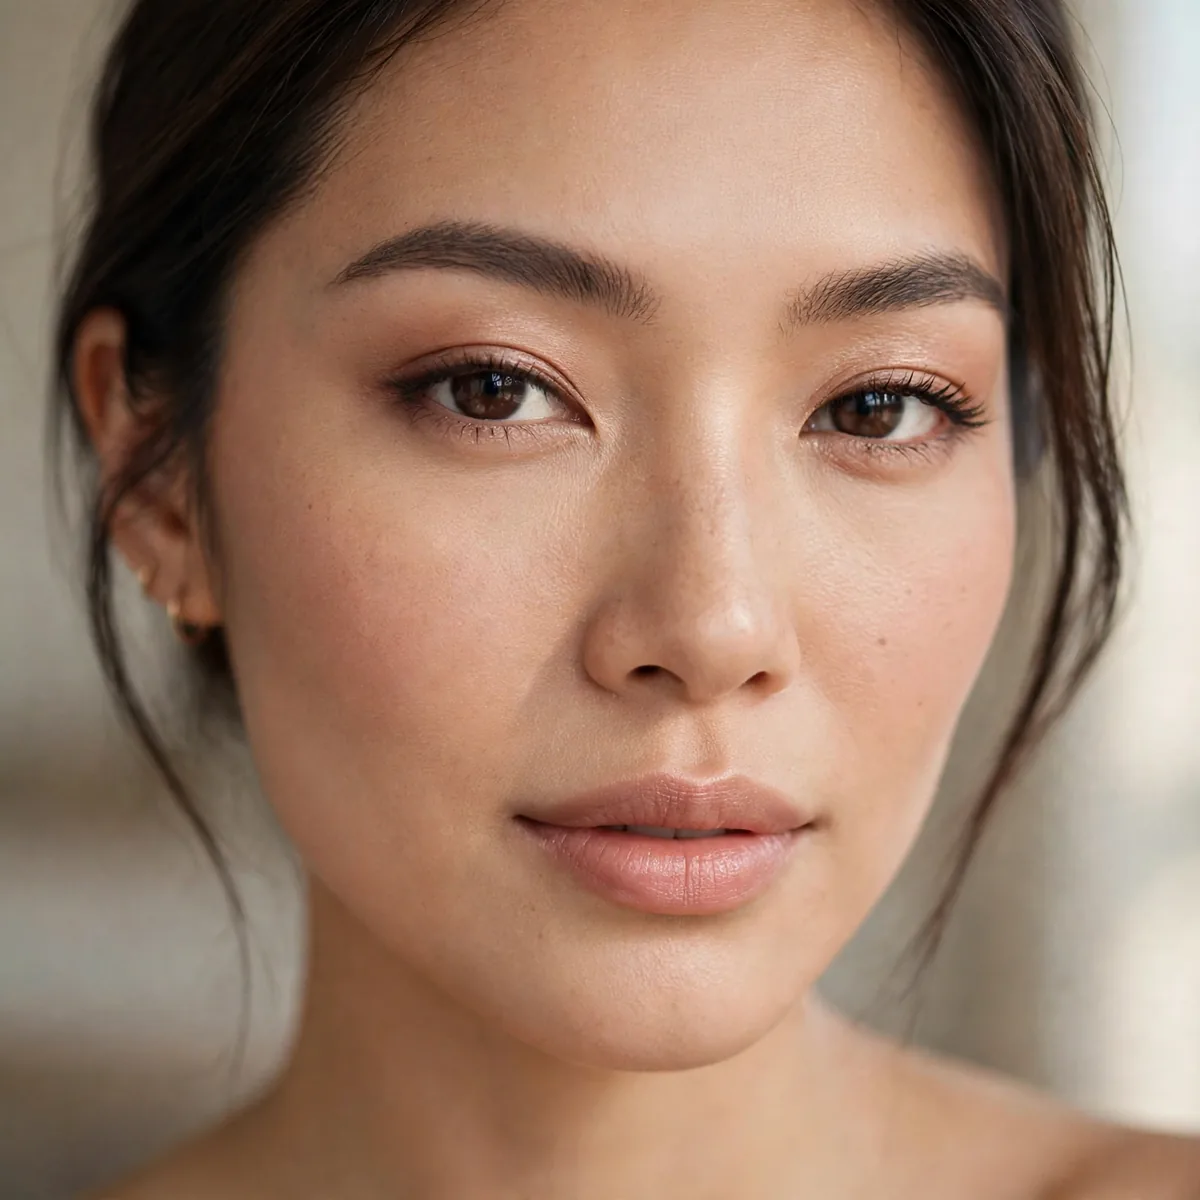
Match your jawline in natural light — the only reliable test.
Sheer formulas forgive slight mismatches, but a good match is still essential.
Test on three spots — jawline, the side of the nose, and the chest — because many people are darker through the center of the face and lighter at the perimeter. Undertone matters more than depth with sheer formulas: golden undertones glow with warm-leaning tints, while pink undertones look healthiest with neutral or cool options. When torn, choose the shade that disappears on the jawline, not the one that looks prettiest in the bottle.
Store lighting lies, especially fluorescent fixtures that wash out warmth and flatter cool tones artificially. After swatching, walk to the nearest window or step outside — true daylight reveals mismatches that indoor mirrors hide. Snap a quick photo with the flash on, too; cameras exaggerate undertone clashes your eyes might forgive. The shade that survives daylight, flash, and the jawline test is the one to take home.
Mix With Moisturizer
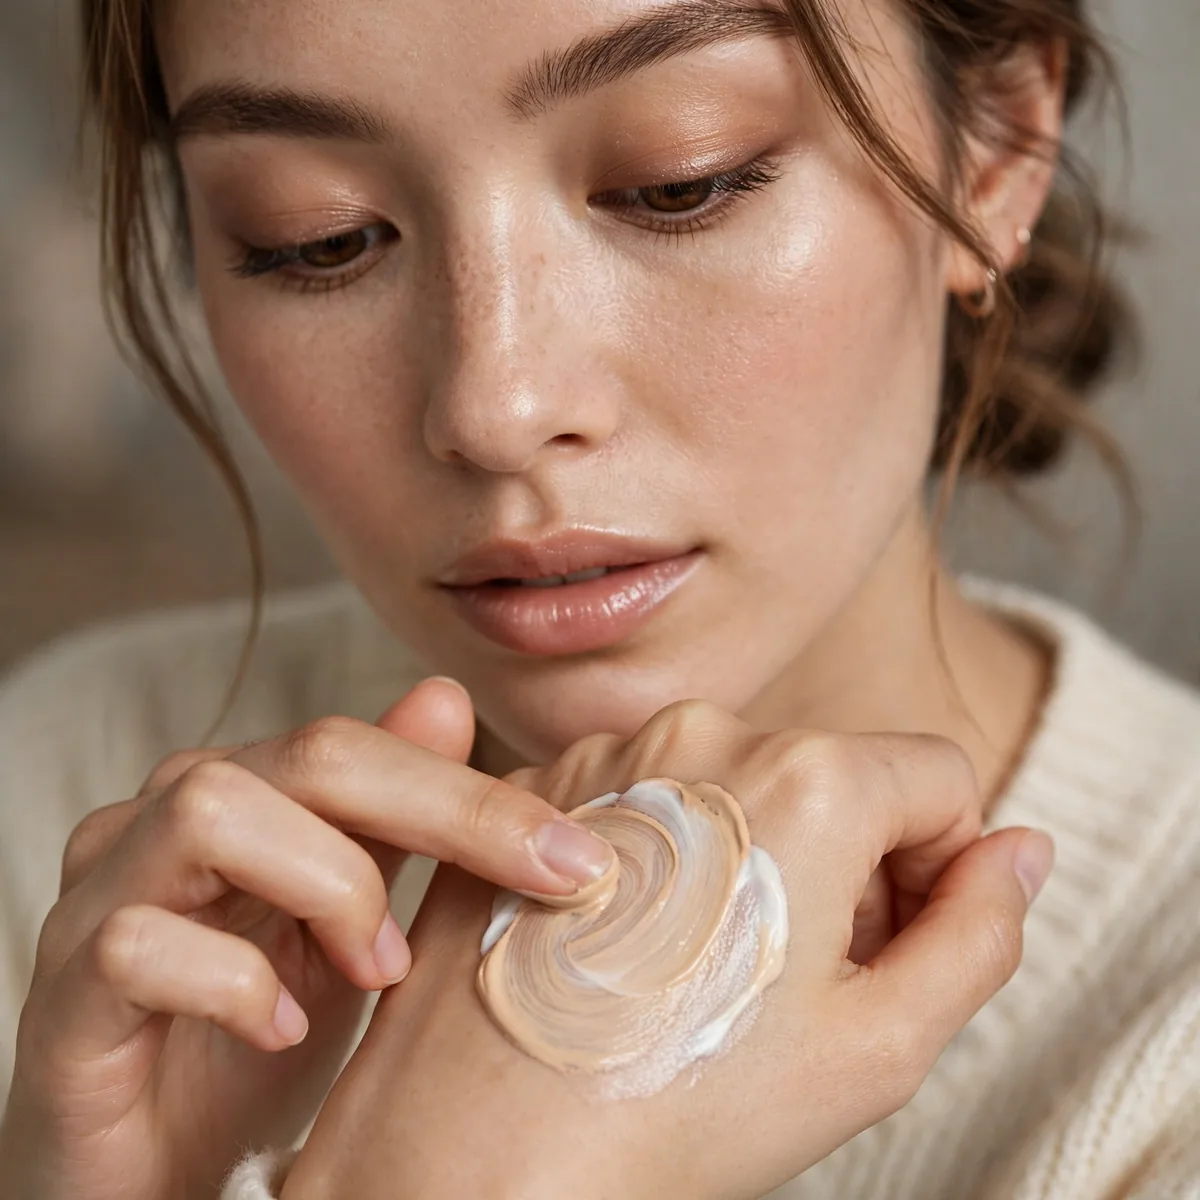
Sheer out any foundation by mixing with moisturizer 50/50.
The DIY skin tint. It works with products you already own.
Adjust the ratio to your skin type instead of defaulting to equal parts: dry skin can push toward more moisturizer for a luminous tint, while oily skin should keep foundation dominant so the mix does not slide. Use a gel moisturizer if you lean oily, a richer cream if you lean dry. Mix on the back of your hand so you can tweak the blend before it touches your face.
One caveat: mixing dilutes everything, including any SPF claim on the foundation, so do not count the blend as sun protection. Apply your sunscreen first, let it set for five minutes, and treat the DIY tint purely as color. Also avoid mixing with heavy facial oils if you want longevity — oil thins the film and speeds up breakdown around the nose and chin by midday.
Skip the Primer (Sometimes)
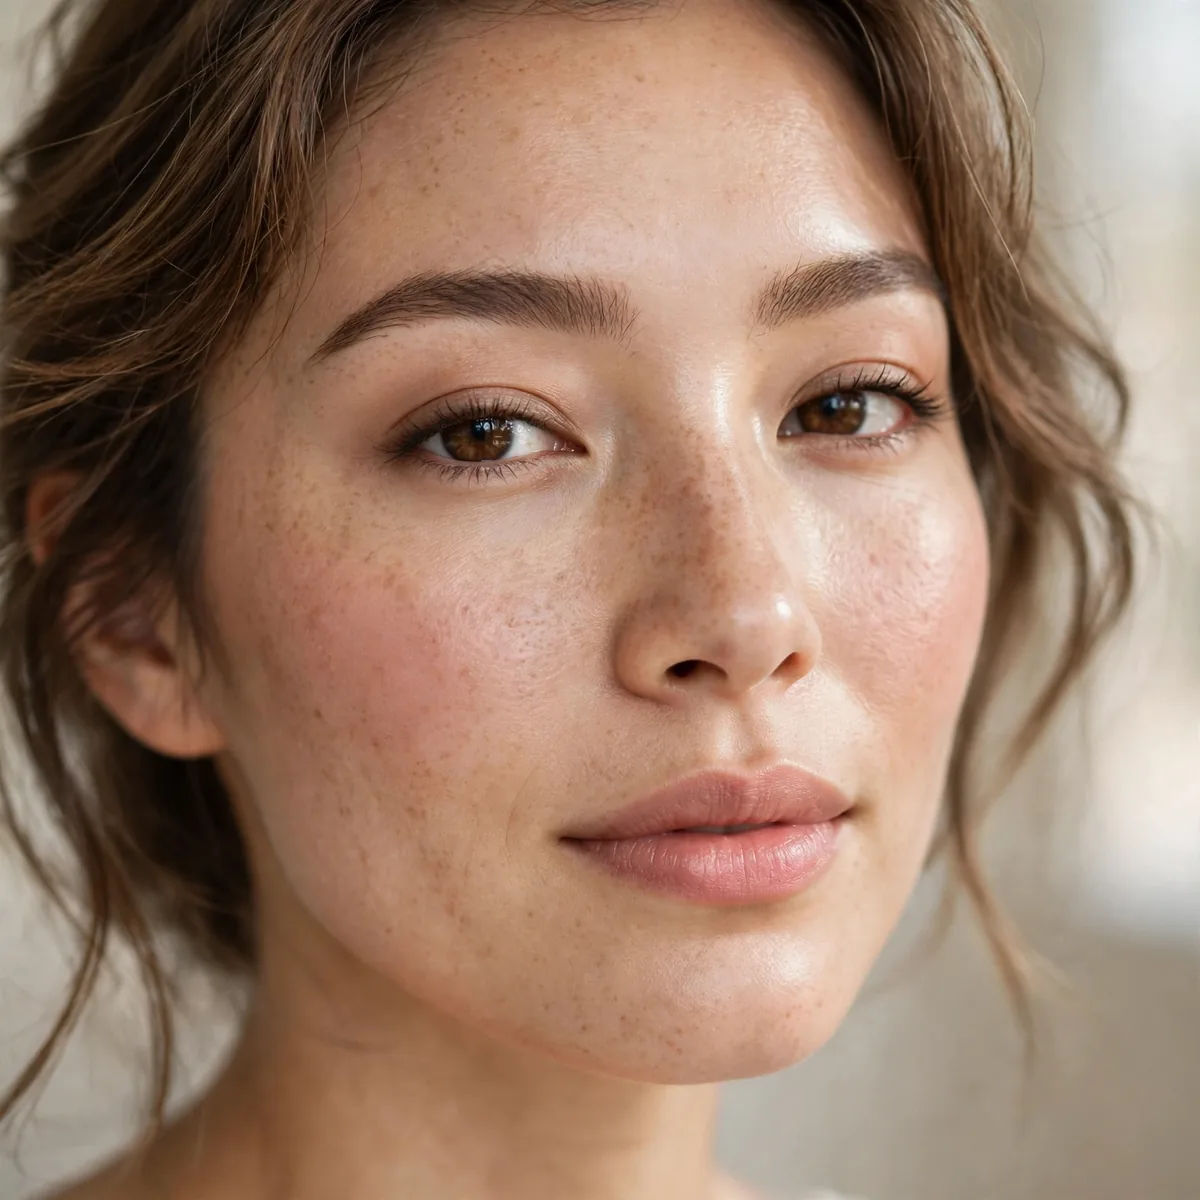
Well-moisturized skin sometimes needs no primer for sheer looks.
Fewer layers equals more skin-like. Skip steps that don’t earn their place.
Primer still earns its place in specific cases — enlarged pores around the nose, an oily T-zone, or a long event day all benefit from a targeted, mattifying primer applied only where needed. Think of primer as a spot treatment rather than a full-face requirement. Silicone-heavy primers can also pill under sheer formulas, so if you skip it, you sidestep one of the most common texture complaints entirely.
If you skip primer, your moisturizer has to do heavier lifting, so choose one with staying power rather than a lightweight splash that evaporates by noon. Hyaluronic acid serums layered under a good cream create the smooth, plump canvas primer used to fake. Give the skincare ten minutes to absorb before foundation — applying base over tacky, unset cream is what causes pilling and patchiness.
No Powder Finish
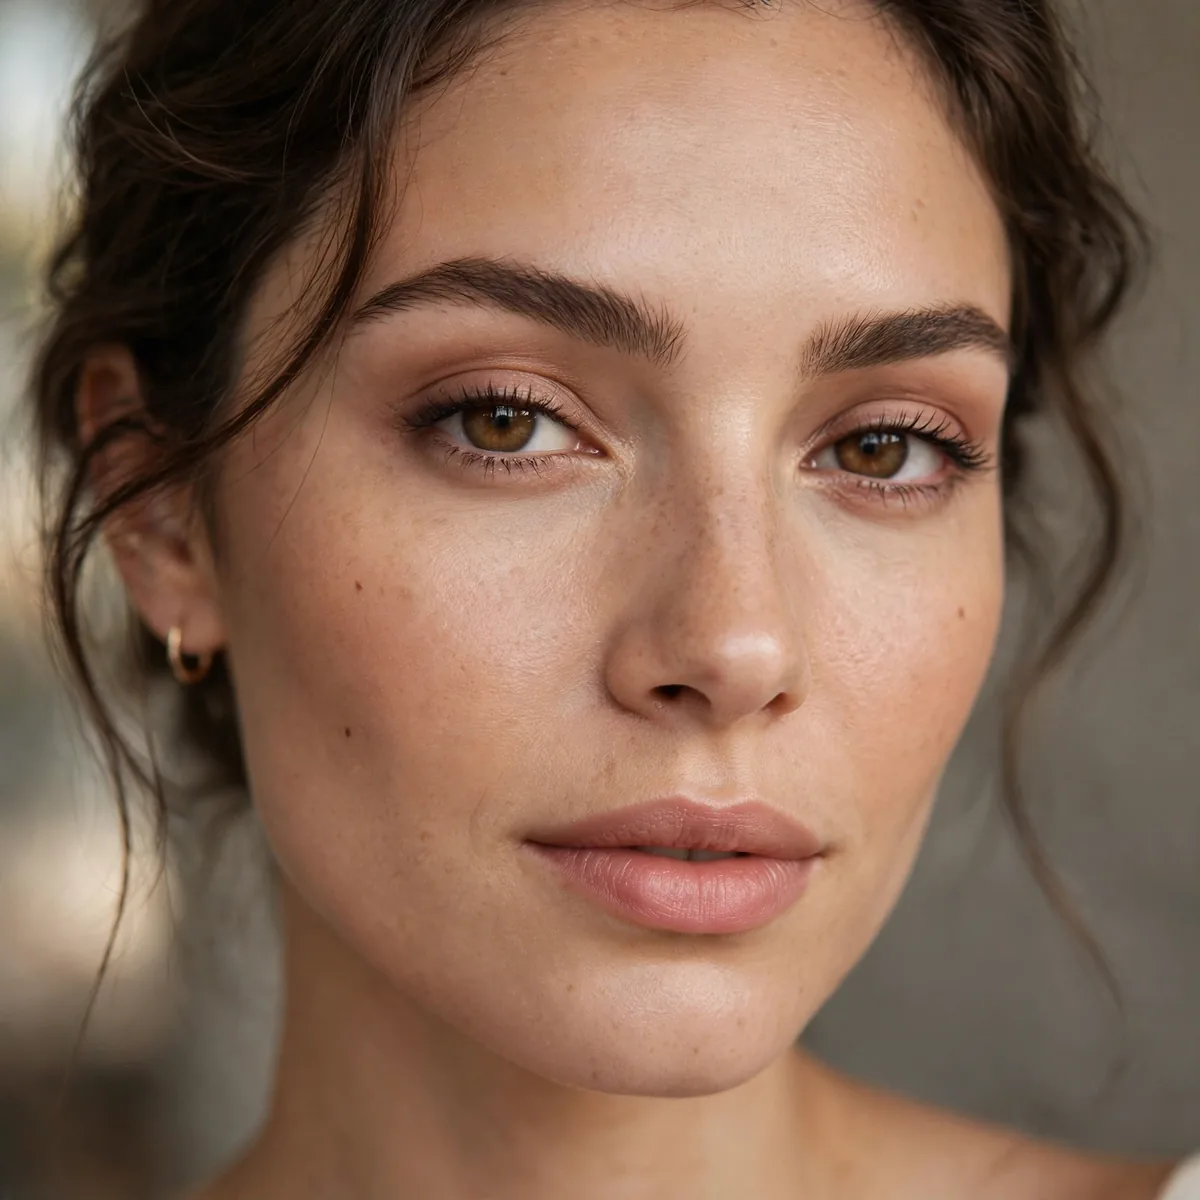
Skip powder entirely for the most skin-like finish.
Powder is what makes base look like makeup. No powder, no makeup look.
Oily skin types need a strategy beyond sheer willpower: press a single translucent blot into only the T-zone and leave the cheeks untouched, or use blotting papers at midday instead of a morning powder. Another trick is choosing a sheer foundation with a naturally satin set-down, so the formula self-mattifies slightly without help. You keep the skin-like finish while quietly managing shine.
There is a difference between a luminous sheen and an oil slick, and knowing it saves the no-powder approach. Sheen sits high on the cheekbones and catches light beautifully; slickness pools in pores and around the nose. If your finish tips into slick territory, a single press of a clean tissue resets it without depositing product. Control, not elimination, is the goal.
Cream Products Only
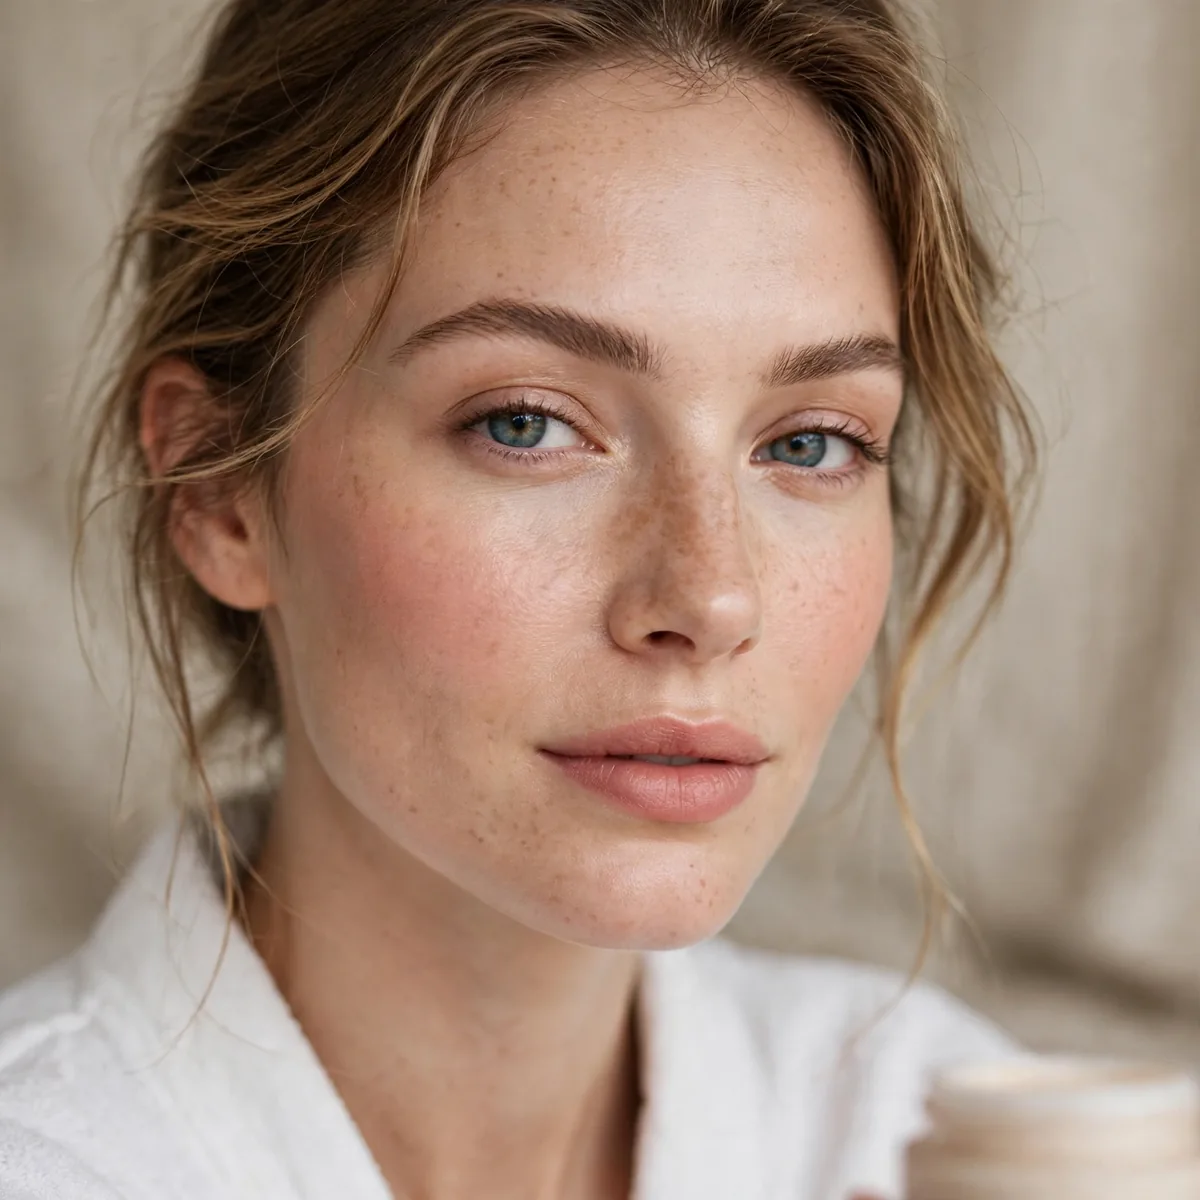
Pair sheer base with cream blush and bronzer — no powders anywhere.
Our powder vs cream guide explains why. Creams maintain the skin illusion.
Apply cream blush and bronzer with a damp sponge in thin, stippled layers, building color gradually so it melts into the sheer base rather than sitting on top. Start behind the apples of the cheeks and sweep upward — color placed too low drags the face down. Because creams stay movable for a few minutes, you can sheer out mistakes with the clean side of the sponge before anything sets.
Order of application protects the illusion: sheer base first, then cream blush, then cream bronzer, then a final press of setting mist. Reversing the order — bronzer before blush, for instance — can muddy the tones into one flat layer. Keep a light hand near the center of the face; concentrated cream color on the nose and chin reads as flush gone wrong rather than natural warmth.
The Damp Sponge Press
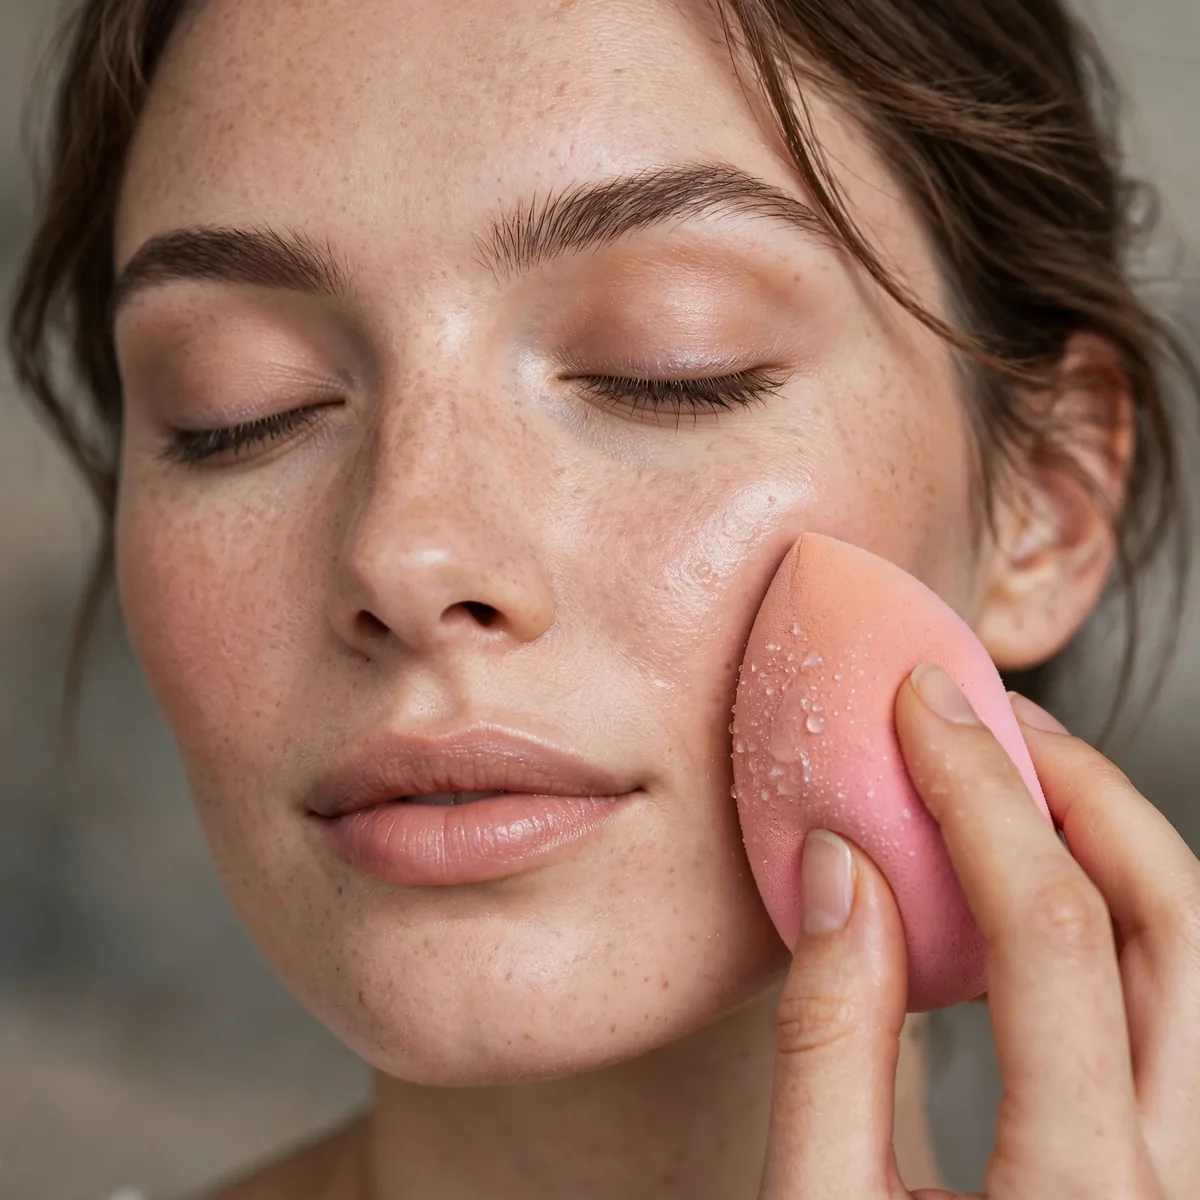
Press (don’t swipe) with a damp sponge for seamless blending.
Pressing deposits; swiping moves. The press is what creates invisibility.
Dampness level is everything — wring the sponge until it feels cool and barely moist, not wet, since excess water dilutes sheer formulas into patchiness. A sponge that is too dry drags and lifts product, defeating the purpose. Bounce, do not roll: the stippling motion presses pigment into the skin while the tiny bit of moisture helps the edges diffuse invisibly.
Sponge hygiene directly affects a sheer finish, because a dirty sponge deposits old product unevenly and can trigger breakouts that ruin the natural look. Rinse with gentle soap after every use and replace the sponge every one to two months. Store it in a ventilated spot, not a sealed makeup bag — trapped moisture breeds bacteria fast, and a musty sponge is a breakout waiting to happen.
Under-Eye Lightness
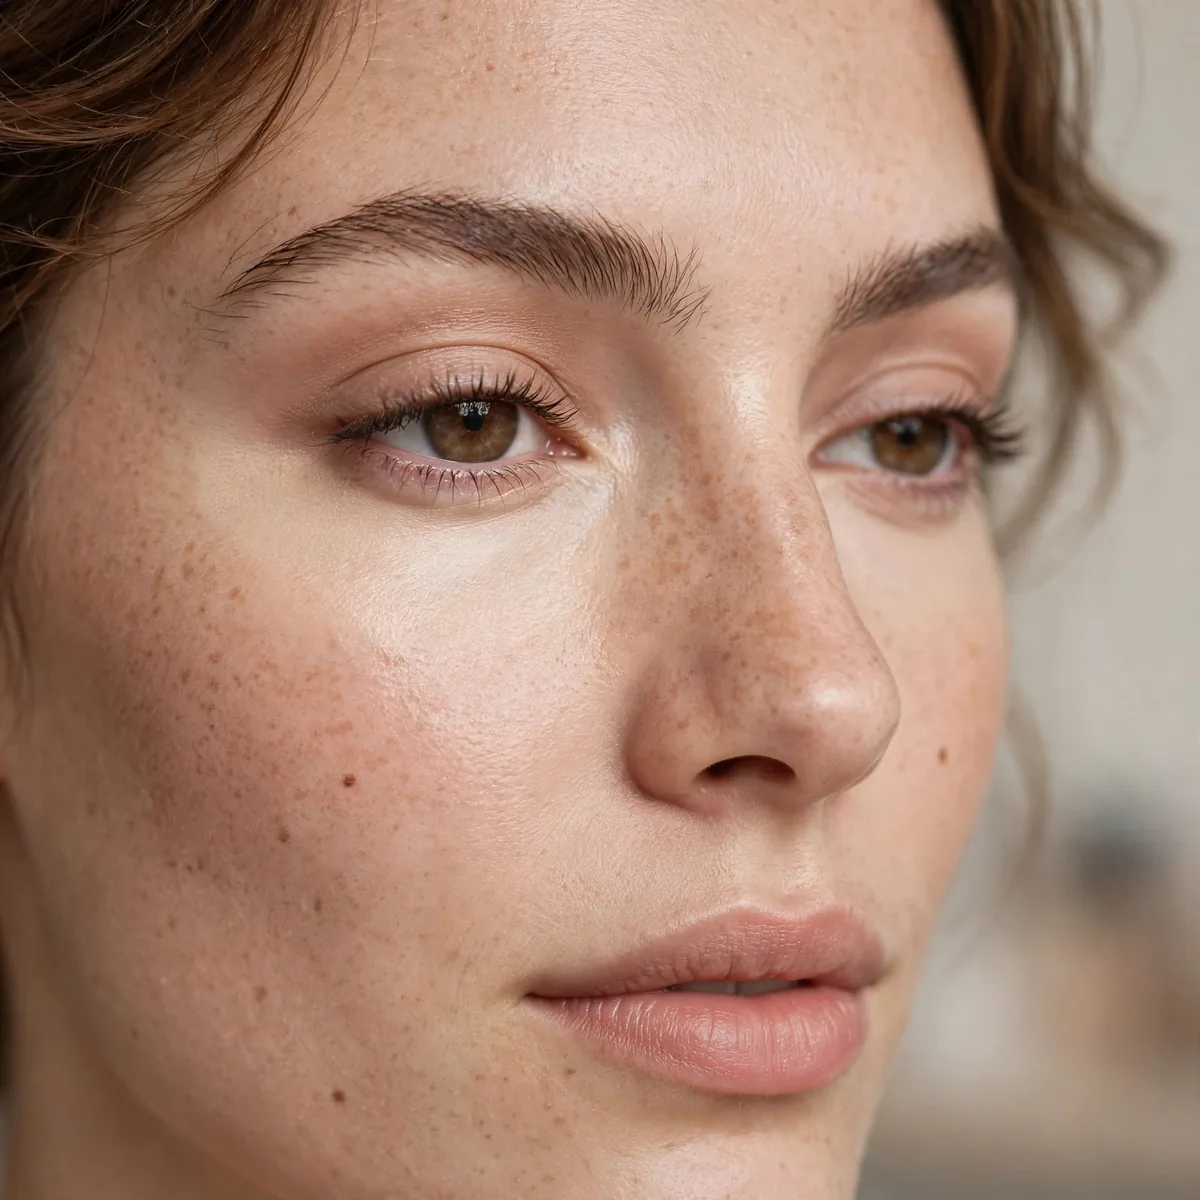
Use minimal under-eye product — heavy concealer breaks the illusion.
Brighten, don’t mask. The under-eyes should look rested, not covered.
Choose a hydrating, peach-leaning corrector under a featherweight concealer if darkness is the issue — peach neutralizes blue-purple shadows so you need far less product overall. Apply only to the inner corner and the darkest hollow, then blend the edges outward into nothing. The triangle-of-light technique belongs to full glam; for natural looks, less real estate covered means more believable brightness.
Going too light under the eyes is the classic giveaway — a shade paler than your skin creates reverse-raccoon circles that scream concealer. Stay within half a shade of your foundation, and skip brightening powders that add a chalky cast. If creasing is your concern, press the tiniest amount of finely milled translucent powder only into the crease line with a fingertip, leaving the rest untouched.
Set With Mist
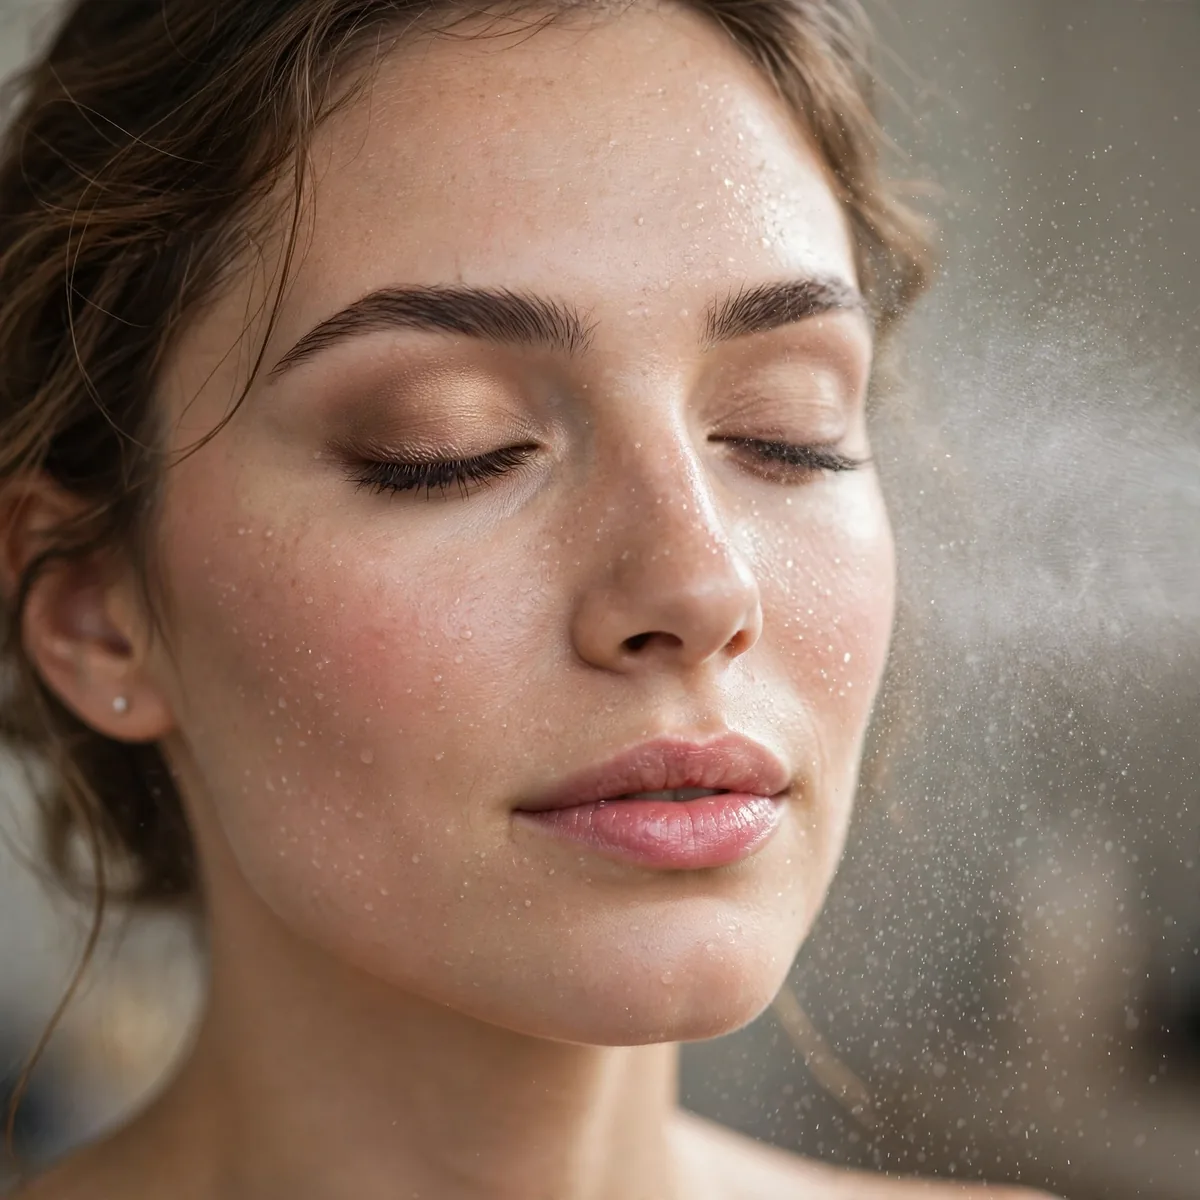
A hydrating mist melts everything into one skin-like layer.
The mist is the final blending step. It unifies base, concealer, and cream products.
Not all mists do the same job — hydrating mists with glycerin or rosewater melt powdery edges and boost glow, while true setting sprays lock makeup down with polymers. For a natural base, a hydrating mist first, followed by a light setting mist if you need longevity, gives both fusion and hold. Hold the bottle eight inches away and mist in an X pattern so the application stays even and never splotchy.
Keep a travel-size mist in your bag for midday revival — one light spritz re-melts base that has started to separate around the nose and refreshes cream blush without adding layers. Let it air-dry rather than fanning, which can disturb the finish. This trick rescues a natural base far better than powder touch-ups, which pile up and turn skin-like into mask-like by evening.
Visible Freckles Rule
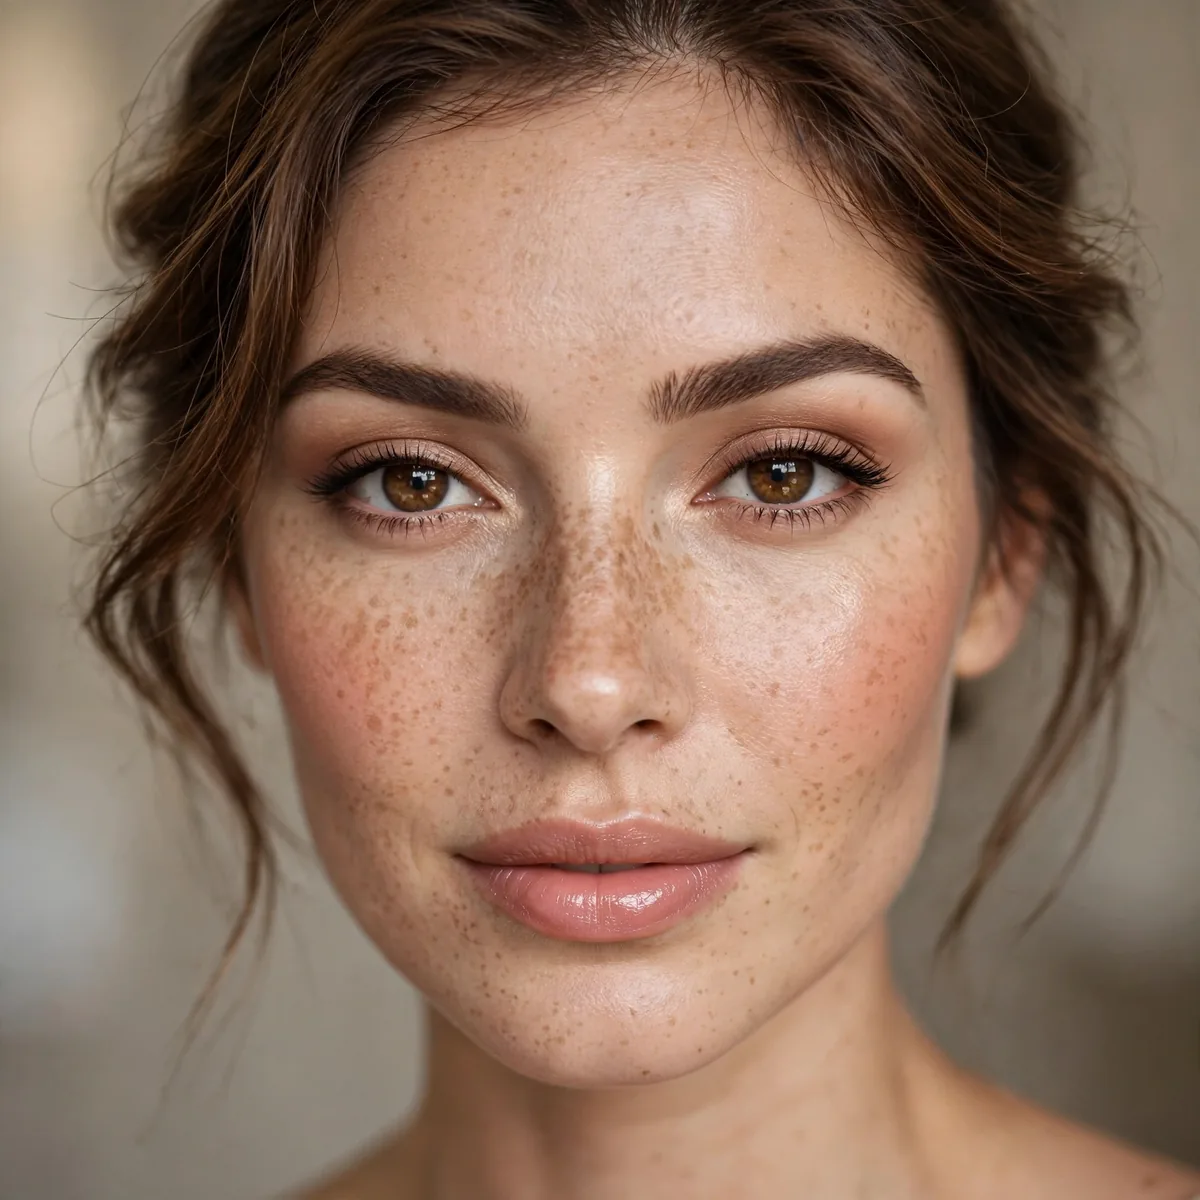
Let freckles and moles show through — they’re what make it look like skin.
Covering every mark is what creates the mask. Selective coverage is the art.
This approach suits skin with character — freckles, beauty marks, and light scarring all read as authentic texture that cameras and people trust. If you have active acne, though, selective coverage still applies: conceal the blemishes individually while letting the surrounding freckles show. The contrast actually helps, because visible natural markings convince the eye that the concealed spots are simply not there.
If a particular cluster of freckles bothers you, sheer them down rather than erasing them — one whisper-thin layer of tint over that area softens without masking. Total erasure is what triggers the uncanny, filtered look. Remember that freckles darken slightly under sheer coverage as the formula oxidizes, so judge the result after ten minutes, not the second you finish blending.
The Second-Skin Check
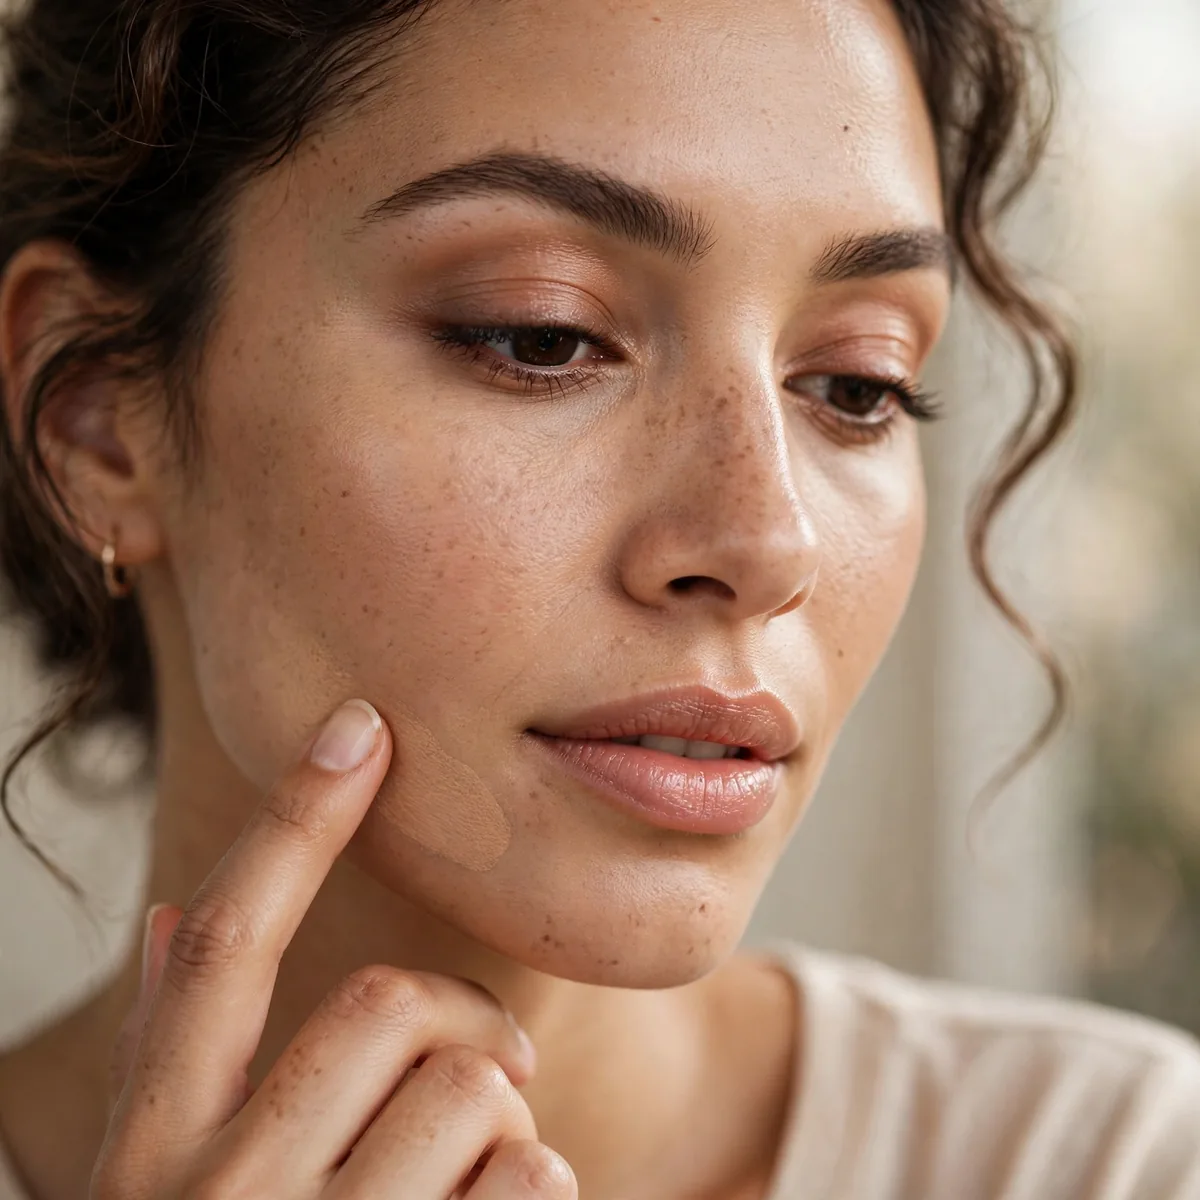
Check in natural light and from a distance — that’s how others see it.
Close-up mirror checks lie. Distance and daylight tell the truth.
Your phone camera is the most honest critic — take a selfie in daylight with the rear camera and zoom in on the jawline and around the nose, where edges betray themselves. What looks seamless in the mirror often shows a faint mask line on camera. If you spot one, blend outward with a clean sponge and recheck; two minutes of phone-checking saves hours of wearing an obvious base.
Check under at least two light sources, because a base that looks perfect in warm bathroom light can turn orange or ashy in office fluorescents. Step outside if you can — overcast daylight is the gold standard for judging true tone. Also glance from a few feet away in a full-length mirror; foundation is judged by other people at conversation distance, never at the six inches your vanity mirror allows.
Blot, Don’t Powder
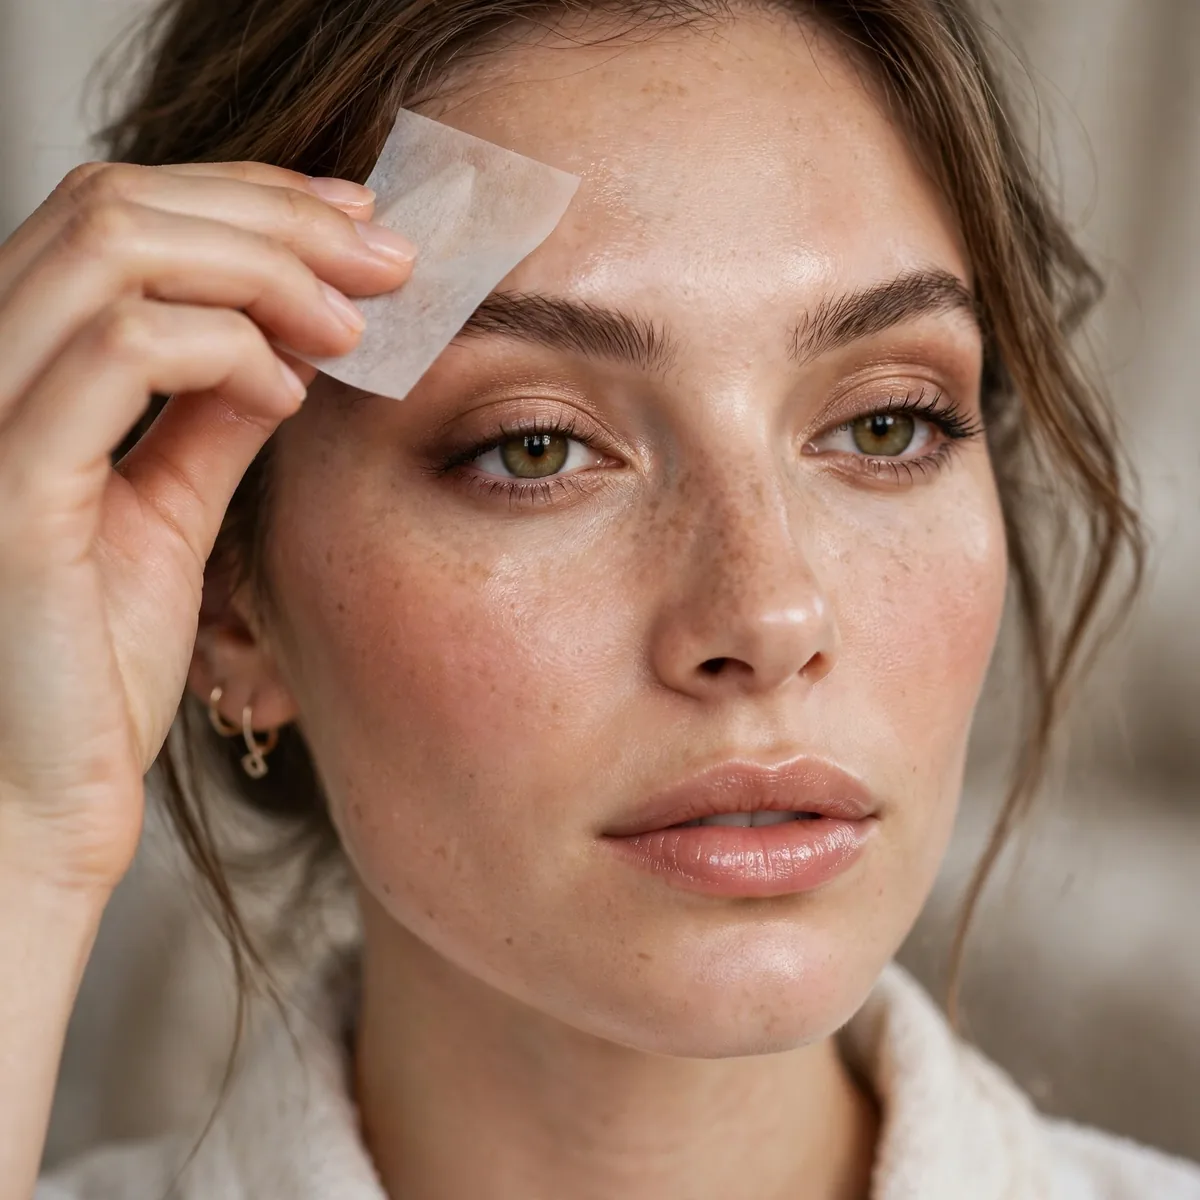
Blot shine instead of powdering to maintain the skin finish.
Powder breaks the illusion; blotting preserves it. Keep papers handy.
Focus blotting on the shine-prone triangle — forehead, nose, and chin — and leave the high planes of the cheeks alone, since their natural sheen is what reads as healthy skin. Press the paper gently for five seconds per spot rather than rubbing, which disturbs the base. One sheet usually suffices; reaching for a second is your signal that a mattifying skincare step is missing in the morning.
Over-blotting is a real mistake — pressing repeatedly into the same spot lifts foundation and leaves a dull, patchy area that looks worse than the shine did. If one press does not fix it, the base has broken down and needs a light re-press with a damp sponge, not more paper. Blotting preserves finish; it cannot repair it, so know when to stop and refresh instead.
Evening Adaptation
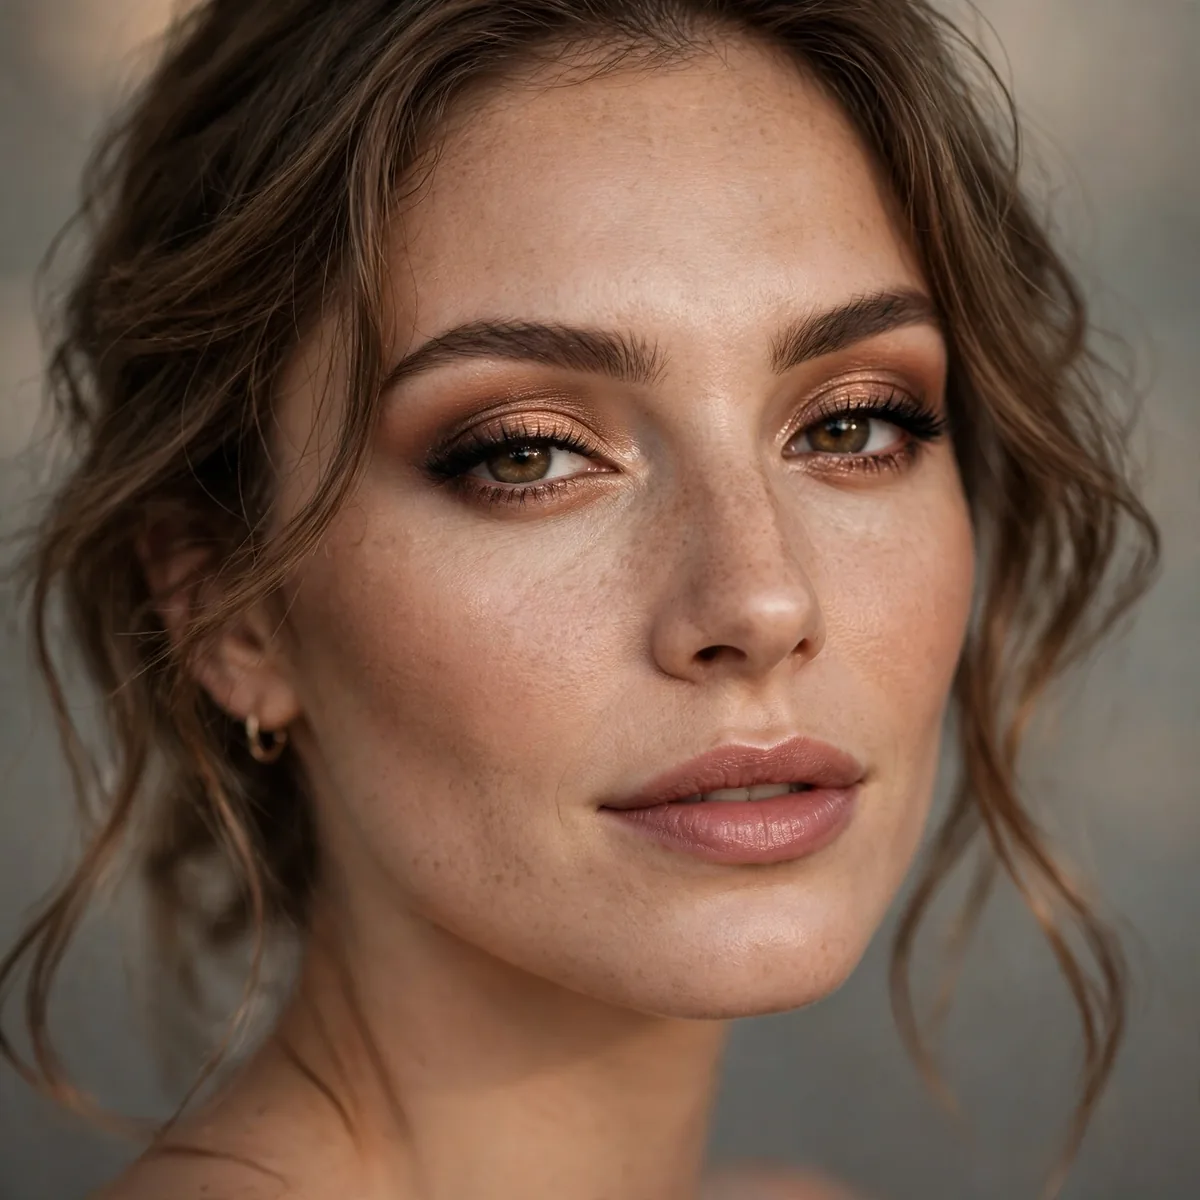
For evening, add coverage only where needed — keep the sheer philosophy.
Evening natural means slightly more perfected, not a different routine.
Evening calls for selective upgrades rather than a routine swap: add a touch more concealer under the eyes, deepen the cream bronzer slightly, and define the lash line with tightlining so features read in dimmer light. A bolder lip or a wash of shimmer on the lids does the heavy lifting while the base stays sheer. The result looks like you, but candlelit.
Flash photography is the evening-specific hazard — sheer bases with SPF can flash back white in photos, so choose a low-SPF or SPF-free foundation for night events. Skip HD silica powders entirely if you use any, and do a test flash selfie before leaving. Slightly deeper blush also photographs better at night, since dim lighting mutes color more than you expect.
Skin Prep Is Everything
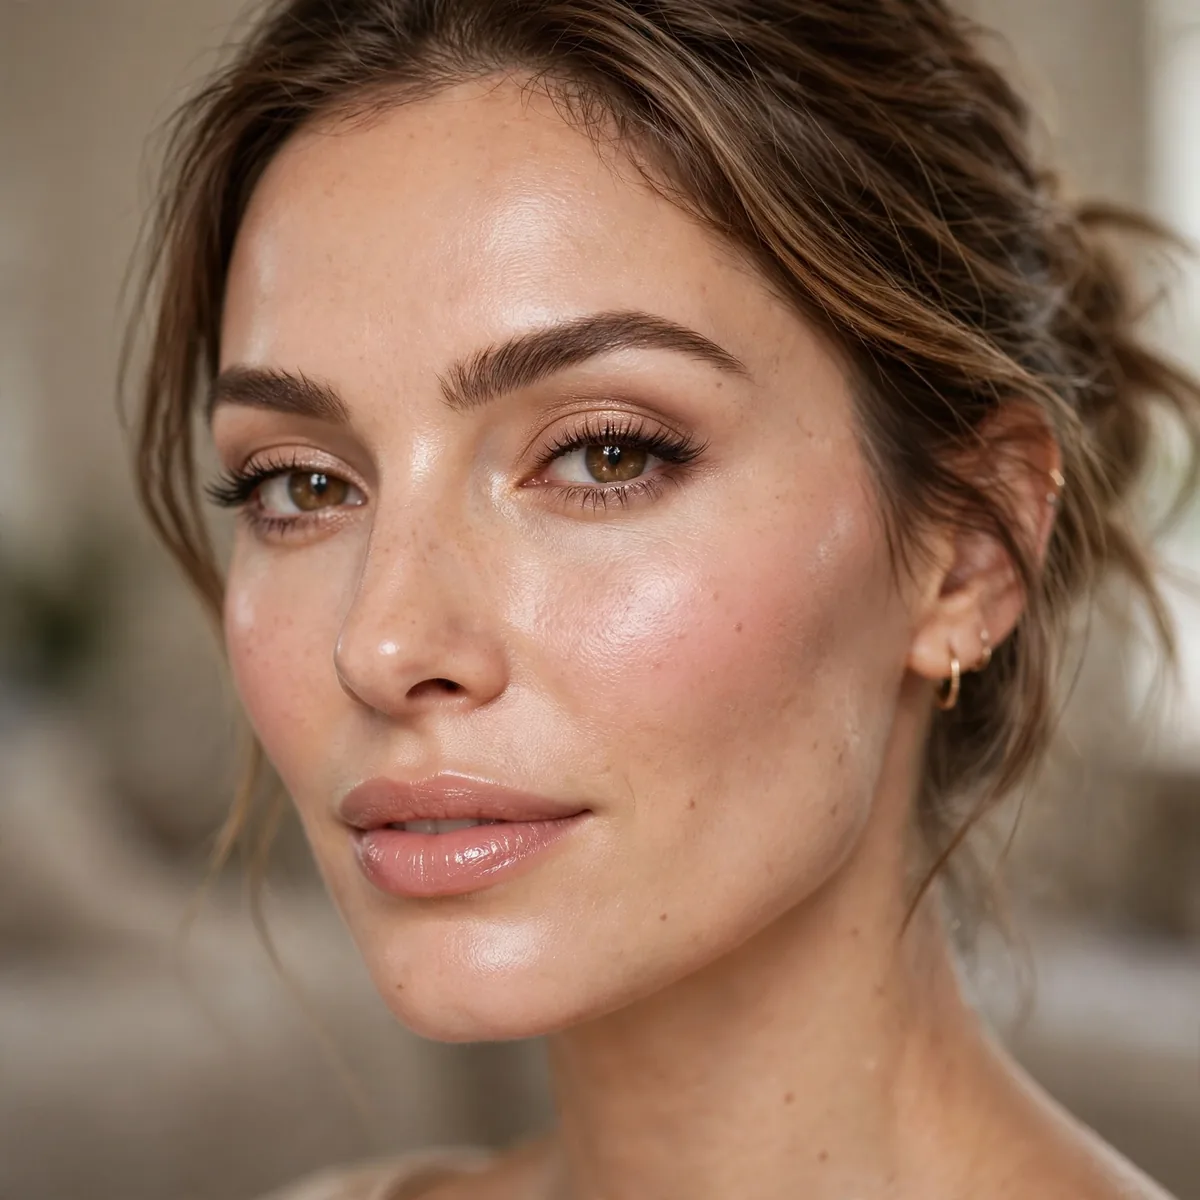
Exfoliated, hydrated skin needs less product — prep determines the result.
For dry-skin prep, our dry skin foundation tips help. Great skin needs less help looking great.
Exfoliation is the unsung hero of natural foundation — gentle chemical exfoliants like lactic acid or PHA dissolve the dead skin that makes sheer base look flaky, and they do it without the micro-tears of harsh scrubs. Use them two to three times a week, never the morning of an event, to avoid sensitivity. Smooth skin needs less product, and less product always looks more like skin.
Layer hydration like a sandwich: a hyaluronic acid serum on damp skin, then a moisturizer with squalane or ceramides to seal it in. This plumps fine lines so sheer foundation does not settle into them by afternoon. Give each layer a minute to absorb — rushing stacks wet products that pill under base. Well-hydrated skin can carry the sheerest formulas without a single dry patch showing.
The Confidence to Go Sheer
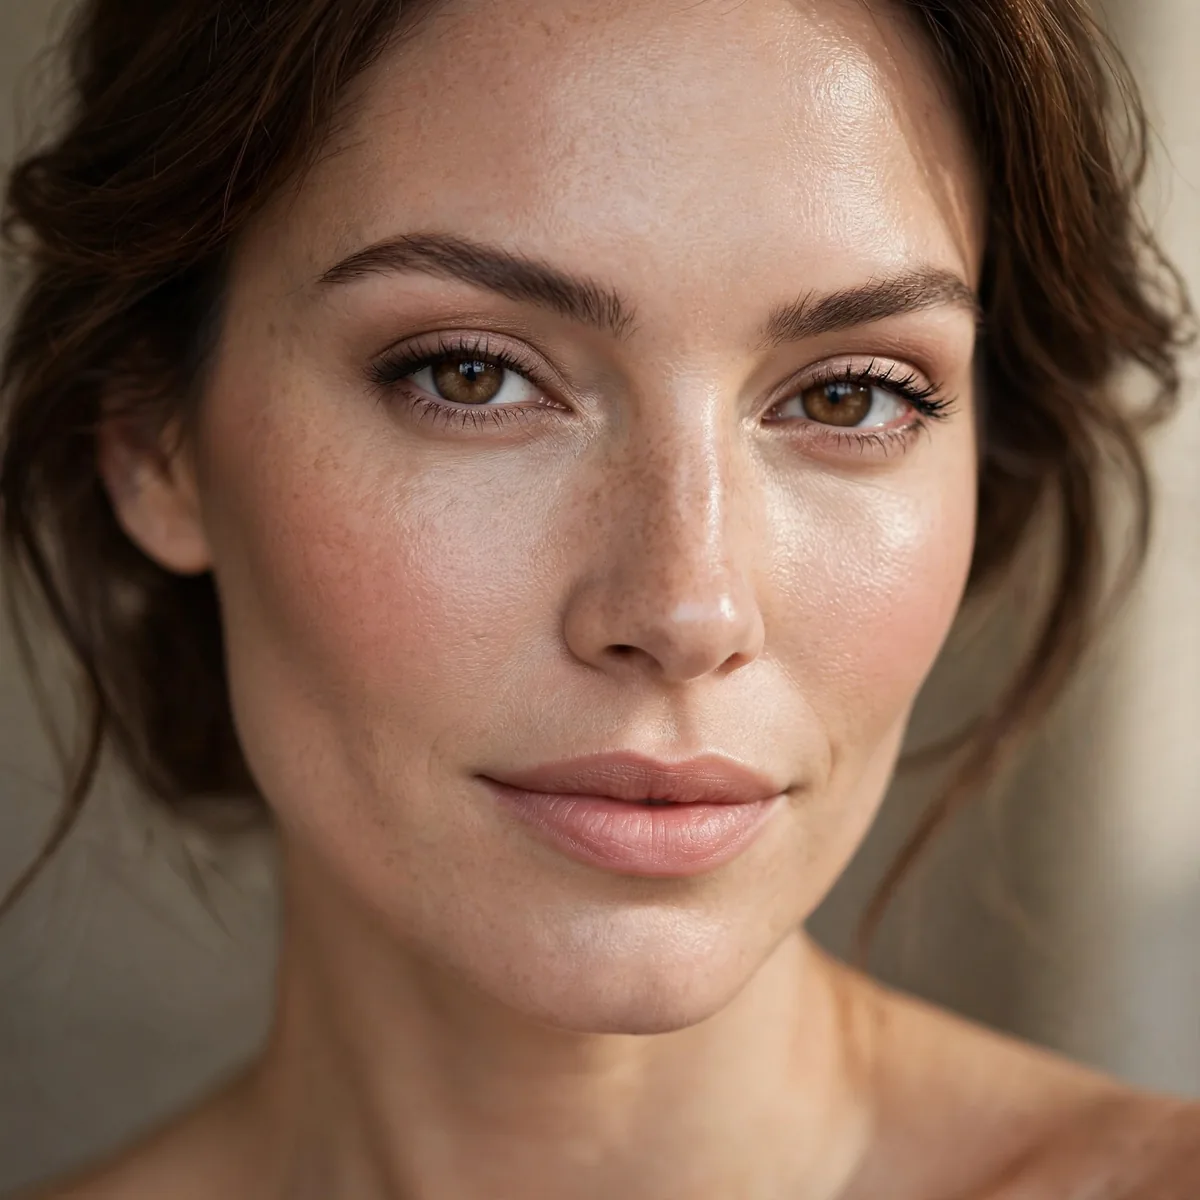
Sheer base requires confidence — your skin, visible, is beautiful.
The final tip is mental: trust your skin. Sheer coverage celebrates it.
Pair the sheer base with one defined feature — groomed brows, curled lashes with waterproof mascara, or a tinted lip — so the look feels intentional rather than unfinished. Bare-everything can read as no-effort, but one polished detail signals choice. The contrast between fresh skin and a single strong element is the signature of expensive-looking, modern makeup.
This mindset suits everyday life best — workdays, daytime events, and casual weekends, where real skin beats a mask every time. For high-definition photography or stage lighting, a touch more coverage is simply practical, not a failure of confidence. Knowing when sheer serves you and when it does not is the real skill; confidence means choosing deliberately, not defaulting to bare.
Skin-like is a skill — pin these techniques. For barely-there everything, see no-makeup makeup looks, or go dewy with dewy looks for dry skin.




