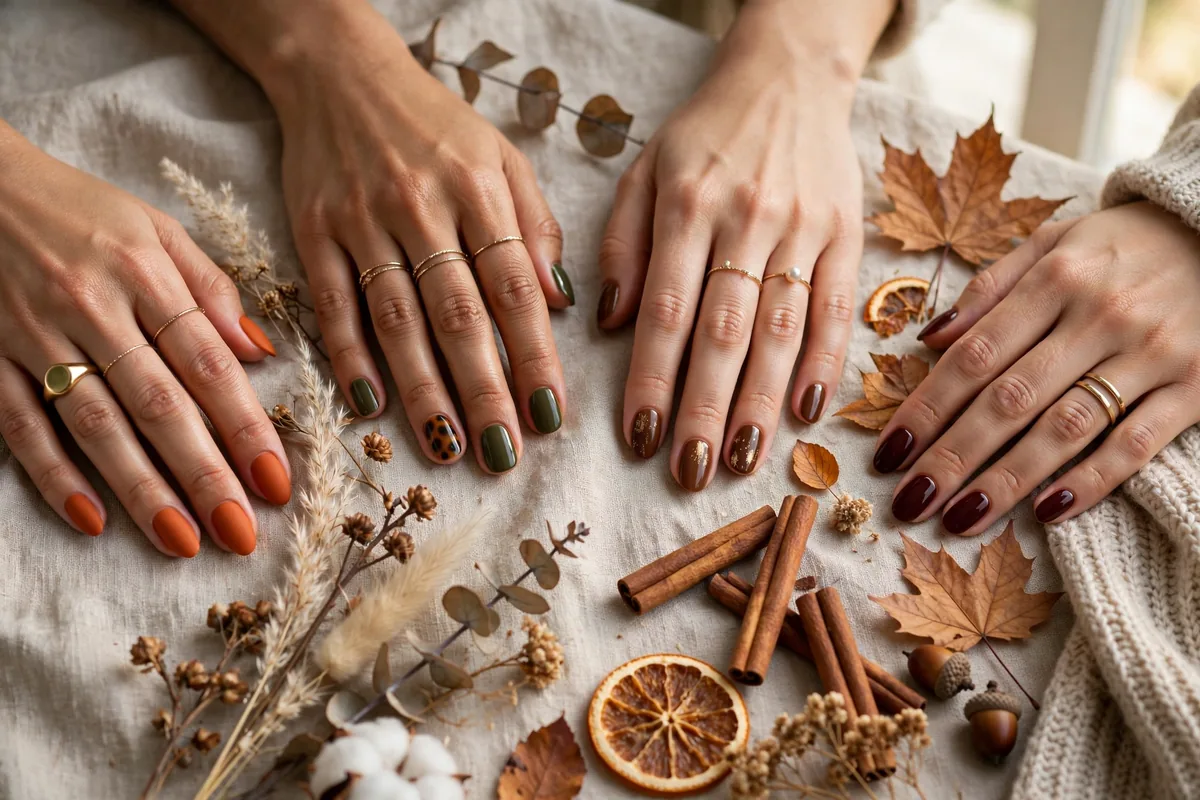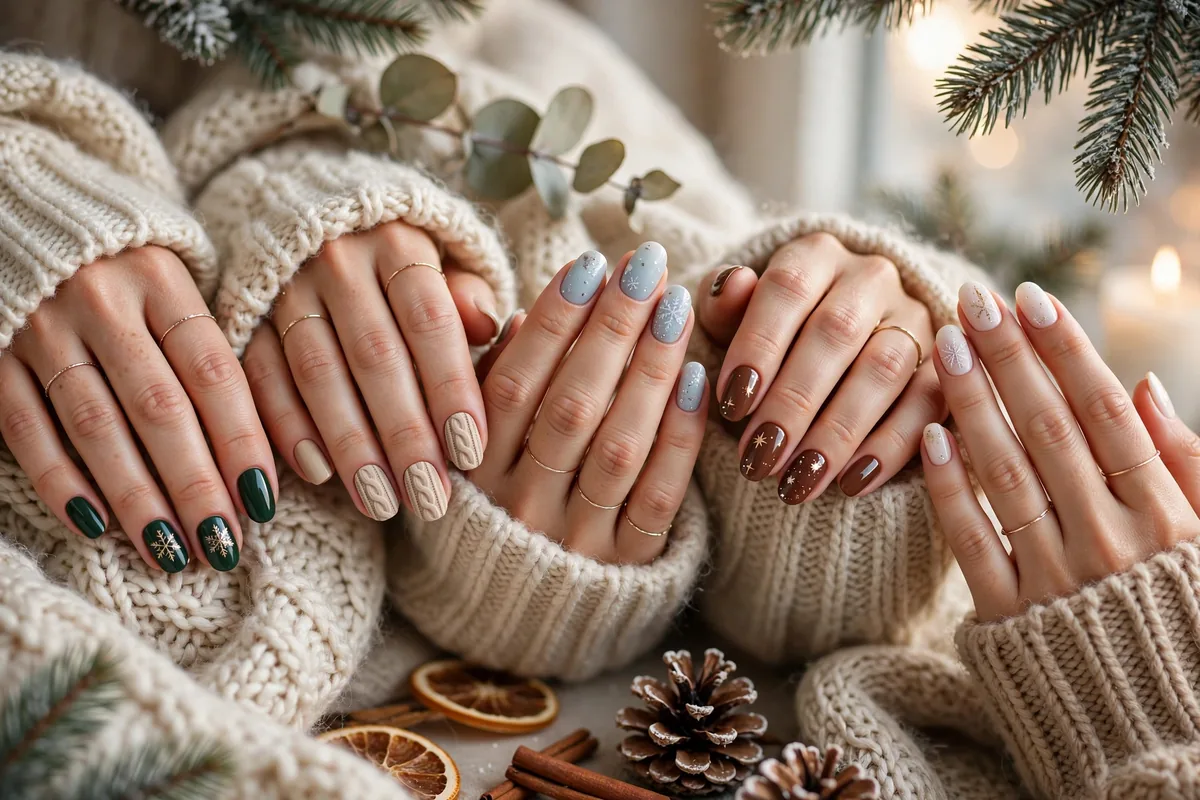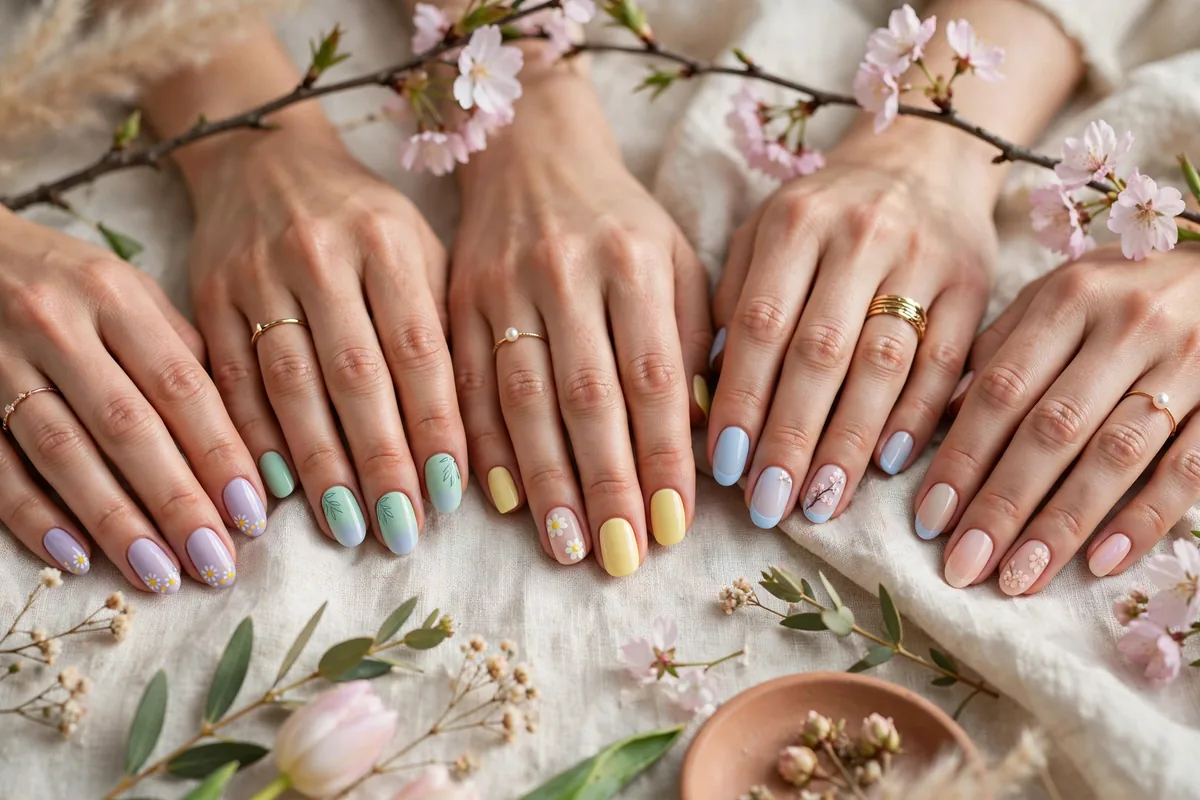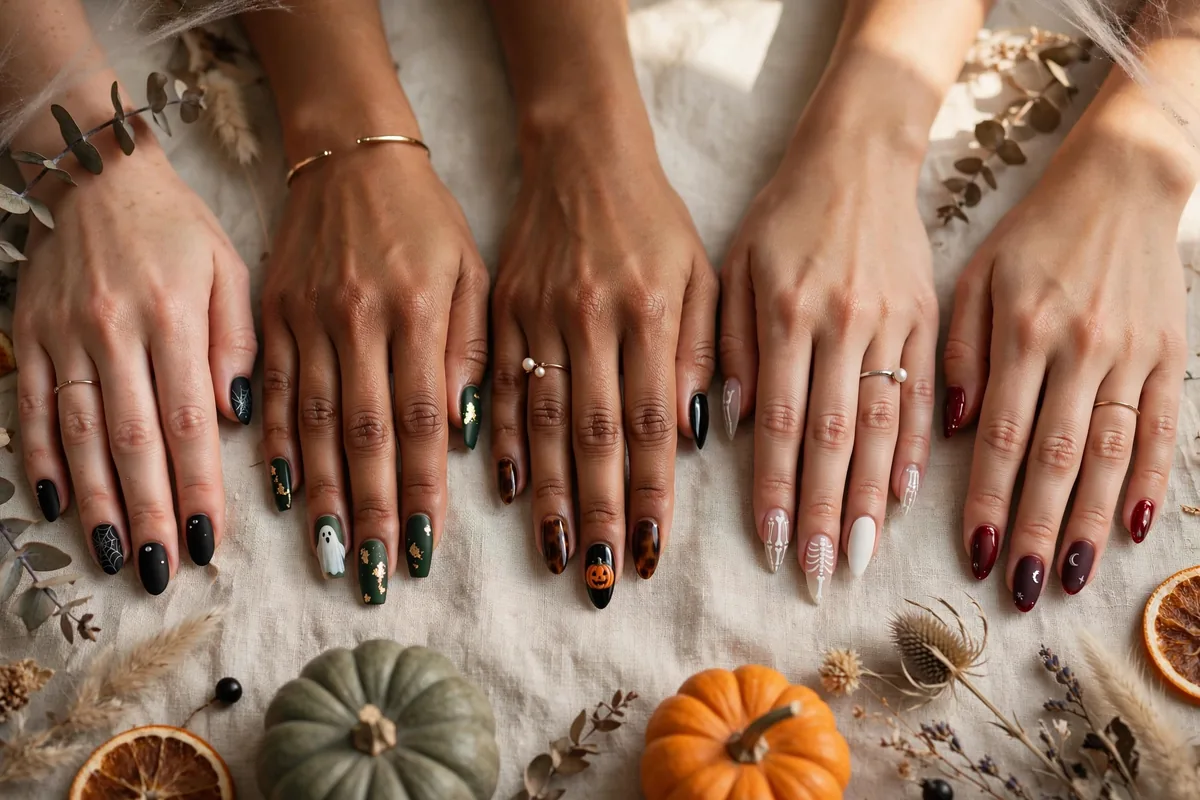
Halloween nails walk a line — spooky enough for the season, chic enough to wear beyond October 31st.
The chic-Halloween formula: moody bases (black, deep purple, blood red), refined spooky details (not cartoonish), and restraint in accent placement.
These 18 ideas haunt tastefully.
Here’s your Halloween manicure spell book. Let’s get into it.
Ghost Accent Chic
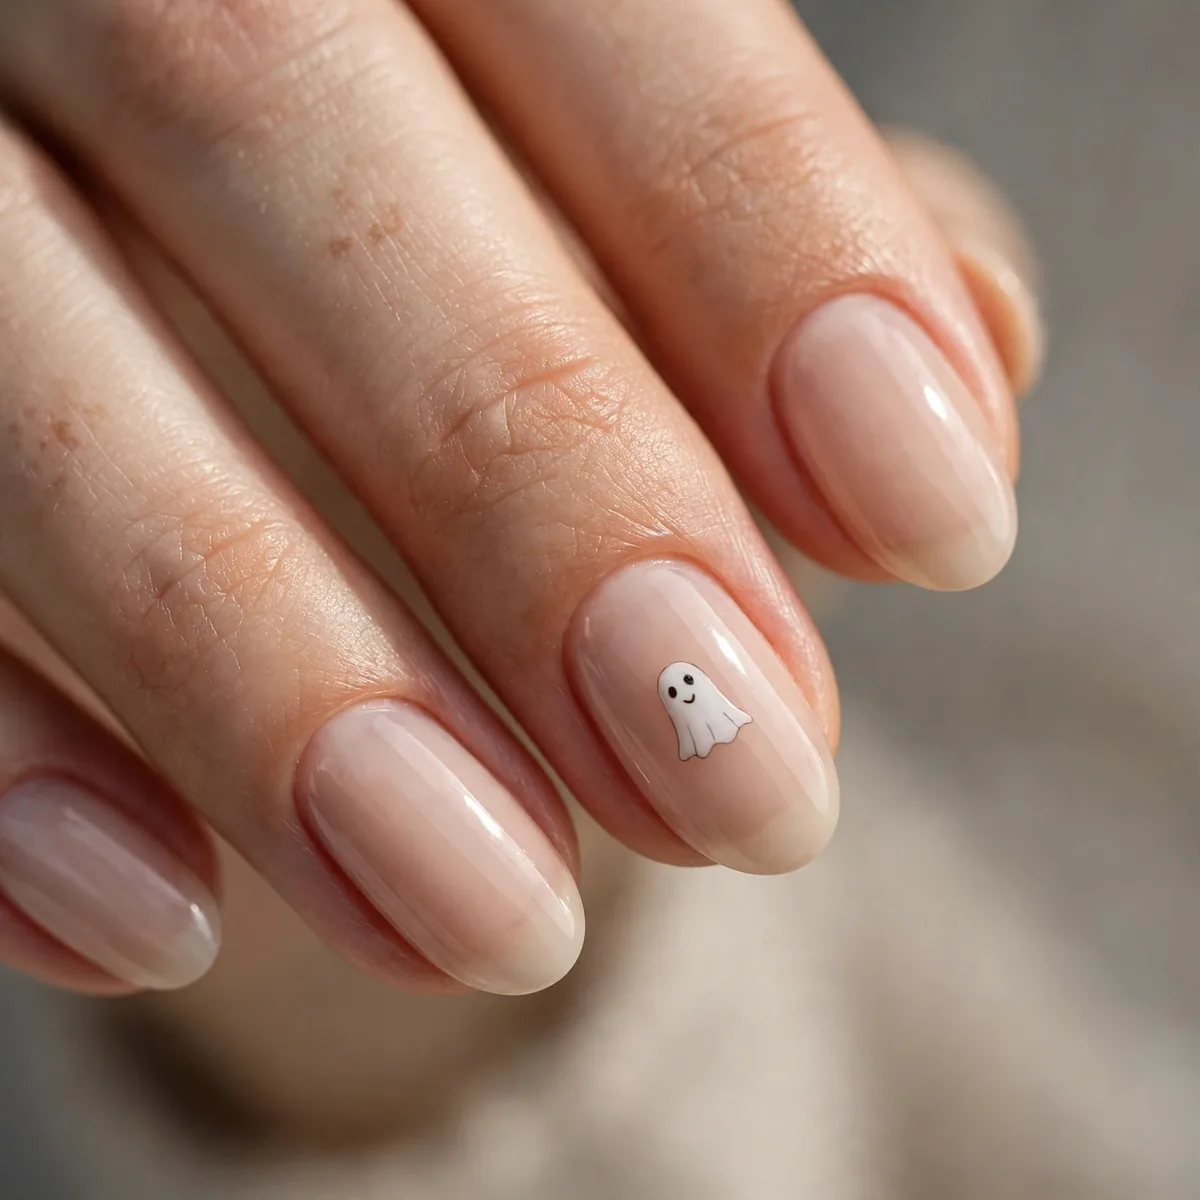
Tiny white ghosts on a nude base — spooky, minimal, adorable.
Best for: the subtle spooky. Ghosts can be chic.
Paint the ghosts after the nude base has fully dried — even slightly tacky polish will drag and smudge the little faces. A detail brush or the tip of a toothpick lays down the white body, then two black dots for eyes with a fine nail art pen. Squoval or short almond shapes give the ghosts enough real estate without the look feeling busy.
This manicure transitions beautifully into November because the nude base reads neutral once the ghosts come off — just remove the white detail with a precision brush dipped in acetone and you have a clean neutral manicure. It also photographs well in flash photography, unlike chunky glitter looks. Seal everything with two thin coats of glossy top coat to keep the white opaque and chip-free for a full week.
Spiderweb Detail
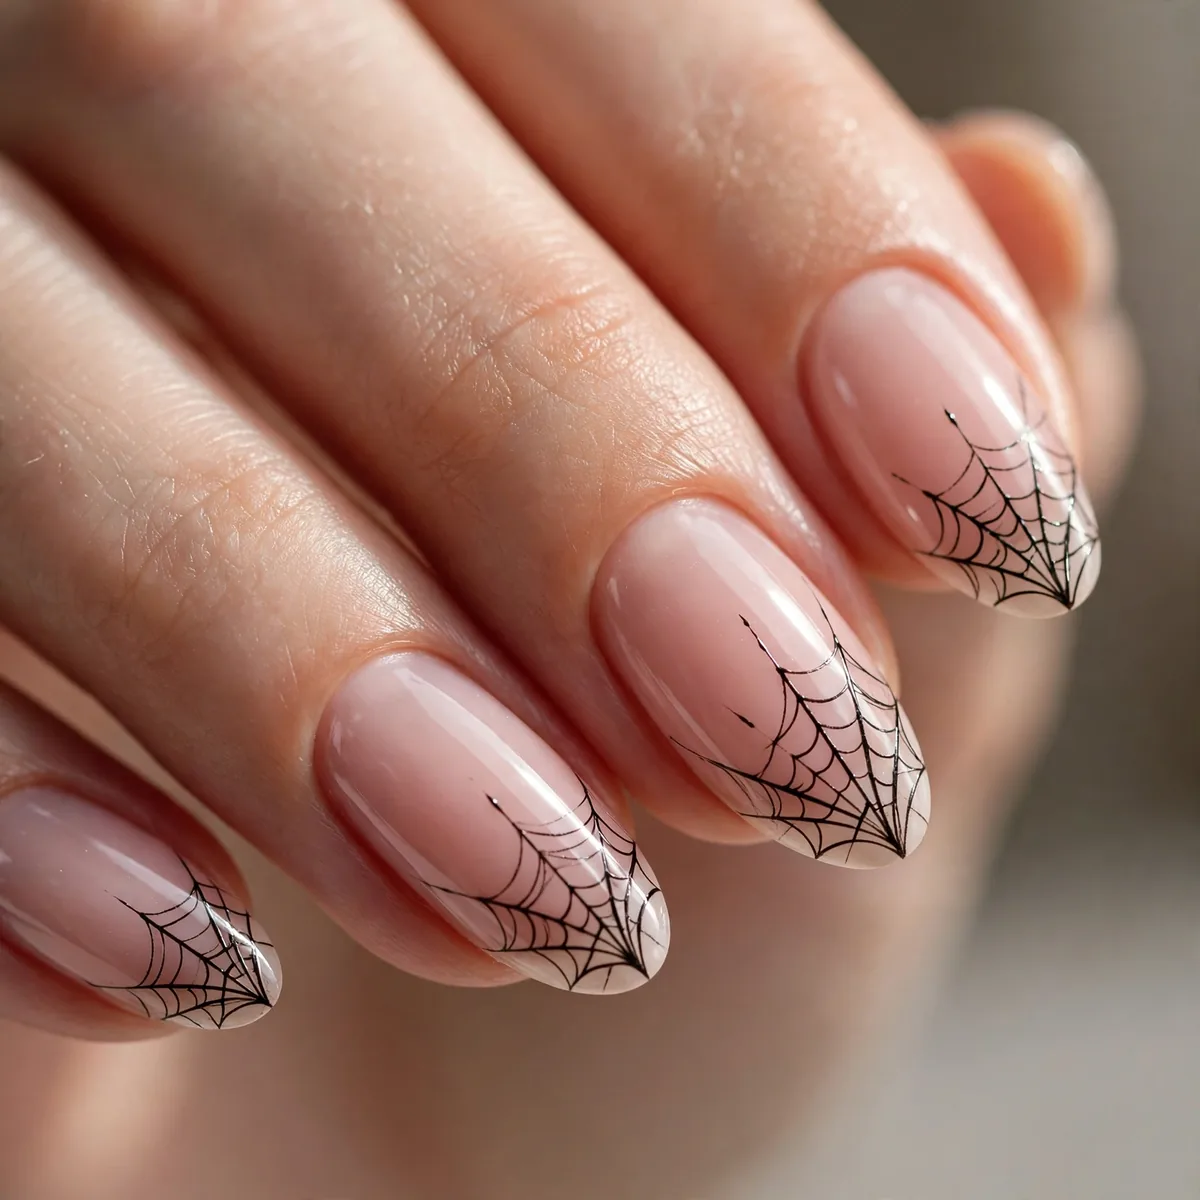
Fine spiderwebs on dark polish — intricate and eerie.
Best for: the detailed. Webs are Halloween’s most elegant motif.
The secret to elegant webs is a striping brush with long, flexible bristles — it holds polish longer and lets you pull thin, unbroken lines from a center point outward, then connect them with small arcs. Work over a dark crème base so the white or silver lines pop with contrast. If freehand feels risky, a stamping plate with a web design gives crisp, symmetrical results in seconds.
Keep the web to one or two accent nails — the visual impact comes from restraint, not coverage. A matte top coat over the finished design mutes the contrast slightly and makes the webs look more gothic and sophisticated than graphic. This is one of the longest-wearing Halloween designs since the fine lines are anchored in top coat, and it suits medium to long nails where the web has room to spread.
Blood Red Gloss
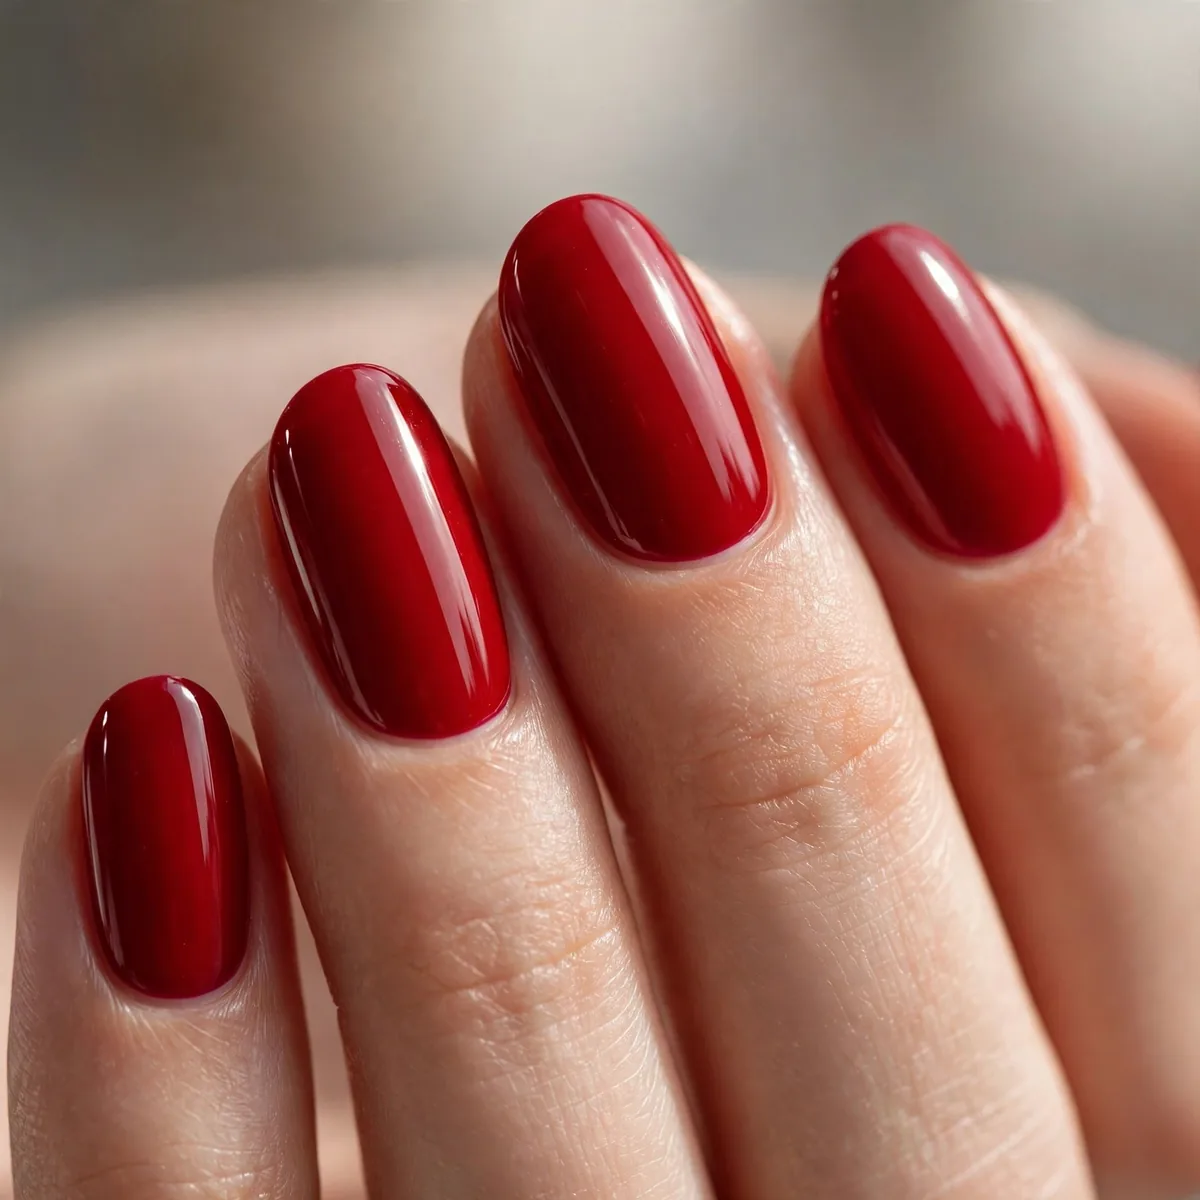
Deep blood red in high gloss — vampiric and chic.
Best for: the classic Halloween. Blood red never tries too hard.
Choosing the right red is everything here — look for a blue-based oxblood rather than a warm scarlet, because cooler undertones read more vampire and less Christmas. Apply three thin coats instead of two thick ones; dark crème polishes self-level better in thin layers and avoid the brush-stroke streaks that cheapen the look. A glass-like top coat is non-negotiable — the wet shine is what sells the blood effect.
This shade flatters every skin tone when the undertone is right, and it transitions straight into holiday season without a second thought — it reads Christmas party just as well as Halloween costume party. It also wears incredibly well: dark reds hide tip wear better than lighter shades. Keep cuticles hydrated with oil daily, because dry cuticles against dark polish make the whole manicure look unkempt.
Matte Black Moon
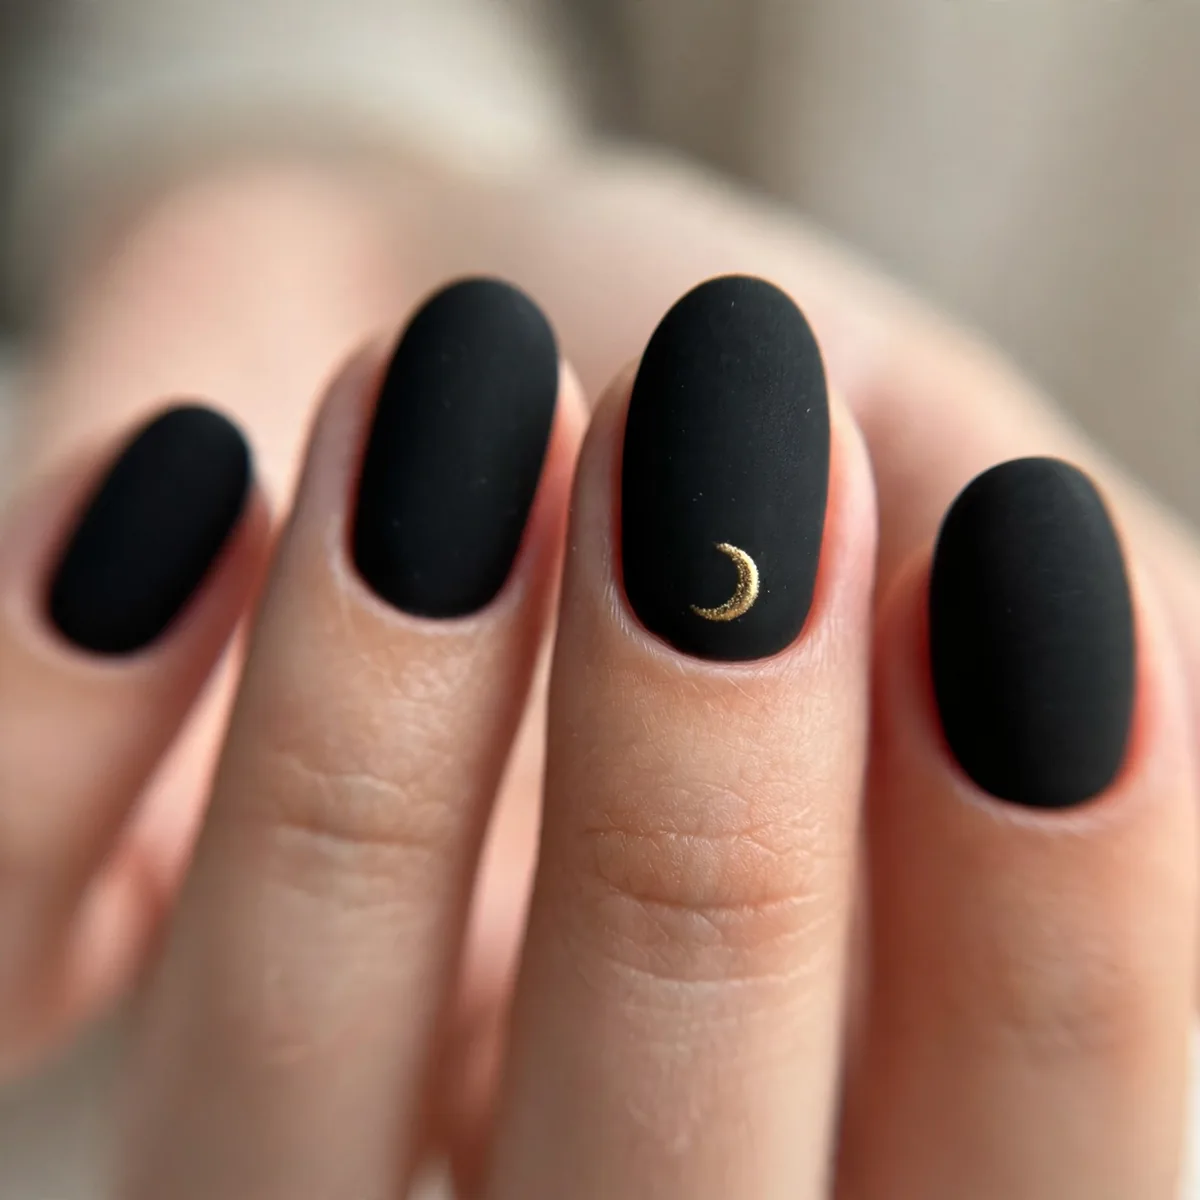
Matte black with a single moon accent — night sky chic.
Best for: the moody. Matte black is Halloween’s little black dress.
Matte black shows every imperfection, so prep matters more than with glossy shades — buff the nail surface smooth, push back cuticles, and apply a matte-specific base coat to prevent the pigment from staining. Paint the moon accent with metallic gold or silver over the matte base for a striking finish contrast. Long oval or almond nails carry this look best, since the moon needs a sliver of the night-sky canvas.
One common mistake is sealing matte polish with a regular glossy top coat out of habit, which instantly ruins the effect — always finish with a matte top coat to lock in the velvet texture. Matte manicures also chip more visibly than glossy ones, so cap the free edge with every layer. The result is moody and modern, pairing effortlessly with leather jackets and dark lipstick for the full Halloween-evening outfit.
Pumpkin Spice Accent
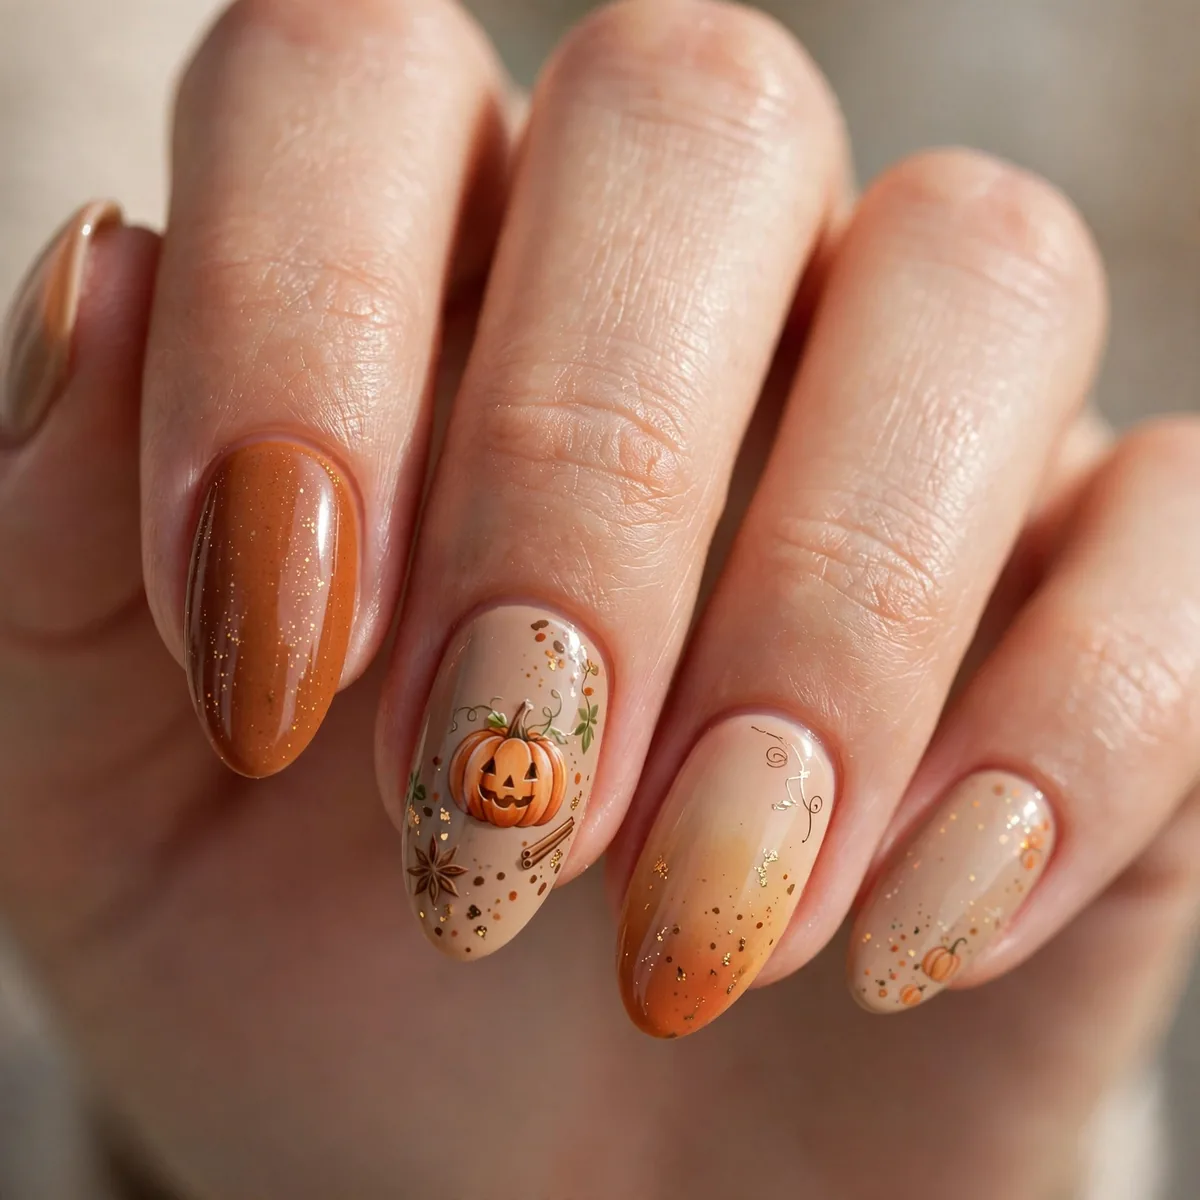
One tiny pumpkin among dark solids — festive restraint.
Best for: the subtle festive. One pumpkin is plenty.
For the pumpkin itself, a warm burnt-orange crème makes a cleaner accent than true orange — it reads sophisticated rather than craft-store. Shape the pumpkin with two overlapping curved strokes and a tiny brown stem line on top, or simplify with a half-moon of orange at the cuticle. This works on short nails too, since the pumpkin only needs one accent finger to land the theme.
Pair the pumpkin accent with a deep espresso or black base on the other nine nails so the orange has something to play against — contrast is what keeps it chic. The pumpkin also doubles as a Thanksgiving-friendly design, which means you can wear this manicure from mid-October straight through the holiday without it feeling out of season. Refresh the top coat mid-week and the accent will outlast the candy bowl.
Deep Purple Magic
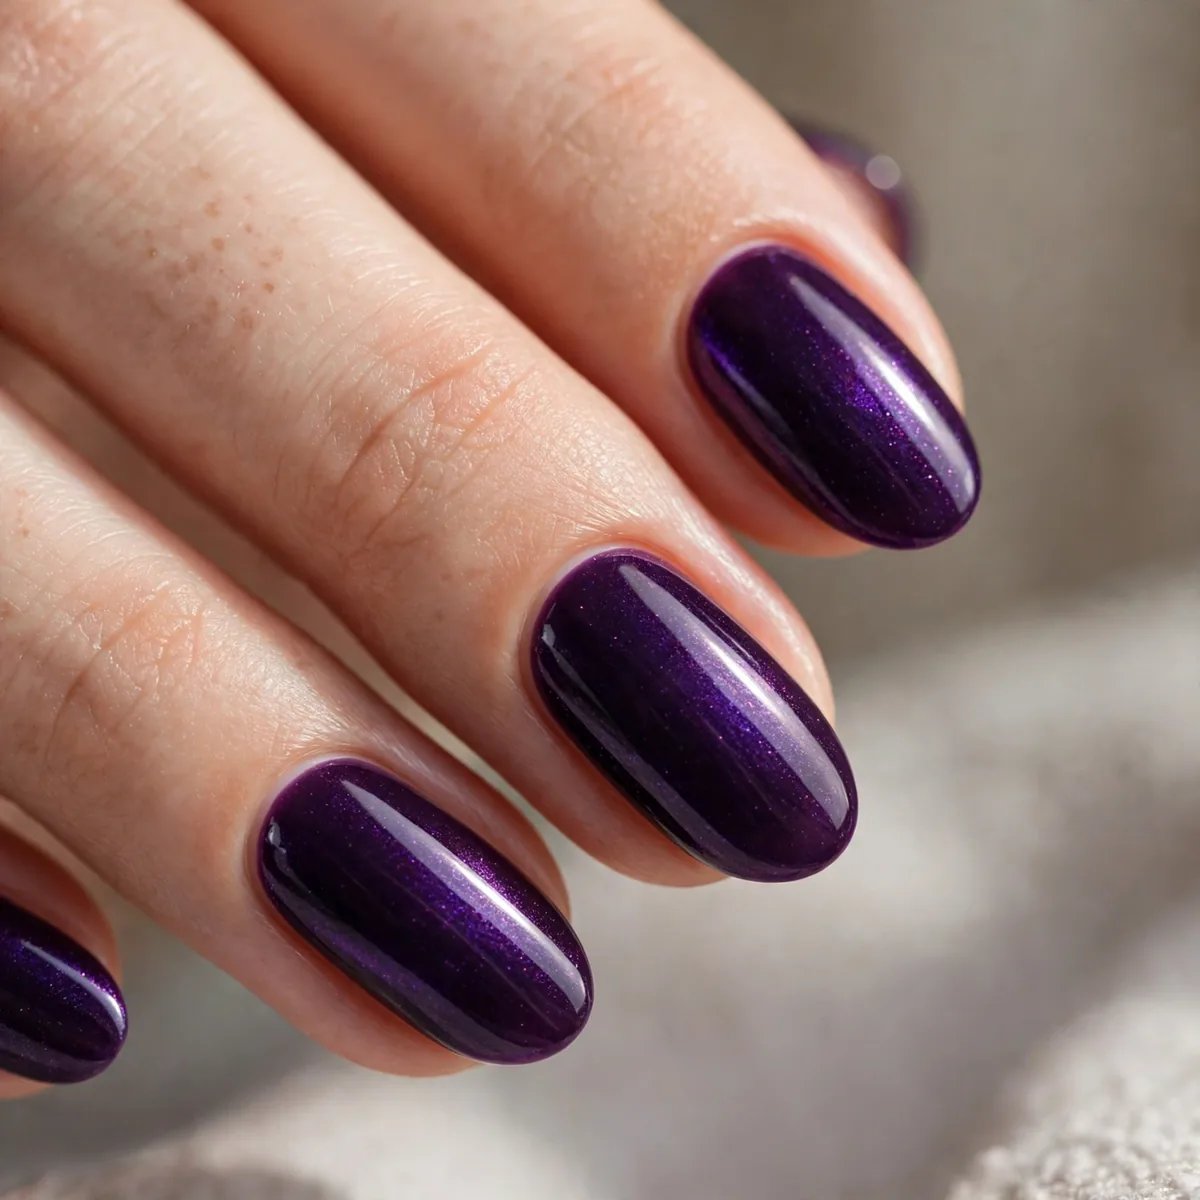
Dark purple — witchy and rich.
Best for: the mystical. Purple is Halloween’s power color.
Dark purples pull either plum or bruise-toned depending on your lighting, so test the polish on one nail in daylight before committing — you want an inky aubergine with depth, not a flat grape. A jelly formula in deep purple gives the color a luminous, almost glowing quality that crème versions lack. Almond and oval shapes suit this shade beautifully, elongating the finger and letting the color shift as it catches light.
Layer a shimmery purple topper over the dark base for dimension — the fine shimmer reads as magic dust and photographs gorgeously. This is also one of the easiest Halloween shades to DIY at home because dark colors hide uneven application better than pale ones. It pairs with silver jewelry rather than gold, and it carries you straight into winter since deep purple is a holiday-season staple too.
Bat Silhouette
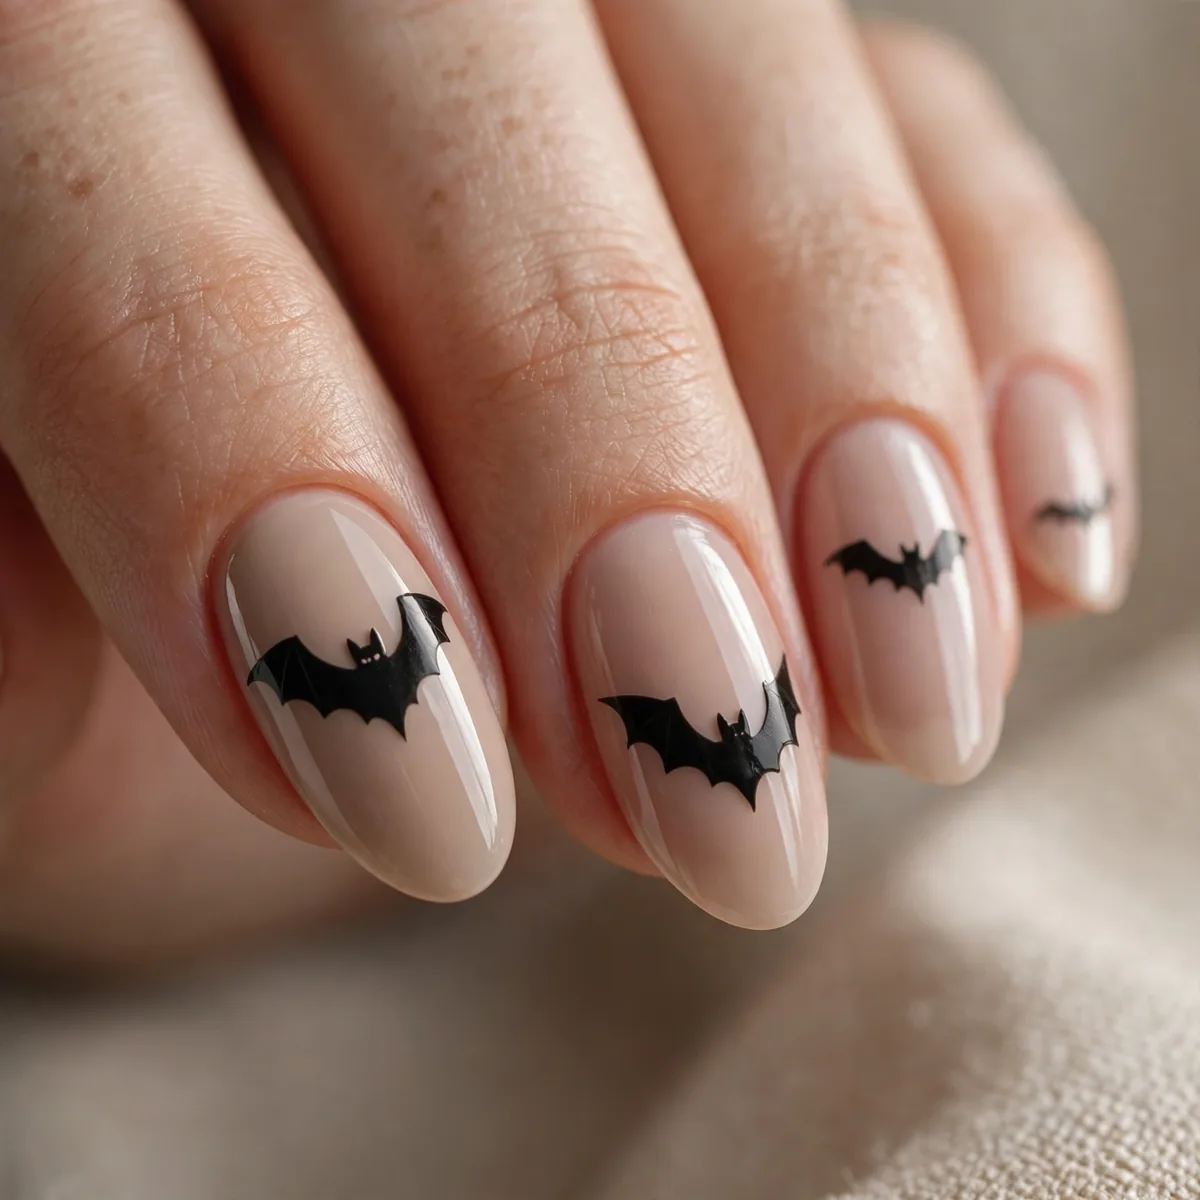
Tiny bats against a moonlit gradient — spooky scene, tiny canvas.
Best for: the artistic. Bats are Halloween’s most graphic motif.
The moonlit gradient underneath is what makes this work — sponge a pale yellow-to-grey fade so the black bat shapes have a luminous backdrop instead of a flat base. Keep the bats simple: a small oval body with two curved wings reads bat instantly at this scale, while detailed anatomy just blurs. Place one bat per nail at slightly different angles, like they are mid-flight across the sky.
This design demands at least medium-length nails — the gradient and the bat both need vertical room or the scene gets cramped. A makeup sponge gives the smoothest color fade; dab it vertically rather than horizontally to keep the gradient even. Common mistake: overloading the sponge with polish, which creates a grainy texture — blot the excess first. Seal with glossy top coat to make the moonlight glow.
Candy Corn (Elevated)
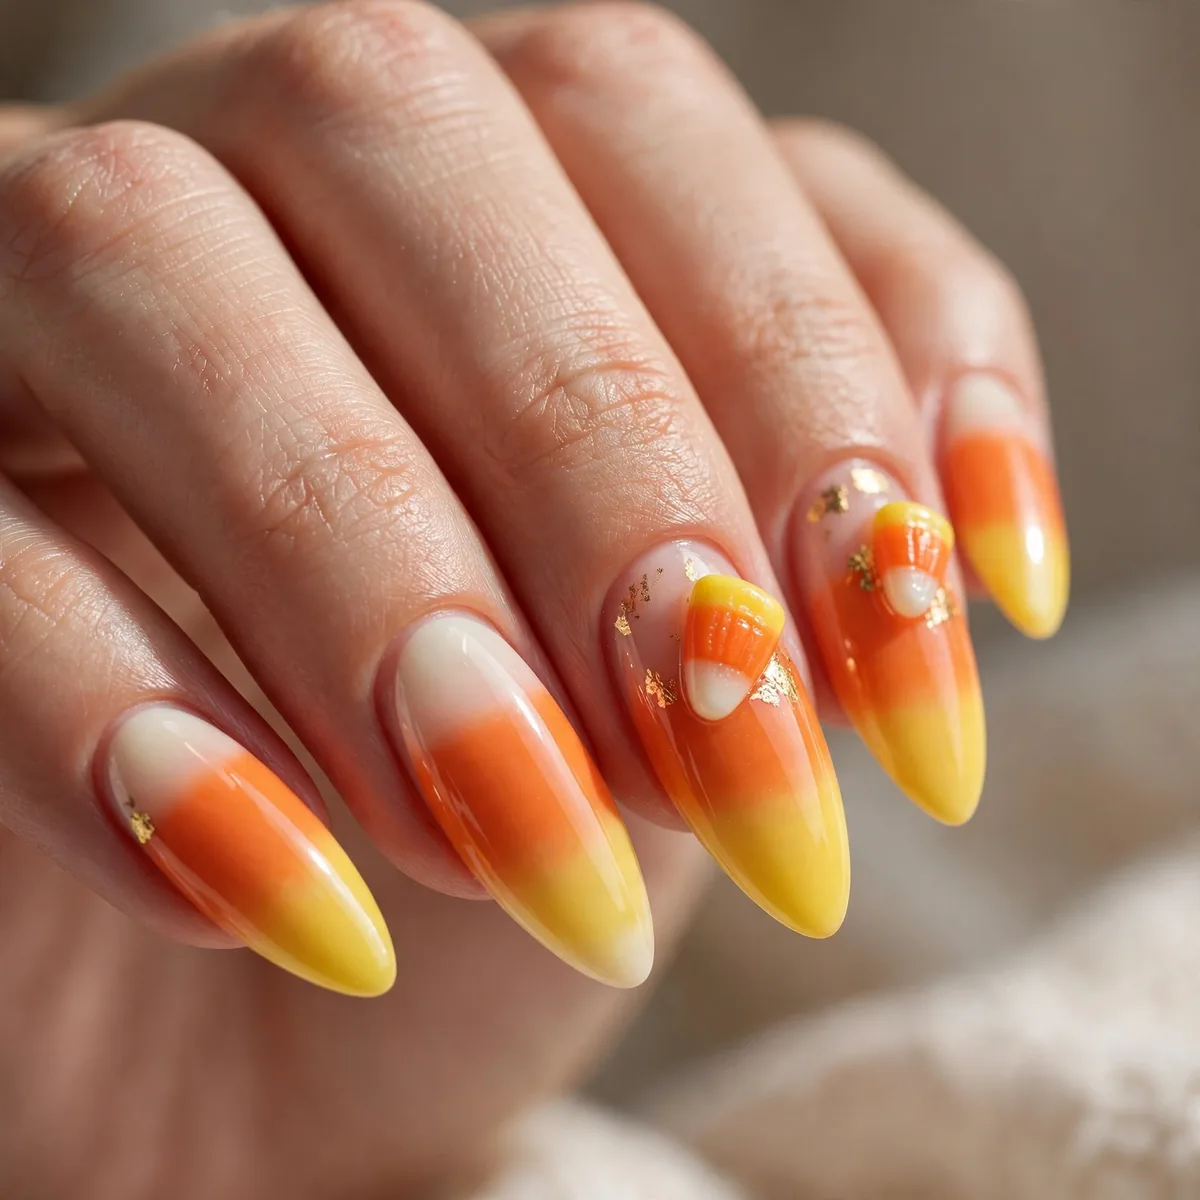
Candy corn colors in a chic gradient — the nostalgic, refined.
Best for: the playful. Elevated candy corn is ironic-chic.
Skip the literal triangle and go ombre instead: yellow at the cuticle fading through orange to a white tip mirrors candy corn colors without the kitsch. A makeup sponge handles the three-band fade cleanly — apply each shade in a horizontal strip on the sponge and dab it onto the nail in one motion. Almond or oval shapes make the white tip read elegant, like an autumn-tinted French.
The key to elevating this look is the finish — a soft, milky version of each color beats the neon-bright Halloween-candy versions every time. Muted butterscotch, terracotta, and cream create the same reference with a high-fashion filter. This design suits anyone who wants a nod to the holiday without committing to costume nails, and it actually pairs beautifully with gold jewelry and cozy knits.
Black Cat Eyes
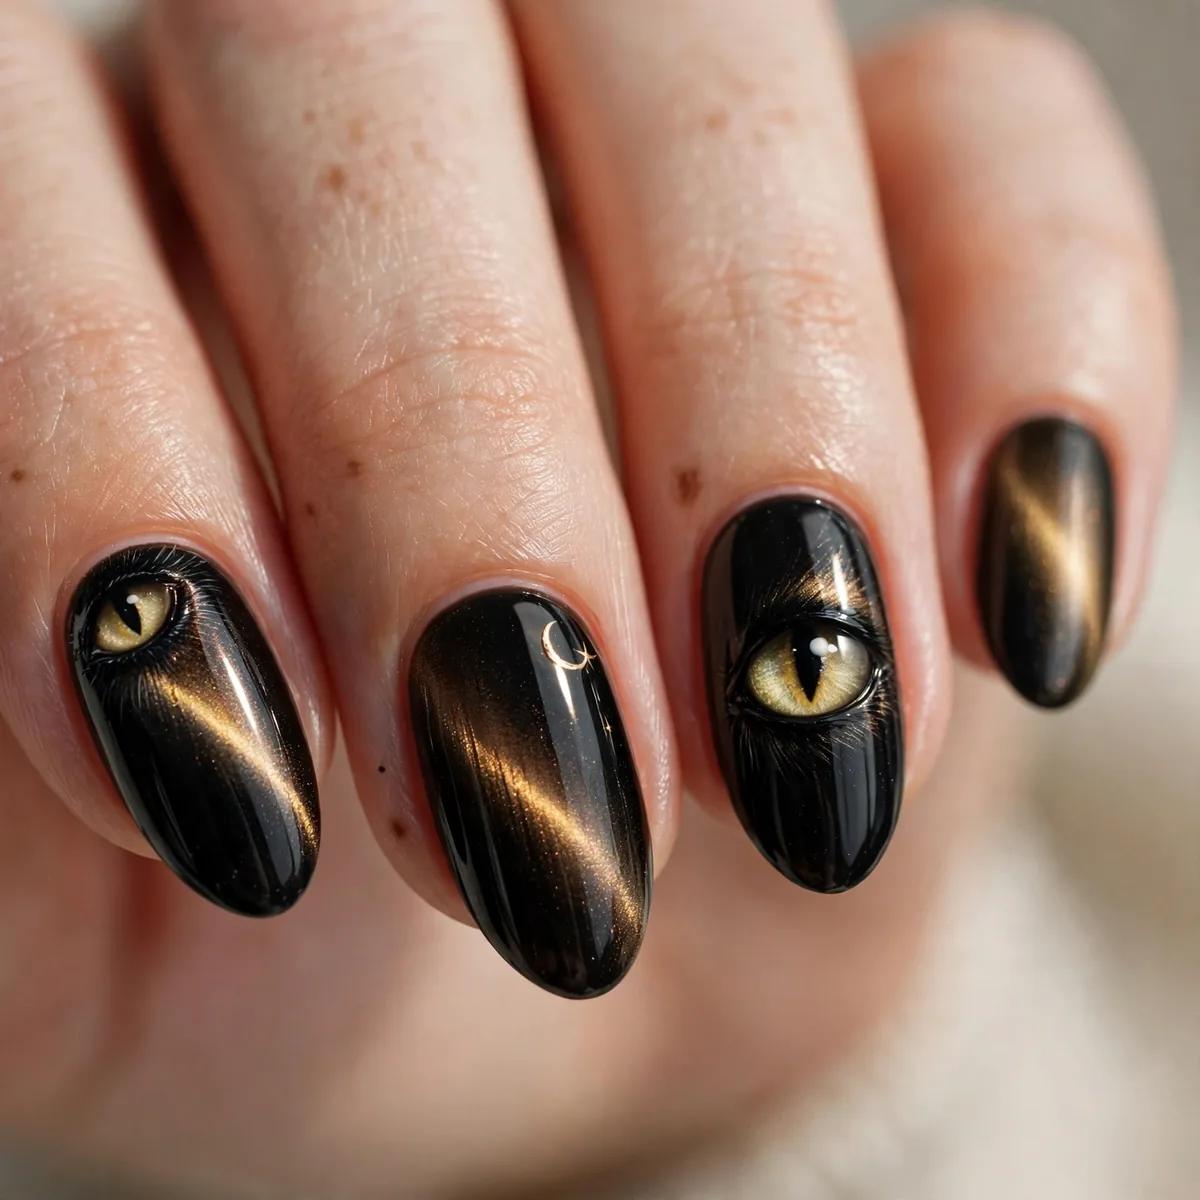
Cat-eye magnetic polish in dark shades — feline and mysterious.
Best for: the magnetic. Cat-eye polish is Halloween-appropriate year-round.
Magnetic cat-eye polish needs a specific technique: paint the dark base, then hold the magnet just above the still-wet polish for ten seconds without touching the surface. The closer the magnet, the sharper and narrower the light band becomes. Black and deep plum bases give the most dramatic feline effect, while navy versions read more subtle. Work one nail at a time — the polish sets fast.
The magic of this look is that it needs zero Halloween art to feel on-theme — the shifting light band does all the spooky work while the manicure stays office-appropriate. It wears exceptionally well since the metallic particles hide minor chips, and it looks stunning on shorter nails where the cat-eye band stays concentrated. Refresh with a glossy top coat after a week to revive the magnetic dimension.
Ombre Night Sky
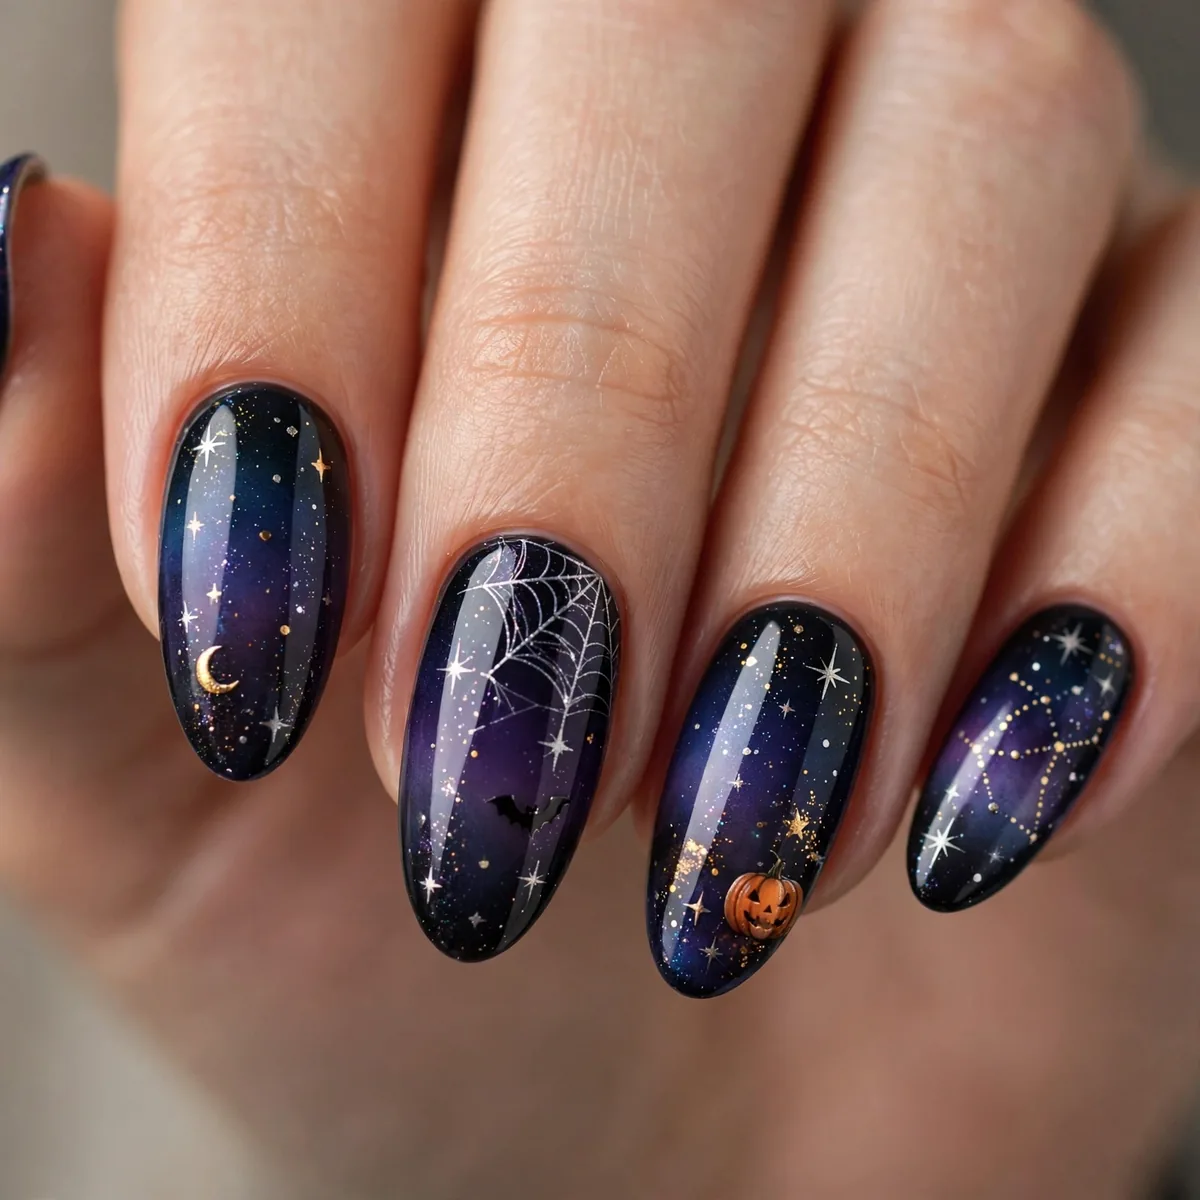
Black to purple ombre — the Halloween night sky.
Best for: the atmospheric. Ombre captures the season’s mood.
Build this gradient in sheer layers rather than trying to nail it in one pass — a sheer black jelly sponged over a purple crème creates a smoky, dimensional fade instead of a harsh two-tone line. Dab the sponge upward from the tip so the darkest color sits at the free edge, like night falling. Three light passes beat one heavy one every time.
Tiny silver stars or a single crescent moon stenciled near the cuticle turn a pretty gradient into a storytelling design — keep them minimal so the ombre stays the star. This is a forgiving technique for beginners because sponging hides brush strokes by nature. It also photographs beautifully in low light, making it the perfect manicure for actual Halloween evening events.
Skeleton Chic
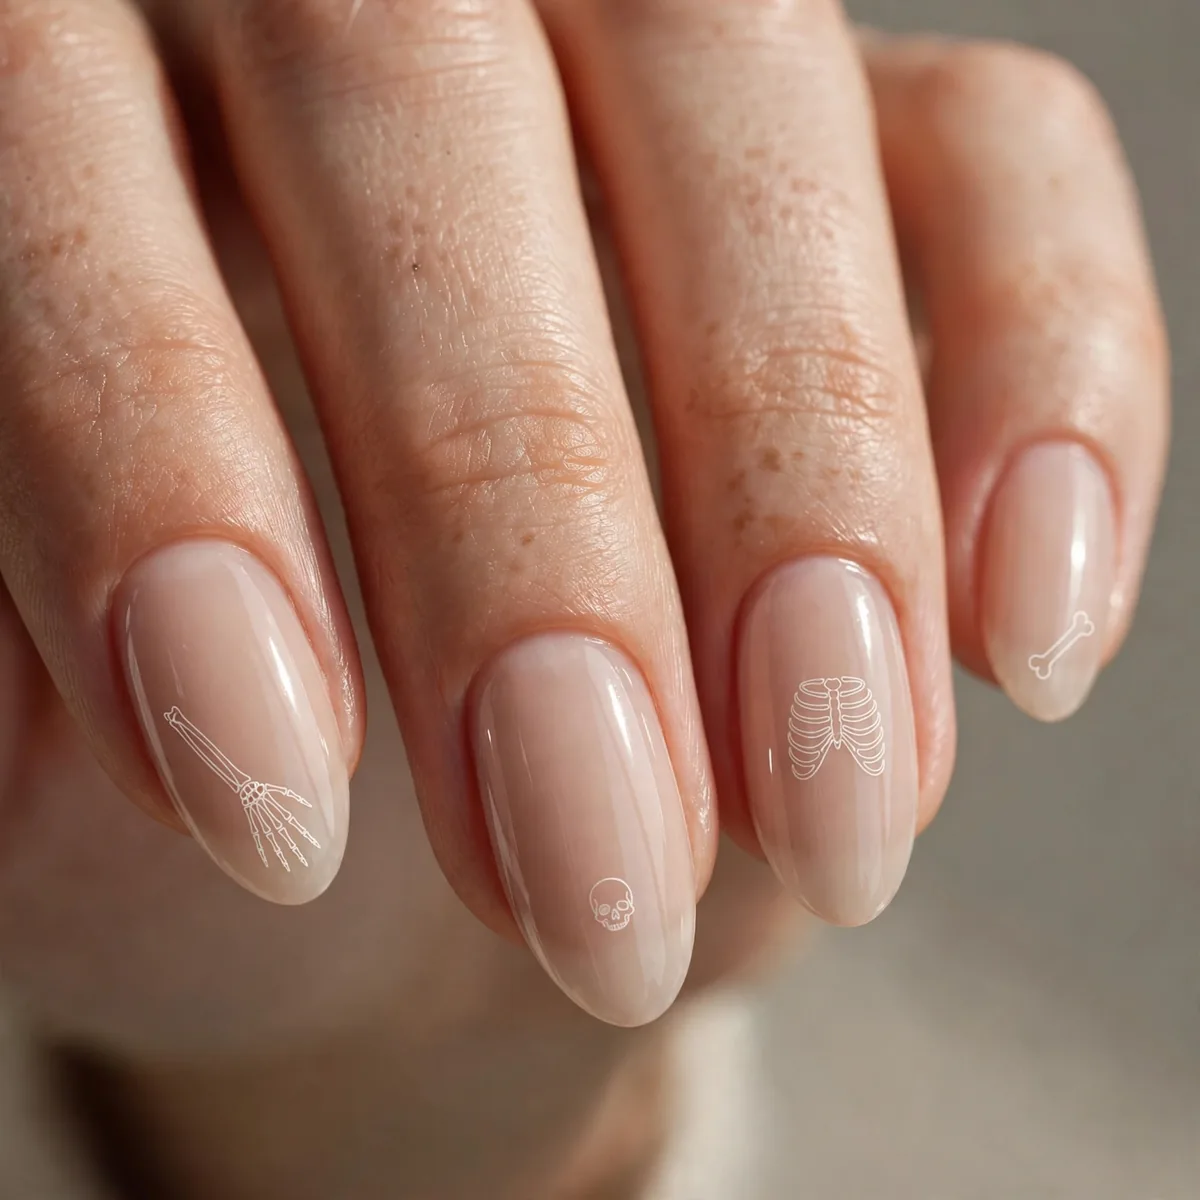
Minimal line-art skeletons — spooky, artistic, refined.
Best for: the edgy. Line-art keeps skeletons chic, not cartoonish.
Line-art skeletons look best in stark white or bone-colored polish over a deep black or navy base — the high contrast is what gives them that x-ray elegance. Use a nail art pen with a micro tip rather than a brush for the ribcage and skull lines; pens give beginners far more control at this scale. Less is more — a ribcage on one nail and a tiny skull on another reads curated, not cluttered.
Medium to long nails give the skeleton artwork the space it needs — ribs drawn on a short nail look cramped and lose their elegance. A common mistake is painting the full skeleton on every nail, which tips the look from artistic to costume; spread one complete skeleton across the fingers or repeat a single motif. This design is surprisingly wearable to work since it reads as graphic art from a distance.
Witchy Green Accent
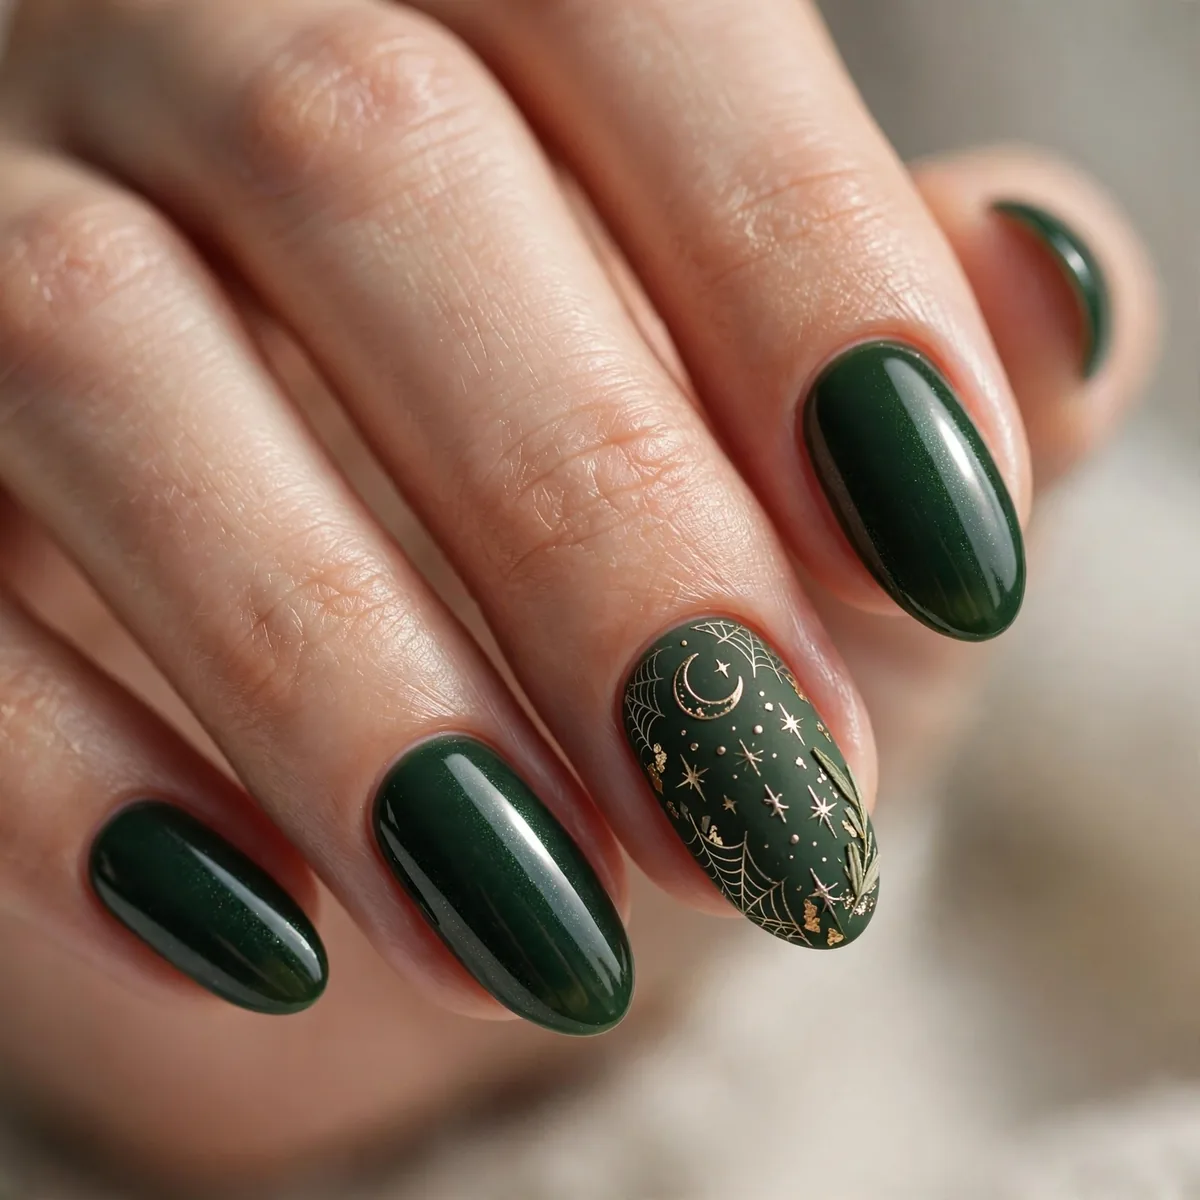
Deep emerald accent among blacks — the witch’s touch.
Best for: the mystical. Green is the unexpected Halloween.
The right green is a deep, smoky emerald — anything too bright reads St. Patrick’s Day, anything too neon reads costume. Place the green accent on the ring finger, a classic placement that keeps the witchy touch subtle against the surrounding black. A crème finish keeps it sophisticated, though a blackened-green shimmer adds a potion-bottle depth that is hard to resist.
Green is an underused Halloween color, which is exactly why it stands out — everyone expects orange and black, so emerald feels like an insider choice. It flatters warm skin tones particularly well, bringing out golden undertones in the complexion. Style it with gold jewelry rather than silver to echo the warmth, and it slides into holiday season as a rich jewel tone too.
Glossy Black Cherry
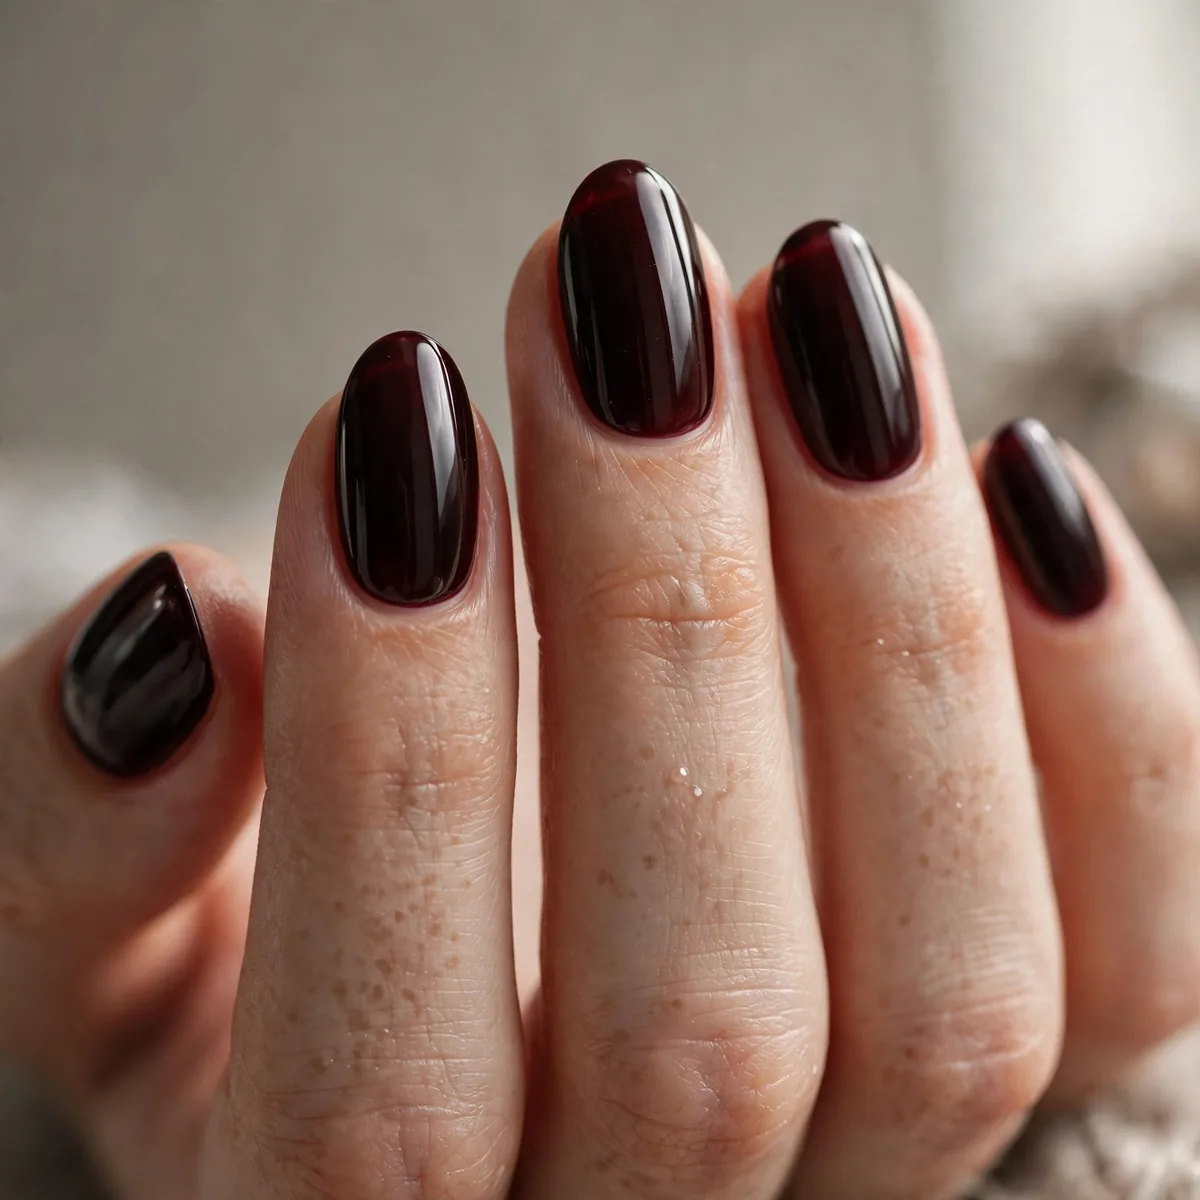
Near-black cherry gloss — dark, delicious, wearable.
Best for: beyond Halloween. This shade works all fall.
This is the hardest-working dark shade in the bottle — near-black with a red-wine core that reveals itself in bright light. Apply over a ridge-filling base coat for the smoothest possible surface, because dark glossy polish magnifies every ridge and dip. Two coats of a quality top coat, reapplied at day three, keep the glassy shine alive for ten days or more.
Black cherry is the rare Halloween shade that needs no costume context — it looks equally right with a witch costume or a blazer. It flatters both fair and deep skin tones because the red undertone adds warmth that pure black lacks. Pair it with a matching dark lip for a coordinated look, or let the nails be the only dark note in an otherwise neutral outfit.
Cobweb French
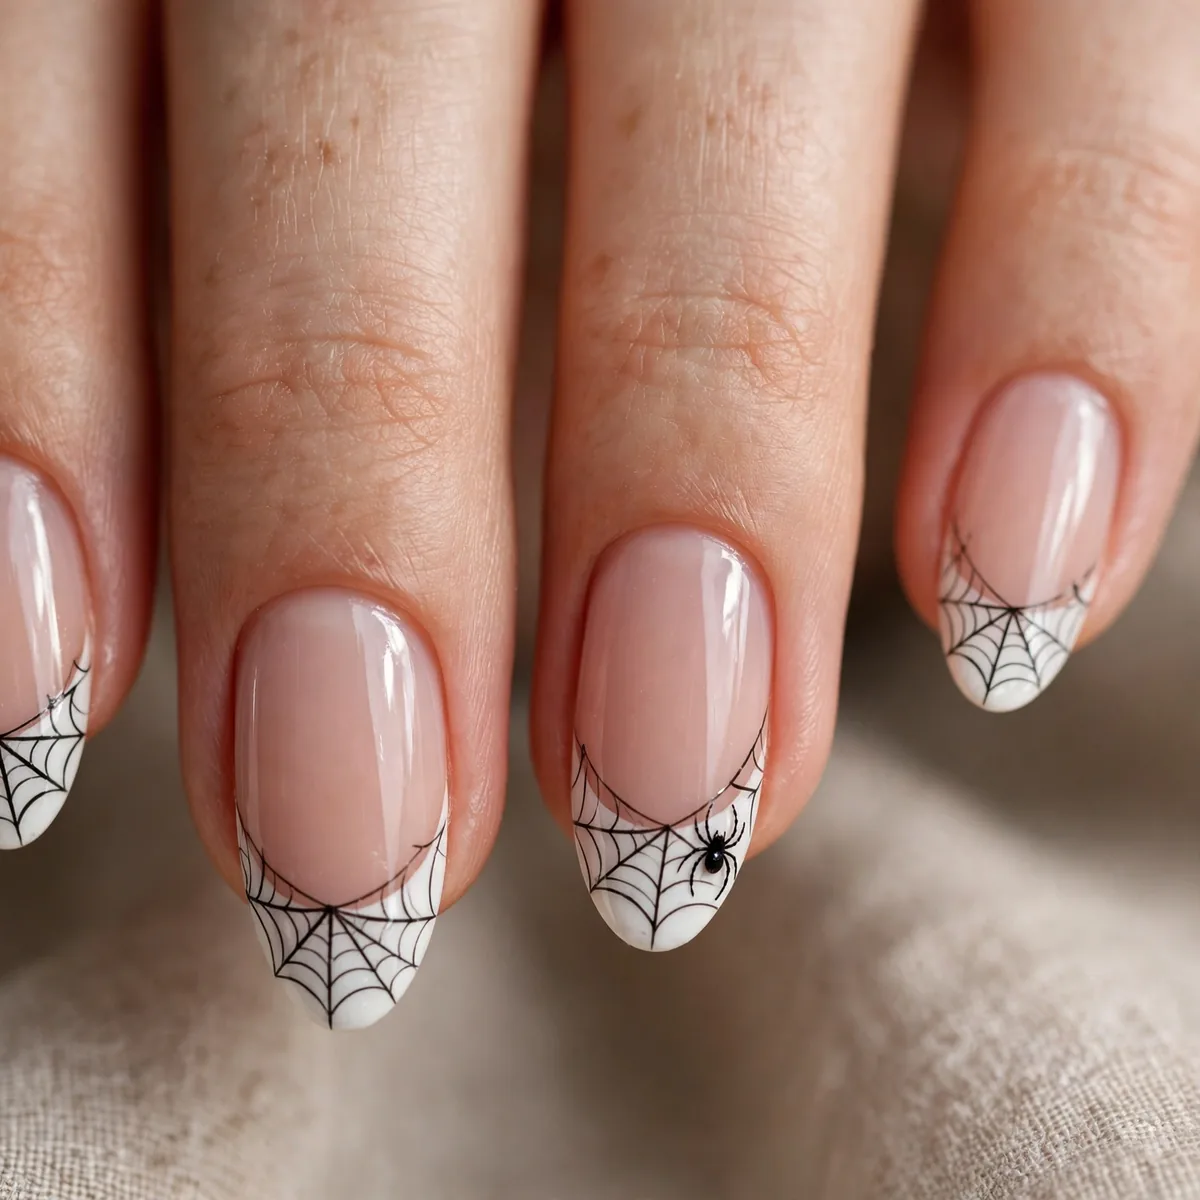
French tips with web detailing — the Halloween French.
Best for: French lovers. Webs elevate the classic.
Build the web onto a classic white French tip — paint the tip first and let it fully cure before drawing any web lines, since white tips smudge easily under a detail brush. Drape the web from one corner of the tip rather than centering it, so it reads like an intentional accent instead of a stamp. A striping brush with a light touch keeps the lines delicate rather than cartoonish.
This is the Halloween manicure for people who love their French year-round — it keeps the silhouette you wear every day and just dresses it for the season. It works on short squoval nails as well as long almonds, since the tip gives the web a natural canvas. Remove the webs with a small brush and acetone after Halloween and the French underneath stays intact for another week.
Haunted Gradient
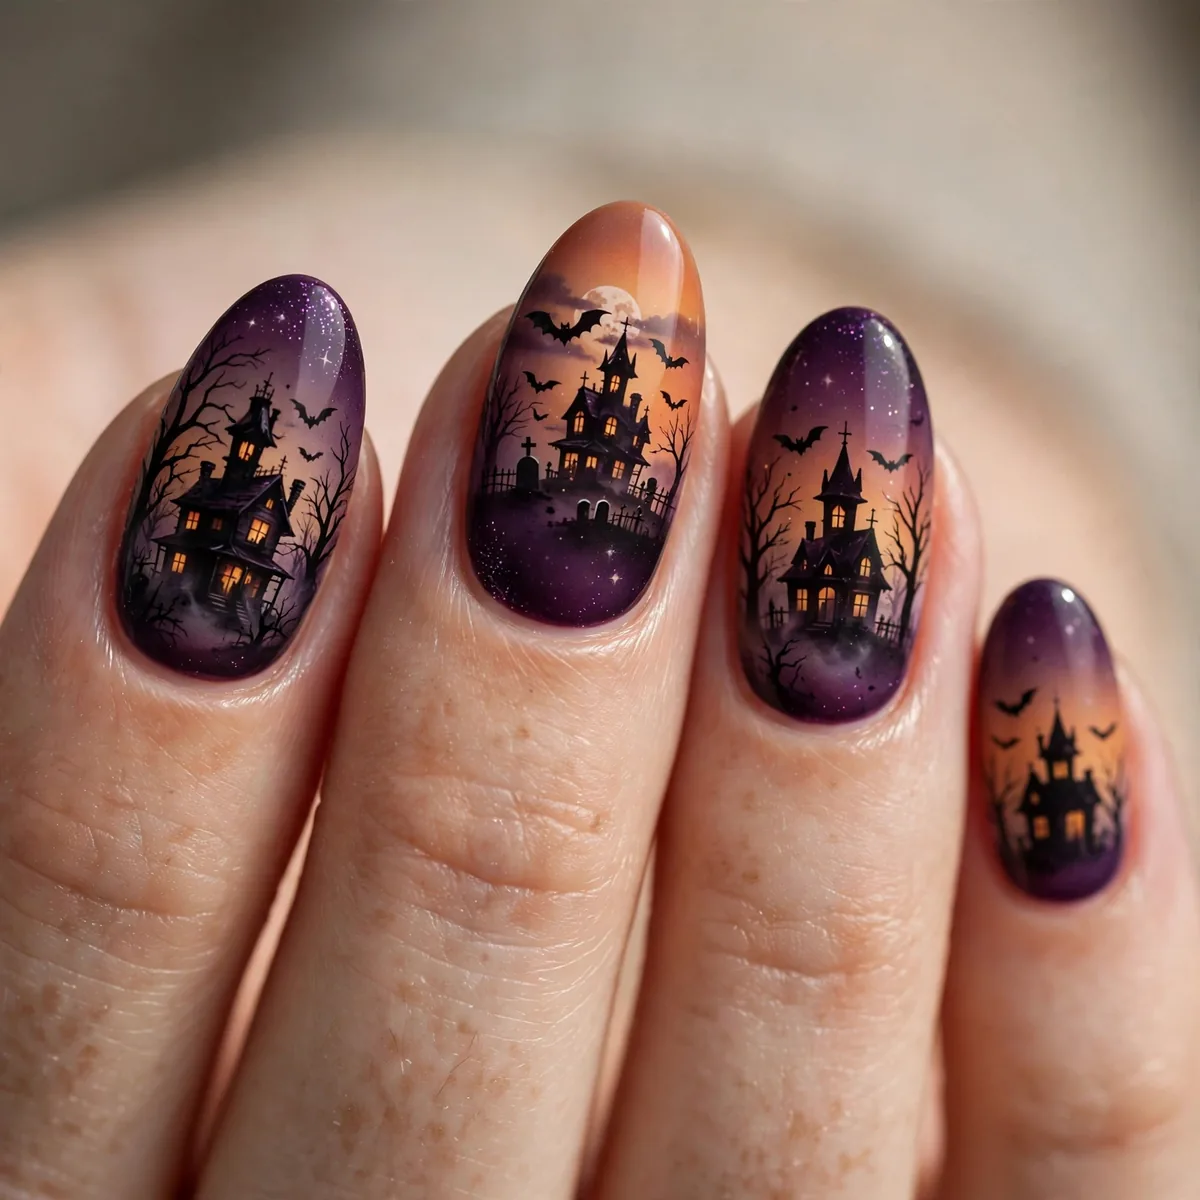
Silhouettes against an orange-to-black gradient — the tiny haunted scene.
Best for: the storytelling. A whole Halloween on ten nails.
Paint the orange-to-black gradient first and let it fully dry before adding any silhouettes — layering wet polish over wet gradient muddies the fade. Use a stamping plate for the haunted house and bare-tree shapes; at this scale, stamping gives cleaner edges than any freehand attempt. Keep silhouettes on two accent nails maximum so the design tells a story instead of shouting it.
Longer nails are non-negotiable for this one — the haunted scene needs vertical space for the gradient, the house, and the moon to all read clearly. A matte top coat over the whole thing adds an eerie, foggy atmosphere that gloss would destroy. This is pure Halloween-night art rather than everyday wear, so save it for the party week and enjoy the drama.
Metallic Moon Phases
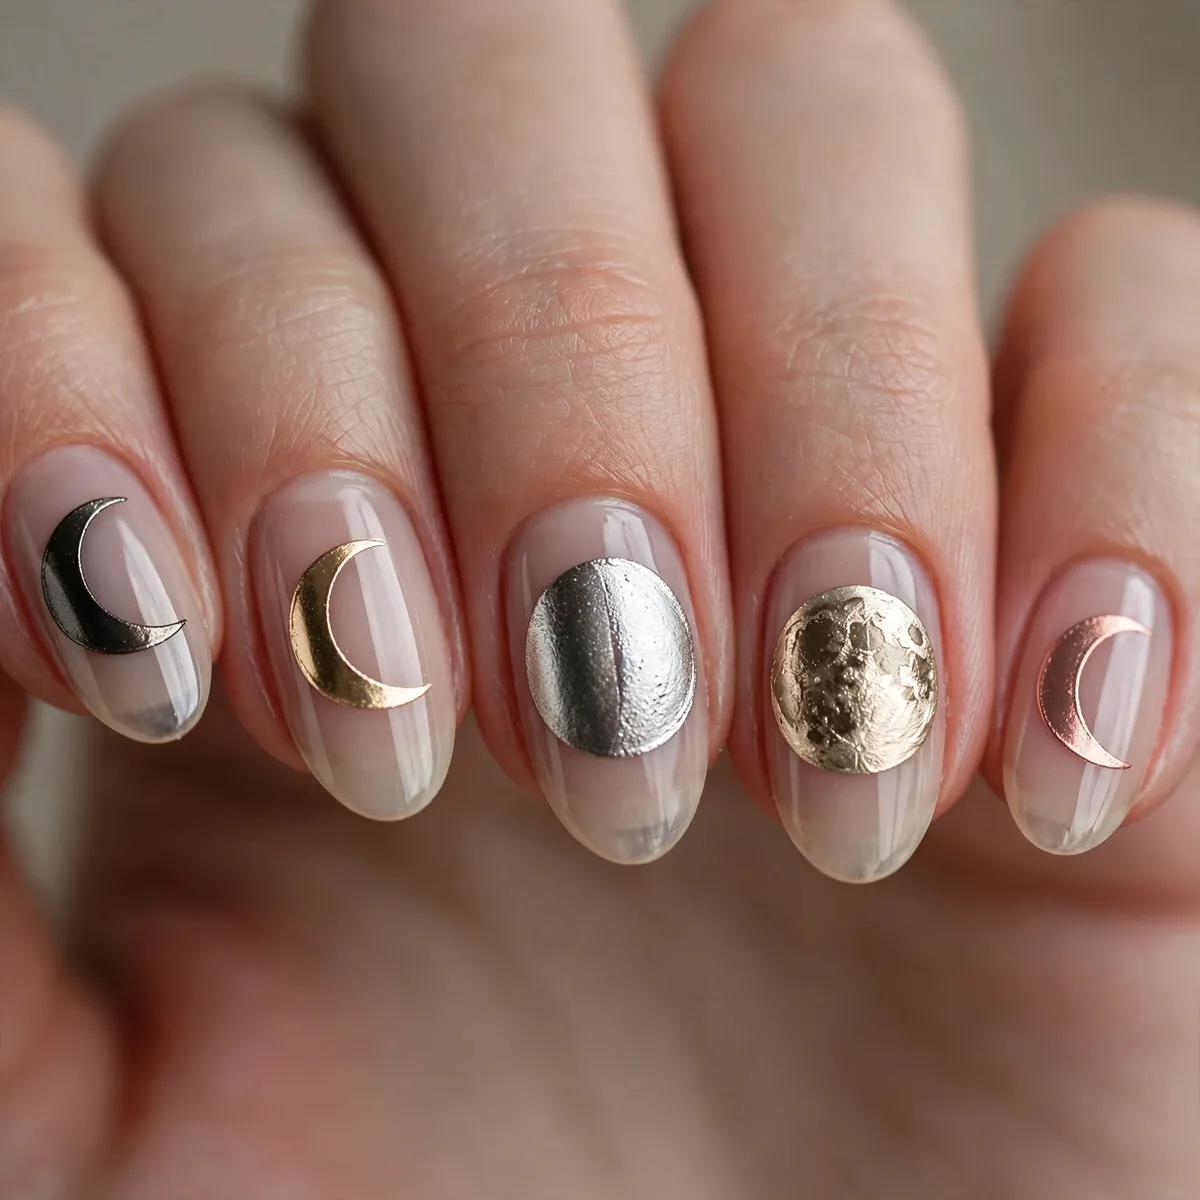
Gold moon phases on black — celestial and chic.
Best for: the elegant spooky. Metallics keep Halloween luxe.
The moon phases read best when each crescent is the same size, which is nearly impossible freehand — this is exactly the design nail stickers or decals were made for. Place them in a diagonal sweep across the nail for a modern, editorial feel rather than a straight vertical line. A metallic gold foil or chrome powder over black crème gives the moons a real celestial glow.
This is the most versatile look in the whole Halloween roundup — moon phases are celestial-chic in any month, not just October. They suit every nail length, though longer nails let the phase sequence unfold like a tiny lunar calendar. Style them with delicate gold rings to echo the metallic finish, and refresh the top coat weekly since foil accents can lift at the edges.
Vampy Stiletto
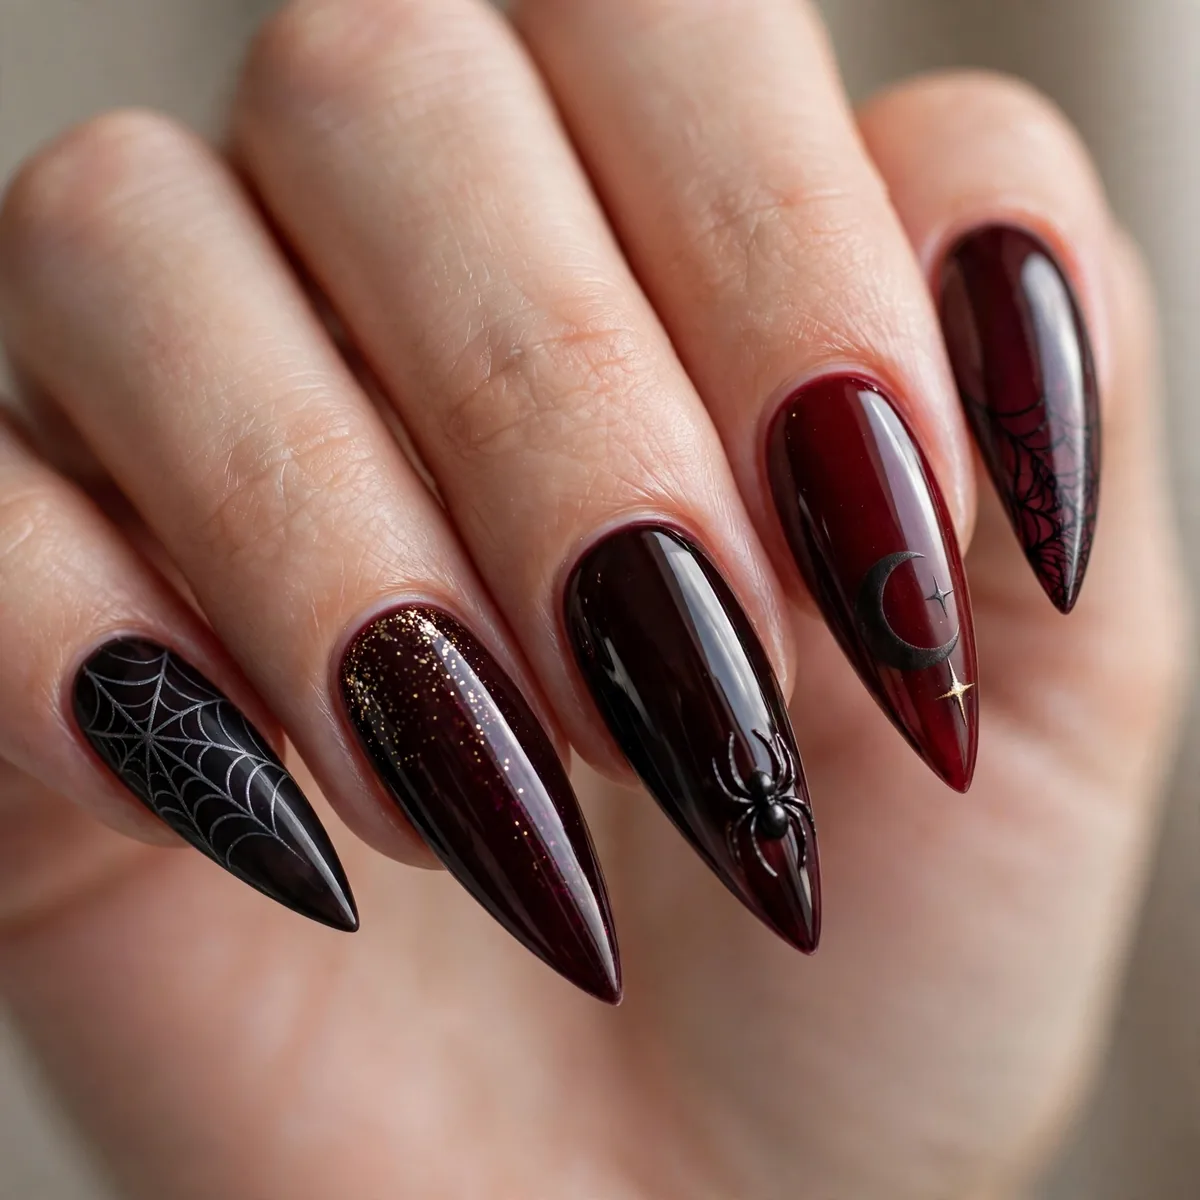
Dark shades on stiletto shape — the full vamp.
Best for: the committed. Shape + shade = total Halloween.
Stiletto nails demand a strong structure — if you are not wearing extensions, a gel or builder overlay keeps the pointed tips from snapping under daily wear. Dark oxblood, black, or aubergine crème all deliver the vamp effect, but keep the shade consistent across all ten nails for maximum impact. Cap the pointed tip carefully with base, color, and top coat to seal the most chip-prone part of the nail.
This is the highest-commitment look here, so be honest about your lifestyle — stilettos and keyboard-heavy workdays are not friends. The payoff is pure drama: the pointed silhouette makes fingers look longer and more elegant, and the dark shade turns the whole hand into a statement. If full stiletto feels like too much, an almond shape in the same deep shade gives you ninety percent of the vamp with none of the maintenance.
The Chic Haunt
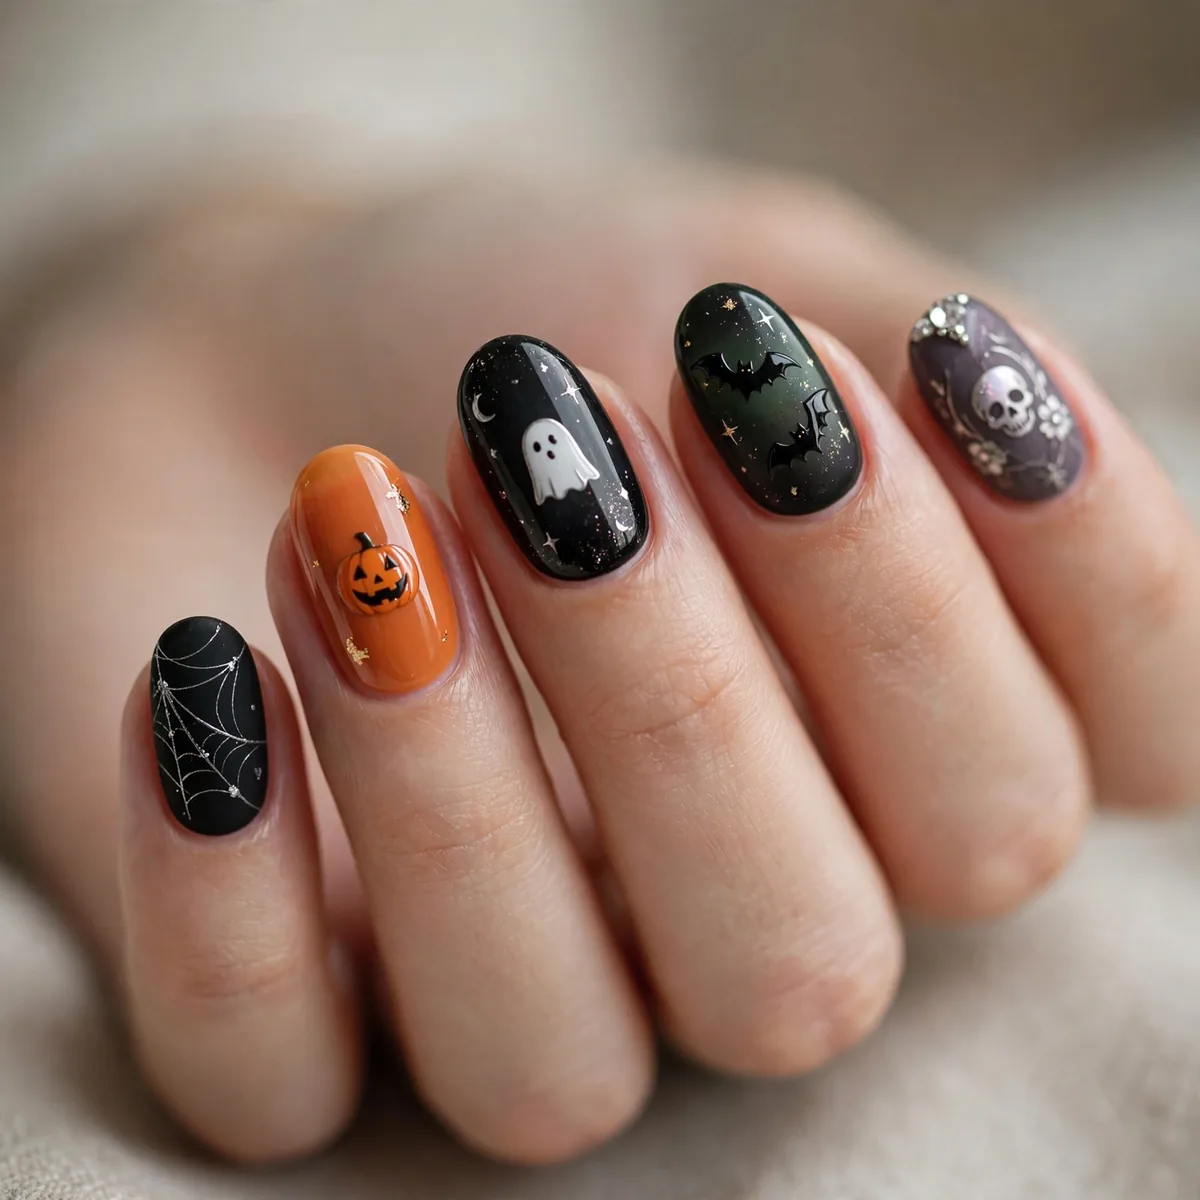
Blood red, black, purple — the three-bottle Halloween wardrobe.
Best for: the season. Three shades, endless spooky chic.
This three-bottle capsule works because the shades cover every Halloween mood — blood red for the classic, black for the moody, purple for the mystical. Start the season with solid black, switch to blood red for party week, and finish with purple for the transition into November. One bottle each keeps the budget tight while still giving you a full month of different manicures.
Choose quality over quantity with these three — a well-pigmented crème in each shade needs only two coats, which saves time and looks more professional than four coats of a sheer drugstore red. Store the bottles upright in a cool drawer and they will last well beyond the season. Pair the rotation with gold jewelry, dark lipstick, and cozy knits, and your nails will feel styled rather than just painted.
Spooky, never tacky. Haunt in style — and for fall’s other moods, see our fall nail ideas and pumpkin spice nails.