
Most makeup tutorials assume visible lids. Here’s the one for the rest of us.
Hooded eyes — where skin folds over the lid, hiding it partially or fully — need adapted techniques. The standard advice fails because it’s designed for a different eye structure.
The core principles: work with eyes open, place color where it’s visible (above the fold), and choose formulas that don’t transfer.
Here are 20 tips that actually work. Let’s get into it.
The Eyes-Open Rule
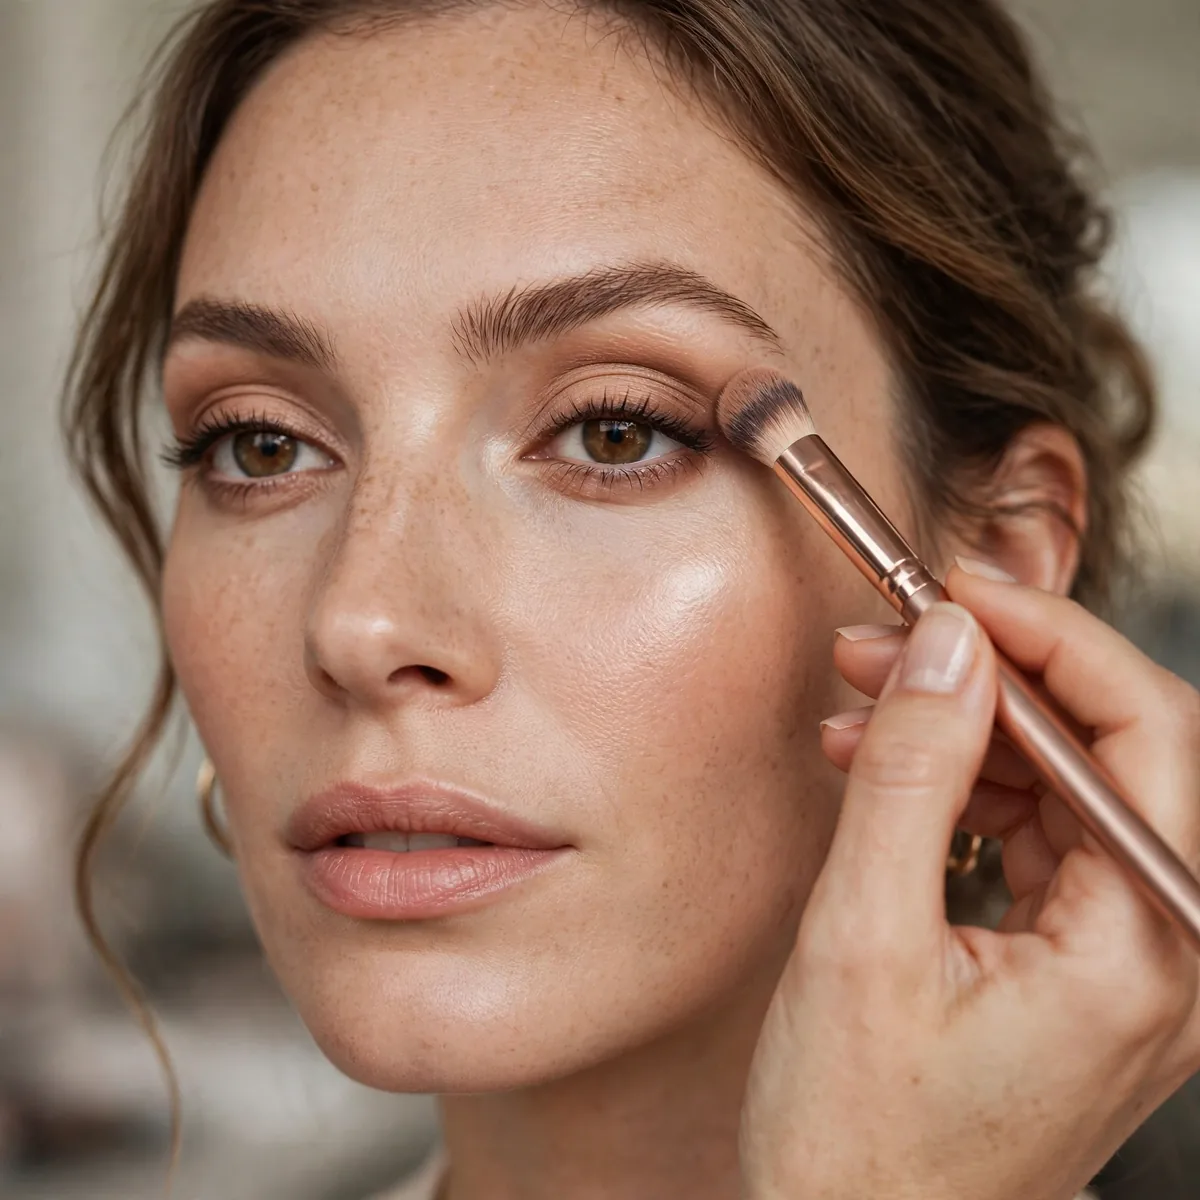
Apply all eye makeup with eyes open and relaxed. Closed-eye application disappears into the fold.
This is the #1 hooded-eye rule. Everything else builds on it.
The reason open-eye application works is anatomical: the hood's fold sits differently when the eye is relaxed versus closed, so closed-eye placement lands in the wrong spot once you look up. Keep your gaze straight into the mirror with a neutral expression; not raised brows, which temporarily lift the hood and mislead placement. Practice in small sections, checking with eyes open between each step.
This habit also improves every other eye technique you already know, from winged liner to soft smoky blends, because you are finally placing product where it will actually be seen. Beginners should start with just mascara and one shadow applied open-eyed for a week; the muscle memory builds quickly. Within a month, the old closed-eye instinct fades and placement becomes second nature.
Above-the-Fold Placement
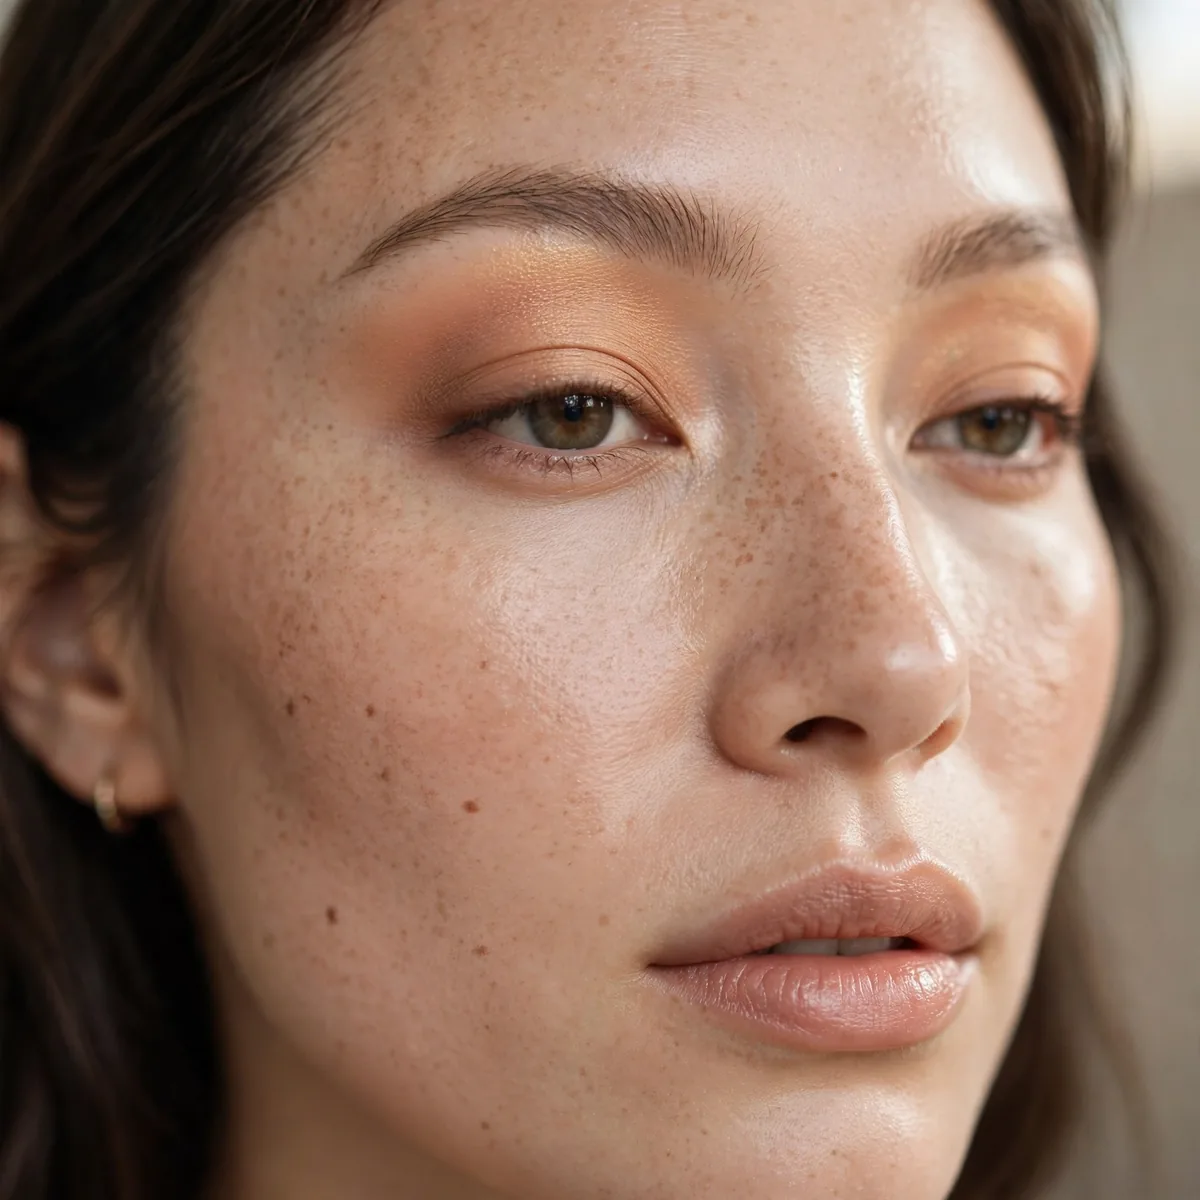
Place transition and crease shades above the natural fold, where they’re visible.
If you can’t see it with eyes open, it’s not there. Place accordingly.
To find your personal above-fold zone, look straight ahead and notice where the hood's shadow ends and visible skin begins; that boundary is your new crease line. Place transition color about two millimeters above it so the color peeks out even when you blink. A matte mid-tone brown works best for this zone since it mimics natural shadow and creates believable depth.
The most common error is blending the color back down into the actual fold, where it vanishes; keep your blending strokes moving upward and outward instead. Check your work by looking down, then straight ahead; the color should be visible in both positions. Over time, this placement trains your eye to read the visible lid as your true canvas.
Primer Is Non-Negotiable
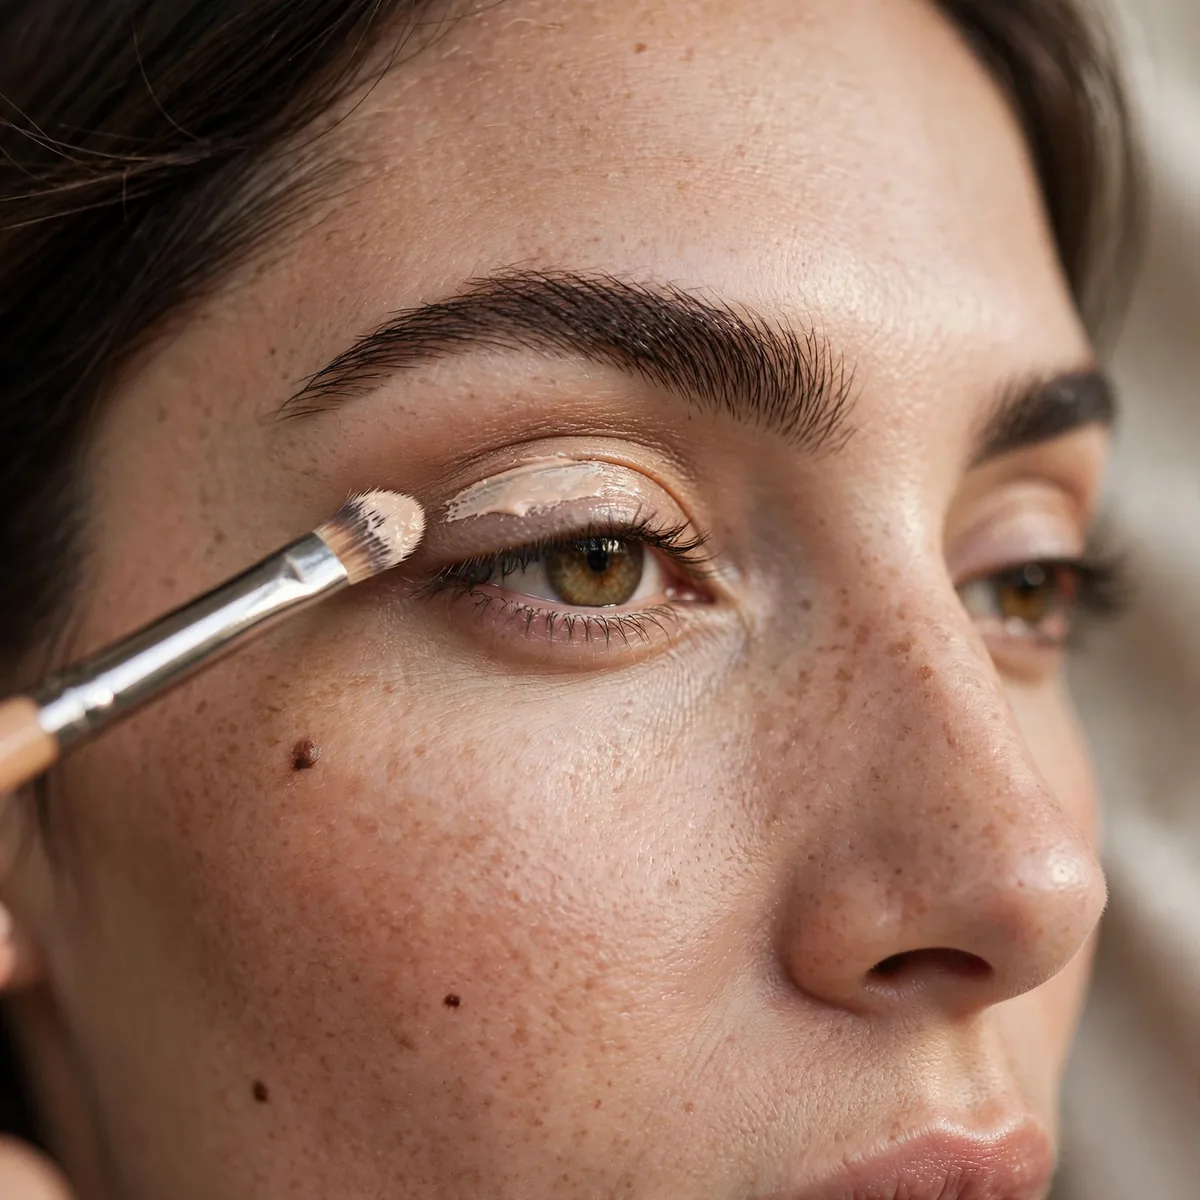
Hooded lids touch more skin, causing more transfer. Primer prevents it.
A good primer is the difference between all-day and two-hour eye makeup on hooded eyes.
Hooded lids transfer more because the fold creates constant skin-on-skin contact, generating both friction and trapped moisture throughout the day. A silicone-based primer fills fine lines and creates a grippy barrier that shadow adheres to instead of migrating. Apply a rice-grain amount with your fingertip and let it set for thirty seconds before shadow; wet primer plus powder equals patchiness.
If primer alone is not enough, layer a skin-toned powder shadow over it as a base before adding color; the double barrier handles even the oiliest hoods. Those with very oily lids should look for primers labeled mattifying or long-wear rather than illuminating ones. On no-makeup days, primer worn alone evens out lid discoloration and keeps the area looking fresh.
Smudged Liner Over Liquid
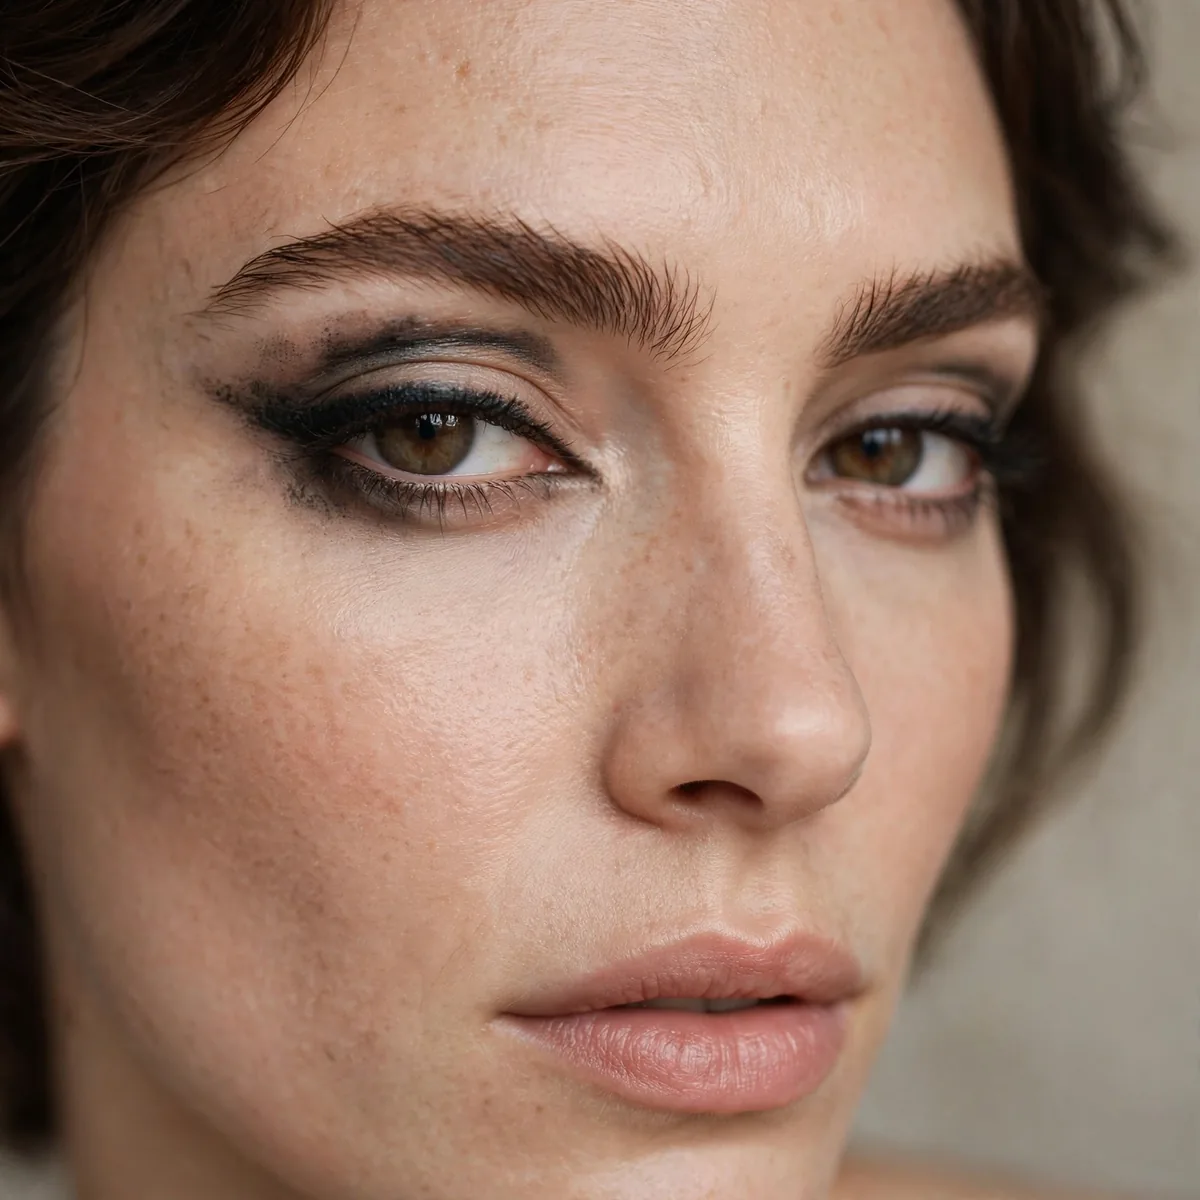
Smudged shadow liner survives the fold; liquid liner often transfers or disappears.
Our smudged liner guide has techniques. Soft beats sharp on hooded eyes.
Smudged shadow liner survives because its soft edge has nowhere to crack; unlike liquid's crisp line, which breaks the moment the fold presses against it. Apply with a small angled brush using short stamping motions, then soften with a clean pencil brush. Dark brown shadow gives the definition of liner with a fraction of the harshness, flattering every eye color.
For extra staying power, set the smudged line with a matching waterproof pencil underneath; the pencil grips, the shadow softens. This technique also forgives shaky hands, since blur is the goal rather than the enemy. If you miss the precision of liquid, tightline the waterline first for that dark lash-base intensity, then smudge shadow above it.
The Outer V Focus
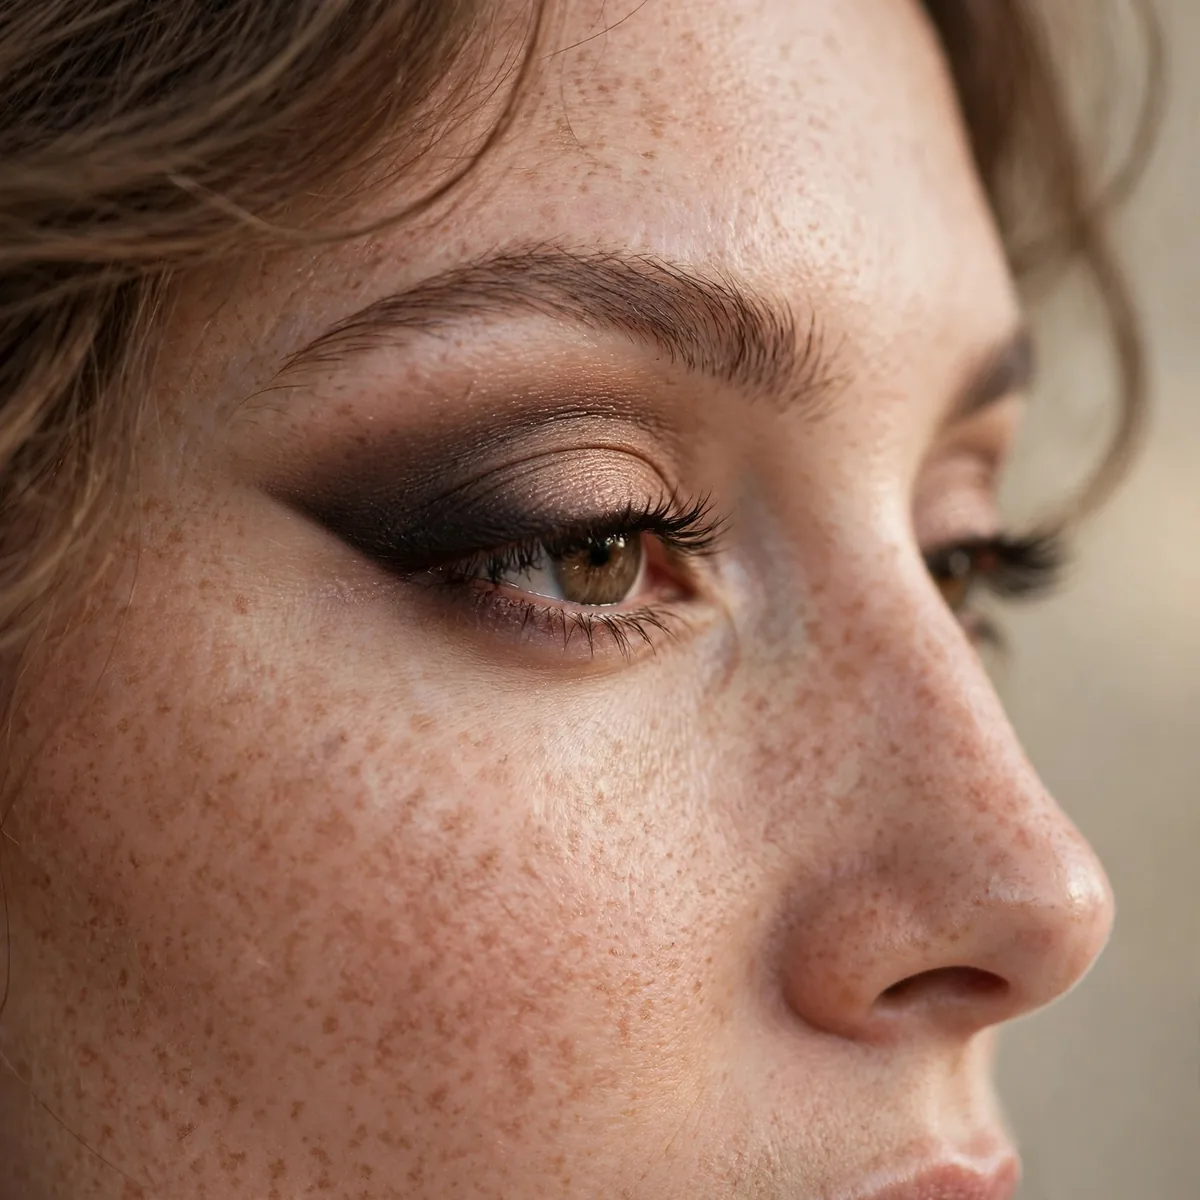
Concentrate depth on the outer V — it’s the least hooded area and stays visible.
The outer corner is your visible canvas. Use it.
The outer corner stays visible because the hood typically thins toward the temples, leaving a small triangle of exposed lid that holds color beautifully. Build depth there with a matte shade two tones deeper than your transition color, using a small tapered brush. Blend the edges thoroughly; harsh lines at the outer V look heavy, while diffused depth looks lifted.
This placement also visually extends the eye outward, counteracting the rounded, closed-off effect hoods can create. Connect the outer V color slightly along the lower lash line for cohesion; the wraparound makes eyes look bigger. For daytime, keep the outer V soft and medium-toned; deepen it with a darker shade for evening without changing the technique.
Matte Over Shimmer
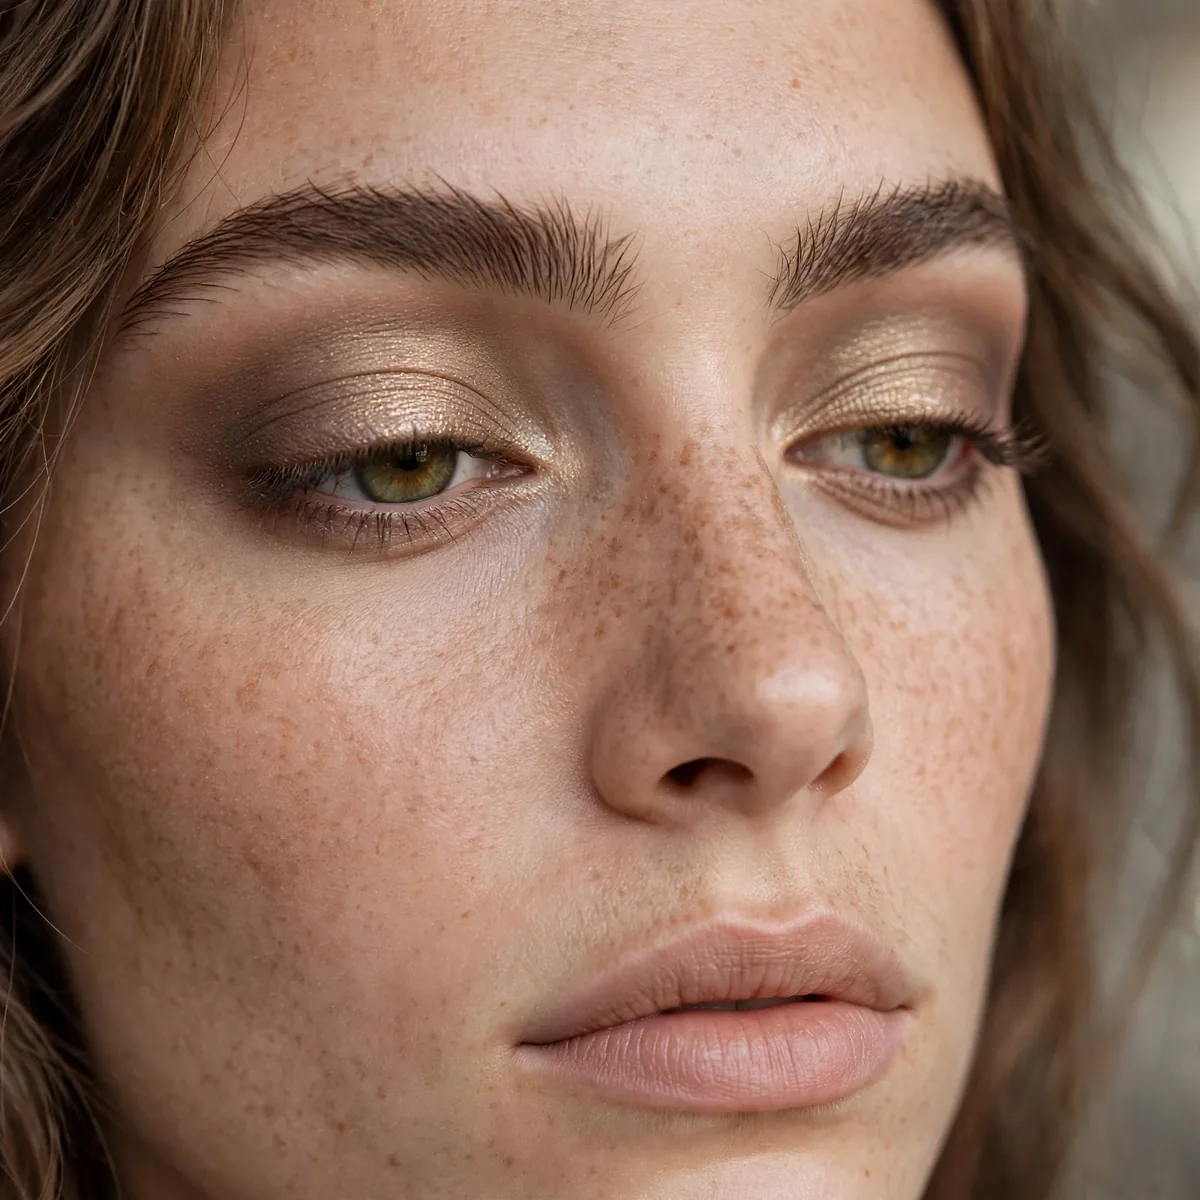
Mattes define without emphasizing texture; shimmers can disappear into folds.
Our matte guide for hooded eyes covers this fully. Matte is the hooded-eye workhorse.
Mattes define hooded eyes better because they absorb light and create the illusion of depth, while shimmers reflect light and can make the hood look puffier. Reserve shimmer for the inner corner and center of the lid only, where reflection reads as brightness rather than bulk. A matte transition shade in a warm brown is the single most useful pan for hooded lids.
If you love shimmer, the compromise is satin finishes; they catch light softly without the mirror effect of full metallics. Press satin shades on with a finger to control exactly where they land, keeping them off the hood itself. For photography, matte-dominant eyes photograph with more dimension on hooded shapes than all-shimmer looks do.
Tightline Instead of Thick Liner
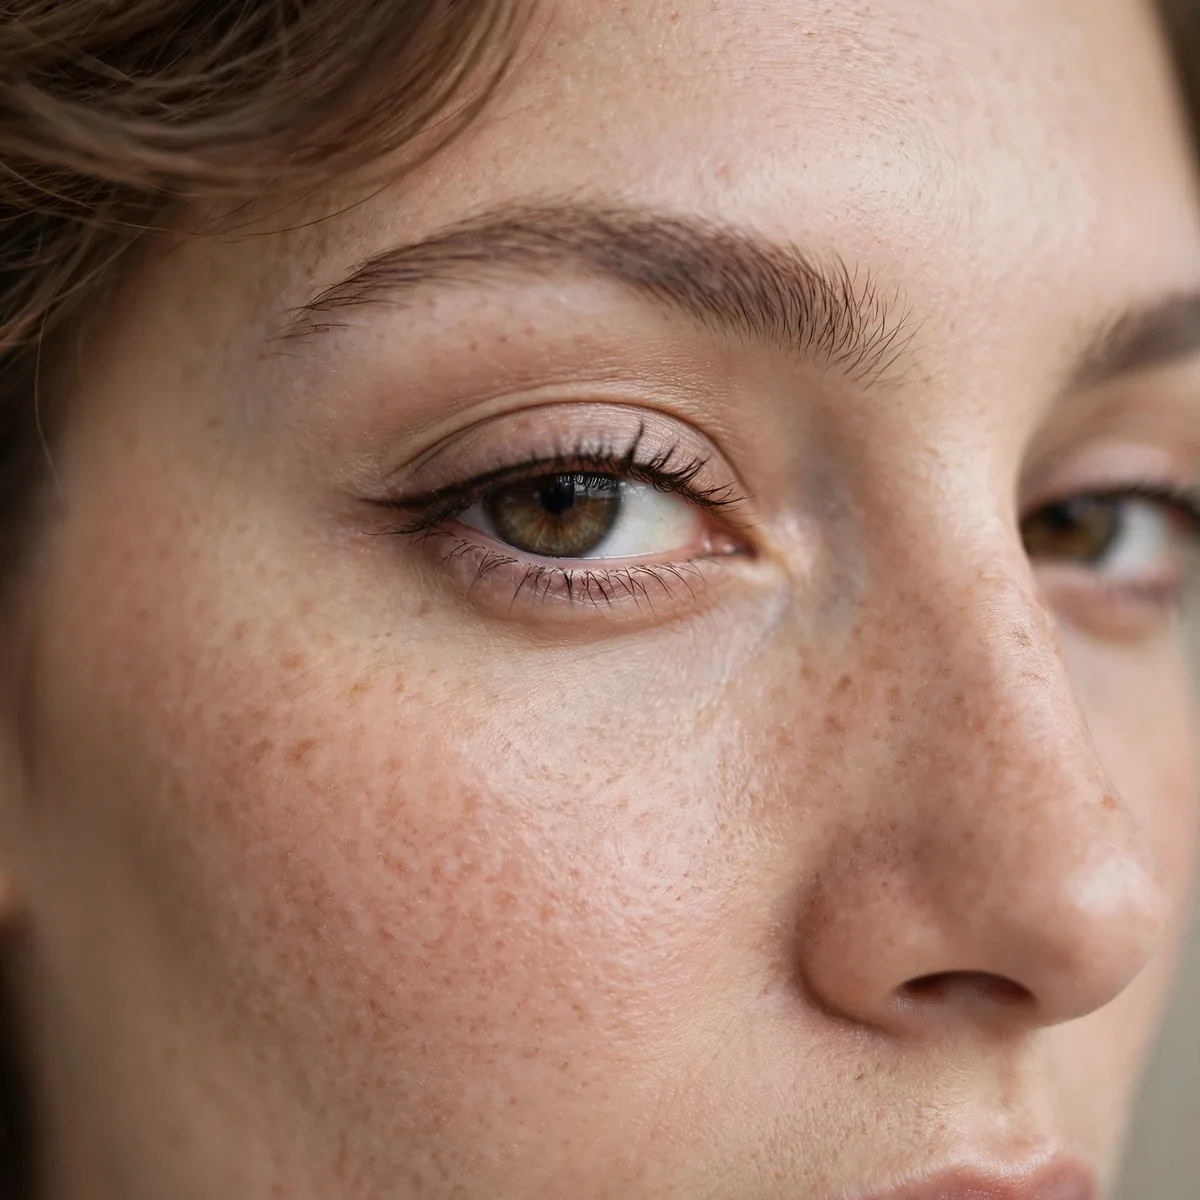
Tightlining defines without taking up visible lid space.
Thick liner on hooded eyes eats the little visible lid you have. Tightline instead.
Tightlining fills the gaps between lash roots along the upper waterline, creating the illusion of thicker lashes without consuming any lid space. Use a waterproof pencil and gently lift the lid to access the waterline, dotting rather than dragging to avoid skipping. Black gives maximum drama, but dark brown looks softer and more natural for daytime.
The technique also makes mascara look more effective, since the darkened lash base adds depth behind every lash. Waterproof formulas are essential here; the waterline is moist, and regular pencils fade within an hour. If your eyes water easily, set the tightline with a matching dark shadow pressed over it with an angled brush for double longevity.
Curl Lashes Aggressively
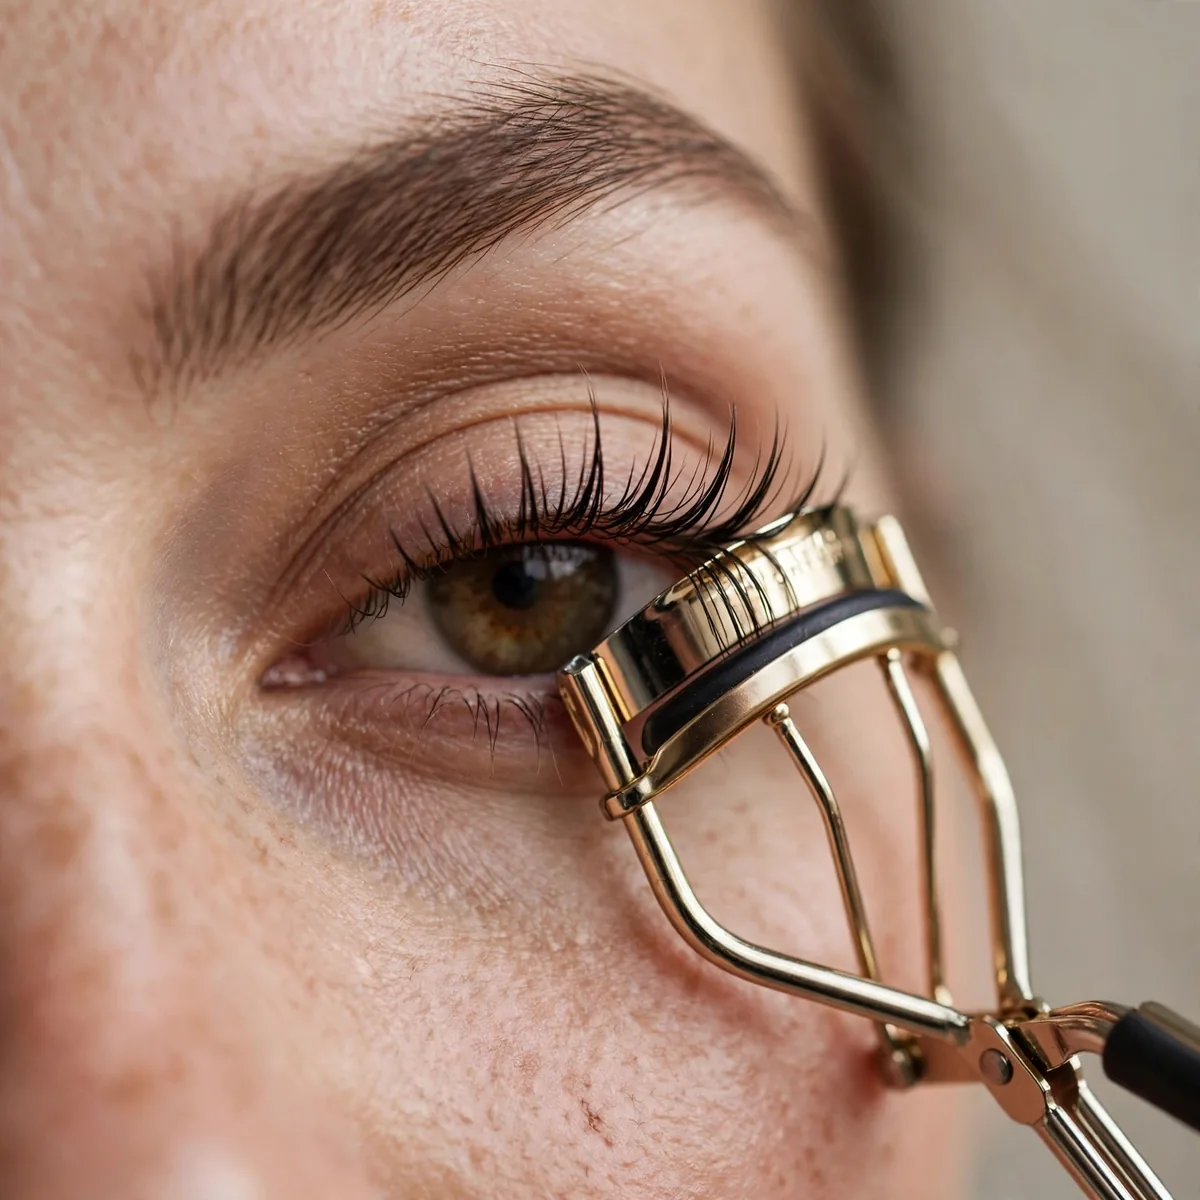
Curled lashes lift the whole eye area, counteracting the hood’s heaviness.
Curl is transformative on hooded eyes. It’s the fastest eye-opening trick.
Curling lifts lashes up and away from the hood, creating visible separation where the lid would otherwise press them down. Warm the curler briefly with a hairdryer; warm, not hot, for a curl that holds all day, or invest in a heated lash curler. Curl in three stages: base, middle, and tips, for a rounded curl rather than a crimped L-shape.
Follow immediately with a waterproof mascara while the curl is fresh, since waterproof formulas lock the shape in place as they dry. Those with very straight lashes should consider a lash lift treatment for a semi-permanent solution. Even without any shadow, curled lashes plus mascara can make hooded eyes look noticeably more open and awake.
Waterproof Everything
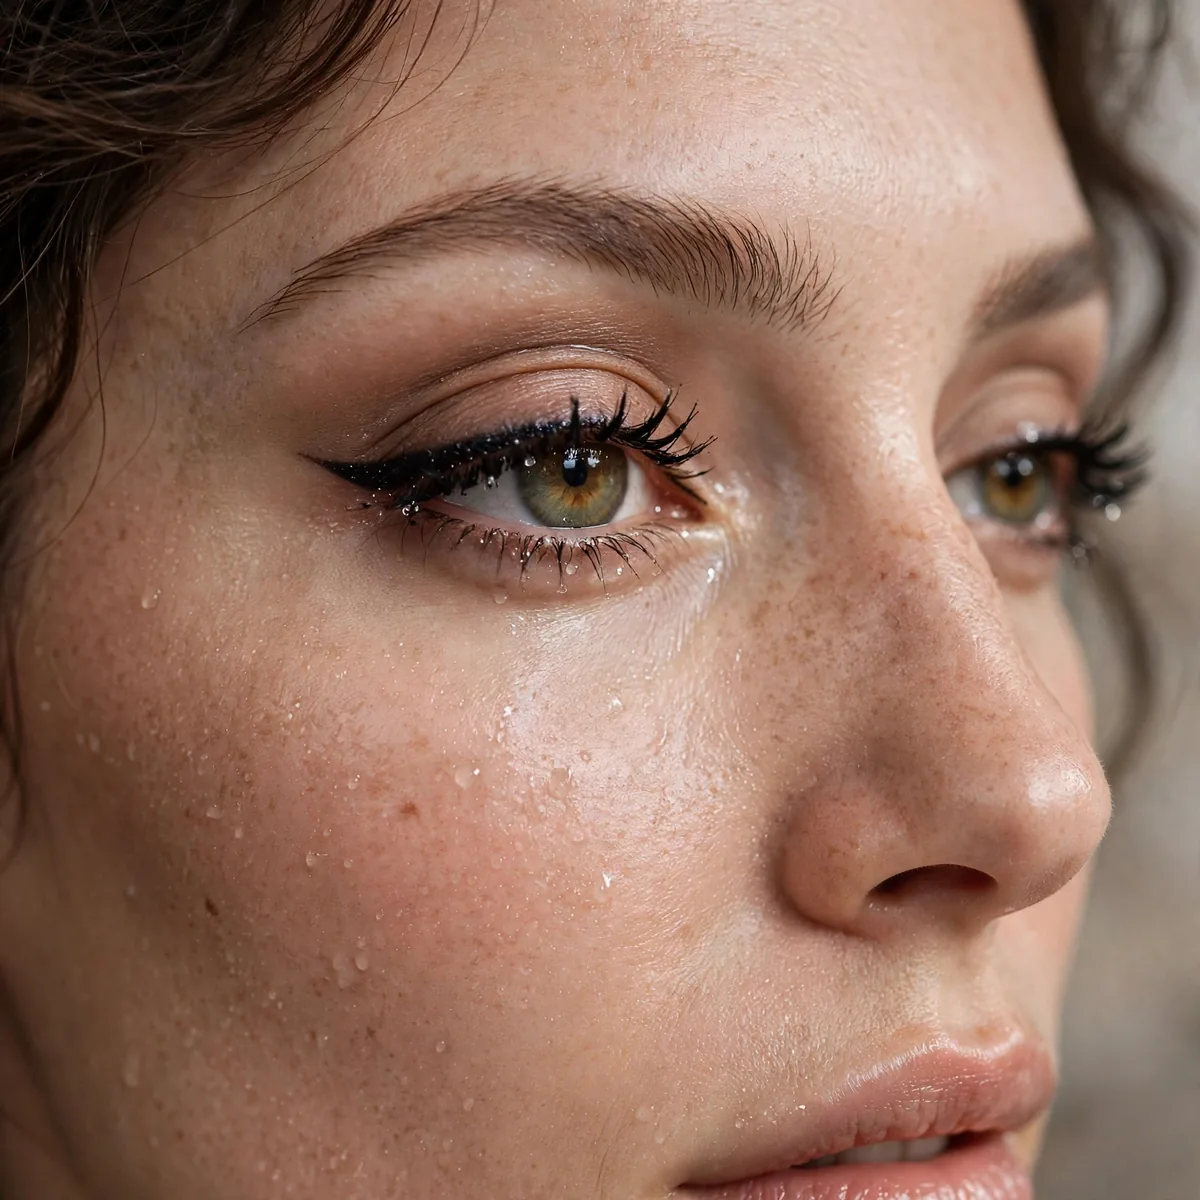
The fold creates friction and moisture — waterproof formulas resist both.
Waterproof liner and mascara aren’t optional for hooded eyes. They’re essential.
The hood creates a microclimate of warmth and moisture against the lid, which breaks down regular formulas through a combination of oil, sweat, and friction. Waterproof mascara resists both the moisture and the physical rubbing of the fold. Look for tubing mascaras as an alternative; they form water-resistant polymer sleeves around each lash and remove with just warm water.
Waterproof liner on both the waterline and lash line prevents the panda-eye effect that hooded eyes are prone to by afternoon. The tradeoff is removal: always use a dedicated waterproof remover or cleansing oil, since scrubbing damages lashes and stretches lid skin. Never sleep in waterproof formulas; the same tenacity that keeps them on all day makes overnight wear irritating.
Highlight the Brow Bone
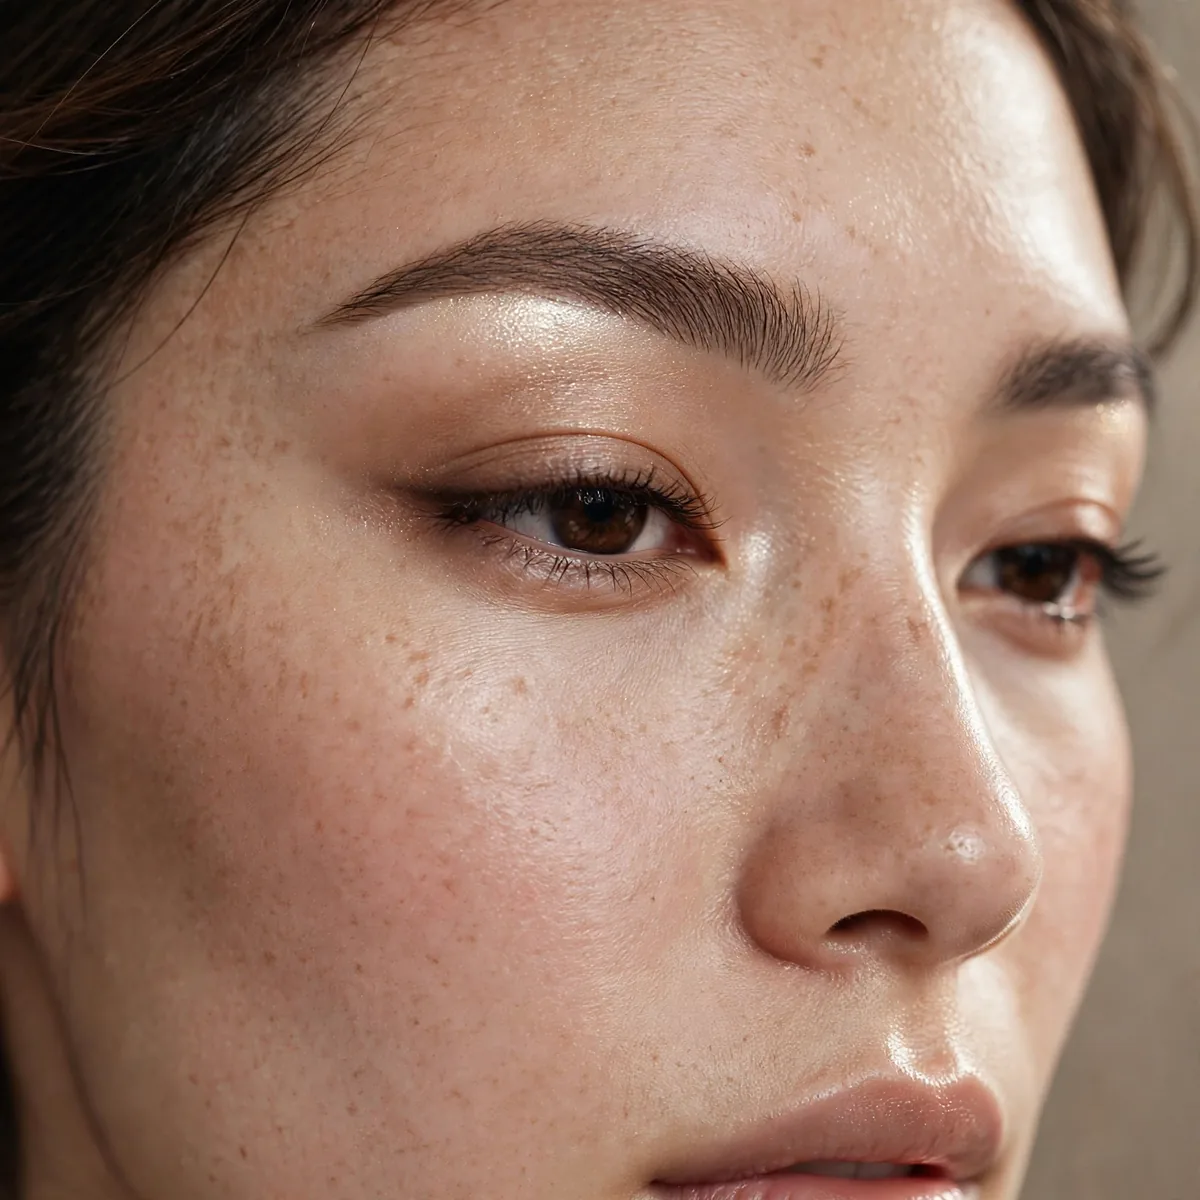
A matte highlight under the brow lifts the entire eye region.
The lift is optical but real. Brow-bone highlight is a hooded-eye essential.
A matte highlight placed directly under the arch of the brow creates contrast that makes the brow appear higher and the eye area more open. Choose a shade just one step lighter than your skin tone; anything brighter reads as obvious makeup. Apply with a fluffy brush using a light hand, focusing the brightness at the highest point of the arch.
Avoid shimmery highlighters on the brow bone if the hood is prominent, since reflection there can emphasize puffiness; matte is the safer choice. This step pairs powerfully with a well-groomed brow; the highlight draws attention to the arch you have shaped. For evening, you can intensify the highlight slightly, but keep it matte to maintain the lifting illusion.
Lower Lash Definition
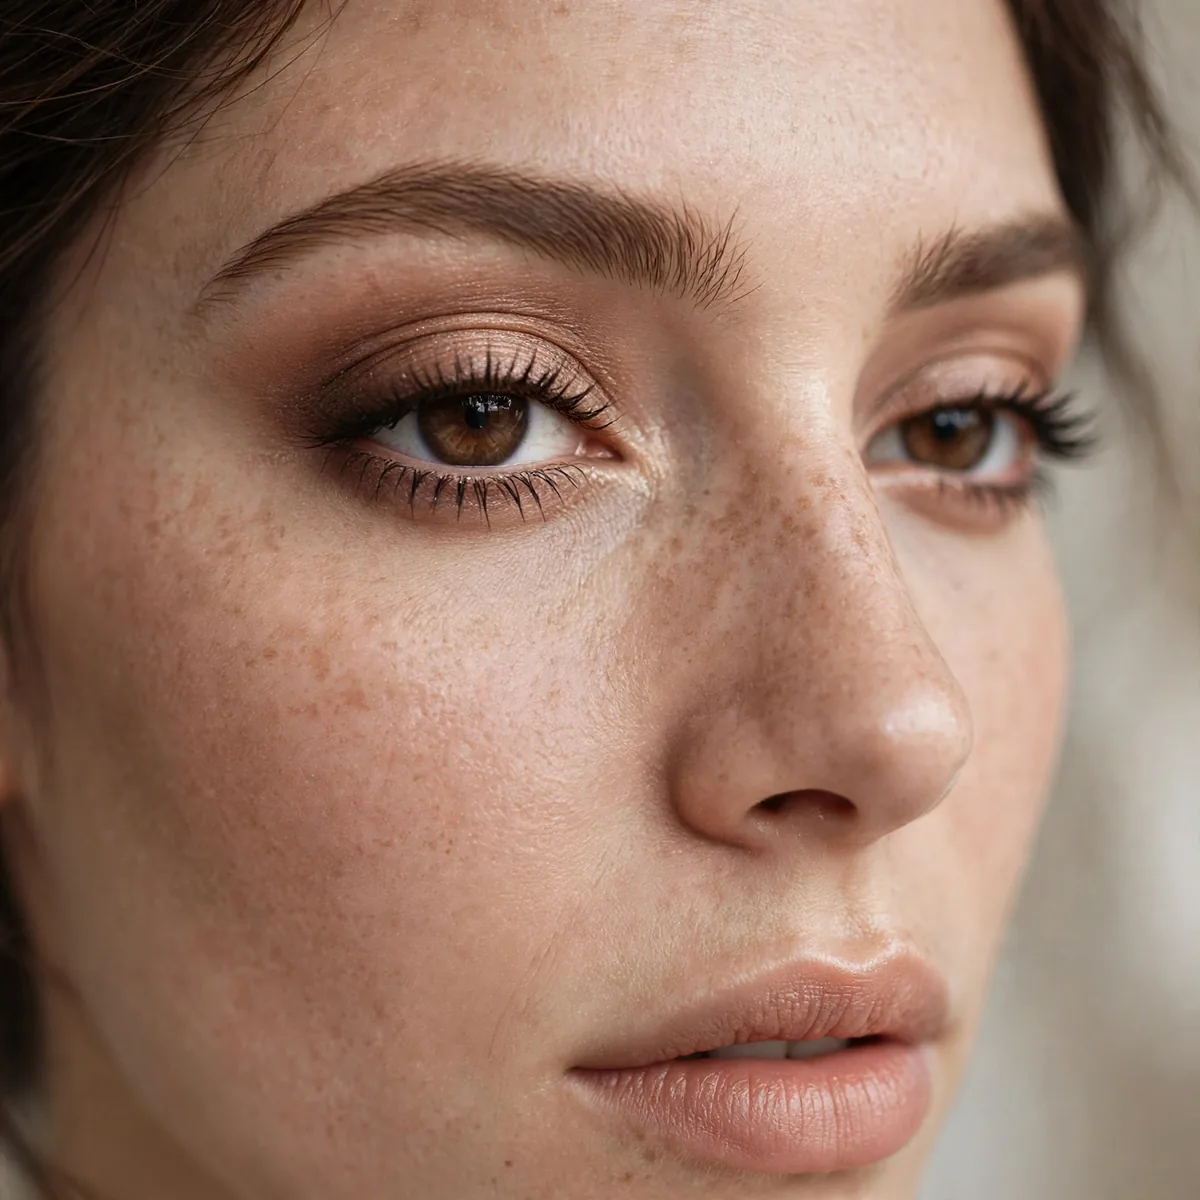
Defined lower lashes balance the eye when the upper lid is hidden.
Lower definition draws the eye downward, opening up the whole area.
Defining the lower lashes creates a visual anchor at the bottom of the eye, which balances the heaviness of the hood above and makes the whole eye appear larger. Use a small pencil brush to press a medium matte shade along the lower lash line, keeping it to the outer two-thirds. Connecting it softly to the outer V color unifies the look.
Brown shades are more forgiving than black on the lower line, where harsh color can read as tiredness rather than definition. A coat of mascara on the lower lashes amplifies the effect; wiggle the wand at the roots for separation. If lower definition tends to smudge on you, set it with a matching powder shadow over pencil for all-day wear.
The Wing Adaptation
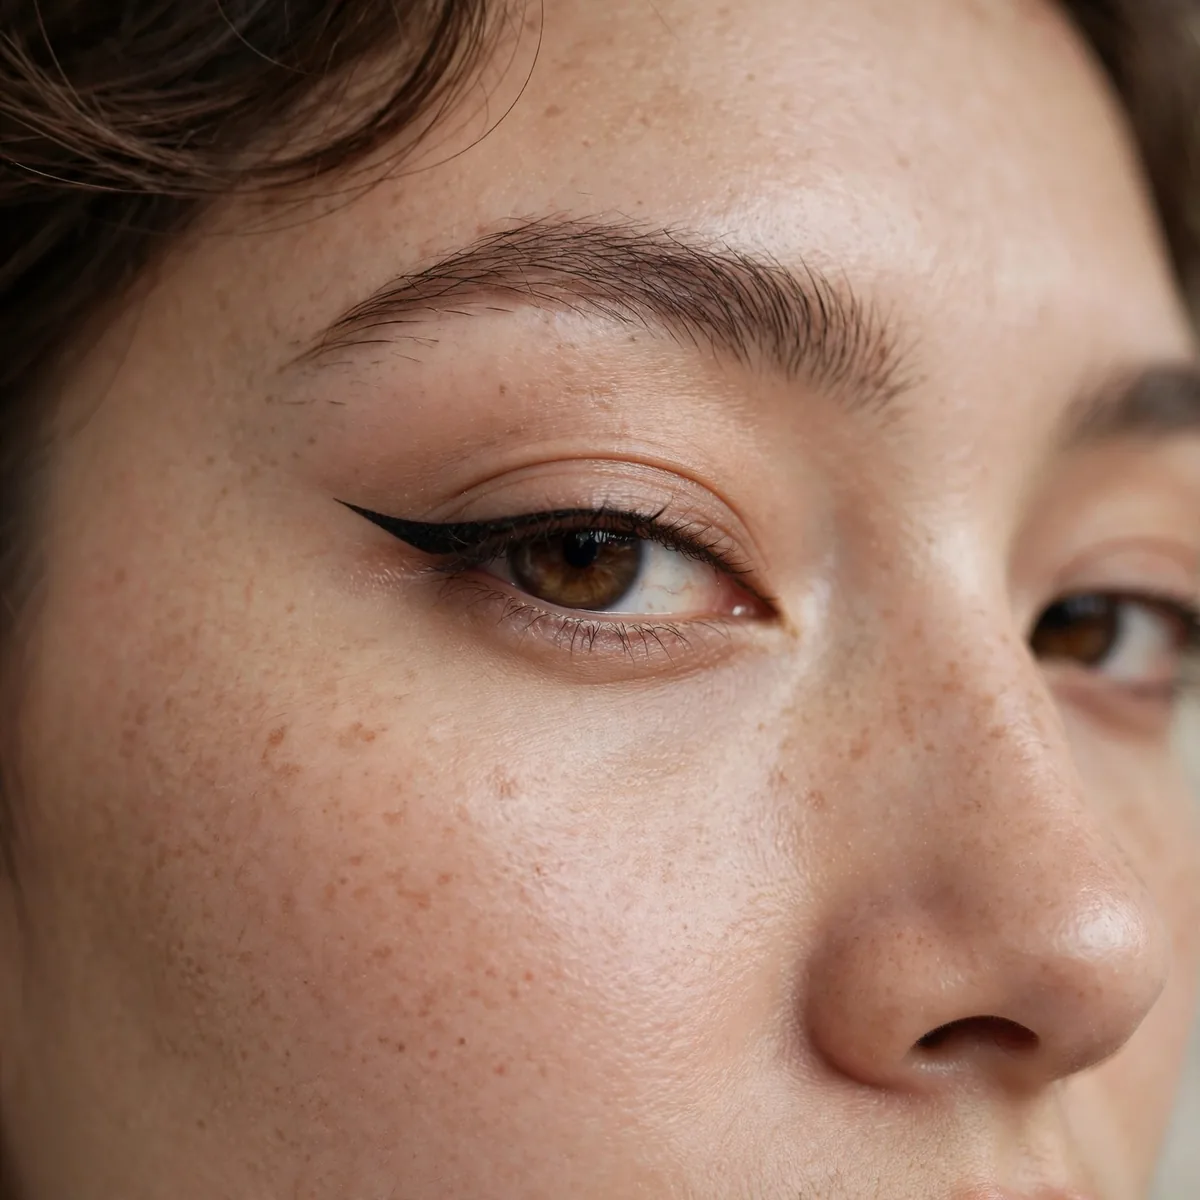
Draw wings with eyes open, extending outward rather than upward.
Standard wings get swallowed by the fold. Open-eye, outward wings survive.
Drawing the wing with eyes open lets you see exactly how the fold will interact with the line, so you can angle the wing to clear it. Extend the wing outward and slightly upward following the lower lash line's trajectory, rather than the steep upward flick of standard wings. A shorter, straighter wing survives the fold far better than a long dramatic one.
Gel liner applied with an angled brush offers more control for this technique than liquid pens, since you can build the line gradually. Map the wing first with a light brown shadow as a guide, then trace over it with liner; the sketch prevents asymmetry. Practice on the harder eye first while your hand is steadiest, then match the easier one to it.
Avoid Dark All-Over Lids
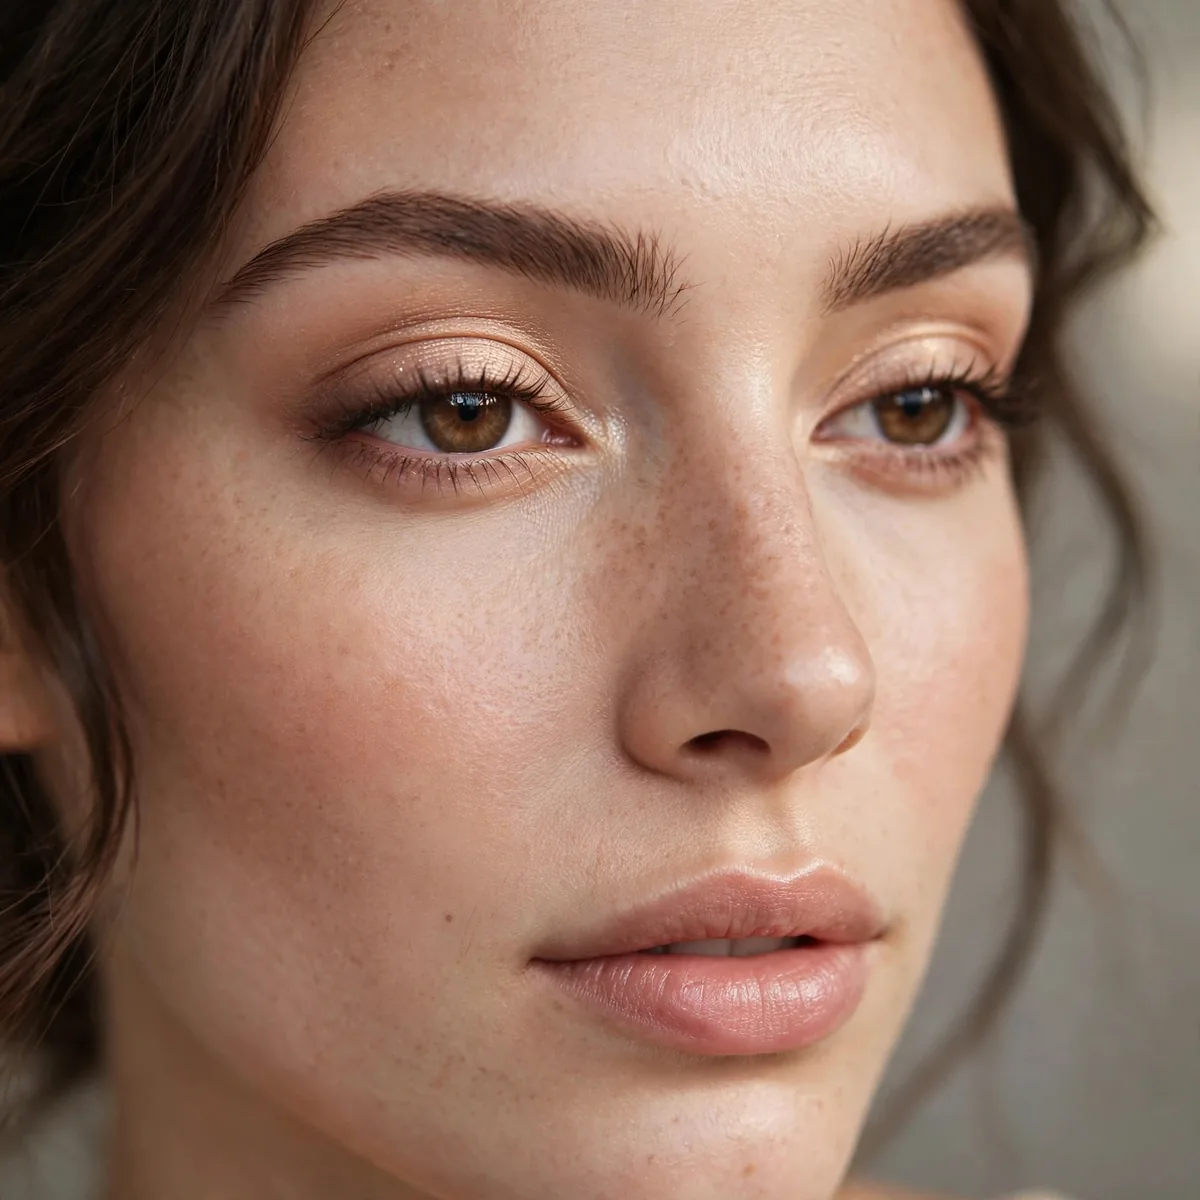
Dark shadow all over the lid closes off hooded eyes further.
Keep lids light-to-medium; put depth in the outer V and above the fold.
Dark shadow across the entire lid eliminates the light-dark contrast the eye needs to look dimensional, and on hooded eyes the result reads as a single heavy mass. Instead, keep the lid light to medium and concentrate darkness where it creates structure: the outer V and above the fold. This preserves brightness at the center, which is what makes eyes look open.
If you love dark shades, the compromise is a halo placement; dark at the inner and outer thirds with a light shade in the center. The bright center pops forward while the dark edges recede, creating dimension without closing the eye. For smoky looks, keep the deepest color tight to the lash line and blend upward into medium tones rather than packing dark everywhere.
Inner Corner Brightening
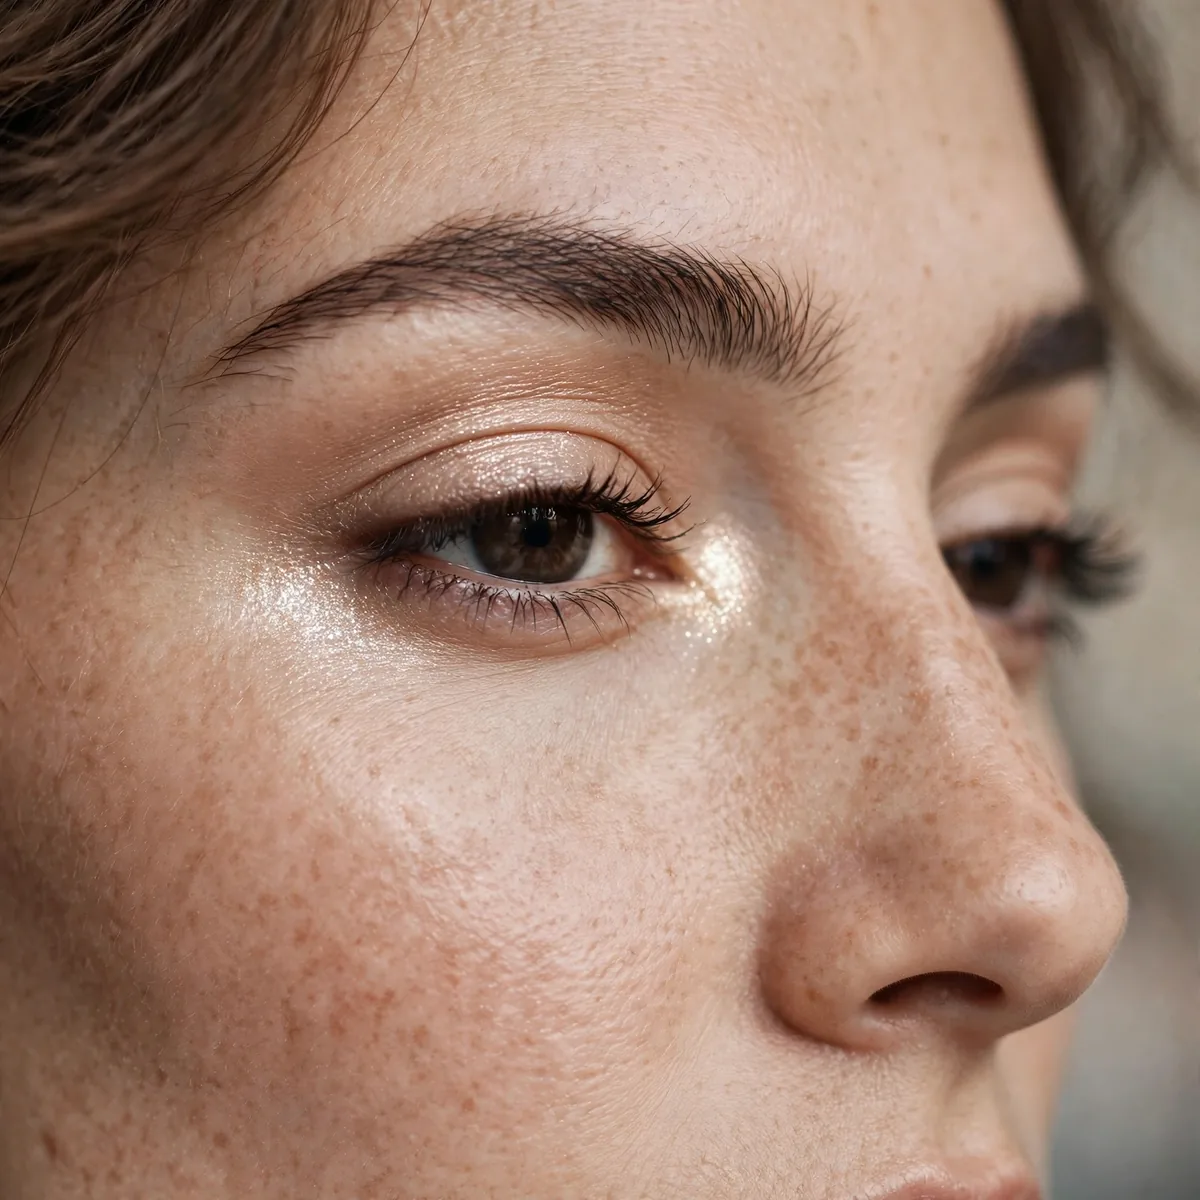
Bright inner corners open up the eye from the inside.
It’s a small placement with outsized brightening impact.
A touch of light shimmer at the inner corner catches light and creates the illusion that the eye starts further inward, counteracting the shadowed effect hoods create near the nose. Use a small precise brush or your fingertip to press the highlight exactly into the corner; over-application spreads brightness where it is not wanted. Champagne and pale gold suit most skin tones.
This tiny step has an outsized effect in photographs, where inner-corner brightness prevents eyes from looking sunken. For maximum impact, layer a cream highlight under a powder one; the cream intensifies the powder's reflectivity. Keep the rest of the eye balanced; an overly bright inner corner with an otherwise matte eye can look disconnected, so echo a little brightness on the center lid.
Set With Powder
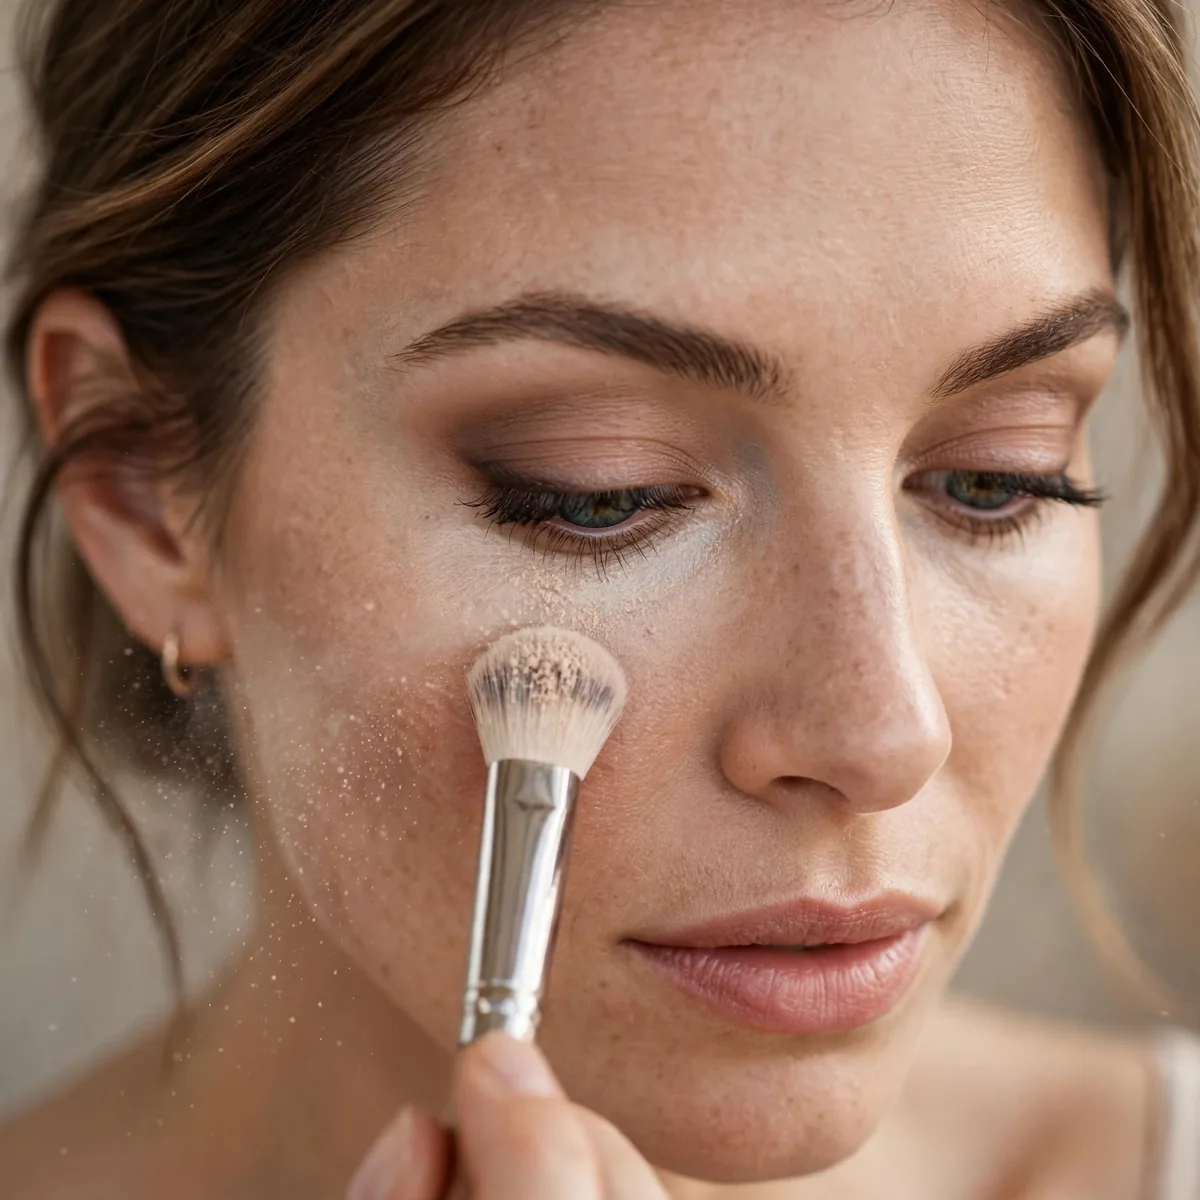
Set cream products with powder to prevent fold transfer.
Unset cream plus hooded fold equals migration. Powder locks everything down.
Cream products stay mobile on the skin, and the hooded fold's constant movement drags them into the crease within hours. A light dusting of translucent powder over cream shadow locks the pigment in place without dulling the color. Use a fluffy brush and press rather than sweep, so you set the product instead of moving it.
This step matters most in warm weather, when heat and humidity accelerate migration. If you prefer cream shadows for their blendability, the powder set is what makes them viable on hooded eyes; skip it and they will crease by lunch. For touch-ups, blot the crease with a tissue first, then re-press powder; adding product over migrated cream only compounds the problem.
Mascara on Lower Lashes
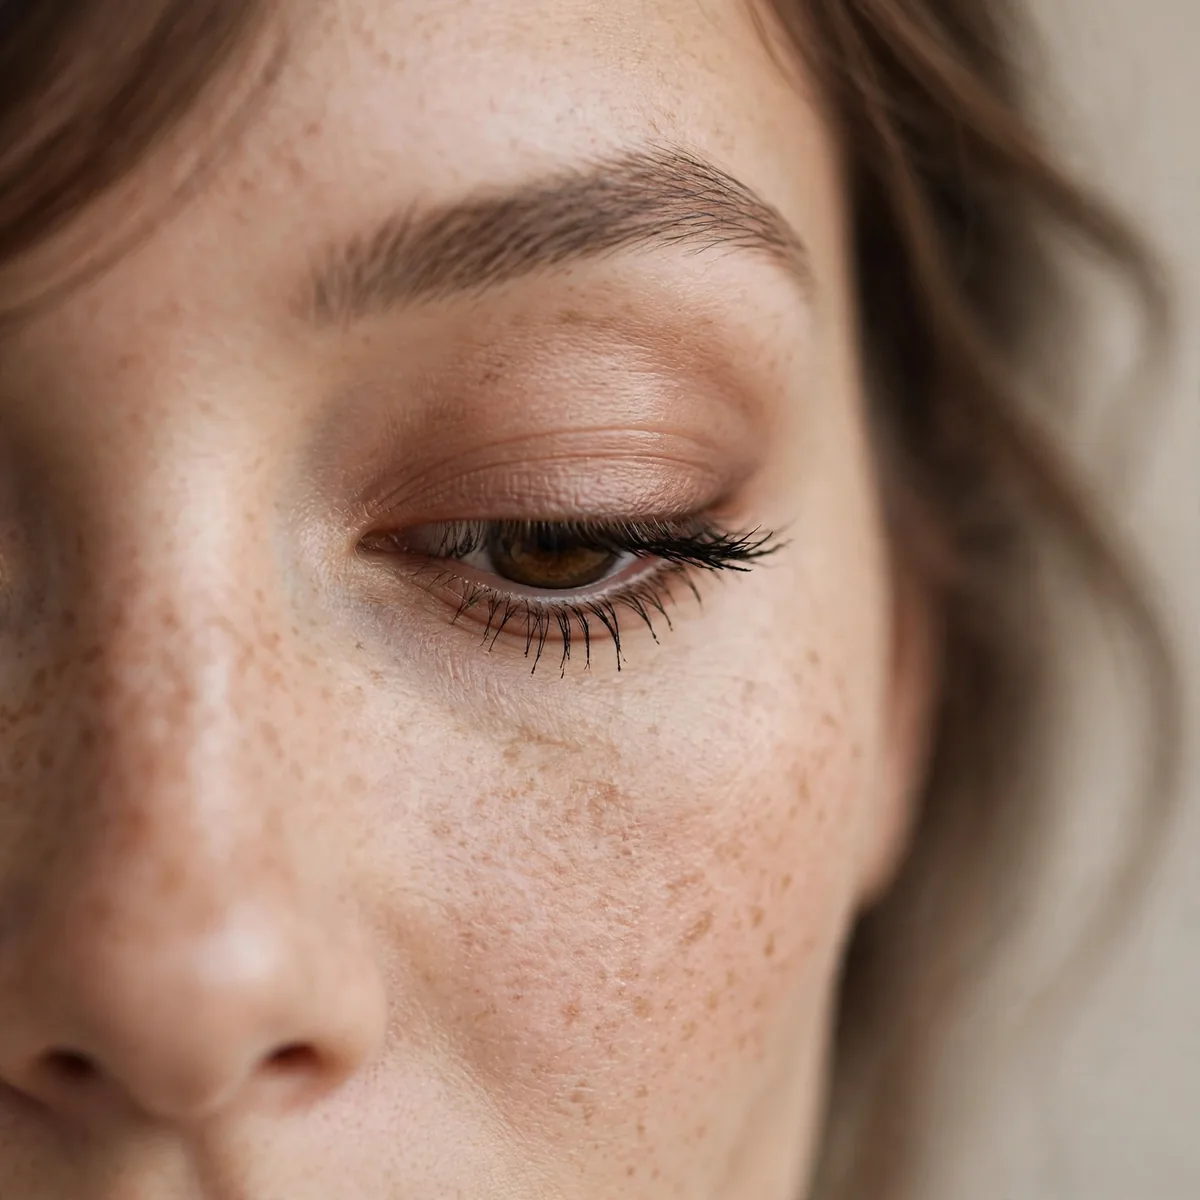
Defined lower lashes open up hooded eyes significantly.
Don’t skip the bottom. Lower lashes are an underused opening tool.
Lower lashes are often ignored, but on hooded eyes they do critical work: darkened lower lashes frame the bottom of the eye and create the wide-eyed balance the hidden upper lid cannot provide. Hold the wand vertically and use the tip to coat each lash, which prevents the clumping that horizontal application causes on short lower lashes. Waterproof formula prevents the inevitable smudging.
If your lower lashes are sparse, tightlining the lower waterline with a nude pencil opens the eye further while mascara adds the definition. The combination reads as naturally larger eyes without any shadow at all. Those prone to under-eye smudging should set the area with a whisper of translucent powder before applying mascara; the barrier catches fallout.
The Gradient Technique
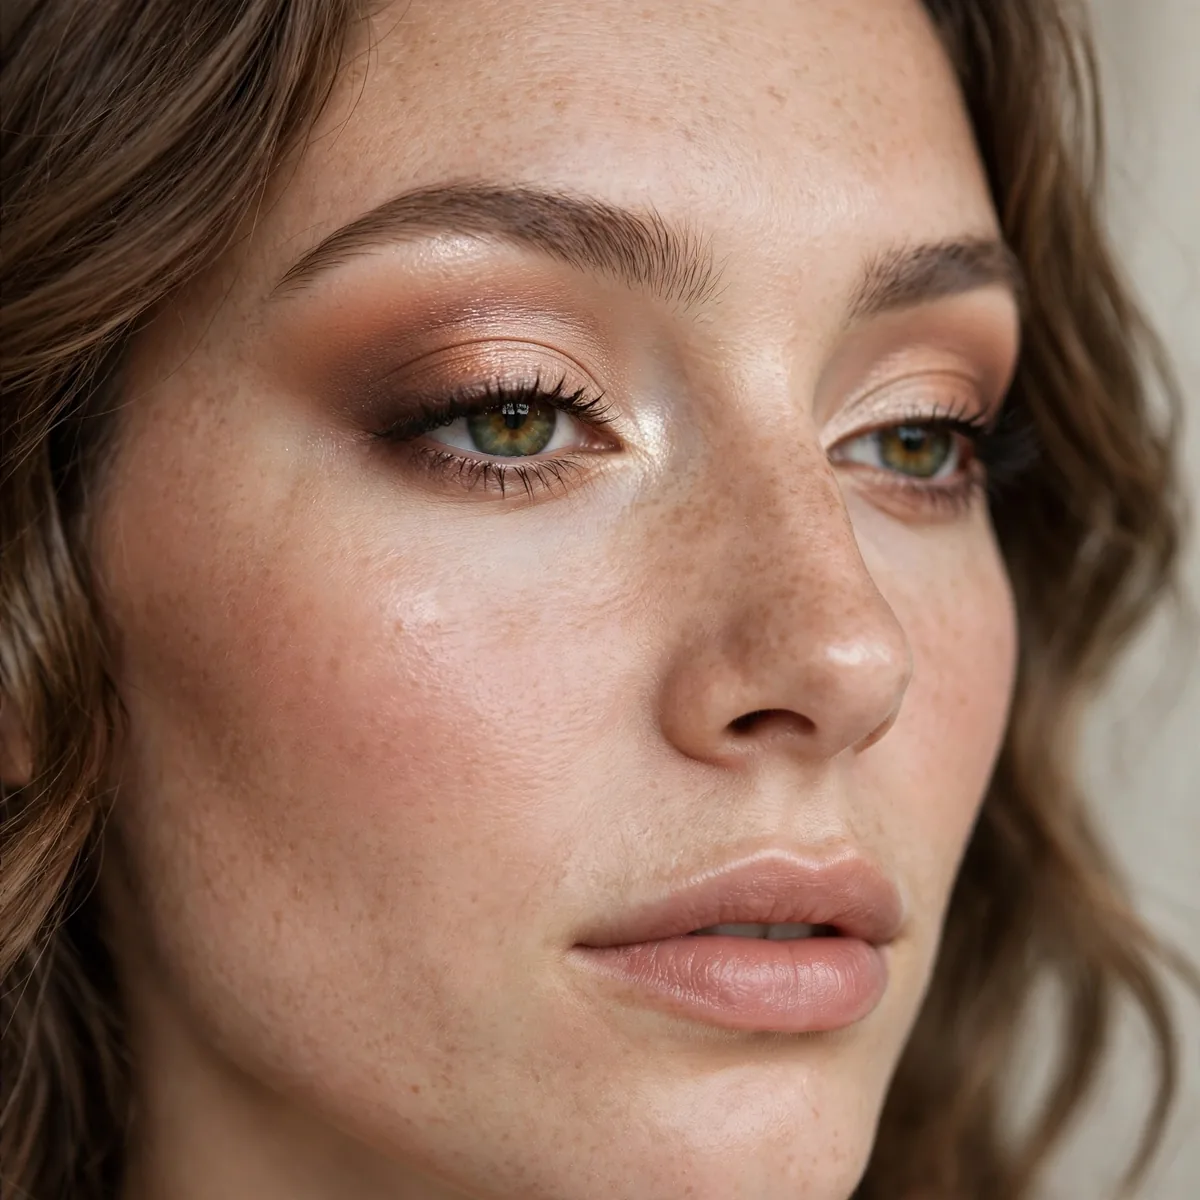
Light lid, medium above-fold, dark outer V — the gradient creates visible dimension.
The gradient fakes depth the fold hides. It’s optical illusion as makeup.
The three-zone gradient works because it manufactures the depth cues the fold hides: light on the lid brings it forward, medium above the fold fakes a crease, and dark at the outer V adds structure. Blend where the zones meet so no stripes show; the transitions should be seamless. This technique looks complex but uses only basic blending, making it beginner-friendly.
Choose your three shades from the same color family for a foolproof result; mixing families risks muddiness. For daytime, keep the contrast between zones subtle, one or two shades apart. Evening allows deeper contrast, with the darkest shade going nearly black at the outer V. The gradient also photographs beautifully, giving hooded eyes dimension that flat application never achieves.
Blending Upward and Out
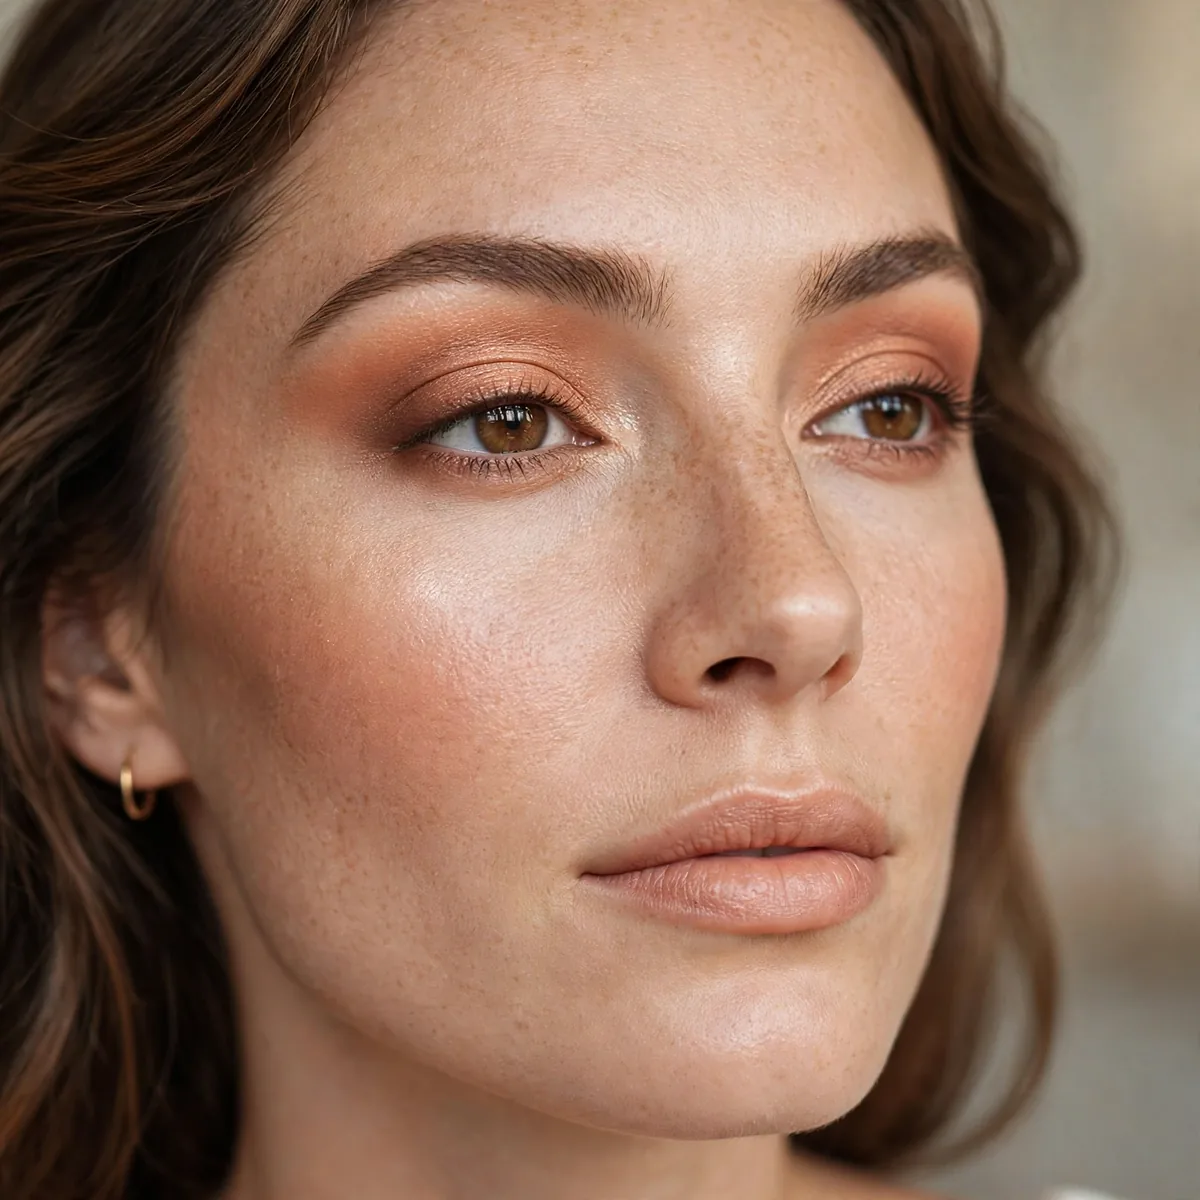
Blend shadow up and out, not just in the crease — the direction lifts.
Upward blending counteracts the hood’s downward visual weight. Direction matters.
Blend direction matters because the eye follows the gradient of color: shadow that fades upward and outward pulls the gaze in that direction, creating a lifted impression. Use windshield-wiper motions that travel up toward the temple rather than side-to-side in the crease. A clean blending brush with no product is the best tool for this; it diffuses edges without depositing more color.
The most common mistake is over-blending downward onto the lid, which drags the look down and wastes the visible-lid real estate. If you lose definition while blending, go back with a small brush and re-deposit color at the outer V, then blend only the edges. Think of blending as softening boundaries, not moving color; the pigment should stay where you placed it.
Brows Lift Too
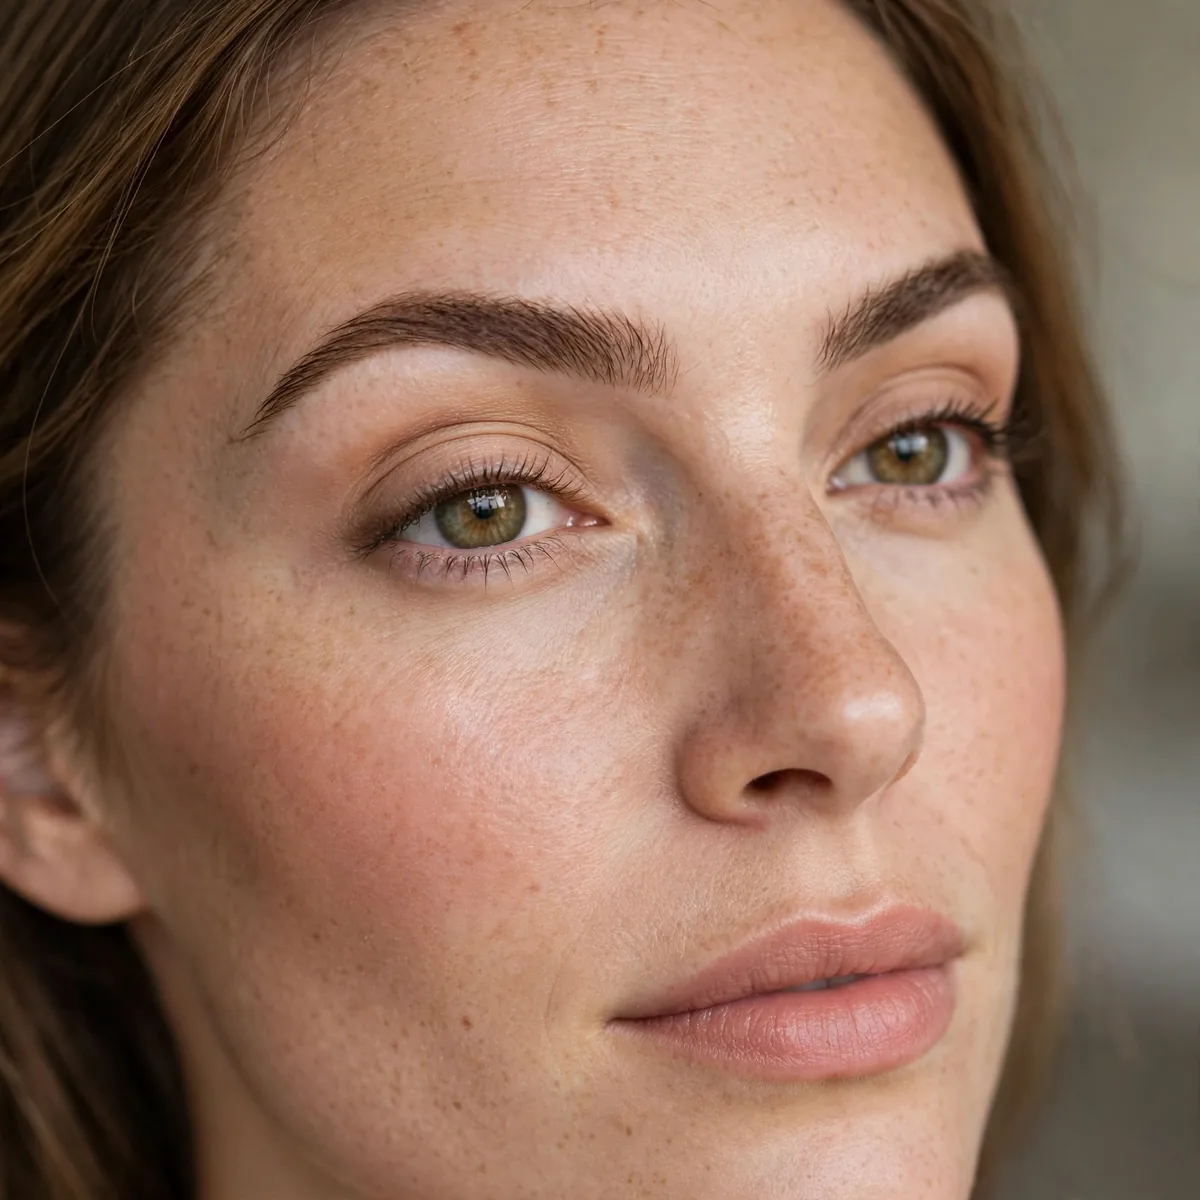
Well-shaped brows with a defined arch lift hooded eyes from above.
Our brow shape guide helps. Brows are the frame — a lifted frame lifts everything.
A defined arch creates a higher visual endpoint above the eye, and the contrast between the lifted brow and the hood makes the whole region look more open. Brush brows upward and fill sparse areas with hair-like strokes, focusing fullness at the arch rather than the tail. Avoid over-plucking underneath, which lowers the brow and emphasizes the hood.
Brow gel with a slight tint sets the hairs in an upward direction, reinforcing the lift all day. If your brows are naturally straight, creating even a soft arch transforms the eye area; the change is disproportionate to the effort. Consider professional shaping once to establish the arch, then maintain it yourself; a good foundation makes daily filling take under a minute.
Practice With Eyes Open
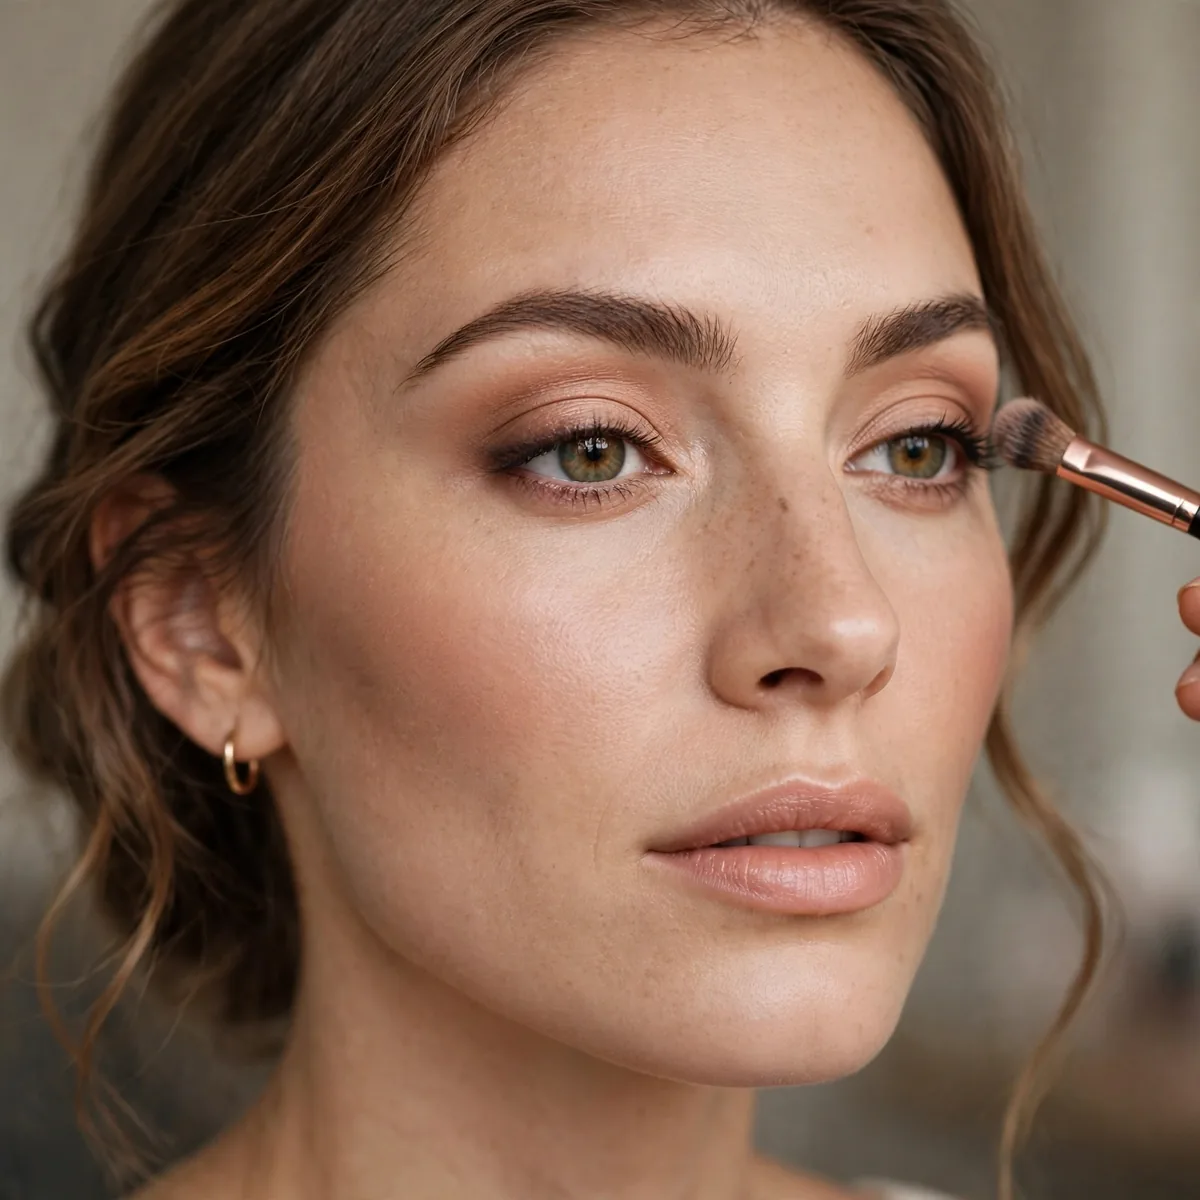
Relearn your routine with eyes open — it feels wrong at first, then clicks.
Muscle memory from closed-eye application works against you. Retrain deliberately.
Retraining feels awkward because years of closed-eye application built muscle memory that your hands trust, even though the results disappear. Start by doing just one step open-eyed, say the transition shade, while keeping the rest of your routine familiar. Gradual integration prevents the frustration of relearning everything at once and lets each new habit solidify.
Film yourself or take photos with eyes open at each stage to see what actually shows; the camera reveals placement errors the mirror hides. Within two to three weeks of deliberate practice, open-eye application starts feeling natural, and you will notice your makeup looking visibly better longer into the day. The retraining pays off permanently; it upgrades every eye look you will ever do.
Hooded eyes are beautiful — they just need their own rules. Pin these tips, and explore matte looks for hooded eyes or beginner wings adapted for your eyes.




