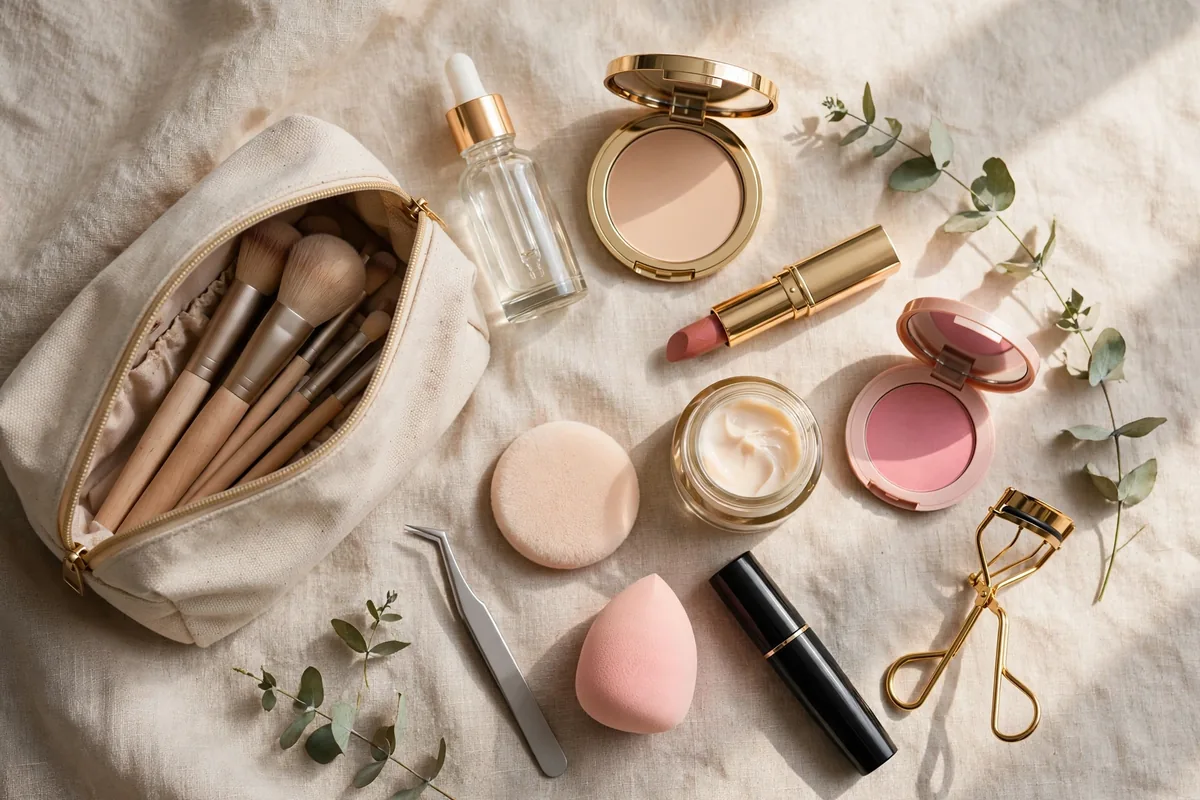
Most makeup bags are 80% products never touched. These 18 essentials are the 20% that do everything.
This isn’t about specific brands — it’s about categories. Own one great version of each of these and you can create any look on this entire site.
Quality over quantity: one excellent concealer beats five mediocre ones.
Here are the true essentials. Let’s get into it.
A Base That Matches
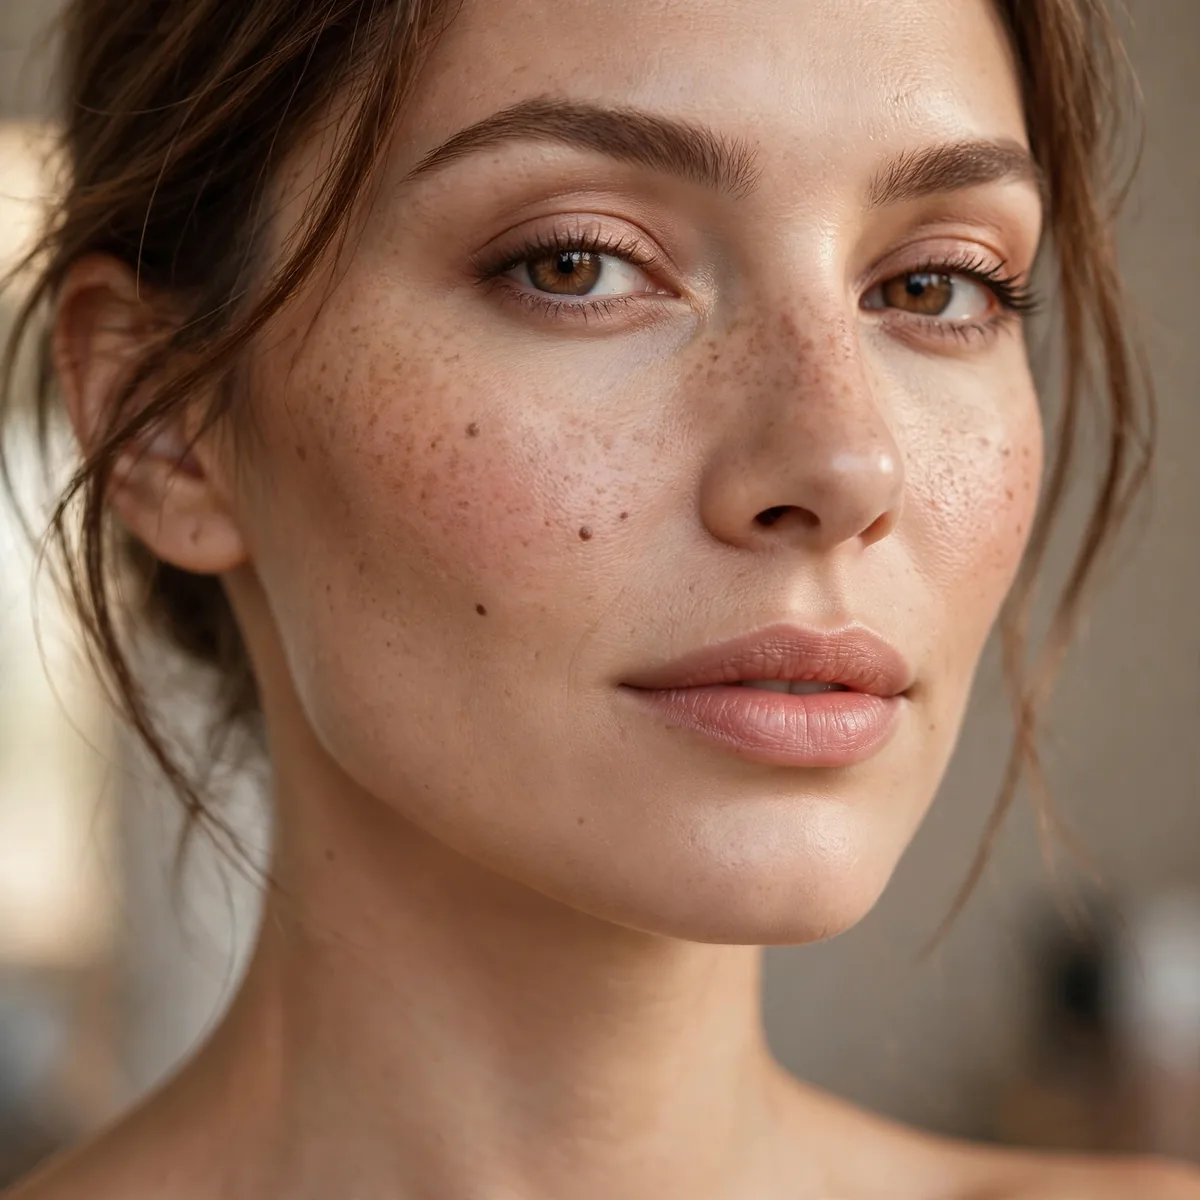
Foundation or tint in your exact shade. Everything starts here — a wrong shade ruins everything built on it.
Best for: everyone. Get shade-matched in natural light, not store lighting.
Shade-match along your jawline in daylight, not under store fluorescents, since artificial light flatters undertones you do not actually have. Swatch two or three contenders, then step outside or toward a window — the one that disappears into your neck is the winner. Remember that liquid formulas oxidize slightly as they dry, often deepening half a shade within ten minutes.
Undertone matters as much as depth: golden and olive complexions need yellow or neutral bases, while pink or cool undertones suit rosy foundations. Test a stripe from cheek to jaw rather than your wrist, which rarely matches the face. Many women also keep two shades — one for winter pallor, one for summer warmth — and blend them through spring and autumn.
Brightening Concealer
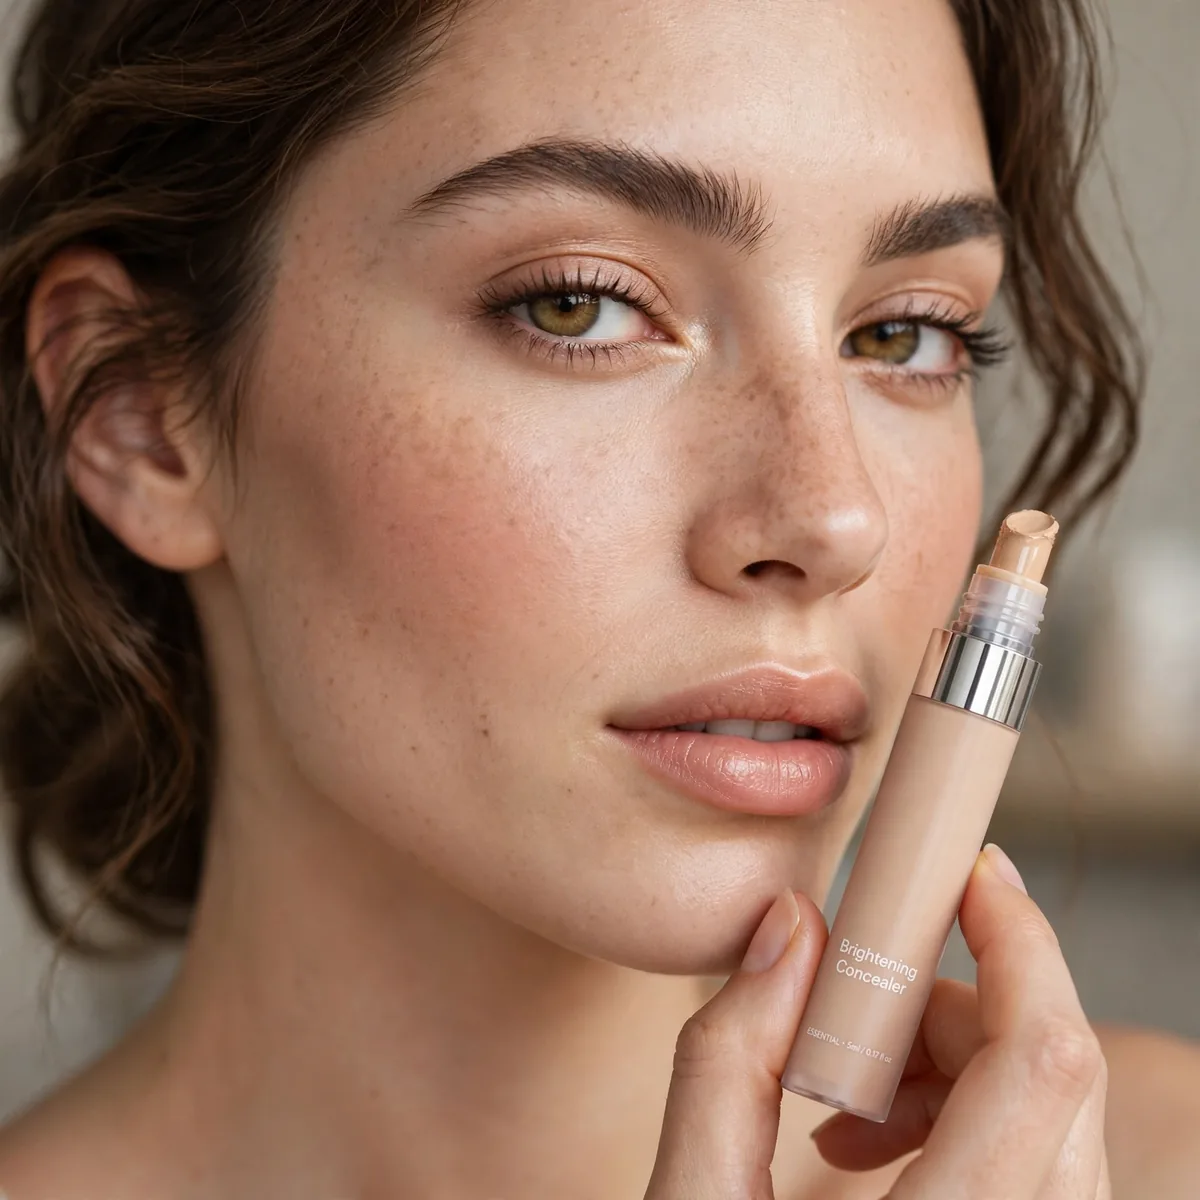
One concealer slightly brighter than skin for under-eyes and highlighting.
Best for: tired eyes. This single product erases the most fatigue.
For genuine darkness, layer a peach or salmon corrector under your brightening concealer — the orange tones neutralize blue and purple shadows the way concealer alone cannot. Pat the corrector only where discoloration lives, usually the inner corner and along the tear trough, then press concealer on top. Skipping this step is why many people complain concealer looks ashy.
Less product beats more: draw two short stripes or small dots, then blend outward with a warm fingertip or damp mini sponge. Piling concealer thickly creases into fine lines within hours, especially on dry or mature skin. A light dusting of translucent powder pressed just under the lash line locks it without emphasizing texture.
Translucent Powder
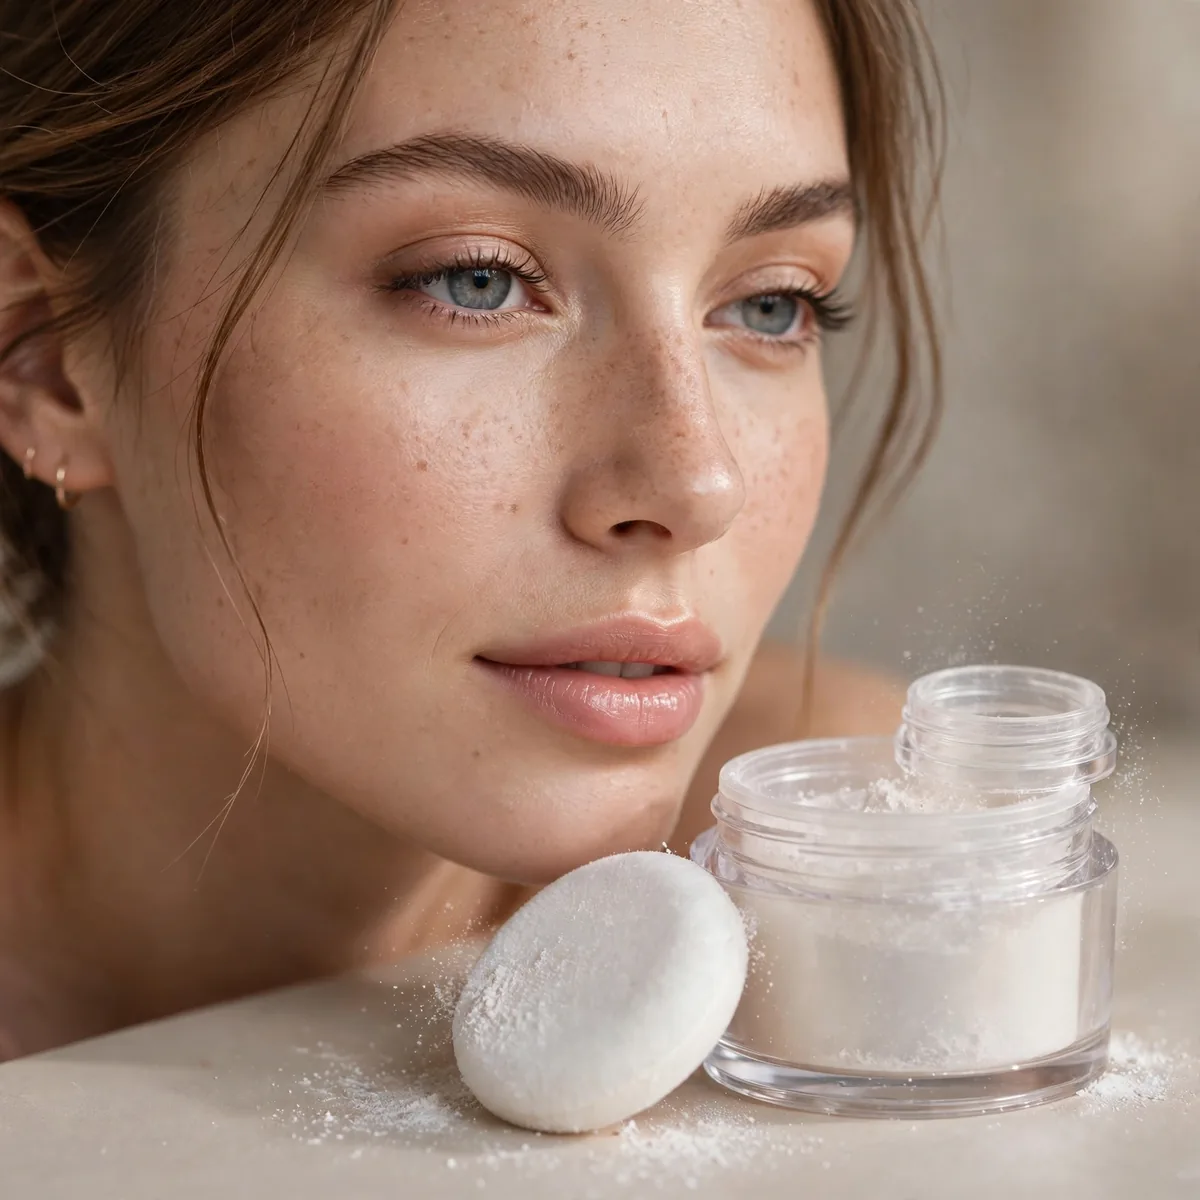
A finely-milled translucent powder for setting the T-zone and baking under eyes.
Best for: oily and combination skin. The invisible workhorse.
Press powder in with a puff or sponge instead of sweeping it with a brush — pressing drives it into foundation and creates a far longer-lasting matte finish. Focus on the T-zone where oil breaks through first: forehead, nose, and chin. Cheeks usually need nothing, and powdering dry areas only magnifies fine lines and flakiness.
Watch out for flashback: silica-heavy translucent powders photograph white under flash, so test with a phone photo before events. A finely milled talc or rice-based formula avoids the ghostly cast while still controlling shine. Keep a pressed version in your bag for touch-ups — loose powder belongs at home, not rolling around your handbag.
Neutral Eyeshadow Palette
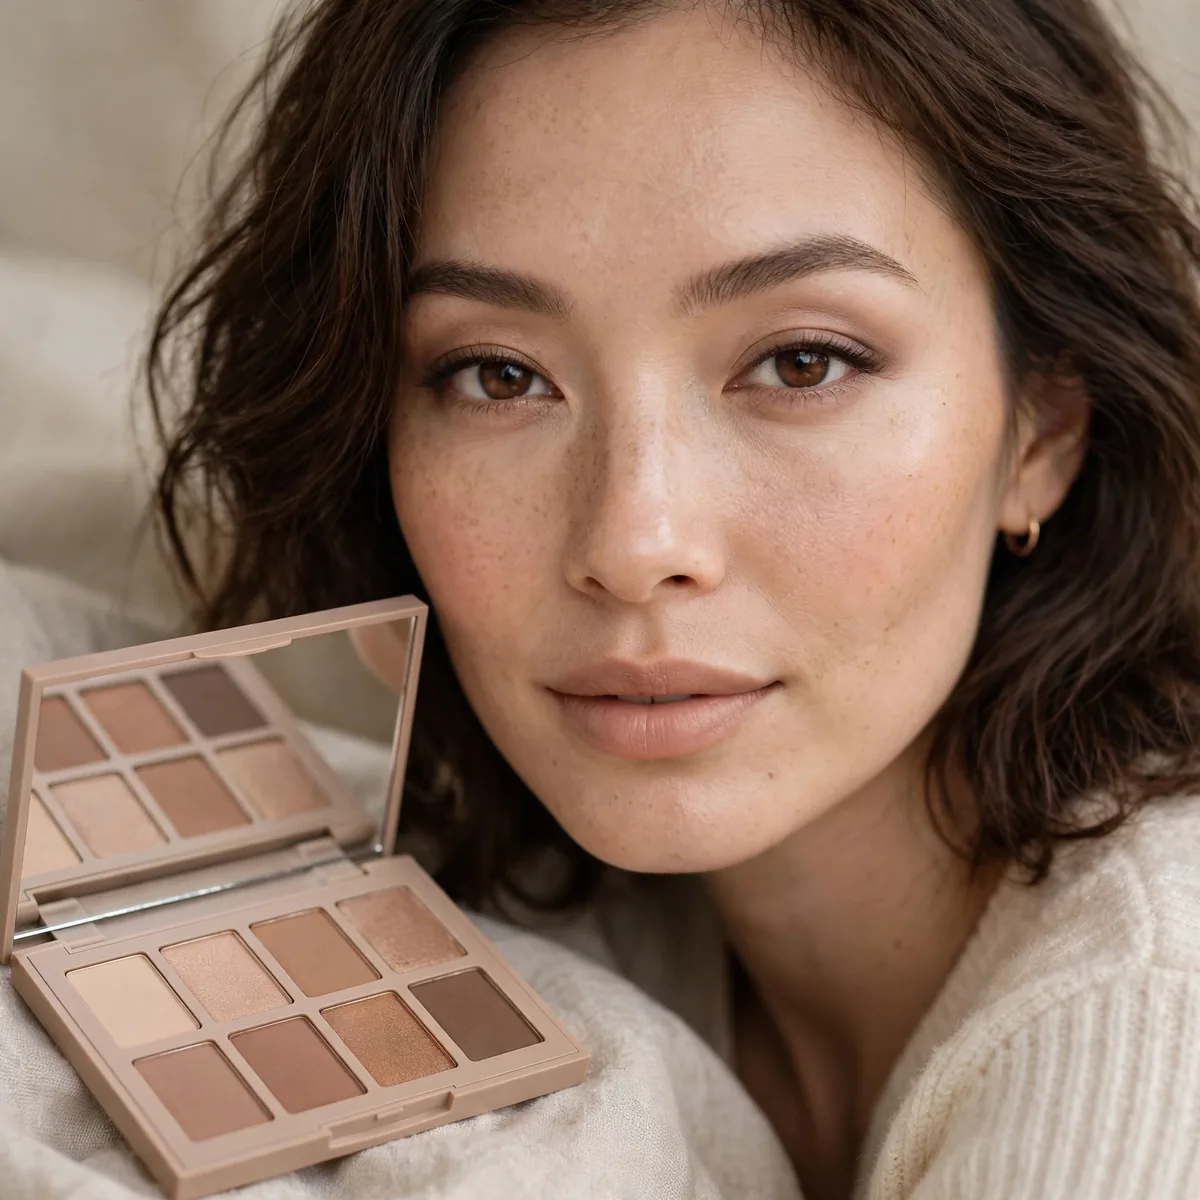
One palette of wearable neutrals — mattes and a few shimmers. Day to night in one case.
Best for: everyone. Neutrals are the most-used shadows by a mile.
The true test of a neutral palette is its transition shades — those mid-tone mattes that blend edges and build dimension. You need at least two: one matching your skin tone for blending out harsh lines, one slightly deeper for the crease. Palettes heavy on glitter but thin on mattes look exciting in the pan and frustrating on the eye.
Keep shimmer to the mobile lid and inner corner where light naturally hits, and let mattes do the structural work in the crease and outer V. This placement flatters hooded and deep-set eyes especially, since matte shadow recedes while shimmer brings forward. One good neutral palette plus a damp brush can carry you from office mornings to wedding evenings.
Black Mascara
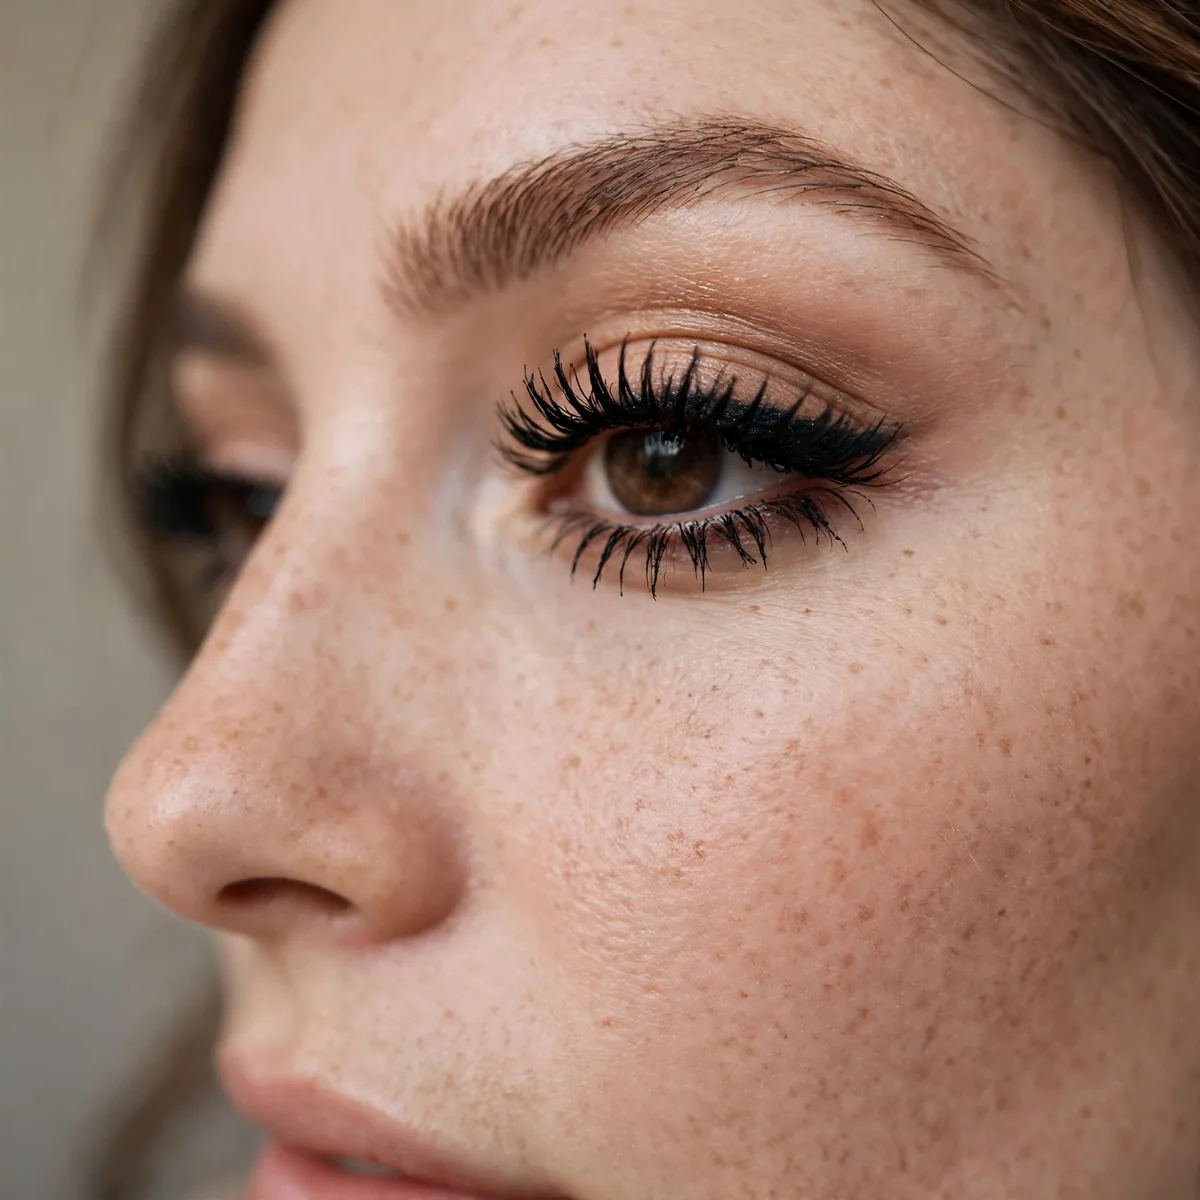
A great black mascara is non-negotiable. It’s the highest-impact single product.
Best for: everyone. When in doubt, mascara.
Wiggle the wand at the base of your lashes before pulling through — that root-level deposit is what creates visible thickness, while tips alone just look spidery. For lower lashes, hold the wand vertically and use only the tip to avoid smudges. Waterproof formulas suit humid days and emotional events, but daily use demands gentler removal to protect lashes.
A lash primer underneath multiplies the effect of any mascara, adding fibers and grip that make even budget formulas look premium. Apply it, let it set for thirty seconds, then layer mascara before the primer fully dries for maximum adhesion. If clumps happen, a clean spoolie combed through immediately separates lashes better than any second coat.
Brow Product
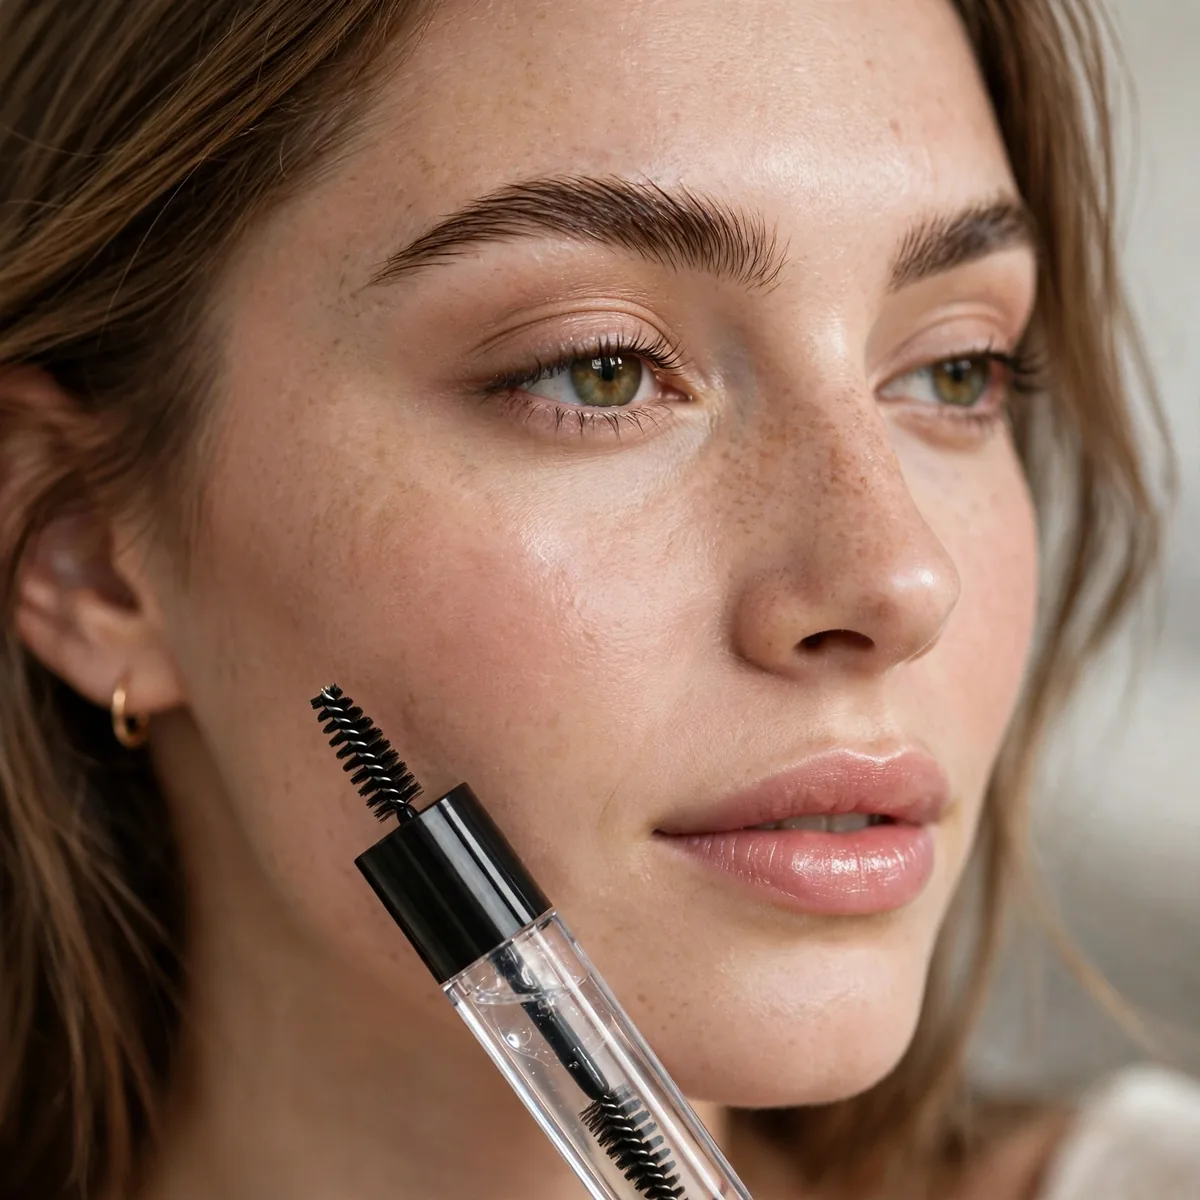
Pencil, powder, or gel — whatever suits your brows. Groomed brows change faces.
Best for: everyone. The most underrated essential on this list.
Mimic real hair by drawing short upward strokes in the direction your brow hairs actually grow — sparse inner corners need vertical flicks, while tails angle outward and down. Choose a shade one step lighter than your hair if you are brunette, since dark brow products read harsh fast. The goal is fullness that survives close-up scrutiny, not a stamped outline.
After filling, run a tinted or clear gel through with an upward brush to lock hairs in place and soften any heavy strokes. The gel is what makes pencil work look natural — it blurs edges and adds dimension. For stubborn brows that point downward, brush up firmly and let the gel set for a minute before touching anything else.
Eyeliner Pencil
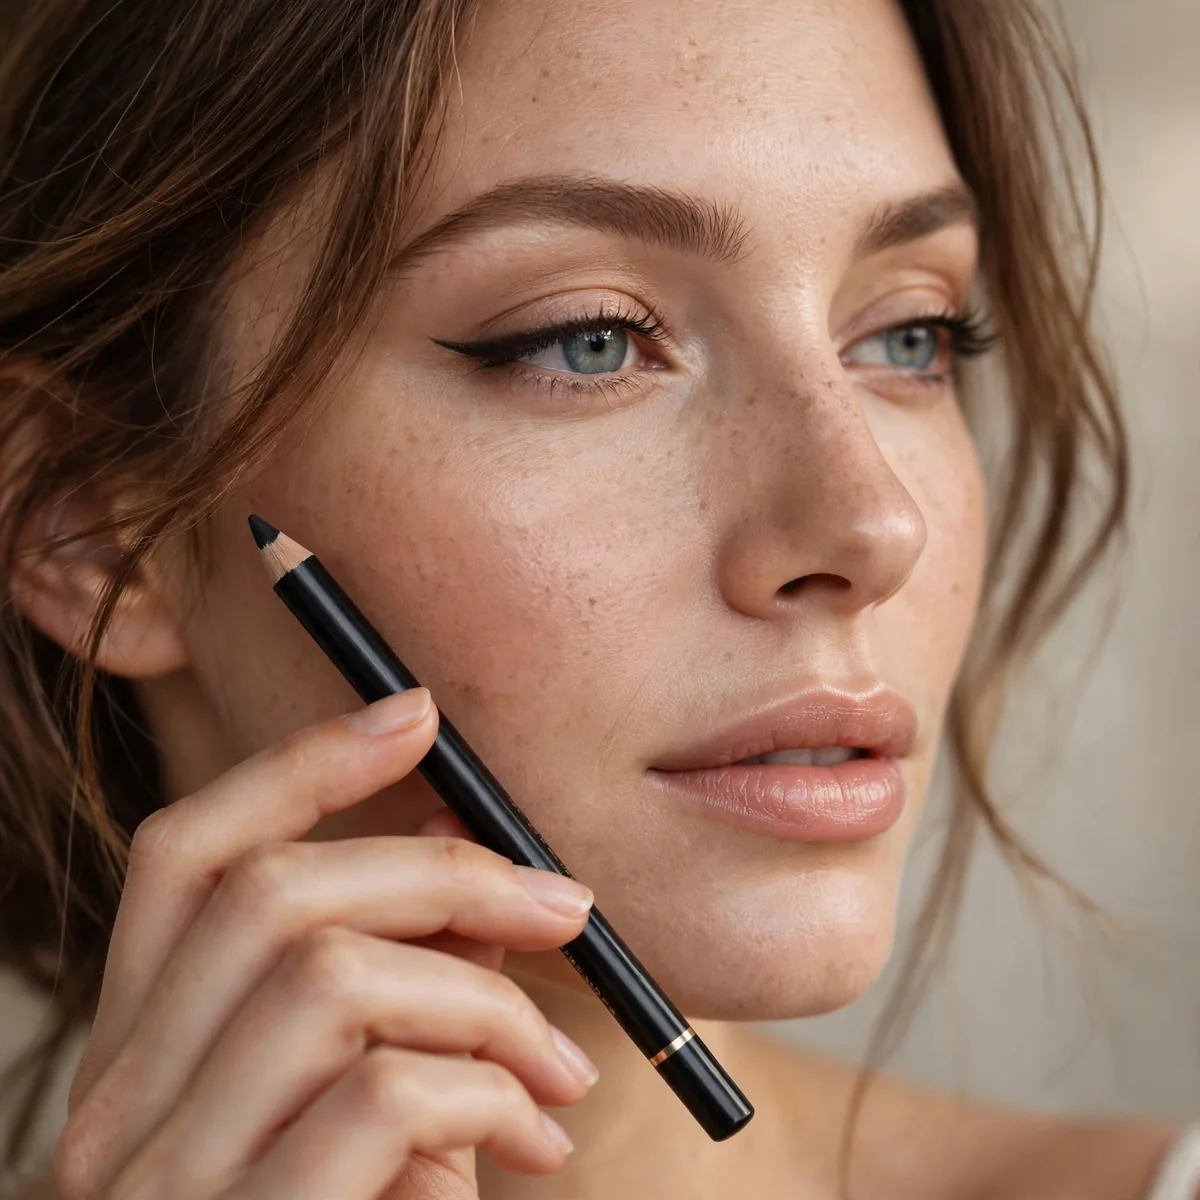
A soft black or brown pencil for definition. More versatile than liquid for most people.
Best for: beginners and pros alike. Pencil can tightline, smudge, or define.
Tightlining — pressing pencil into the upper waterline between lash roots — delivers definition with zero visible liner, making lashes look instantly denser. It is the technique makeup artists use when the brief is polished but natural. Set it by pressing dark eyeshadow over the line with a small angled brush so it survives blinking and watery eyes.
For a soft smokey effect, draw along the lash line then smudge upward immediately with a pencil brush before the formula sets — hesitation creates harsh edges. Gel pencils give the creamiest glide and richest pigment for this, while traditional kohl stays the easiest to blend. Avoid pulling the outer corner taut; stretched skin snaps back and distorts the line.
Blush in Your Flush
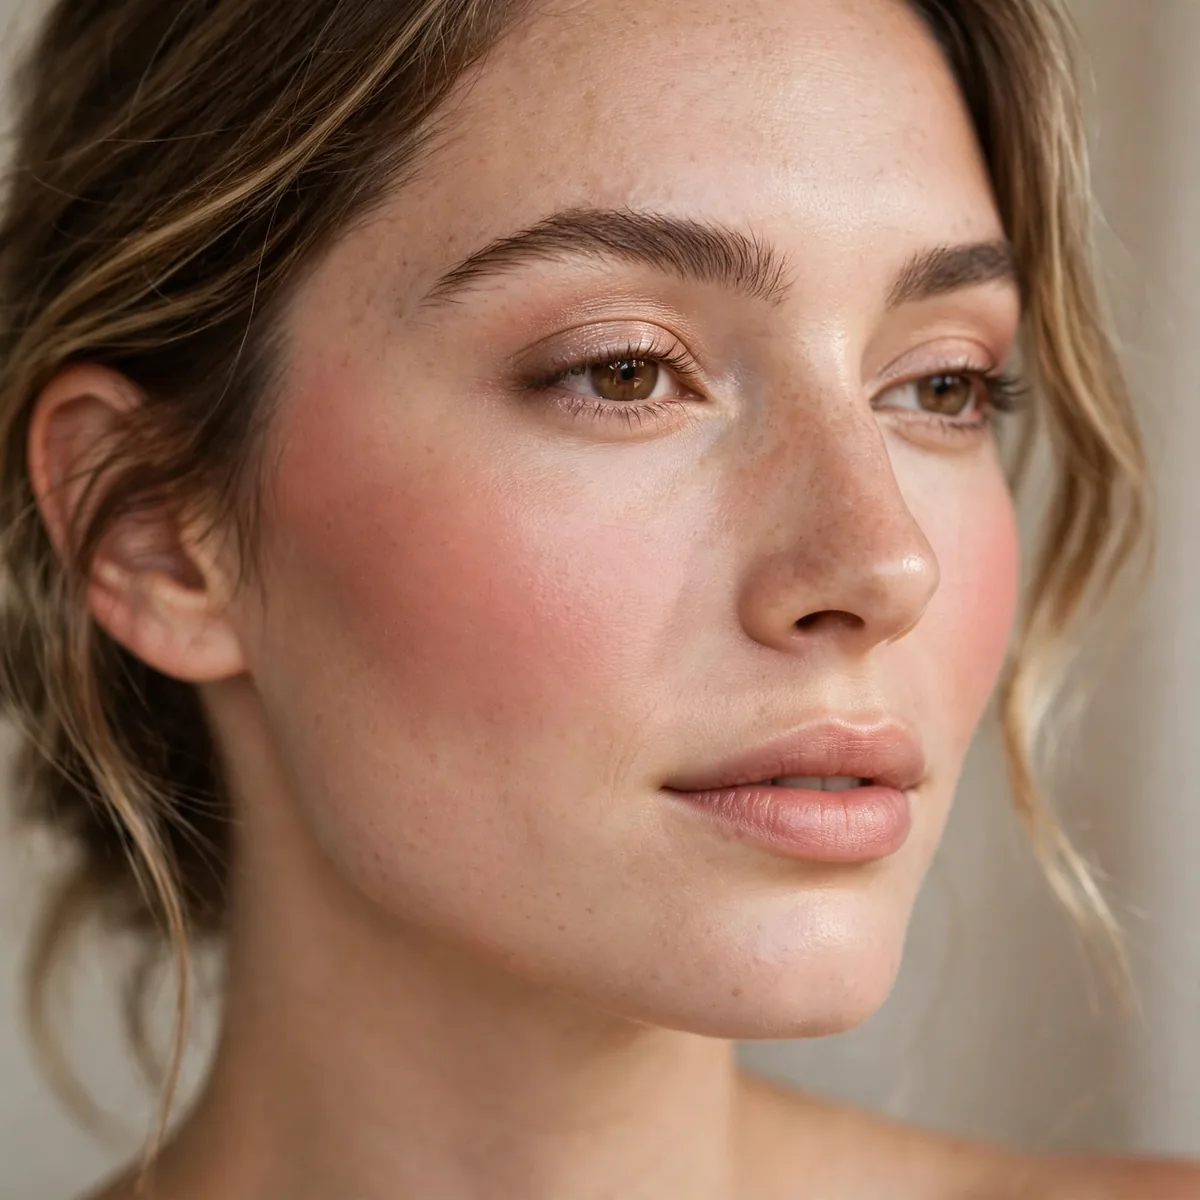
A blush that mimics your natural flush. The fastest way to look alive.
Best for: everyone. Smile and match the color of your natural flush.
Placement changes everything: higher on the cheekbones lifts and sculpts, while apples of the cheeks read youthful and fresh. Round faces benefit from blush angled toward the temples, which elongates; heart-shaped faces suit a softer, more centered application. Smile only to locate the apples — then relax your face before blending, since smiling shifts everything upward artificially.
Match blush undertone to your lipstick and your skin: cool pink complexions glow with rosy and berry blushes, while warm golden skin loves peach, coral, and apricot. Layering cream under powder in the same shade family builds color that lasts from morning to midnight. When in doubt, sheer it out — blush should look like it is coming from within.
Bronzer for Warmth
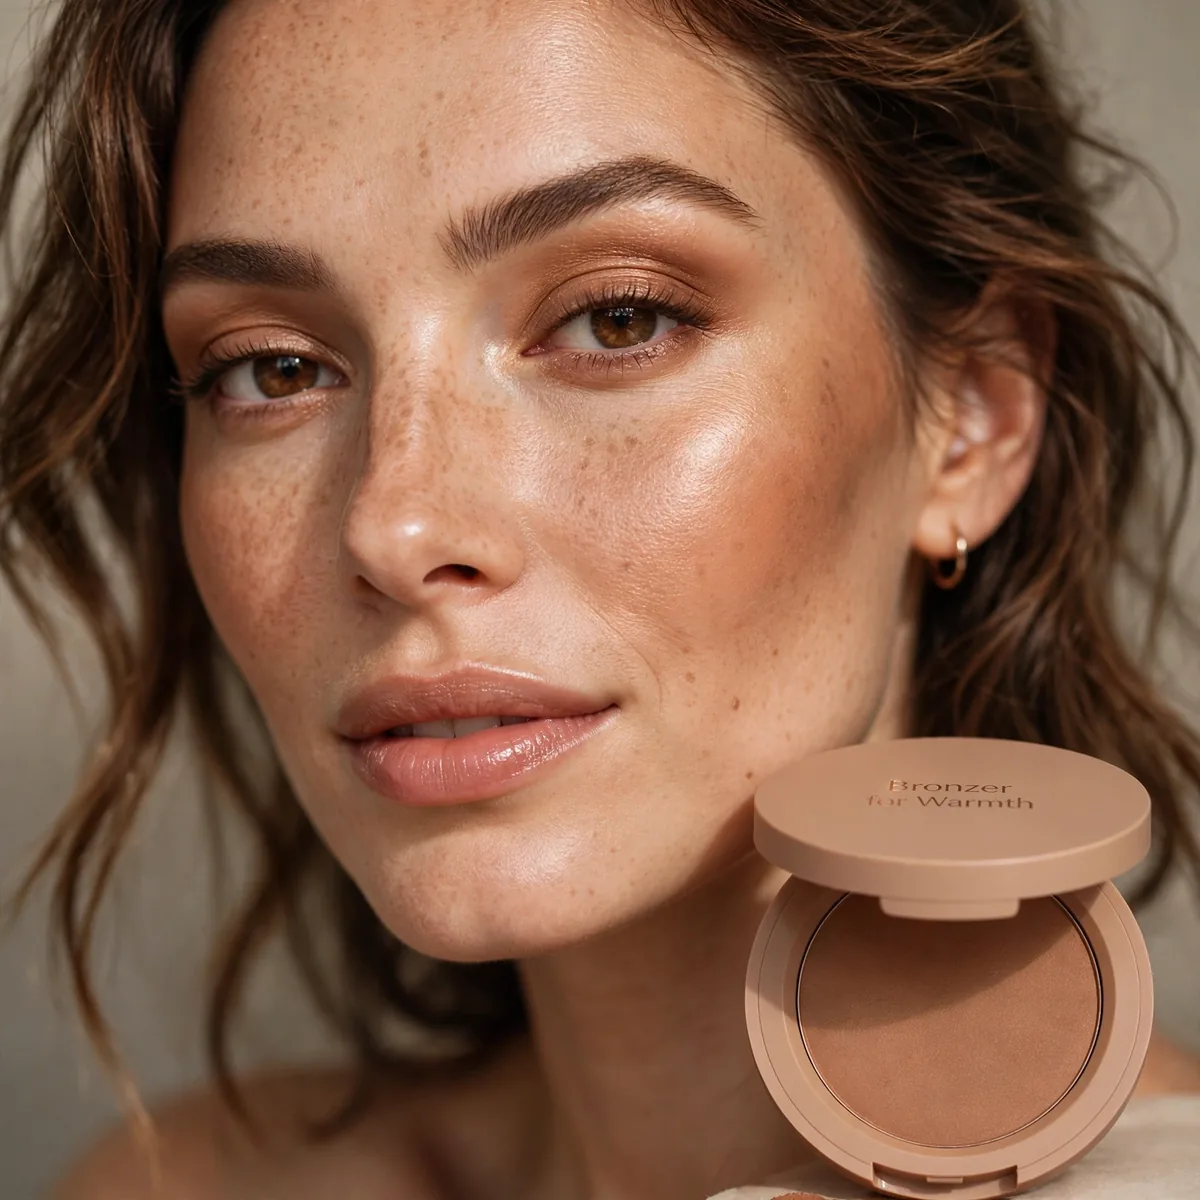
A matte bronzer one shade deeper than skin. Warmth and dimension in one sweep.
Best for: fair to medium skin especially. Winter skin needs this.
Apply in a loose figure-three along each side of the face: forehead temple, hollow beneath the cheekbone, then down along the jawline. This traces where the sun naturally tans and keeps warmth believable. Blend the jawline thoroughly into the neck — a sharp stop at the chin is the most common bronzer mistake and it photographs terribly.
Stick to matte formulas for bronzing — shimmer belongs in highlighter, and sparkly bronzer across the whole face reads sweaty rather than sun-kissed. Fair skin needs the lightest hand and the sheerest shade; build slowly because bronzer is far easier to add than to remove. A fluffy, loosely packed brush diffuses product so no single spot gets over-concentrated.
Highlighter Glow
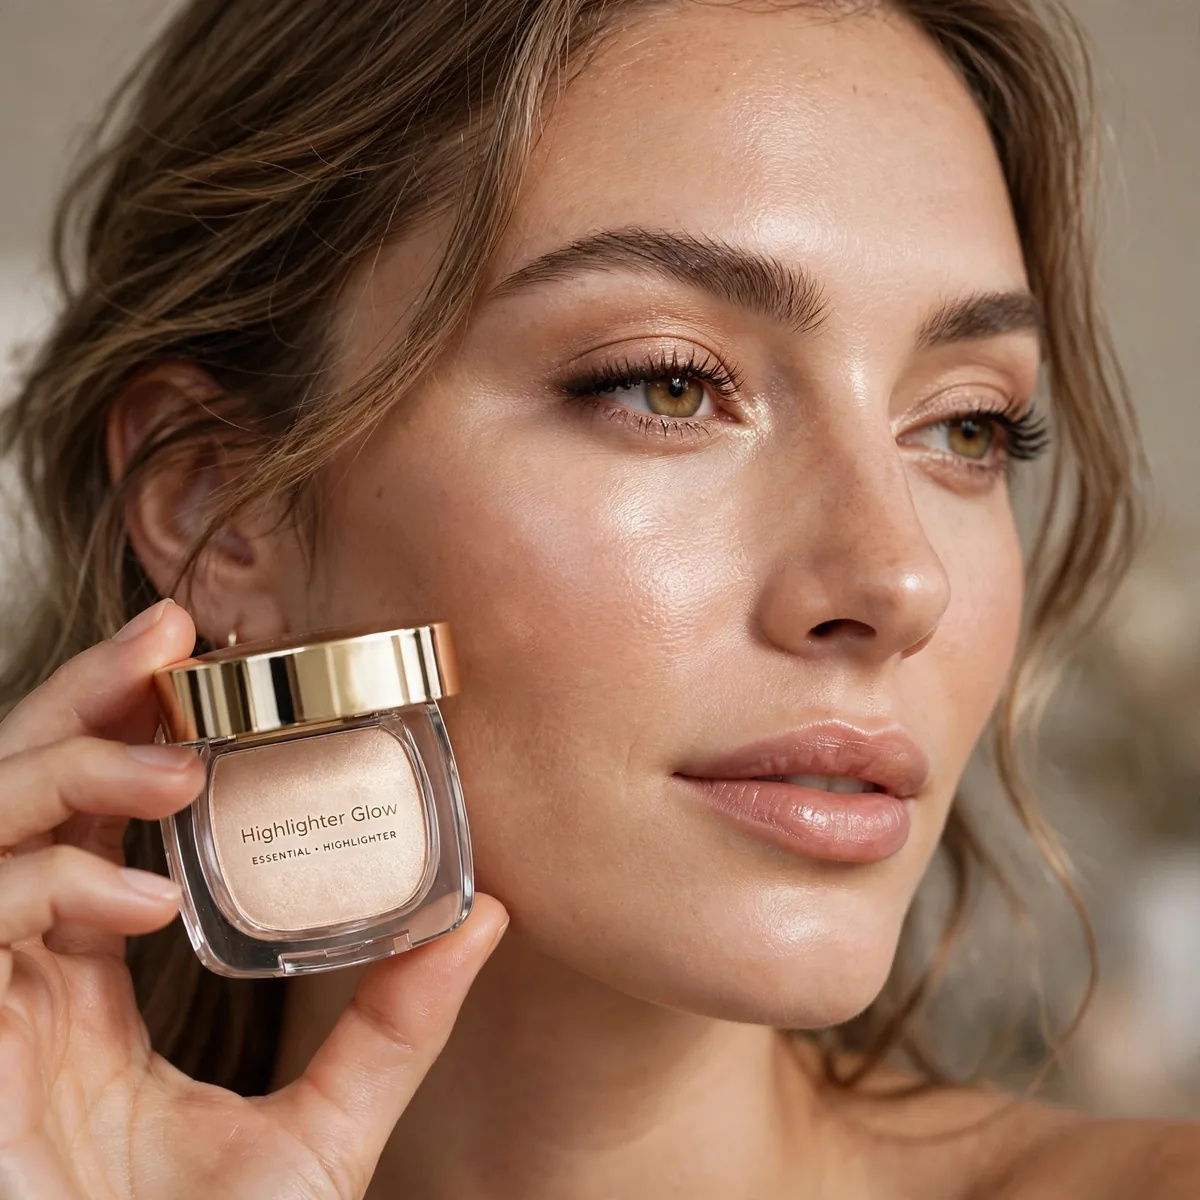
One flattering highlighter — champagne suits most. The finishing light.
Best for: special occasions and photos. A little goes a long way.
Place highlighter only where light naturally strikes: the tops of the cheekbones, the brow bone, the inner eye corner, and a whisper down the bridge of the nose. Skip the tip of the nose, which can look oily in photos, and avoid the center of the forehead entirely. Restraint is what separates lit-from-within from disco ball.
Texture pairing matters: liquid and cream highlighters melt into dewy or dry skin beautifully, while powder formulas suit oily complexions that already produce shine. One caution — highlighter emphasizes texture, so skip it over active breakouts or deep pores where it will spotlight rather than flatter. On mature skin, a subtle sheen beats chunky glitter every time.
Everyday Lipstick
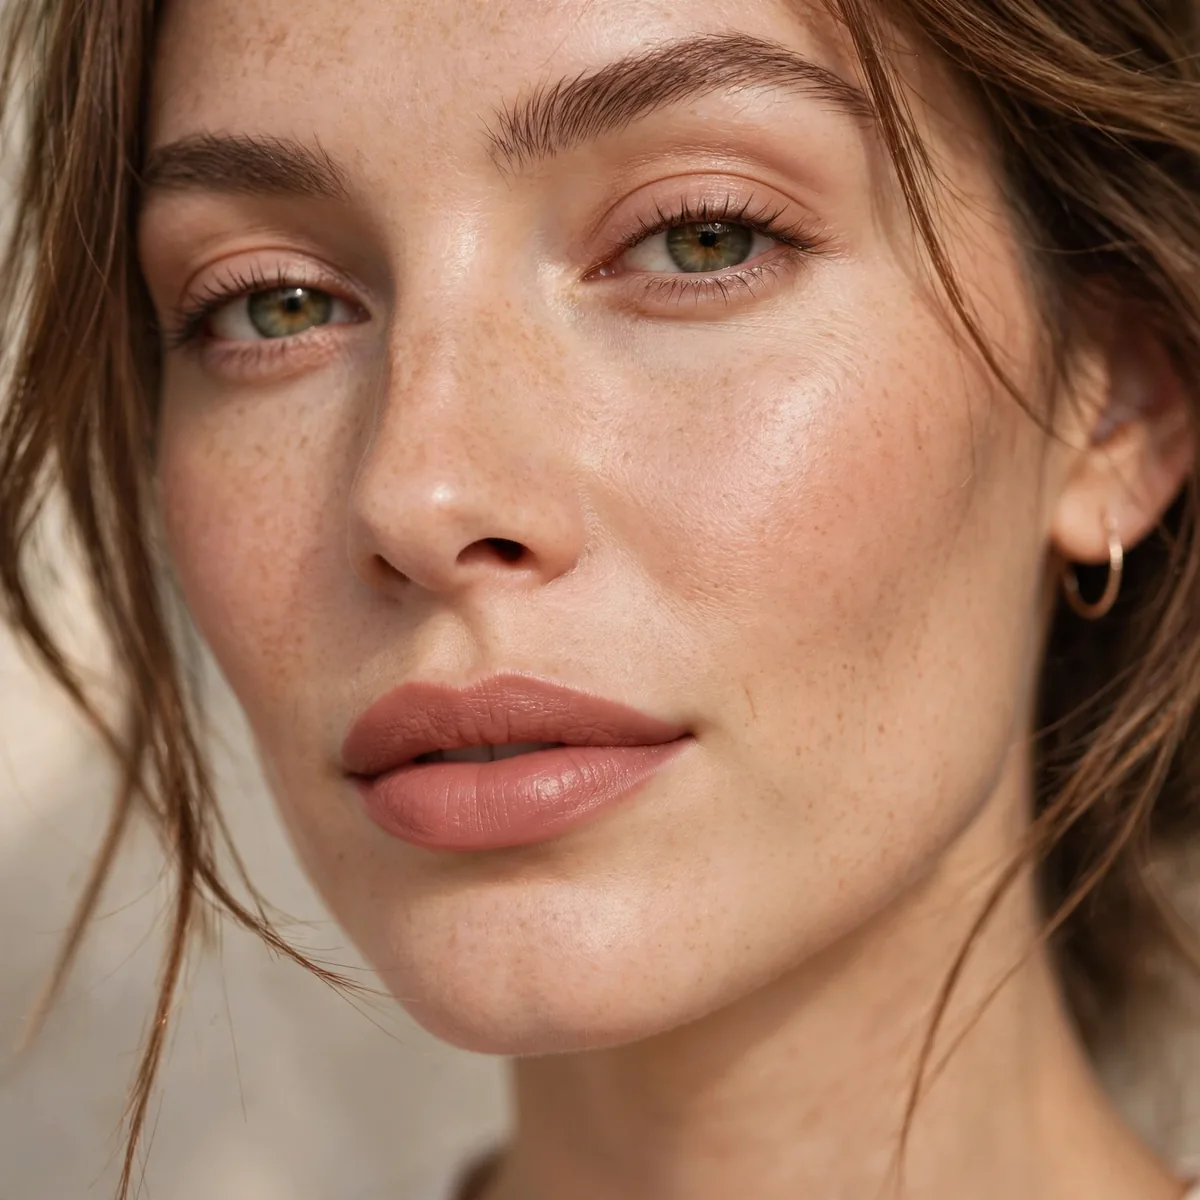
Your perfect my-lips-but-better shade in a comfortable formula.
Best for: daily wear. This is the lipstick you’ll actually finish.
Find your shade by matching your inner lip or the color your lips turn after a brisk walk — that natural pigment is your most flattering baseline. Satin and cream finishes suit daily wear best since they stay comfortable for hours and fade evenly. Test contenders on bare lips in daylight, because hand swatches lie about how a shade interacts with your complexion.
Apply, blot firmly on tissue, then apply again — the double layer stains the lip and dramatically extends wear through coffee and conversation. Fill the entire lip with a matching liner first if your lipstick tends to feather, since the waxy base acts as a barrier. Keep this one in your bag always; the best everyday lipstick is the one you actually reapply.
Bold Lip Option
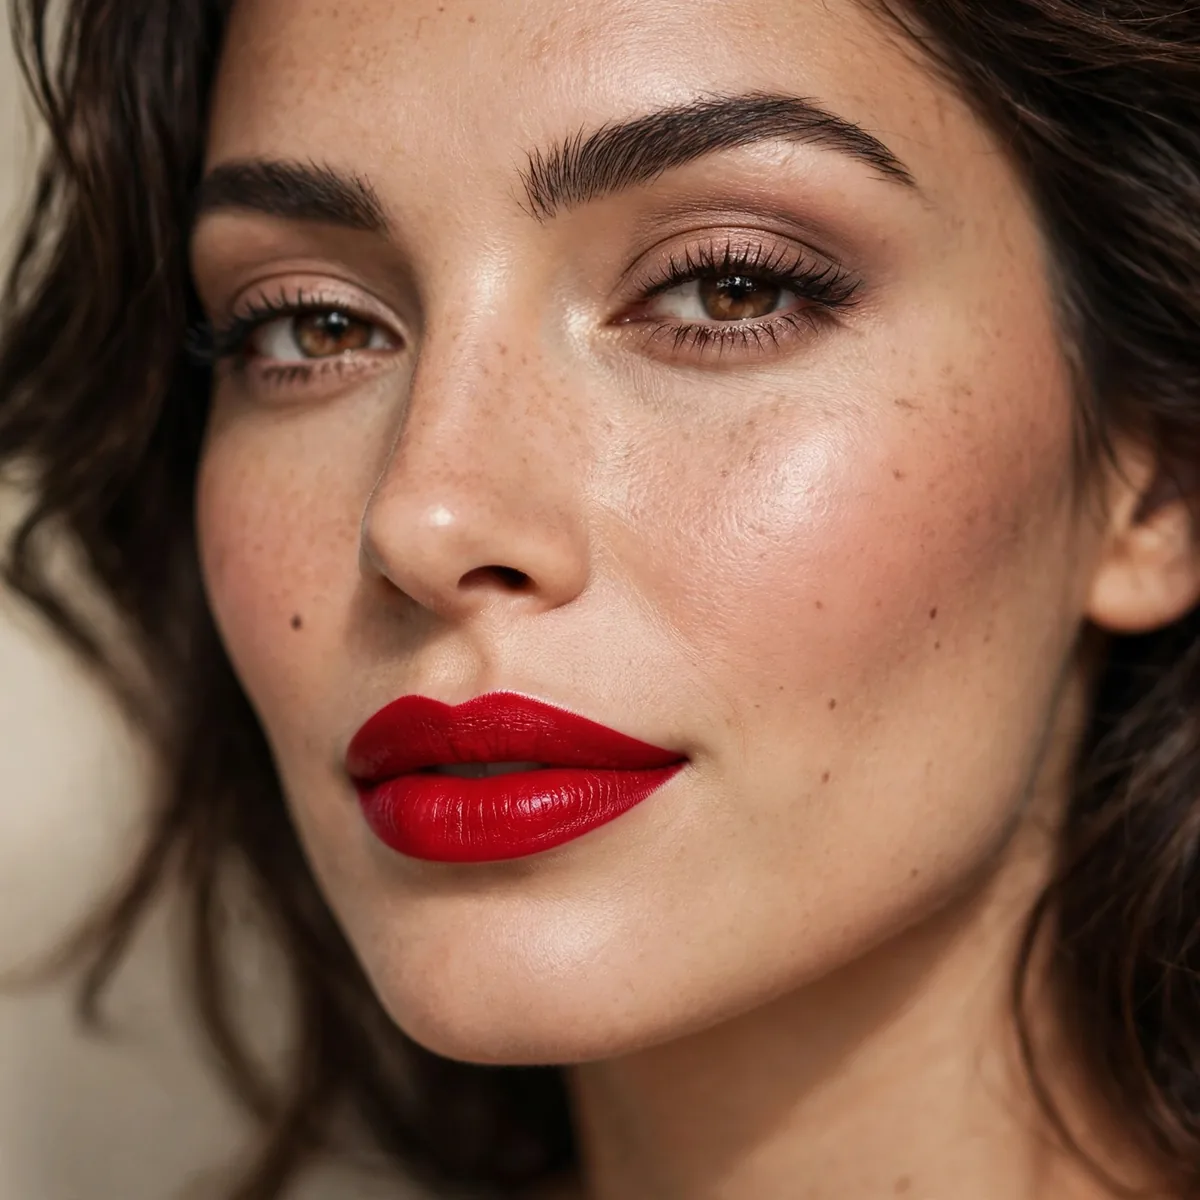
One statement lip — classic red or deep berry. For the days that need drama.
Best for: evenings and confidence. Every woman needs a power lip.
Prep is non-negotiable: exfoliate with a lip scrub or damp washcloth, then balm and blot before any bold color touches your lips. Dry, flaky lips turn even the most expensive red patchy within an hour. A smooth canvas lets pigment sit evenly and keeps the edges crisp, which is where bold lips win or lose their impact.
Line and fill the entire lip with a matching pencil before applying lipstick — it grips color, prevents feathering, and means the look survives even as the lipstick fades. Keep eyes and cheeks quiet to let the lip lead; a bold mouth plus heavy eyes competes rather than complements. For precision, apply straight from the bullet then perfect edges with concealer.
Lip Balm Base
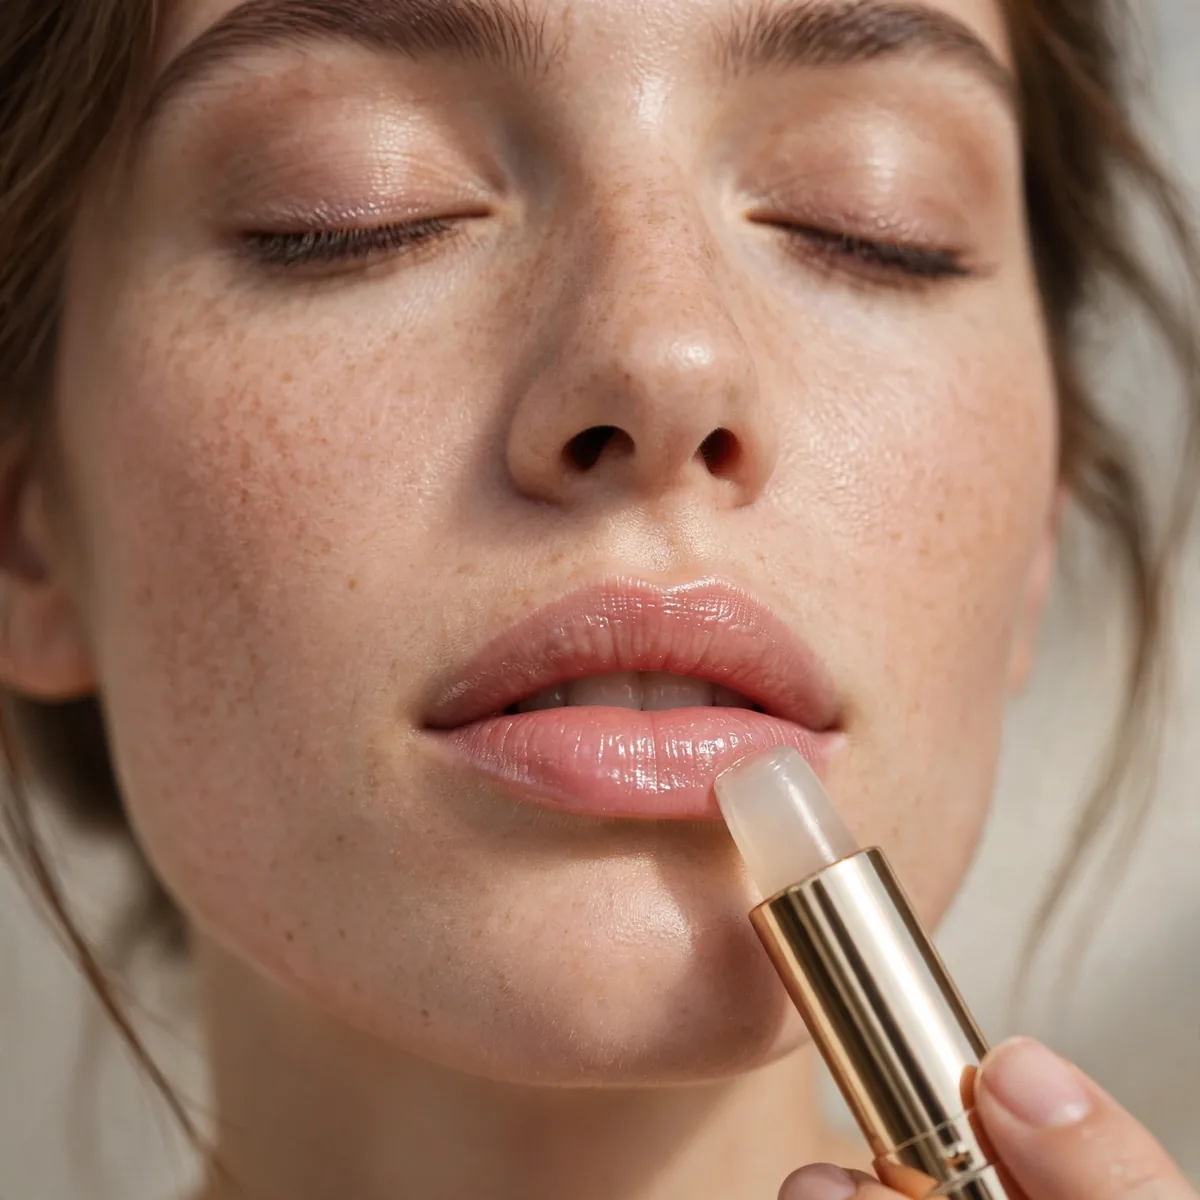
A great balm under everything. Smooth lips make every lip product look better.
Best for: everyone. The unglamorous essential that enables the glamorous ones.
Exfoliate lips two or three times a week — dead skin is the real reason lipstick looks patchy, not the formula. A sugar scrub or soft toothbrush buffed gently removes flakes without tearing delicate lip skin. Follow immediately with balm to seal in the smoothness, and give it a few minutes to absorb before layering any color on top.
Blot balm down to a thin veil before applying lipstick — a slippery base makes color slide, bleed, and fade within the hour. For daytime, choose a balm with SPF since lips burn easily and rarely get sunscreen otherwise. At night, a thick occlusive balm or lip mask repairs the day’s damage while you sleep.
Setting Spray
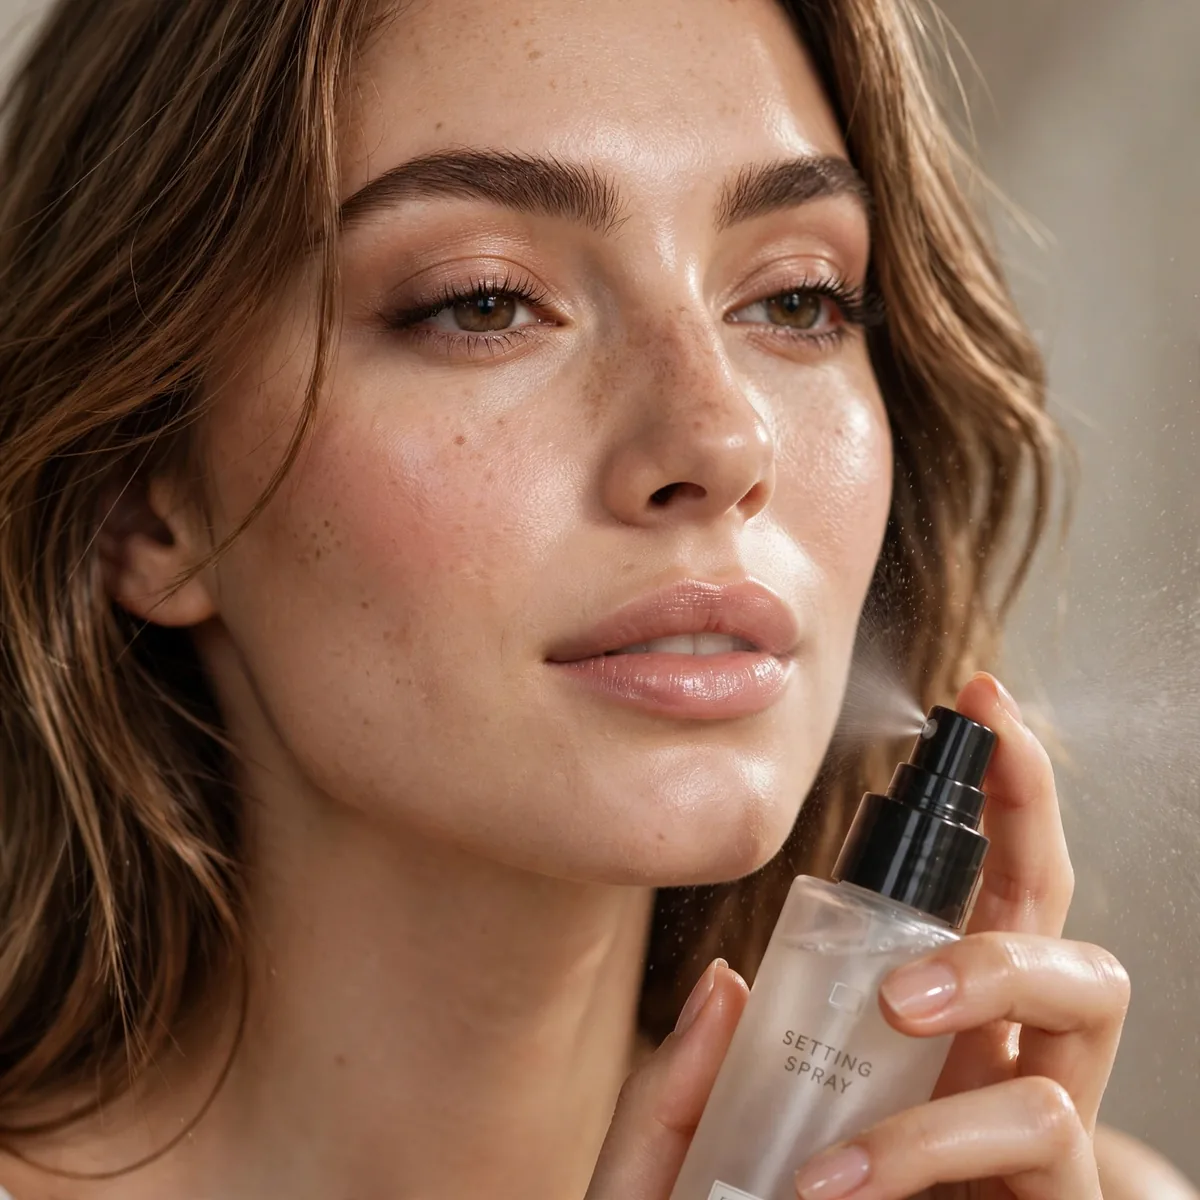
To meld everything and extend wear. The difference between 4-hour and 10-hour makeup.
Best for: long days. Non-negotiable for events.
Choose your finish deliberately: dewy sprays add radiance and suit dry skin, while matte formulas control shine for oily complexions. Hold the bottle at arm’s length and mist in an X then a T motion for even coverage — spraying too close creates droplets that disturb foundation. Let it dry untouched; fanning your face can shift the still-setting base.
Spray once before foundation as well as after — the sandwich method gives base products something to grip and doubles longevity. Keep a travel size in your bag for midday revival: a light mist melts powdery buildup back into skin and freshens everything without adding layers. It also rescues over-powdered cheeks instantly, dissolving that chalky finish into something skin-like.
Makeup Remover
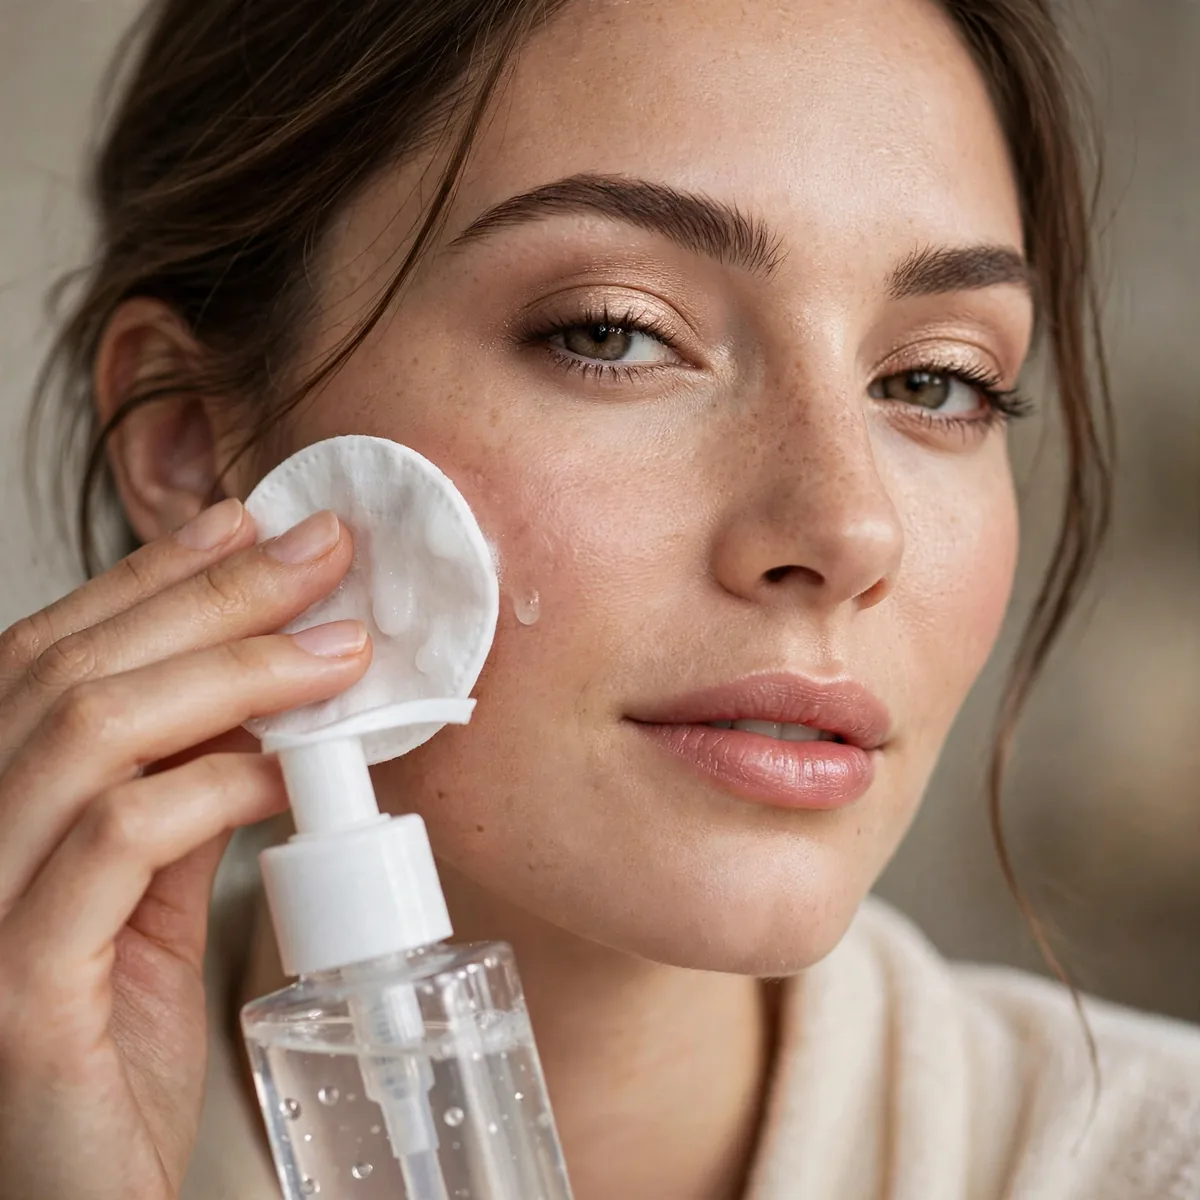
A proper remover — cleansing balm or micellar water. Great makeup starts with clean skin.
Best for: everyone. Sleeping in makeup undoes everything else on this list.
Double cleansing is the gold standard: start with a balm or oil to dissolve makeup, sunscreen, and sebum, then follow with a gentle water-based cleanser to clean the skin itself. Massage the balm for a full sixty seconds — that time lets it break down even waterproof mascara without harsh rubbing. Rushing this step is what leaves residue that clogs pores overnight.
For stubborn eye makeup, press a micellar-soaked cotton pad over closed lids for twenty seconds before wiping — dissolving first means far less tugging on delicate skin. Never drag waterproof formulas off dry; the friction damages lashes and stretches the thin under-eye area. Finish with a lukewarm rinse, since hot water strips skin and cold water will not fully melt balm residue.
SPF Moisturizer
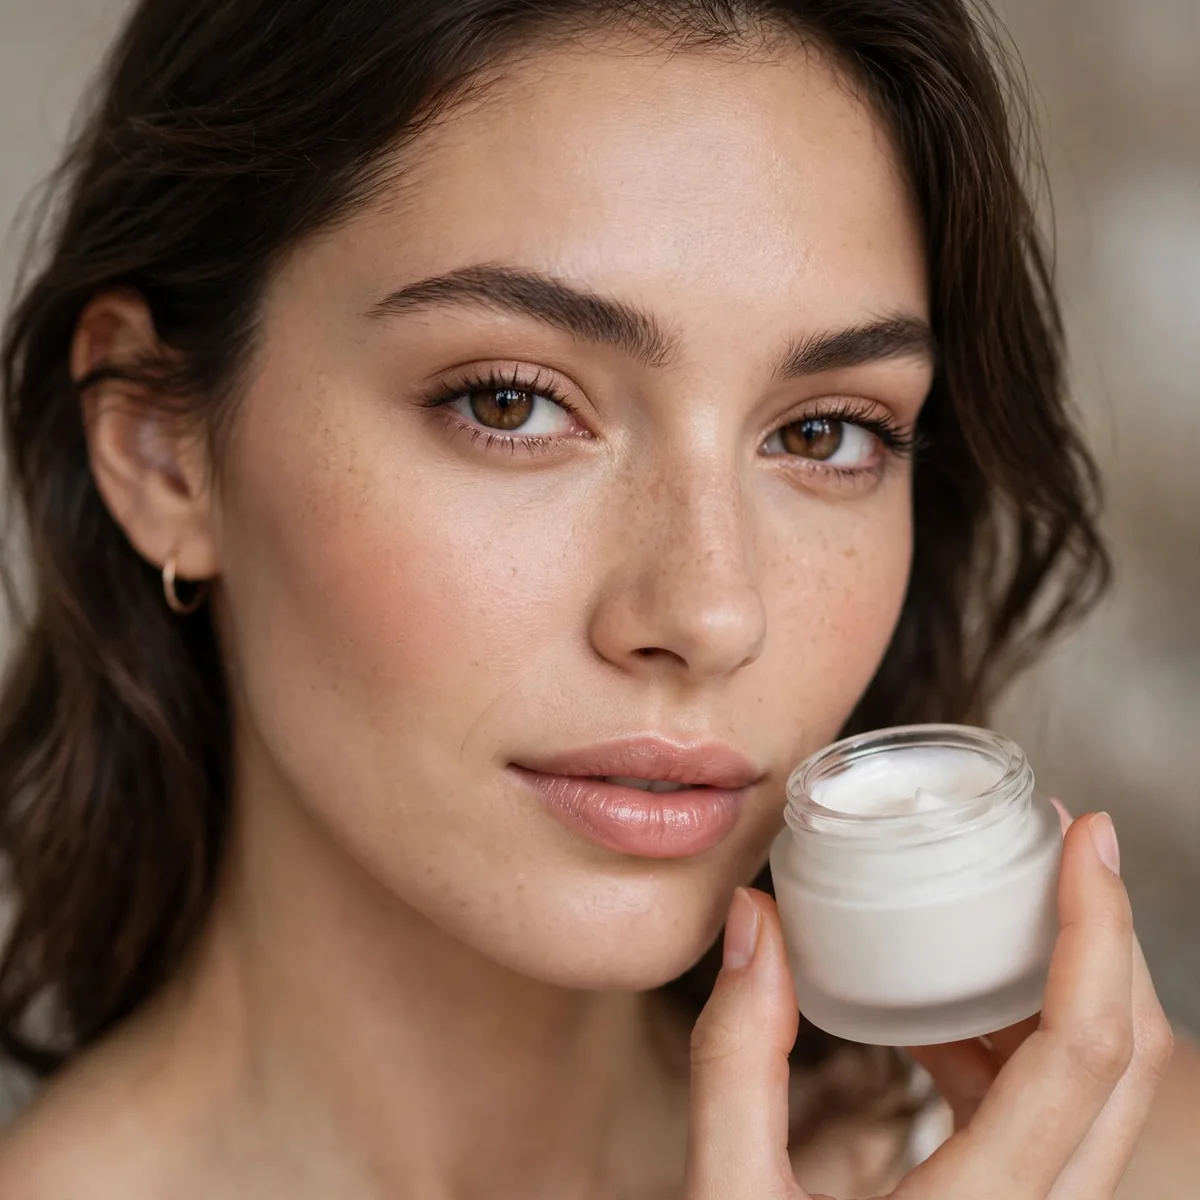
Daily SPF under makeup. The essential that prevents the need for future cover-up.
Best for: literally everyone, every day. Future skin thanks present you.
Apply SPF as the final skincare step and wait three to five minutes before makeup — the film needs time to set or foundation will pill and slide. Use a full two finger-lengths for face and neck; most people apply a quarter of the protection they think they are getting. Mineral formulas can leave a white cast, so tinted versions suit deeper skin tones better.
Reapplication matters even under makeup: an SPF mist or powder sunscreen over your finished face at midday keeps protection real without disturbing base products. Chemical sunscreens layer most invisibly under foundation, while mineral zinc formulas can pill — if yours does, switch the order and let the SPF fully absorb first. Cloudy days still demand it; UV penetrates cloud cover easily.
Blotting Papers
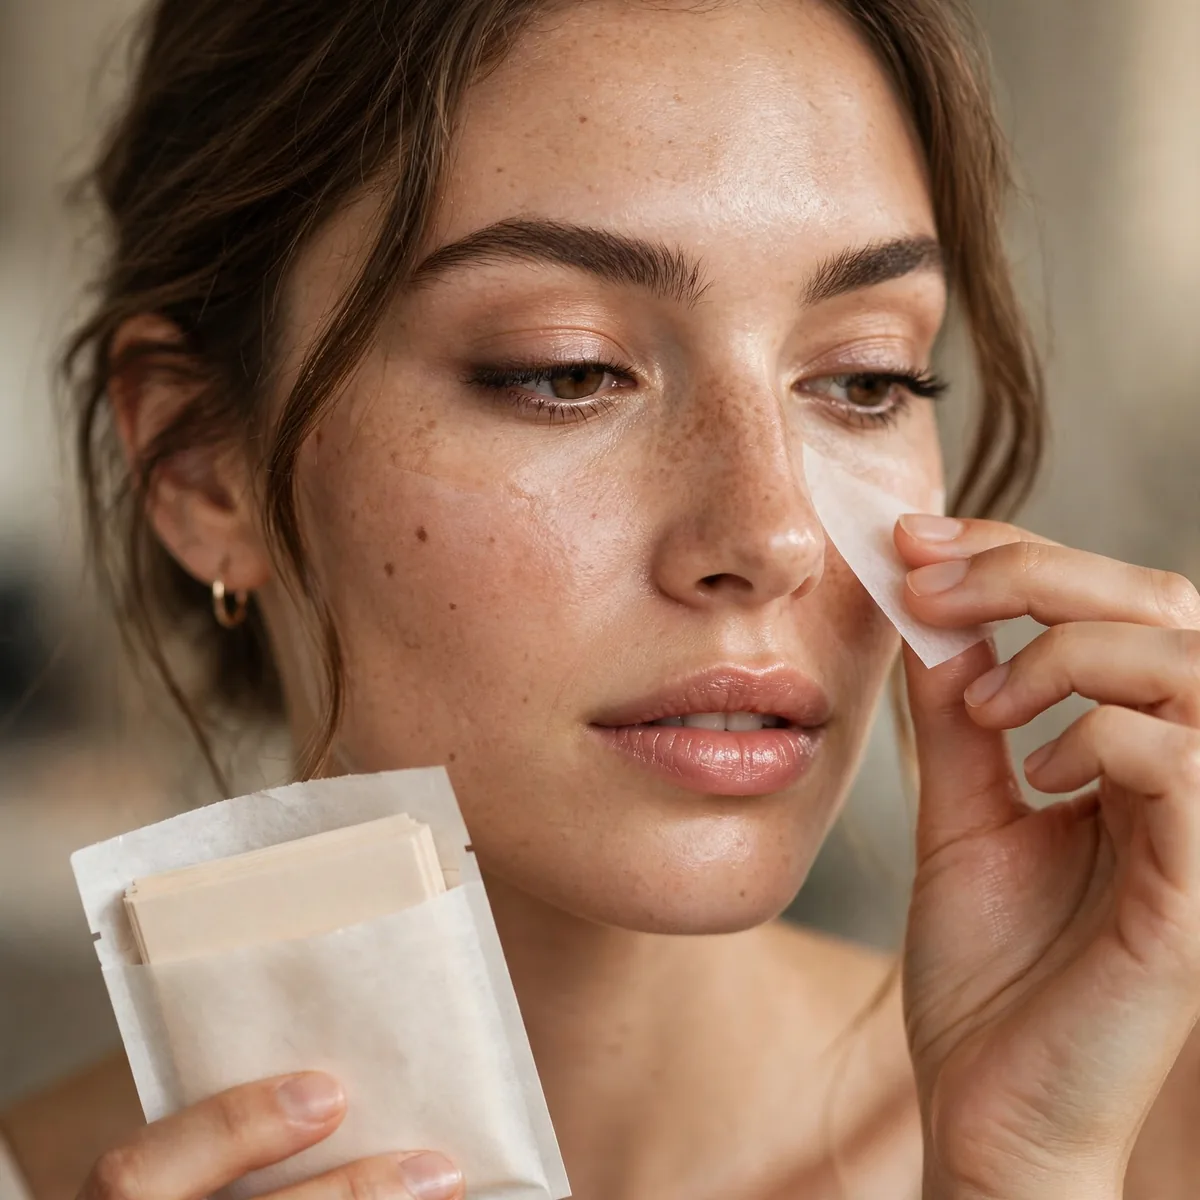
For midday shine without disturbing makeup. Tiny, cheap, irreplaceable.
Best for: oily skin. The essential nobody thinks about until they need it.
Press, do not rub — rubbing drags foundation and disturbs concealer, while pressing lifts oil cleanly off the surface. Target the T-zone, the sides of the nose, and the chin, where shine appears first. One sheet usually handles the whole face; using more just wastes product. Blot before reaching for powder, since piling powder over oil creates a cakey layer that cracks.
Rice-paper sheets absorb more oil than basic wood-pulp versions, while powder-coated papers add a touch of mattifying finish as they blot. Keep them in an outside pocket or phone case rather than buried in your bag — accessibility decides whether you actually use them. They also rescue shiny scalps and hairlines in photos when powder would look obvious.
A Beauty Sponge
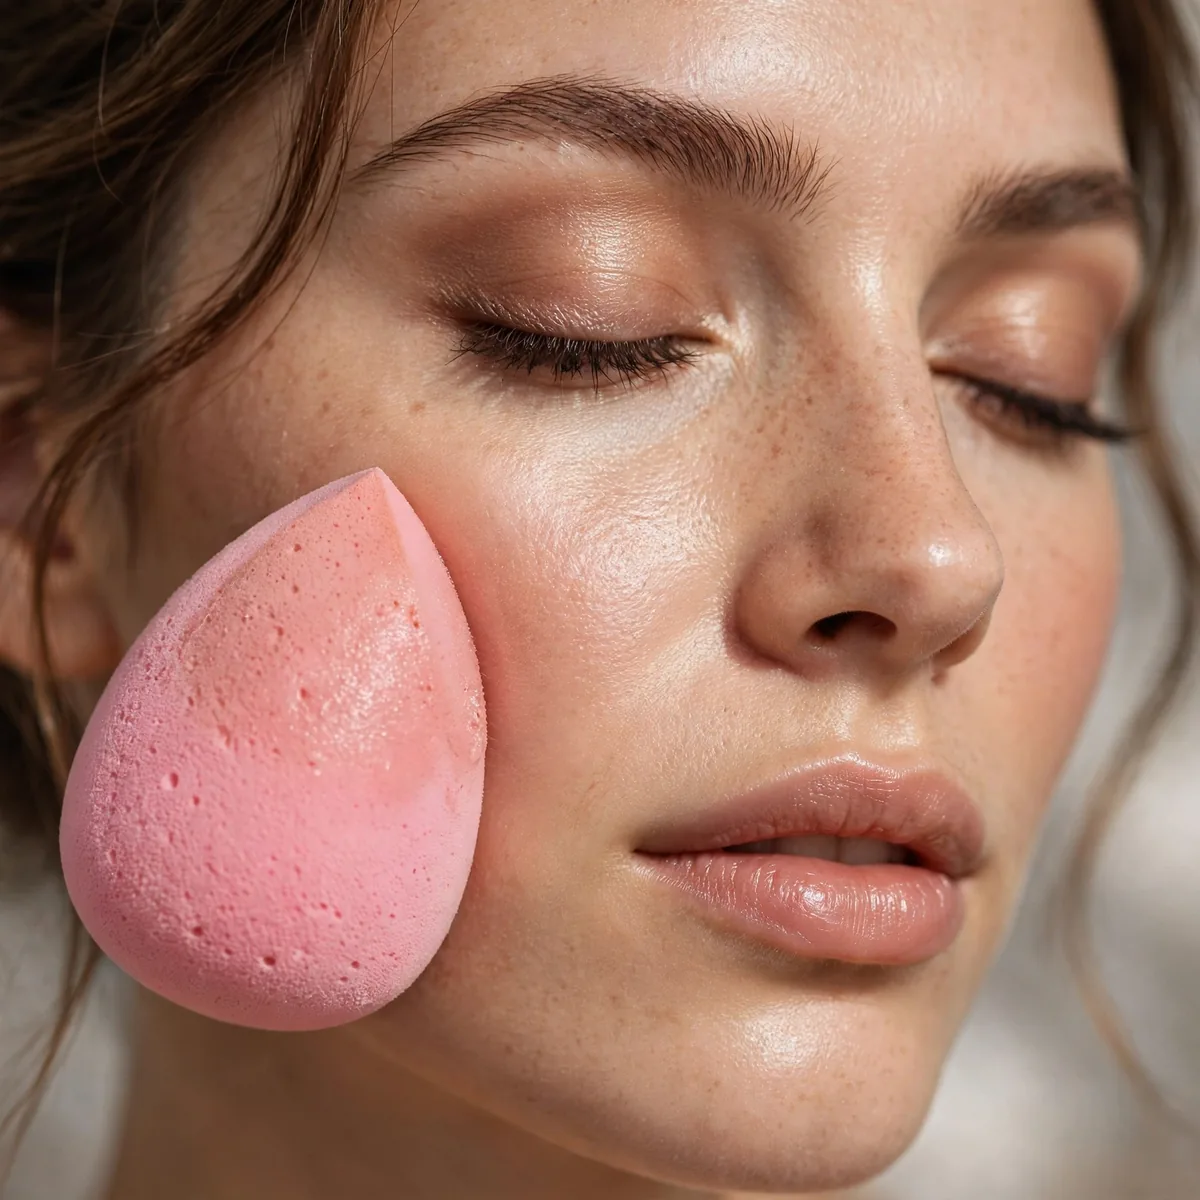
One good sponge applies base, concealer, cream blush, and fixes mistakes. The ultimate tool.
Best for: everyone. Dampen it — dry sponges absorb product wastefully.
Always dampen first: run it under water, then squeeze until no drips remain — a properly damp sponge bounces product into skin instead of drinking it. The bouncing, stippling motion presses foundation in evenly, while dragging smears and creates streaks. Use the pointed tip for under-eyes and around the nose, and the flat edge for pressing powder under the eyes.
Clean it after every use with gentle soap or a dedicated sponge cleanser — a dirty sponge harbors bacteria that trigger breakouts and muddy your foundation shade. Replace it every one to three months; once the surface tears or stops bouncing back, it is done. Between washes, let it air-dry fully in an open spot rather than sealed in a dark bag.
Eighteen products, infinite looks. Build your kit around these — and for routines that use them, see our five-minute routines and minimalist guide.




