Minimalist makeup isn’t about deprivation — it’s about editing. Fewer, better products that do more.
The minimalist philosophy: invest in skin, choose multitaskers, and skip anything that doesn’t earn its place. Your routine gets shorter, your bag gets lighter, and your skin gets happier.
These 18 routines range from three products to ten minutes — all built on the less-is-more principle.
Here’s how to do more with less. Let’s get into it.
The 3-Product Face
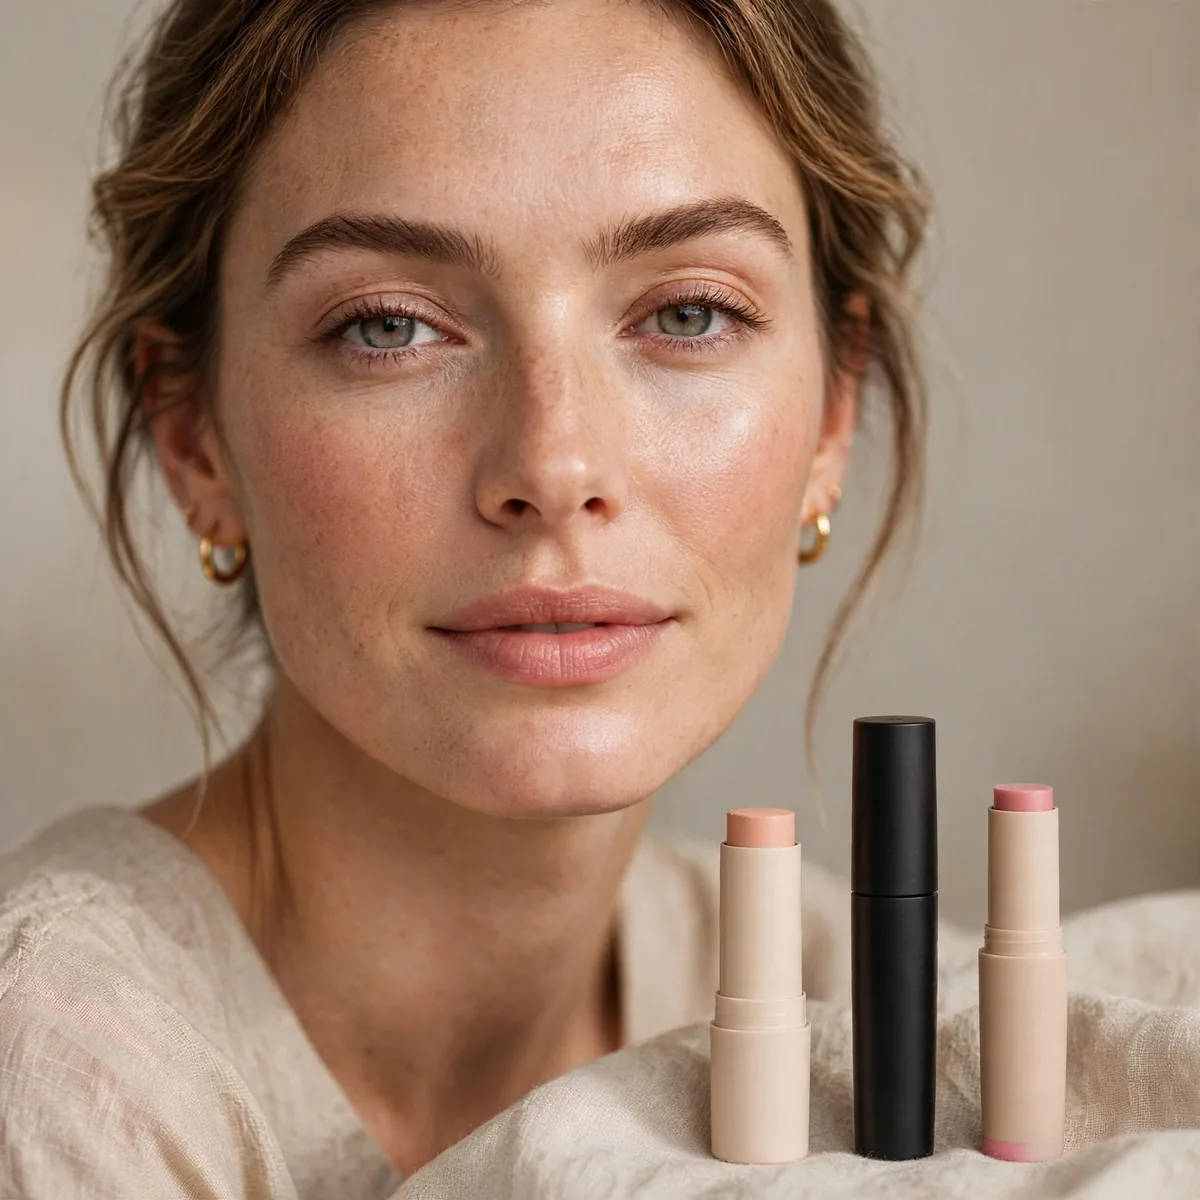
Tinted SPF, cream blush, brow gel. Three products, three minutes, completely polished.
Best for: ultimate minimalists. This is the desert-island routine.
Sequence matters even with three products: press tinted SPF all over first and let it set for a minute, then tap cream blush onto cheeks with fingertips, and finish by brushing brow gel upward. Choose a tinted SPF with sheer, flexible coverage — mineral formulas suit sensitive skin while chemical ones blend invisibly on deeper tones. A universally flattering blush like muted rose keeps the whole routine foolproof across seasons.
This routine genuinely lasts a full workday because fewer layers mean less to break down — though a midday blush re-press keeps color alive. Deeper skin tones should seek tinted SPFs with genuinely inclusive shade ranges rather than one-size options that cast grey. It also travels brilliantly: three slim tubes fit any clutch. For evenings, the same trio plus a bold lip becomes a complete night-out look in under a minute.
Multitasking Sticks
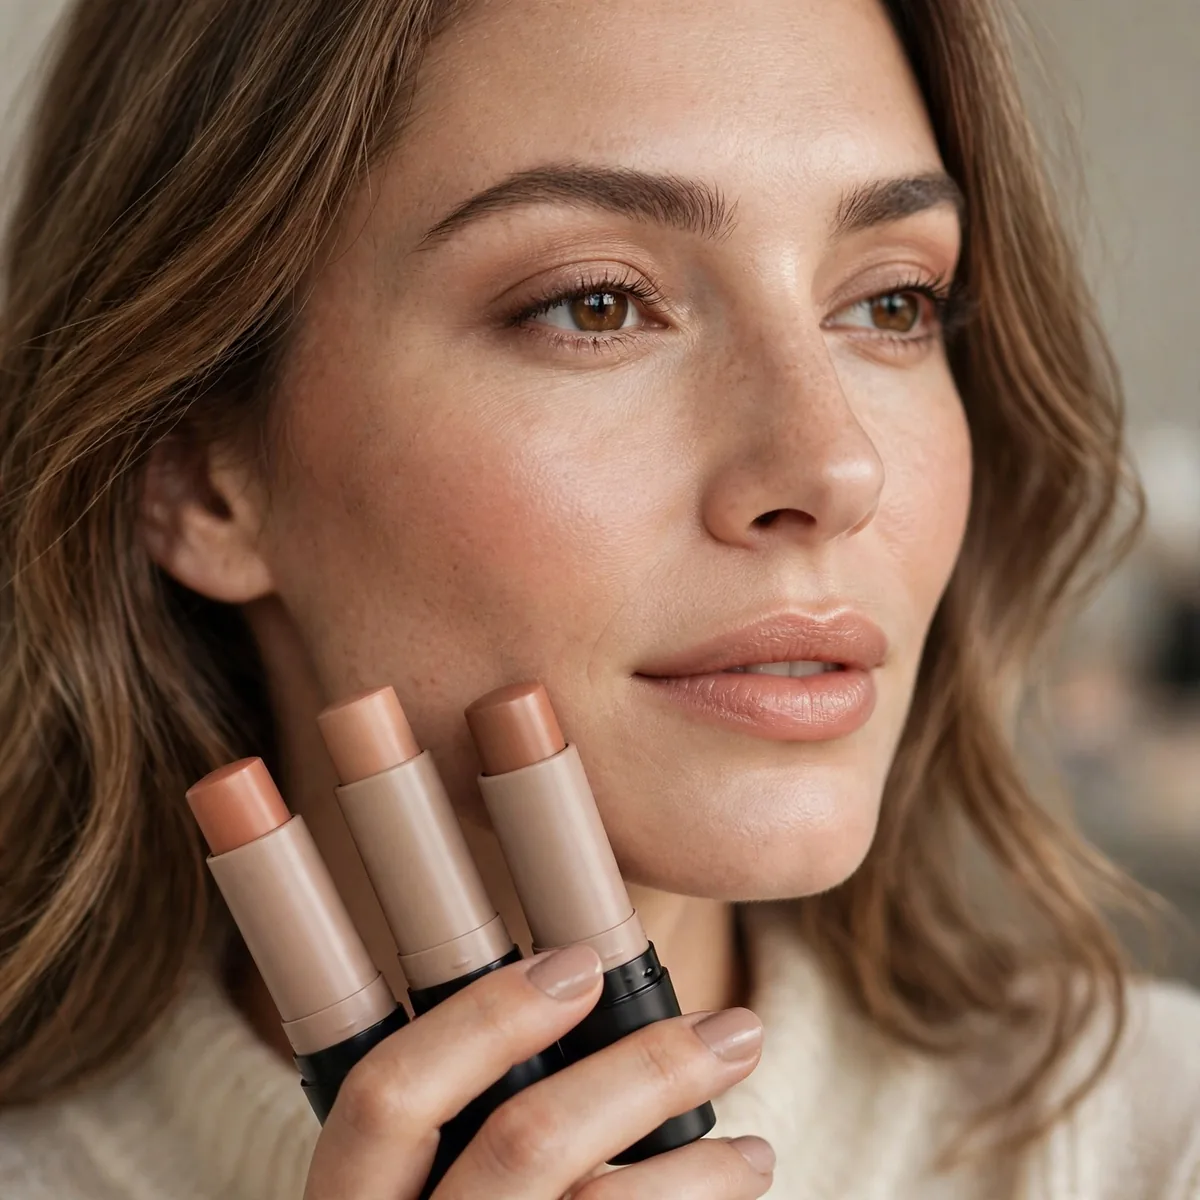
One stick for lips, cheeks, and eyes. The minimalist’s holy grail — color harmony built in.
Best for: travel and tiny bags. Three uses, one product, zero decisions.
Warm the stick on the back of your hand first so it glides instead of dragging — cold product tugs at skin and deposits unevenly. Stipple onto cheeks with a bouncing motion, sheer it across lids with a fingertip, then press the leftover warmth into lips. Always layer sticks over SPF but under any powder; reversing the order makes the color grab patchily and refuse to blend.
Shade choice makes or breaks the trick: muted rose and warm terracotta flatter both lips and cheeks across most skin tones, while blue-based reds can look bruised on cheeks. Matte sticks photograph more modern and last longer, but dewy finishes suit dry skin beautifully. Oily complexions should dust the faintest powder over cheek placement only, keeping lips and eyes creamy for contrast.
Tinted Moisturizer Only
Some days just need evened-out skin. Tinted moisturizer alone is a complete look.
Best for: good skin days. Let your natural skin be the star.
The secret to making this work is skincare prep — gently exfoliate and layer a hydrating serum so the tint has a smooth canvas instead of clinging to dry patches. Apply with fingertips, pressing rather than rubbing, and concentrate coverage through the center of the face where redness lives, leaving the perimeter sheer. A damp sponge sheers it further on good-skin days when you want barely-there evening.
Know when to upgrade: on blemish days, add pinpoint concealer just on spots rather than abandoning the routine. Dry skin thrives with luminous, oil-enriched formulas while oily types do better with oil-free gels that double as light mattifiers. Always check the SPF level — many tinted moisturizers offer only SPF 15, so layer a dedicated sunscreen underneath for real protection during long days outdoors.
Brow + Lash + Lip
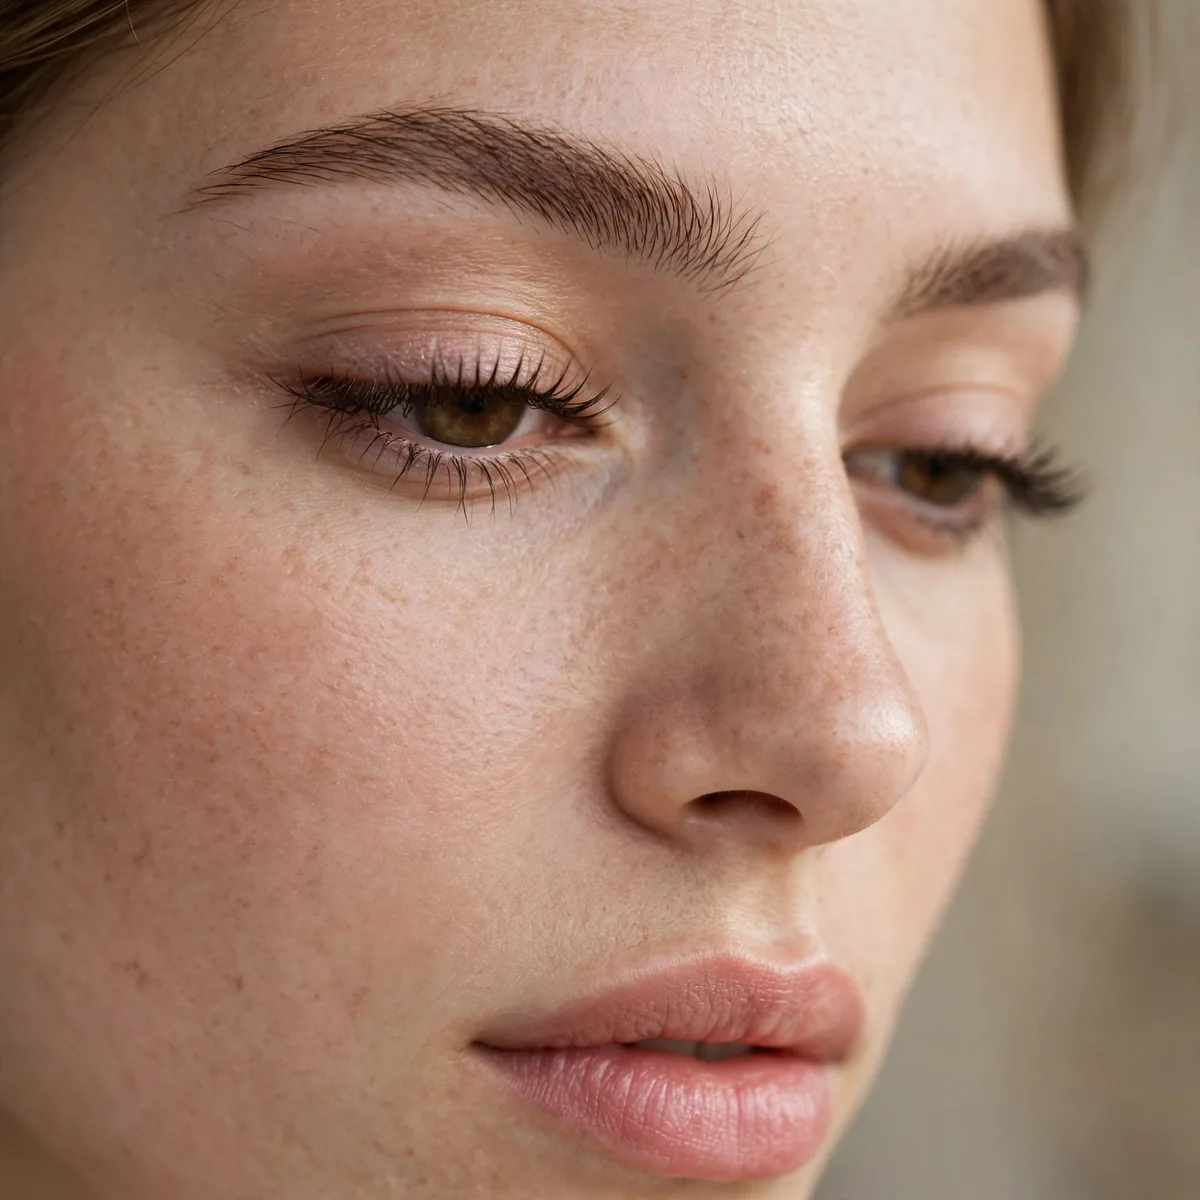
Groomed brows, mascara, tinted lip balm. The classic trio that never fails.
Best for: everyone. These three features carry the whole face.
Order is everything: brush brows up and outward first to reveal their true shape before deciding how much filling they need. Then apply a single coat of mascara, wiggling at the roots — one deliberate coat beats two rushed ones for definition without clumps. Finish by blotting tinted balm into lips with a fingertip rather than swiping; pressed color looks like a natural stain and lasts noticeably longer.
This trio works because it defines the face’s three focal points — structure, eyes, and color — which is why it flatters every face shape and age. Deeper skin tones should choose balms with real pigment rather than sheer washes, which can look ashy. Glasses wearers can ease off mascara since frames do the eye-framing work, and invest the saved effort in bolder brows instead.
Cream Blush Duo
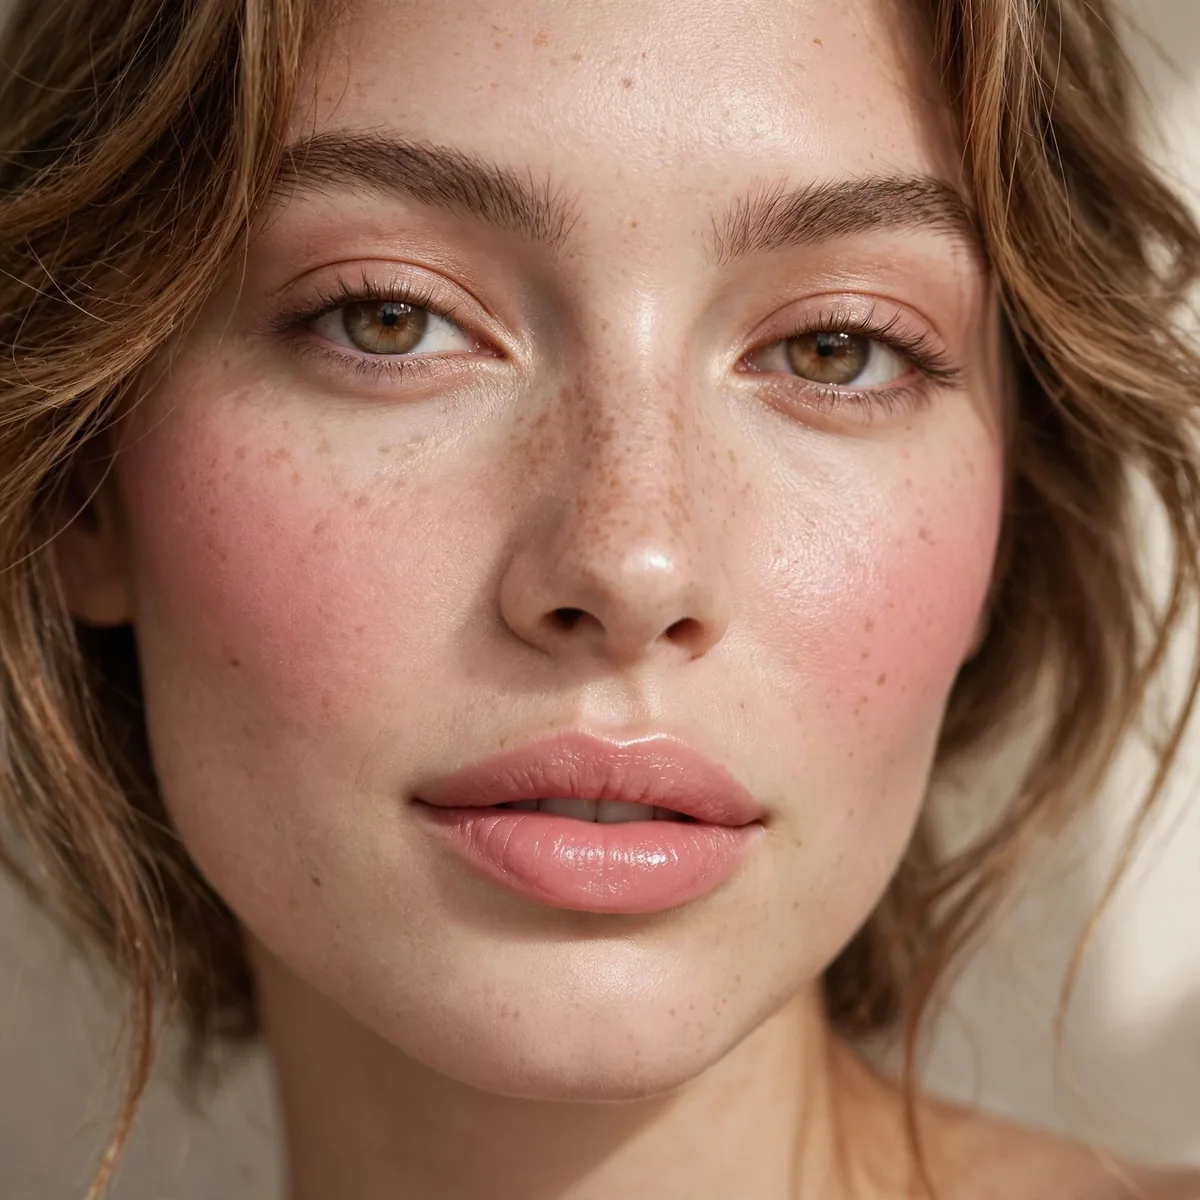
Cream blush on cheeks, pressed into lips. Monochromatic and meltingly natural.
Best for: dry skin. Creams are a minimalist’s best texture.
Skip the smile-and-apply trick — smiling shifts the apples upward and the color lands too low once your face relaxes. Instead, tap cream blush onto the upper apples and blend upward toward the temples with clean fingertips. For lips, press the color in with your ring finger in two thin layers rather than one swipe; the layered stain mimics a just-bitten flush and outlasts single applications.
Match the shade to your undertone and both placements harmonize automatically — berry and plum flatter cool skin while peach and warm rose suit golden complexions. Set the lip layer by pressing a tissue over it and dusting the faintest powder through the tissue; this locks the stain for hours. Chronically dry lips should start with balm, wait two minutes, then apply — the color grips hydrated skin far better.
Concealer Where Needed
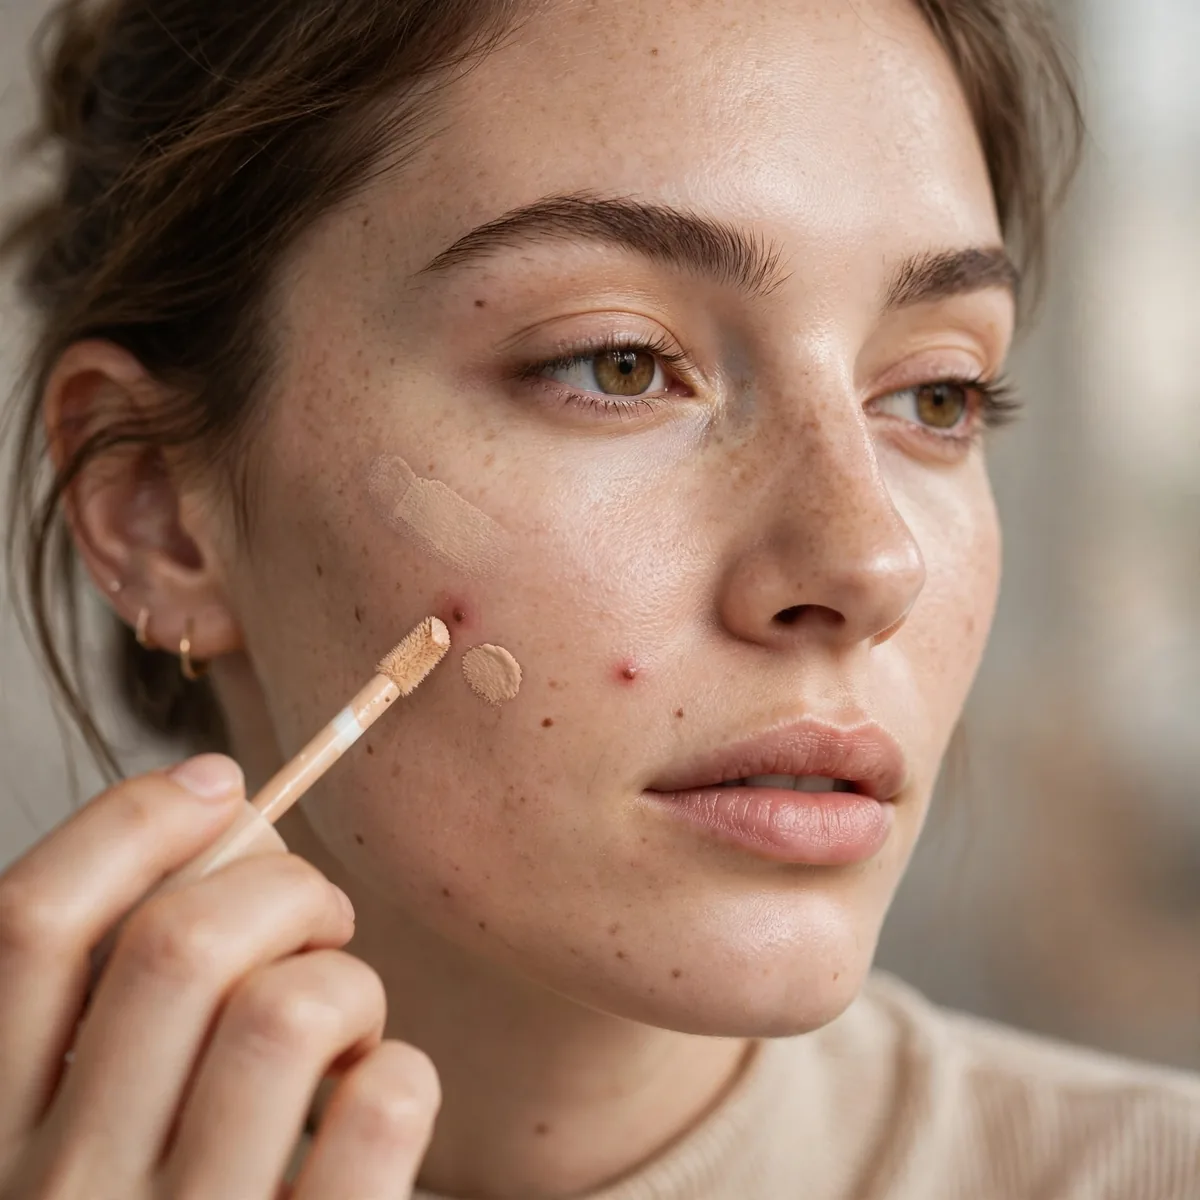
Skip foundation entirely — conceal spots and under-eyes only. Your skin, perfected.
Best for: clear skin. Why cover what doesn’t need covering?
Use a small, precise brush to pinpoint-conceal blemishes, pressing product only onto the spot and diffusing just the edges — painting large areas recreates the foundation look you are skipping. Under eyes, keep to a slim triangle and blend the perimeter, not the center, so coverage stays where darkness lives. Two thin layers always beat one thick one; heavy concealer cracks by afternoon while layered sheers flex with the skin.
Shade strategy differs by zone: match blemish concealer exactly to your skin so spots disappear instead of highlighting, but go one shade lighter and slightly peachy under the eyes to counter darkness. Dab green corrector very sparingly on angry red spots before concealer — a heavy hand shows through as grey. Set only the concealed areas with a tiny amount of powder, leaving the rest of the face completely bare and breathable.
Clear Mascara Polish
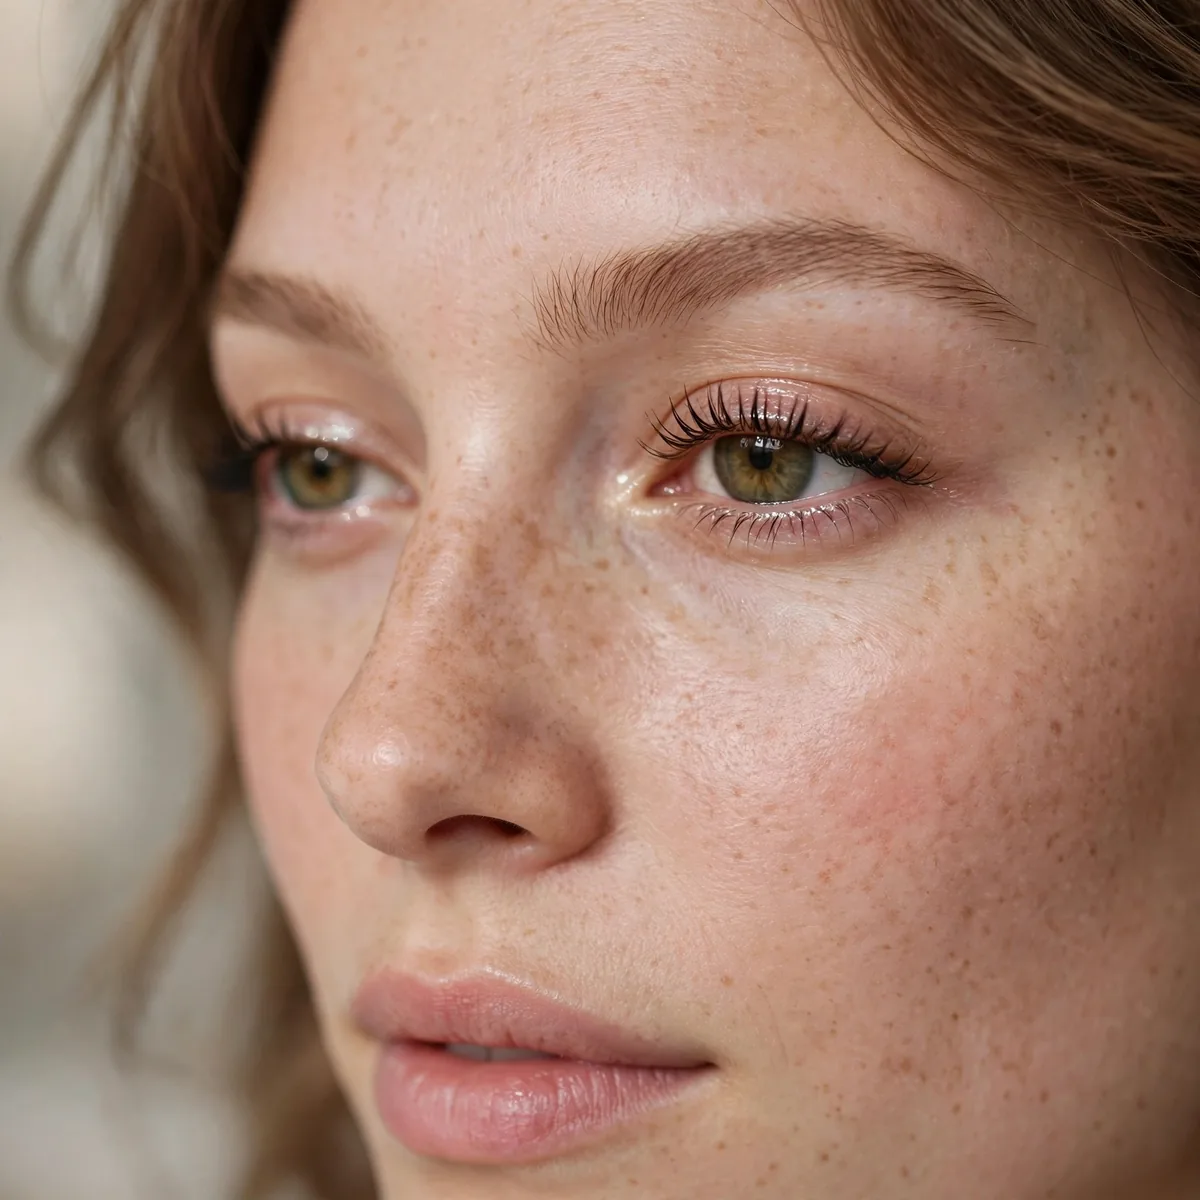
Clear mascara grooms lashes and brows with zero color. Invisible polish.
Best for: no-makeup days. It’s the "I woke up like this" secret.
Curl lashes first, then apply one smooth coat from root to tip — the clear formula defines and separates without a hint of color, which is the whole point. It doubles as a brow tamer: brush brows upward and let it set for a laminated look that holds through humidity. Unlike pigmented mascaras it also works as a lash primer underneath regular mascara on days you want more drama.
Naturally straight lashes benefit most, since the lightweight gel will not drag down a fresh curl the way heavy pigmented formulas can. Contact lens wearers love it too — no flakes or fibers to migrate into eyes during long days. For humid climates or teary-eyed wedding seasons, grab the waterproof version. And keep the wand clean: clear gel shows every speck of old pigment, so wipe it down weekly.
Lip and Cheek Tint
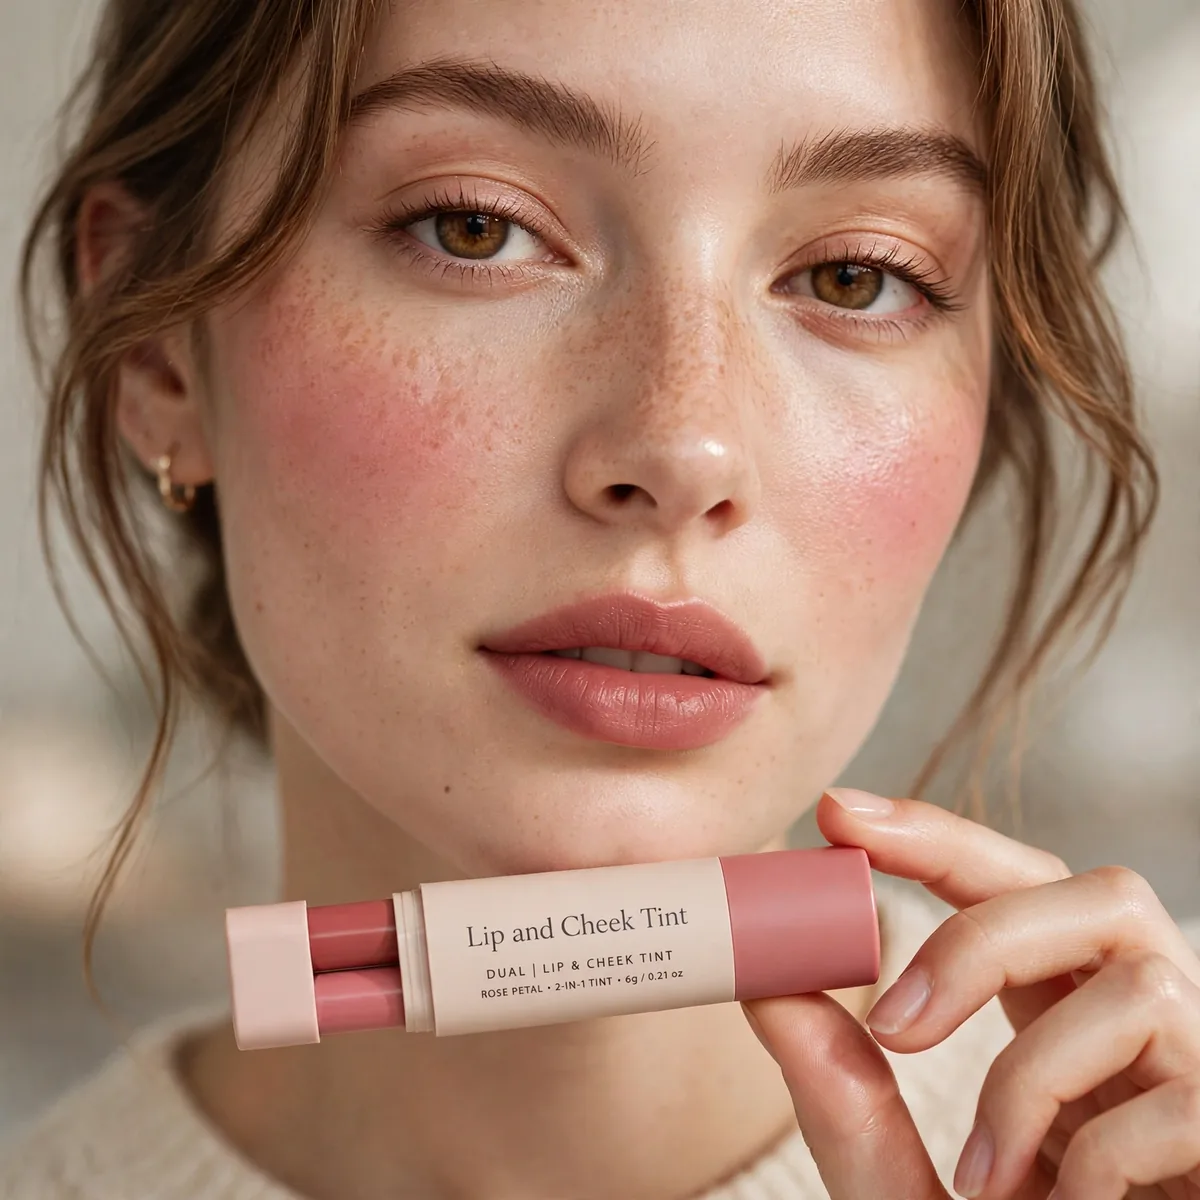
One tint, two placements. The original multitasker, still unbeatable.
Best for: long days. Tints outlast every other lip-and-cheek formula.
Speed is the skill here — water tints set within seconds, so work one cheek at a time and blend immediately with a damp sponge. Apply to lips first, then press the leftover product onto cheeks; this naturally keeps the cheek color sheerer and harmonious. For deeper intensity, let the first lip layer set for thirty seconds before adding a second — stacking beats a single heavy application for even, long-lasting stain.
Water-based tints give the most natural just-bitten effect while gel formulas offer more control and slightly longer wear — choose by comfort. The gradient lip technique was made for tints: concentrate color in the center and blur outward with a fingertip. Removal needs an oil-based cleanser since tints are designed to resist water; scrubbing with regular face wash just irritates lips without lifting the stain.
Mineral SPF Finish
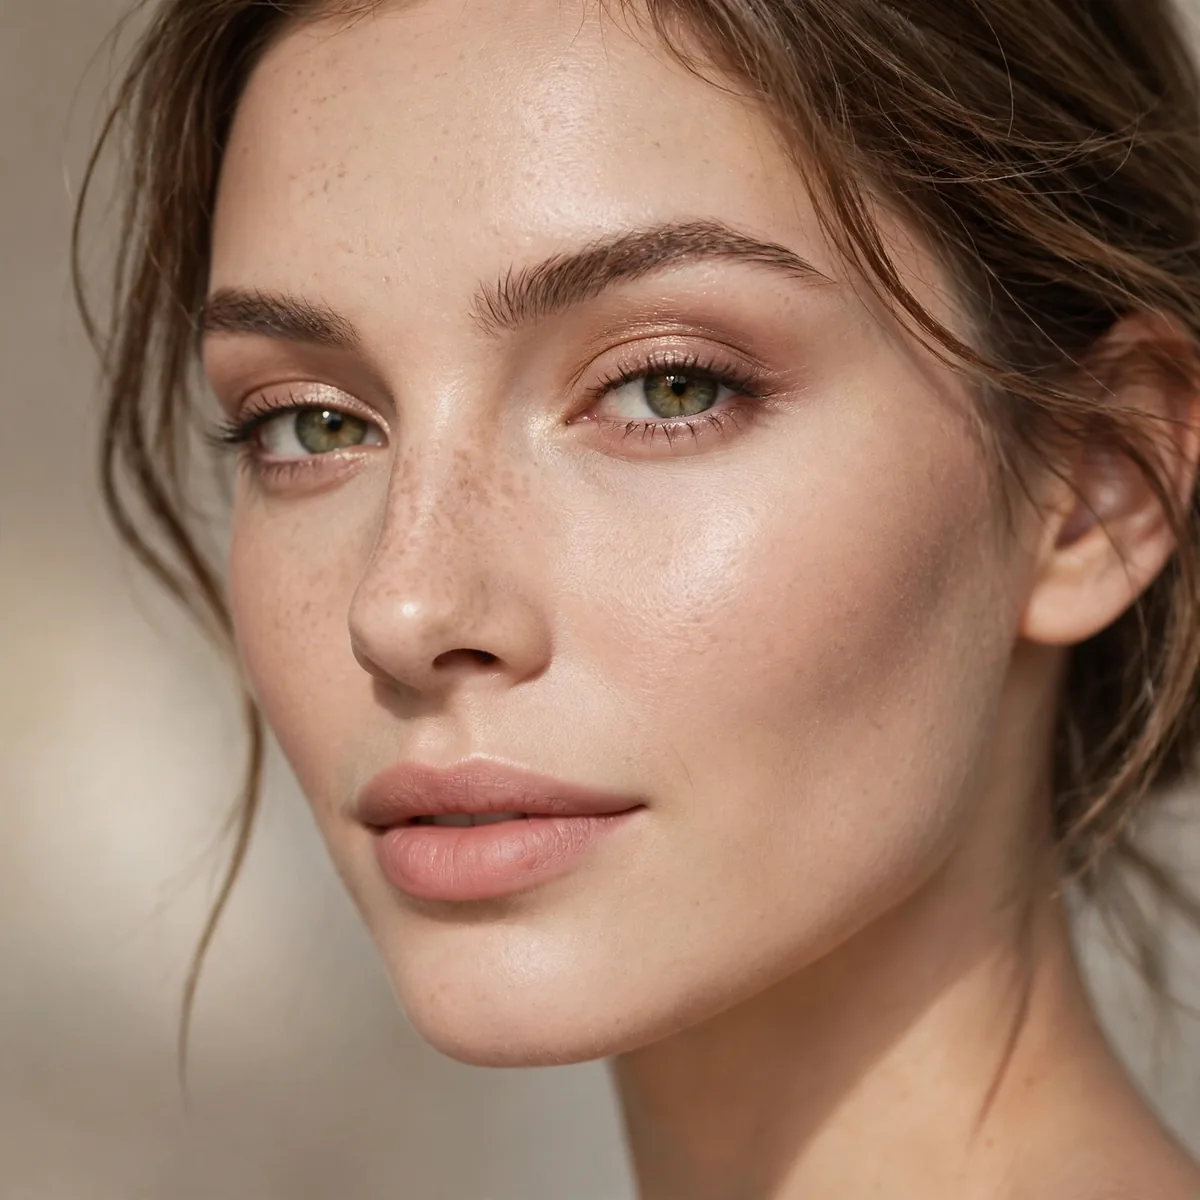
A mineral SPF powder: sun protection, light coverage, and shine control in one.
Best for: daytime minimalists. Protection that looks like makeup.
The brush-on format is the real innovation — swirl the built-in brush over cheekbones, nose, and forehead for sun protection that layers cleanly over makeup. Zinc-based formulas calm reactive and acne-prone skin while they protect, doubling as a soothing treatment. Keep one in your bag for reapplication every two hours outdoors; it is the only SPF format genuinely practical to reapply over a full face.
Coverage is sheer by design, so pair it with pinpoint concealer on days you need more — think of it as protection with a soft-focus finish, not foundation. Oily skin loves the natural mattifying effect, which controls midday shine without extra powder. One caution: mineral powders can flash back in flash photography, so use a light hand before evening events and rely on chemical SPF underneath for the heavy lifting.
Single Eyeshadow Sweep
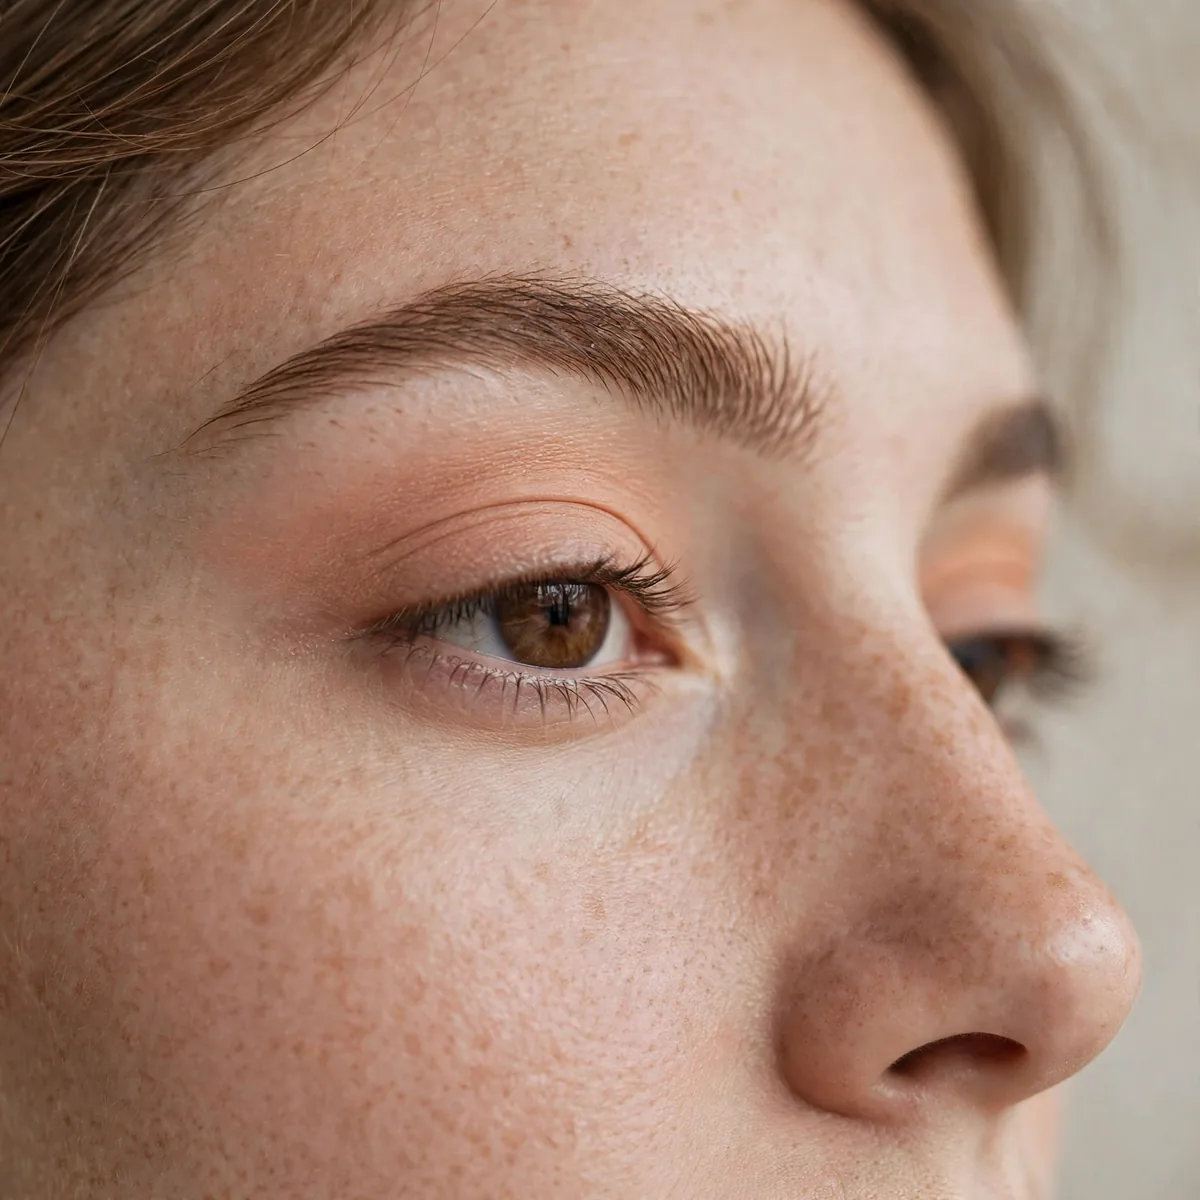
One neutral shadow, applied with a finger. Definition in ten seconds.
Best for: beginners. Our one-shadow guide has 18 variations on this.
Your ring finger is the ideal tool — its lighter pressure deposits color softly, and body heat melts the shadow into skin for a seamless finish. Pat the product across the lid rather than dragging, which skips and creates patchiness on textured lids. Then use a clean fingertip to feather just the upper edge; leaving the lower edge slightly more defined gives the eye subtle structure without any brushwork.
A satin taupe is the universal starter shade — it defines without committing to warm or cool, suiting nearly every eye color. The same one-shadow technique stretches to evening: layer a deeper bronze over the taupe base for instant smokiness. Hooded eyes should keep the sweep slightly above the natural crease so the color stays visible. Finish with mascara and the single shadow suddenly looks like a complete, intentional eye look.
Groomed Brows Focus
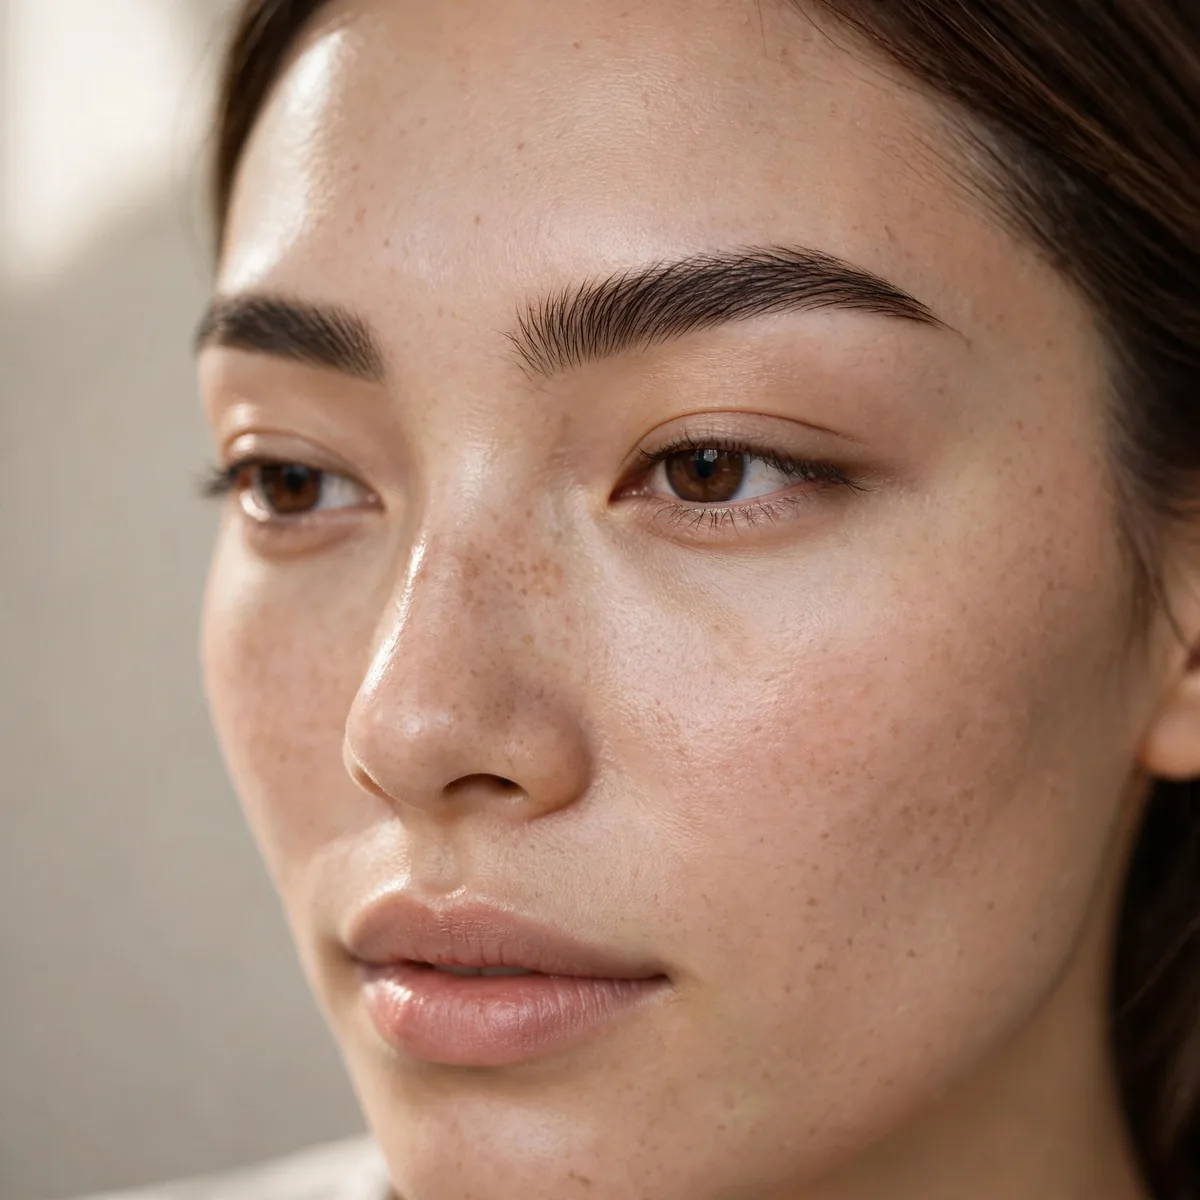
Some days great brows are enough. Brush, fill sparingly, done.
Best for: strong natural brows. Let your best feature lead.
Map the shape before touching product: the brow should start above the inner eye corner, arch at the outer two-thirds, and end on a diagonal from the nostril past the eye’s outer corner. Fill only the sparse tail and any gaps, using the lightest possible strokes — overfilling the front creates that stamped look. Always finish with a spoolie to diffuse color; unblended brow product is the giveaway of an unfinished face.
Match the tool to your brow type: pencils suit sparse brows needing hair-like strokes, powders flatter full brows that just need soft density, and tinted gel alone handles naturally thick shapes. Ash-toned products suit cool hair while warm browns match golden and red tones — mismatched temperature is the most common brow mistake. Glasses wearers get extra payoff here, since frames draw the eye straight to the brow line.
Nude Gloss Simplicity
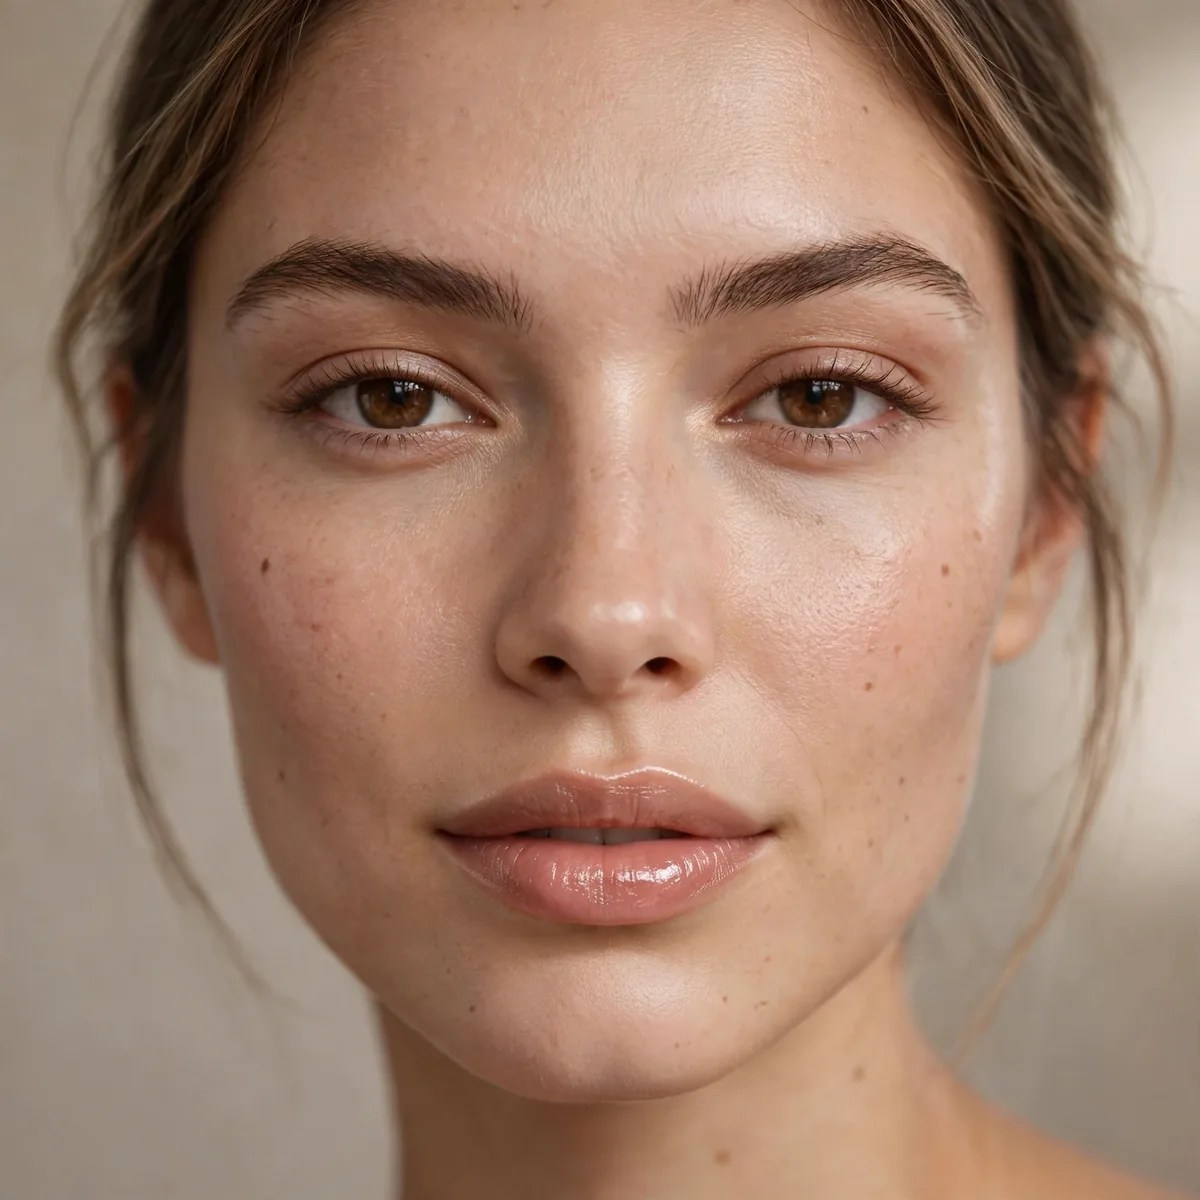
A nude gloss close to your lip color. Hydration and polish, nothing more.
Best for: dry lips. The easiest lip product ever made.
Finding your nude takes one test: it should match your inner lip or sit one shade deeper — anything paler washes you out and anything darker stops being nude. Swatch on the lower lip in natural light, not on your hand, since hand skin runs lighter and misleads. Warm caramel and toffee nudes flatter deep skin tones, while rosy-beige suits fair complexions and true beige works for medium.
Modern non-sticky formulas changed the game — look for cushiony textures with jojoba or squalane that feel like balm rather than glue. Reapply after eating and drinking; gloss is a high-maintenance finish and pretending otherwise leads to patchy wear. Keep the tube somewhere you will actually reach for it, like a jacket pocket, because the best gloss is the one you reapply. Skip plumping formulas if your lips are sensitive — the tingle irritates more than it enhances.
Dewy Skin Focus
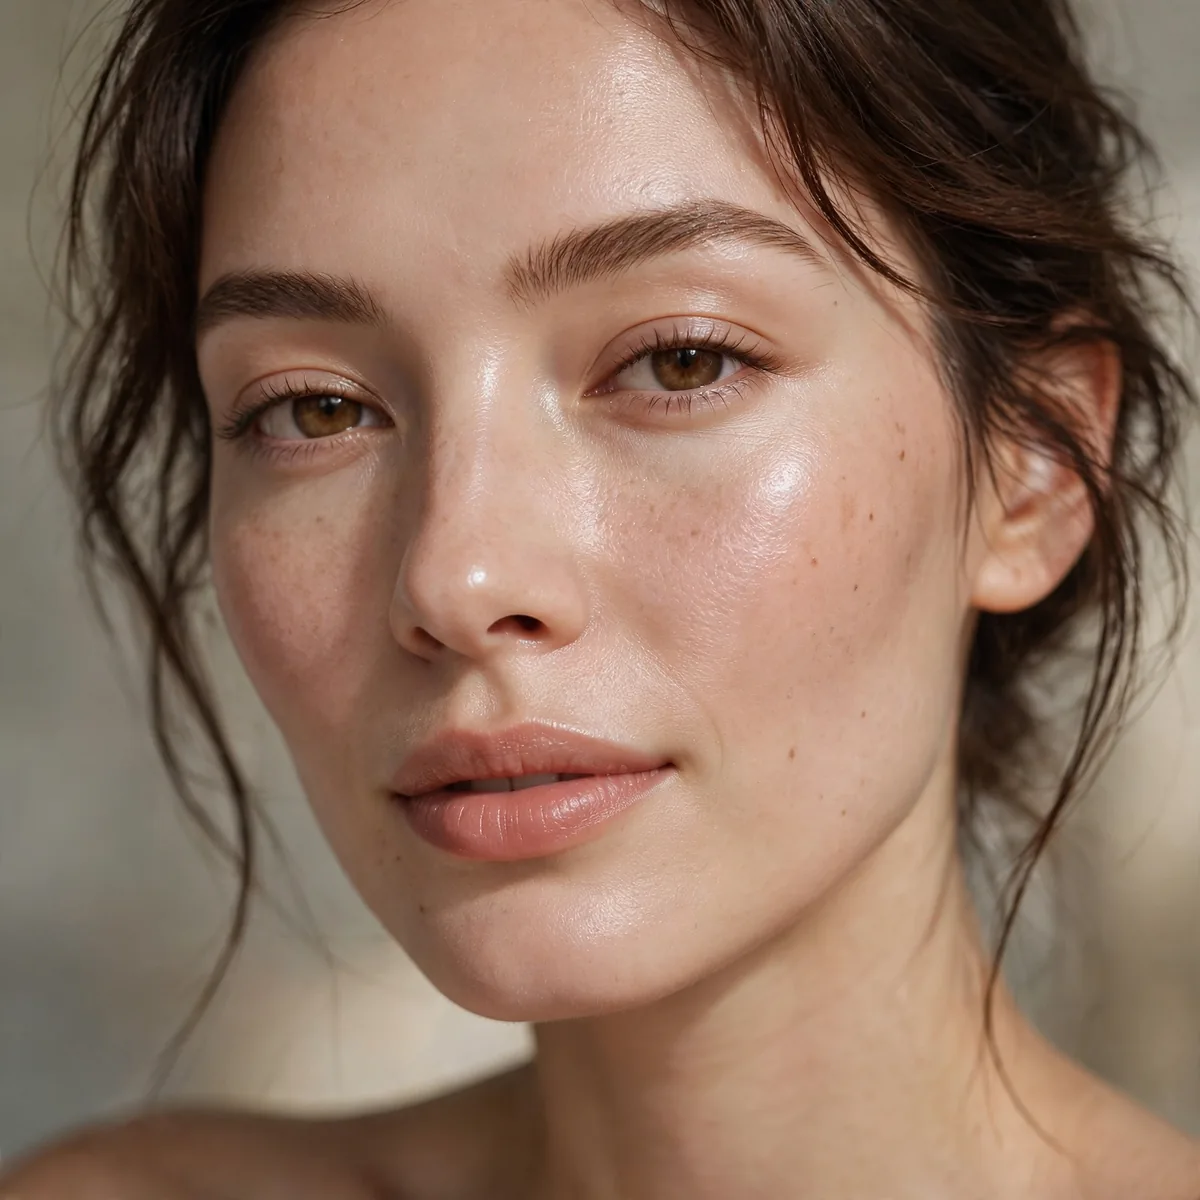
Skincare-forward: hydrating serum, light tint, nothing else. Glow is the makeup.
Best for: dry and normal skin. When skin looks this good, who needs coverage?
Build the glow in skincare layers: a hydrating toner, then a hyaluronic acid serum on damp skin, then moisturizer to seal it all in. Press a drop of facial oil over the high points as the final step — oil over cream creates that lit-from-within luminosity no highlighter can fake. The makeup step is almost an afterthought: a whisper of tint or a few dots of concealer, then nothing else competing with the skin.
Humid climates call for gel moisturizers instead of rich creams — you want water-based hydration that will not turn greasy by noon. Oily skin can still play: use a niacinamide serum to regulate shine and keep the dewy finish to the cheekbones only. Skip foundation entirely on this routine; its coverage would bury the very radiance you just built. The philosophy is simple — when the canvas glows, decoration becomes optional.
The 5-Minute Routine
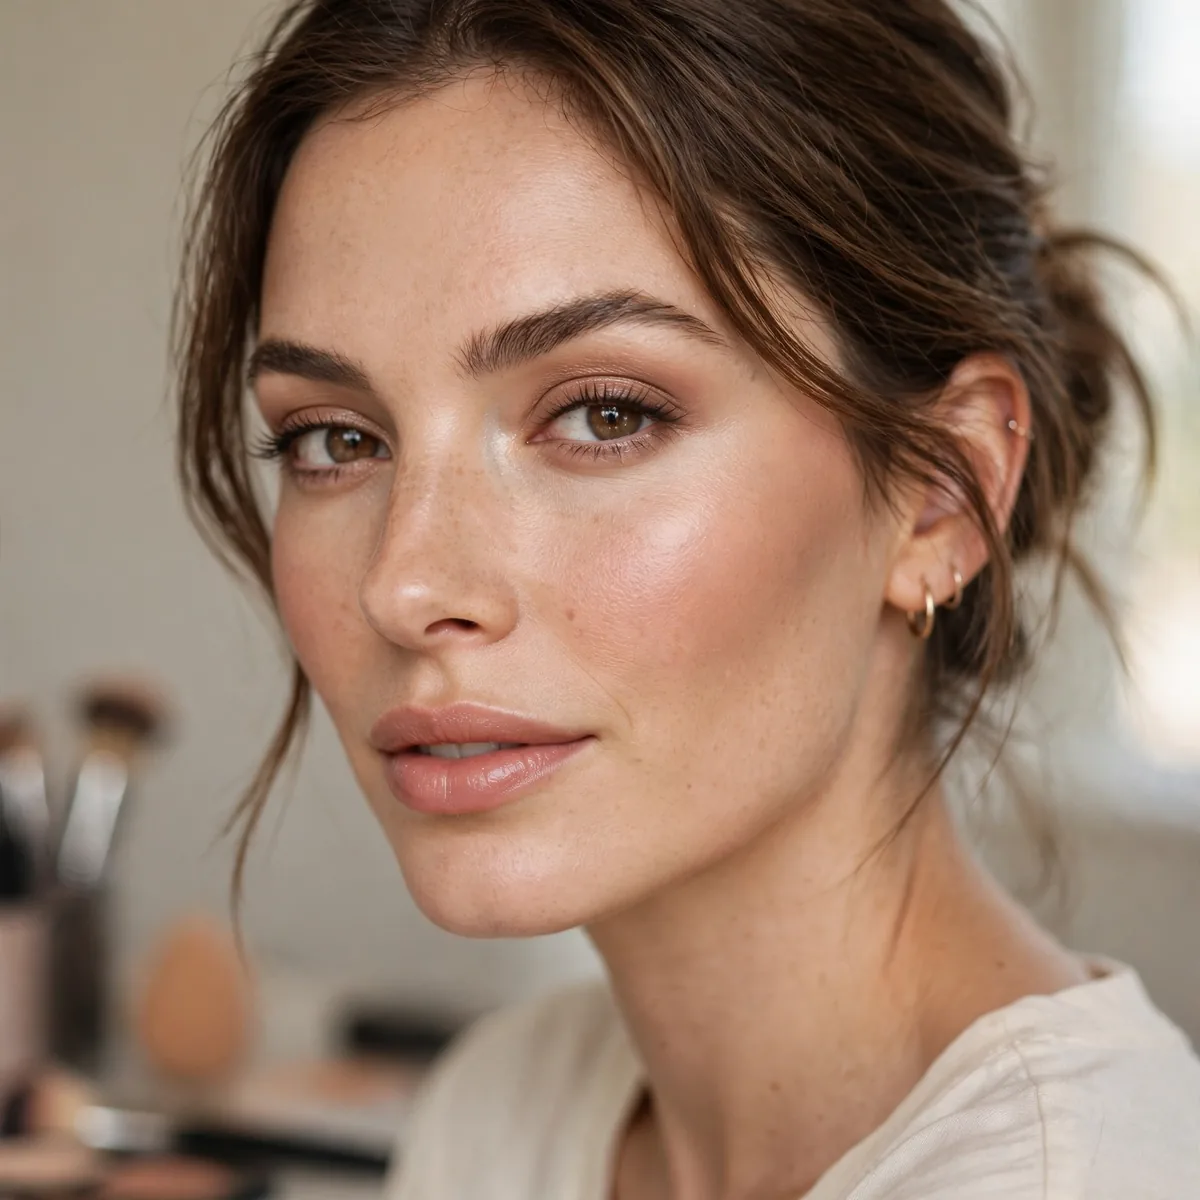
SPF tint, concealer, blush, brows, mascara, lip tint. Six steps, five minutes, out the door.
Best for: busy mornings. Time-box each step to under a minute.
Lay products out in application order the night before — hunting through a bag burns half your budget. Follow the sequence strictly: SPF tint, concealer, cream blush, brows, mascara, lip tint, since each layer sets while you apply the next. Use cream formulas throughout because they blend with fingers in seconds, no brushes to wash. Keep everything in one small pouch so the routine works identically at home or in a hotel.
A damp sponge is the great accelerator — it sheers and blends tint and concealer in half the time of fingers alone. Time-box ruthlessly: forty-five seconds per step keeps you honest, and you will get faster as muscle memory builds. For touch-ups, carry just the lip tint and blush; the base rarely needs rescuing before evening. Practice the full sequence twice on a weekend and weekday mornings become genuinely automatic.
Capsule Makeup Bag
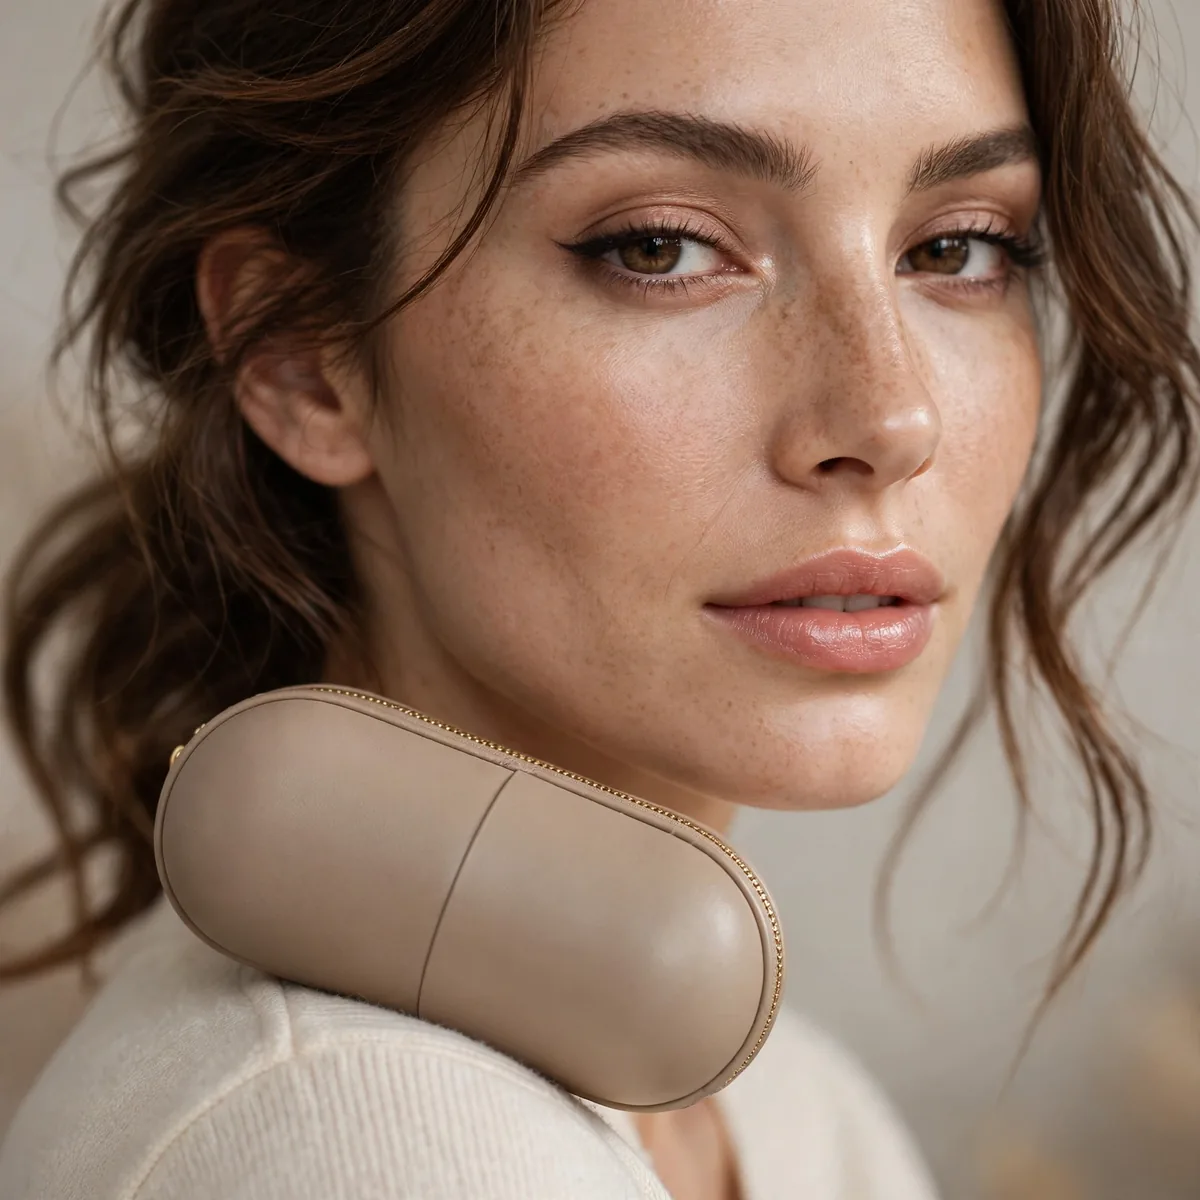
Ten products total, everything multitasks. Edit ruthlessly twice a year.
Best for: declutterers. If you haven’t used it in a month, it goes.
Audit with honest criteria: keep only what you reach for weekly, favor versatile shades like a rose that works on lips and cheeks, and prefer dual-ended tools that halve your count. Store the capsule in one clear pouch so everything is visible — hidden products are forgotten products. Swap seasonally: trade the heavy winter foundation for tinted SPF in summer and the berry lip for coral.
Maintenance keeps the capsule working: wash brushes weekly, note expiry dates on a sticker, and sharpen pencils before they go blunt. Follow a one-in-one-out rule so the count never creeps back up — every new purchase must evict something. Reassess twice a year with the seasons; a shade that flattered your summer tan may look off against winter paleness, and formulas do expire even when they look fine.
Skin-First Approach
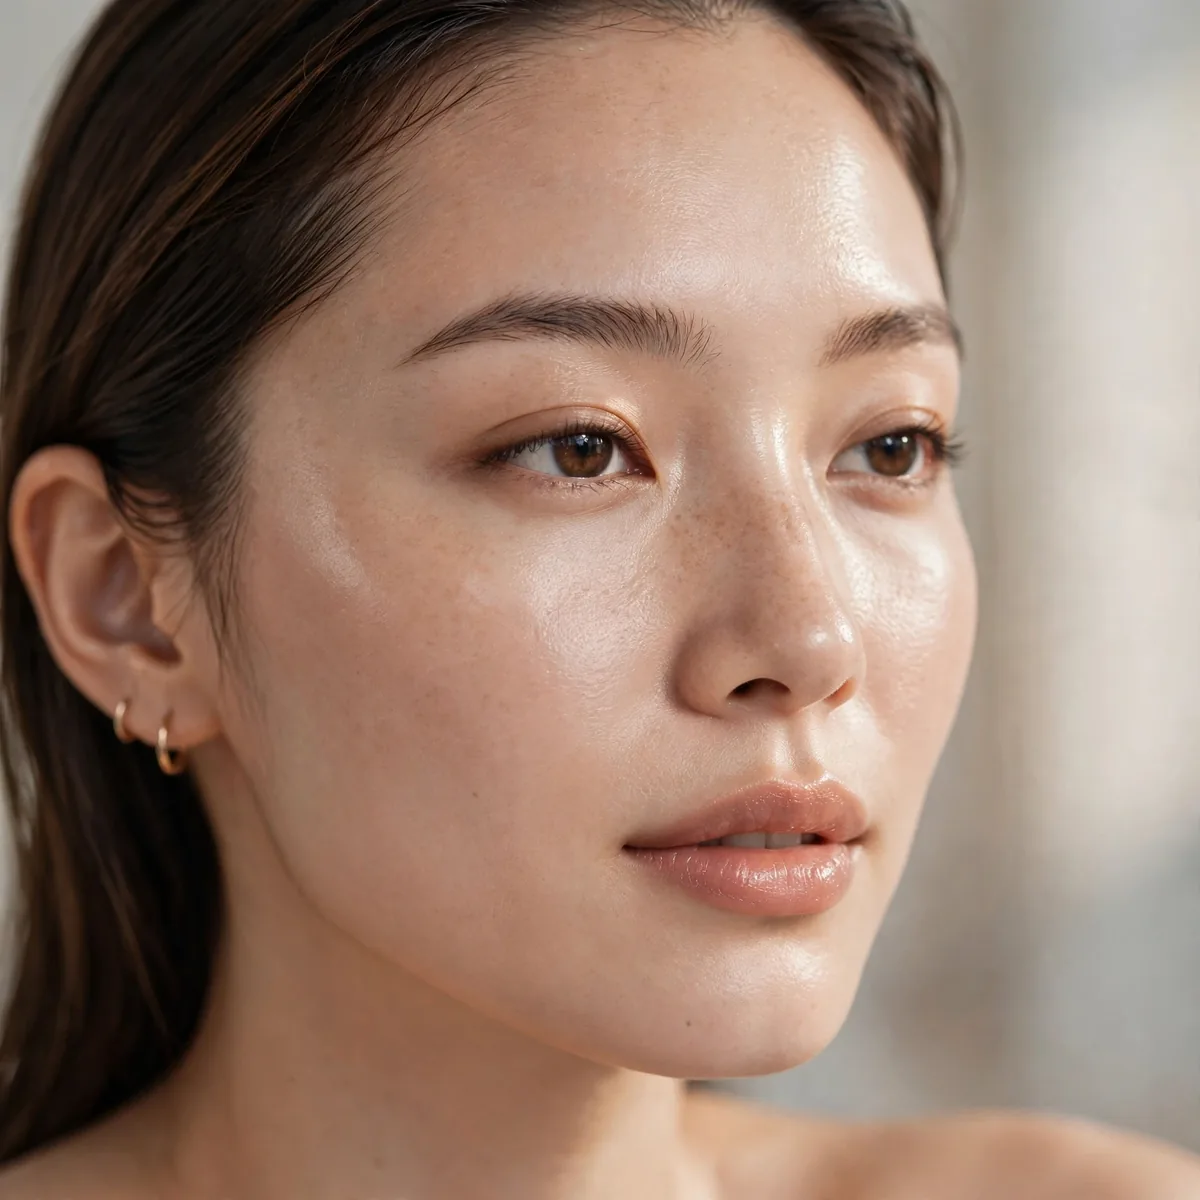
Invest the routine time in skincare instead — the less makeup you need, the better.
Best for: long-term thinkers. Great skin is the ultimate minimalist makeup.
Redirect routine time into a focused four-step regimen: gentle cleanser, vitamin C serum for brightness, moisturizer, and SPF every single morning. Targeted actives do the real work — niacinamide refines pores and balances oil while vitamin C fades the dullness that makeup usually covers. Consistency beats product-hopping; skin needs a full twenty-eight-day cycle to show what a routine can actually do.
Think of makeup as enhancement rather than correction — the goal is needing less of it, not applying it better. Sleep and hydration move the needle as much as any serum; no product outworks chronic dehydration and four-hour nights. Track progress with monthly bare-skin photos in the same light, because daily mirror checks miss gradual improvement. Patience is the actual active ingredient here, and it costs nothing.
No-Powder Routine
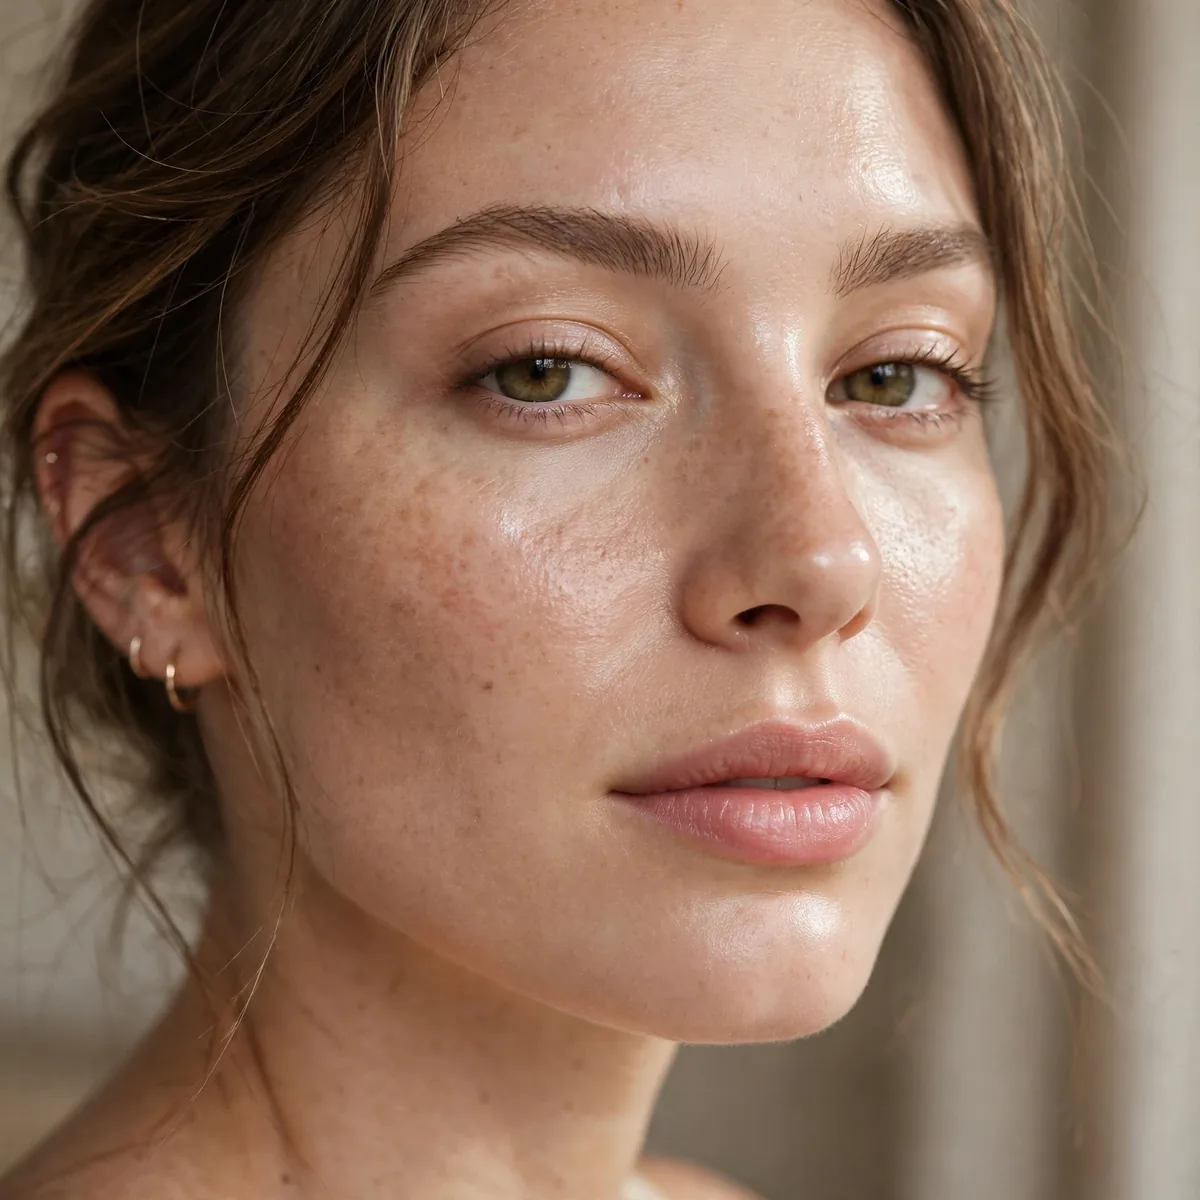
Skip powder entirely; blot if needed. Skin looks alive instead of matte.
Best for: dry skin. Powder is optional, not mandatory — question everything.
Commit to cream and liquid textures exclusively, then lock everything with a setting spray instead of powder — the mist fuses layers while keeping skin looking alive. Manage the T-zone with blotting papers pressed gently onto shine, lifting oil without disturbing makeup. A mattifying primer underneath gives oily skin the grip it needs without a single grain of powder; the finish stays skin-like for hours.
Dry and mature skin gains the most here — powder settles into fine lines and emphasizes texture that creams glide over. Very oily complexions can compromise: skip powder on the cheeks and perimeter but allow the sheerest dusting down the center of the face. Reassess by midday in a mirror, not by habit; many people powder on schedule rather than need, and breaking that reflex is half the routine.
Tinted Brow Gel Finish
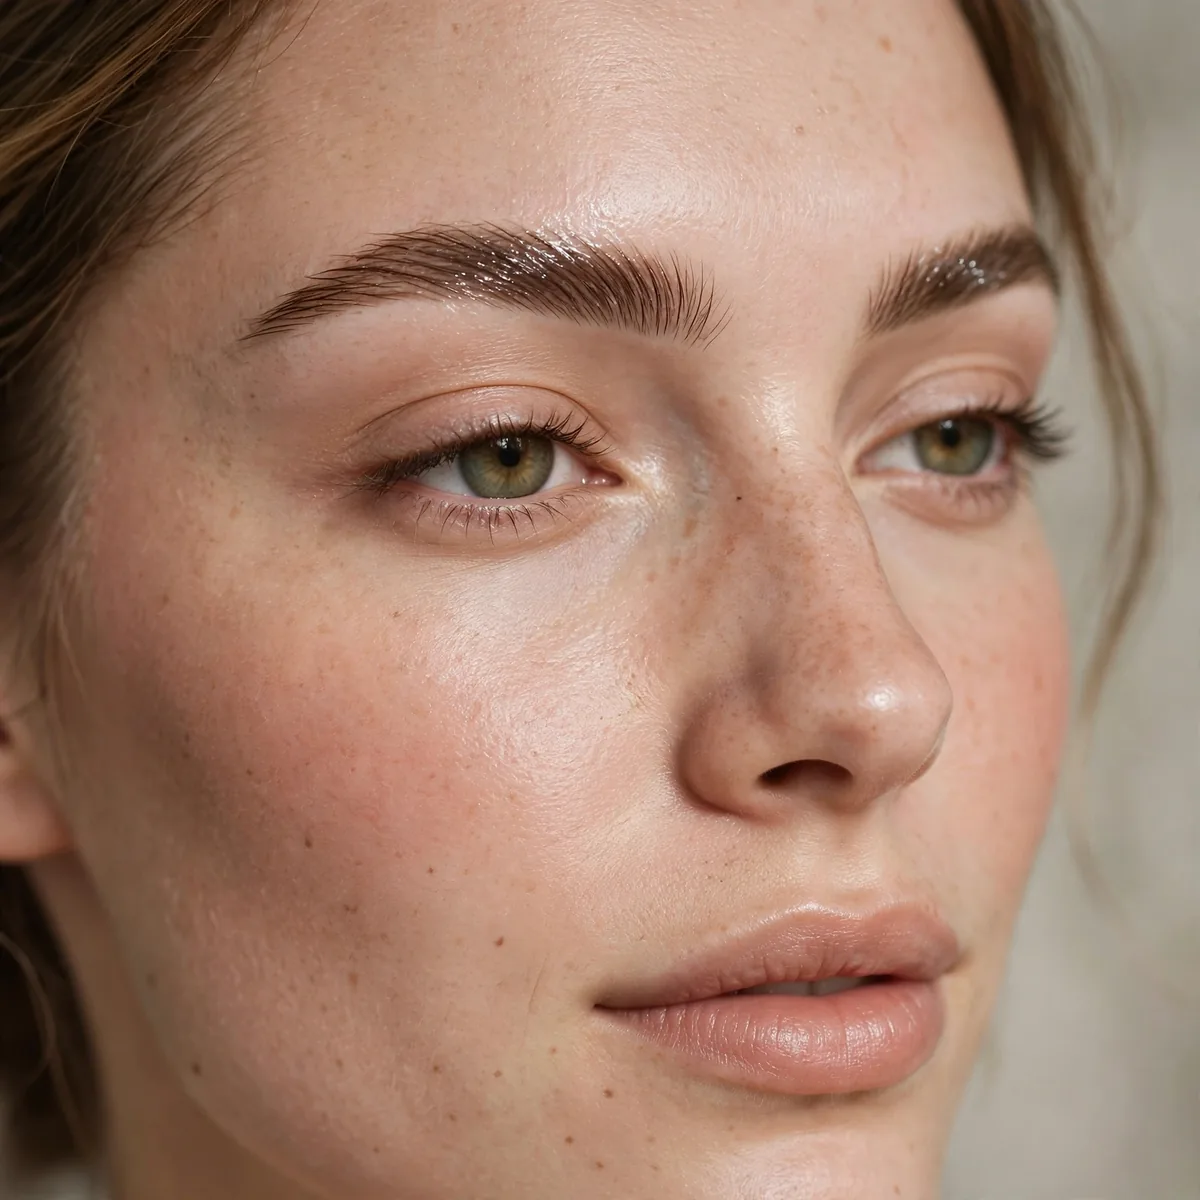
Tinted brow gel: color, hold, and grooming in one swipe. The minimalist brow perfected.
Best for: sparse brows. One product replaces pencil, powder, and clear gel.
Wipe excess product off the wand first — the biggest mistake is overloading, which deposits clumps instead of color. Brush upward through the front for lift, then angle outward to define the tail, using the wand tip for precision. One deliberate pass usually suffices; going back over setting gel disturbs the hold. Let it dry for thirty seconds without touching, and the shape locks until you wash it off.
Choose the shade by your hair color, not your brow hairs — ash blonde and taupe suit cool hair while warm brown matches golden and brunette tones. Sparse brows should get a light pencil fill first, then the gel to set and add tint; the gel alone cannot create hairs that are not there. For workouts and humid days, pick a waterproof formula so sweat does not dissolve your arches by noon.
Less, but better. Pin your streamlined routine — and for the products worth keeping, see our makeup bag essentials and travel makeup kits.




