
Glasses change the makeup math — they magnify, shadow, and frame your eyes differently. These tips rebalance everything.
The main challenges: lenses can magnify under-eye darkness and minimize eyes, frames cast shadows, and nose pads disturb foundation. Each has a fix.
The golden rule: balance. Bold frames pair with softer eyes; delicate frames can handle more drama.
Here are 18 frame-friendly tricks. Let’s get into it.
Brighten Under-Eyes Boldly
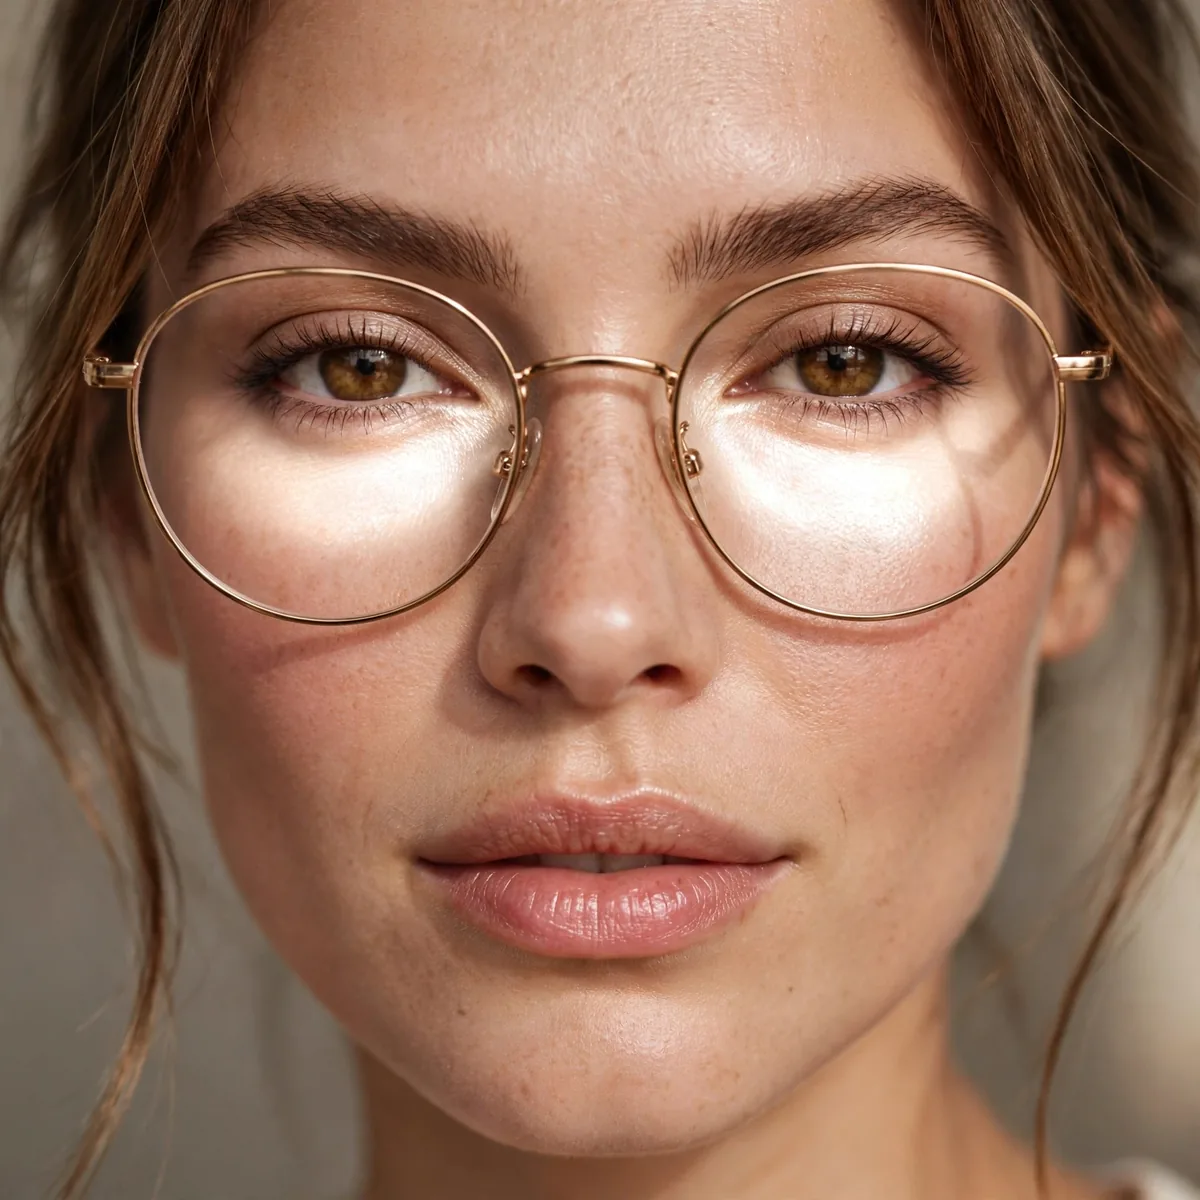
Lenses magnify dark circles — go brighter and more thorough with concealer than you think.
Best for: strong prescriptions. The magnification effect is real; fight it with coverage.
Start with a peach or salmon corrector to neutralize blue-purple tones before concealer — under magnification, uncorrected darkness reads twice as deep. A creamy, hydrating formula works best here since the skin under frames endures pressure and movement all day. Pat it in with a damp sponge rather than dragging, which only thins coverage where you need it most.
Choose a concealer only one shade lighter than your skin — anything brighter creates an ashy halo that lenses exaggerate. Set it with the finest whisper of translucent powder, pressed rather than swept, so the frames don’t grind product into fine lines. Revisit your under-eyes at midday too, since glasses shift and rub coverage off faster than a bare face ever would.
Mascara That Won’t Touch Lenses
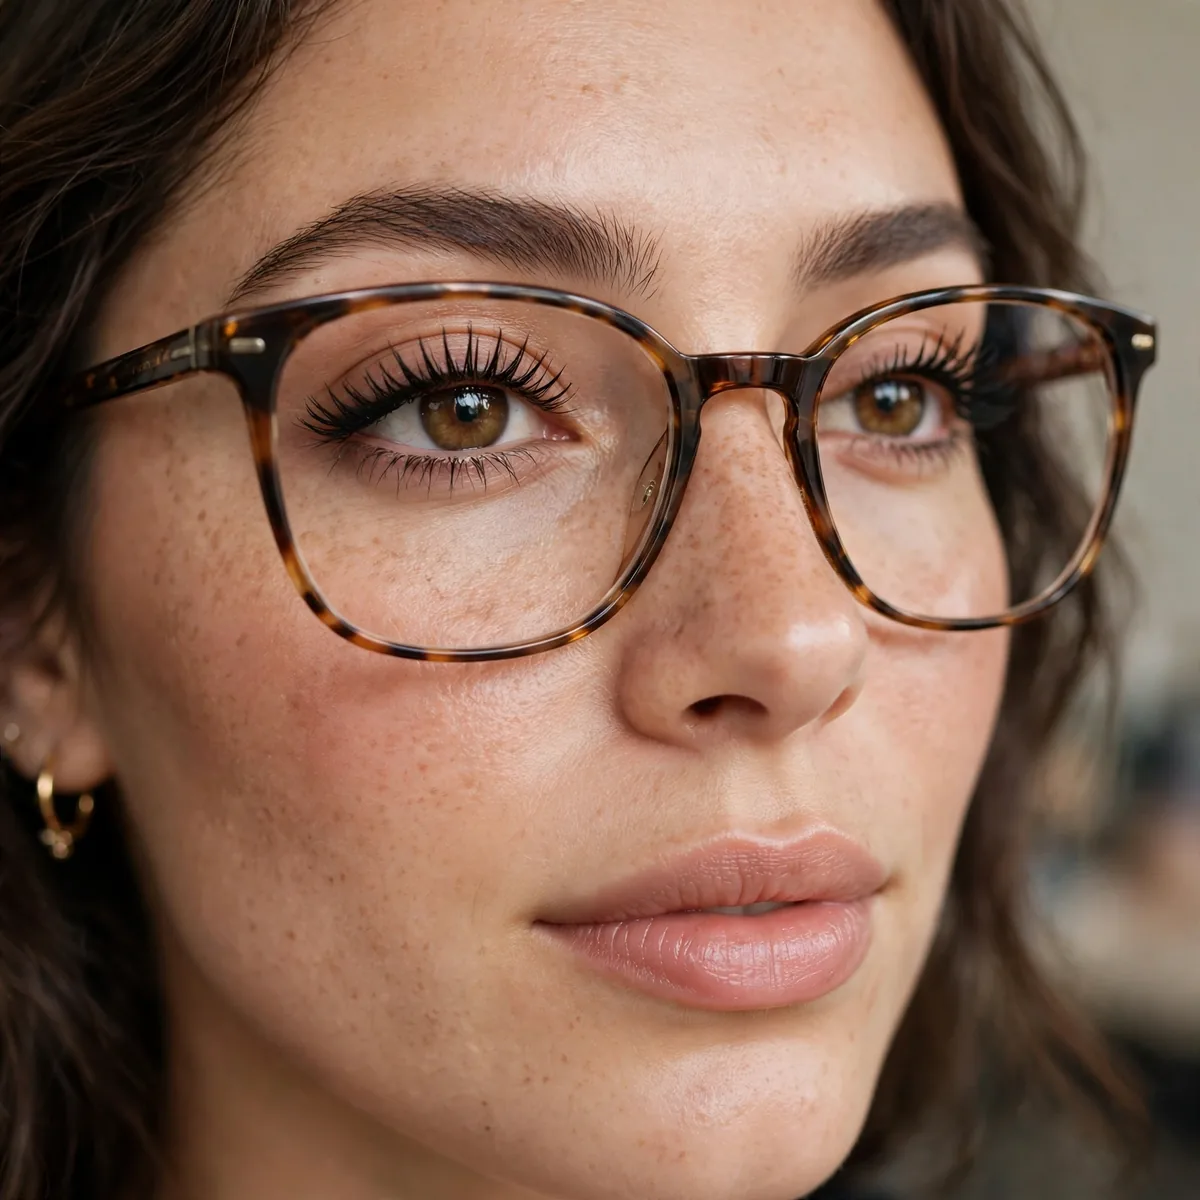
Curl lashes up and away, use a tubing mascara that won’t flake onto lenses.
Best for: everyone with glasses. Lash-to-lens contact is the worst — curling prevents it.
Application matters as much as formula: wiggle the wand at the base of your lashes to build lift, then pull straight through so the tips stay feathered instead of curled back toward the glass. Tubing mascaras seal each lash in a water-resistant sleeve, so even if a lash grazes the lens, nothing transfers. Skip heavy lower-lash coats — smudges there migrate onto lenses within hours.
For extra clearance, give lashes a second pass with a clean metal lash comb after the mascara sets — separated lashes sit flatter and reach less far forward. If your prescription is strong and lenses sit close, consider a lengthening formula over a volumizing one; volume pushes lashes outward while length keeps them defined. Refresh once midday rather than layering, since stacked coats flake.
Define Brows to Match Frames
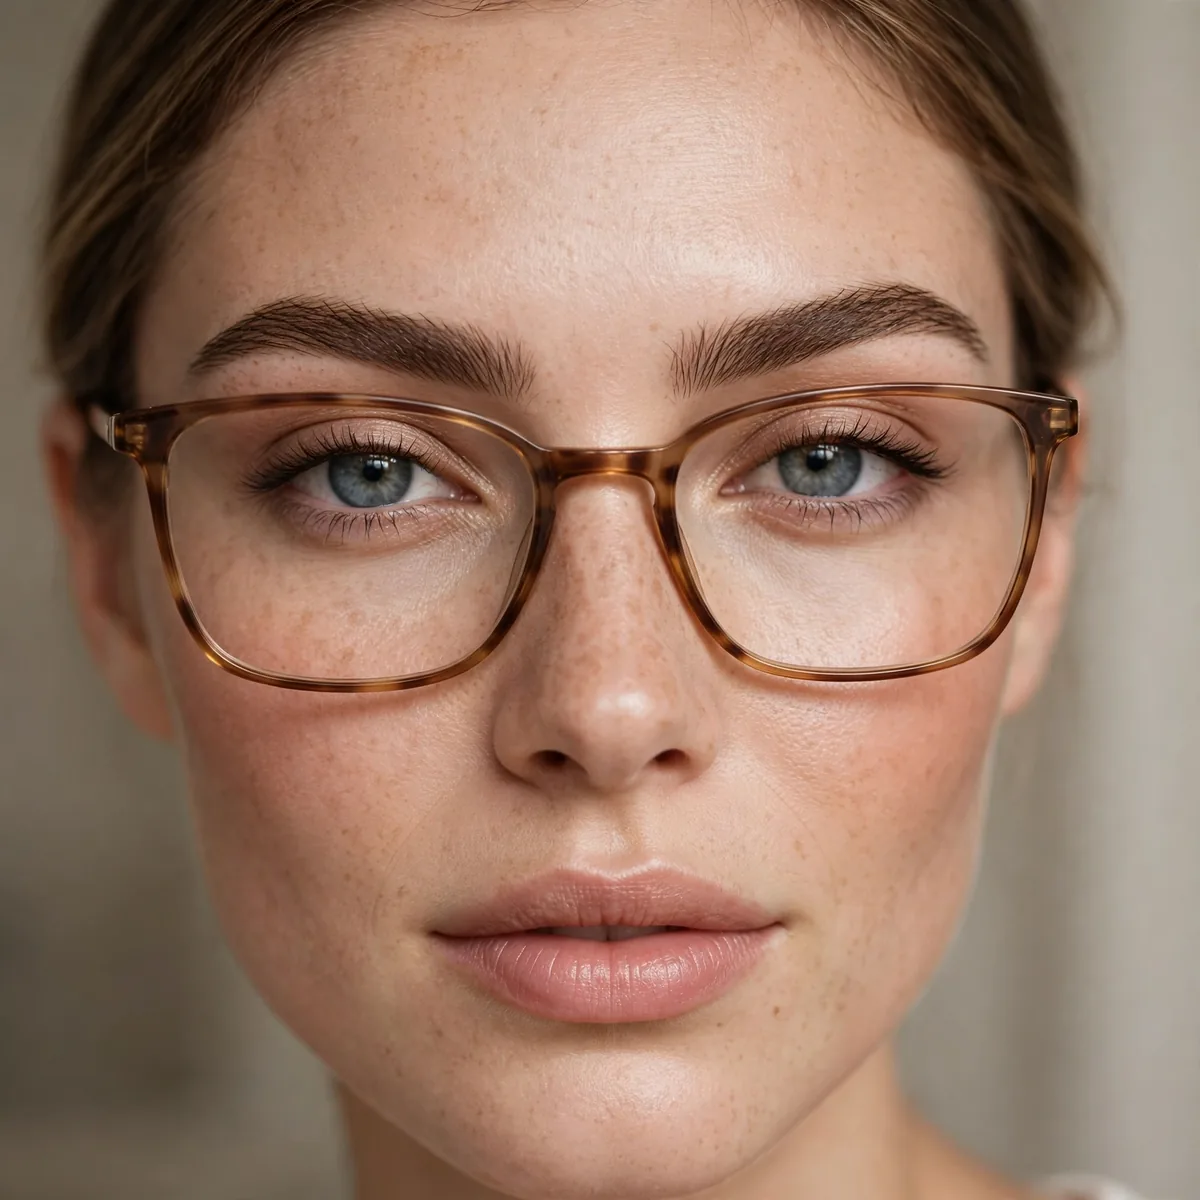
Brows should complement frame thickness — bold frames, softer brows; thin frames, more defined brows.
Best for: everyone. Brows and frames compete for attention; make them teammates.
Match your brow shade to your hair, not your frames — jet-black frames with jet-black brows look heavy, while a softer taupe or brown keeps the face open. Fill sparse areas with short, hair-like strokes using a fine pencil, then soften everything with a spoolie so no single stroke stands out. The goal is brows that echo the frames’ shape without duplicating their weight.
Check brow length against your frames: tails that extend far past the outer edge of the lens look disconnected, so trim or fill to end roughly where the frame does. Grooming beats filling here — tweeze strays above and between brows, then set with a tinted gel for all-day hold. Strong prescriptions can distort brow edges slightly, so step back two feet before judging symmetry.
Eyeshadow Visible Above Frames
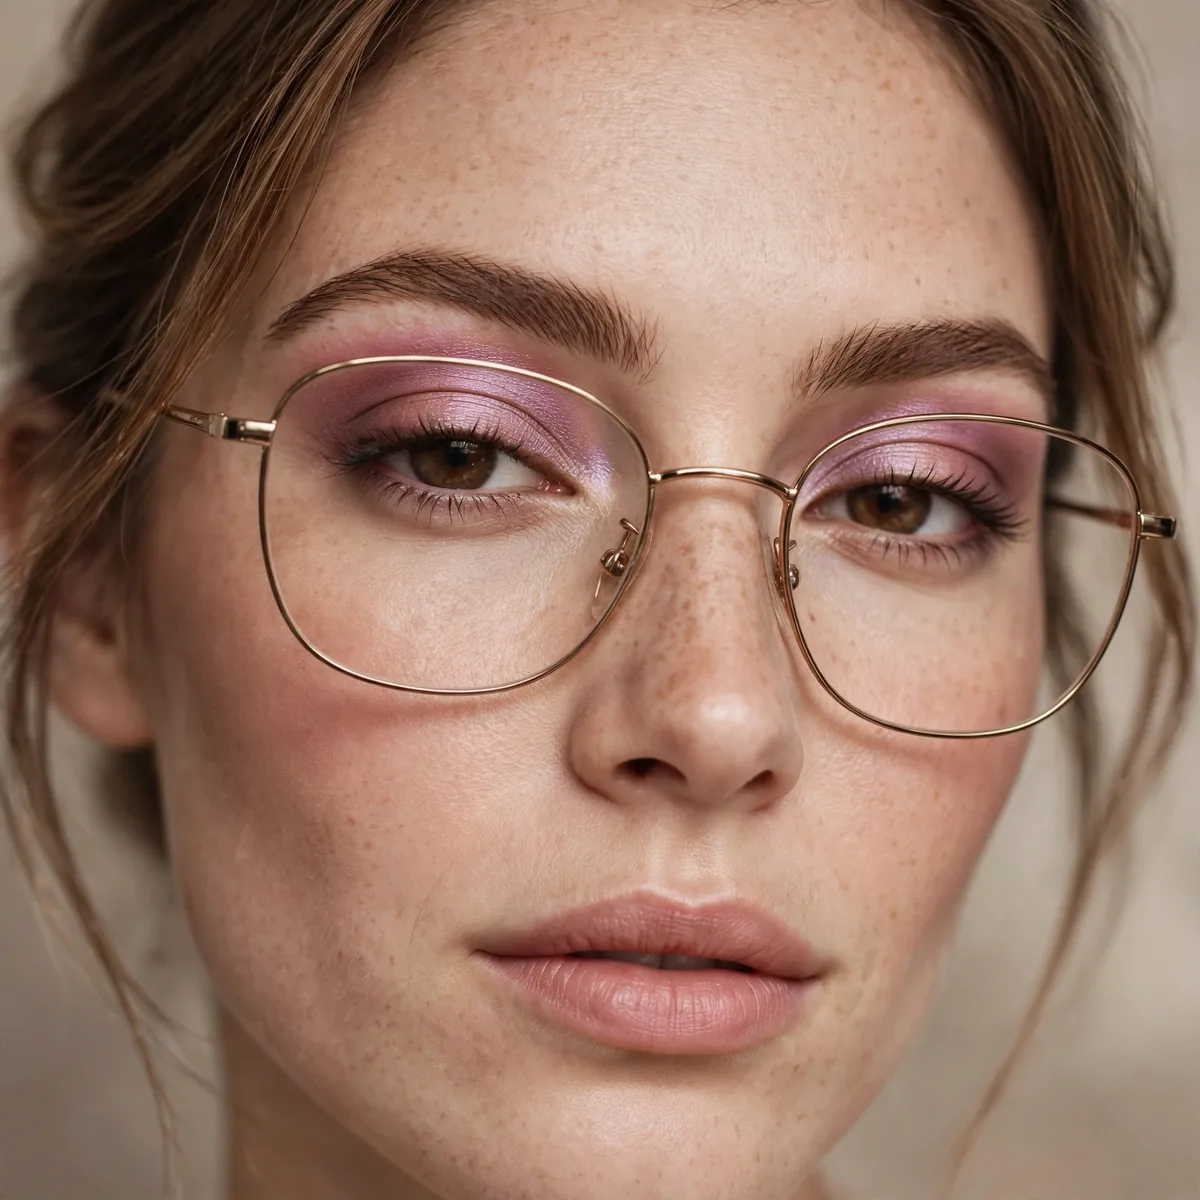
Place transition shades high enough to peek above your frames. Color hidden behind lenses is wasted.
Best for: statement frames. Check in the mirror WITH glasses on while applying.
Apply shadow with your glasses on — it sounds awkward but it’s the only way to see exactly what peeks above the rim. Sweep a matte mid-tone like warm taupe or soft bronze through the crease and blend it higher than instinct says, nearly to the brow bone. Lenses shrink the visible lid, so anything confined to the mobile lid disappears completely behind the frame.
Choose shades with enough depth to register through glass — pale washes vanish, while terracotta, mauve, and olive have real presence. If you have hooded eyes plus frames, the double layer of lid and lens hides even more, so extend color slightly above the natural crease. A satin (not shimmer) finish catches light without the glare that metallic shadows create under lenses.
Nose Pad Foundation Fix
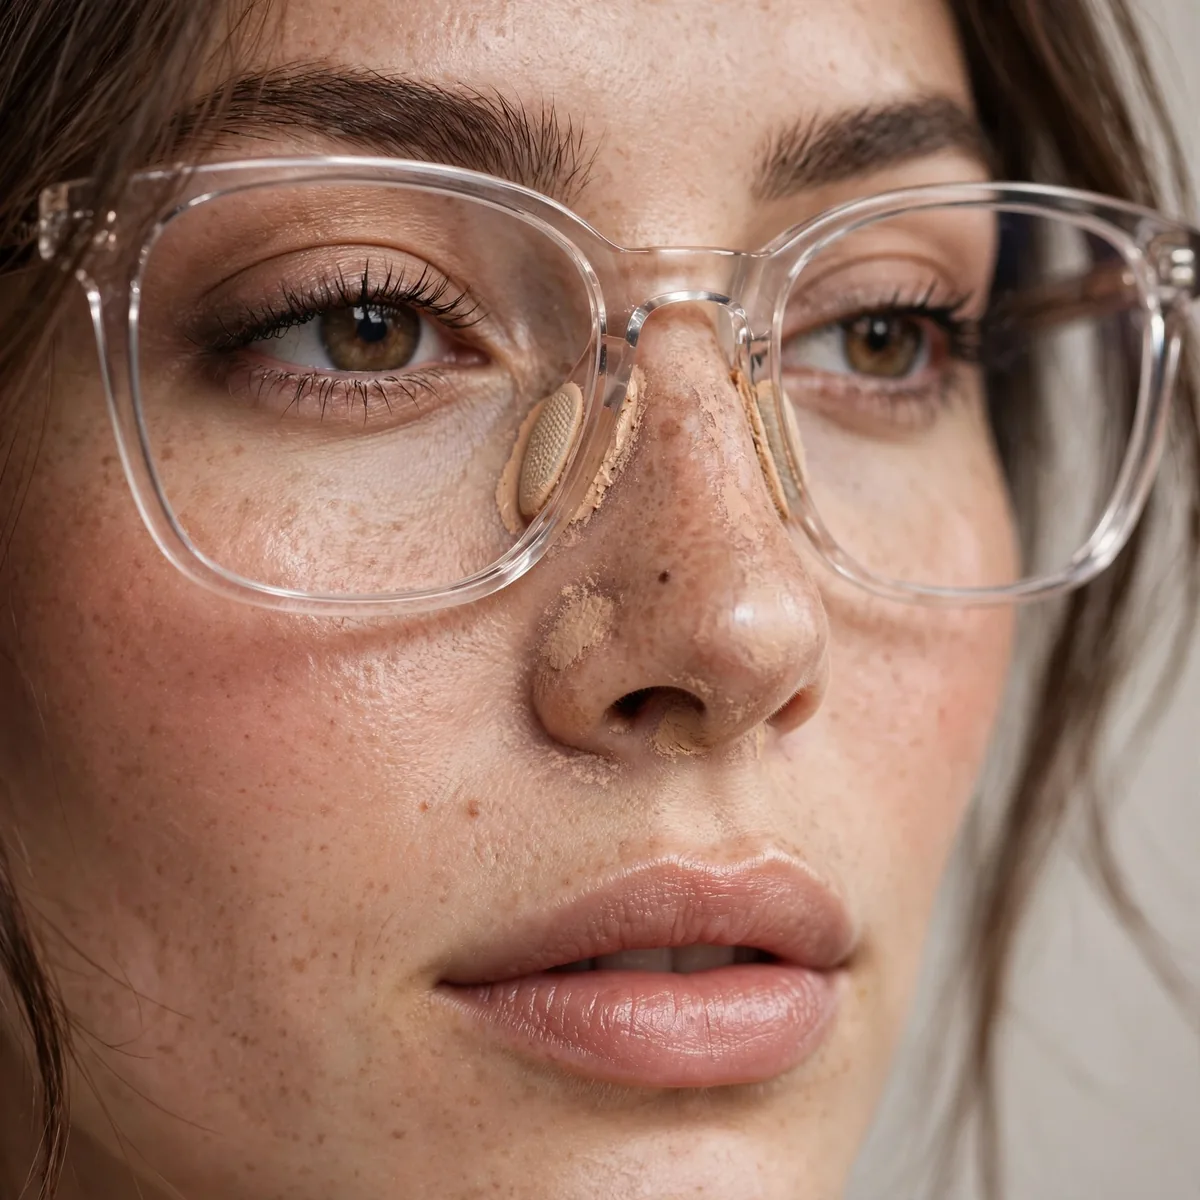
Set the nose-pad area with extra powder, or skip foundation there entirely.
Best for: all glasses wearers. Nose pads eat foundation — plan for it.
Long-wear and transfer-resistant foundations survive nose pads far better than dewy, emollient formulas that never fully set. Apply a thinner layer across the bridge — less product means less to dislodge — then press a finely milled powder in with a velour puff instead of sweeping. The pressing motion locks pigment into skin instead of laying it on top where pads can scrape it away.
Wipe your nose pads with a cotton pad before putting glasses on — oils and old foundation residue on the pads transfer straight back onto fresh makeup. If you notice bare patches at midday, dab concealer on with a fingertip and set lightly rather than layering foundation over foundation. Adjustable pads can also be loosened slightly by an optician to reduce pressure without the glasses slipping.
Tightline for Definition
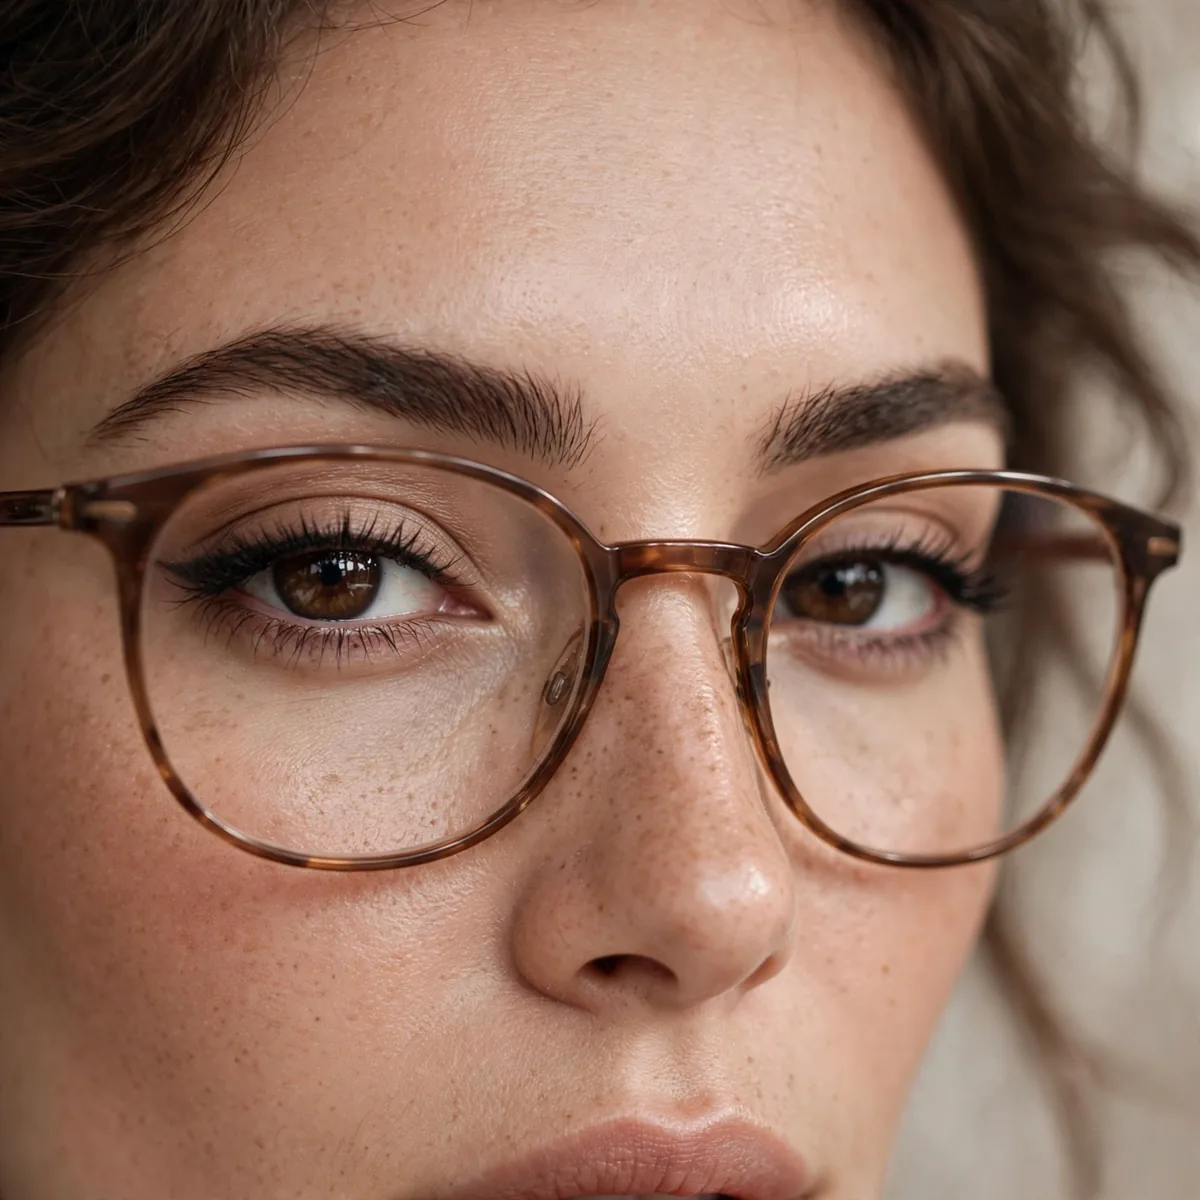
Tightlining defines eyes without liner that competes with frames.
Best for: bold frames. Let the frames be the statement; eyes stay defined but quiet.
The technique: lift the lid gently and stamp a waterproof pencil directly into the lash line, filling the tiny gaps between lash roots rather than drawing a visible line above them. This creates the illusion of denser lashes — a trick that reads beautifully through lenses because the definition sits right at the lash base. Work in short dashes and connect them so the line stays invisible.
Gel formulas in a pot applied with an angled brush last longer than soft kohl for tightlining, especially behind warm lenses that encourage melting. Pair the tightline with a single mascara coat and your eyes look finished without any liner competing with the frames. Avoid lining the lower waterline to match — double waterline color closes eyes down, while the tightlined upper lash line opens them up.
Blush Brings Balance
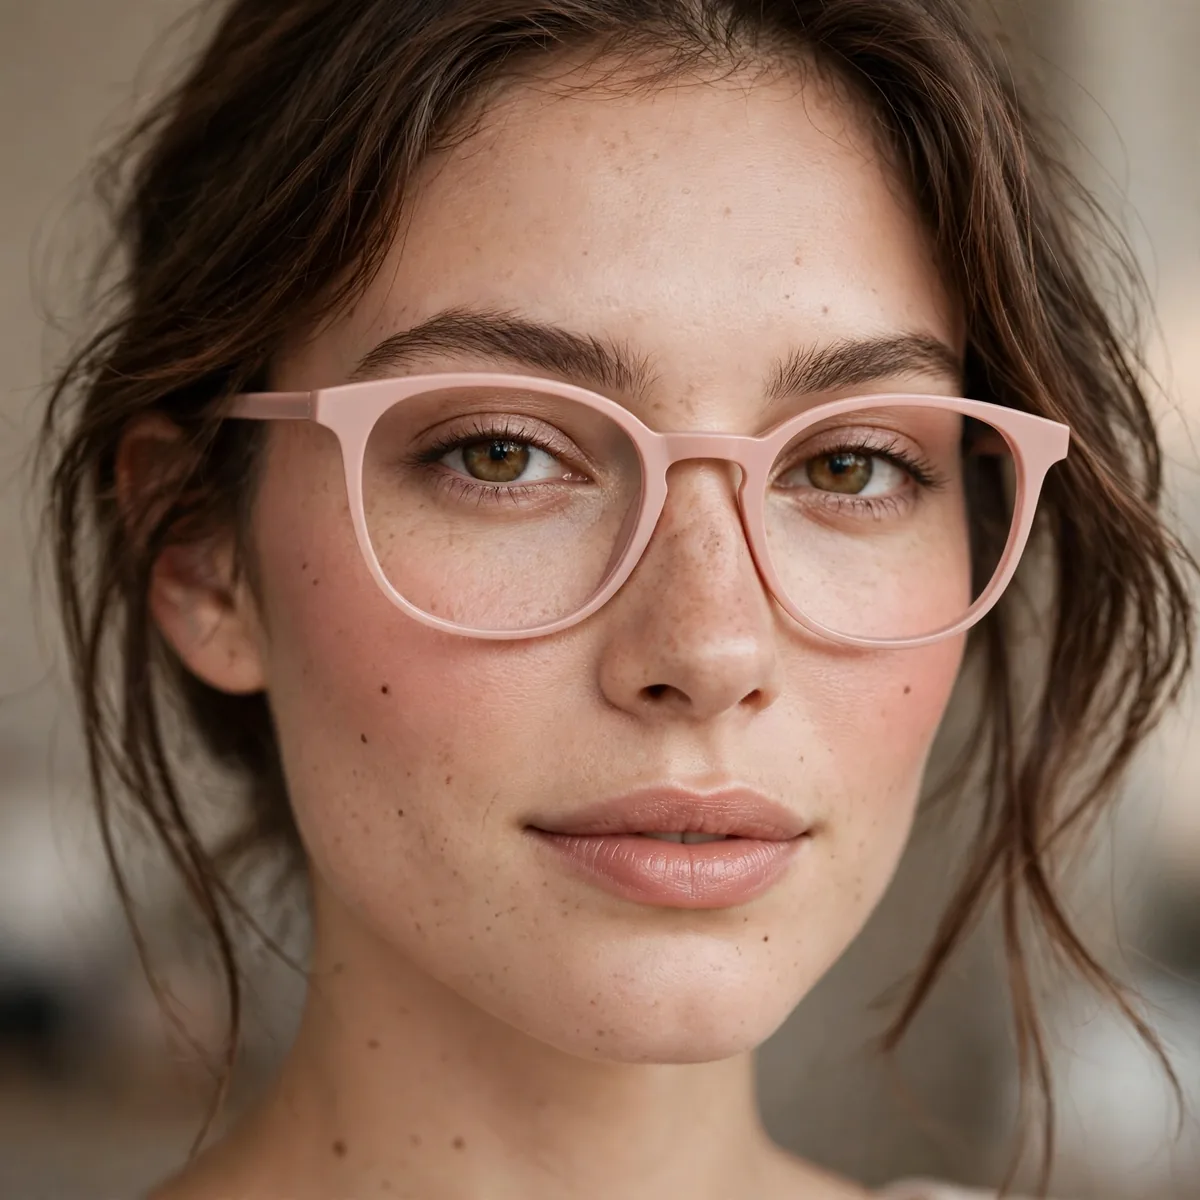
Glasses draw attention upward — blush rebalances by adding color to the lower face.
Best for: top-heavy frames. Blush restores facial harmony.
Placement is everything: smile and press blush into the apples, then blend back toward the temples — too high and it collides with the lower rim of your frames. Cream formulas melt into skin and won’t catch on frame edges the way powder can when glasses shift. Blend thoroughly with no hard edges, since lenses draw extra attention to the cheek area right below them.
Choose your blush tone with your frames in mind: black or tortoise frames pair beautifully with warm peach and coral, while silver or blue-toned frames sing with cool berry pinks. If your frames are very colorful, keep blush neutral so the two don’t clash. Build color in two sheer layers rather than one heavy pass — sheer layers look like a real flush, especially magnified.
Bold Lip Balances Bold Frames
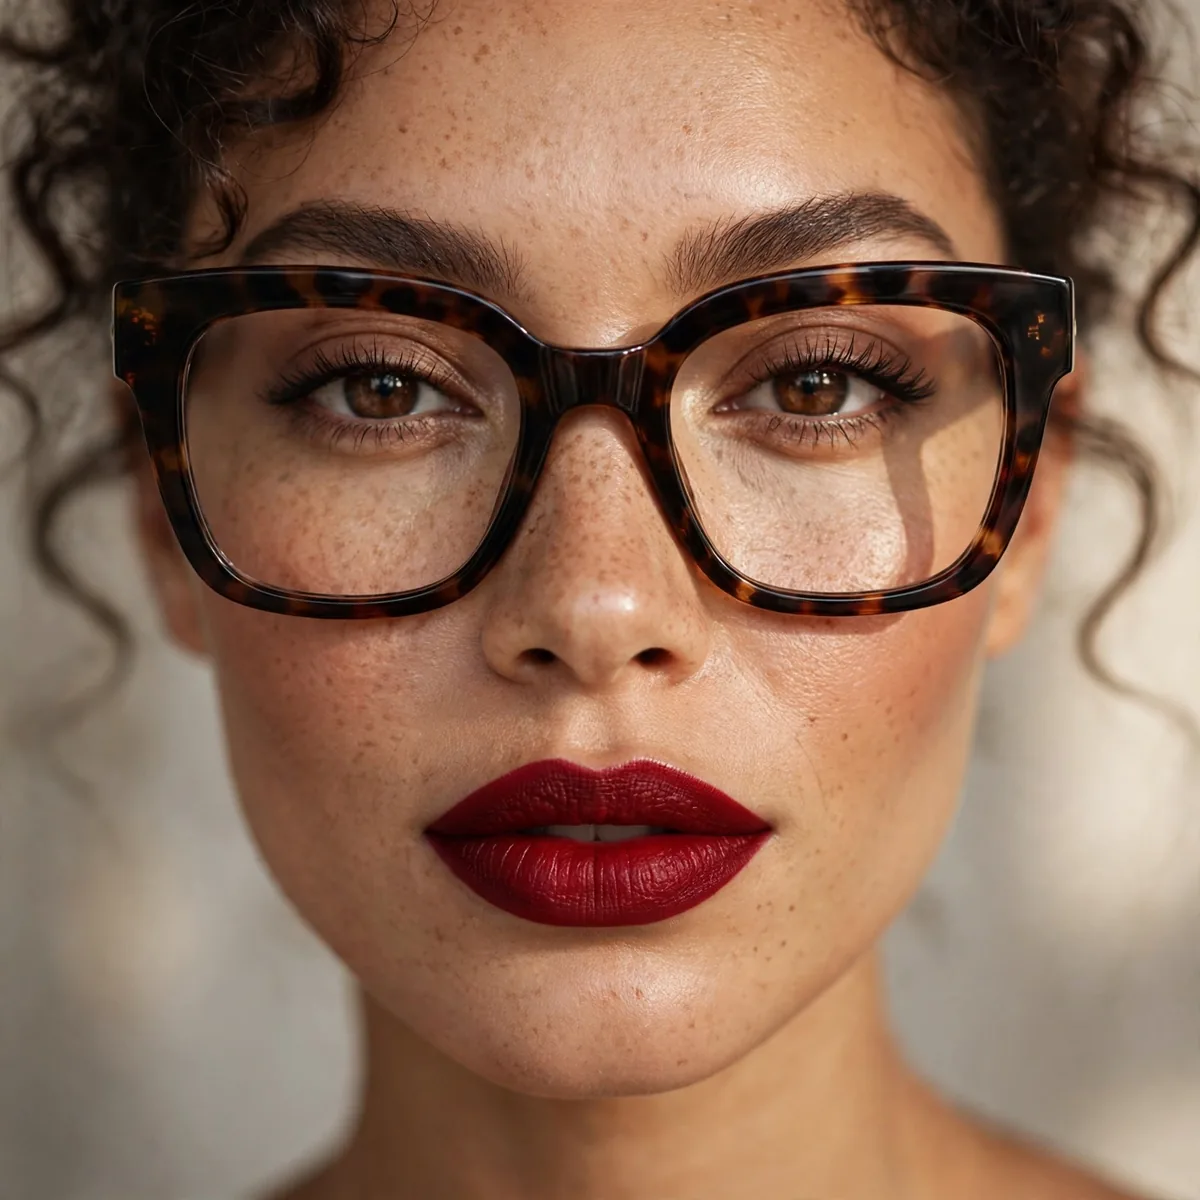
A strong lip balances strong frames — the face gets two focal points instead of one.
Best for: thick, dark frames. Try our red lipstick guide to find your shade.
Prep is non-negotiable for a bold lip: exfoliate, blot on a thin balm layer, then define the edges with liner before filling in — magnification from reading glasses can exaggerate any wobble. Matte formulas last longest but can look flat in photos, while satin finishes photograph with dimension. Either way, blot once and reapply a second thin layer for color that survives coffee and conversation.
When the lip leads, let the eyes step back: tightlined lashes, groomed brows, and luminous skin are all a bold lip needs. Match undertones thoughtfully — blue-reds flatter cool skin and silver frames, while orange-reds glow against warm skin and tortoise or gold frames. Deep berry and wine shades offer the same balancing power with a softer, more wearable edge for everyday.
Conceal Frame Shadows
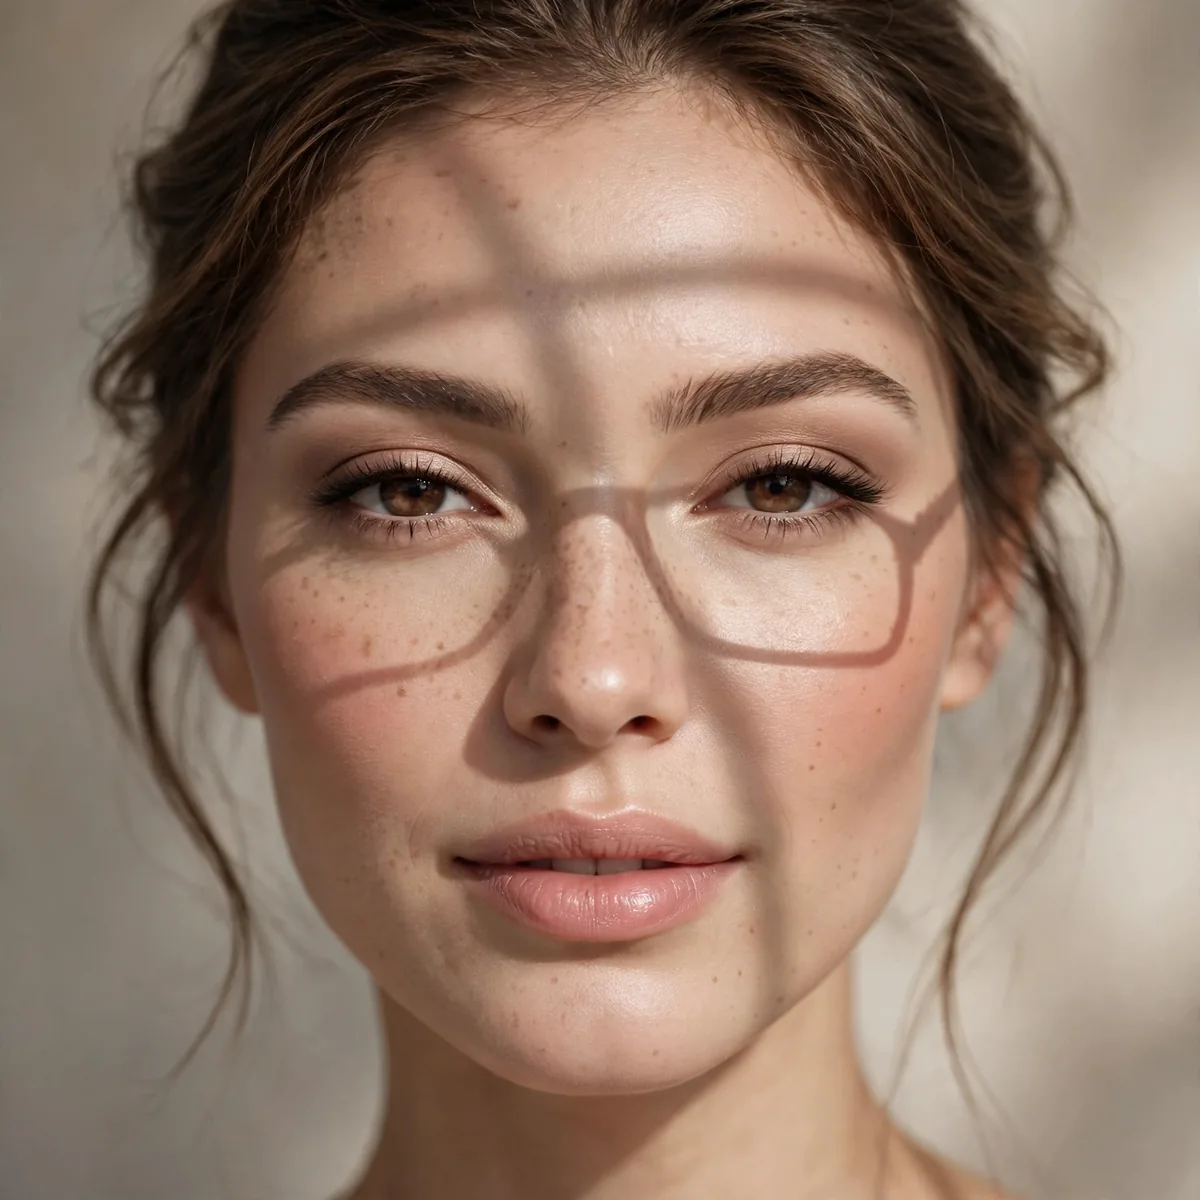
Frames cast subtle shadows on cheeks — a touch of brightening concealer counteracts them.
Best for: thick frames. Look for the shadow line and brighten just beneath it.
Thick frames plus overhead lighting create a faint shadow band across the upper cheek — you might not notice it bare-faced, but concealer-free shadow plus natural discoloration reads as tiredness. Sweep a light-reflecting brightening concealer in a soft crescent just beneath where the frame’s shadow falls, then tap to blend. The light bounce visually erases the shadow without adding detectable coverage.
Check for the shadow line in natural daylight with your glasses on, since bathroom lighting often hides it. A peach-toned corrector works better than a bright concealer here — you’re counteracting a cool-toned shadow, not darkness under the eyes. Set the area very lightly so powder doesn’t catch in the crease where frames rest, and pair it with blush just below so the whole cheek looks lit and even.
Winged Liner That Peeks Out
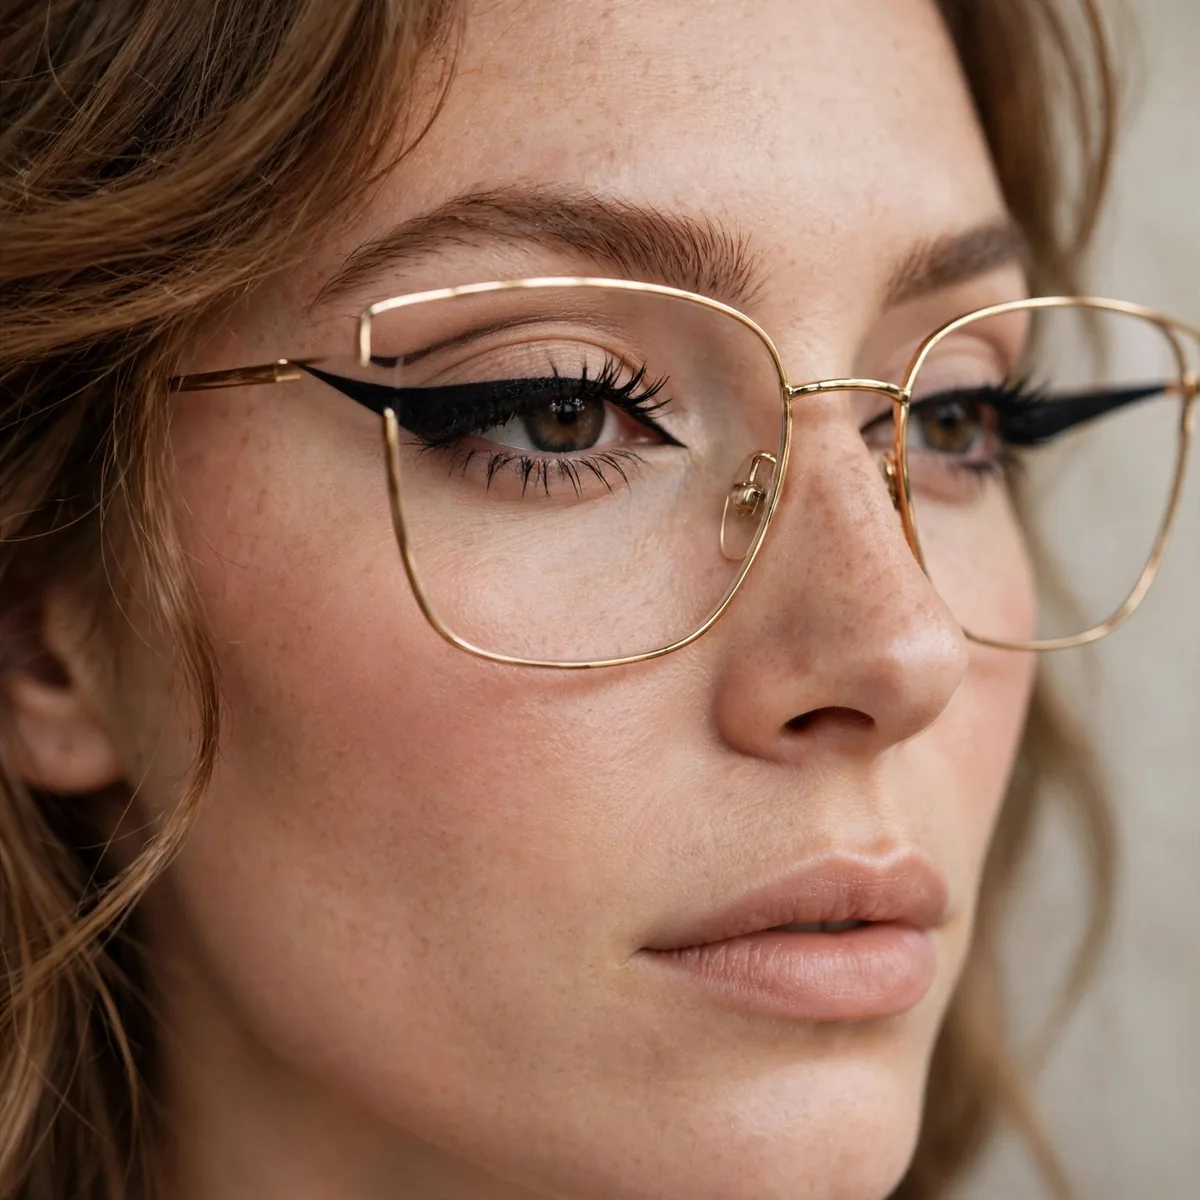
Extend wings slightly longer so they’re visible past the frame edges.
Best for: cat-eye lovers. Standard wings disappear behind frames; go bolder.
Map your wing with glasses on: look straight ahead and extend the line outward at an angle that follows your lower lash line up toward the tail of your brow. With frames, make the wing slightly thicker than you would bare-faced — fine lines vanish behind rims while a confident stroke reads clearly. A felt-tip liquid pen gives the control needed for that extended flick.
Keep both wings symmetrical by checking them with glasses on at arm’s length — lenses can distort what you see in a close mirror. If one wing goes rogue, a pointed cotton swab dipped in micellar water erases just the mistake without disturbing surrounding shadow. Gel liner applied with an angled brush offers a softer alternative that still peeks past frames, with easier cleanup than liquid.
Matte Lids, No Glare
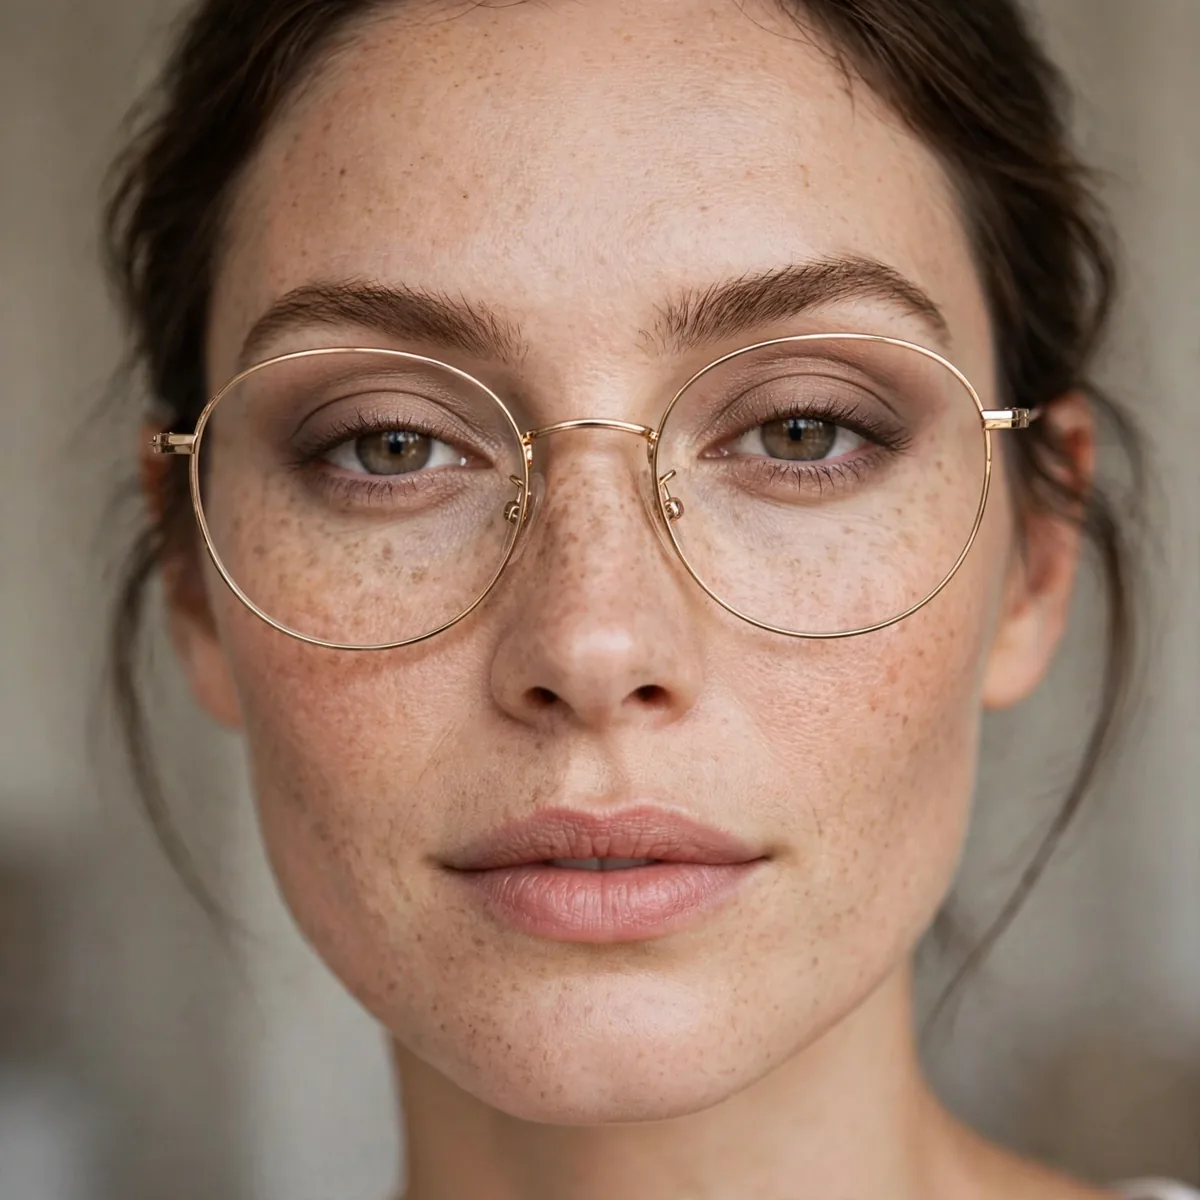
Matte shadows avoid the glare that shimmers create under lenses and lights.
Best for: office lighting. Shimmer + glasses + fluorescents = glare city.
Glare happens when overhead light bounces off shimmer particles and straight through your lenses — on video calls it can wash out your entire eye. Matte shadows absorb that light instead, keeping color true and depth intact. Build dimension the matte way: a mid-tone in the crease, a deeper shade at the outer corner, and a clean highlight under the brow bone for lift.
If you crave a little light, keep shimmer strictly to the inner corner — a tiny champagne dot opens the eye without triggering lens glare. Satin-finish transition shades are another safe middle ground, offering soft radiance that reads as glow rather than sparkle. On camera and in fluorescent offices, this restraint looks polished and intentional, never flat or dull.
Lash Primer for Length
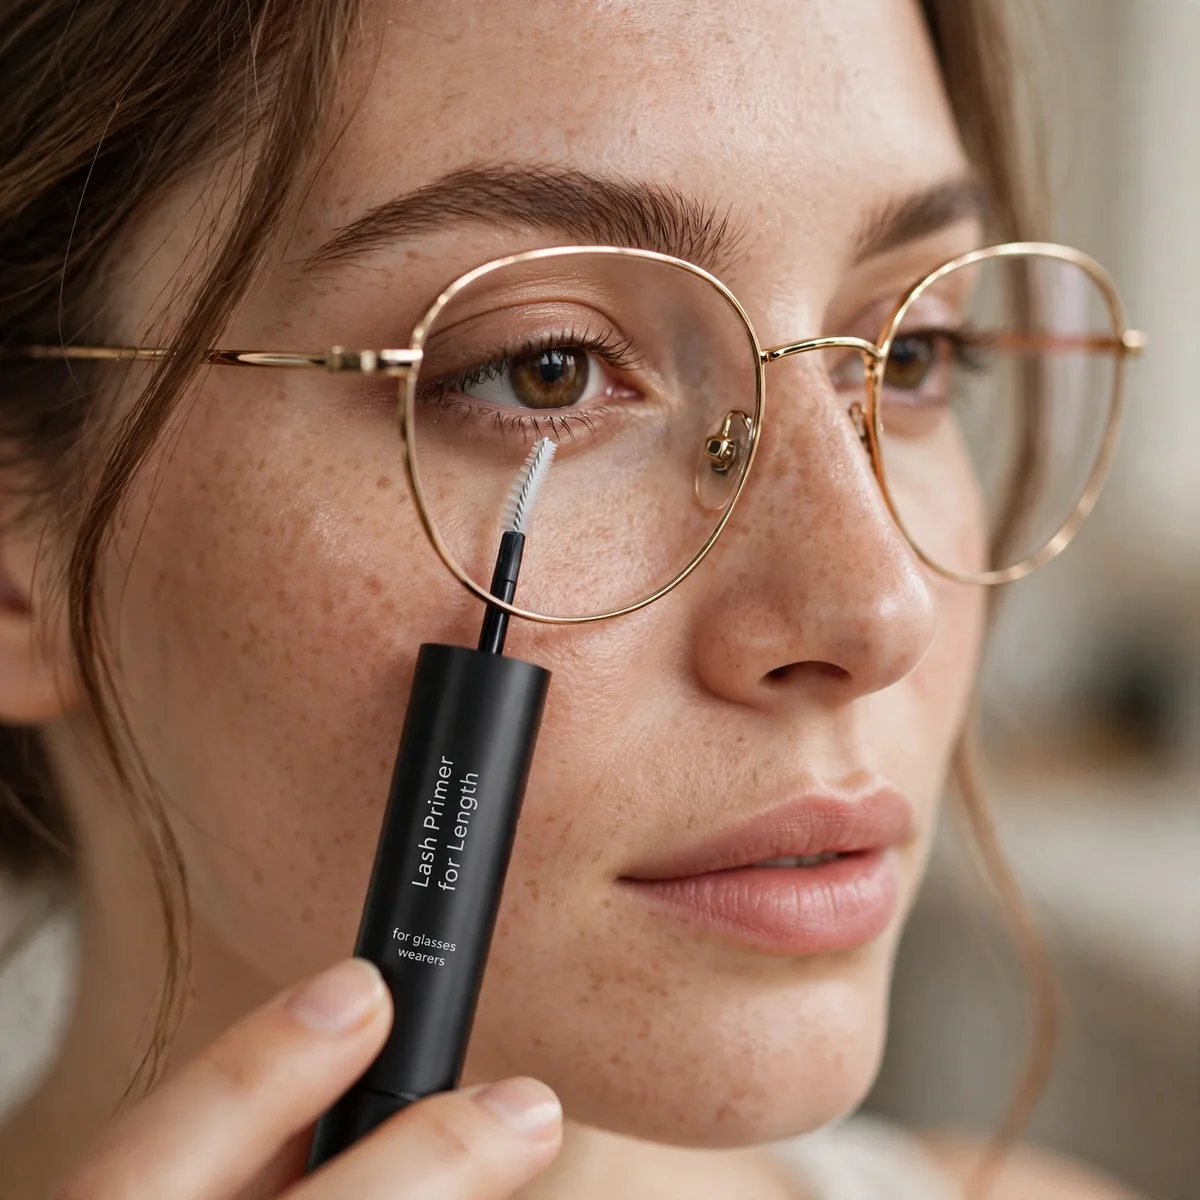
A lash primer adds length without bulk — long, separated lashes that clear the lenses.
Best for: long natural lashes. Primer first, then one coat of tubing mascara.
Lash primers coat each lash with tiny lengthening fibers that extend the tip — the result is longer lashes without the bulk that pushes against lenses. Apply primer mainly through the mid-lengths and tips, letting it go tacky for thirty seconds before mascara. That tacky layer grips the tubing mascara and keeps everything separated rather than clumped toward the glass.
Choose a white or gray-tinted primer — you’ll see exactly where you’ve applied it, which prevents overloading one section. One thin coat is plenty; a second coat adds the very bulk you’re trying to avoid. At night, tubing mascaras layered over primer slide off with warm water alone, so there’s no rubbing fragile lashes or dragging cleanser near irritated eyes.
Color-Correct Redness
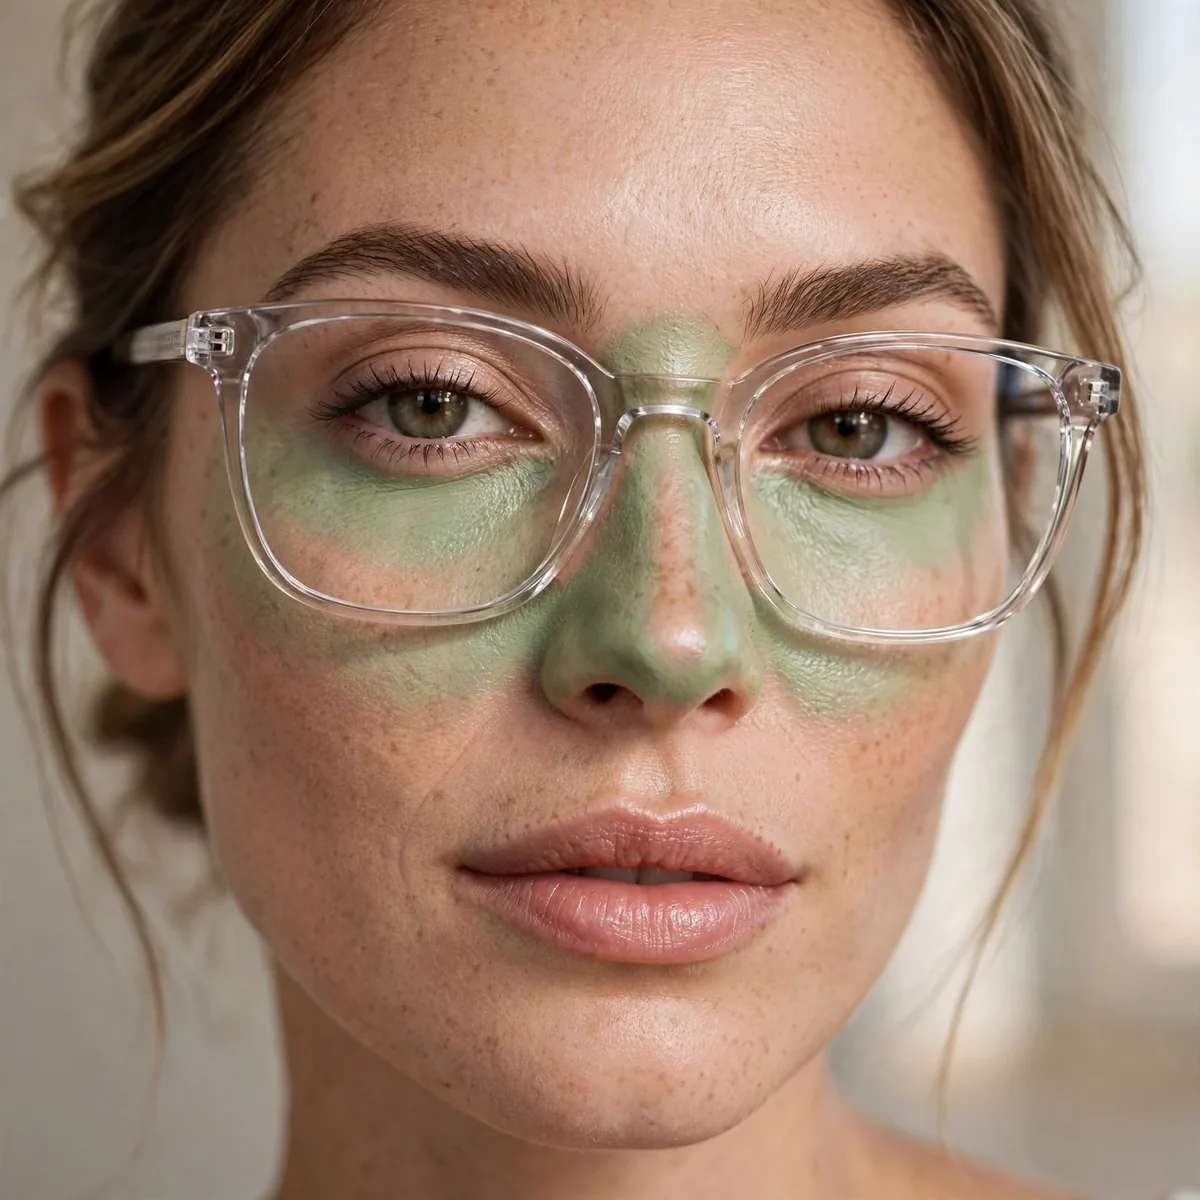
Glasses can emphasize redness around the nose — green corrector neutralizes it.
Best for: sensitive skin. The nose area takes a beating from frames.
Frames press, slide, and trap sweat against the nose all day — friction redness is almost guaranteed by evening. A green corrector neutralizes that redness because green sits opposite red on the color wheel, canceling it rather than covering it. Press a sheer layer only onto the reddened areas with a fingertip; painting it everywhere tints otherwise normal skin an odd mint.
Layer your regular foundation or tinted moisturizer over the corrector — never skip this step, or the green peeks through by afternoon. For chronic irritation, a thin barrier balm on the nose before makeup reduces the friction that causes redness in the first place. If redness persists after removing your glasses, your pads may need adjusting; no corrector fixes a poor fit.
Highlighter Above Frames
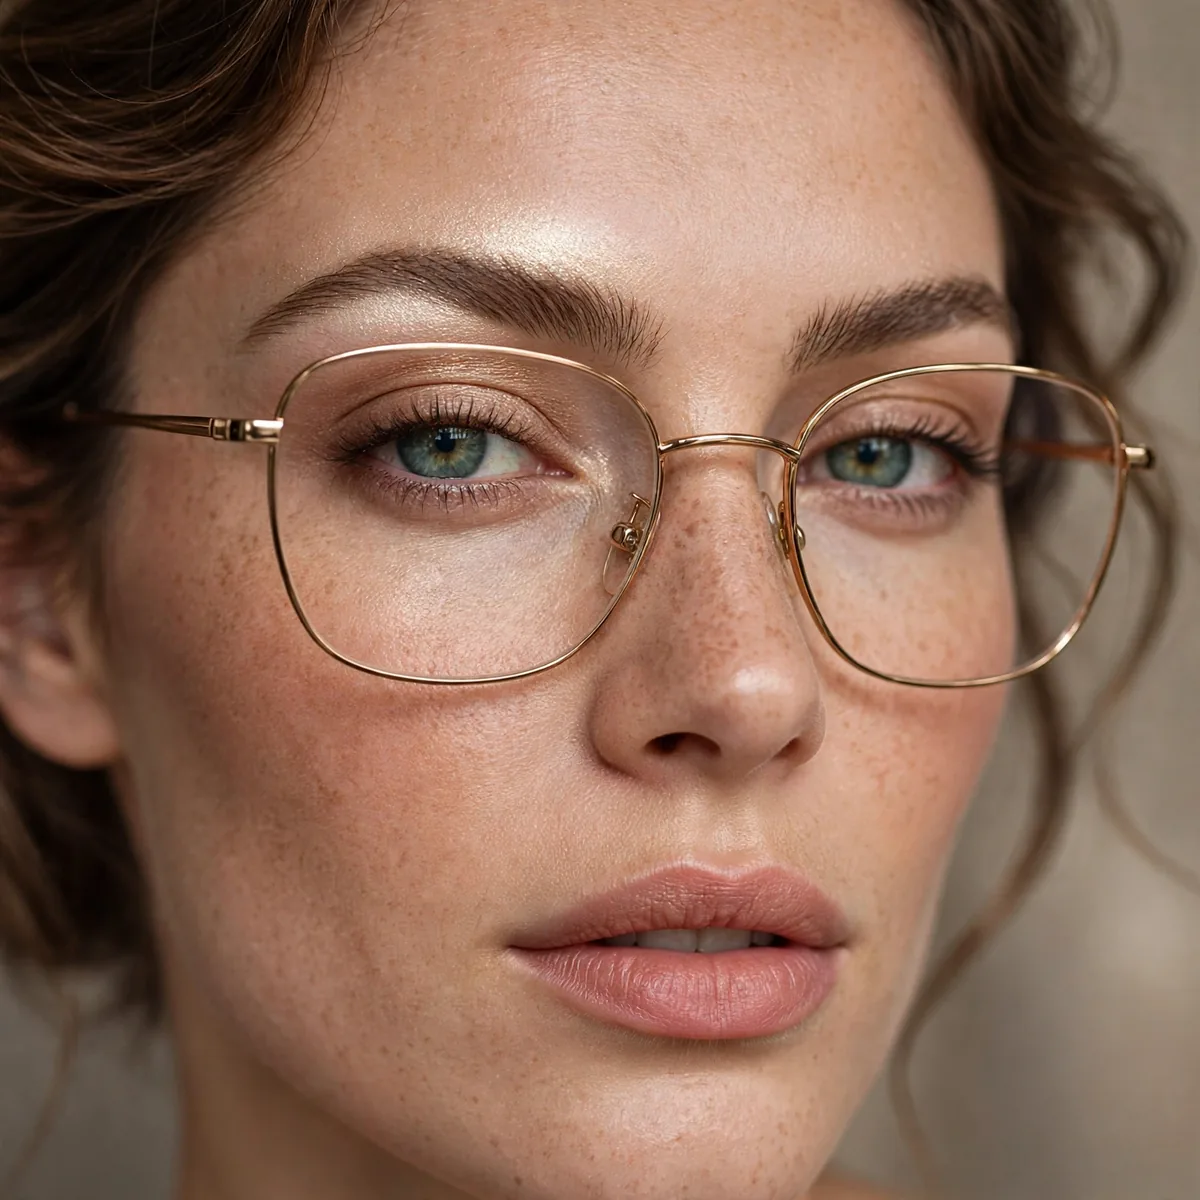
Highlight the brow bone above the frames — it lifts the whole eye area.
Best for: deep-set eyes. Light above the frames opens everything up.
Dust highlighter along the brow bone just above where the frame’s top rim sits — this catches light and creates a lifted arc that frames can’t block. Use a small, fluffy brush and tap off excess first; a heavy hand here reads as a stripe through lenses. Champagne tones flatter cool and neutral skin, while warm gold suits deeper or golden undertones beautifully.
Keep the finish refined — a finely milled sheen, never chunky glitter, which looks harsh magnified behind glass. This trick pairs perfectly with matte lids, since the single point of light gives the eye dimension without competing glare. Blend the edges so the highlight melts into skin; visible borders of shimmer above frames look unintentional rather than luminous.
Smaller Frames, Bolder Eyes
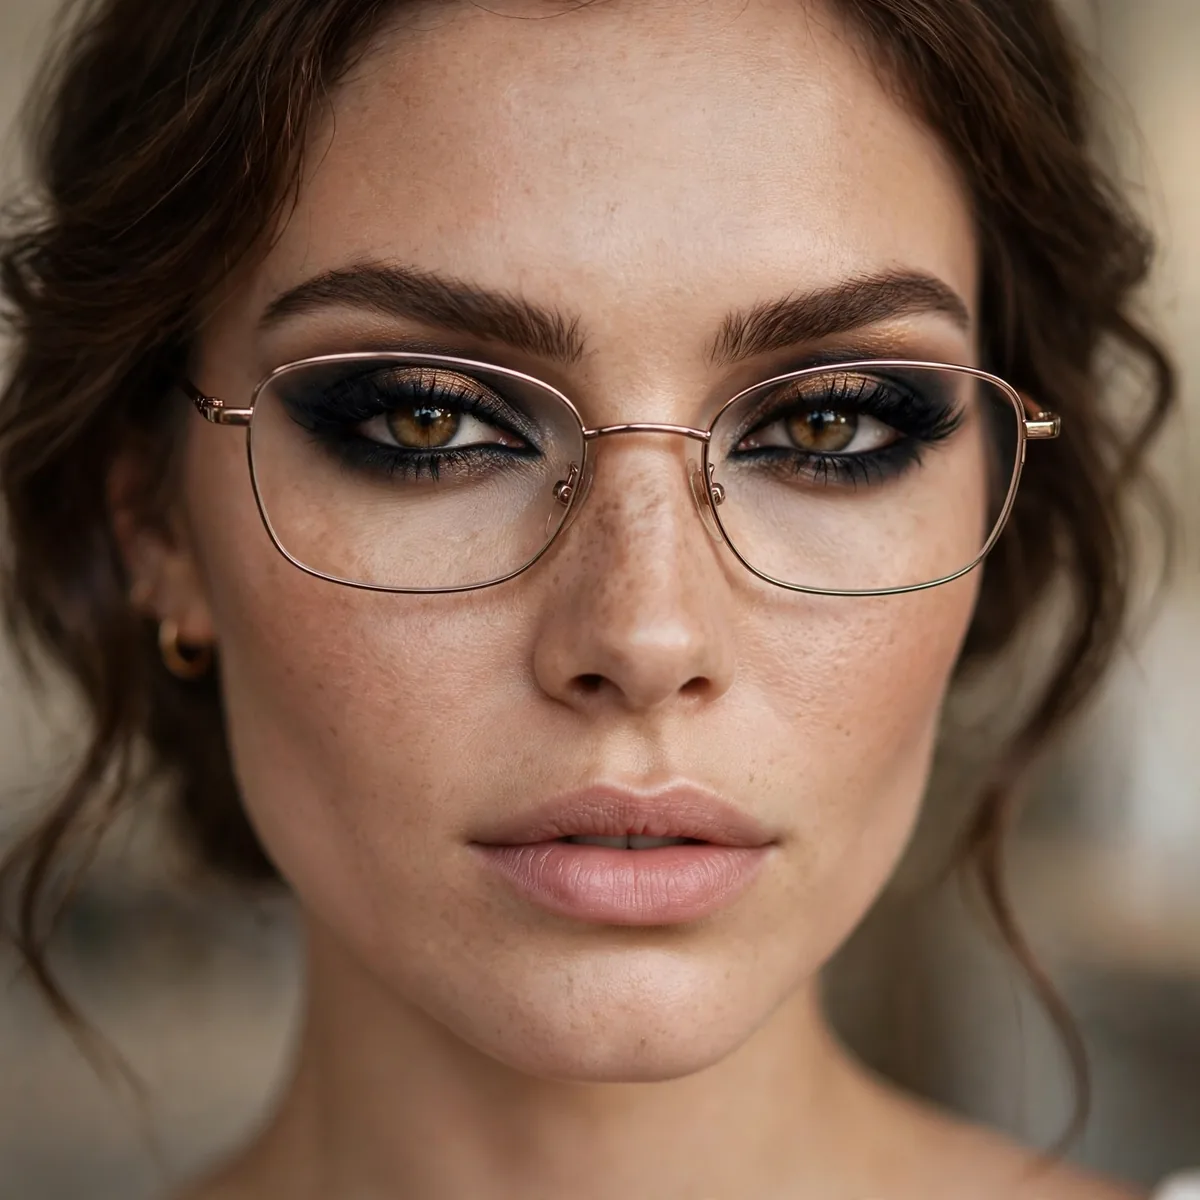
Delicate frames can handle smokey eyes and color — the frames won’t compete.
Best for: thin wire frames. This is your permission for drama.
Thin wire or rimless frames leave the eye area visually open, which is your invitation to go bolder: a bronze smokey eye, emerald liner, or a soft cut crease all read beautifully without competing. Since the frames whisper, the eyes can speak — just keep the drama contained to the lids so it doesn’t overwhelm petite frames. One statement eye technique per look is plenty.
Balance the bolder eye with a quieter everything else — groomed brows, a neutral lip, and soft blush keep the face harmonious. This is also the frame style where colorful mascara (navy, plum) shines, since there’s no dark rim stealing attention. For evening, layer a shimmer lid shade over your matte base; delicate frames won’t create the glare problems thick ones do.
Set Under-Eye Concealer Well
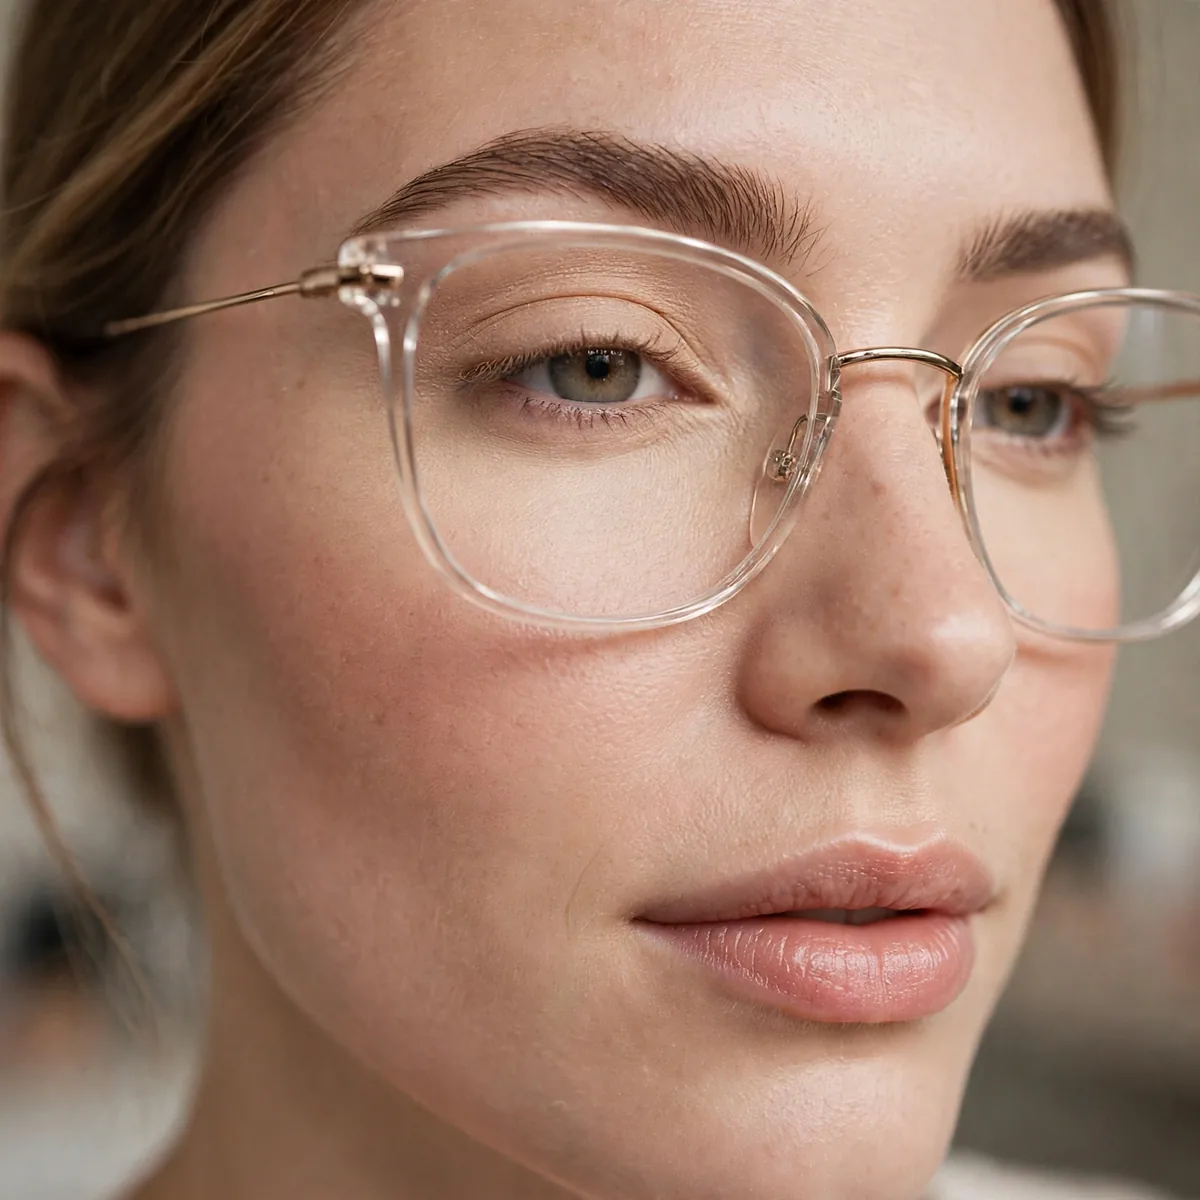
Glasses slide and press — set under-eye concealer firmly so it doesn’t transfer to frames.
Best for: all-day wear. Press powder in with a puff, don’t sweep.
Glasses create a warm microclimate around the eyes — heat and slight movement break down concealer faster than on a bare face. After blending, press a finely milled translucent powder into the under-eye with a damp puff and let it sit for a minute before dusting off the excess. This light baking method locks coverage in place without the dryness of heavy powder.
Choose a powder with no flashback — silica-heavy formulas photograph white through lenses, especially on video calls. If creasing appears by afternoon, resist adding more powder; instead, press the creases smooth with a warm fingertip and set just the outer corners. Keep a mini powder and puff in your bag for a quick press-and-go refresh before evening plans.
Lip Color as Focal Point
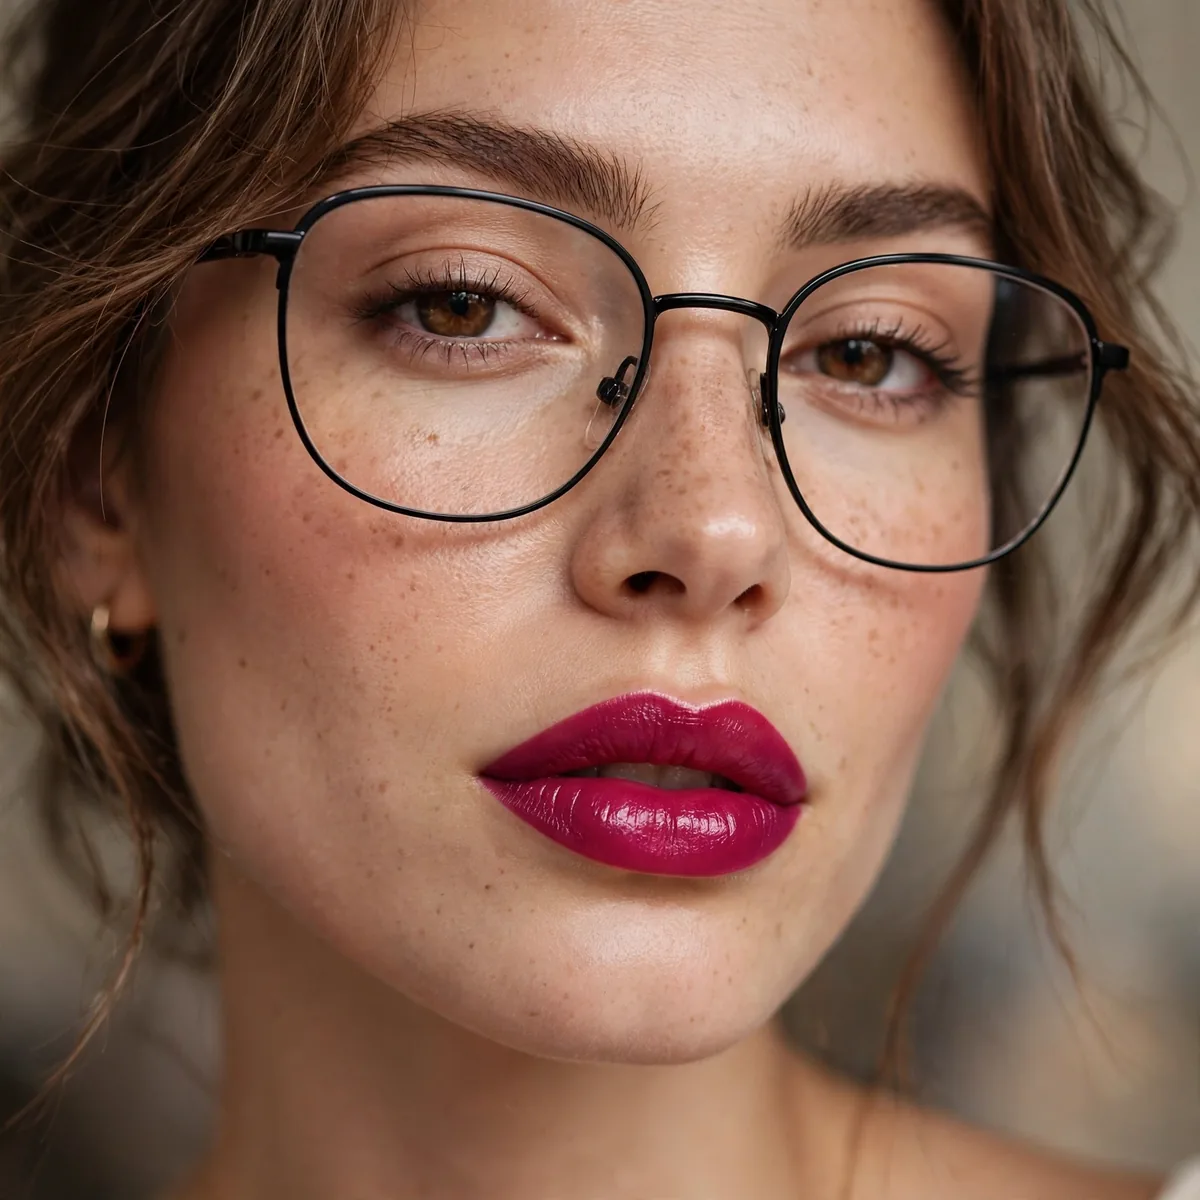
When eyes are behind glass, lips become the star. A great lip color transforms the whole look.
Best for: minimal eye days. Let the mouth do the talking.
For a lip that holds focus all day, line and fill the entire lip with liner first — it grips color and prevents feathering into fine lines around the mouth. Choose classic reds and berries for maximum impact, or a rich terracotta for a modern twist that flatters warm undertones. Blot between coats to build a stain-like base that fades evenly instead of patching.
Keep the eyes deliberately quiet: curled lashes, one mascara coat, and groomed brows are all the support a statement lip needs. This ratio flatters every frame style because the visual weight sits low on the face, away from the rims. Stash the bold shade in your bag — swiping it on over a nude day lip is the fastest route from office to evening without redoing a thing.
Anti-Fog Tricks
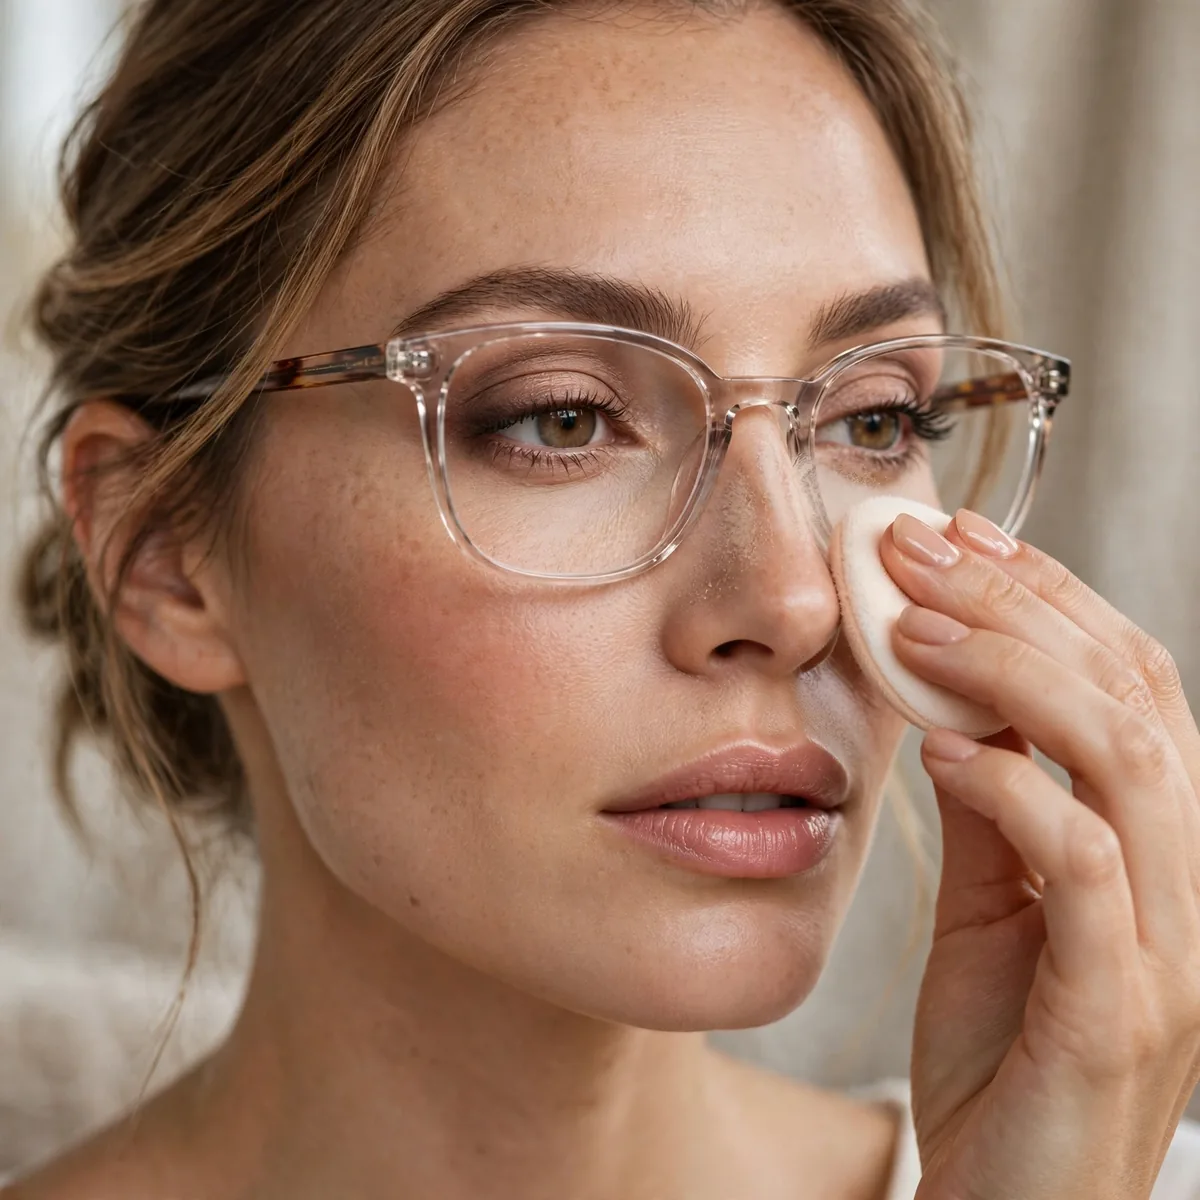
Less moisturizer on the nose, well-set powder, and proper mask fit reduce fogging.
Best for: mask wearers. Foggy lenses ruin the whole look — prevention matters.
Fog forms when warm breath hits cooler lenses — and heavy, occlusive moisturizer on the nose bridge makes it worse by trapping heat against the skin. Switch to a lightweight gel moisturizer on the nose, or skip moisturizer there entirely and rely on well-set powder instead. A mattified bridge stays cooler, which means noticeably less condensation creeping up from below.
Fit matters as much as product: glasses that sit slightly higher on the nose direct breath downward instead of up behind the lenses. An optician can adjust the pads in minutes, and it’s usually free. Anti-fog lens sprays add another layer of defense for mask wearers, while a well-fitted mask with a nose wire keeps exhaled air from rising in the first place.
Frames, meet your match. Save these balancing tricks — and for eye looks that shine through lenses, see our winged liner guide and mascara tips.




