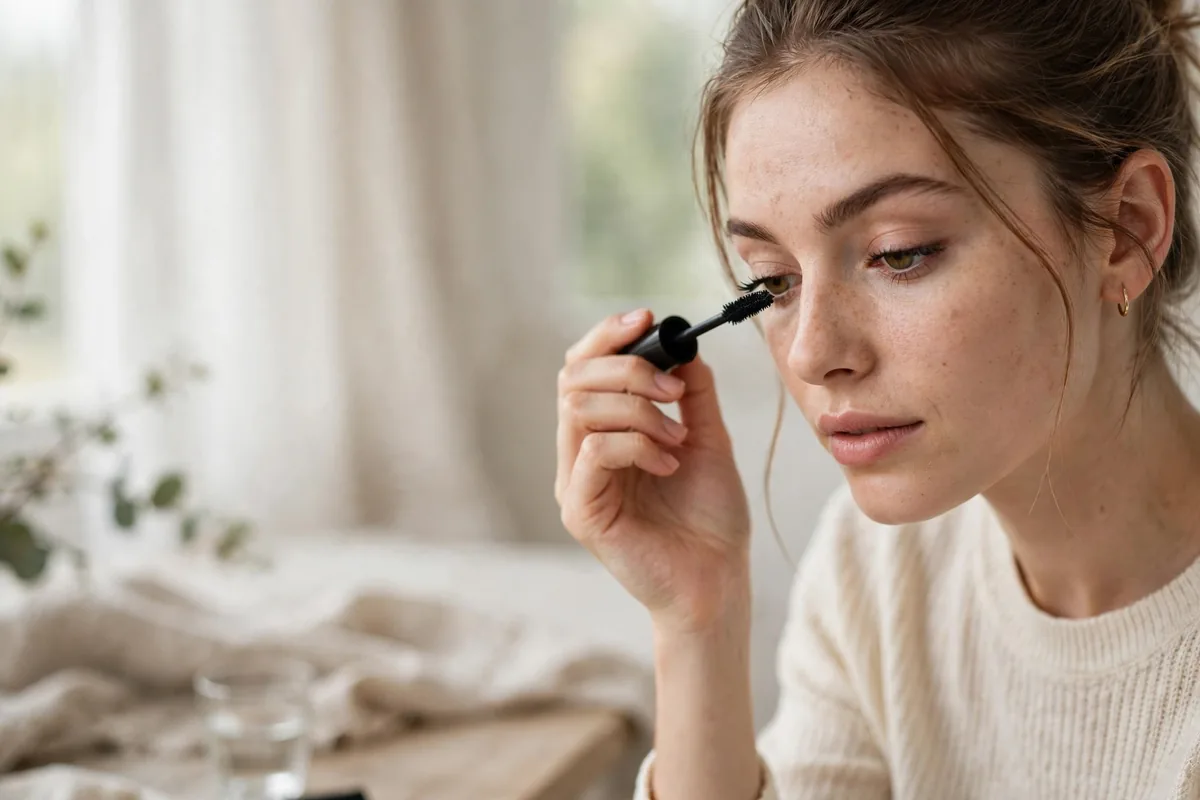
Great lashes are 20% genetics and 80% technique.
The difference between stubby and stunning usually isn’t the mascara — it’s how it’s applied. Curling, wiggling, layering, and root-to-tip coverage transform even the shortest lashes.
Short lashes actually hold curl better than long ones. That’s your hidden advantage.
Here are 20 tips to maximize what you have. Let’s get into it.
Curl First, Always
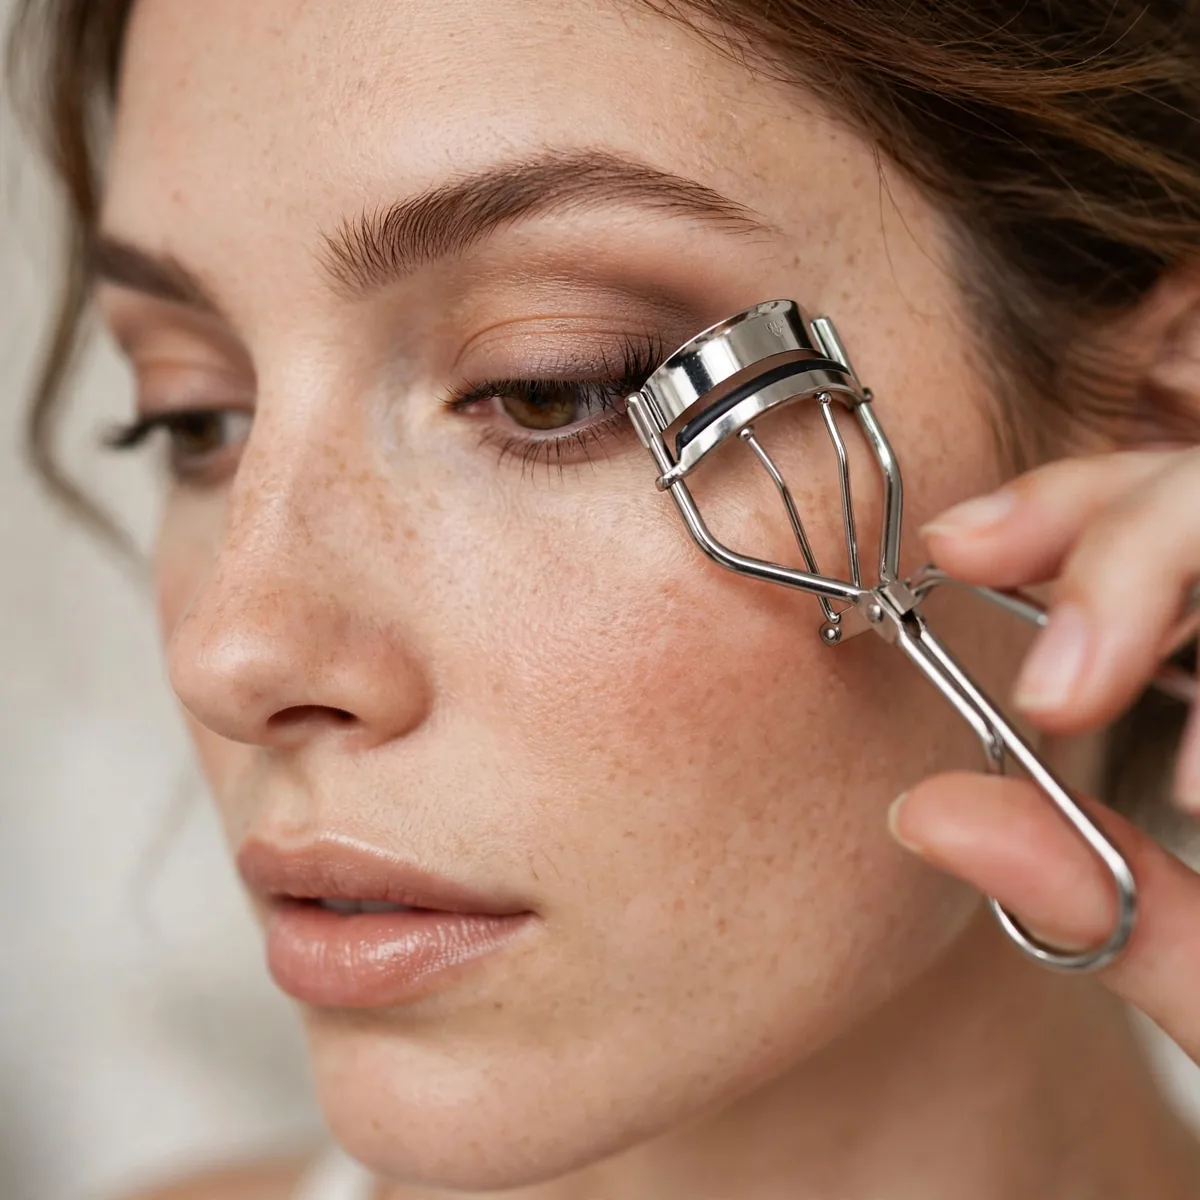
Curl before mascara — always. It’s the single biggest length multiplier.
Heat the curler with a hairdryer for 5 seconds for a curl that actually lasts.
The right curler matters as much as the technique — shallow-curved pads suit round eyes, while flatter pads fit almond shapes better. Position the curler at the very base of the lashes, pulse three times gently, then walk it outward and pulse once more for a natural arc. Rushing this step or clamping too hard creates kinks instead of curves.
Replace the curler pad every few months — a worn pad pinches skin and gives uneven curls. For stubbornly straight lashes, curl, apply a light waterproof mascara coat, let it set, then curl once more over the mascara for maximum lift. Clean the curler with alcohol weekly to prevent residue from transferring gunk onto your freshly curled lashes.
The Wiggle Technique
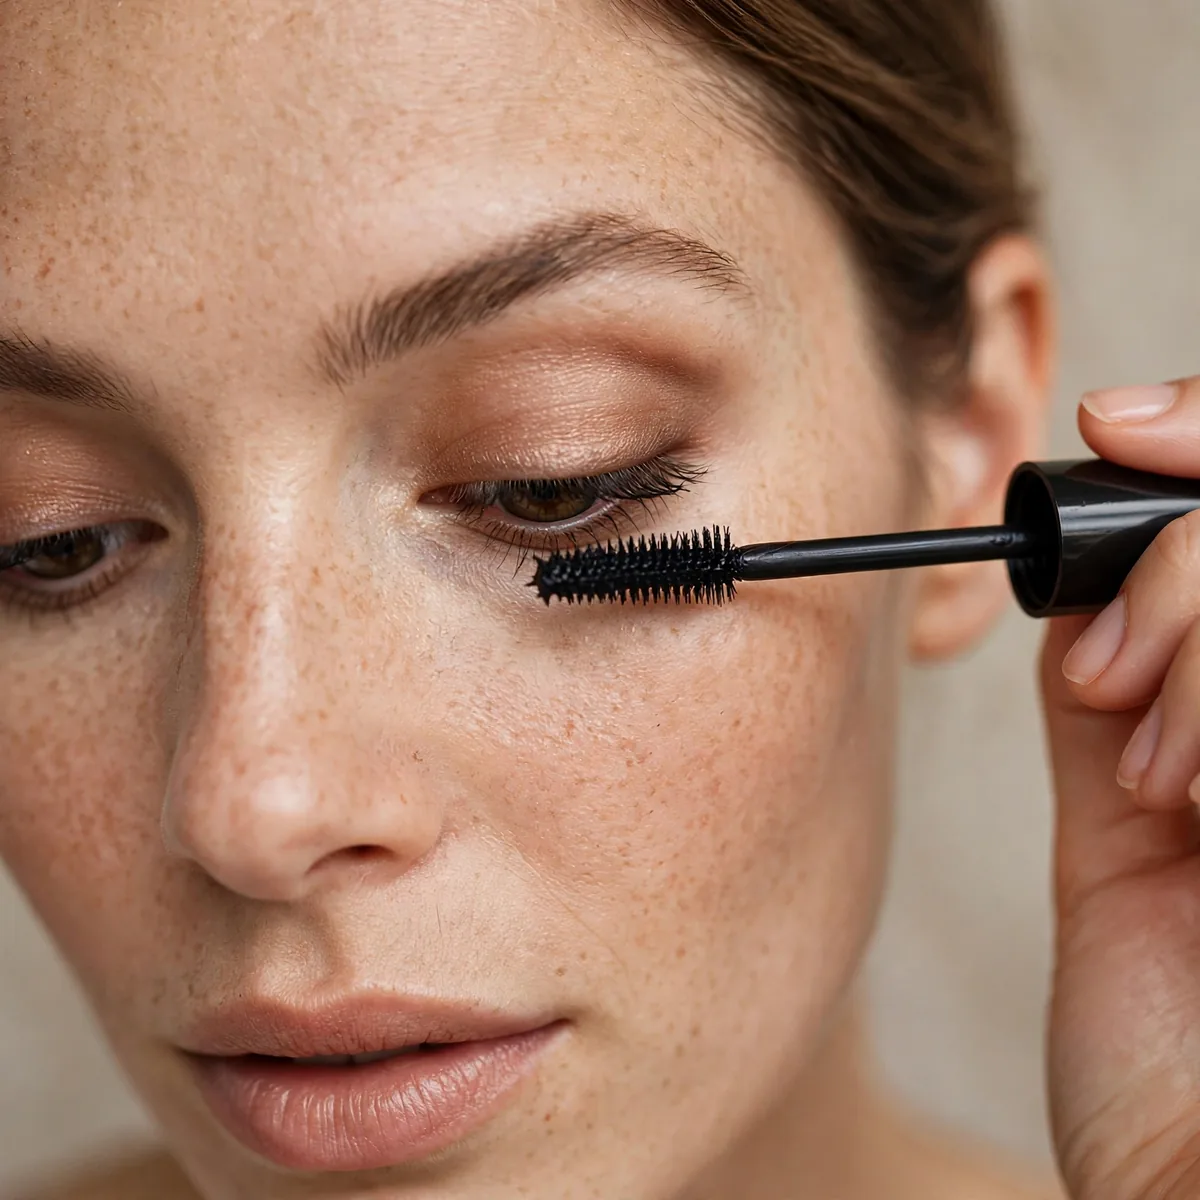
Wiggle the wand at the base, then pull through — the wiggle deposits product where length starts.
Base product equals visible length. Tips-only application looks spindly.
Angle matters: hold the wand horizontally at the lash base and wiggle side to side before rolling the bristles upward. This zigzag motion coats all sides of each lash rather than just the front, which is what creates thickness. For the inner and outer corners, tilt the wand diagonally and repeat the same motion on a smaller scale.
The mistake most people make is wiggling too fast, which flings product onto lids and under-eyes. Slow down — three deliberate wiggles at the root do more than ten frantic ones. If you get mascara on your lid, let it dry completely, then flick it away with a clean spoolie rather than wiping wet product and smearing shadow.
Tightline First
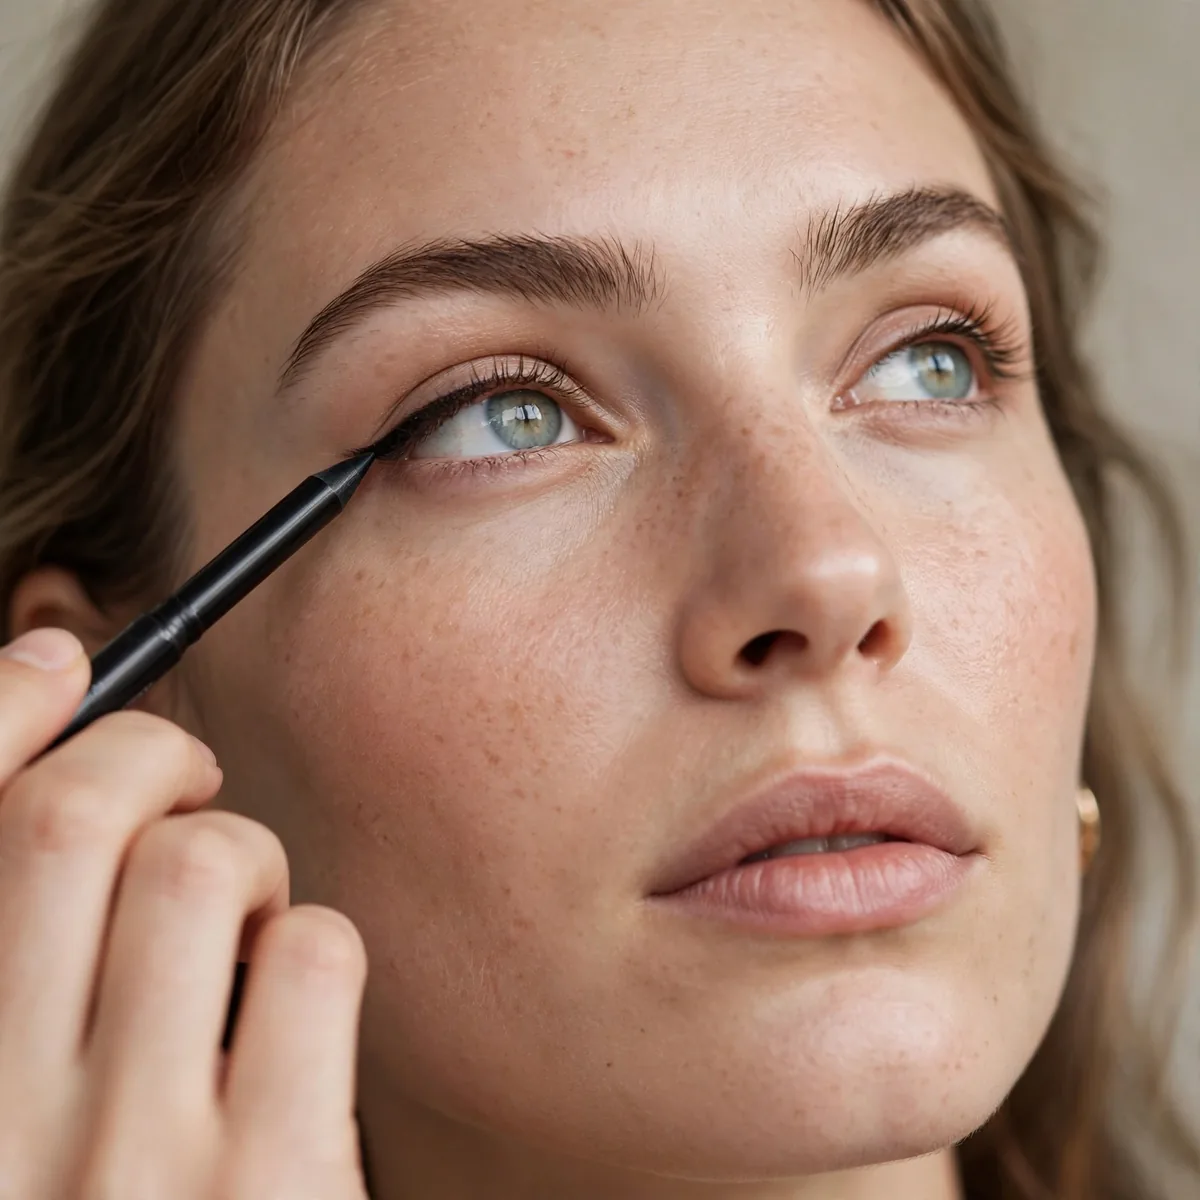
Tightline before mascara for a fuller lash base. The combination is transformative.
Our tightlining guide covers the technique. Together they fake an entire lash line.
Choose a kohl or gel pencil in soft black for maximum lash-base density — colored liners defeat the purpose here. Gently lift the upper lid with a finger and dot the pencil between each lash root, filling every gap. For a softer effect, smudge immediately with an angled brush; for evening, add a second pass once the first sets.
This step matters most for sparse or fine lashes, where skin shows between hairs and breaks the illusion of fullness. Waterproof tightlining survives teary eyes and long days without transferring to the lower waterline. At night, remove gently with an oil-based cleanser worked along the lash line, since tugging at this delicate area causes lash loss over time.
Two Coats Minimum

One coat tints; two coats build. Short lashes need the second coat.
Apply the second coat before the first fully dries — wet-on-damp layers without clumping.
The brush you use for coat two matters — a clean disposable spoolie or a second mascara with a finer comb separates while it coats, preventing the clumps that layering invites. Apply the second coat only to the tips and outer corners if the base already feels heavy. Blinking hard right after application helps the formula set without transferring to the lid.
For very short lashes, a third whisper-light coat on just the tips can add the extra millimeters two coats miss. Wait until the tube is a few weeks old before attempting this — slightly thickened formula grips better. But stop there: over-layering turns lashes brittle and spider-like. Replace mascara every three months, since old formula clumps no matter how skilled your technique.
Lengthening Formula Choice
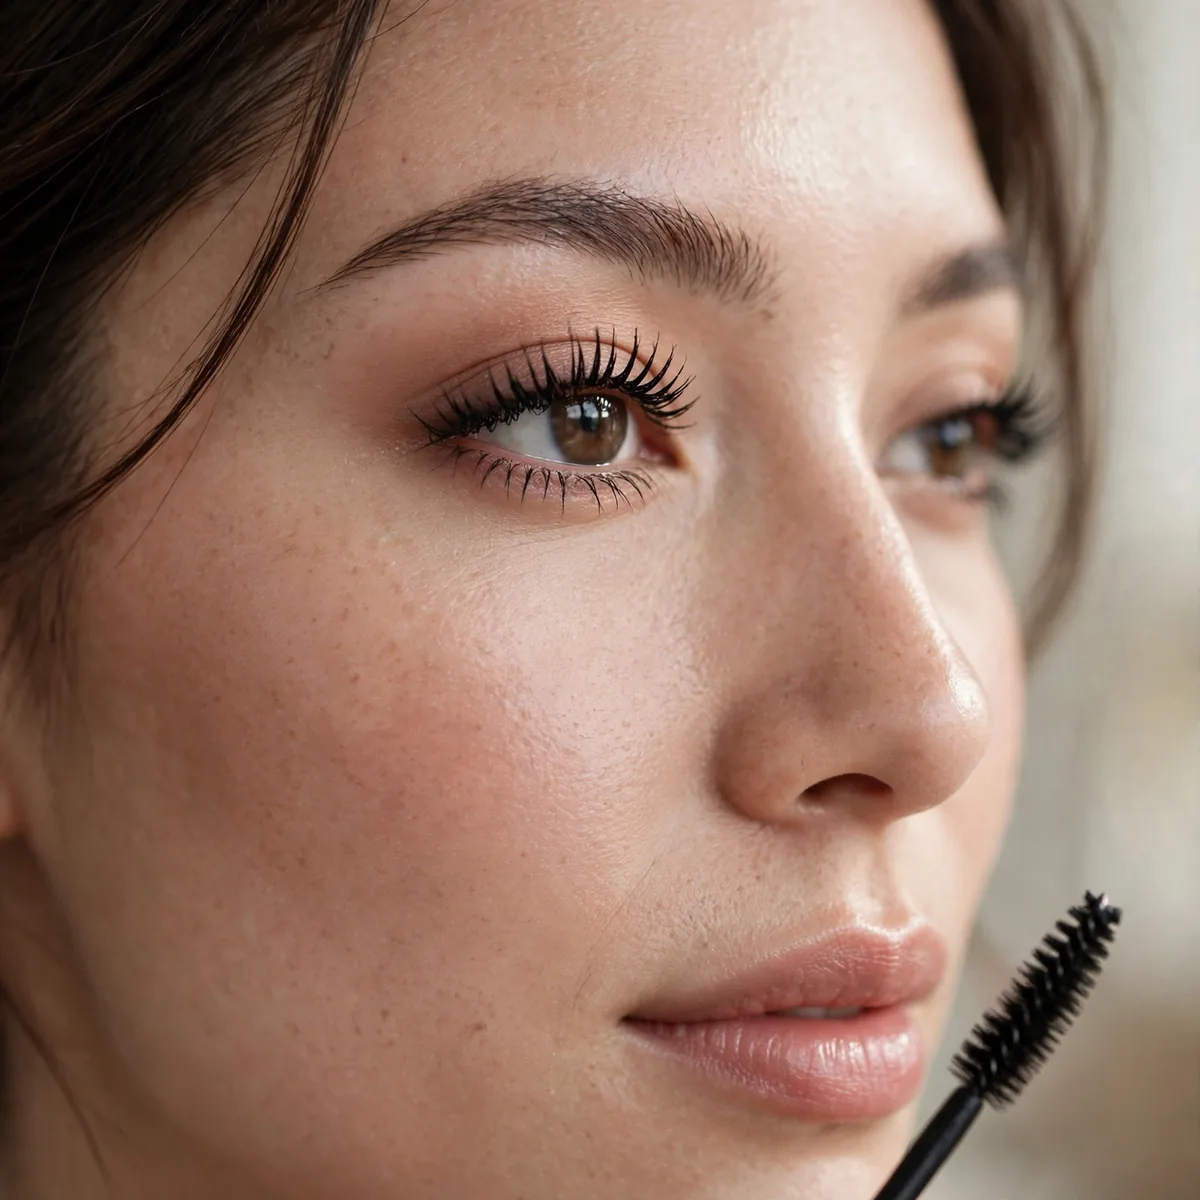
Lengthening formulas contain fibers that extend the lash tip. Choose them over volumizing for short lashes.
Fibers physically add length. It’s the closest thing to extensions in a tube.
Read the brush shape, not just the label: slim, widely spaced bristles grip and extend short lashes, while fat fluffy brushes suit already-long ones. Silicone wands separate precisely; traditional bristles deposit more product. Nylon fibers in the formula itself add physical length, but avoid oversized tubes whose wands overwhelm tiny lashes and smudge the surrounding skin.
Sensitive eyes should look for fragrance-free lengthening formulas with conditioning panthenol, which strengthens lashes with daily use. Tubing versions of lengthening mascaras offer the best of both worlds — fiber-like extension plus smudge-proof wear that removes with warm water. Test any new formula on one eye first to check for irritation before committing to both.
The Vertical Wand Trick
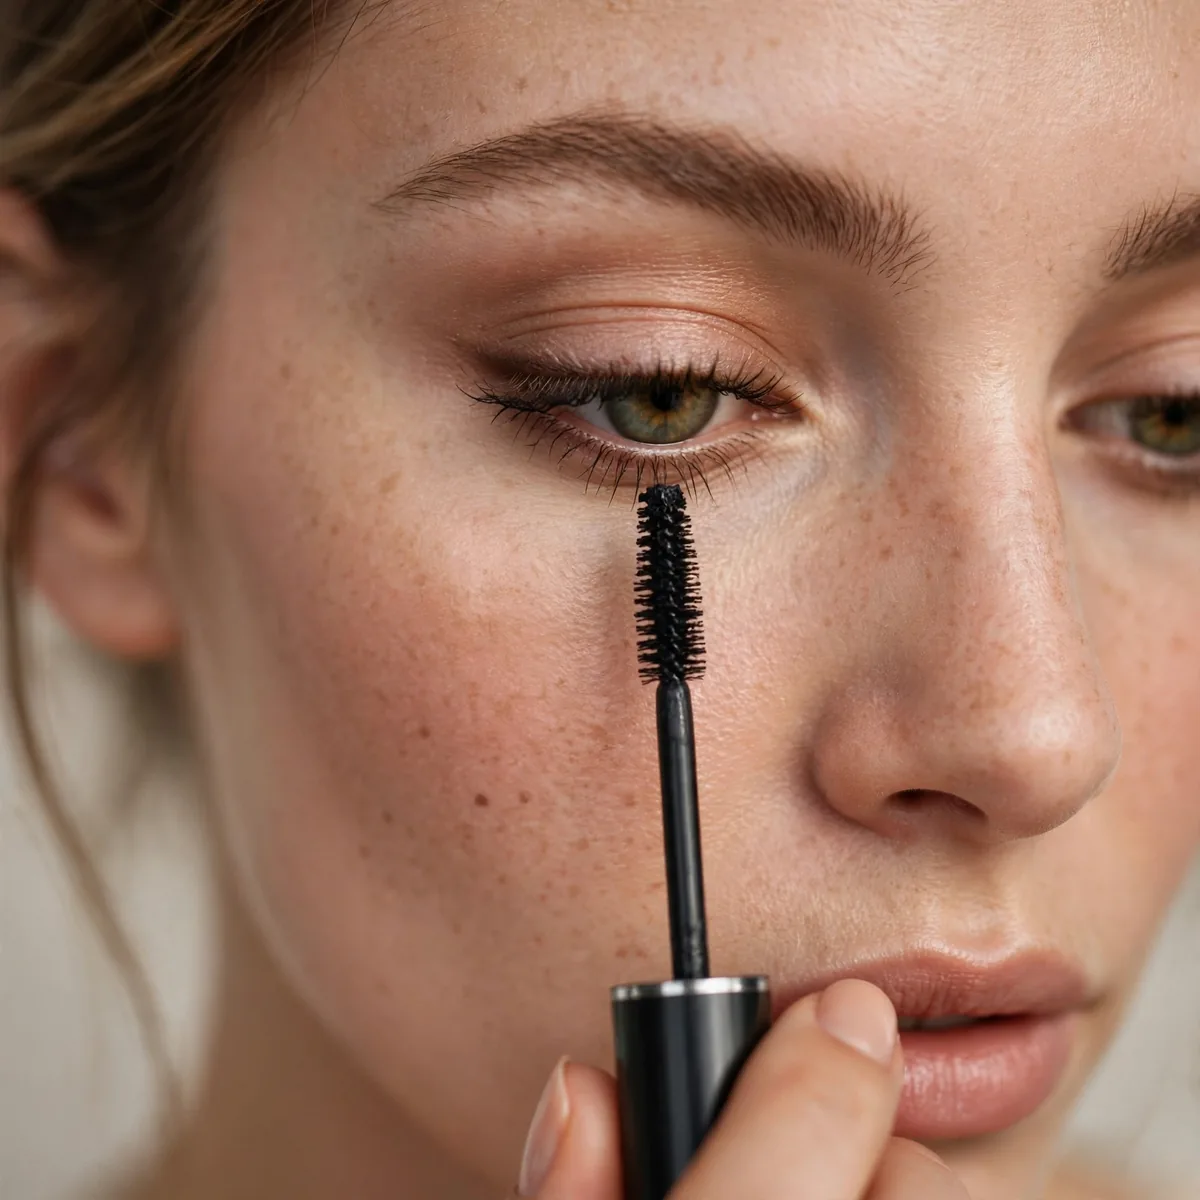
Hold the wand vertically for lower lashes and inner corners — precision placement.
Vertical application hits tiny lashes that horizontal wands miss.
This trick also rescues the outer corners, where horizontal strokes leave the shortest lashes untouched. Press the wand tip vertically against the base of corner lashes and roll outward, following the eye’s natural wing direction. For hooded eyes, tilt your head back slightly so the vertical wand reaches under the lid fold without depositing mascara on the brow bone.
Waterproof formulas work best for this precision work because their drier texture stays put on tiny lashes without migrating. If your wand is too large to hold vertically, switch to a mini or travel-size mascara for detail areas — the smaller brush offers far more control. Clean the tip on a tissue first so a fresh glob doesn’t land on the inner corner.
Primer Power
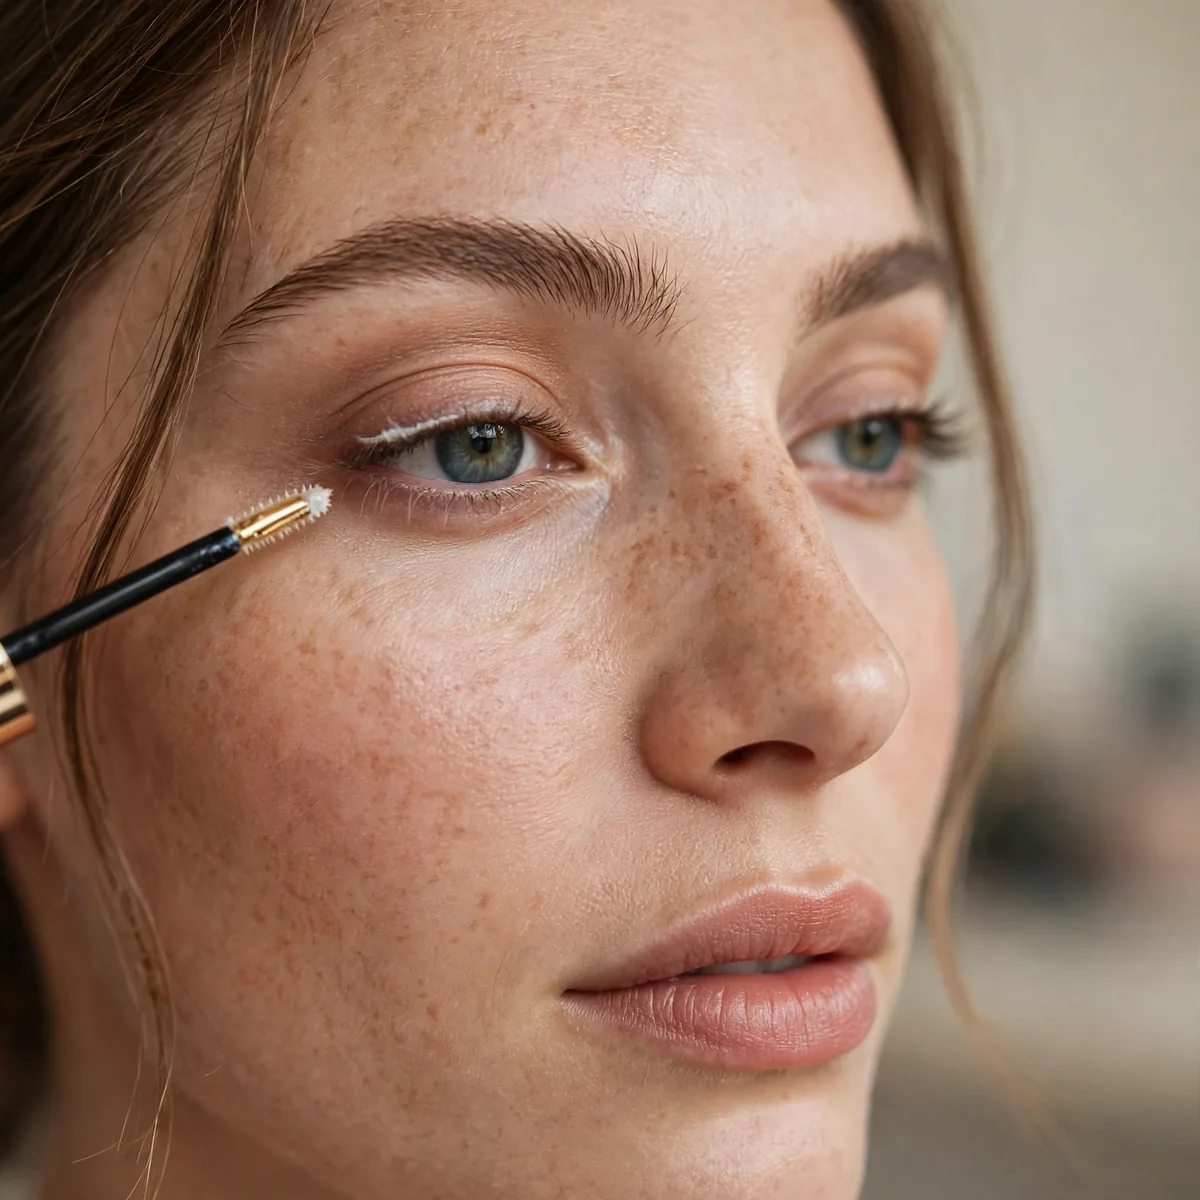
Lash primer adds a lengthening base coat. It’s like foundation for lashes.
White primer looks scary but disappears under mascara. The added length is real.
Apply primer the same way you apply mascara — wiggle at the base, pull through — but keep it lighter, since excess primer creates a lumpy foundation. Let it set for thirty seconds until tacky, not wet, before adding mascara. Too soon and the layers slide; too late and the primer’s grip fades. A lash comb between primer and mascara removes any clumps early.
Primers with keratin or peptides genuinely condition lashes over time, making them a smart choice for brittle or post-extension lashes. If your primer makes mascara flake by afternoon, you’re applying too much — halve the amount. Tinted primers in gray or brown work beautifully under brown mascara for a softer daytime effect that still delivers the length boost.
Bottom Lash Balance
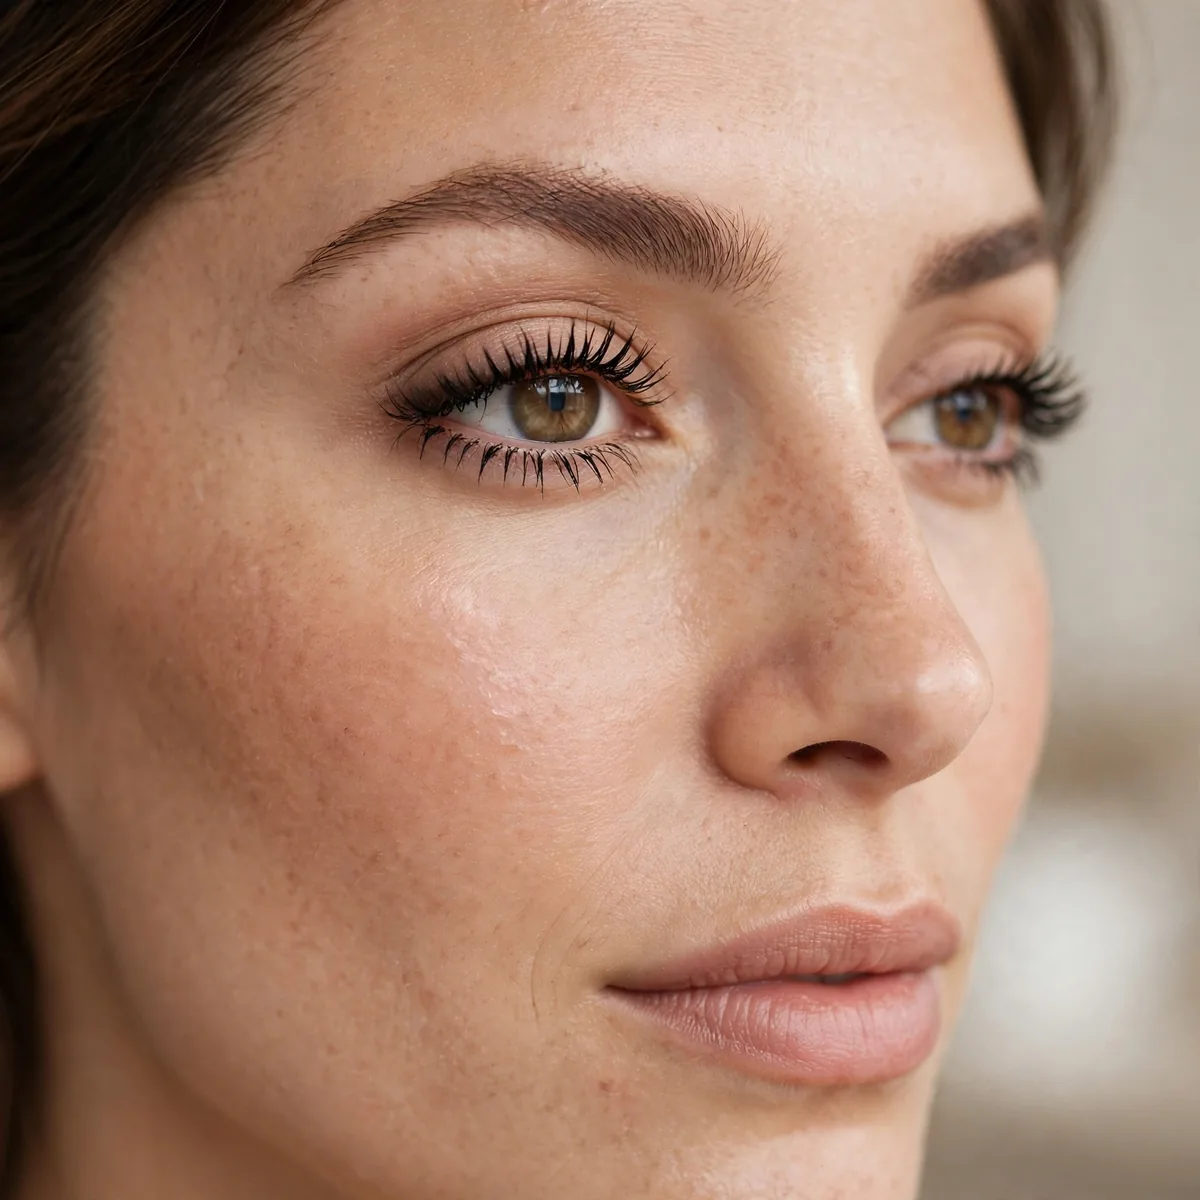
Coat bottom lashes lightly — they balance the top and open the eye.
One light coat. Heavy bottom mascara closes off the eye and looks dated.
Blot the wand on a tissue before touching bottom lashes — less product means no smudging under the eye. Sweep downward in one light pass, keeping the wand tip pointed slightly away from the nose for the outer lashes. If your lower lashes are nearly invisible, a waterproof formula in brown-black adds subtle definition without the harshness of full black.
Oily skin types should set the under-eye area with translucent powder before bottom mascara to stop the afternoon raccoon effect. Skip bottom mascara entirely on days you wear heavy lower-liner — the combination looks overdone. A coat of clear waterproof topcoat over bottom mascara locks it in place and prevents the tiny flakes that land on cheeks.
The Outer Corner Focus
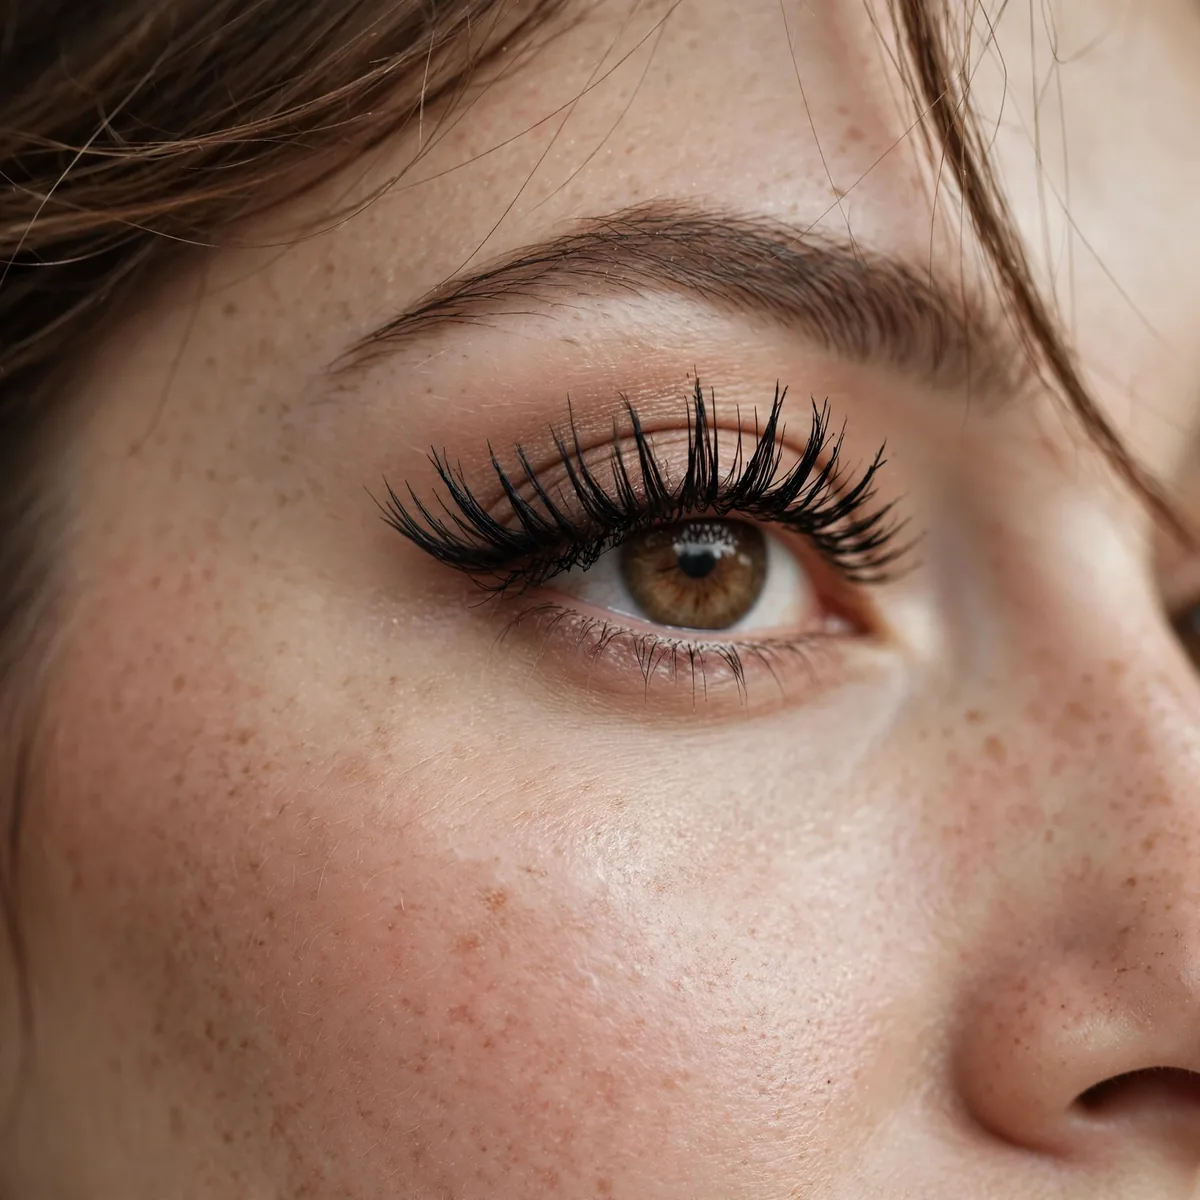
Concentrate extra coats on the outer third for a winged, elongated effect.
Outer-corner emphasis creates a cat-eye illusion without liner.
Pull the outer-corner lashes toward the temple as you coat them — this directional pull sets the winged angle. Use the wand’s tip for these lashes rather than the full brush, which is too wide for the corner. Two extra passes on just the outer third, letting each set for ten seconds, builds the elongated effect without adding bulk to the center.
This technique suits round eyes beautifully, counteracting their circularity with horizontal emphasis. For a full cat-eye illusion, pair outer-corner mascara with a soft brown shadow wing — no liner needed. Deep-set eyes should keep the focus subtle, since heavy outer corners can make them look sunken; one extra pass rather than three keeps it flattering.
Waterproof for Hold
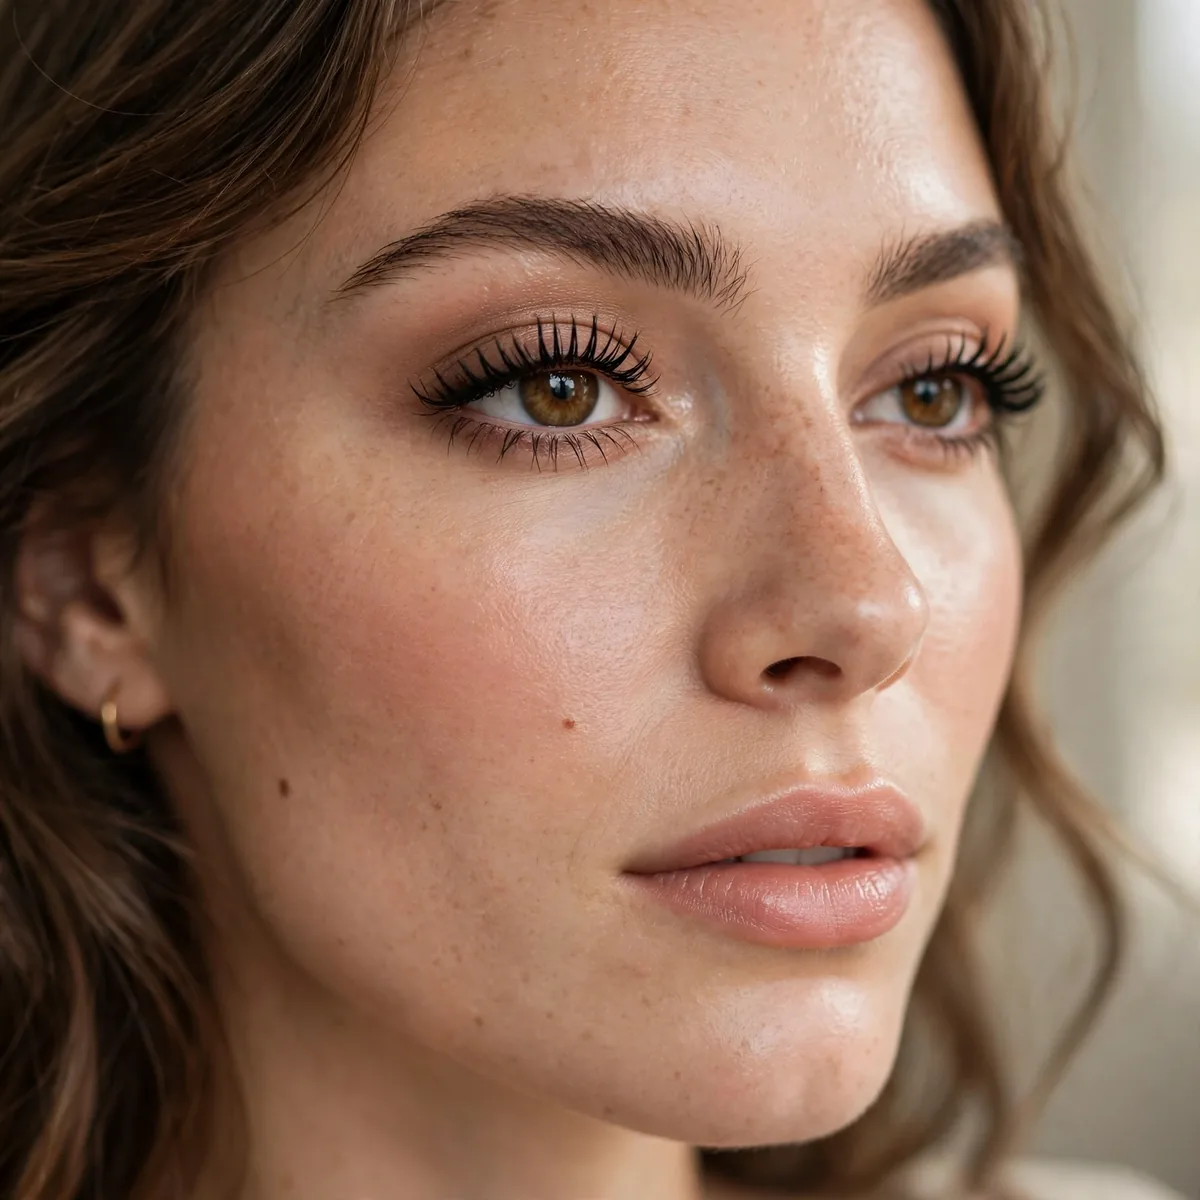
Waterproof formulas hold curl better — they’re drier and lighter.
If your curl droops by noon, switch to waterproof. The hold difference is dramatic.
Layer strategically: one waterproof coat for the curl-locking base, then a regular lengthening formula over the top for easy removal. This sandwich technique holds curl all day while avoiding the brutal scrubbing pure waterproof demands. Apply the regular formula while the waterproof layer is still slightly tacky so the two bond properly.
Reserve waterproof for humid days, weddings, and emotional events — daily use dries lashes and makes removal harsh. When you do wear it, soak a cotton pad in dual-phase remover, press it over closed lashes for thirty seconds, then wipe downward gently. Never rub; the dissolving wait does the work, and your lash line stays intact.
The Lash Comb Finish
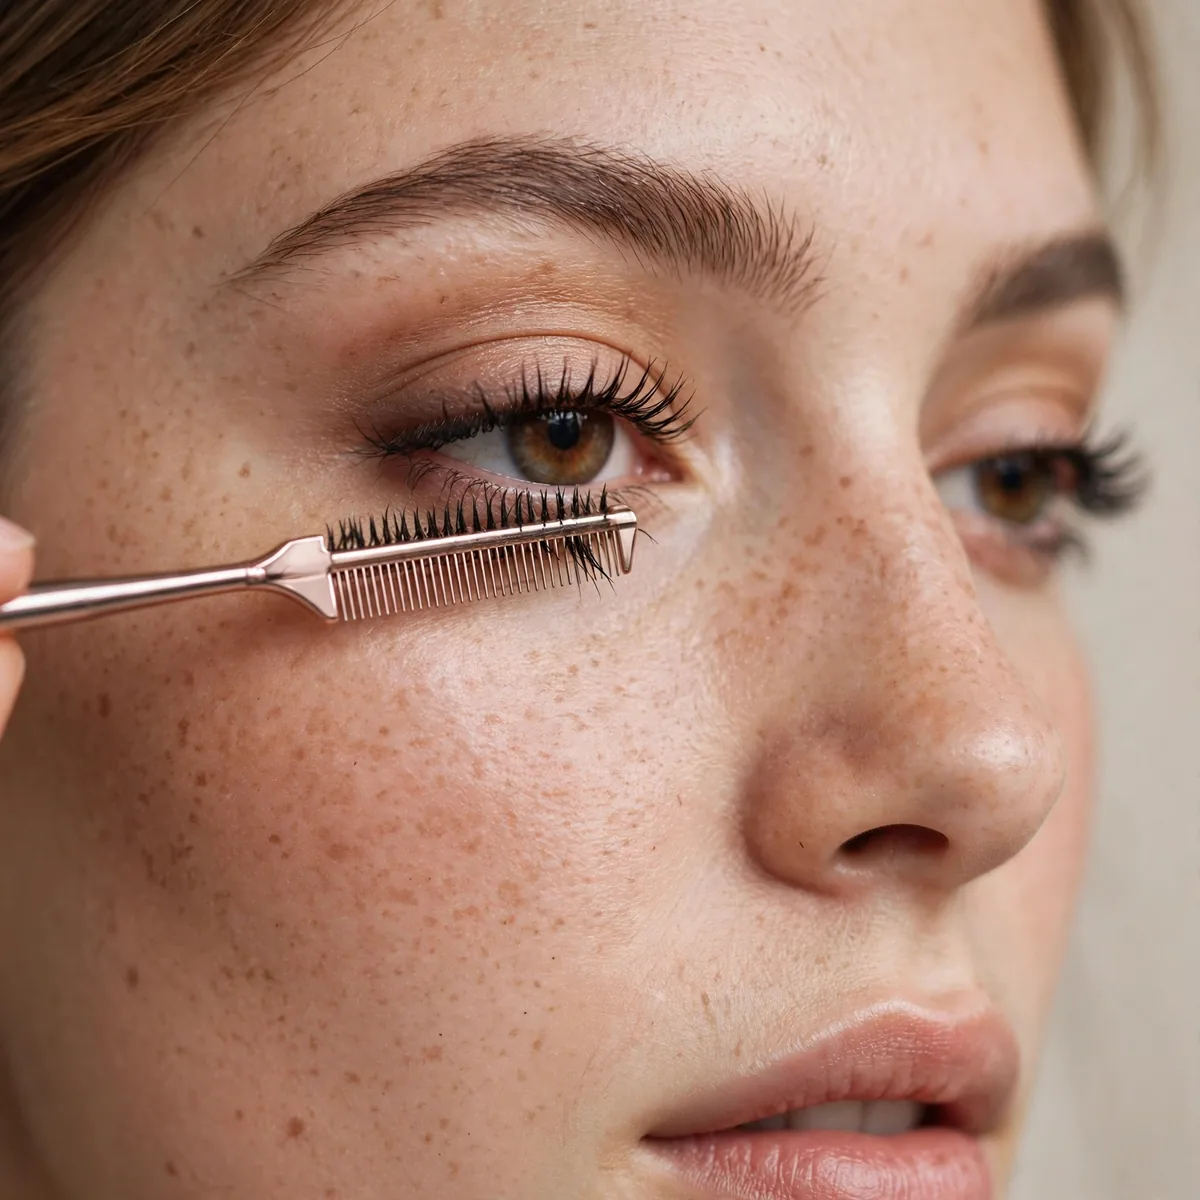
Comb through after mascara for separated, defined length.
Clumps shorten the look. Separation creates the illusion of individual long lashes.
Comb from base to tip in one smooth pull — short sawing motions create more clumps than they remove. Metal combs outperform plastic for separating, since their fine teeth slide between lashes without dragging formula. Comb while the mascara is still slightly damp; fully dry mascara resists separation and the comb just pushes lashes into clusters.
For bottom lashes, switch to a brow-style mini comb — the standard lash comb is too wide for precision. If a stubborn clump won’t budge, dab a clean spoolie with a drop of makeup remover and tease it apart rather than pulling. Keep a dedicated comb in your kit and wipe it on tissue after each use so old formula never transfers back.
Tubing Mascara Option
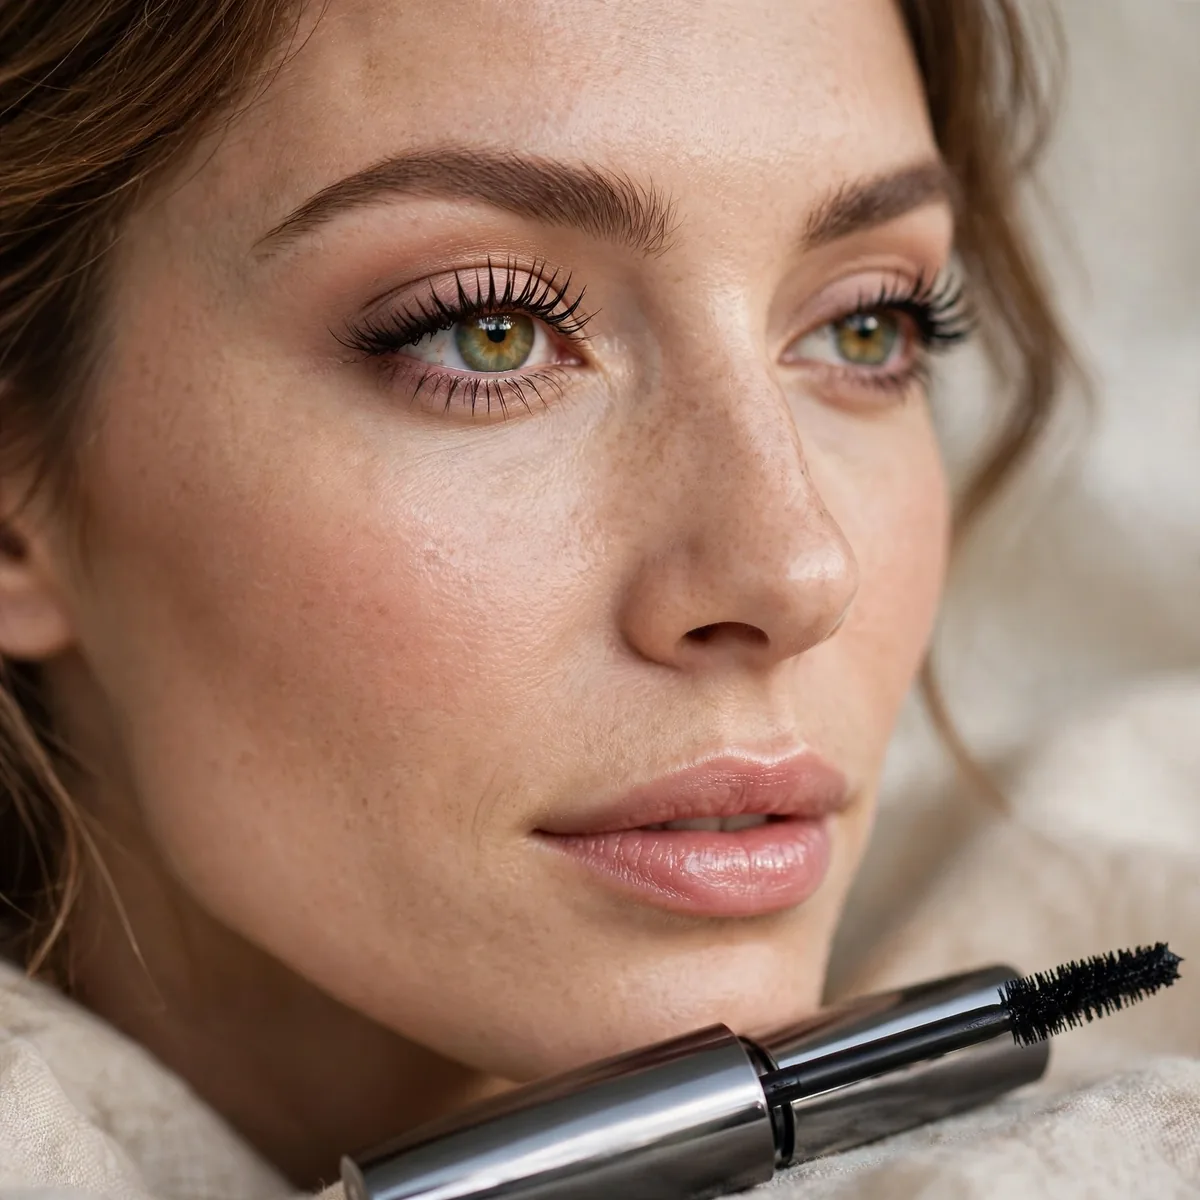
Tubing mascaras form tiny tubes around each lash — adding visible length.
They also remove with just warm water. Length plus easy removal is a win-win.
Tubing formulas pair beautifully with the wiggle technique, since each coated lash gets individually wrapped for maximum visible length. They suit contact-lens wearers and watery eyes especially well, as the tubes never flake into eyes. For extra drama, layer two tubing coats — the second grips the first tube and extends it further without the heaviness of fiber formulas.
The removal ritual is the real selling point: splash warm water on closed eyes, wait a few seconds, and gently slide the tubes off with fingertips. No remover, no cotton pads, no residue — the tiny tubes rinse down the drain intact. This makes tubing ideal for travel and late nights, when a full cleansing routine feels impossible.
Layer Different Formulas
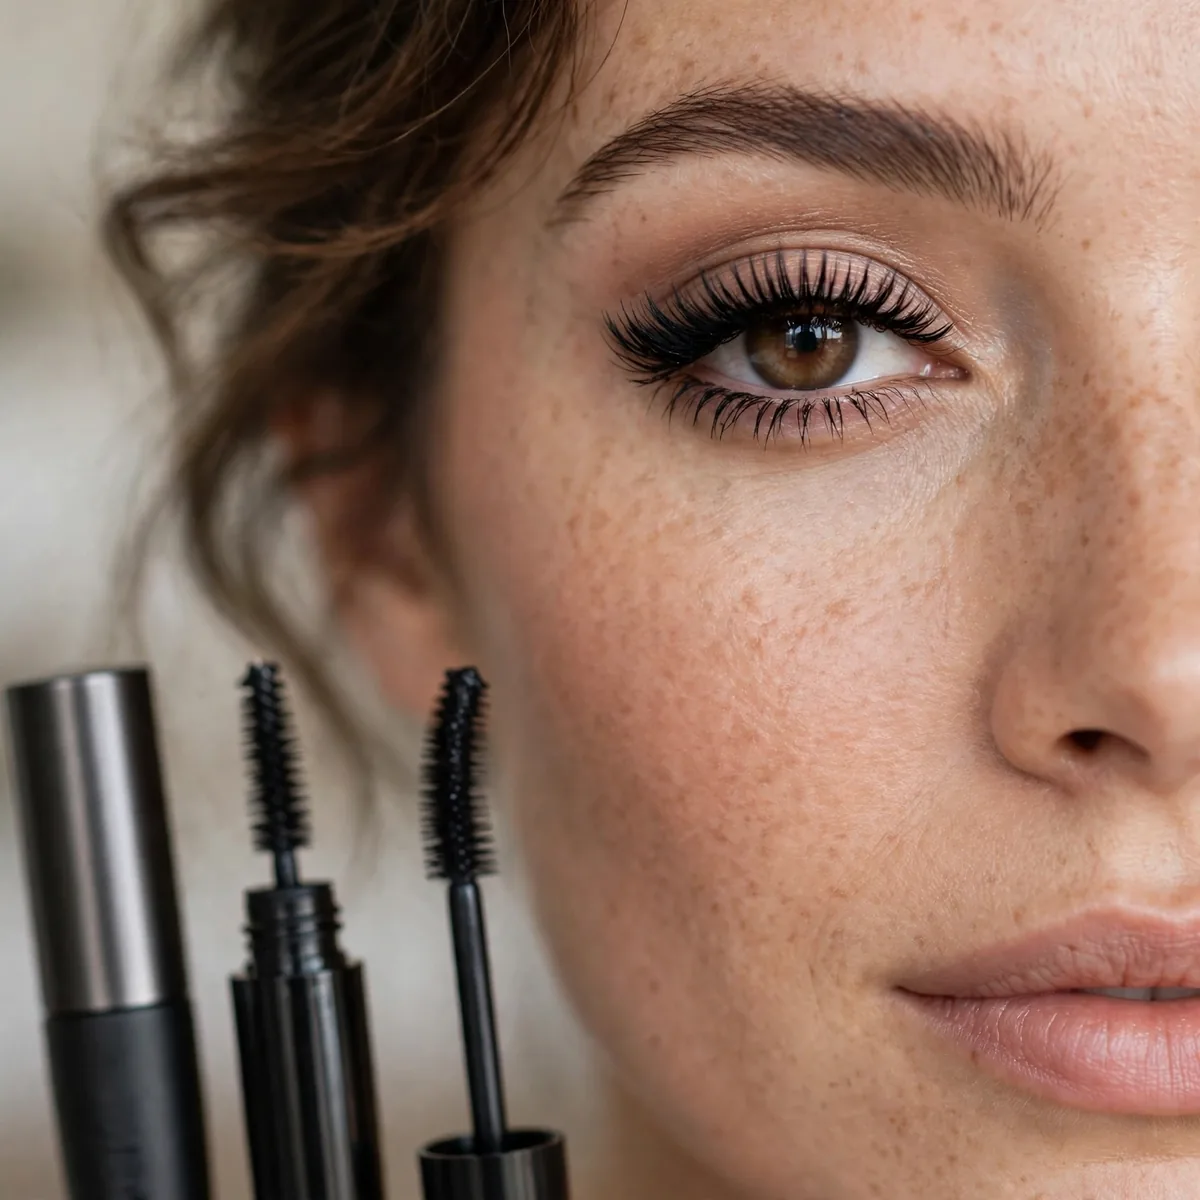
Lengthening first, volumizing second — the cocktail approach.
Different formulas do different jobs. Layering gets you both length and fullness.
Order matters beyond lengthening-first: apply the fiber or tubing formula, wait twenty seconds, then coat with the volumizing one before the base fully sets. Reversing the order buries the lengthening fibers under bulk and wastes their effect. Keep both formulas fresh — mixing an old dried tube with a new one guarantees clumps no technique can fix.
This cocktail approach suits special occasions best, when maximum impact justifies the extra time. For everyday wear, choose a single hybrid formula labeled both lengthening and volumizing — modern formulas increasingly deliver both. If you layer daily, watch for lash stress: the extra weight can strain follicles, so give lashes a weekly break with just one light coat.
The Root Push
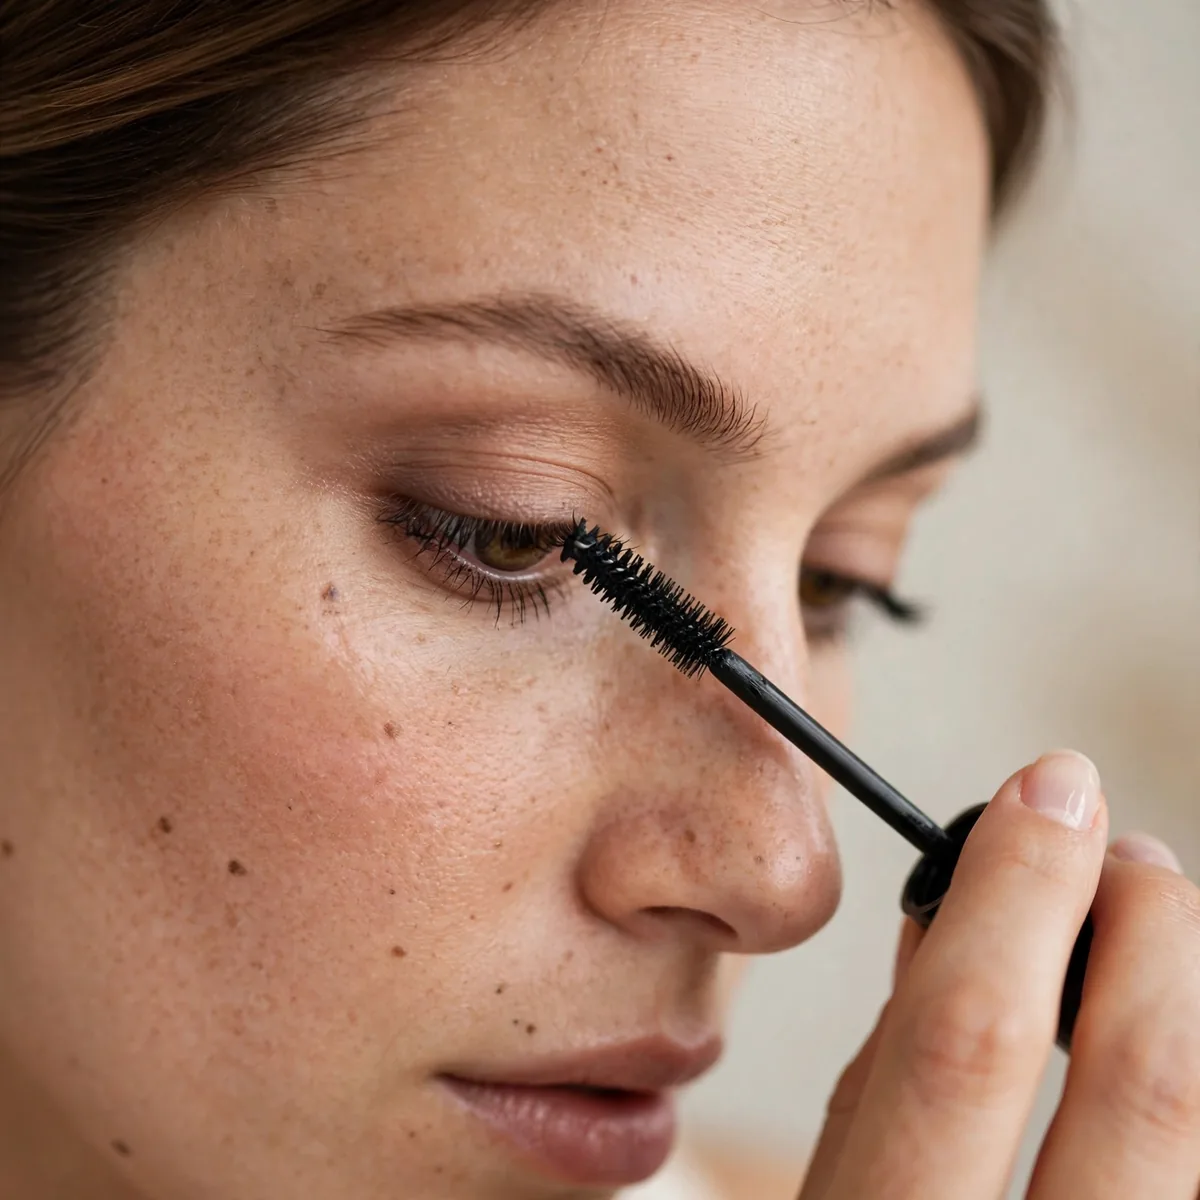
Push the wand into the roots and hold for two seconds before pulling through.
Root product creates the dark base that makes lashes look dense. Density reads as length.
Pair the root push with tightlining for the ultimate dense-base illusion — the two techniques reinforce each other beautifully. After the two-second hold, roll the wand slightly as you pull through so the bristles catch every lash. This works best with a curved brush that matches the lash line’s arc, depositing product evenly across the entire row.
Sparse lashes gain the most here, since the dark root base fills visible gaps between hairs. Avoid pushing so hard that product blobs onto the lid — firm pressure, not force. If you wear eyeshadow, do the root push before shadow application so any root deposits get blended into the lid color rather than sitting on top of finished shadow.
Avoid Pumping the Wand
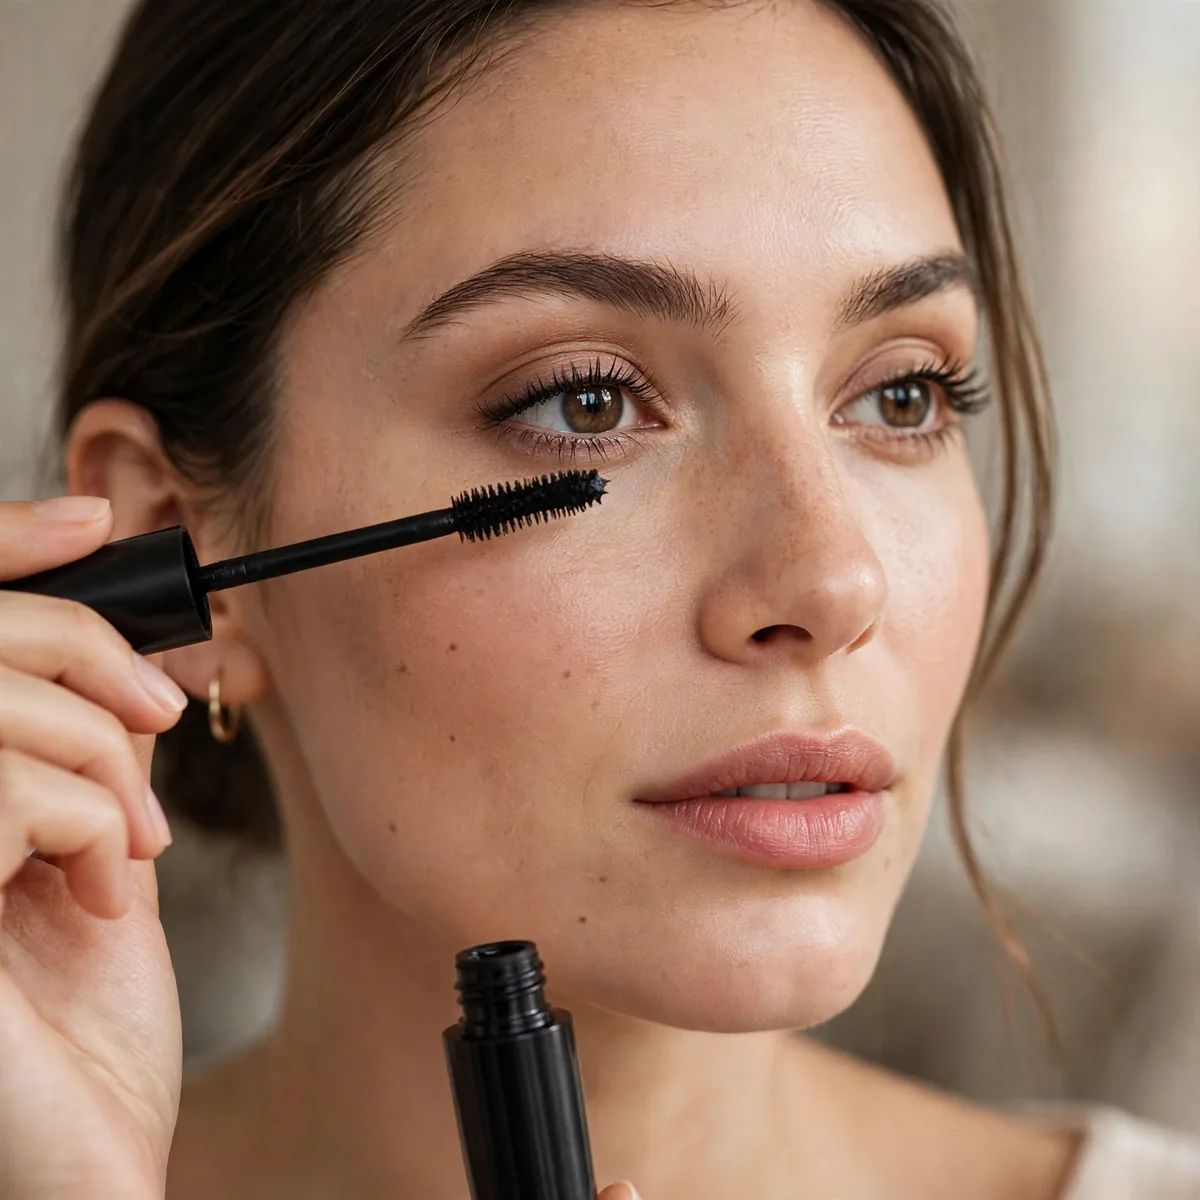
Pumping pushes air in, drying the formula. Twist instead.
Dry mascara clumps. Clumps shorten. This tiny habit matters more than you’d think.
Store mascara upright with the cap tightly twisted — air sneaks in through loose caps just as surely as pumping. Keep the tube out of bathrooms, where humidity and heat degrade formula faster. If your mascara thickens prematurely, a few drops of saline contact solution can revive it temporarily, though a fresh tube always performs better.
This habit protects your eyes too: pumped-in air breeds bacteria faster, and eye infections from old mascara are no joke. Mark the purchase date on the tube with a sticker and replace it at three months regardless of how much product remains. Sharing mascara spreads the same bacteria, so keep your tube personal even among close friends.
Lower Waterline Trick
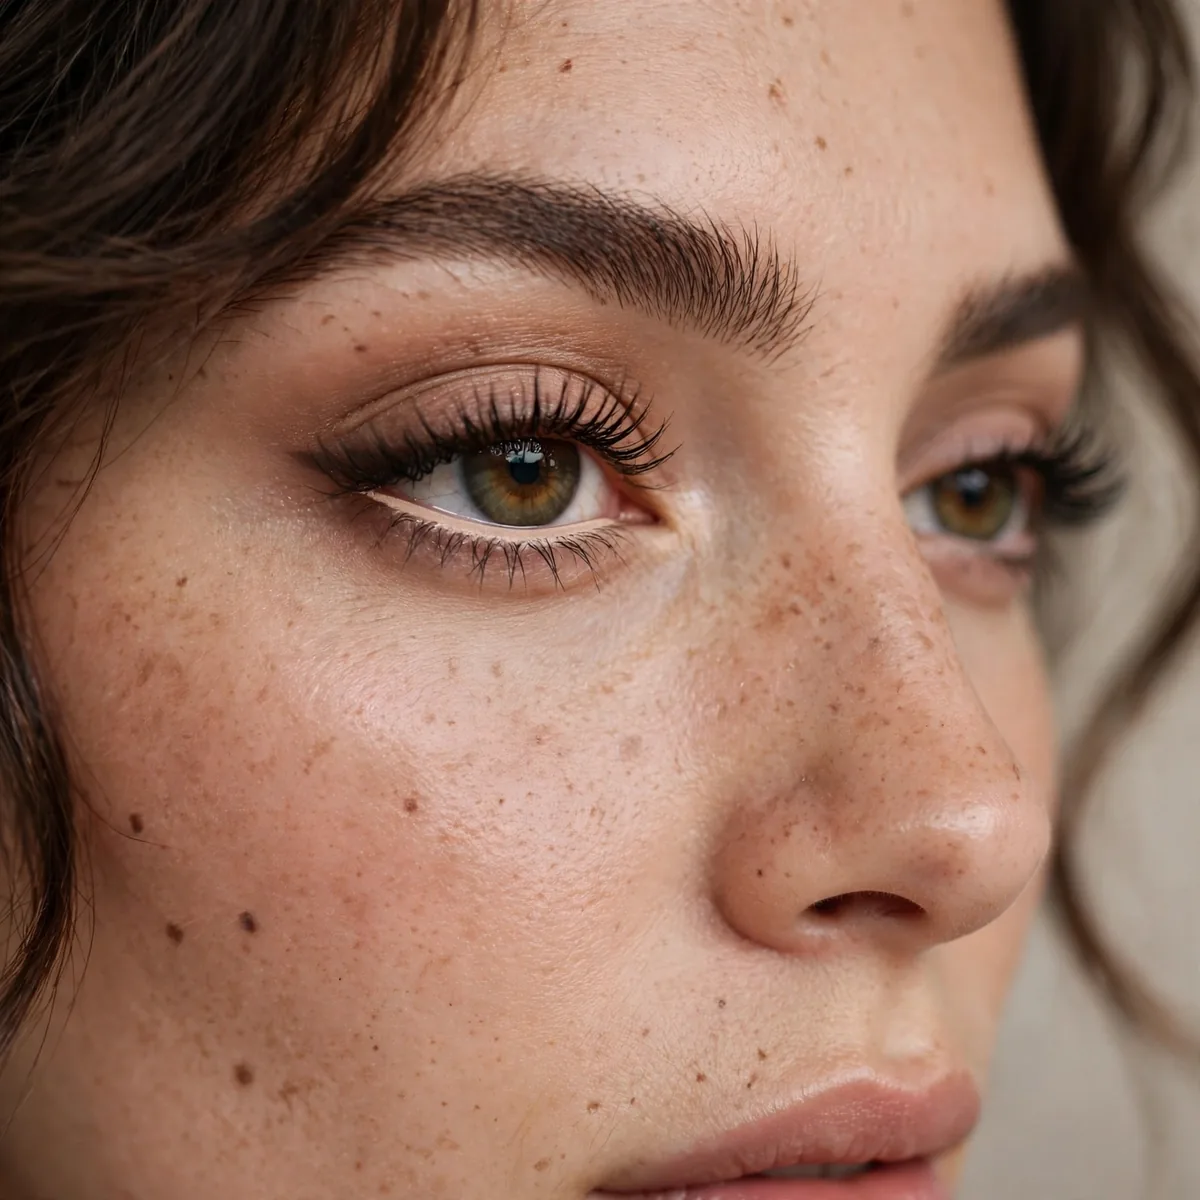
Nude liner on the lower waterline makes lashes look longer by contrast.
The bright waterline frames the lashes. Contrast creates the illusion of length.
Choose a nude liner one shade lighter than your skin for the most natural brightening — stark white looks theatrical and dated. Apply it to the inner rim only, keeping the outer corners bare so the eye keeps its natural depth. For evening, a champagne shimmer pencil on the waterline adds brightness with a touch of glamour that plain nude lacks.
Small or tired eyes benefit most from this contrast trick, since the bright rim makes whites appear whiter and lashes darker by comparison. Reapply midday if you have watery eyes, as waterline liner fades fastest of any product. Pair it with a brightening concealer in the inner corner for the full wide-awake effect without any heavy makeup.
Heat-Set the Curl
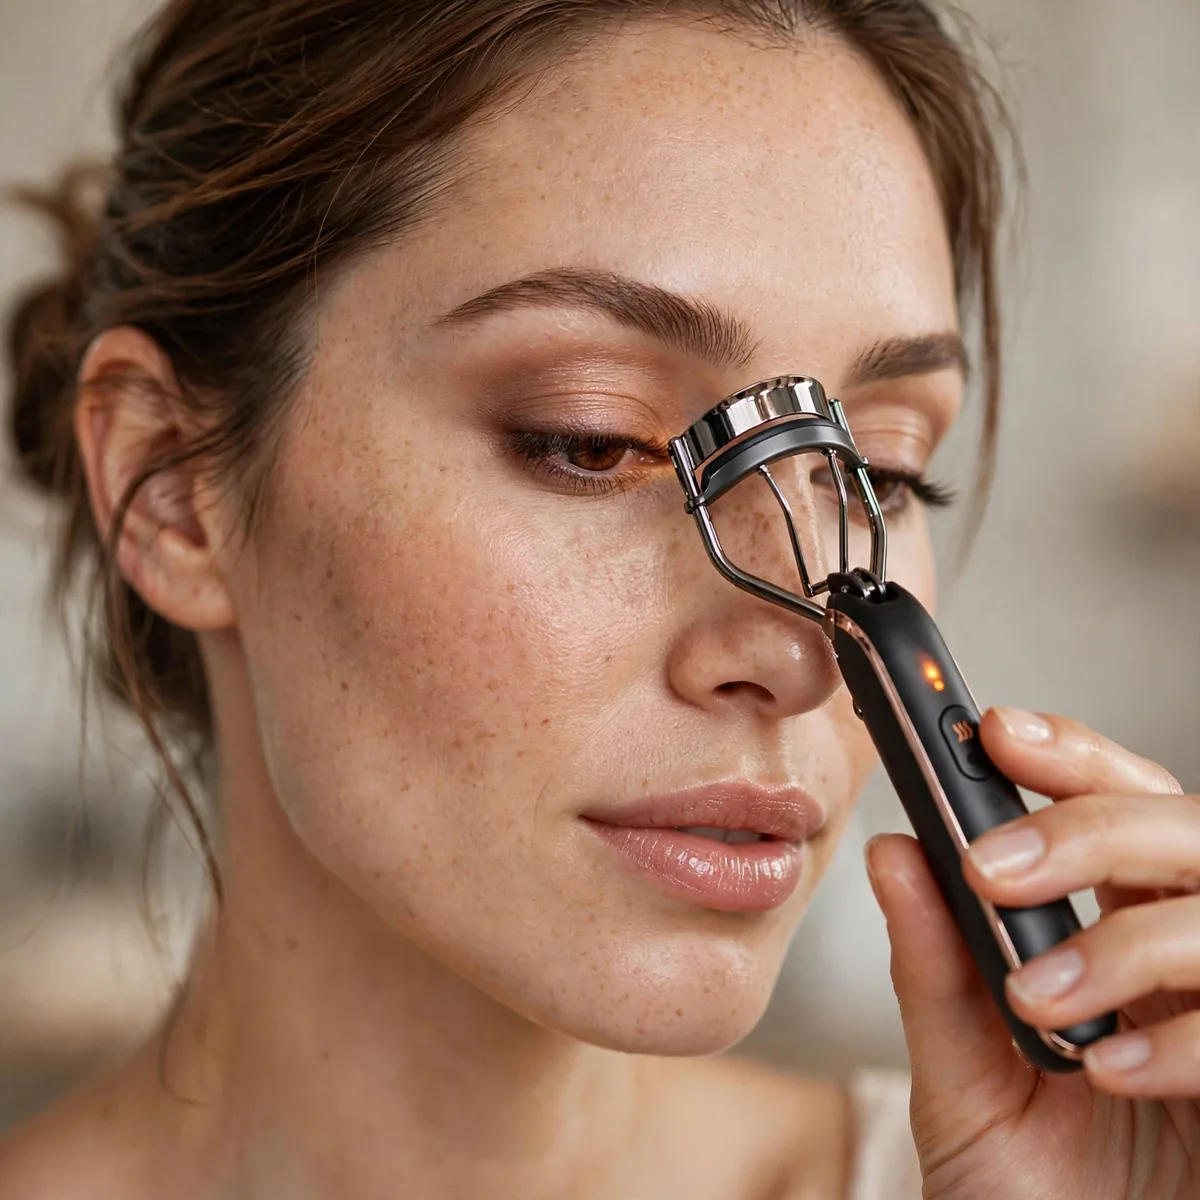
After curling, a heated lash comb sets the lift in place.
Heat plus mascara equals all-day curl. The combination is unbeatable.
Warm the metal lash comb with your hairdryer for just three seconds — it should feel warm, never hot, against your wrist. Press it gently under the curled lashes for five seconds, holding the lift in place. This technique suits stubbornly straight Asian lashes especially well, where curl alone rarely survives the day. Never use a heated curler over wet mascara.
Battery-powered heated lash combs offer a safer alternative to the hairdryer trick, with built-in temperature control. Use them on clean, dry lashes before mascara for best results. Overheating is the main risk — if the comb feels uncomfortable on skin, it’s too hot for lashes. Let the set curl cool for thirty seconds before applying mascara to lock the shape.
The Clean Lower Lid
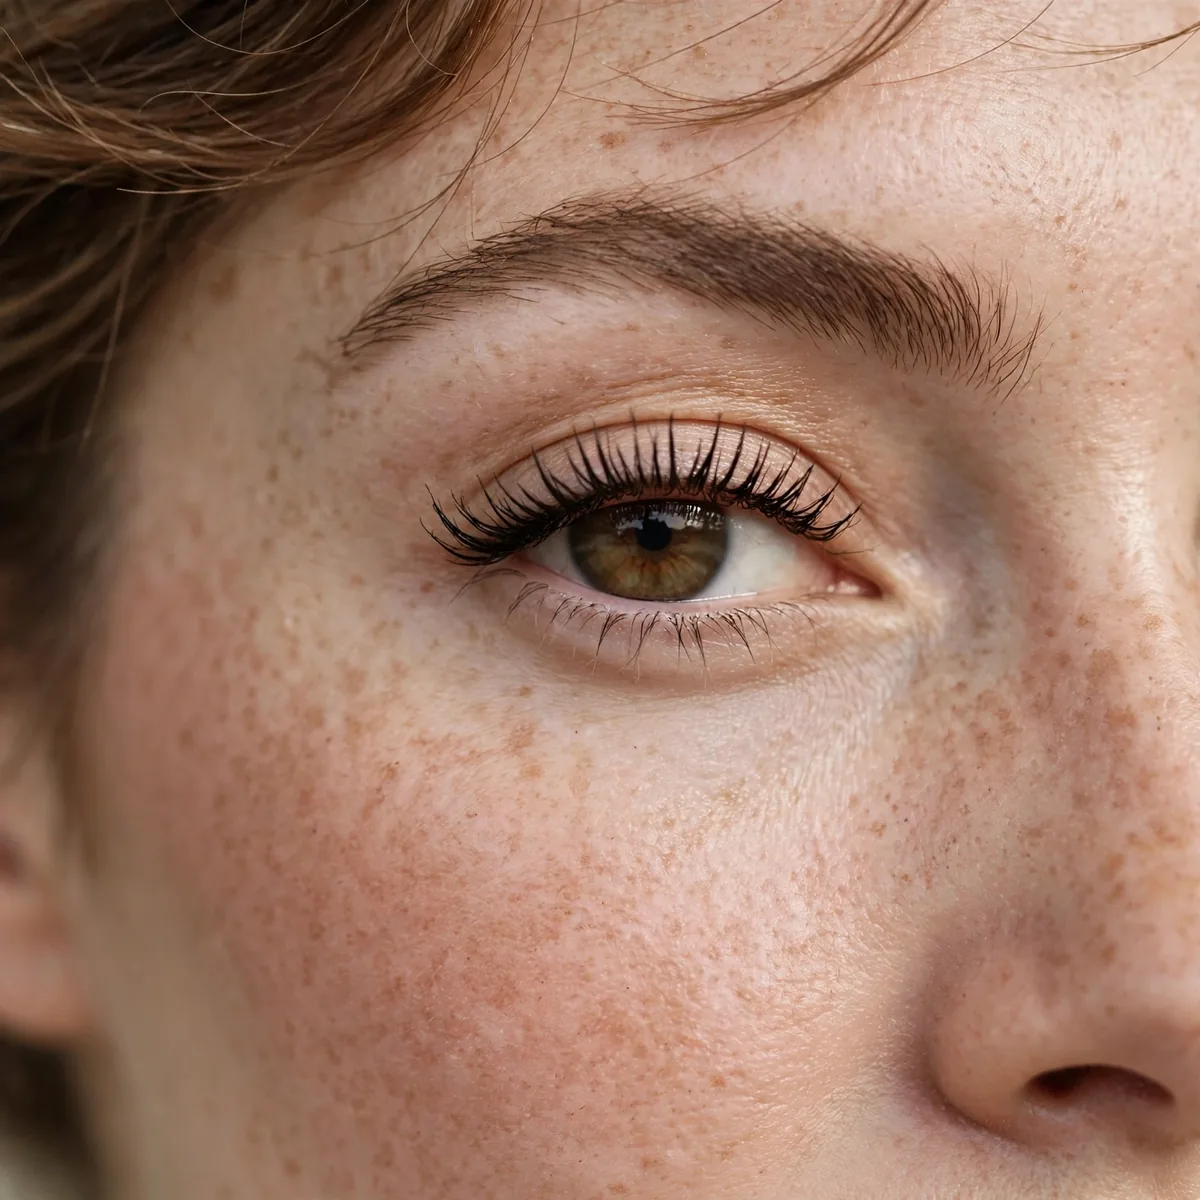
Keep the lower lid clean — smudges shorten the lash look.
For smudge-proof strategies, see our long-wear makeup tips. Clean lids frame lashes crisply.
Prevent smudges before they start by choosing tubing mascara for the lower lashes — its flake-free formula is the ultimate clean-lid insurance. Set the under-eye with a light dusting of translucent powder, which catches any stray particles before they reach skin. If you wear under-eye concealer, apply mascara first so the concealer can cover any micro-smudges afterward.
For emergency fixes, keep micellar-water-dipped cotton buds in your kit — one precise swipe erases smudges without disturbing foundation. Avoid oil-based removers for touch-ups, since they break down concealer and leave a greasy ring. At day’s end, the clean-lid habit pays off: removal takes seconds instead of a scrubbing session that drags at delicate skin.
Mascara Cocktail Removal
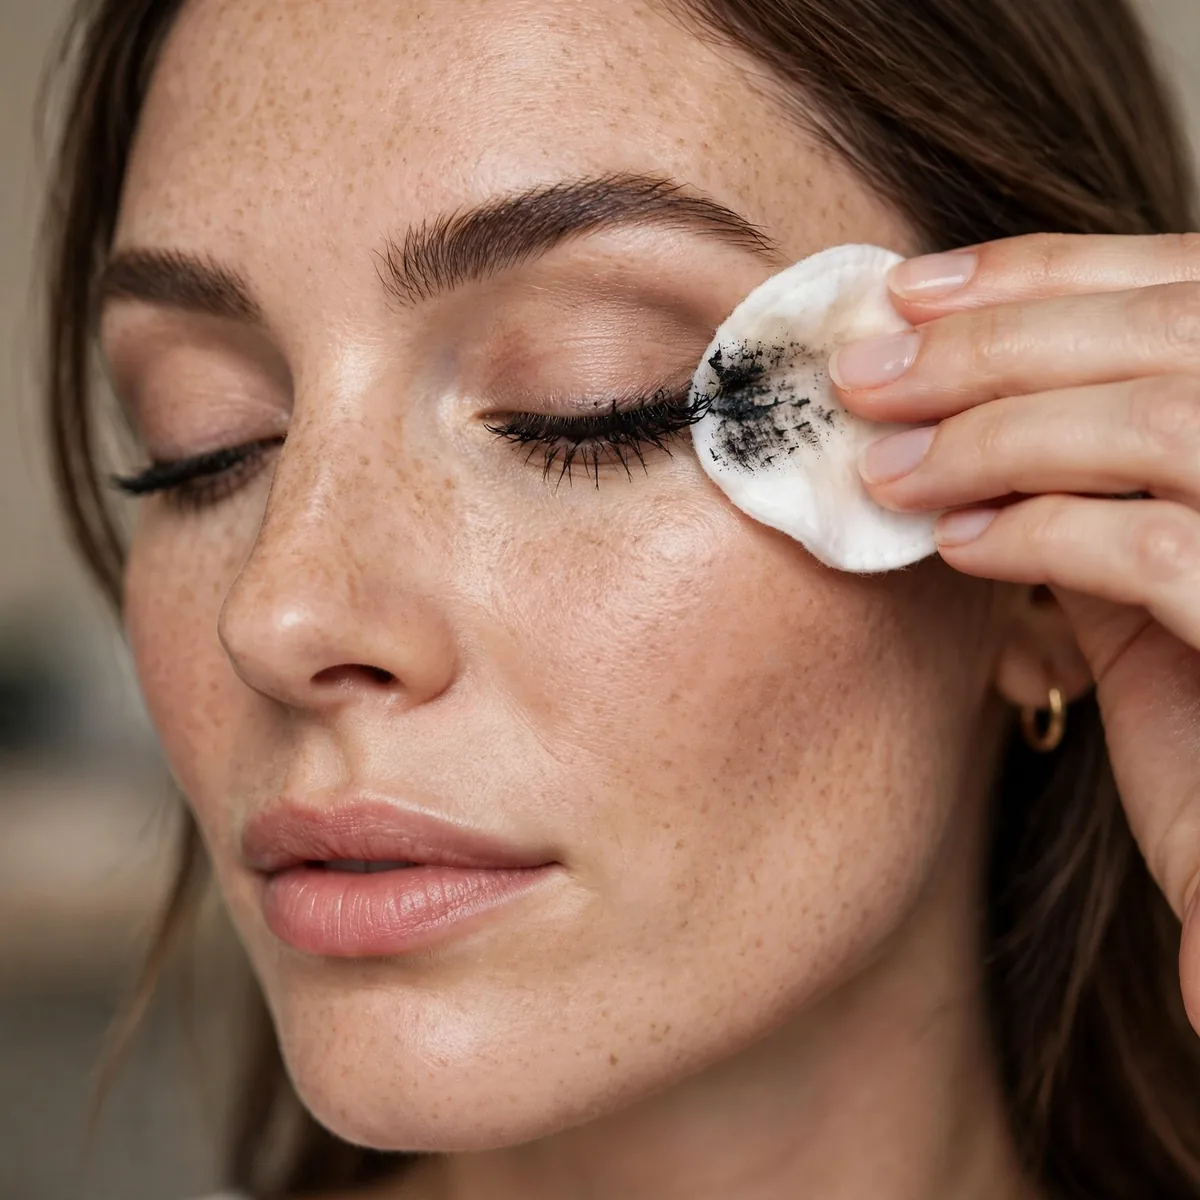
Remove gently every night — lash health determines future length.
Broken lashes from harsh removal undo all your length work. Be kind to them.
The soak method is non-negotiable for layered mascara: saturate a cotton pad with dual-phase remover, hold it over closed eyes for a full minute, then sweep downward in one motion. Repeat rather than scrubbing. For waterproof layers, an oil-based balm melted between fingertips and massaged along the lash line dissolves even the most stubborn formulas without pulling.
Follow removal with a lash serum containing peptides to support regrowth — consistent gentle removal plus nightly conditioning is how short lashes get longer over time. Never sleep in mascara: it makes lashes brittle and causes the breakage that keeps them short. A silk pillowcase reduces the friction that snaps weakened lashes overnight, protecting your length gains.
Consistency Wins
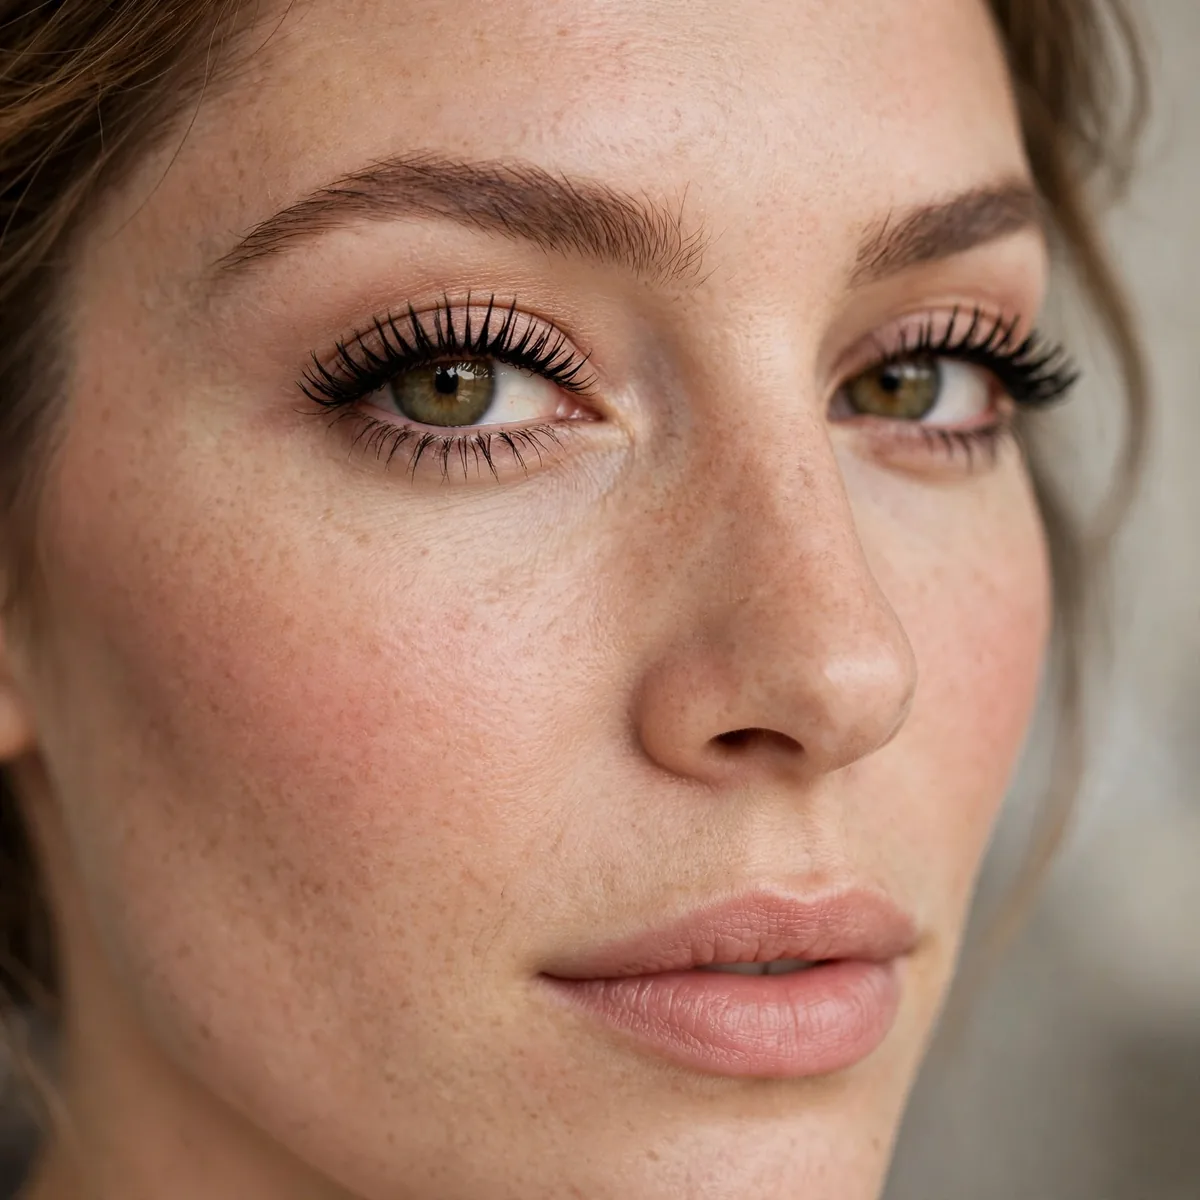
The full routine — curl, tightline, prime, two coats, comb — takes three minutes with practice.
Technique compounds. Each step adds a little; together they add a lot.
Build the routine in stages if three minutes feels overwhelming — master curling and the wiggle first, then add tightlining, then primer. Muscle memory develops within two weeks of daily practice. Time yourself once: most people discover the full routine takes under two minutes, not three, once the motions become automatic.
Track your progress with a weekly photo in the same lighting — the gradual length improvement is invisible day to day but dramatic month to month. Pair the routine with lash-friendly habits like nightly serum and gentle removal, and your natural lashes will steadily improve. Consistency doesn’t just fake length; over time, it protects the length you actually have.
Length is a technique — pin these tips. For more lash love, see false lash styles for beginners or tightlining tips.




