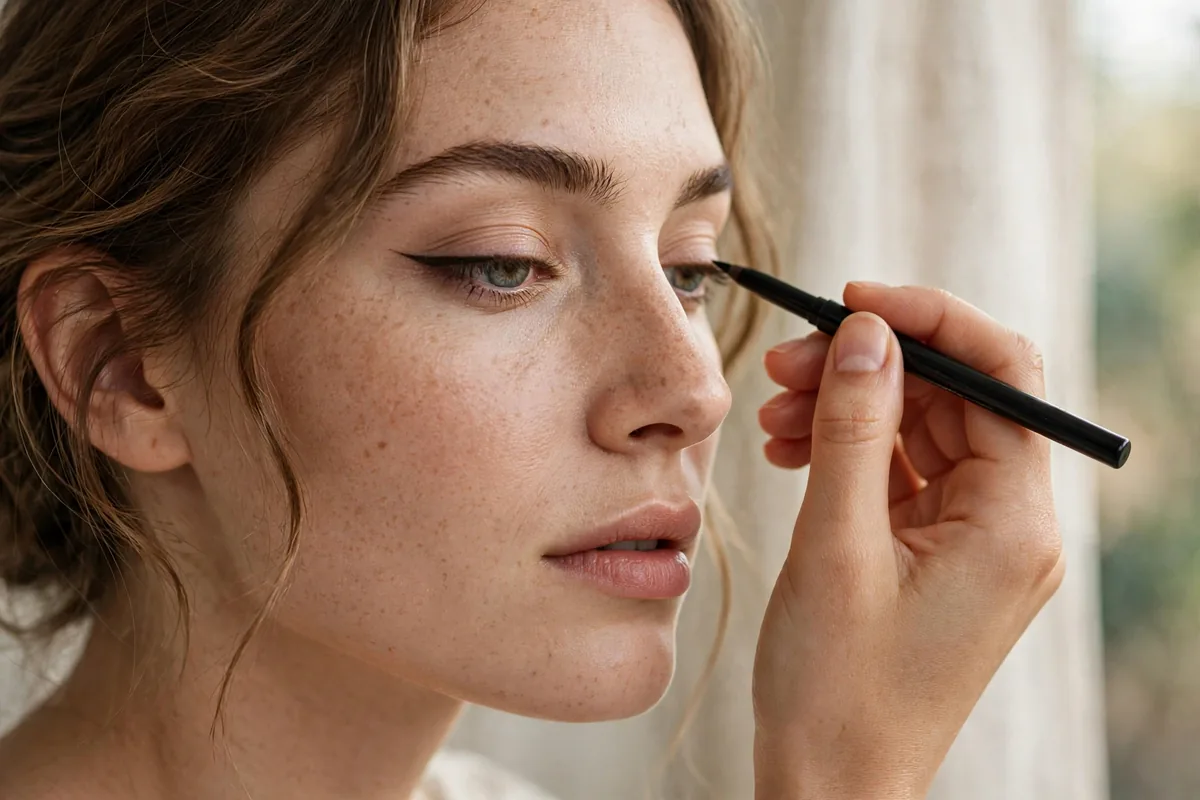
Tightlining is the best makeup technique you’ve never heard of.
It’s simple: fill in the skin between your lashes (the "tightline") with liner. The result looks like naturally thicker, darker lashes — no visible line, no obvious makeup.
It’s the secret behind every "no-makeup" look with suspiciously great lashes. And it takes thirty seconds once you learn it.
Here are 18 tips to master it. Let’s get into it.
What Tightlining Actually Is
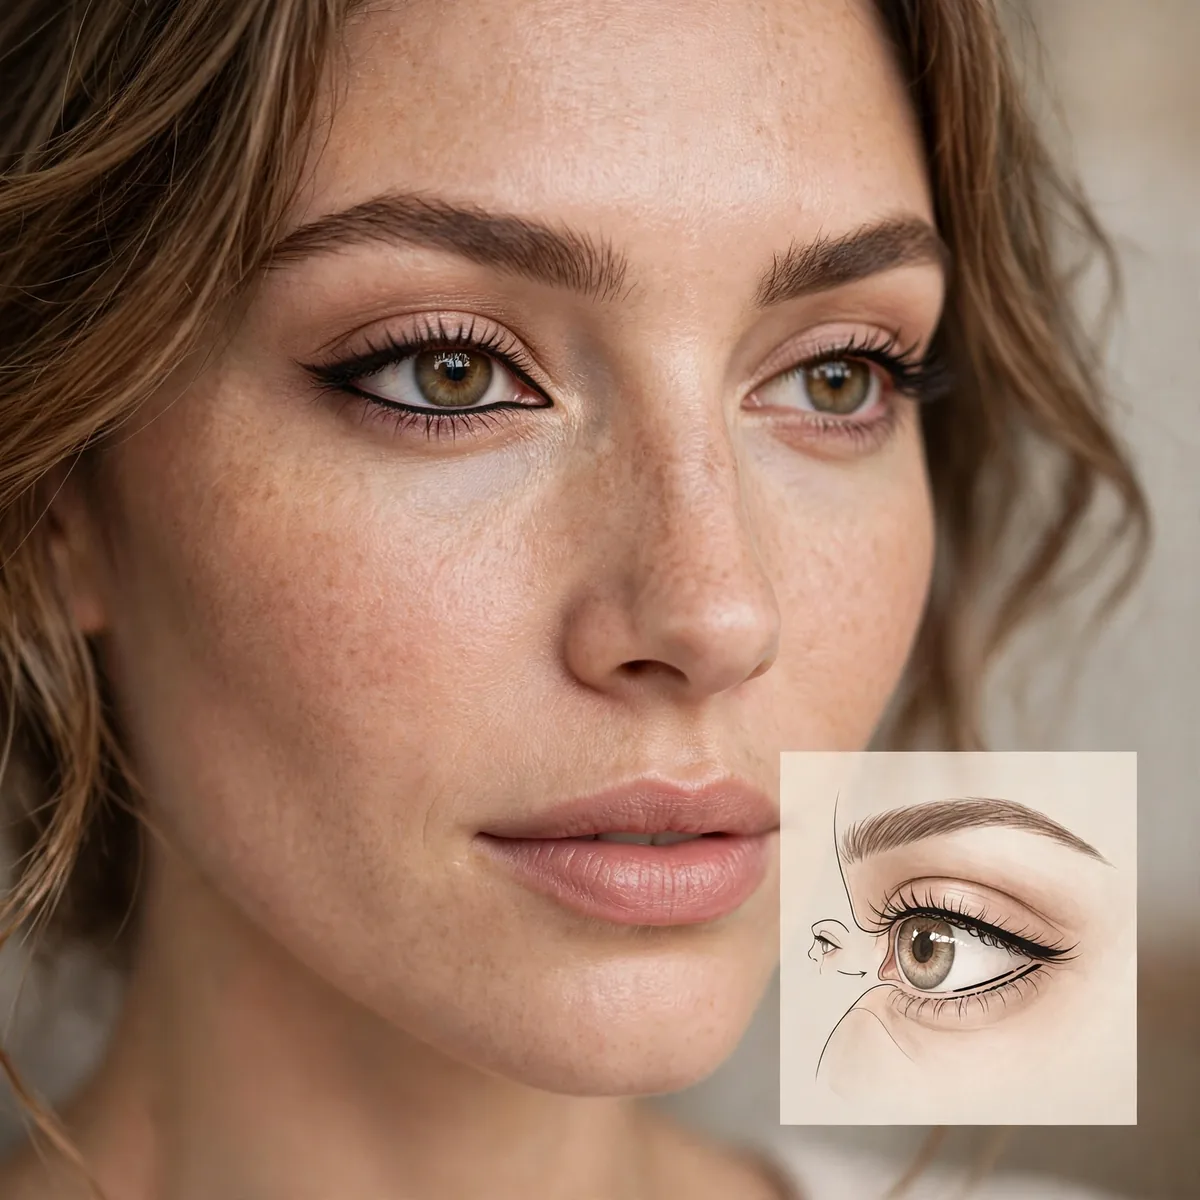
Tightlining fills the base of the lashes — the tiny strip of skin between lash hairs — with liner.
Understanding the placement is everything. You’re coloring lash roots, not drawing a line.
Makeup artists have used this trick on red carpets for years because it defines eyes without visible makeup. It suits anyone who wants a polished look with minimal effort, from office days to wedding mornings. Hooded, deep-set, and close-set eyes benefit most since no lid space is sacrificed. Even makeup minimalists who skip eyeshadow get instant eye presence from this single invisible step.
A common mistake is pressing too hard, which scratches the delicate waterline and causes watering. Keep pressure feather-light and work in short sections instead of one long drag. If your eyes are sensitive, patch-test the liner on your inner wrist first. Remember the goal is tinting the lash roots, so stop once the skin between lashes looks filled — overworking it only irritates.
The Right Liner Formula

Use a waterproof gel or kohl pencil. The waterline is wet — regular liner disappears in minutes.
Waterproof isn’t optional here. It’s the difference between all-day and ten-minutes.
Gel pots paired with a flat angled brush offer the most control, since you can load exactly the product you need. Retractable kohl pencils are the travel-friendly alternative and need no sharpener. Look for ophthalmologist-tested formulas labeled safe for the waterline, especially if you wear contacts. Avoid anything with heavy fragrance near the eyes, as it triggers watering that ruins the application.
Skip liquid liner for tightlining — the applicator deposits too much product at once and one blink sends it into your eye. Sharpen wooden pencils before every use so the tip stays precise and hygienic. Warm the tip on the back of your hand for a second to soften the formula. And check the expiry date; old liners harbor bacteria and lose their waterproof power.
Black vs Brown Choice

Black gives maximum lash impact; brown looks more natural. Choose based on your goal.
For daytime natural, brown. For evening drama, black. Both work beautifully.
Soft black and espresso sit between the two extremes and flatter most people. Warm undertones pair beautifully with chocolate and warm brown liners, while cool undertones glow with charcoal and true black. Gray is the overlooked middle ground — definition with softness. If you are unsure, hold both shades against your jawline in daylight; the right one disappears into your lashes.
For day-to-night versatility, tightline in brown in the morning, then layer black directly over it before evening plans. The brown base adds richness so the black needs only one pass. This trick also stretches your routine — no removal needed between looks. Keep both pencils in your bag and the transition takes under a minute in any mirror.
The Push Technique
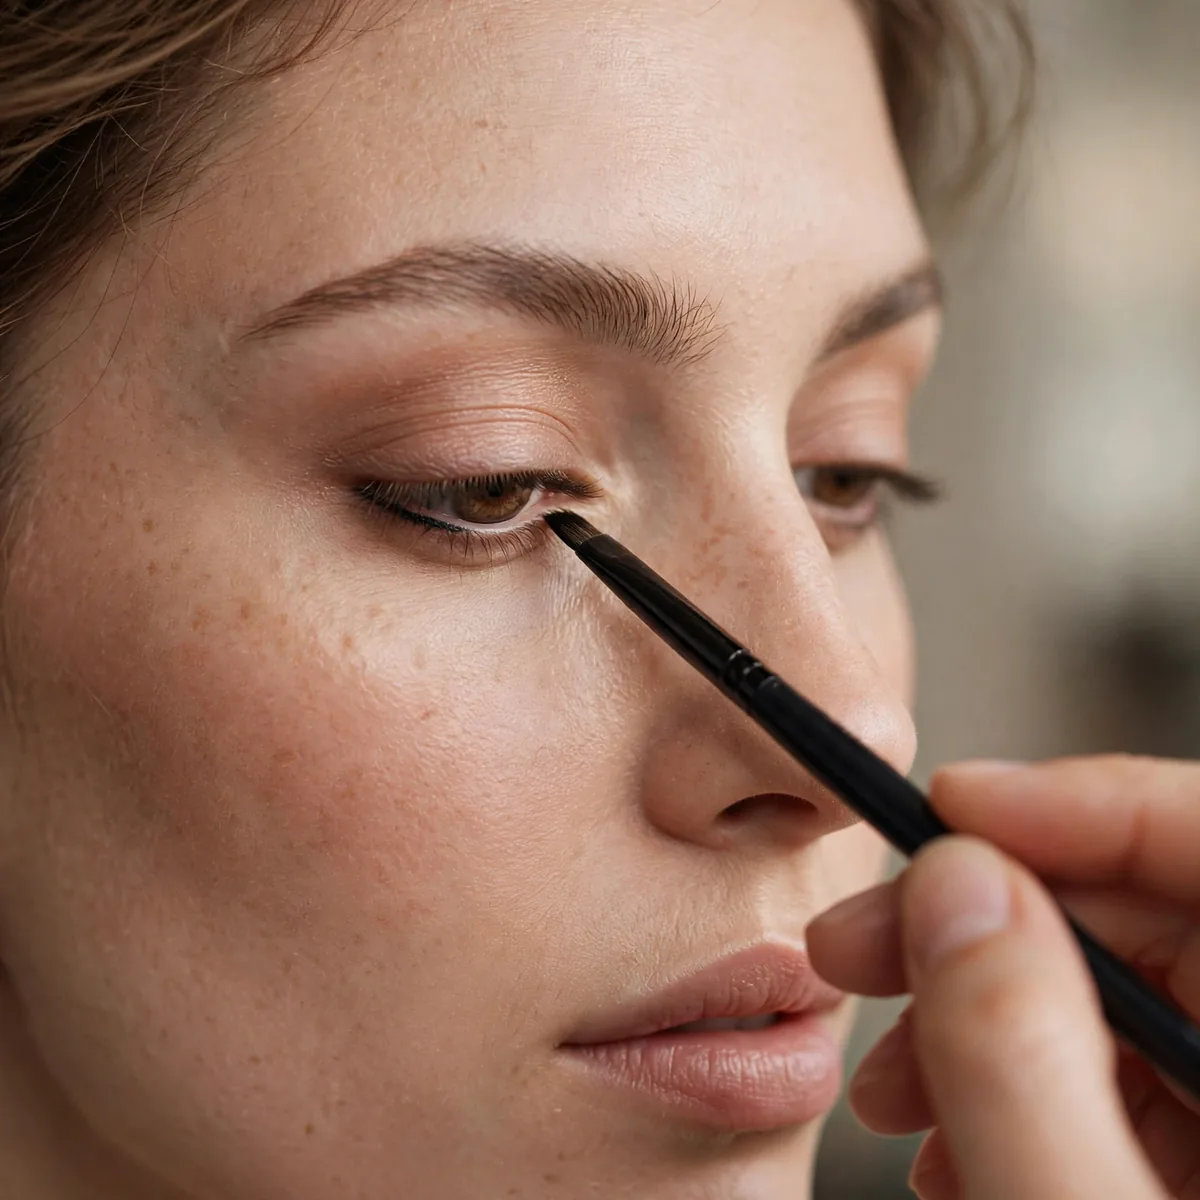
Gently push the liner into the lash base with small back-and-forth motions — don’t draw.
Pushing deposits color between lashes. Drawing creates a line above them. The distinction matters.
Tilt your chin down and look up into a hand mirror so the upper waterline faces you. With your other hand, lift the lid very slightly — no tugging — to expose the lash base. Work in tiny sections from outer to inner corner, wiggling the pencil side to side. Short pauses between sections let you check coverage without rushing.
Resist the urge to stretch the lid taut like a drum — chronic tugging contributes to fine lines and sagging over time. Keep the eye relaxed and half-open instead. If your hand shakes, rest your elbow on a table for stability. Practice matters more than speed here; after a week of daily attempts the motion becomes muscle memory and takes seconds.
Tightline Before Mascara
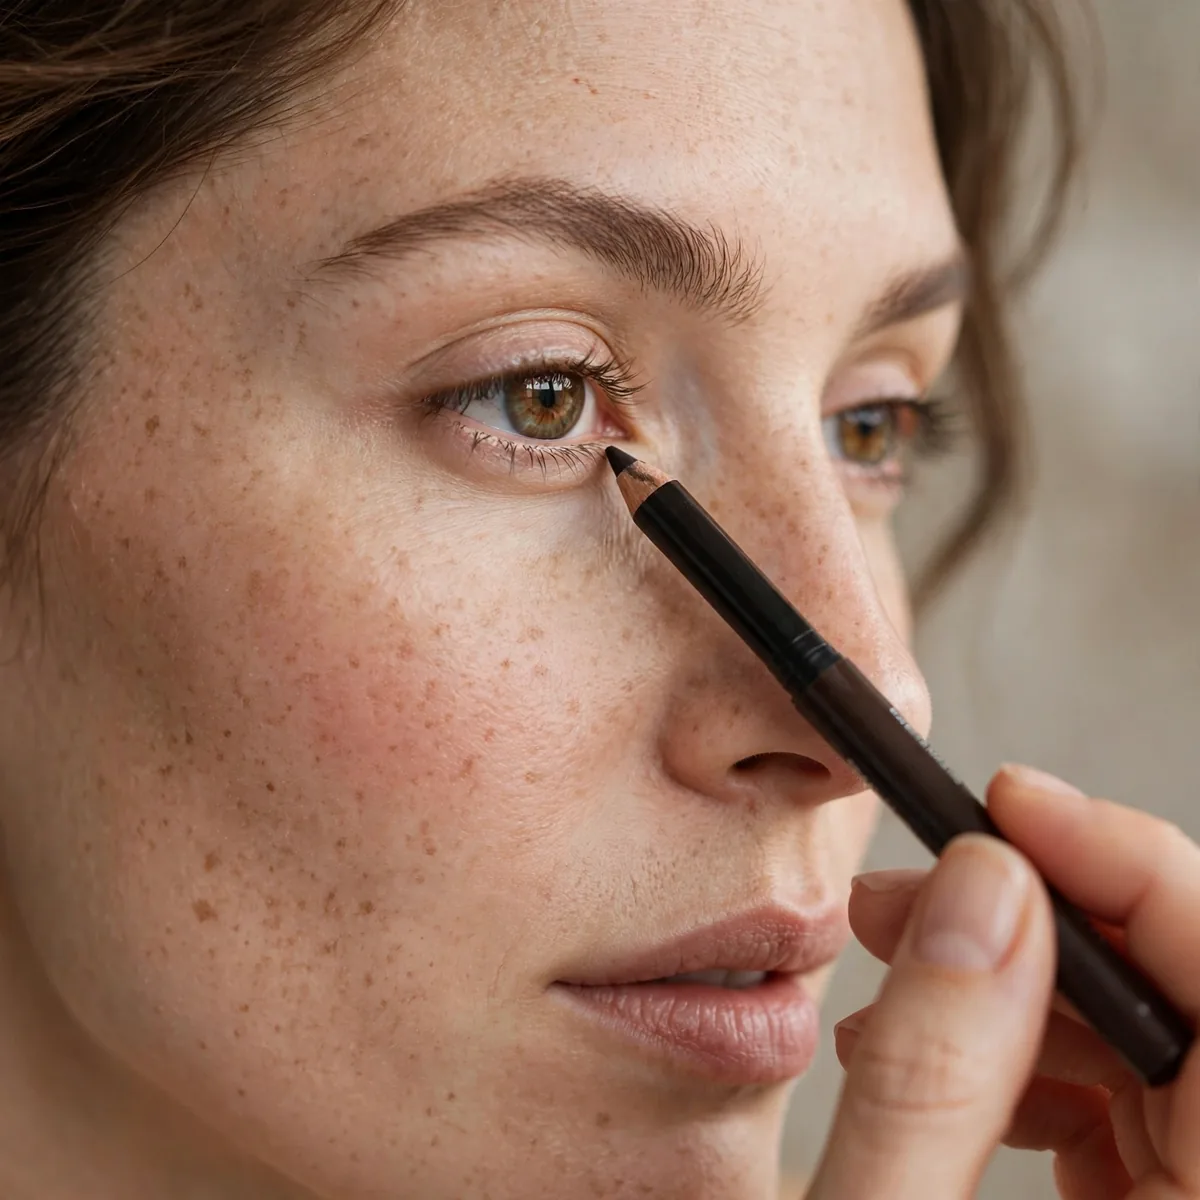
Always tightline before mascara. The mascara then blends with the liner seamlessly.
Order matters: tightline, then mascara, then any other liner. It’s the foundation layer.
Mascara wands naturally pick up a trace of liner from the lash base and pull it through the hairs, fusing the two layers. This blending is why the order works — reversing it leaves a harsh line sitting on top of mascara. The same logic applies to curling: always curl first, then tightline, then mascara, so each step builds on a clean base.
Place tightlining after foundation and concealer but before eyeshadow if you wear it — powder shadow can mute the liner if applied over it. Some artists tightline last as a finishing touch, but that risks disturbing set shadow. Experiment with both sequences on a quiet weekend to learn which gives you the cleanest result, then lock in your personal routine order.
Upper Only Rule
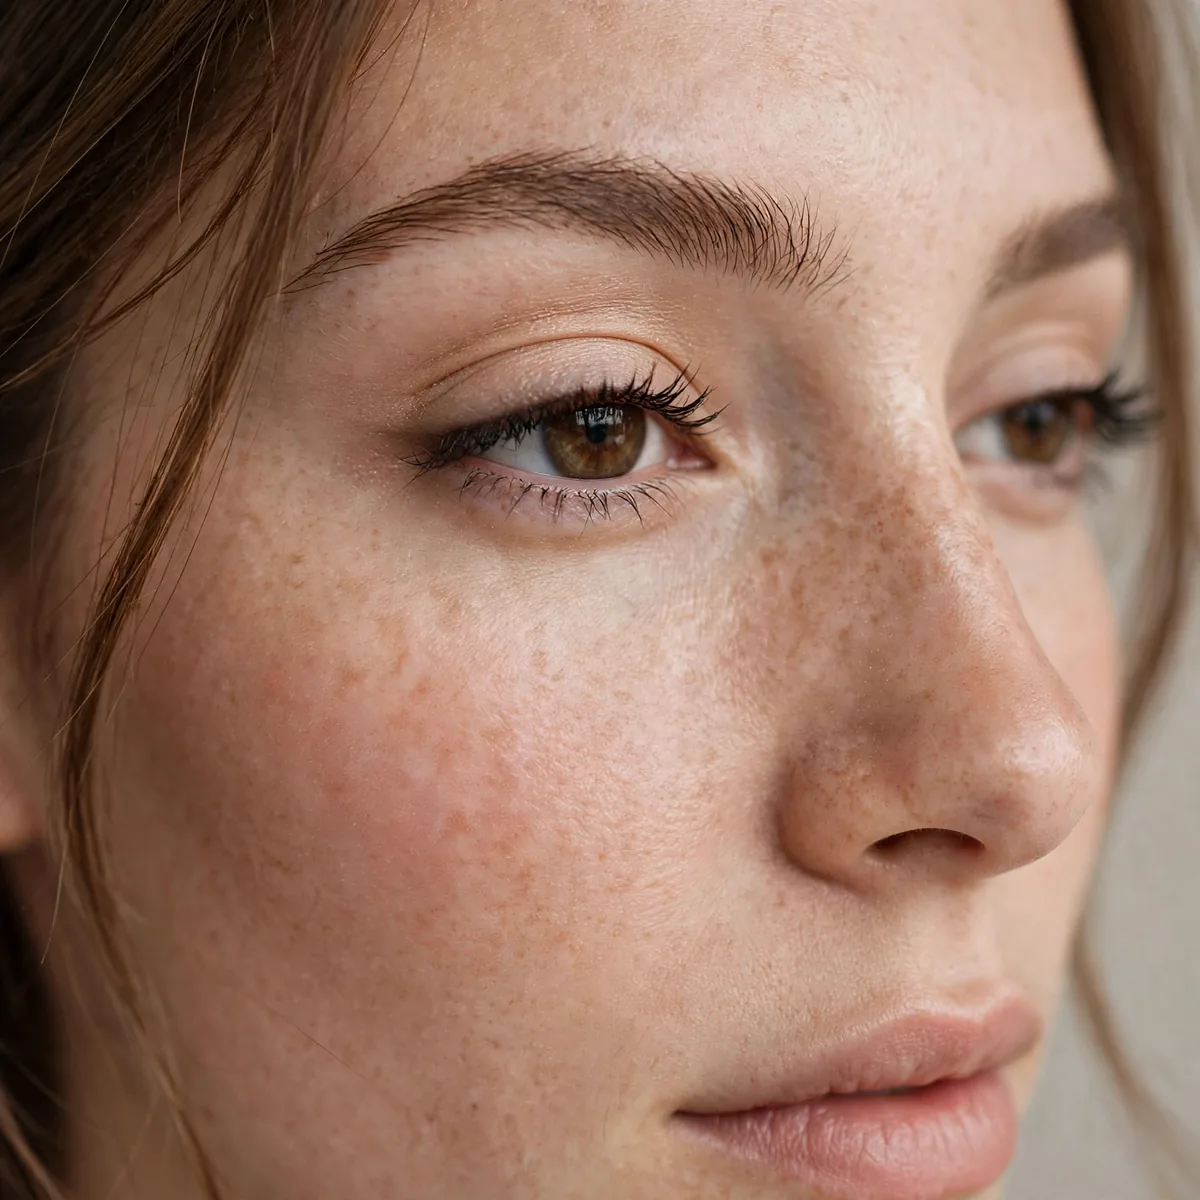
Tightline the upper waterline only. Lower tightlining closes off the eye.
Upper tightline opens and defines; lower tightline shrinks. Know the difference.
The logic is pure optical illusion: darkness at the upper lash line lifts the eye upward, while darkness below it pulls focus downward. For deep-set and downturned eyes this rule matters even more, since lower liner exaggerates both concerns. Trust the physics — an unlined lower lash line reads as openness, even when the upper line is quite intense.
The one exception is a faint dot of liner at the very outer lower corner, which anchors the eye without closing it. For photography or evening events, a soft lower smudge can add balance — just keep it to the outer third. Day to day, though, the clean lower line flatters almost everyone and keeps the focus where lashes do their best work.
The Blink Stamp
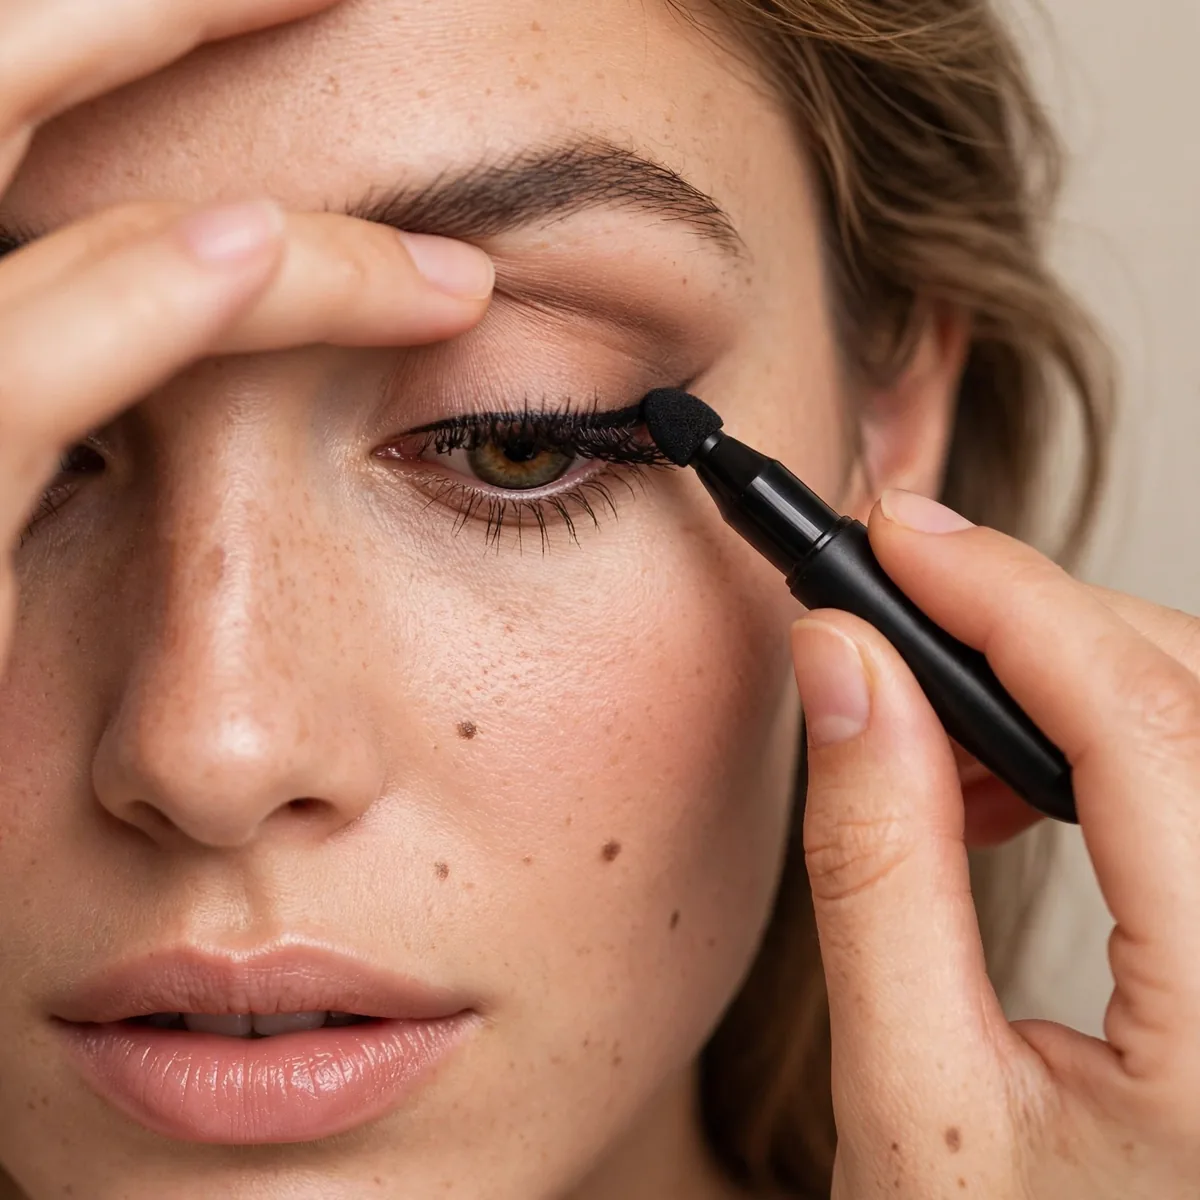
Apply liner to the upper waterline, then blink — it stamps color onto the lower lash base too.
Two tightlines for the price of one. Efficient and effective.
Timing is everything with this shortcut — blink gently within seconds of applying, while the liner is still wet and transferable. A soft, natural blink works better than a hard squeeze, which smears product where you do not want it. One deliberate blink usually deposits enough; check a mirror and repeat only if the lower base still looks bare.
Treat the stamp as a bonus, not a replacement for a proper upper tightline — the transfer is always fainter than the original. If you wear mascara on lower lashes, apply it after the stamp so the wand does not pick up wet liner. And skip this trick on windy or teary days; watery eyes plus fresh liner equals unpredictable smudging.
Setting With Shadow
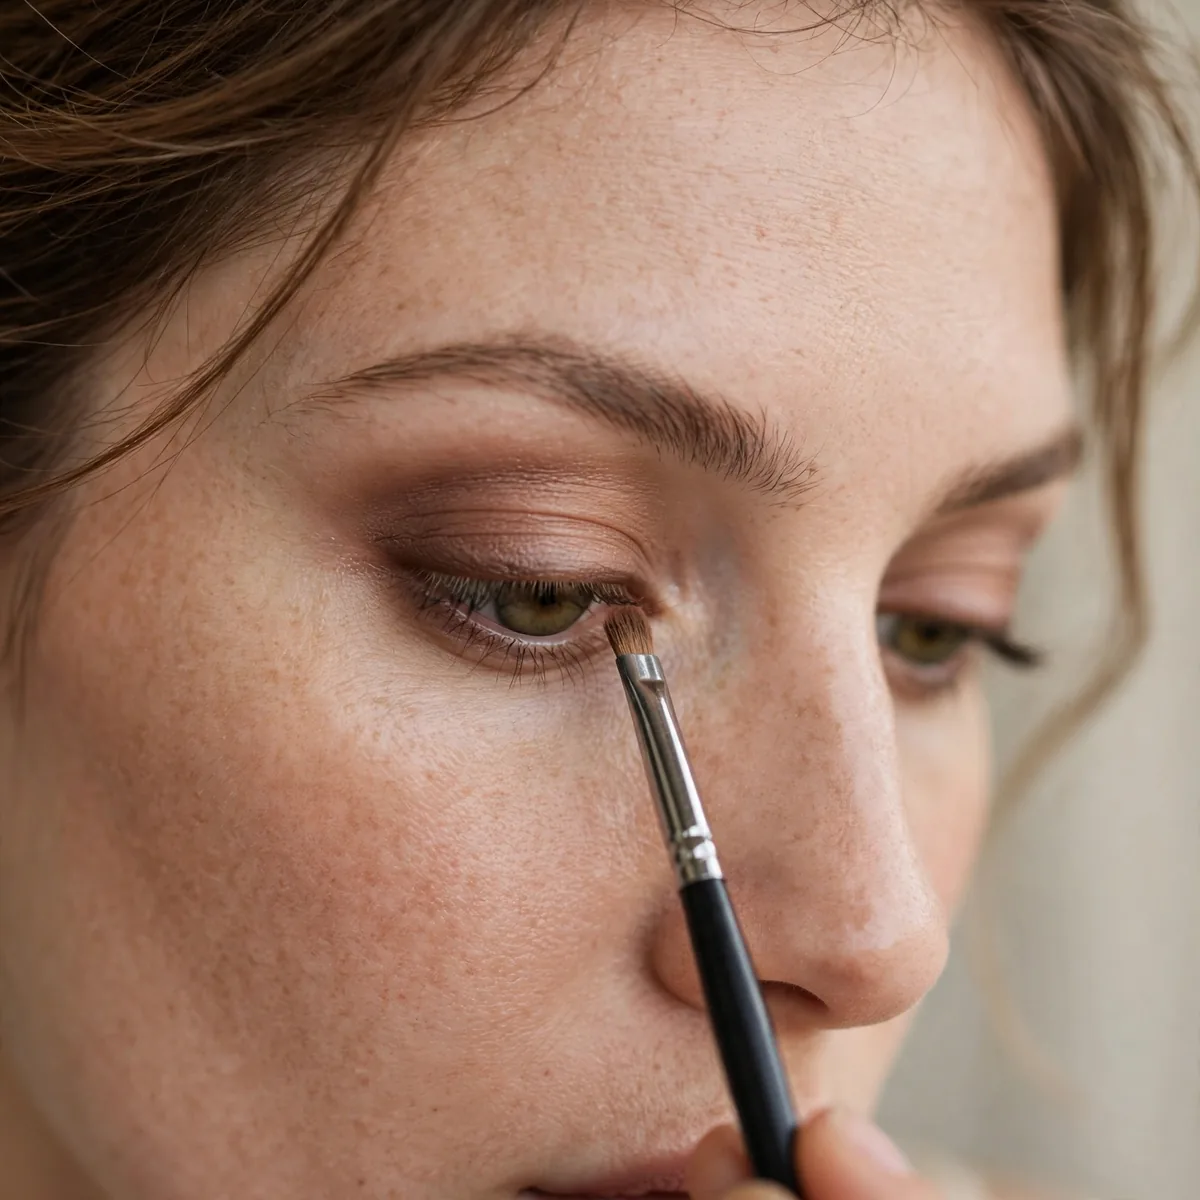
Press matching powder shadow over the tightline to set it for all-day wear.
The powder absorbs moisture and locks the liner. This doubles wear time.
Use a small flat definer brush — not a fluffy one — and press the shadow straight down onto the liner with a stamping motion. Sweeping drags the wet liner out of place. Choose a matte shadow in the same color family as your liner for an invisible bond. Cream shadows also work, but powder absorbs moisture better and truly locks the line.
For touch-ups away from home, carry the liner only — re-pressing with shadow midday is overkill for most people. In very humid climates, a waterproof cream shadow as the setting layer outperforms powder. One caution: shimmer shadows reflect light and can make the tightline visible as glitter, so save sparkle for the lid and keep the lash base matte.
Tightlining for Hooded Eyes

Tightlining is ideal for hooded eyes — definition that can’t disappear into the fold.
Since there’s no visible line, there’s nothing for the hood to hide. Genius for hooded lids.
Deep-set eyes and monolids gain the same advantage — definition that sits at the lash roots instead of on lid space the eye shape hides. Pair tightlining with a good lash curler for maximum effect; lifted lashes plus a dark base read as wide-awake. Skip heavy lid liner entirely and let the tightline carry all the definition.
Keep any wing or flick extremely short on hooded eyes — long wings get swallowed by the fold and look disconnected. The tightline alone often provides enough drama for daytime. For evening, add a soft smoked shadow at the outer corner rather than extending liner. This keeps the focus tight at the lashes where hooded eyes show color best.
Tightlining With Lash Extensions
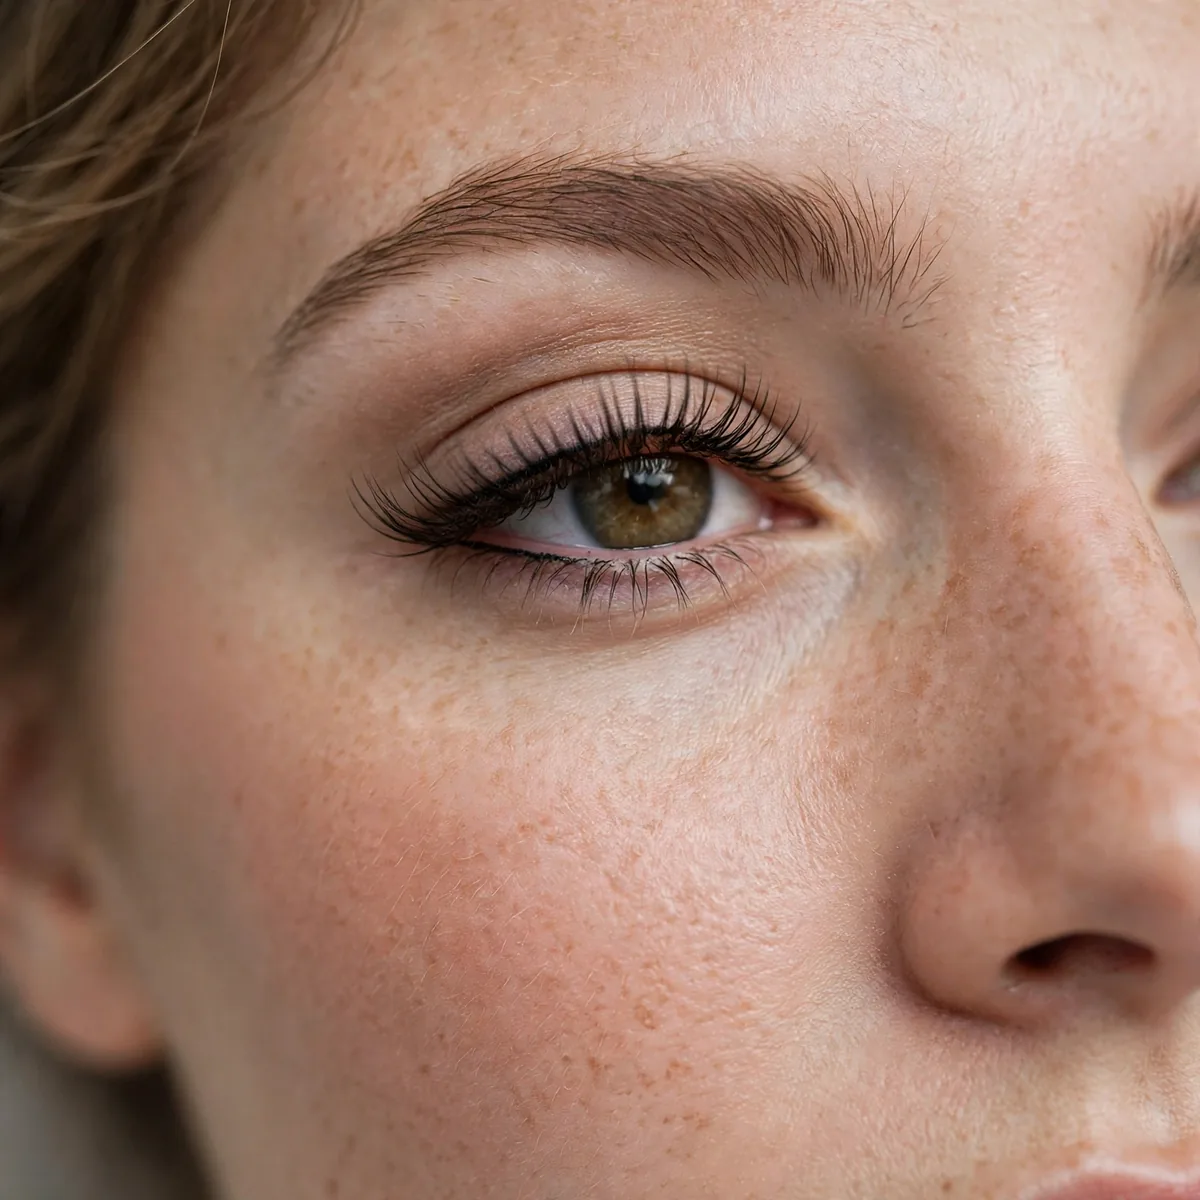
Skip oil-based liners if you have extensions — they dissolve the adhesive.
Use a water-based gel. The technique works beautifully with extensions for extra density.
Read ingredient lists for hidden oils — some long-wear formulas contain mineral oil or squalane that slowly weaken extension adhesive. True water-based gels and oil-free liquids are the safe zone. Remove with an oil-free micellar water on a cotton pad rather than rubbing. Your lash tech will thank you when fills stay fuller for longer.
Use a light hand and short strokes so you never tug at the extension bonds. Retractable pencils beat wooden ones here — no sharpening shavings near the lashes. Tightline between your natural lash line and the extensions to fill the gap that appears as they grow out. It camouflages regrowth beautifully and extends the time between appointments.
The Invisible Lower Definition

Dot liner between lower lashes (not the waterline) for subtle lower definition.
Dots between lashes, never a line. It defines without closing off the eye.
A fine detail brush or the very tip of a sharpened pencil gives the control this technique demands. Place each dot directly against a lash, spacing them evenly along the lower line. Step back from the mirror after every few dots — closeness distorts your judgment. Fewer, well-placed dots always beat a dotted row that reads as texture.
The most common error is dotting too far below the lashes, which creates a spotted effect instead of invisible definition. Keep every dot touching the lash base. Pair with the lightest coat of lower mascara — too much mascara plus dots looks heavy. For round or prominent eyes, concentrate dots on the outer half to elongate rather than widen.
Tightlining for Small Eyes
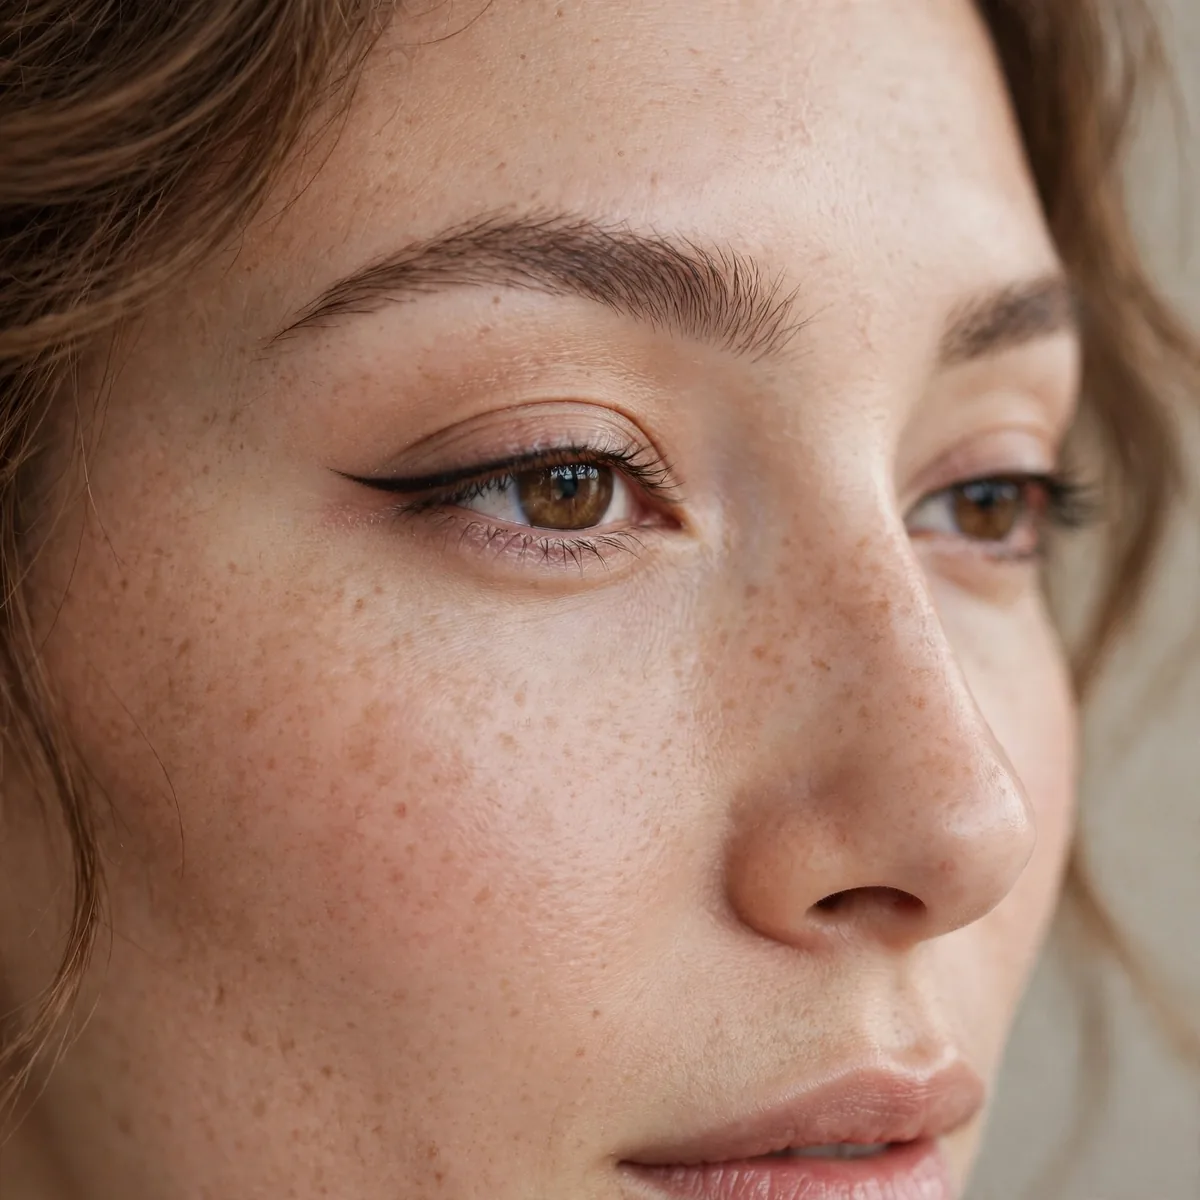
Tightlining defines without taking up lid space — ideal for small eyes.
Unlike thick liner, tightlining adds zero visual weight. Definition without shrinkage.
Combine an upper tightline with a nude or champagne liner on the lower waterline — the pale shade visually widens the whites of the eyes. This duo is the classic bright-eye recipe used in photography for a reason. Keep the lower line thin and precise; a thick nude line looks obvious. The contrast between dark top and light bottom creates instant openness.
Lift the outer corners with a softly blended shadow that sweeps upward toward the brow tail — never downward. Curl lashes before tightlining so they arc away from the lid and expose more eye. Skip heavy lower mascara, which visually shortens the eye. These three companions — lift, curl, restraint below — multiply what tightlining alone can do.
Waterproof Testing
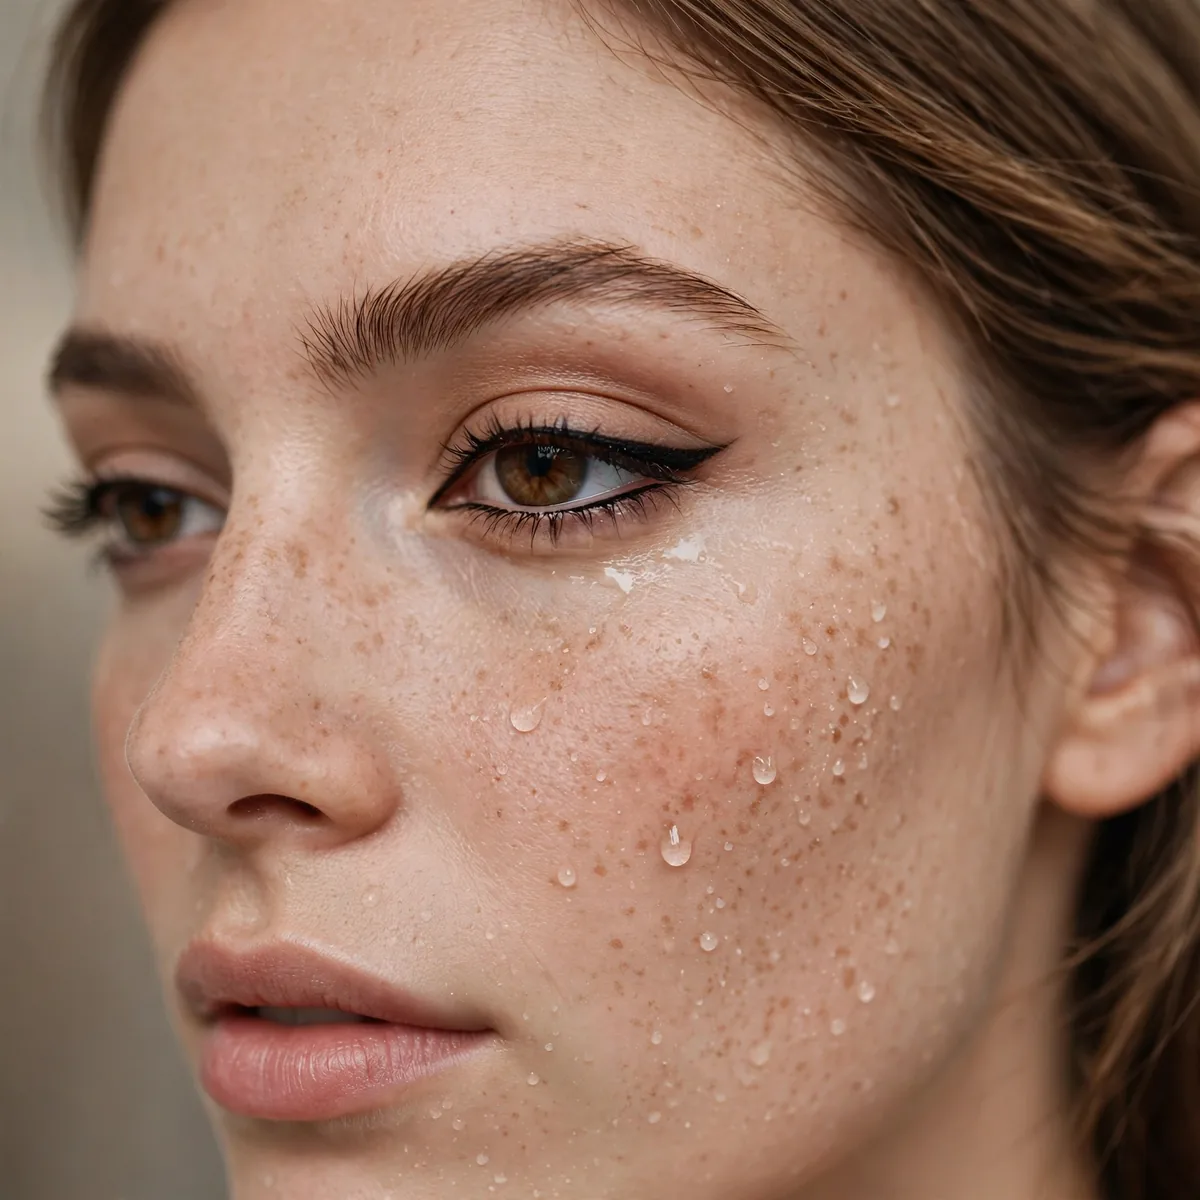
Test your liner’s waterproof claim on your hand under running water before trusting your waterline.
Not all "waterproof" is equal. Test before an important day, not during it.
Do a second test on slightly oily skin, like the side of your nose — waterline moisture mixes with natural oils, so water alone is not the full picture. A true waterproof formula stays put under both. Also test smudge resistance by rubbing gently after thirty seconds. If it moves, it will migrate on your waterline by lunchtime.
Replace waterline liners every three months — bacteria build up fast in the warm, moist environment near the eye, and old formulas lose their waterproof seal. Never share waterline pencils with anyone. If your eyes feel gritty or irritated after application, toss the liner immediately rather than pushing through. Eye health always outranks any makeup goal.
The Smudged Tightline

Smudge the tightline slightly upward for a soft-focus lash base.
The smudging creates a gradient from lash to lid — softer than a crisp tightline.
This softer version shines in professional settings and on mature lids, where crisp lines can look harsh. Use a small smudge brush or a cotton bud and work the liner just a millimeter upward into the lash roots. The result reads as naturally dense lashes rather than makeup. It also forgives shaky hands better than a precise tightline does.
Set the smudged version lightly with translucent powder so it stays soft instead of traveling into creases. The biggest mistake is smudging too far up the lid, which turns a lash-base technique into a full smoky eye. Keep the diffusion tight — about two millimeters max. Check both eyes in daylight, since indoor lighting hides asymmetry.
Tightlining for Contact Wearers

Put contacts in BEFORE tightlining to avoid trapping liner under the lens.
Order: contacts, then tightline. Reversing it risks irritation and blurry vision.
Choose liners labeled ophthalmologist-tested and safe for contact lens wearers — these formulas avoid particles that scratch lenses. Fragrance-free matters even more here, since scent chemicals dissolve into the tear film. Daily disposable lenses are the most forgiving pairing, as any trapped residue gets discarded each night rather than building up.
If your eyes water during application, wait for the tears to stop before continuing — wet liner plus tears equals instant panda eyes. Never tightline when your eyes are red or irritated; the waterline is vulnerable then. Keep rewetting drops on hand for long days, and if blurriness appears after application, remove everything and start fresh rather than rubbing.
Removing Tightline Properly
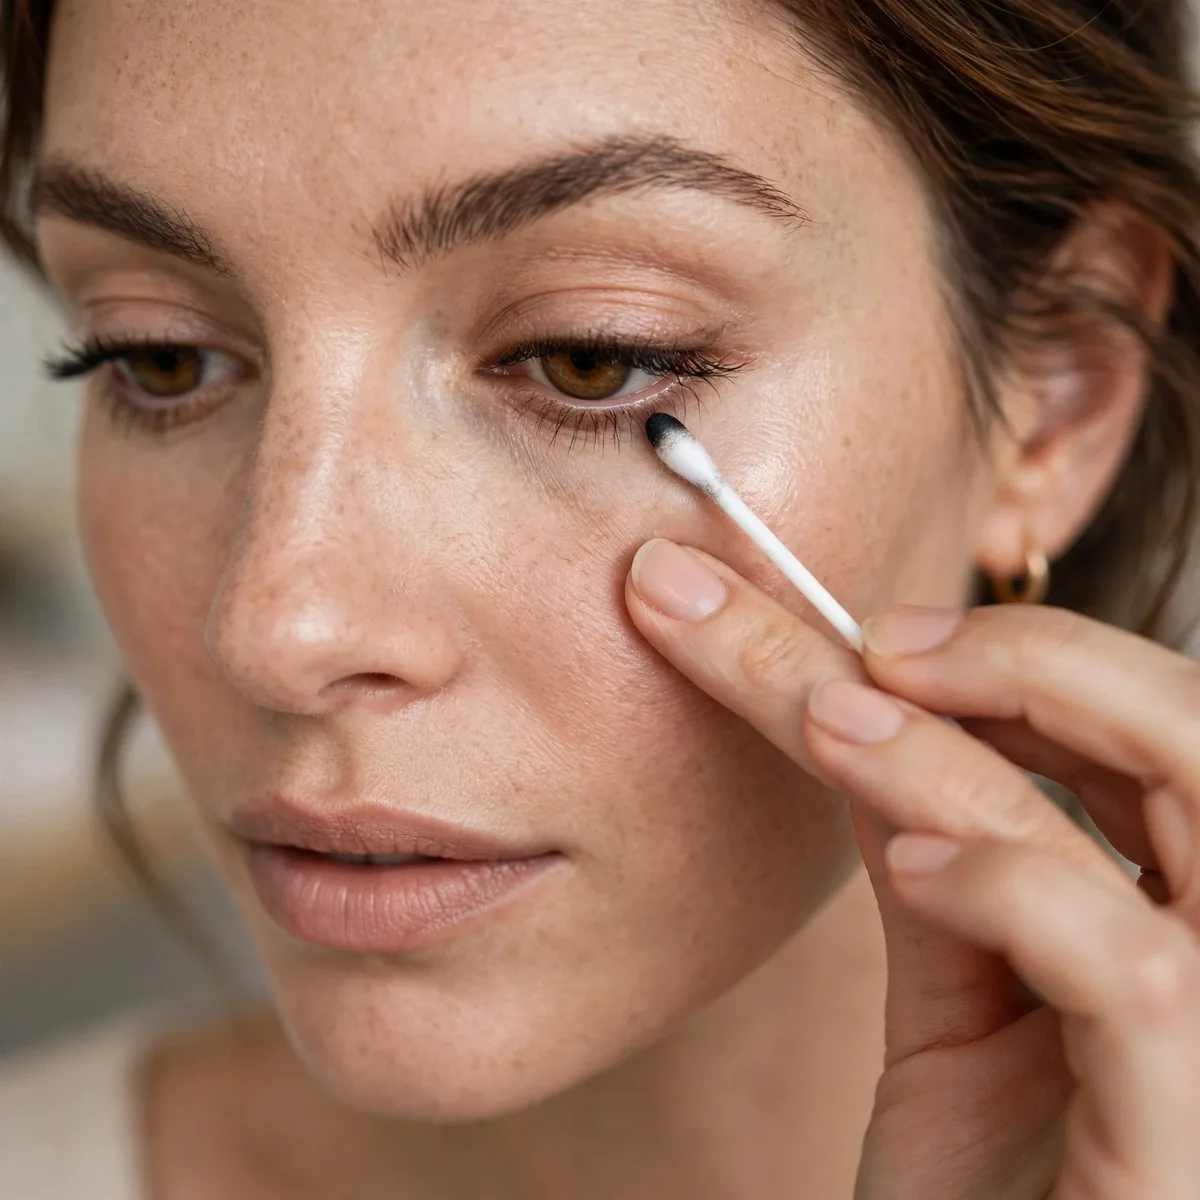
Use an oil-based remover on a cotton pad, pressed gently — no rubbing the waterline.
Gentle removal protects the delicate waterline area. Rubbing causes irritation and redness.
Soak the cotton pad fully and hold it against the closed eye for twenty seconds — the dwell time dissolves the liner so you barely need to wipe. Then sweep downward once, away from the eye, instead of scrubbing side to side. Dual-phase removers with a shake-to-mix formula cut through waterproof pigment fastest. Follow with your regular gentle cleanser to clear residue.
Leftover liner residue is the hidden cause of morning raccoon eyes and recurring styes along the lash line. After removing, inspect the waterline in a magnifying mirror — any remaining gray tint means a second pass is needed. Finish with a fragrance-free eye cream to replenish the delicate skin. Never sleep in tightliner, no matter how tired you are.
Tightline Plus Mascara Combo
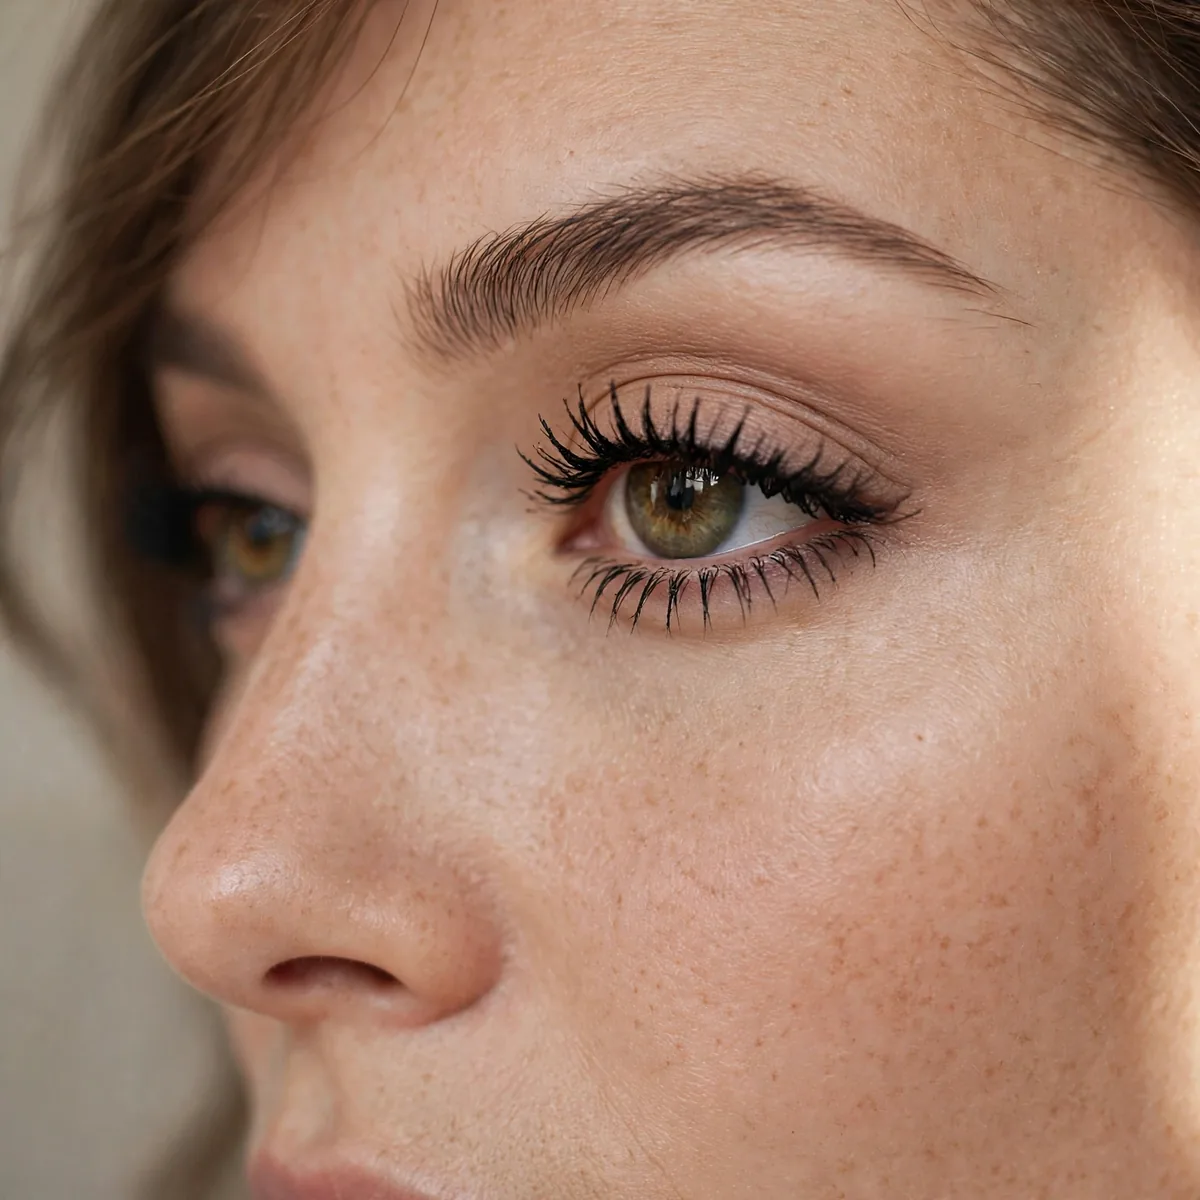
Tightline plus two coats of mascara creates the falsies illusion without falsies.
This combo is the "your lashes but better" holy grail. Try it before buying falsies.
Apply mascara in two thin coats rather than one heavy one — thin layers build without clumping. Wait about thirty seconds between coats so the first sets slightly. Wiggle the wand at the roots before pulling through to the tips; this deposits the most product where the tightline sits. A lash primer underneath adds even more grip and volume.
Curl lashes before anything else — curling after mascara snaps hairs and flakes product. If your lashes are straight and stubborn, warm the curler with a hairdryer for five seconds first. Waterproof mascara locks the curl best but needs oil-based removal, so weigh the trade-off. For the fullest illusion, tightline, curl, prime, then double-coat in that exact order.
Making It Last All Day

Waterproof liner plus powder set plus no eye-rubbing equals all-day tightline.
For all-day everything, our long-wear makeup tips cover the full face. The tightline is the foundation — treat it right.
Dust a touch of eyeshadow primer along the lash line before tightlining — it grips the liner like double-sided tape. On humid days or at outdoor events, this single extra step prevents the migration that heat causes. Avoid touching or rubbing your eyes throughout the day; every touch transfers oils that break the liner down. Blot lids with tissue if they get oily.
Carry the pencil for a midday check — one quick pass revives the line without a full redo. In summer or before swimming, accept that no tightline survives full submersion; reapply after. For weddings and long events, the primer-plus-powder-set combination holds through happy tears. Test your full routine on a normal day first so event day brings no surprises.
Invisible makeup, visible results — pin these tips. For visible liner skills, learn winged eyeliner, or boost lashes further with mascara tips for short lashes.




