
Twelve-hour makeup on oily skin isn’t luck. It’s layering.
Long wear comes from thin layers of the right products, each locked by the next: primer grips foundation, powder sets foundation, spray seals everything. Every layer earns its place.
Oily skin breaks down makeup through oil production — so the strategy is oil control at every step, not just one mattifying product.
Here are 20 tips for the 12-hour face. Let’s get into it.
The Layering Principle

Thin layers of compatible products outlast single thick layers.
Each thin layer sets before the next goes on. Patience in application equals hours in wear.
Compatibility between layers matters as much as thickness. Silicone-based primers pair with silicone-based foundations; mixing water-based and silicone formulas causes pilling and separation as the day wears on. Check ingredient lists for dimethicone or cyclopentasiloxane near the top — that signals silicone. When in doubt, keep primer and foundation from the same brand line, since they're formulated to bond.
Apply thin layers with a damp makeup sponge using a stippling motion rather than sweeping — pressing product in builds coverage without disturbing the layer beneath. A dense kabuki brush buffed in small circles works similarly for fuller coverage. Between layers, wait a full sixty seconds and fan your face or use a cool blow-dryer setting; rushing this step traps moisture that later becomes midday shine.
Mattifying Primer Foundation

Primer is the grip layer — everything adheres to it.
Apply to oily zones and let set 60 seconds. The wait is worth it.
Read the label for oil-absorbing workhorses: silica and kaolin soak up sebum, niacinamide regulates oil production over time, and dimethicone creates the grippy film foundation adheres to. Pore-blurring primers with microspheres suit large pores around the nose and cheeks. For extremely oily skin, a mattifying primer all over plus a pore-filling one on the T-zone gives targeted control where each concern lives.
Press primer into the skin with fingertips rather than rubbing — the pressing motion fills pores instead of skipping over them. Concentrate on the T-zone, chin, and anywhere makeup historically slides first, using a lighter hand on drier cheeks. Let it set for a full minute until it feels tacky-dry, not wet; foundation applied over wet primer sheers out and loses grip. This single minute of patience adds hours of wear.
Long-Wear Foundation Choice
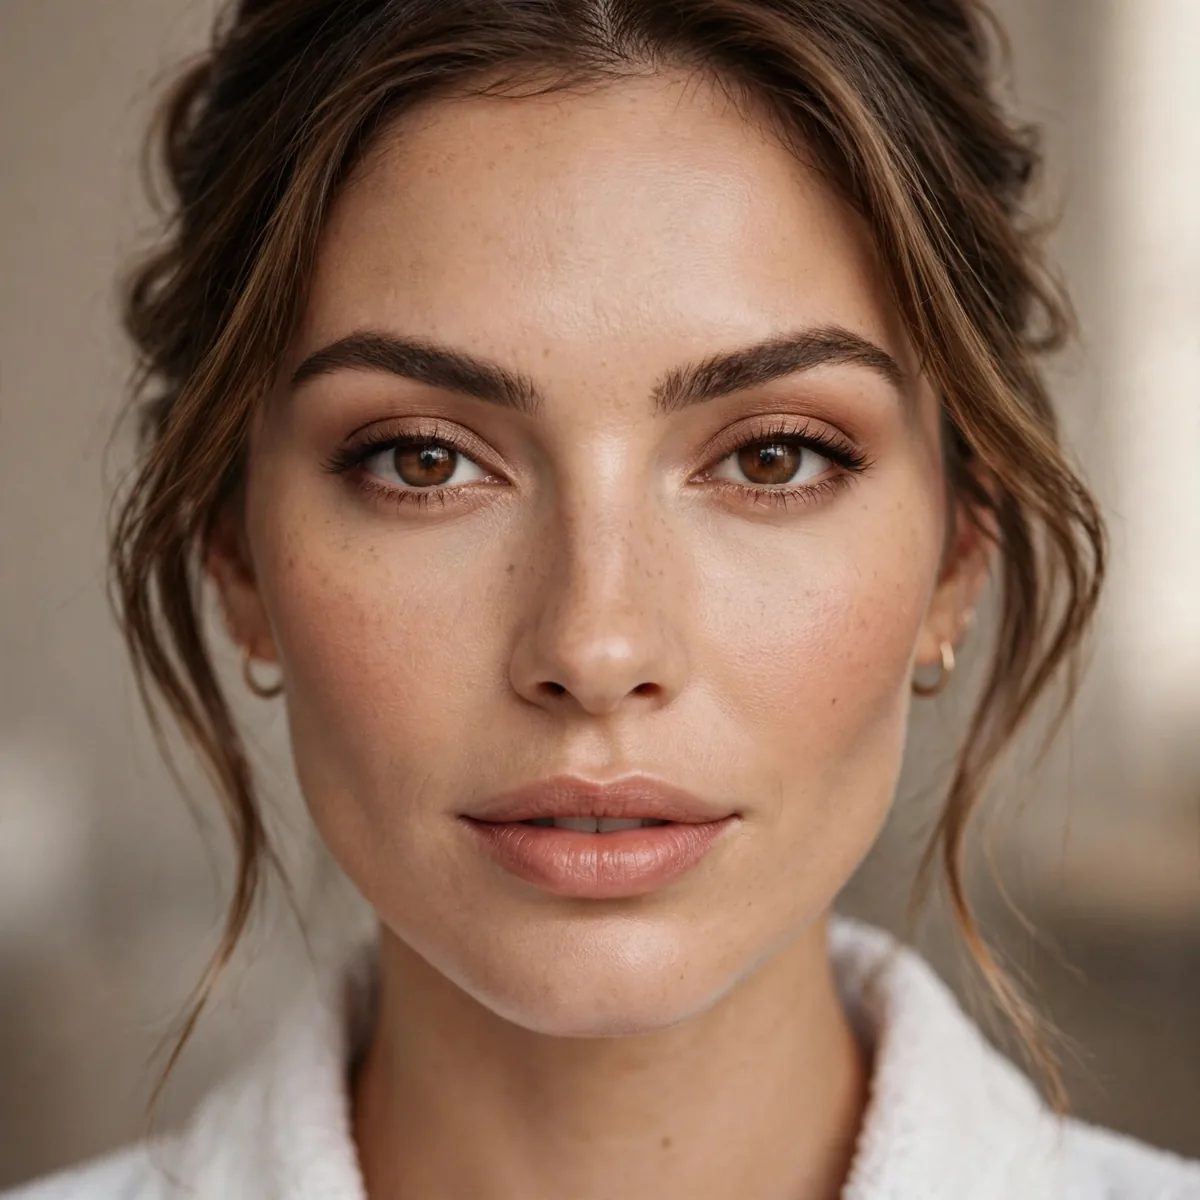
Choose foundations labeled long-wear or 24-hour — the formula matters most.
Our oily-skin foundation guide has picks. Start with the right formula.
Finish matters as much as the long-wear claim: demi-matte and natural-matte formulas control shine without the flat, mask-like effect of ultra-matte ones. Oily skin often runs warm, so check undertones in natural light — a too-pink foundation oxidizes orange by afternoon on warm skin. Test along the jawline and wear it for an hour before committing; oxidation reveals itself only with time and your skin's chemistry.
A damp sponge sheers long-wear formulas into a skin-like finish, while a dense buffing brush builds the full coverage these formulas are designed for. Start at the center of the face — nose, chin, inner cheeks — where oil and redness concentrate, then blend outward with less product. Oily skin needs less foundation at the perimeter; heavy edges are the first to separate. Build in two thin passes rather than one thick one.
Powder Sandwich Technique
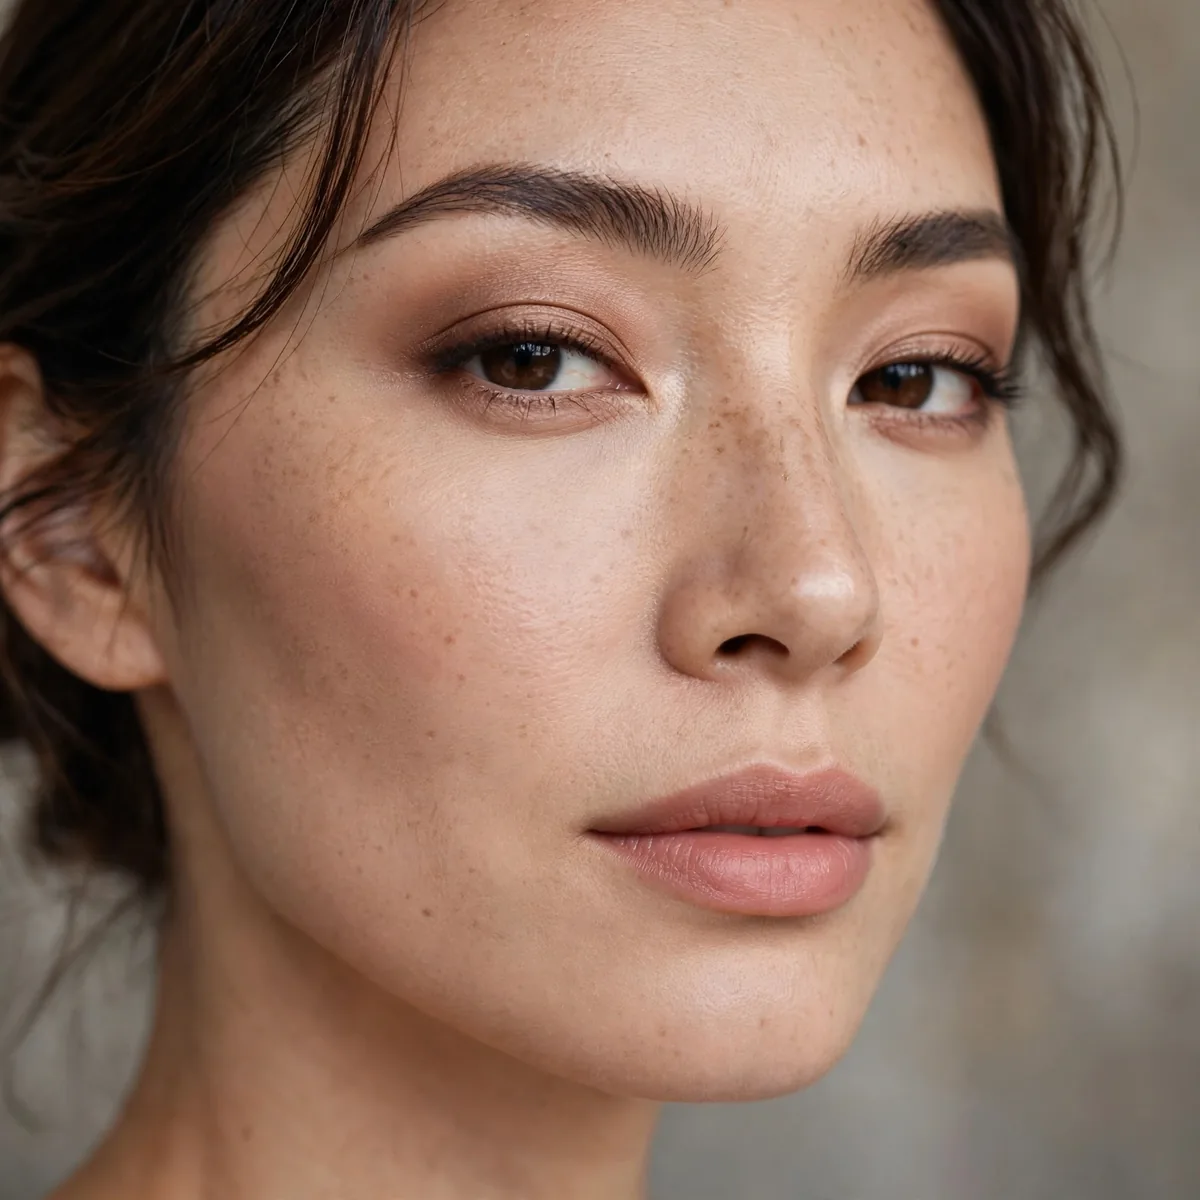
Powder before AND after foundation for maximum longevity.
The pre-powder absorbs oil; the post-powder sets. The sandwich is unbeatable.
Choose your powders deliberately: a finely milled translucent powder pre-foundation absorbs oil without adding coverage, while a lightly tinted powder post-foundation sets without the white cast. Avoid silica-heavy HD powders around the eyes if you'll be photographed — they cause flashback, that ghostly white reflection. Rice powder and talc-free formulas suit sensitive oily skin that reacts to heavier minerals.
The classic mistake is over-powdering — piling on product until skin looks dry and cakey by noon, which actually triggers more oil production as skin overcompensates. Use a fluffy brush and tap off excess before touching your face; you can always add more. Skip the pre-powder on dry patches or mature skin, where it settles into fine lines. The sandwich should feel weightless, not like armor.
Setting Spray Between Layers
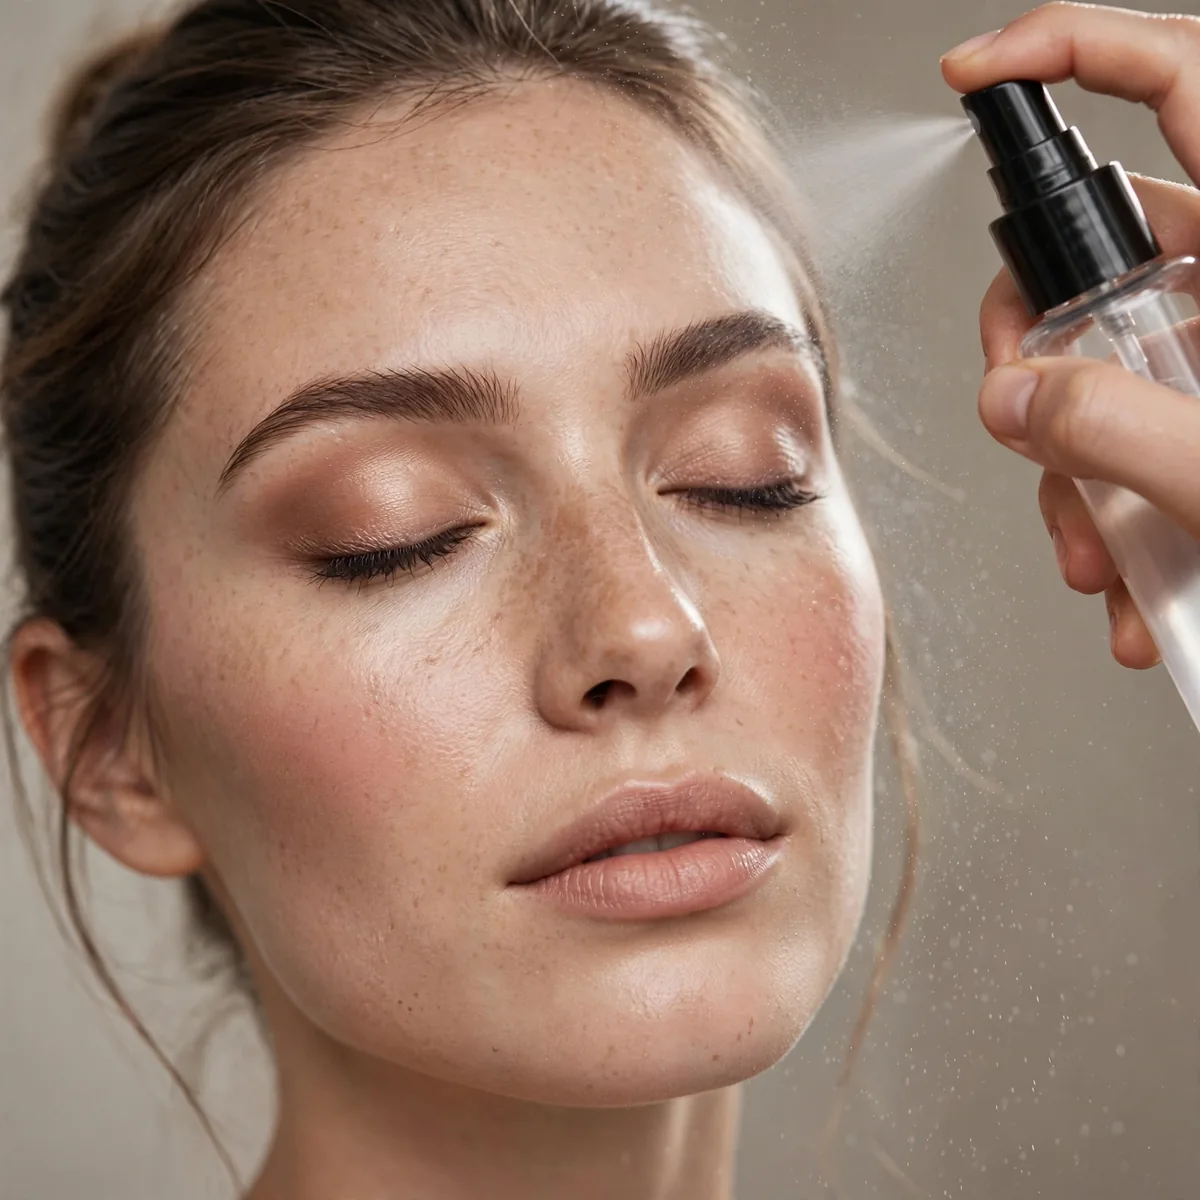
Spray between cream layers, not just at the end.
Inter-layer spraying locks each step. The end spray seals everything together.
Not all setting sprays work the same on oily skin. Alcohol-based sprays grip hardest and truly lock makeup down, but they can dehydrate — reserve them for special occasions. For daily wear, look for oil-control sprays with witch hazel or mattifying polymers that absorb shine without the dryness. Dewy or glycerin-heavy sprays defeat the purpose on oily skin; save those for dry-skin days or winter.
Hold the bottle eight to ten inches away and mist in an X motion followed by a T motion for even coverage — too close and droplets disturb the base. Let each layer dry naturally for thirty seconds; fanning with your hand works, but a mini fan speeds it without touching the face. Finish with one final all-over mist after powder, which melts the powder into skin and removes any chalky finish.
Waterproof Eye Products
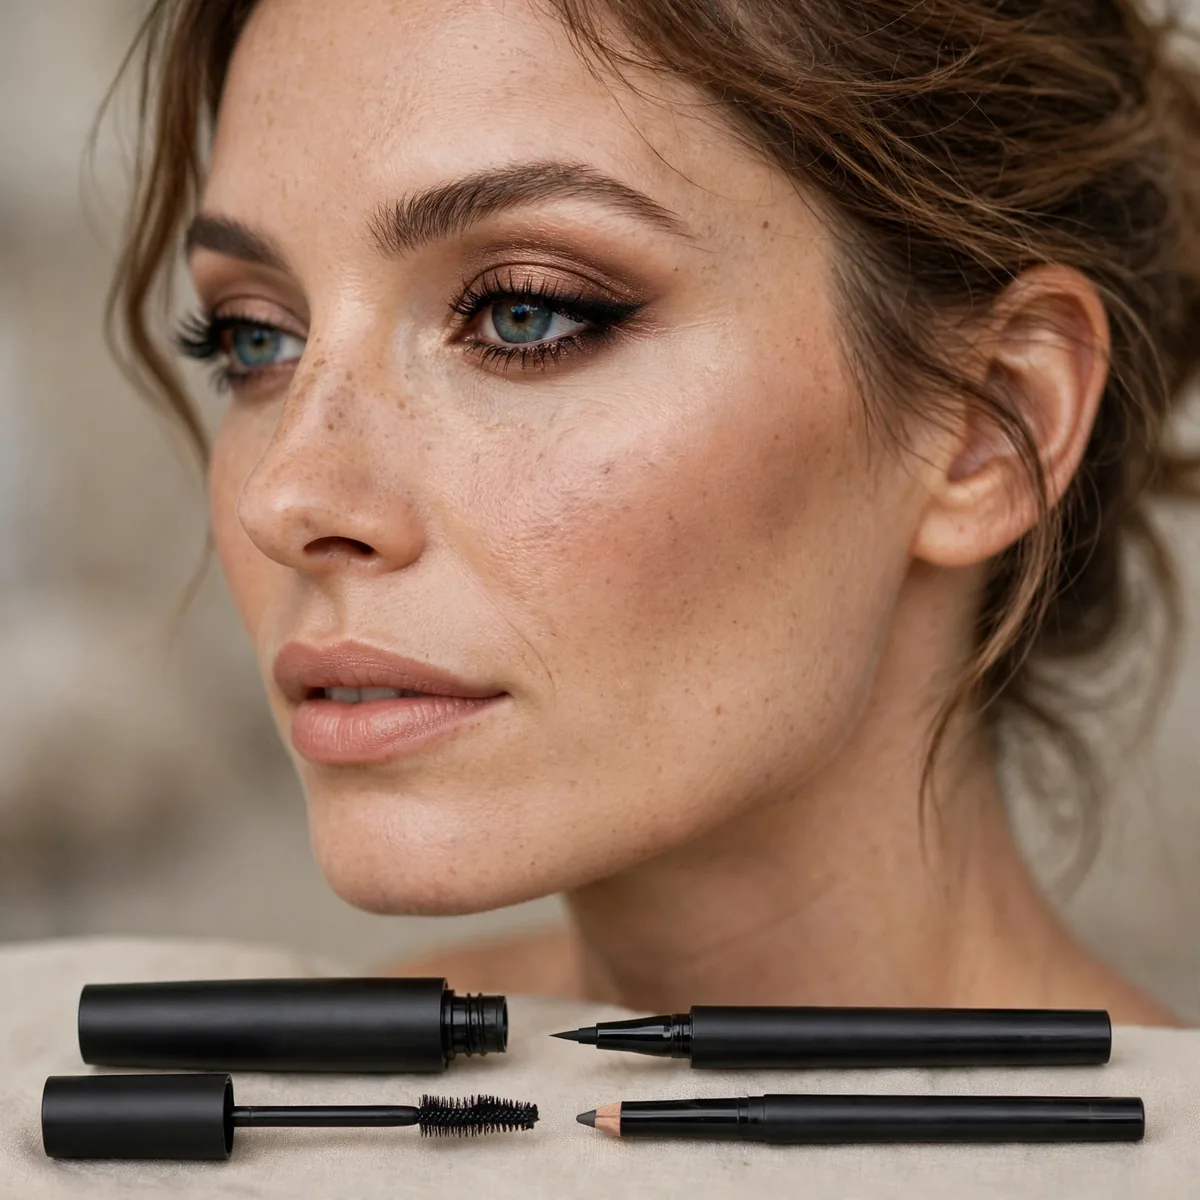
Waterproof liner, mascara, and brow products resist oil breakdown.
Eyes get oily too. Waterproof everything that touches the eye area.
Consider tubing mascara as the smarter alternative to traditional waterproof formulas. Instead of oil-resistant pigments, tubing mascaras wrap each lash in water-soluble polymers that shrug off oil, sweat, and tears — then slide off with warm water and gentle pressure at night. No aggressive rubbing, no lost lashes. For oily lids that eat regular mascara by noon, tubing formulas are the closest thing to bulletproof without the waterproof removal battle.
Tightlining — lining the upper waterline between the lashes — gives smudge-proof definition that outlasts any lid liner on oily skin. Use a waterproof gel pencil and work in short strokes, then set it with a matching powder shadow pressed over the top. The common mistake is lining the lower waterline heavily; on oily skin it migrates within hours and creates raccoon eyes. Keep the lower lash line minimal or skip it entirely.
Blotting Paper Discipline
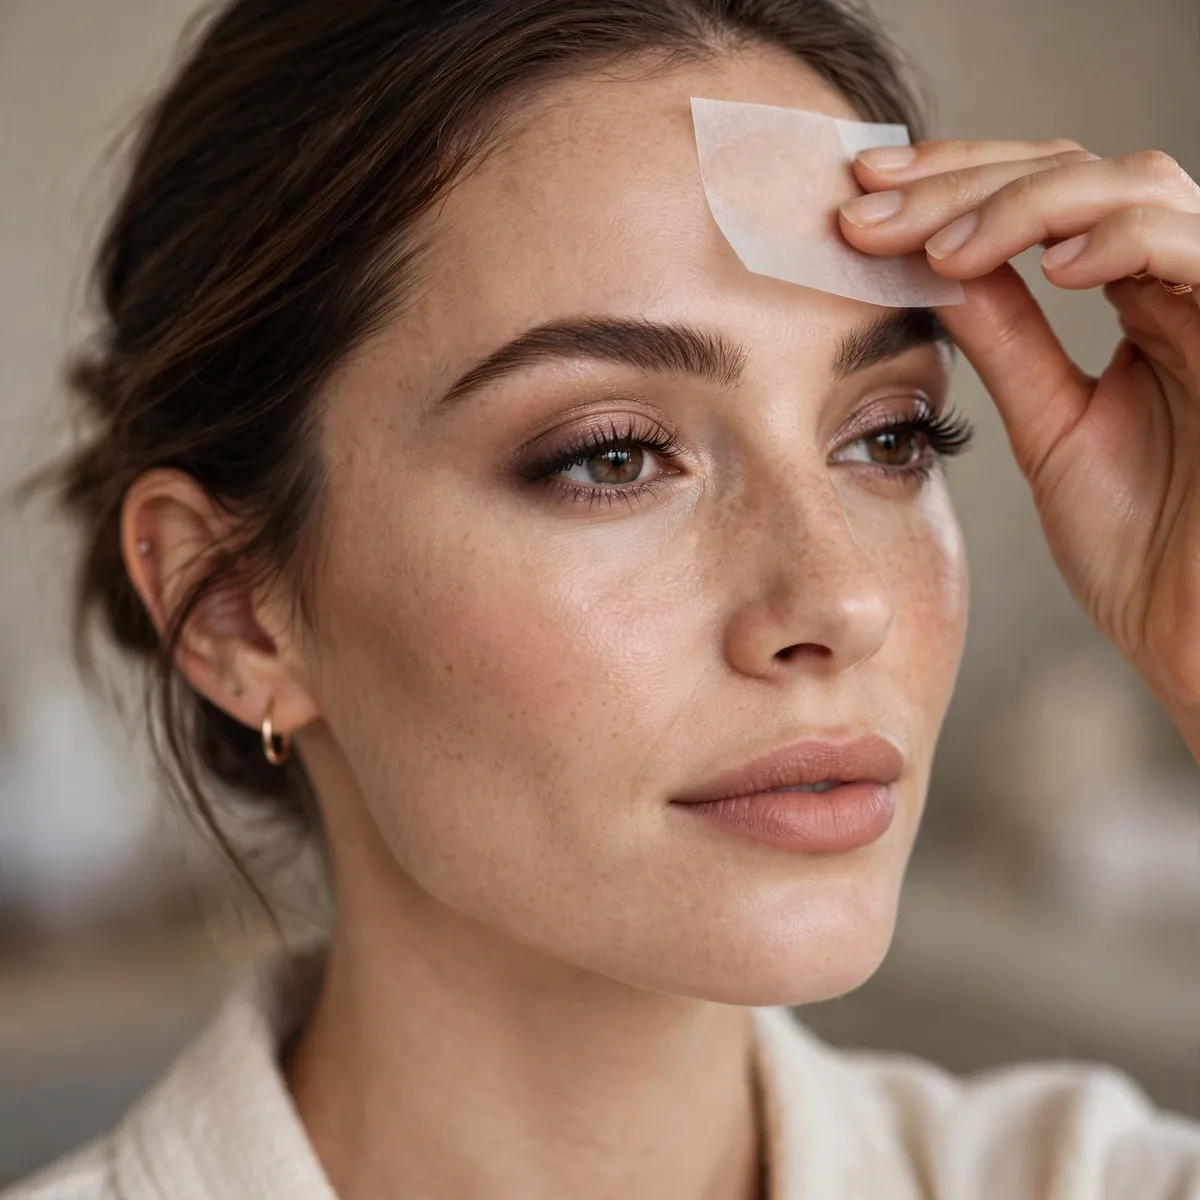
Blot at the first sign of shine — don’t wait for full breakthrough.
Early blotting prevents the oil from dissolving your base. Timing matters.
Plain rice-paper sheets absorb oil without disturbing makeup, while powder-coated versions deposit a light mattifying layer as they blot — choose based on whether you need a touch-up too. Press the sheet onto shiny areas for five seconds; never drag, which moves foundation. Reusable silicone blotting pads are the eco-friendly alternative — rinse with soap, air-dry, and they work like new. One sheet per zone keeps things hygienic.
In heat or humidity, check for shine every two to three hours — set a quiet phone reminder until it becomes habit. The T-zone almost always breaks through first, so start there before scanning the chin and upper lip. Blotting before shine becomes visible oil slicks means your powder touch-up needs less product and looks fresher. Think of it as maintenance, not failure; even the best long-wear routine needs oil management on truly oily skin.
Pressed Powder Touch-Ups
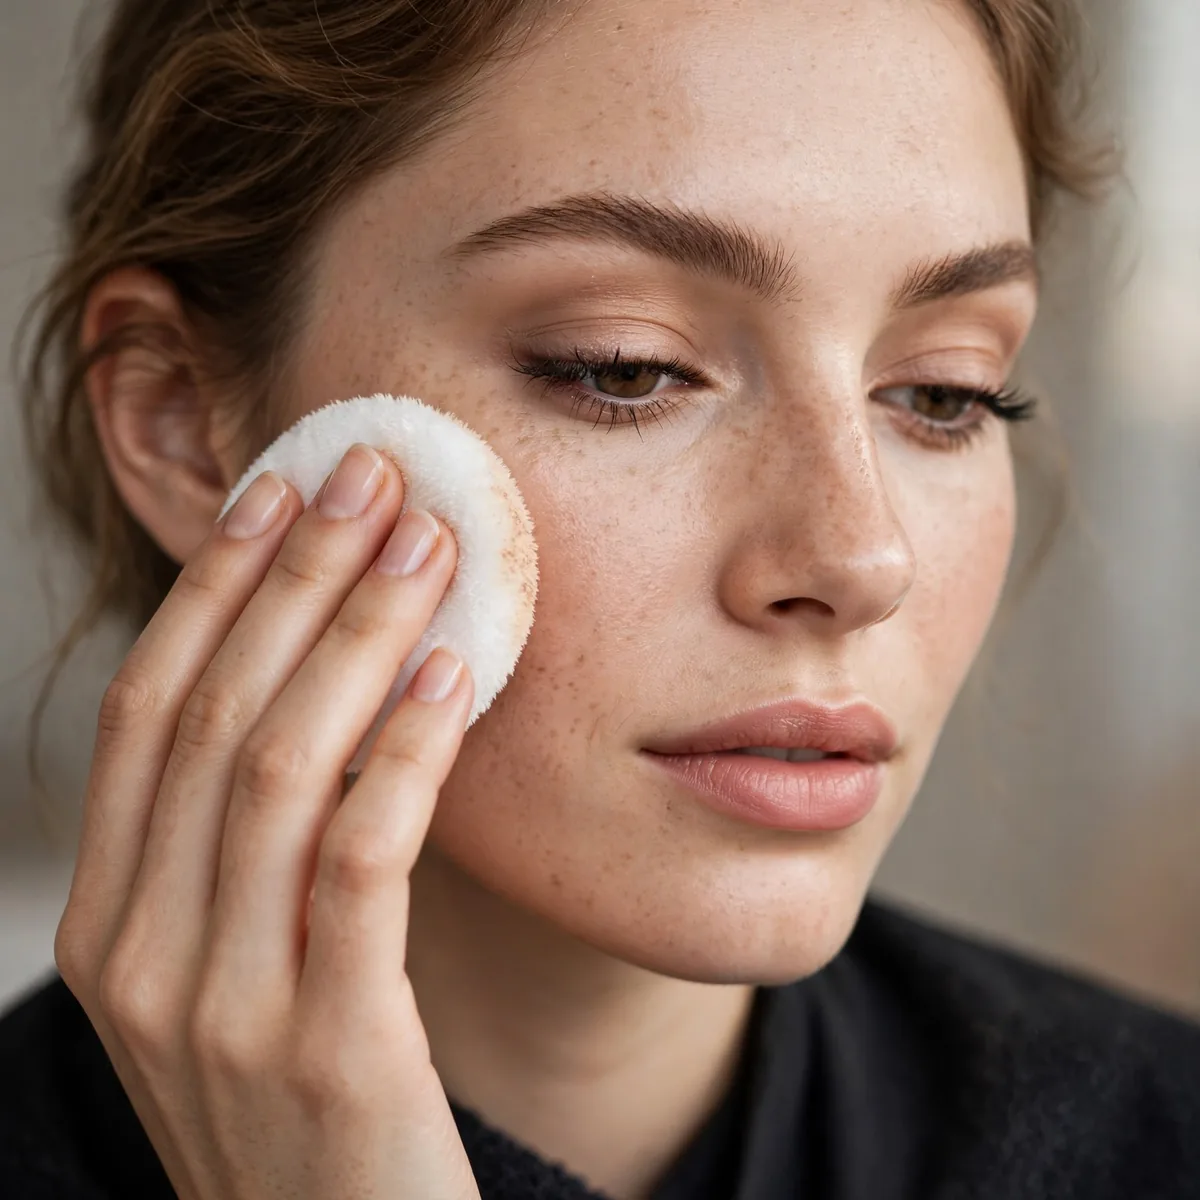
Pressed powder (not loose) for touch-ups — controlled application.
Blot first, then press powder only where needed. Targeted, not all-over.
Use the puff or sponge that comes in the compact for touch-ups — it deposits more product precisely where oil broke through, unlike a fluffy brush that dusts everywhere. Press and roll the puff over the shiny area instead of swiping. For the under-eye zone, switch to a small fluffy brush with a whisper of product; pressing a sponge there emphasizes fine lines. Keep the compact in your bag, not your car, since heat melts pressed formulas.
The cardinal sin is powdering over unblotted oil — the powder mixes with sebum into a cakey paste that looks worse than the shine did. Always blot first, no exceptions. The second mistake is re-powdering the entire face each time; by the third touch-up you've built visible layers. Target only the breakthrough zones and leave the rest alone. If you're powdering more than three times daily, your base routine needs strengthening, not your compact.
Avoid Touching Your Face
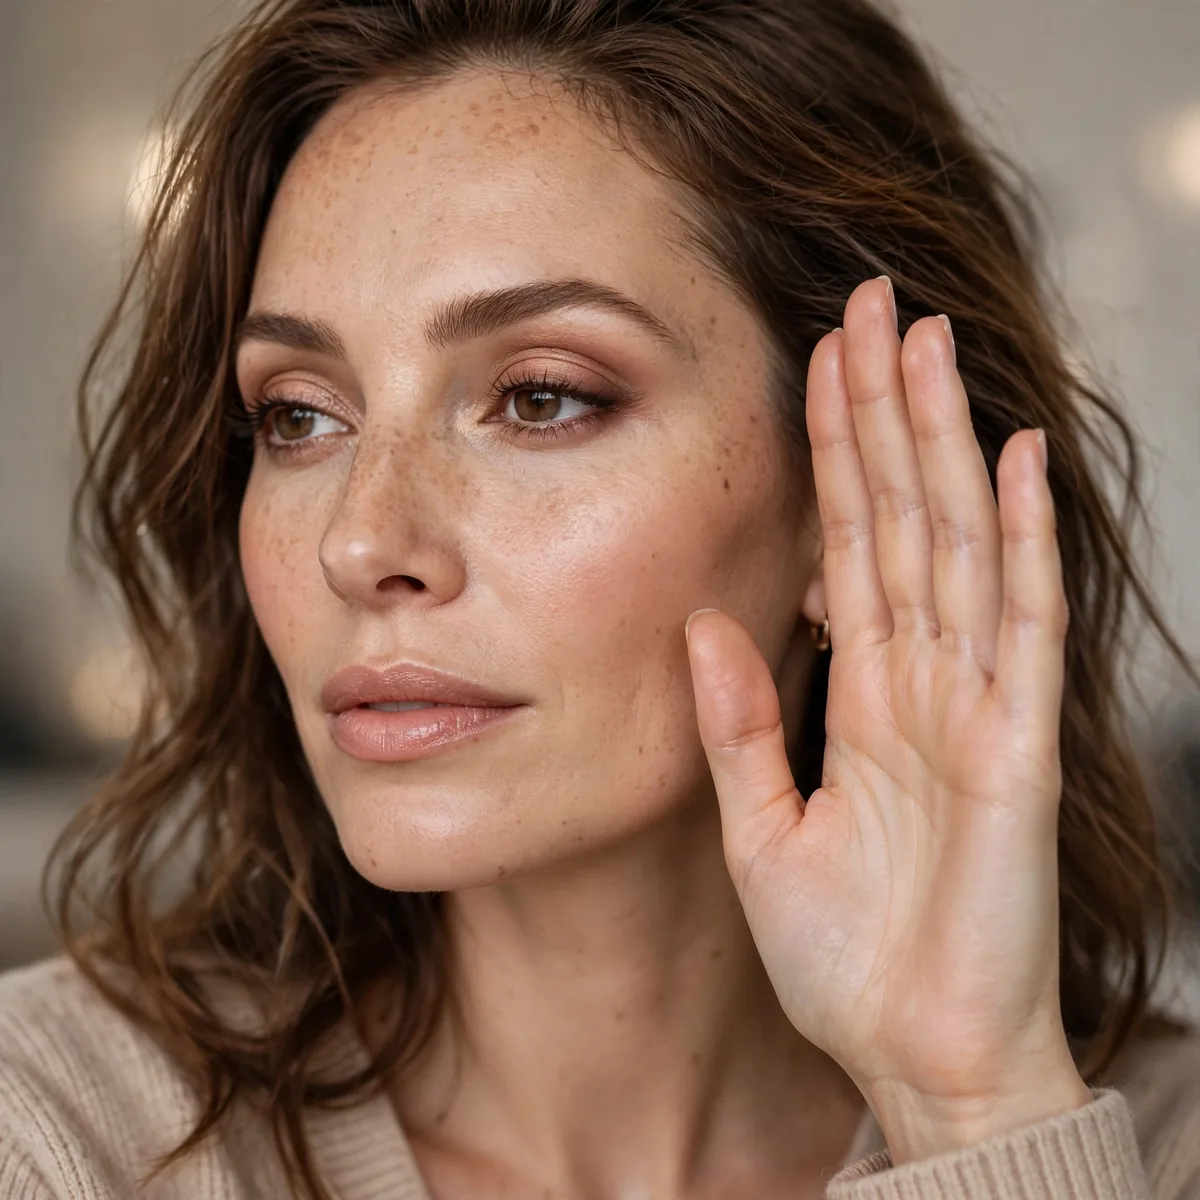
Hands transfer oil and break down makeup. Keep them away.
The hardest tip to follow and one of the most impactful. Awareness helps.
Your phone is the sneakiest culprit — pressing it to your cheek transfers both oil and bacteria, breaking down foundation exactly where it touches. Use earbuds or speakerphone for long calls, and wipe your screen daily with an alcohol pad. Hair is the other offender: bangs and face-framing layers deposit scalp oil onto the forehead and cheeks. Pin hair back during the day or keep it freshly washed if it touches your face.
Resting your chin on your hand — the classic desk pose — grinds oil and pressure into the jawline and chin, two zones where makeup already struggles. Notice the habit and redirect: clasp your hands or rest your chin on a clean tissue instead. Sunglasses and regular glasses also matter; nose pads collect oil and slide, taking base makeup with them. Wipe pads with alcohol wipes and set the nose bridge area with extra powder.
Oil-Control Skincare Base
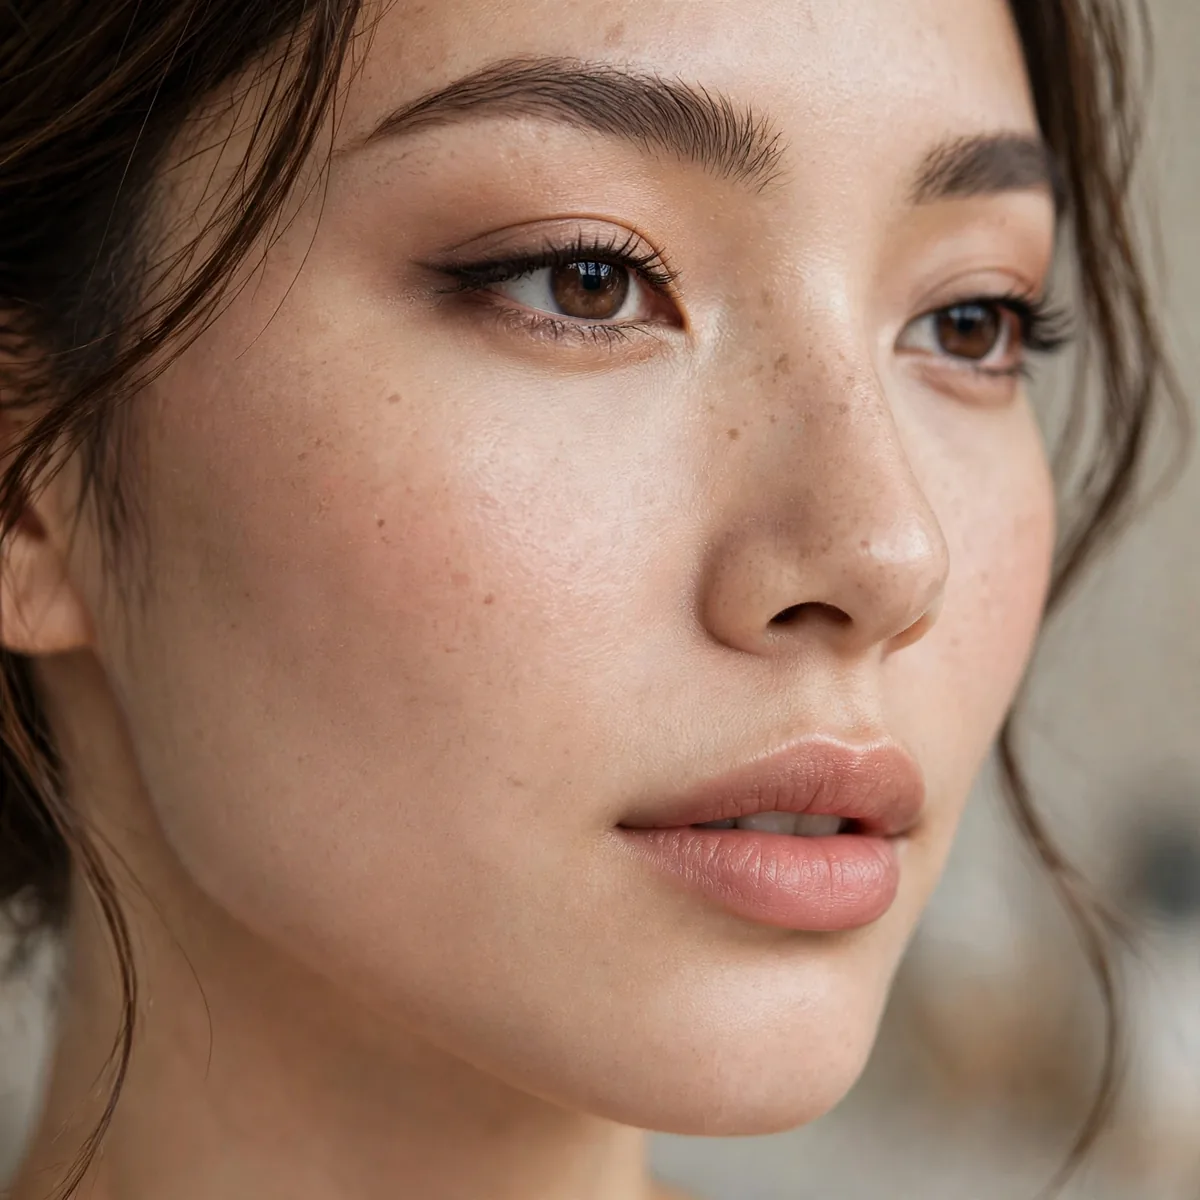
Niacinamide and light gel moisturizers control oil from beneath.
Skincare sets the stage. Oily skin needs oil regulation, not stripping.
Layer skincare thinnest to thickest and let each step absorb for a minute — pilling skincare sabotages makeup before you start. A salicylic acid toner two to three mornings a week keeps pores clear, followed by a niacinamide serum and an oil-free gel moisturizer with hyaluronic acid. Finish with a lightweight gel sunscreen; heavy cream SPFs are the number-one reason oily-skin makeup slides. Mattifying sunscreens with silica pull double duty.
Skip the instinct to strip your skin — harsh foaming cleansers and alcohol-heavy toners trigger rebound oil production that makes everything worse by afternoon. Avoid rich occlusives like shea butter and coconut oil under makeup; they sit on the surface and dissolve foundation from beneath. And don't layer multiple heavy actives on makeup days — save retinoids and strong acids for nighttime. Calm, balanced skin holds makeup far longer than stressed, over-treated skin.
The Baking Method
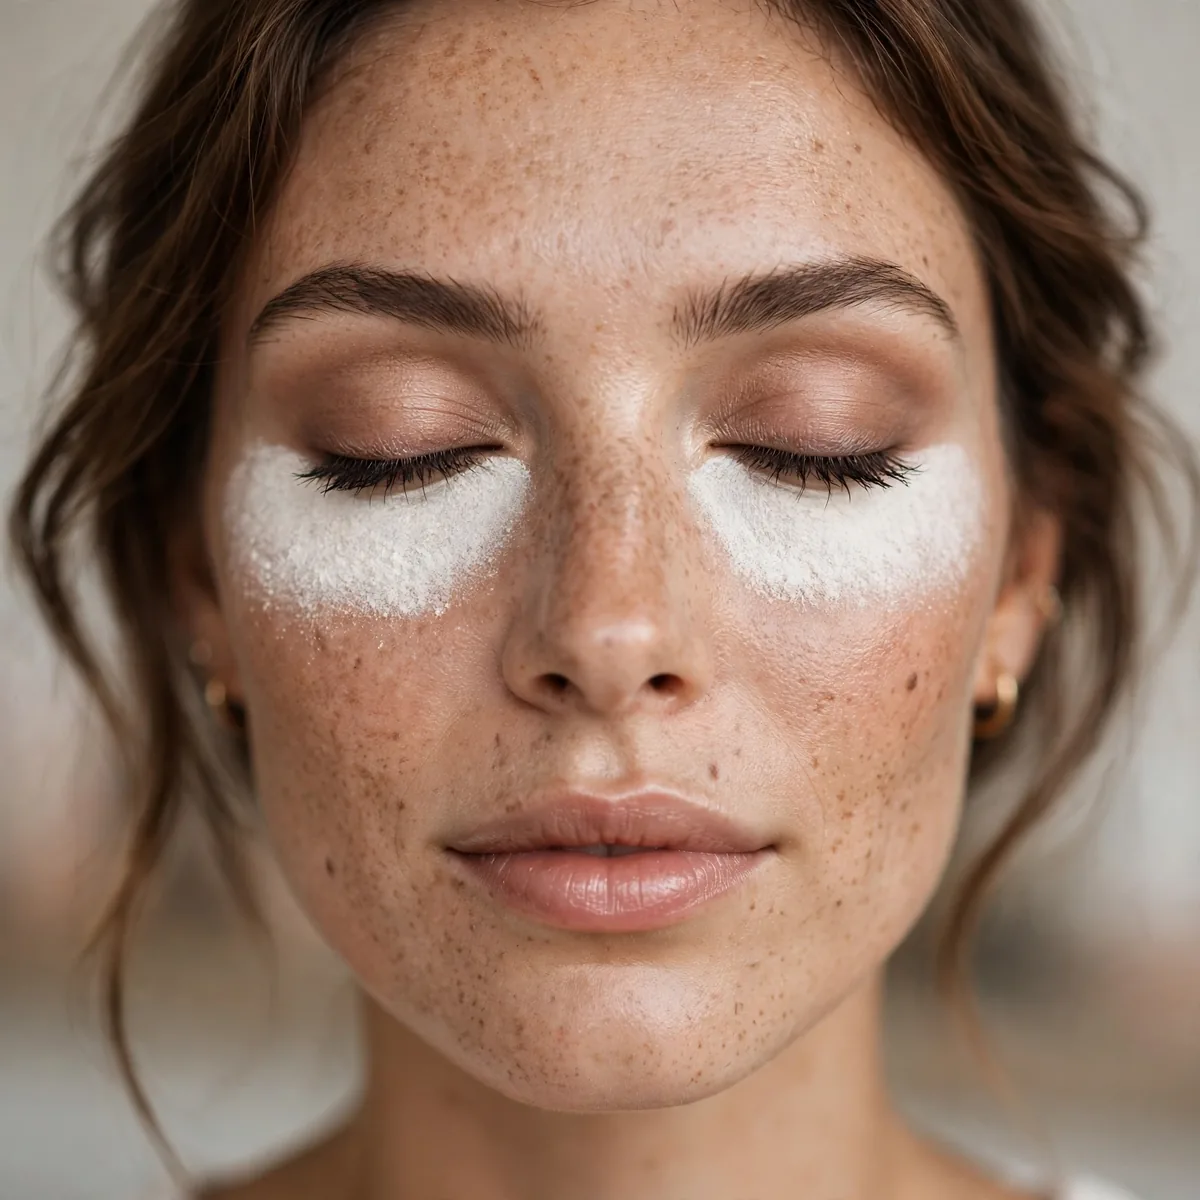
Bake oily zones with translucent powder for 5-10 minutes.
Baking is the nuclear option for oil control. Use it for important long days.
Baking suits truly oily T-zones and special occasions — weddings, photoshoots, long event days — rather than everyday wear. Skip it on dry under-eyes and mature skin, where settled powder emphasizes fine lines and texture within hours. Deep skin tones should choose a tinted translucent powder close to their shade; stark white powders leave an ashy cast that's hard to buff away. When in doubt, bake only the center of the forehead, nose, and chin.
Apply with a damp sponge, pressing a generous layer exactly where oil breaks through — then walk away and let body heat do the work for five to ten minutes. Dust off thoroughly with a clean fluffy brush using light sweeping motions; leftover powder is what photographs chalky. Follow with setting spray to melt everything into skin. Never bake over active breakouts — the heavy powder layer traps bacteria against inflamed skin and worsens congestion.
Lip Stain Over Lipstick
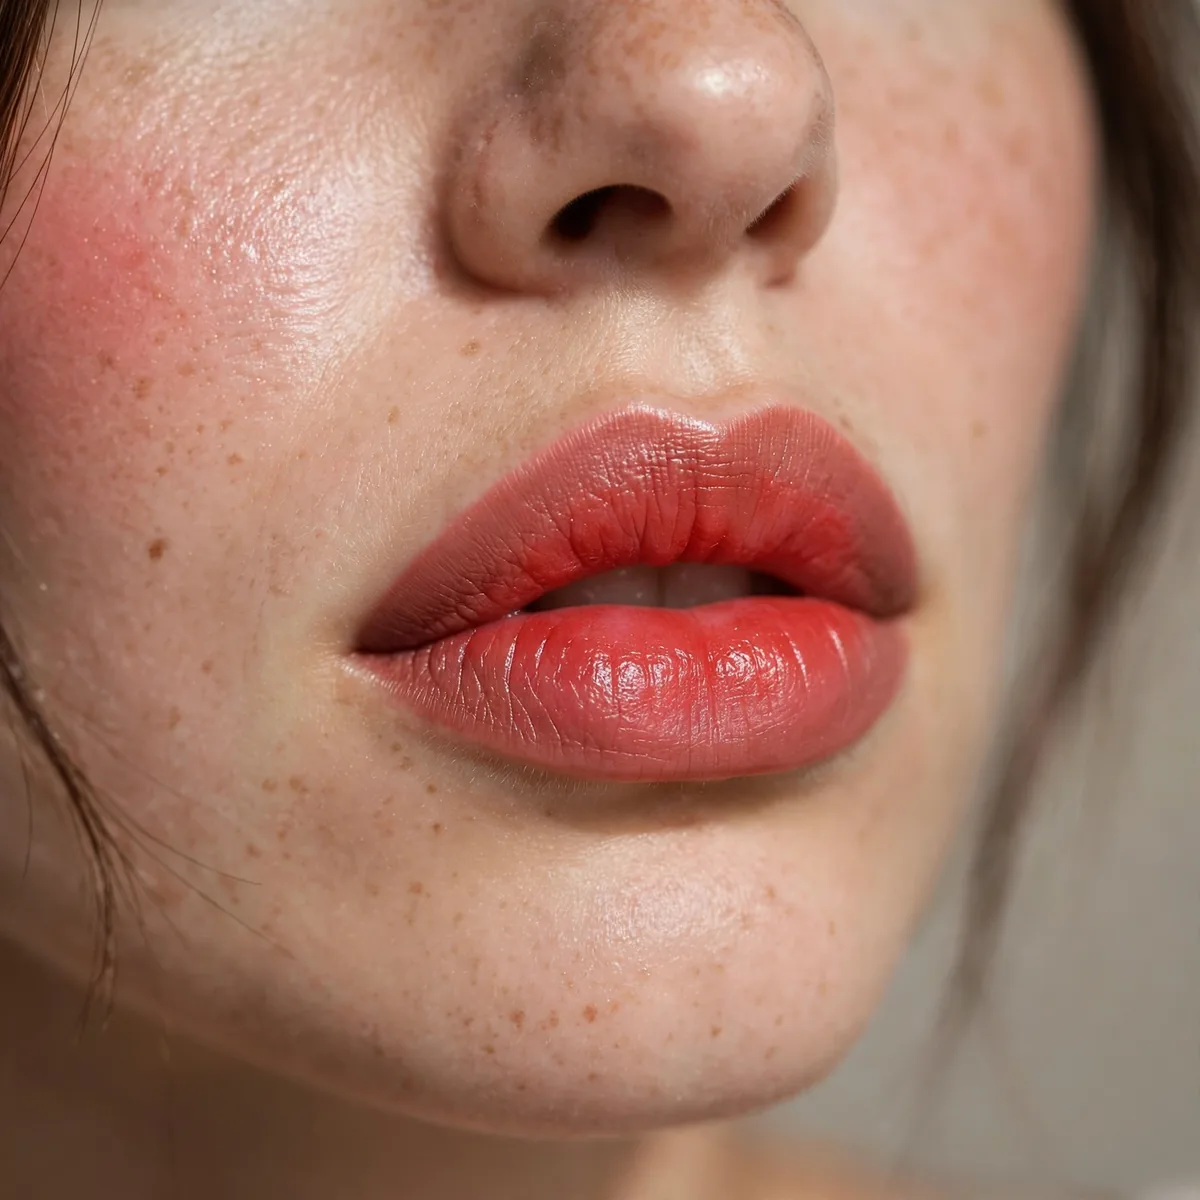
Stains outlast lipsticks by hours — choose stain for long days.
Our stain vs lipstick guide compares. For 12 hours, stain wins.
Prep is everything with stains: exfoliate lips gently the night before, then apply a light balm ten minutes ahead and blot it off — stain grips best on smooth, dry lips. Apply in thin layers, starting at the center and blending outward, and let each layer set for thirty seconds. Two thin coats outlast one thick one and fade more evenly. Press a tissue between coats to remove excess and lock in the color.
Layer a clear gloss over your stain for dimension without sacrificing longevity — the stain stays put even as the gloss wears off, so reapply gloss freely through the day. For evening, press a matching lipstick over the stain's base for full opacity that still outlasts lipstick alone. At night, remove with an oil-based cleanser or dedicated lip makeup remover; stains are designed to resist water, so gentle micellar water alone won't cut it.
Cream to Powder Conversion
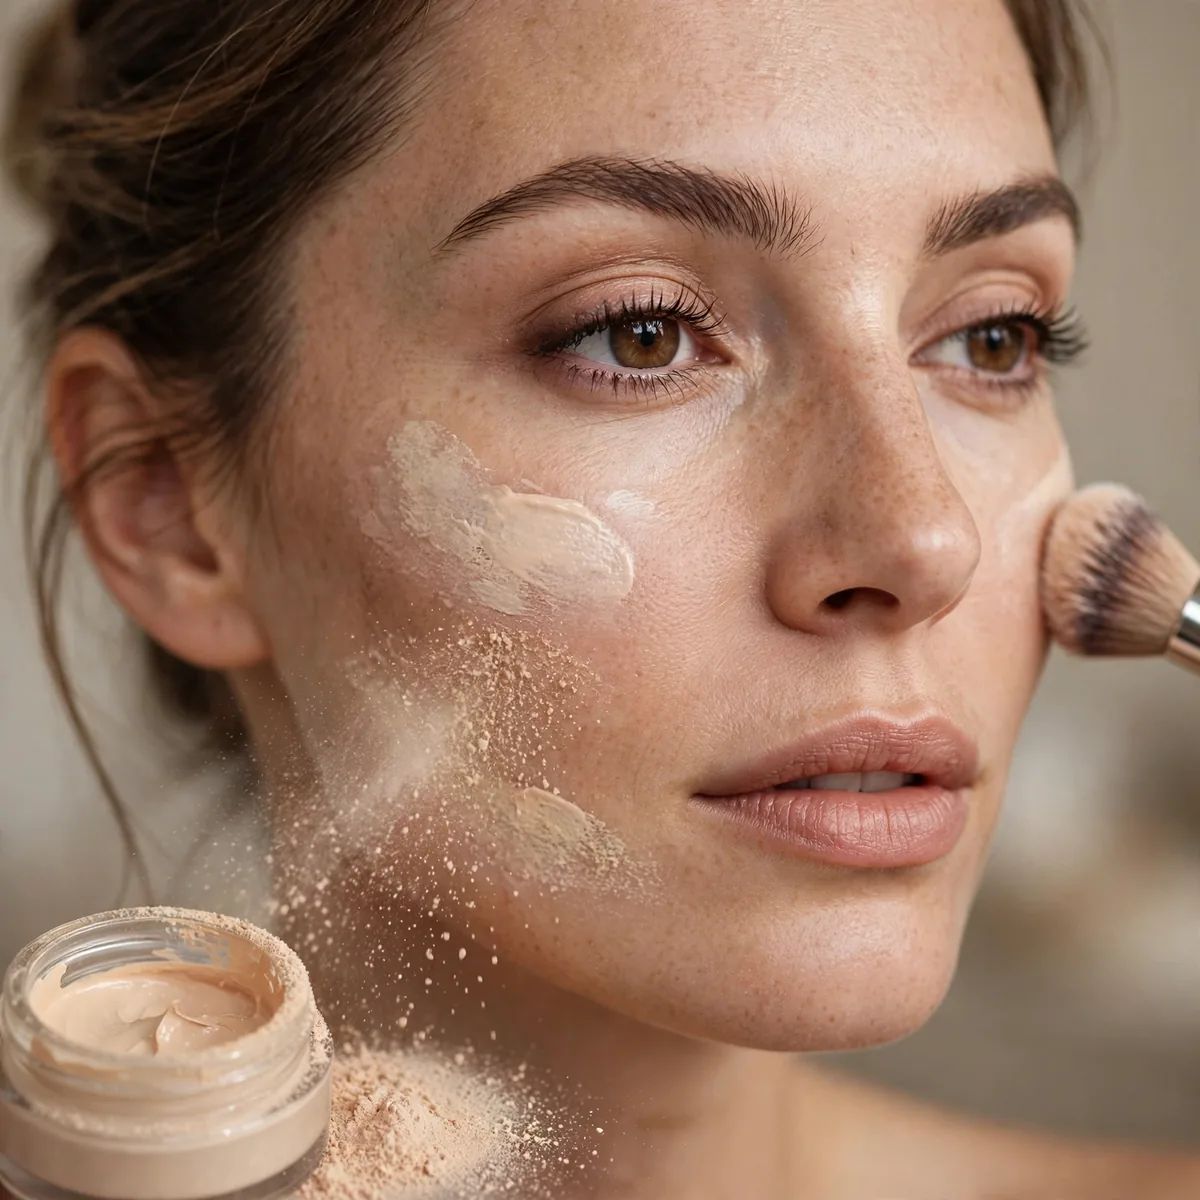
Set every cream (blush, bronzer, highlight) with its powder equivalent.
Unset creams slide on oily skin. The powder lock is essential.
Work cream first for blendability, then lock it: stipple cream blush onto the apples with fingers or a dense brush, then press a matching powder blush over the top with a fluffy brush. The cream gives the seamless blend; the powder gives the staying power. For highlight, layer a powder highlighter over cream — the double dimension catches light beautifully. Cream-to-powder formulas shortcut the whole process in a single product.
The mistake is skipping the powder lock on humid days, assuming the cream will hold — it won't, and by afternoon your blush has migrated toward your jawline. Another error is using too-dark powder over cream, which doubles the pigment and looks heavy; choose a powder one shade sheerer than the cream. And apply powder products before any setting spray — spray seals the final layer, not the middle one.
Climate Considerations

Heat and humidity demand stronger measures — adjust by weather.
Summer needs the full arsenal; winter needs less. Adapt your routine seasonally.
Summer demands the full arsenal: mattifying primer, waterproof eye products, baking on the T-zone, and blotting papers in every bag. Switch to lighter foundation formulas — heavy coverage plus sweat equals separation — and consider a tinted sunscreen as your base on the hottest days. Humidity also extends drying time, so give each layer an extra thirty seconds to set. Keep setting spray in the fridge; a cold mist feels incredible and sets makeup faster.
Winter lets oily skin breathe easier — scale back the powder and skip baking on normal days, since indoor heating can create dry patches that heavy powder emphasizes. Swap the mattifying primer for a hydrating one on the cheeks while keeping oil control on the T-zone. When traveling to humid destinations, pack minis of your full summer routine; climate shock melts an unprepared base within hours. Check the forecast like you'd check for rain — and dress your makeup accordingly.
The Midday Reset
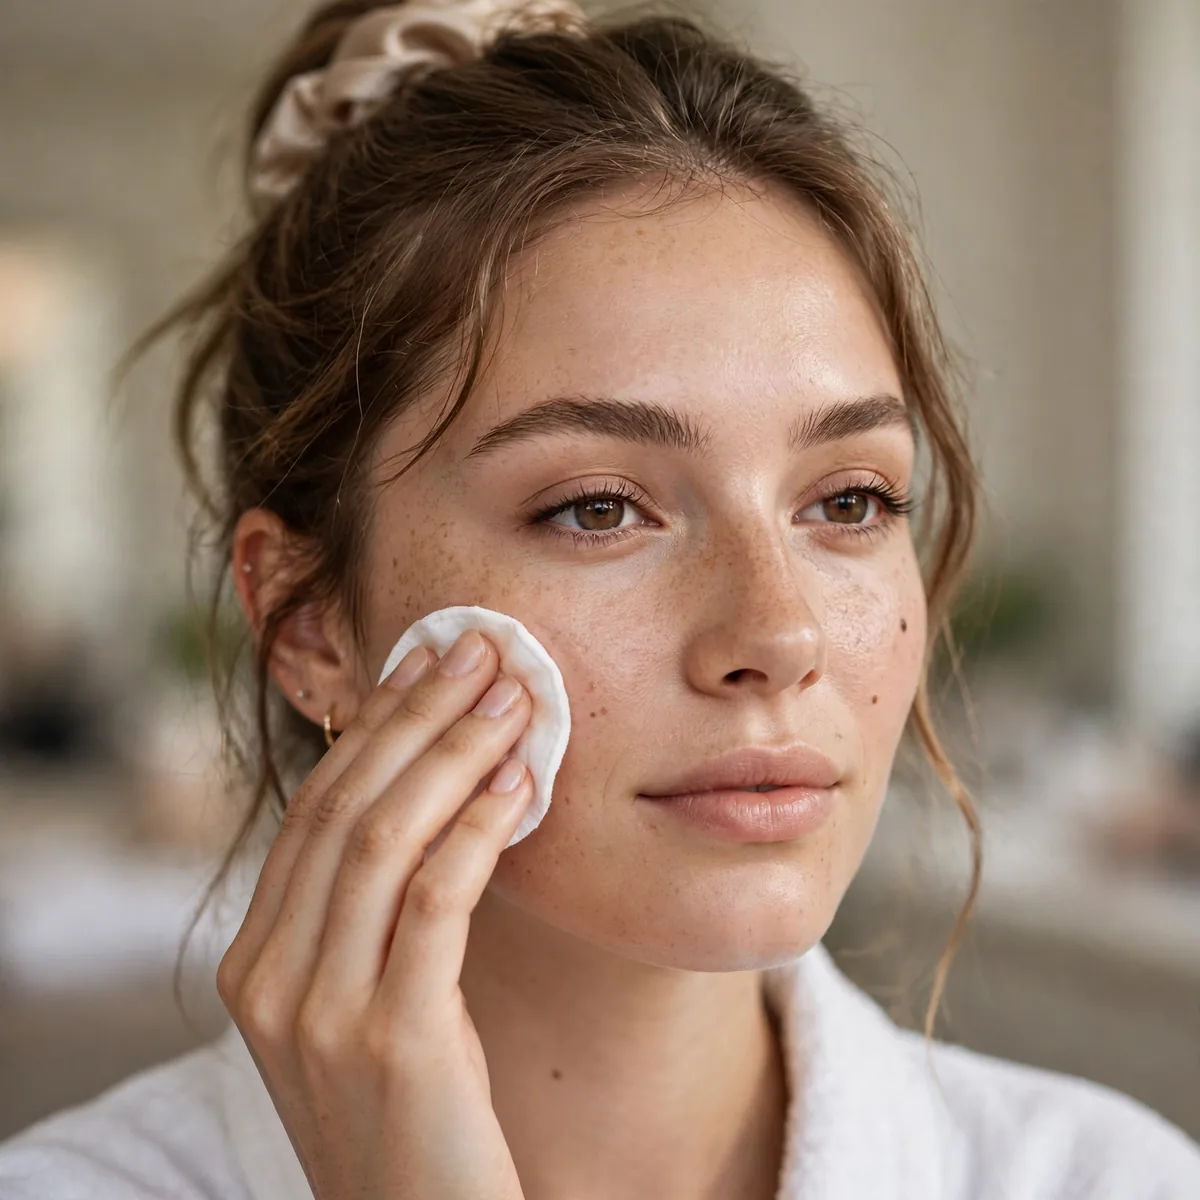
Blot, mist, press powder — the 2-minute midday reset.
A proper reset extends wear by hours. It’s worth the two minutes.
Do the reset in the right order for a truly fresh face. Blot every shiny zone first — never skip this — then mist lightly and let it sit for twenty seconds so the base re-melts slightly. Press powder only where the mist revealed breakthrough, using a clean puff. Finish with one more whisper of spray. The whole sequence takes under two minutes in a restroom mirror and buys you four more hours of polished wear.
Never add more liquid foundation midday — layering fresh foundation over oil and old makeup creates texture and separation that looks worse than the fade. If coverage has truly broken down in one spot, dab a tiny amount of concealer only there, then powder. Avoid reapplying cream blush or bronzer; use their powder versions for touch-ups instead. The reset refreshes what you built in the morning — it doesn't rebuild it.
Eyeshadow Primer Power
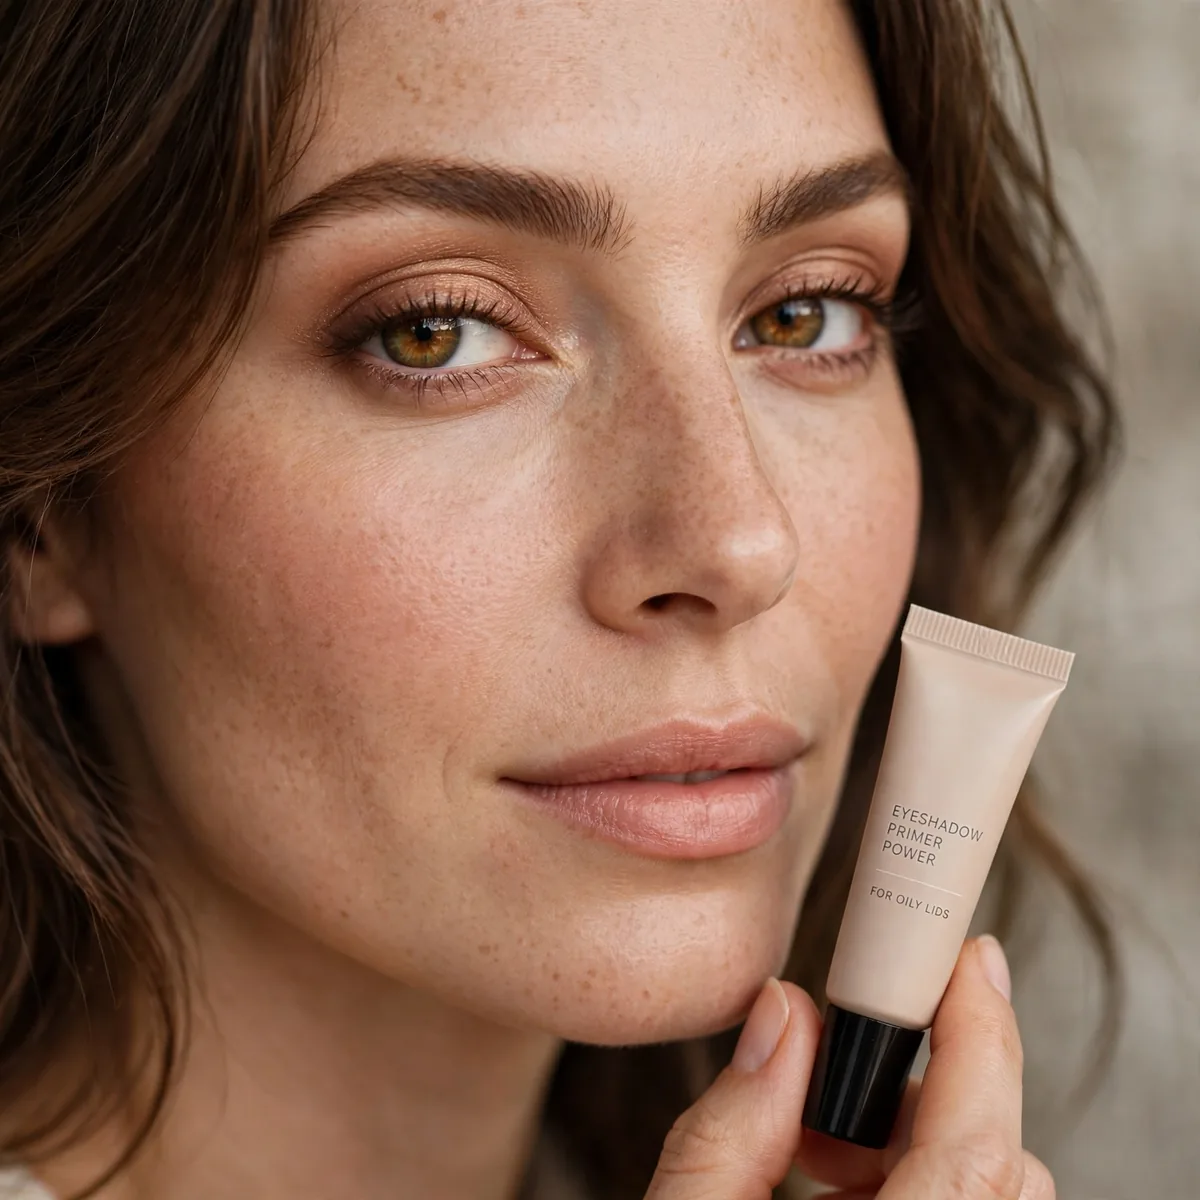
Oily lids need primer as much as oily faces do.
Lid primer prevents the creasing and fading oil causes. Non-negotiable.
Apply a rice-grain amount across the entire lid, extending past the crease to where oily skin creeps — most creasing starts above the primer's edge. Let it set for thirty seconds until tacky before shadow goes on. In a pinch, a thin layer of long-wear concealer set with translucent powder works as a DIY primer. Paint-pot style cream shadows in skin tones also grip powder shadow beautifully and cost less than dedicated primers.
Hooded and deep-set eyes need primer most, since the lid fold presses against itself and transfers oil directly. Extend primer up to the brow bone on these eye shapes — wherever skin touches skin, makeup migrates. The common mistake is applying too much; a thick layer of primer creases worse than none at all. And always prime before any concealer near the eyes, or the two layers compete and pill.
Choosing Transfer-Proof Lips
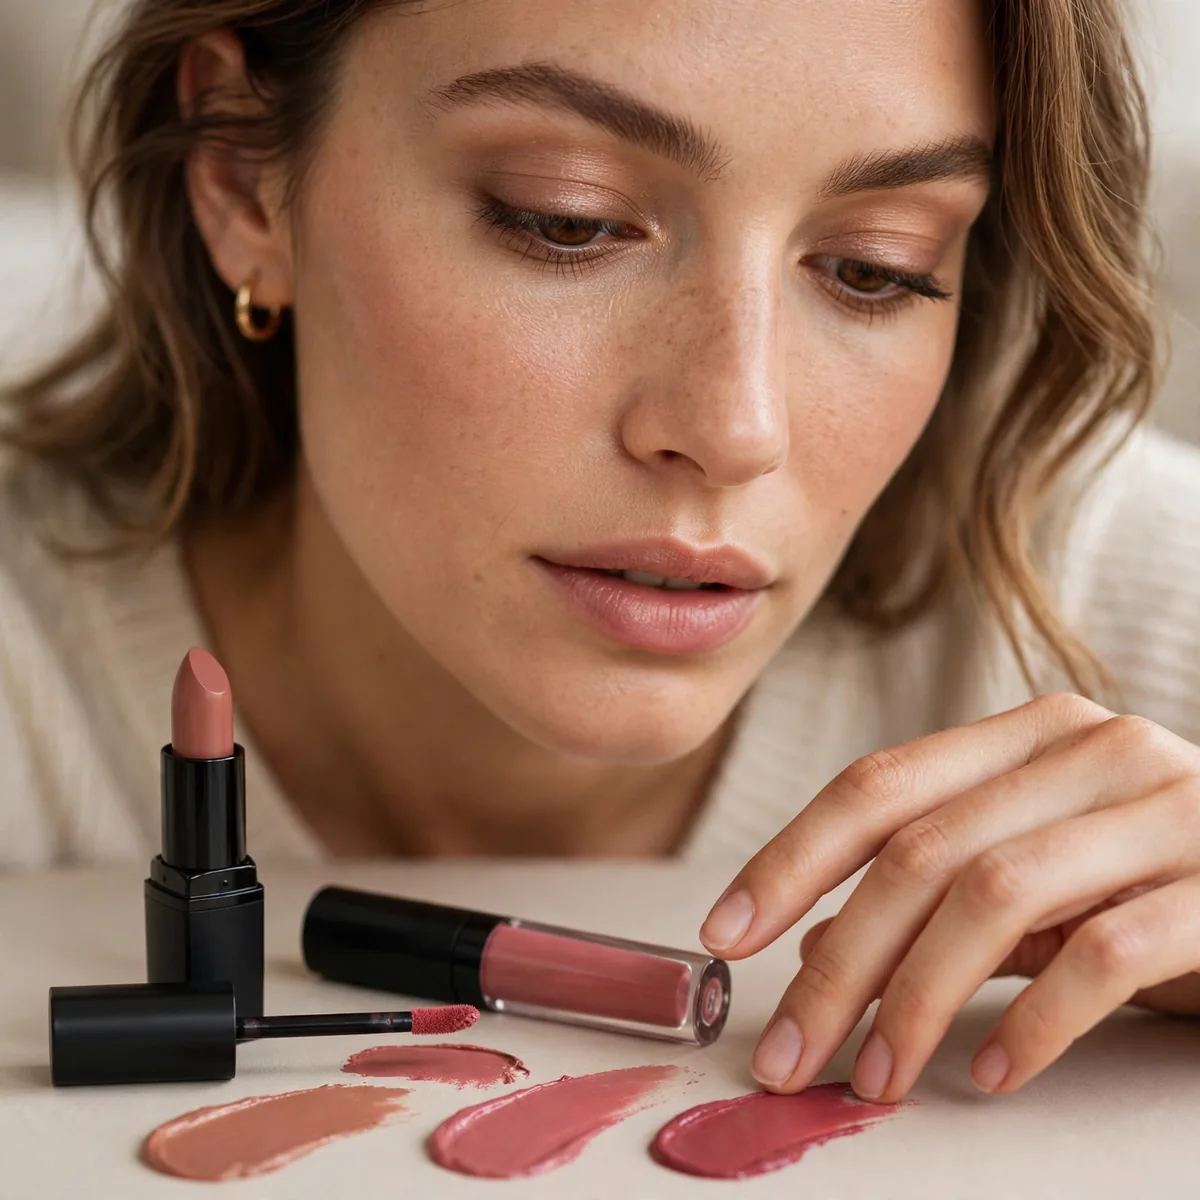
Liquid lipsticks and stains survive eating and drinking.
For eating-proof lips, transfer-proof formulas are the only option.
Exfoliate and moisturize lips the night before — transfer-proof formulas cling to every flake and crack. Apply lip liner all over the lip as a base, not just the edges; it gives the liquid lipstick something to grip. Work in thin coats, letting each dry fully for sixty seconds, and blot between layers. Two thin coats beat one thick coat every time — thick layers crack at the inner lip line within hours.
Even transfer-proof lips need strategy around meals: blot before eating, avoid very oily foods that dissolve the formula's edges, and reapply just the center after. Drinking through a straw preserves the color dramatically compared to sipping from a glass rim. At night, only an oil-based remover or dedicated long-wear lip remover takes these formulas off — scrubbing with regular cleanser just irritates the lips without removing the stain.
Night-Before Prep
Exfoliate and clay-mask the night before a big day.
Prepped skin holds makeup better. The night before determines the day of.
Choose kaolin clay for gentle oil absorption or bentonite for a deeper detox — bentonite suits very oily skin but can over-dry if left on too long. Apply the mask only to the T-zone and oily areas, not all over; multi-masking respects that different zones have different needs. Follow with a lightweight hydrating serum, since freshly exfoliated skin drinks up moisture and balanced skin holds makeup better than stripped skin.
Don't introduce new actives the night before an important day — a surprise reaction with twelve hours to go is a disaster. Skip retinoids and strong chemical exfoliants that night; save them for the week before. Sleep on a fresh pillowcase to keep the prepped skin clean, and get real sleep — well-rested skin produces less stress oil. These small preparations compound into a noticeably smoother makeup day.
The Emergency Kit
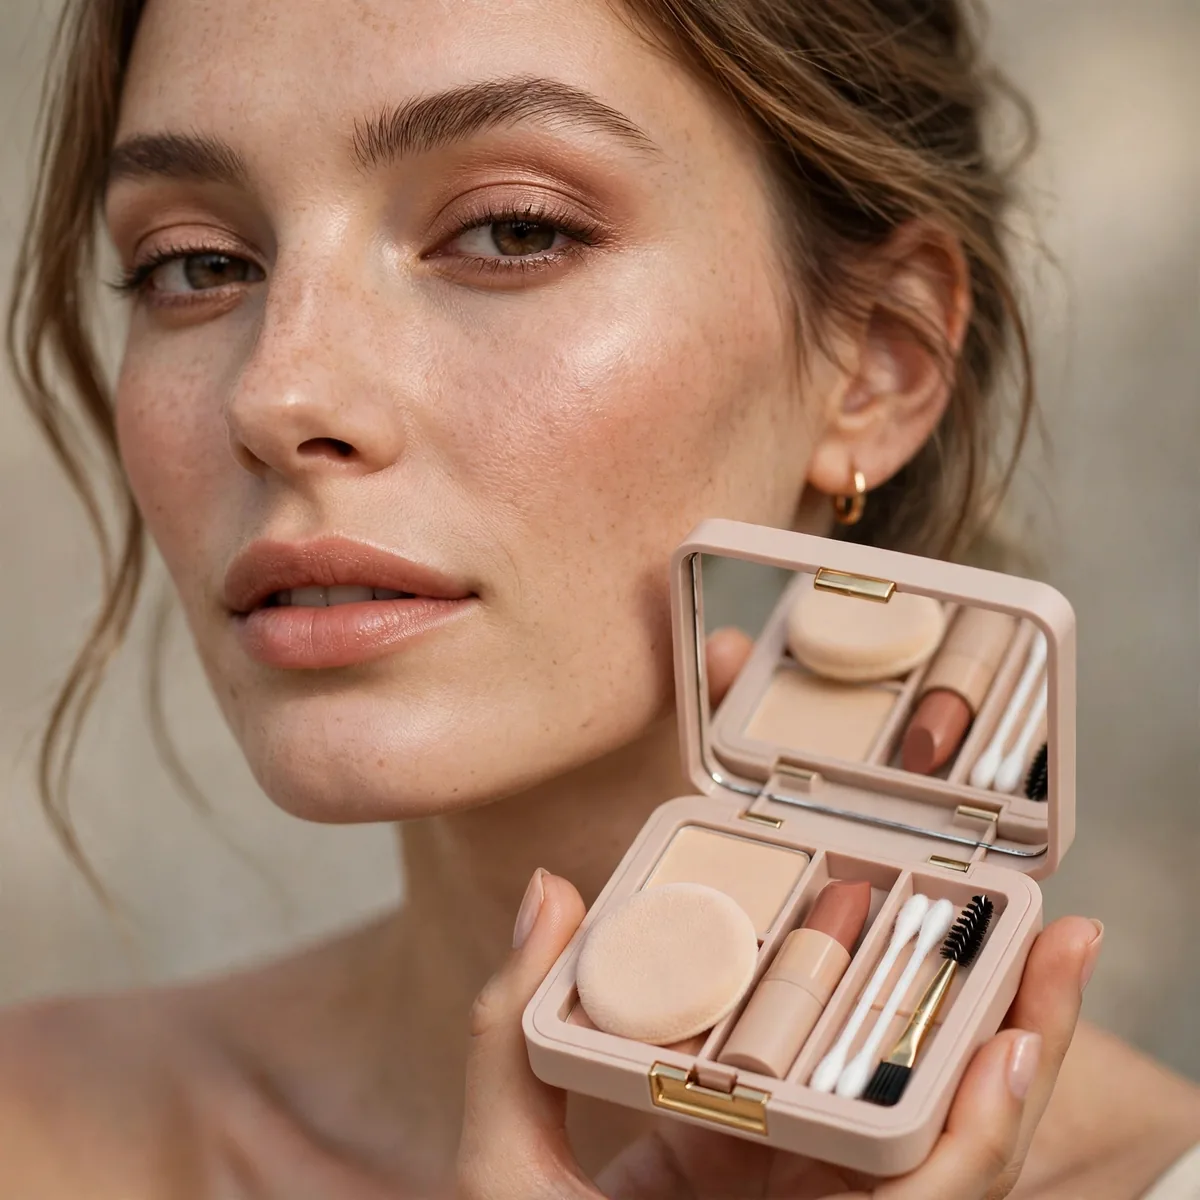
Blotting papers, pressed powder, lipstick, mini spray — the survival kit.
Prepared is bulletproof. Pack for the worst, enjoy the best.
Round out the kit with a few problem-solvers: cotton swabs for cleaning up smudged liner or mascara flakes without redoing the whole eye, a mini concealer for surprise blemishes or redness, and a travel lip balm for when long-wear lips start feeling tight. Toss in a couple of hair ties or clips — getting hair off a shiny forehead instantly refreshes the whole face. A stain-remover pen handles the inevitable coffee spill on your outfit too.
Choose travel sizes ruthlessly — mini setting sprays, slim blotting-paper wallets, and retractable brushes keep the kit pocket-sized instead of purse-swallowing. A small zip pouch with compartments beats loose items rattling around your bag. Restock blotting papers and check powder levels monthly; an empty compact discovered mid-emergency defeats the purpose. Keep the kit in the bag you carry daily, not the one you wish you carried.
Realistic Expectations

Twelve hours means one midday reset, not zero maintenance.
Honest expectations prevent disappointment. Plan the reset; enjoy the wear.
This routine earns its keep on genuinely long days — weddings you're attending, conferences, travel days, and twelve-hour shifts where reapplying isn't an option. For ordinary office days, you can skip the baking and inter-layer spraying and still get eight solid hours. Save the full arsenal for days that demand it; using every technique daily is overkill that risks irritating your skin with product overload.
Aim for a graceful fade, not bulletproof perfection. Well-built makeup on oily skin softens into a natural, skin-like finish by evening — that lived-in glow photographs beautifully and looks intentional. Check your makeup in different lighting before the event, since bathroom fluorescents lie; natural daylight reveals the true finish. If it looks good at hour one and decent at hour ten, the routine did its job.
Twelve hours is achievable — pin this playbook. For foundation picks, see foundations for oily skin, or settle setting spray vs powder once and for all.




