
The fear with falsies is looking like you’re wearing falsies. These styles solve that.
Natural-looking falsies share traits: clear or thin bands, graduated lengths, wispy (not uniform) fibers, and a shape that follows your eye. Know what to look for and you’ll never look overdone.
Application is the other half. Trim to fit, let glue get tacky, and place with tweezers — the beginner trifecta.
Here are 15 styles and techniques. Let’s get into it.
Wispy Natural Style

Wispy, crisscrossed fibers that mimic real lash growth — the most natural falsie style.
Look for "wispy" or "natural" on the packaging. The varied lengths are what make them believable.
Fiber choice matters more than most beginners realize, so look for lashes with tapered, feathered tips rather than blunt-cut ends. Human-hair and premium synthetic fibers both work beautifully, but synthetics hold their curl longer through humidity. A flexible thin band also hugs the lash line better than stiff thick ones, which lift at the corners.
Wispy styles flatter round eyes especially well because the varied lengths elongate without adding heaviness. They’re the ideal first falsie for daytime weddings, office parties, and anywhere you want to look like yourself on your best day. Start with a shorter wispy pair and work up to longer lengths as your confidence grows with application.
The Trim-to-Fit Rule
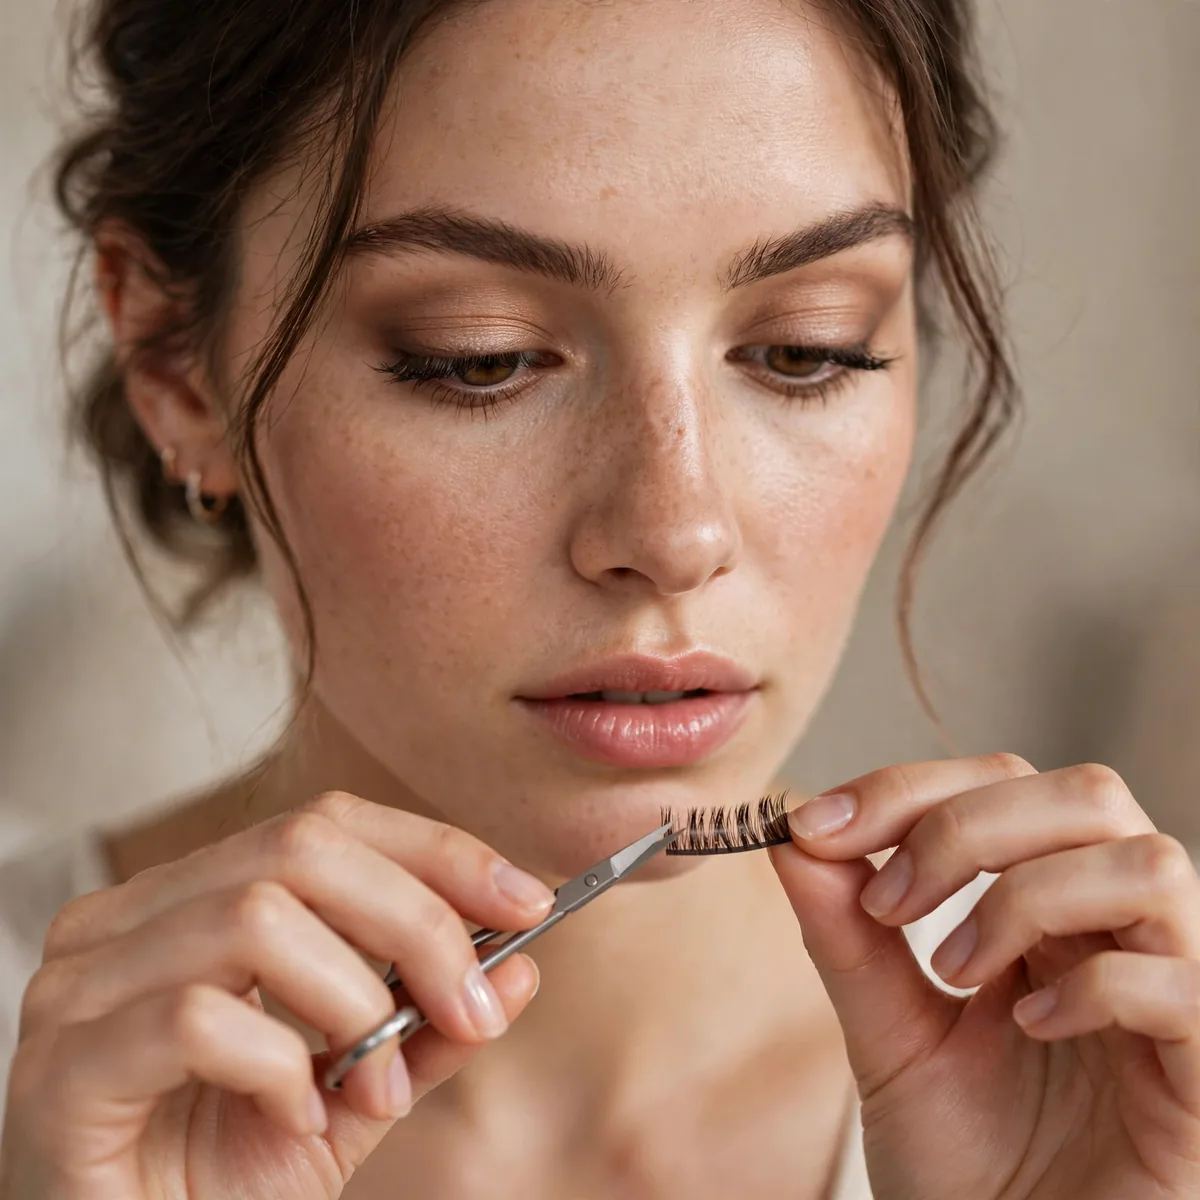
Always trim from the outer corner to match your eye width. Untrimmed lashes lift and look fake.
Measure against your eye first. The lash should start where your natural lashes start.
Always trim from the outer corner since the inner corner has the shortest, most natural-looking fibers that you want to preserve. Cut a tiny sliver at a time and remeasure against your eye, because you can always remove more but never add back. After trimming, flex the band gently between your fingers to restore its natural curve.
The classic beginner mistake is trimming too much at once and ending up with lashes that stop awkwardly short of the outer corner. Hooded eyes can actually trim slightly less and let the lash extend a touch, since the extra length peeks out beautifully when the fold opens. When in doubt, trim conservatively and test the fit before any glue touches the band.
Clear Band Lashes
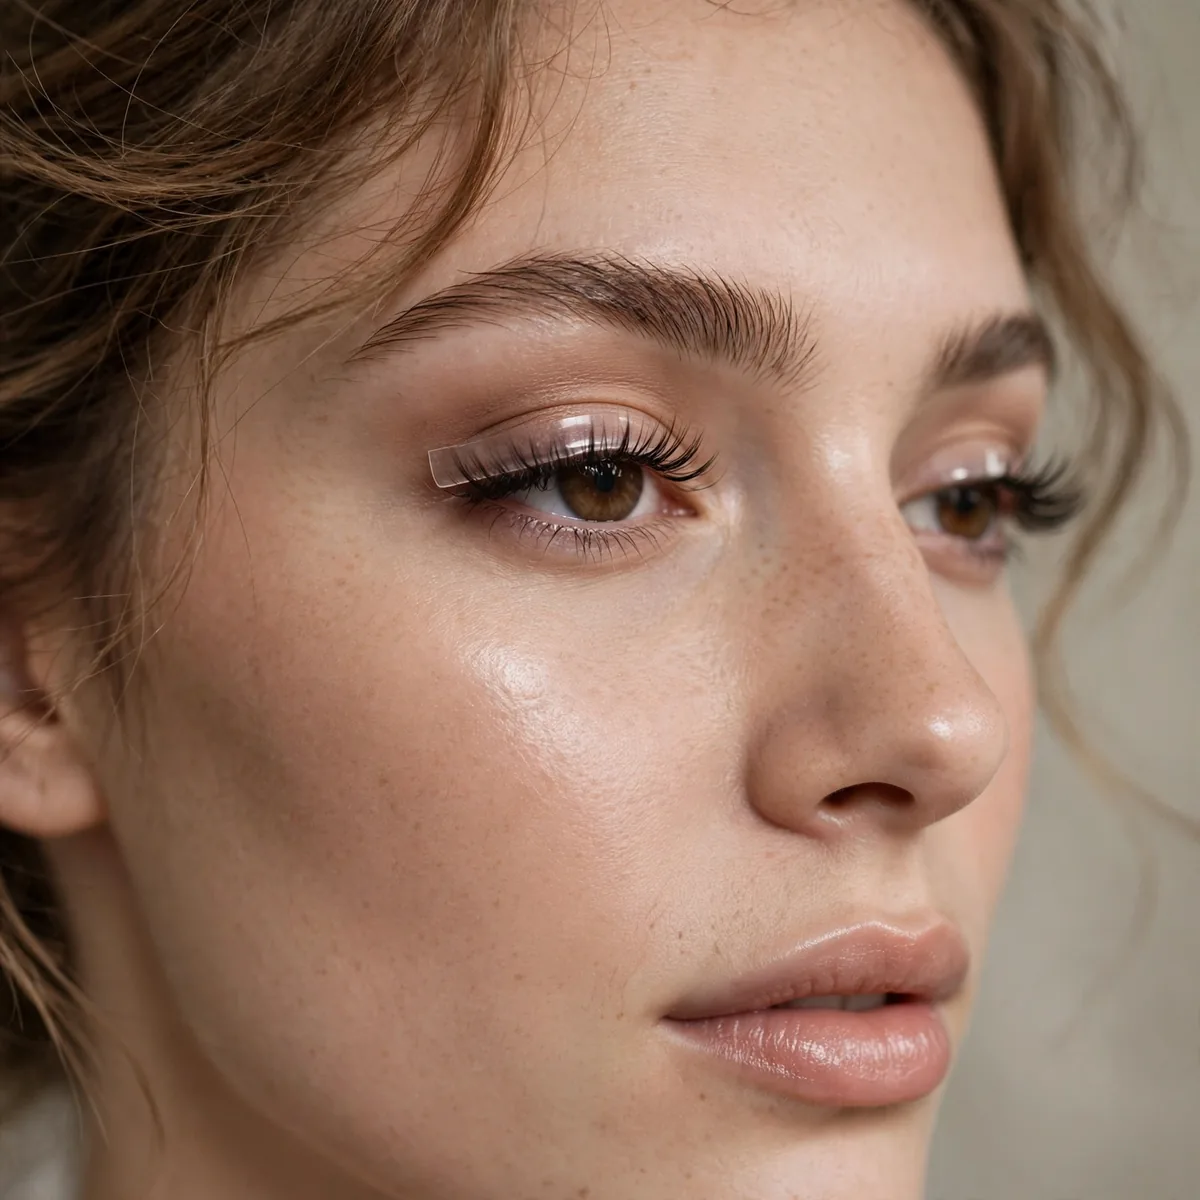
Clear bands disappear against skin — no visible strip line.
The beginner’s best friend. Clear bands forgive imperfect placement.
Clear bands are nearly invisible but also nearly invisible to your own fingers, so apply them in bright light and take your time with placement. Tightlining with dark gel liner before application gives the lashes a shadow to sit against, which hides the band completely. The flexibility of clear bands also means they conform to curved lash lines more easily than rigid black bands.
Because clear bands show no harsh line, they’re forgiving if your placement sits a millimeter off, making them ideal for learning. They also photograph beautifully since there’s no dark strip competing with your eyeshadow. After wearing, peel the band gently from the outer corner and store lashes in their tray so the clear band keeps its shape for next time.
Half Lashes
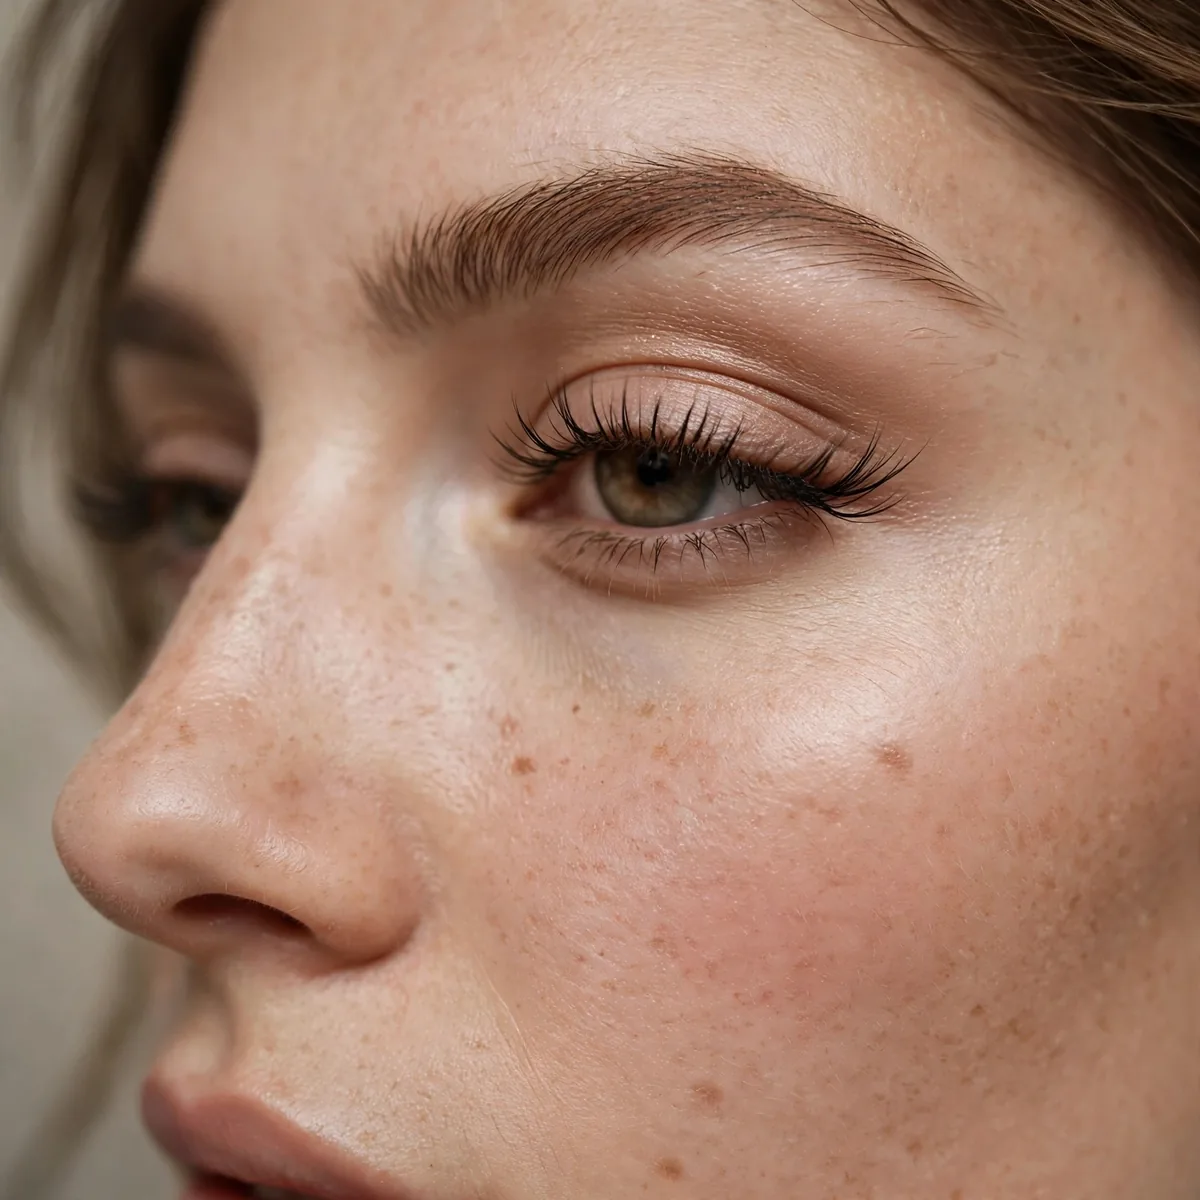
Lashes for just the outer half — subtle enhancement, easy application.
Half lashes are the training wheels. Smaller strip, less to manage, natural result.
Placement is everything with half lashes: align the outer end with your eye’s outer corner, then let the inner end overlap your natural lashes about halfway across. The band should sit directly on your lash line, not above it, so press gently with a lash applicator until you feel it settle. A mirror angled below your chin gives the clearest view of the lash line.
Almond eyes wear half lashes effortlessly since the outer-corner emphasis enhances their natural shape, while round eyes get a subtle cat-eye lift from the same placement. They’re perfect for workdays when full strips feel like too much and evenings when you want a little extra. Keep a spare pair in your bag, since half lashes are the easiest falsie to apply on the go.
Individual Clusters
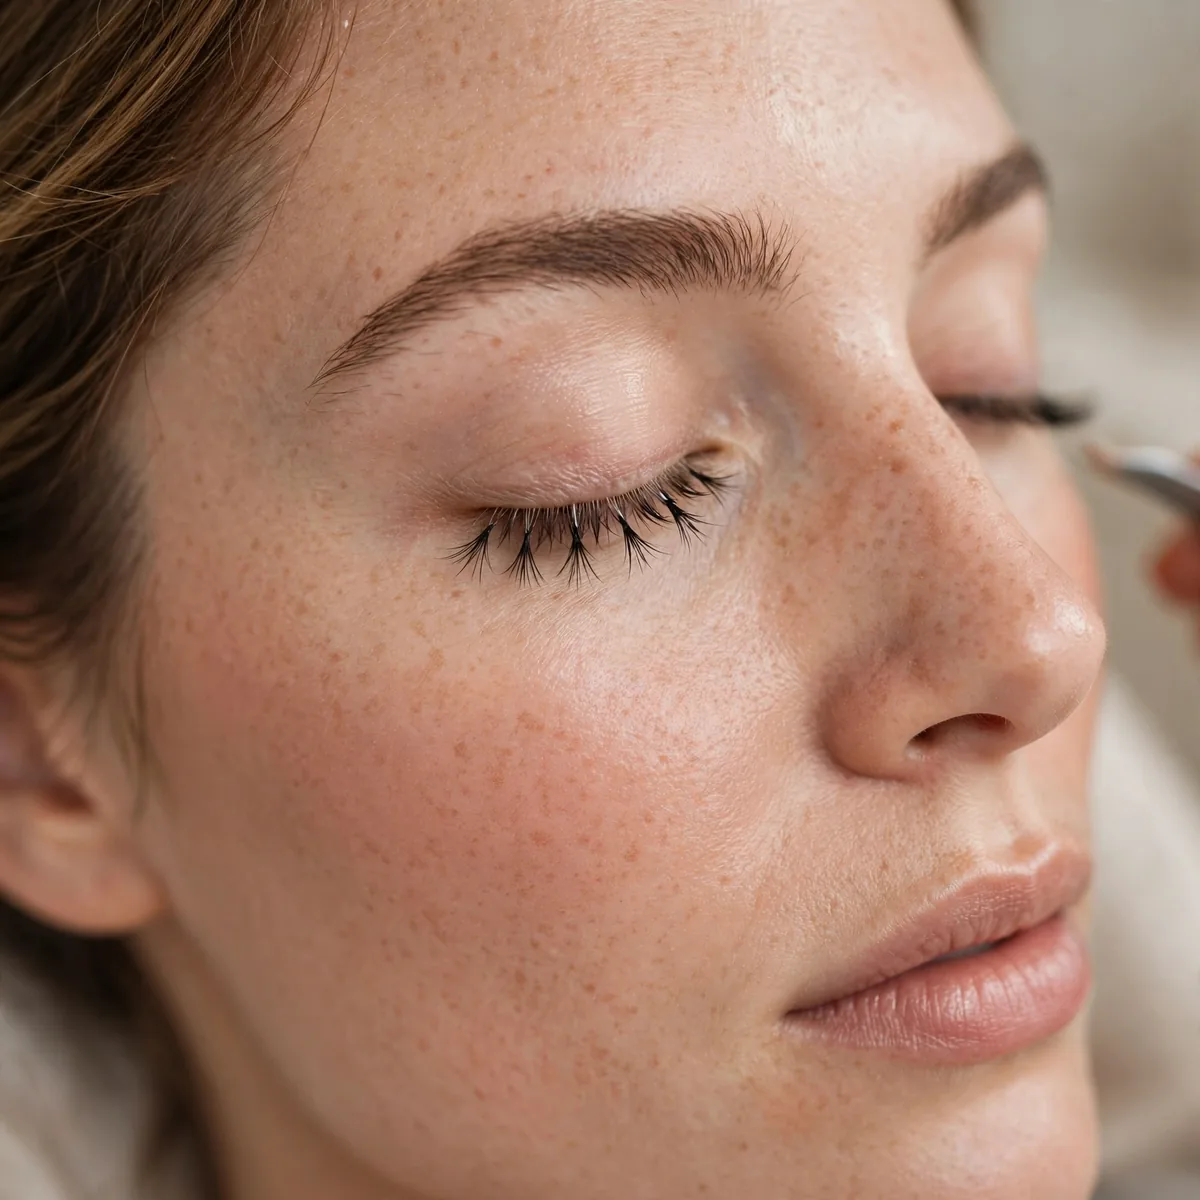
Small clusters placed where you need them — the most customizable falsie.
Place 3-4 clusters on the outer half for a natural cat-eye effect. Total control.
Use a brush-on cluster glue rather than strip-lash adhesive, since the thinner formula lets you place tiny amounts exactly under each cluster. For the most invisible result, apply clusters underneath your natural lashes instead of on top, sandwiching them close to the roots. This under-lash technique hides the cluster base completely and looks astonishingly natural.
Clusters typically last through a full day and evening but aren’t meant for multi-day wear, so remove them gently each night. Soak a cotton pad with oil-based remover, hold it over the eye to dissolve the glue, then slide clusters off without pulling. Tugging at clusters can take your natural lashes with them, so patience here protects your real lash line.
The Tacky Glue Wait

Wait 30 seconds after applying glue — tacky glue grips, wet glue slides.
This single tip fixes 90% of application frustration. Patience is the technique.
Glue choice changes the waiting game, so pick a latex-free formula if your eyes water easily or react to traditional adhesives. Apply a thin, even coat along the band rather than a thick stripe, since excess glue squeezes out and gets gummy. Dark-tone glues dry down black and double as liner, while clear glues dry invisible for the most forgiving finish.
In humid climates, give the glue a few extra seconds since moisture slows the tacky stage, while dry winter air speeds it up. The telltale sign of too-wet glue is the lash sliding around on your lid instead of gripping. If that happens, lift the lash off, wait ten more seconds, and try again rather than wrestling a sliding strip into place.
Tweezer Placement
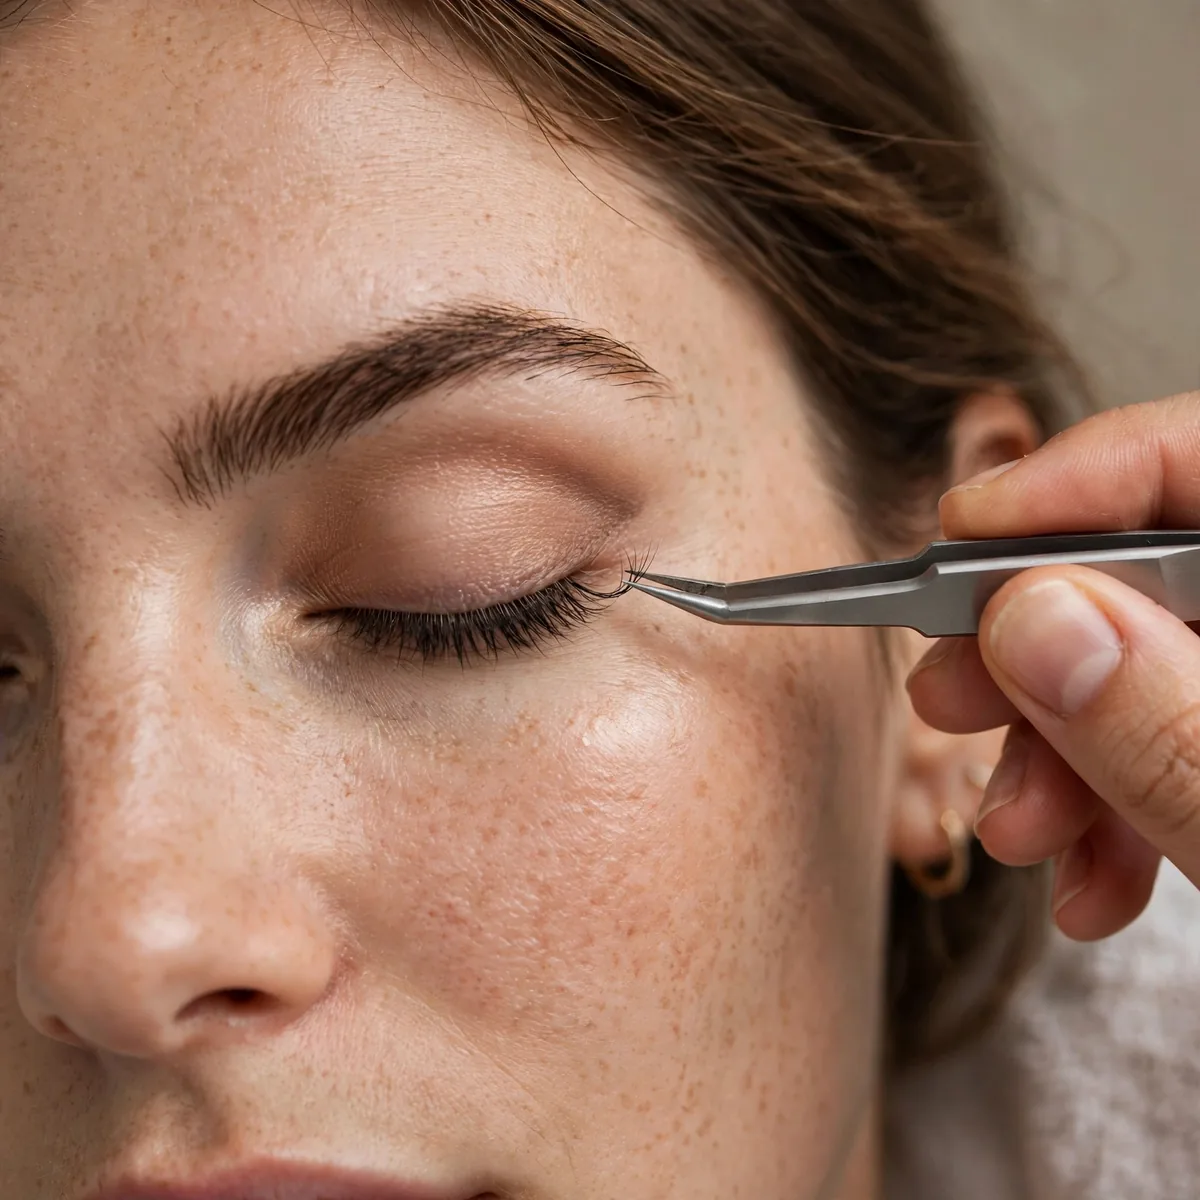
Place with tweezers, not fingers — precision matters at the lash line.
Look down into a mirror for the best angle. The downward gaze exposes the lash line.
A slanted-tip tweezer or dedicated lash applicator gives you far more control than fingers, which block your view at the crucial moment. Grip the lash at its center rather than the ends so the band stays curved and doesn’t flip. Rest your elbow on a table to steady shaky hands, since a stable base turns a wobbly application into a precise one.
Practice on a relaxed evening with no time pressure, since rushing is what turns lash application into a frustrating mess. If the lash lands crooked, don’t panic and yank it off; gently nudge it into place with the tweezer tip while the glue is still tacky. Most people nail the technique within five to seven tries, so give yourself that learning curve.
Mink-Look Synthetics
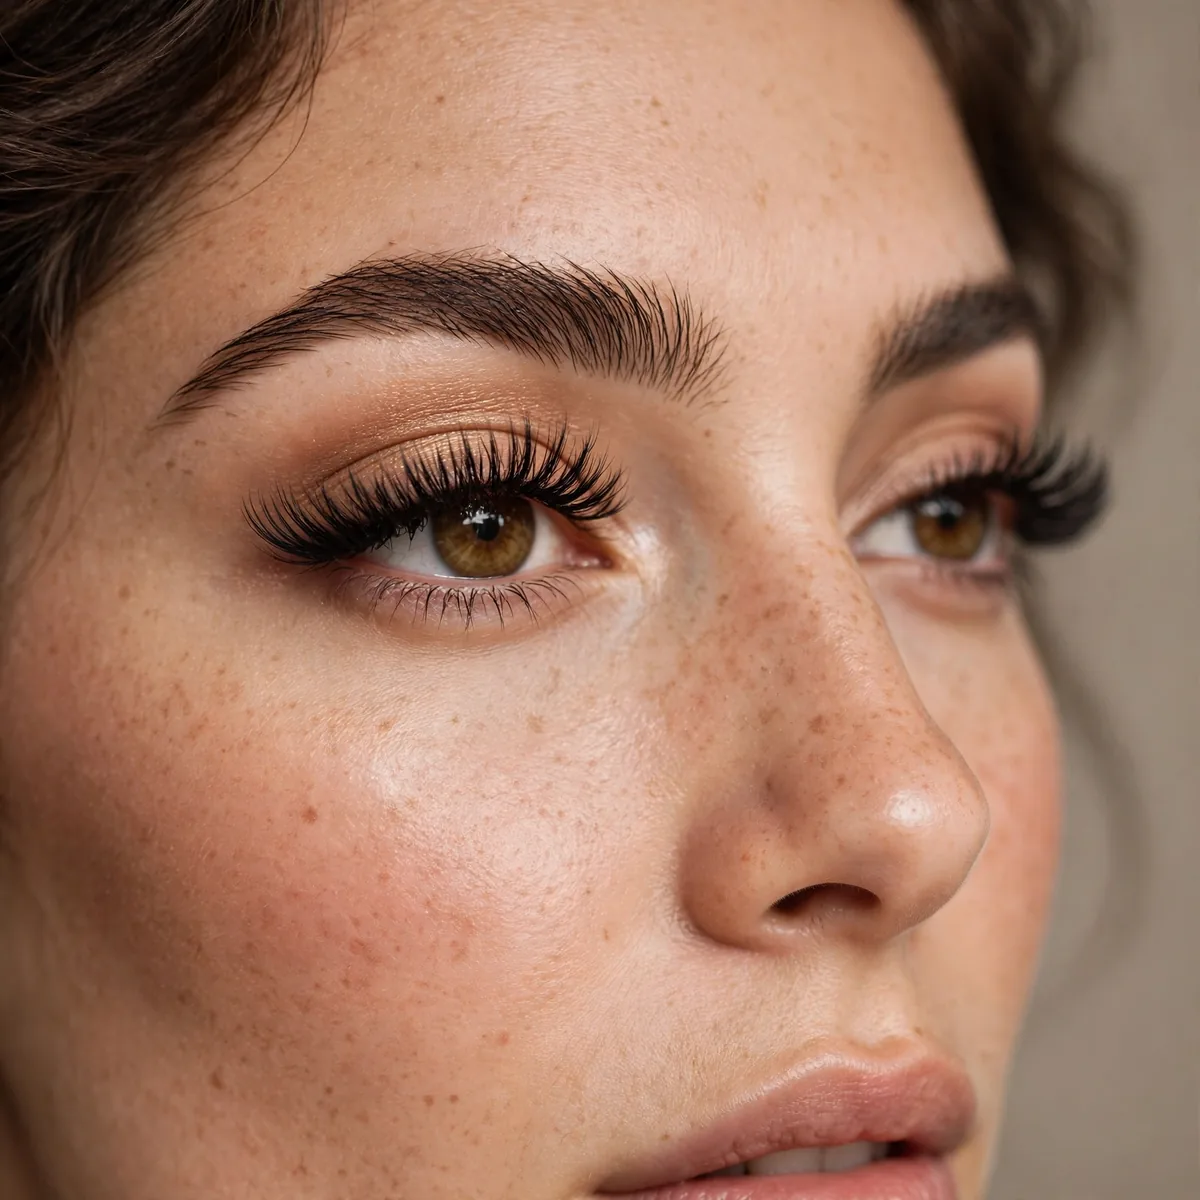
Synthetic lashes that mimic mink’s wispy texture — cruelty-free and natural.
Modern synthetics rival real mink. The technology has caught up beautifully.
Modern synthetics have another hidden advantage: they hold their curl far better than real mink through heat, humidity, and long wear days. When shopping, look for terms like faux mink or silk lashes, which signal the soft tapered fibers that mimic real fur. Avoid overly glossy plastic-looking fibers, since shine is what betrays a cheap synthetic instantly.
Anyone with eye sensitivities should lean toward synthetics, since real mink can carry proteins that irritate reactive eyes. They’re also kinder to your wallet, often costing a fraction of genuine mink while looking nearly identical. With proper cleaning and storage, a good synthetic pair survives just as many wears, making them the smarter long-term investment for beginners.
The Invisible Band Trick
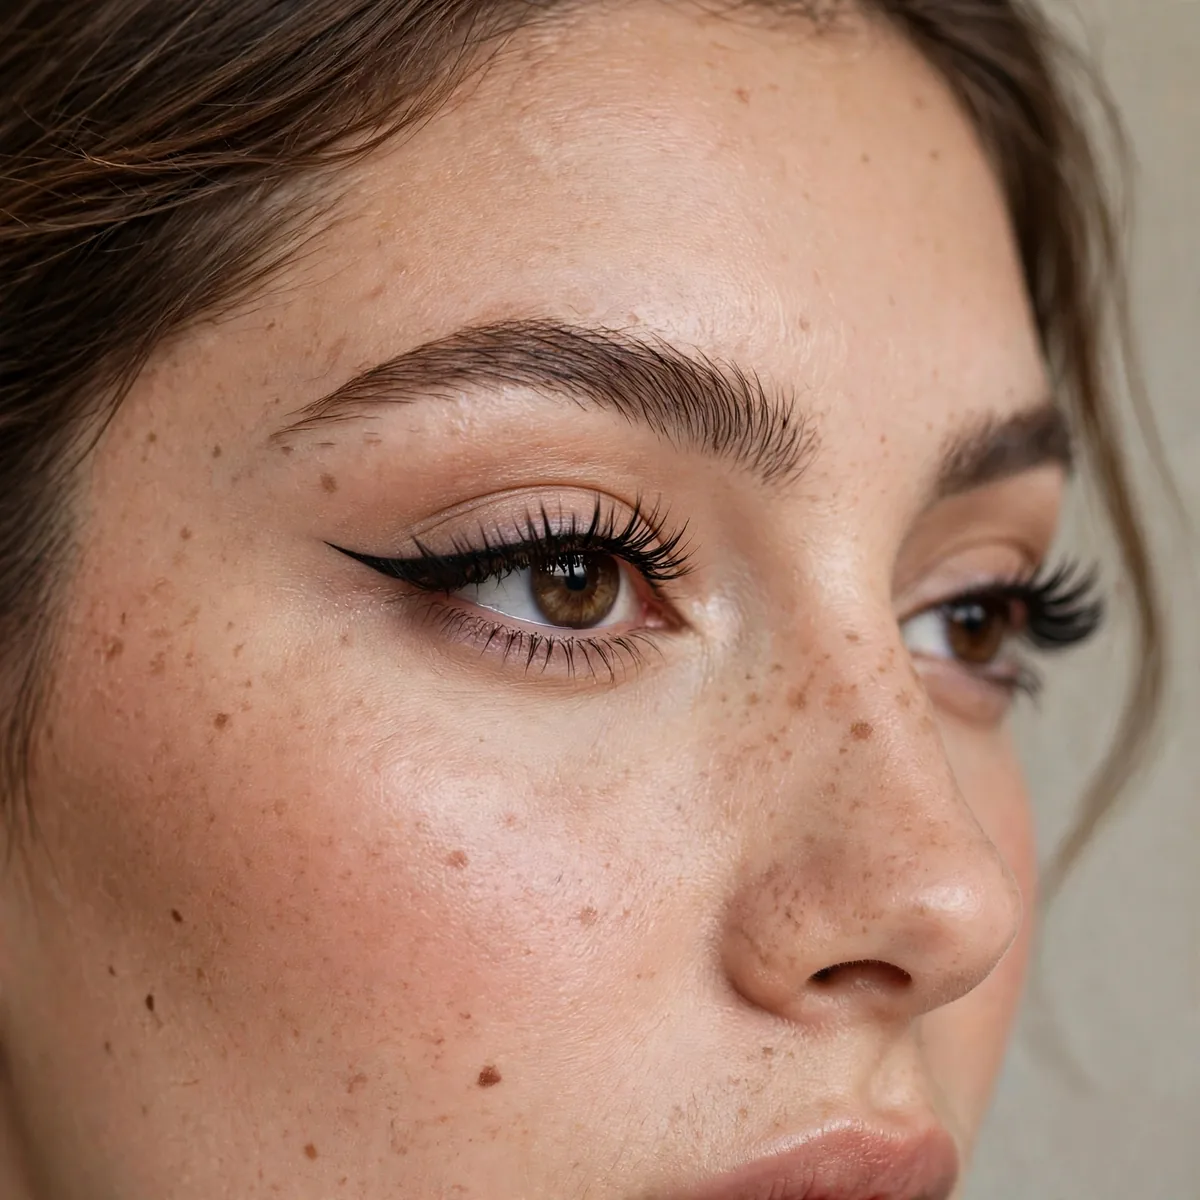
Tightline before applying — the dark base hides any visible band.
Our tightlining guide covers it. The tightline is falsies’ best friend.
Gel liner works best for the pre-lash tightline since its creamy formula fills between lash roots more completely than pencil. After applying the liner, press a matching dark eyeshadow over it with a small brush to set it and deepen the base. This layered dark base means even if the lash band shifts slightly, no skin shows through underneath.
Skipping liner entirely is the number one reason beginners’ falsies look obvious, since bare skin between the band and lash line glows in photos. Hooded eyes benefit most from this trick because their fold can push the band slightly upward, exposing the gap. Take the extra ninety seconds for tightlining and your lashes will look like they grew that way.
Short Length Options
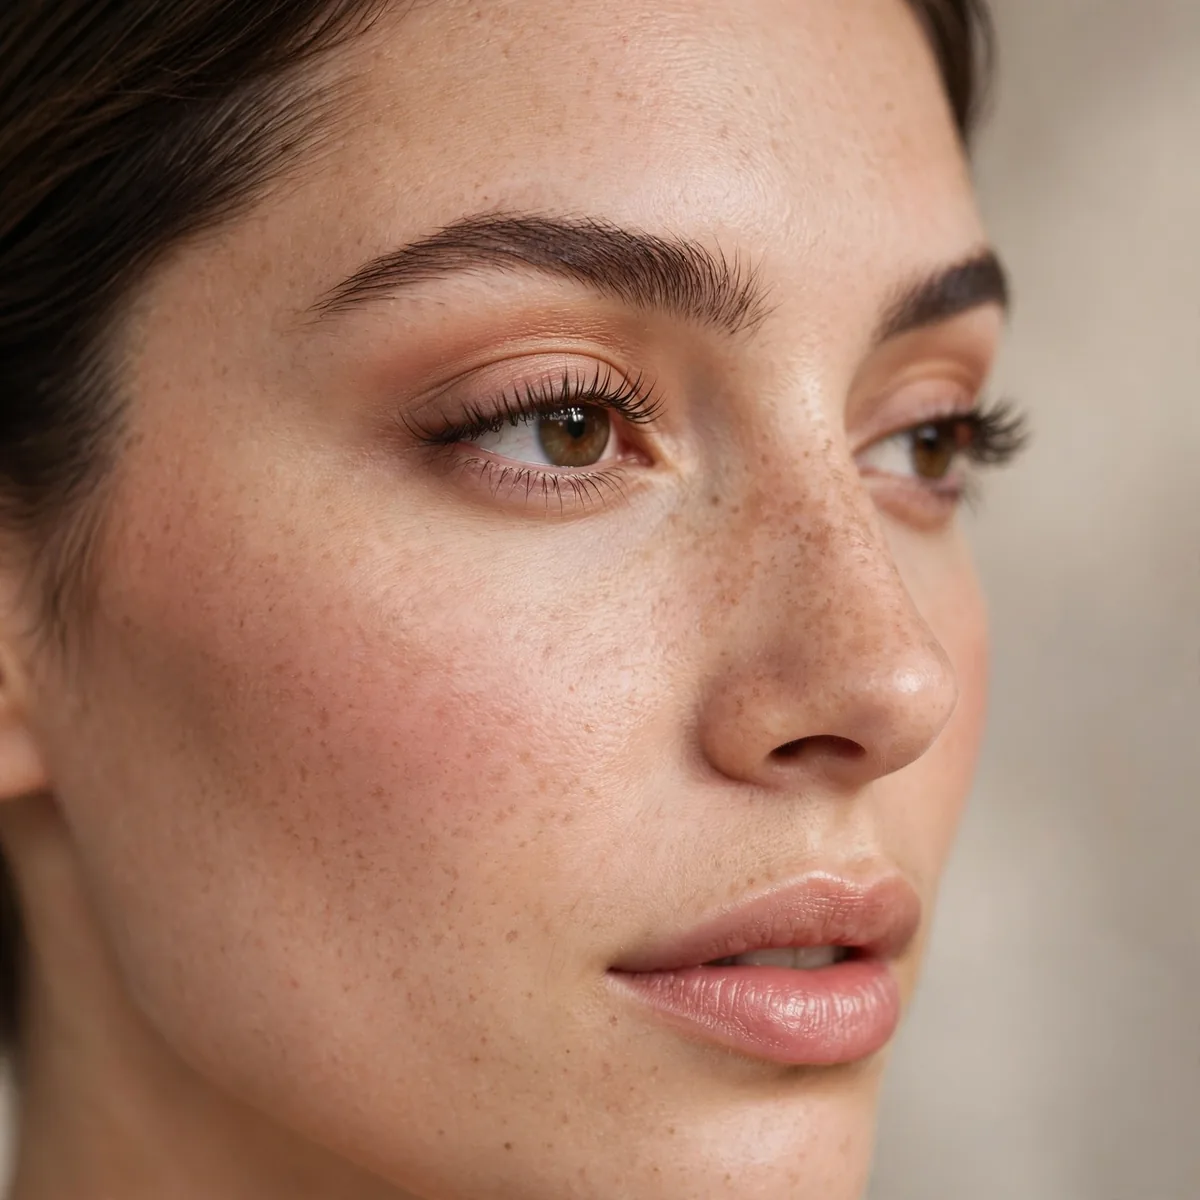
Choose shorter lengths for daytime — dramatic lengths read evening-only.
Length is what makes falsies obvious. Shorter equals more believable.
Length is measured in millimeters, and the sweet spot for natural-looking falsies sits between eight and twelve millimeters. Compare the lash against your natural lashes before buying: the falsie should extend just slightly beyond your longest real lashes. Anything dramatically longer crosses from enhancement into obvious, no matter how wispy the style.
Glasses wearers should choose shorter lengths deliberately, since long lashes brush against lenses with every blink and smudge mascara everywhere. Shorter styles also survive the workday better, staying put through meetings and commutes without drooping. Save the dramatic lengths for evenings and photos, where distance and lighting make them look intentional rather than overwhelming.
Corner Accent Lashes
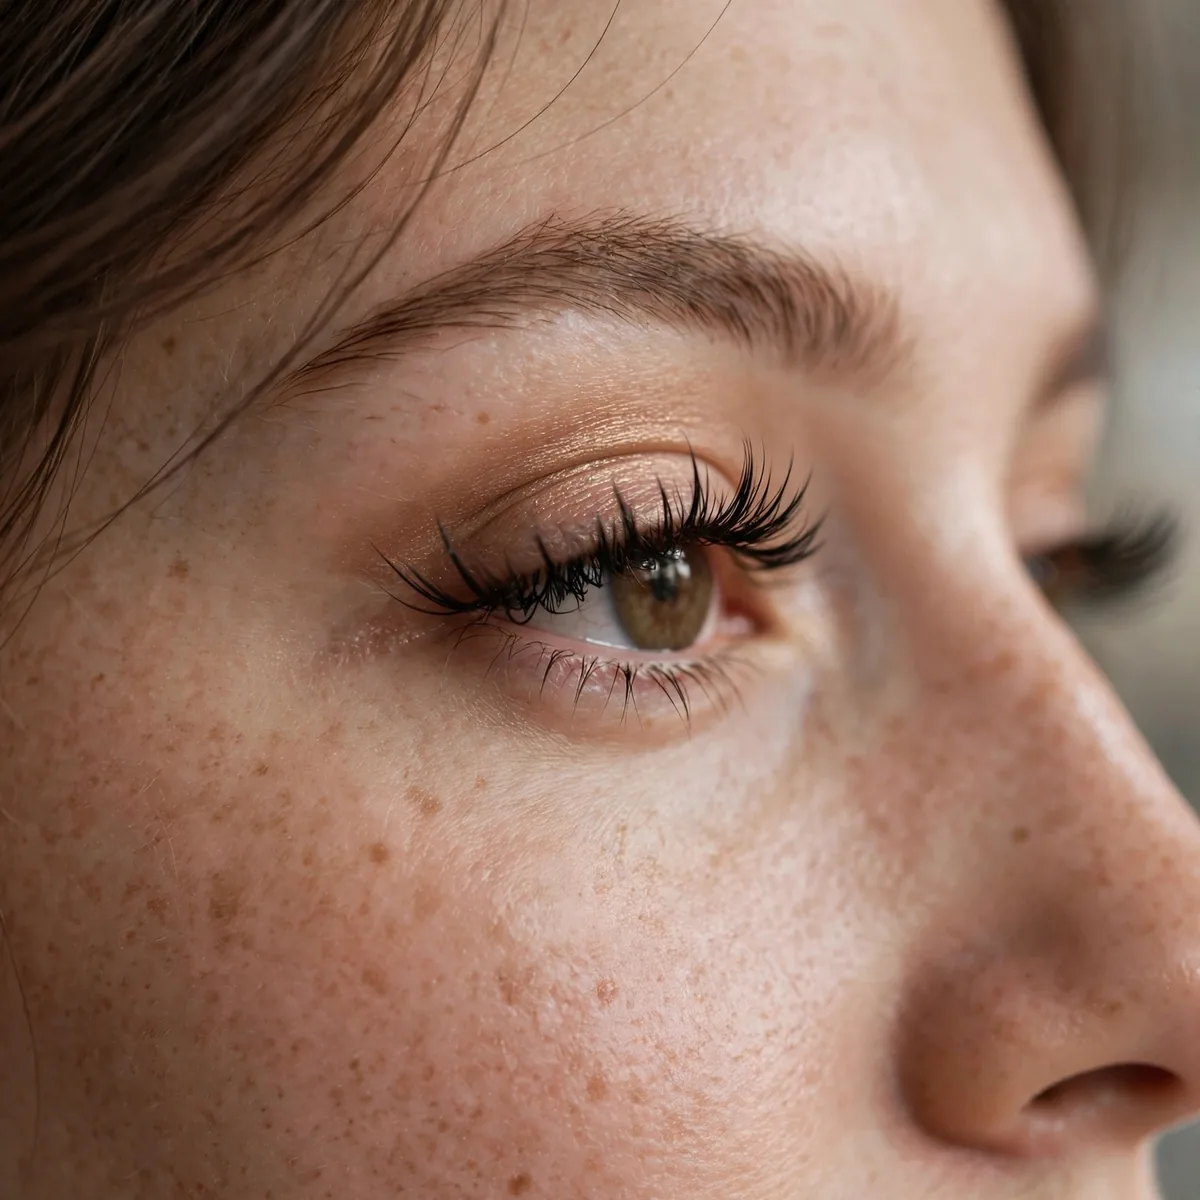
Tiny accent lashes just at the outer corner — the subtlest falsie.
One small piece per eye. It’s barely there, but the lift is real.
Precision matters most with these tiny pieces, so use minimal glue and place the accent exactly where your natural lashes end at the outer corner. A lash applicator or the tip of a tweezer gives the control your fingers can’t at this scale. Let the accent overlap your real lashes by a millimeter so it blends instead of sitting beside them.
Downturned and hooded eyes gain the most from corner accents because the outer-corner lift counteracts their natural downward pull. They’re also a bridal favorite for brides who want lashes in photos without looking made-up in person. One pair can stretch across several wears since the tiny band collects almost no glue or mascara buildup.
Magnetic Lash Option
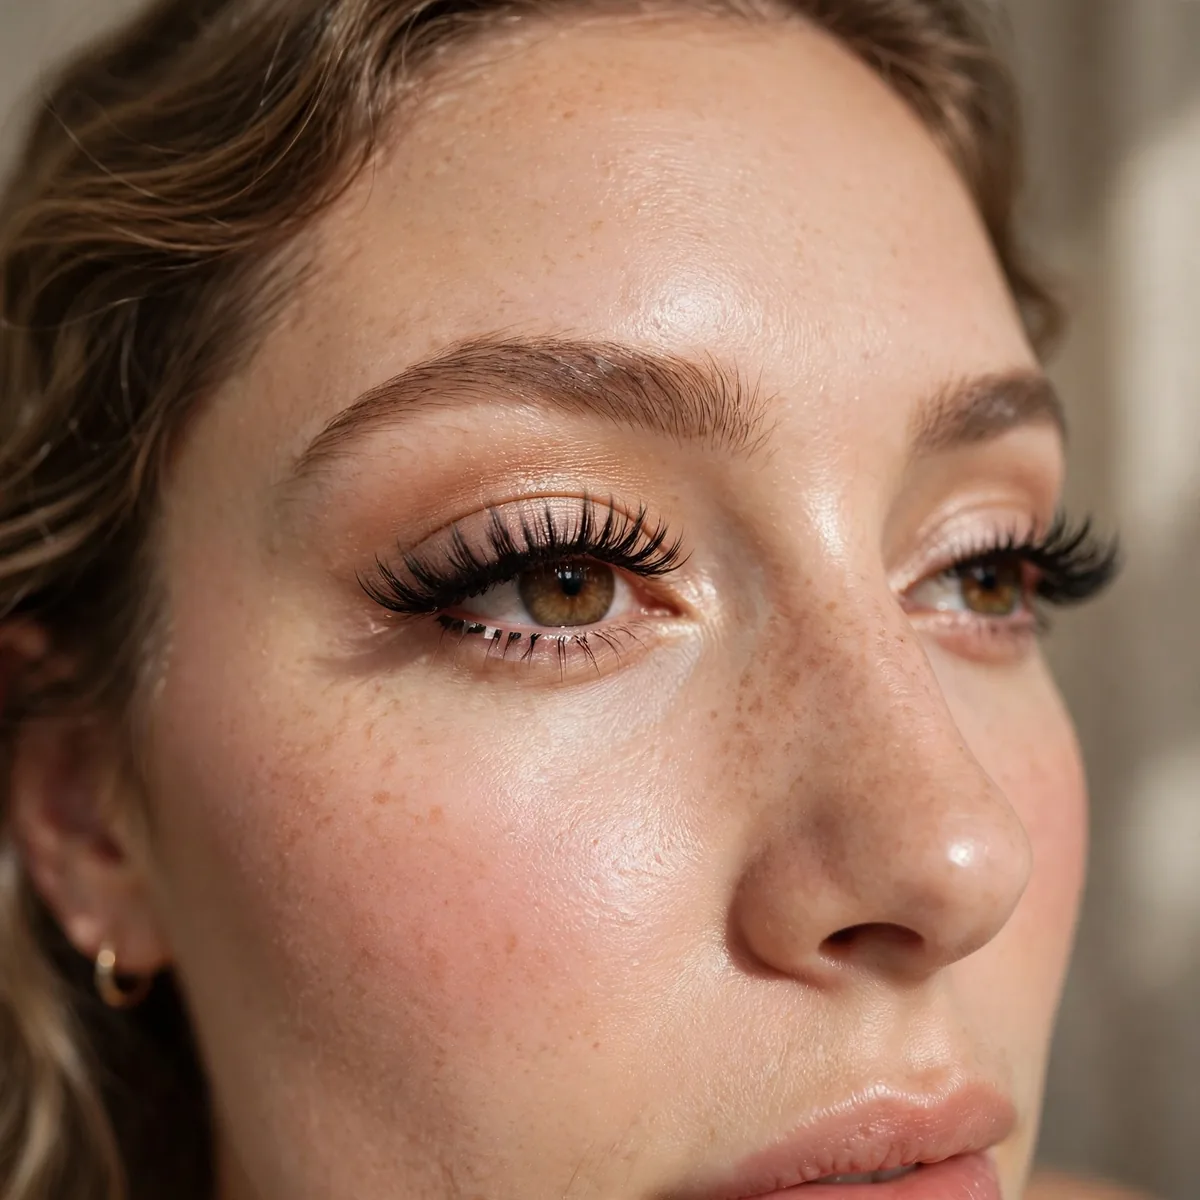
Magnetic lashes skip glue entirely — sandwich your lashes between magnetic strips.
No glue learning curve. The easiest falsie format for true beginners.
Most magnetic lashes work with a special magnetic eyeliner that you apply first, then the lash clicks onto the liner’s iron-oxide particles. Apply the liner in two thin coats rather than one thick one, since even magnetic coverage holds better. Choose a shorter magnetic style for your first try, as longer strips are harder to align evenly.
Magnetic lashes handle wind and long days surprisingly well once the liner is fully dry, but give them a test run at home before any important event. Removal is wonderfully simple: just slide the lash sideways off the liner instead of pulling upward. Clean the magnets gently with micellar water after each wear so they keep their grip.
Reusing Lashes
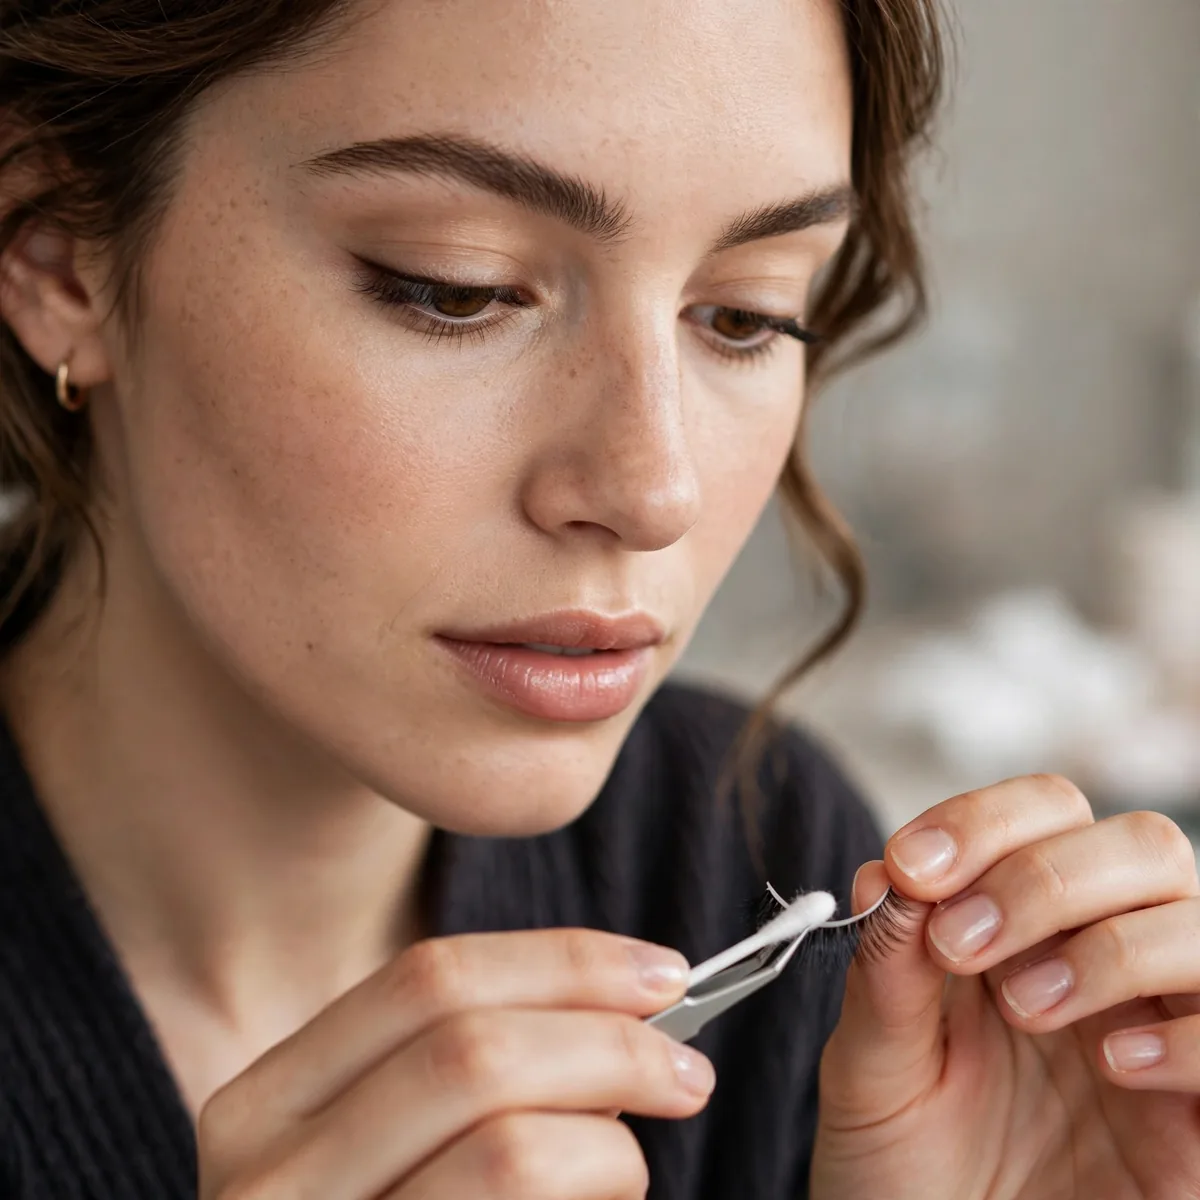
Quality lashes last 5+ wears with proper cleaning.
Remove glue after each wear with tweezers. Clean lashes apply better and look more natural.
Storage is half the battle, so always return lashes to their original tray after wearing, which preserves the band’s curve for next time. Clean them by soaking a cotton swab in oil-free micellar water and gently rolling it along the band to dissolve glue residue. Never soak the whole lash, since waterlogged fibers lose their shape and fluffiness.
Retire a pair when the band warps, fibers shed noticeably, or the style loses its original shape despite cleaning. Most quality lashes deliver five to eight wears, which brings the cost per wear down to pocket change. Think of them like good brushes: a little maintenance after each use dramatically extends their working life and keeps application easy.
Blending With Mascara
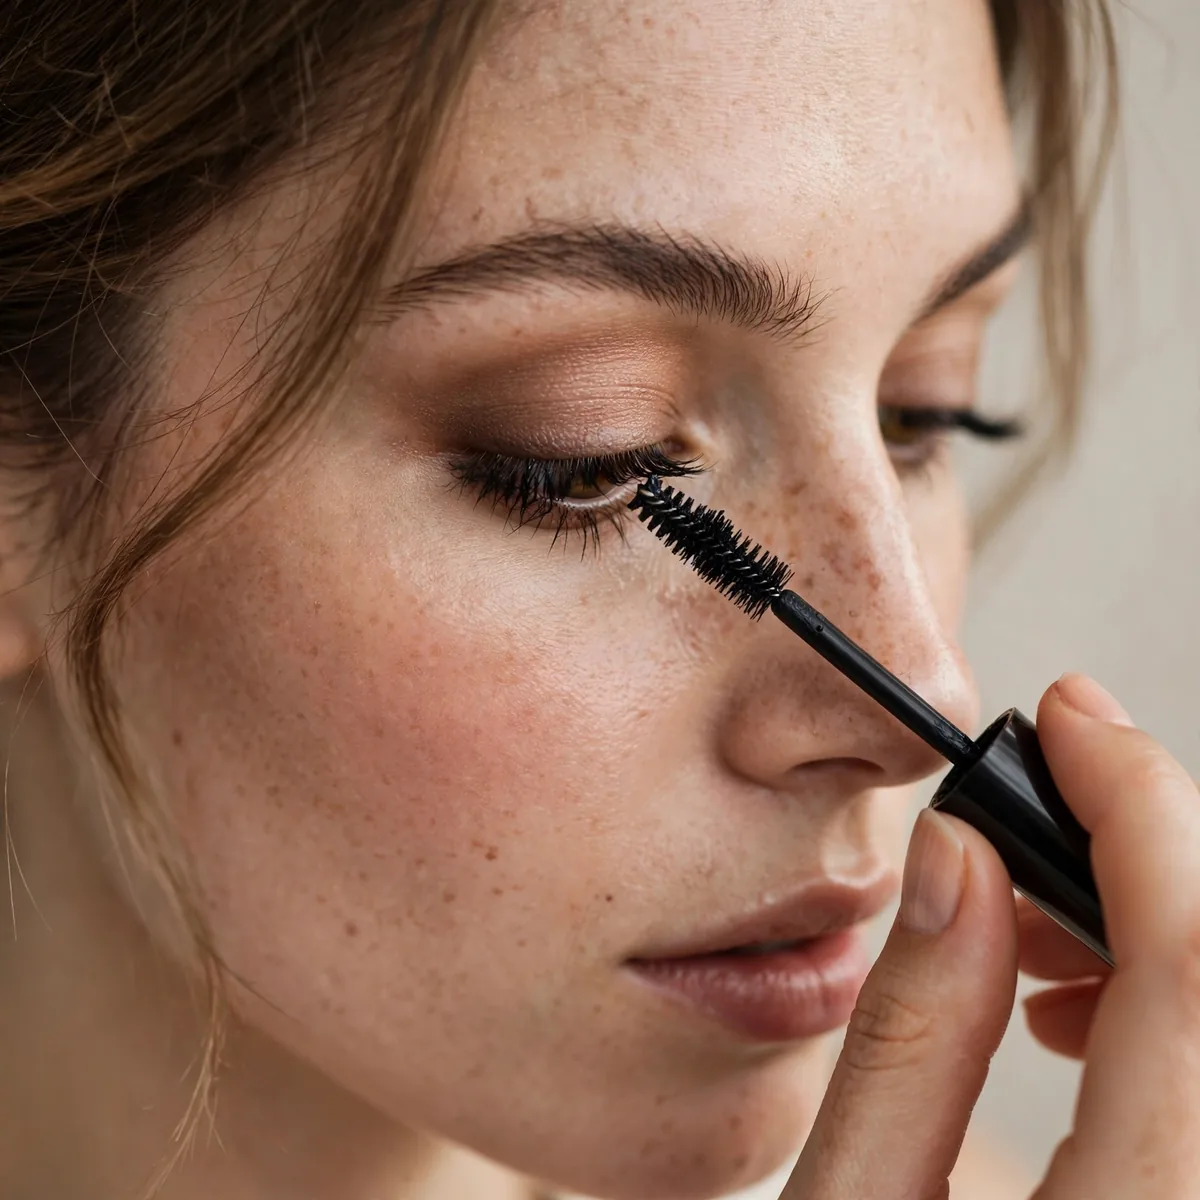
One coat of mascara after applying merges falsies with real lashes.
The mascara bridges the gap. Without it, falsies can sit visibly separate.
The technique is a gentle wiggle at the base of the lashes rather than a full stroke through the tips, which deposits mascara where the blend actually happens. One light coat is plenty, since heavy mascara clumps falsies and weighs down the band. Choose a regular formula over waterproof here, because waterproof mascara is harder to remove from delicate falsie fibers.
Curl your natural lashes with a lash curler before applying falsies so both sets point in the same direction and merge seamlessly. The classic mistake is skipping the curler and relying on mascara alone, which leaves real lashes pointing a different way than the falsies. If your falsies lose curl over wears, a gentle re-curl with a heated curler revives them.
The Confidence Factor
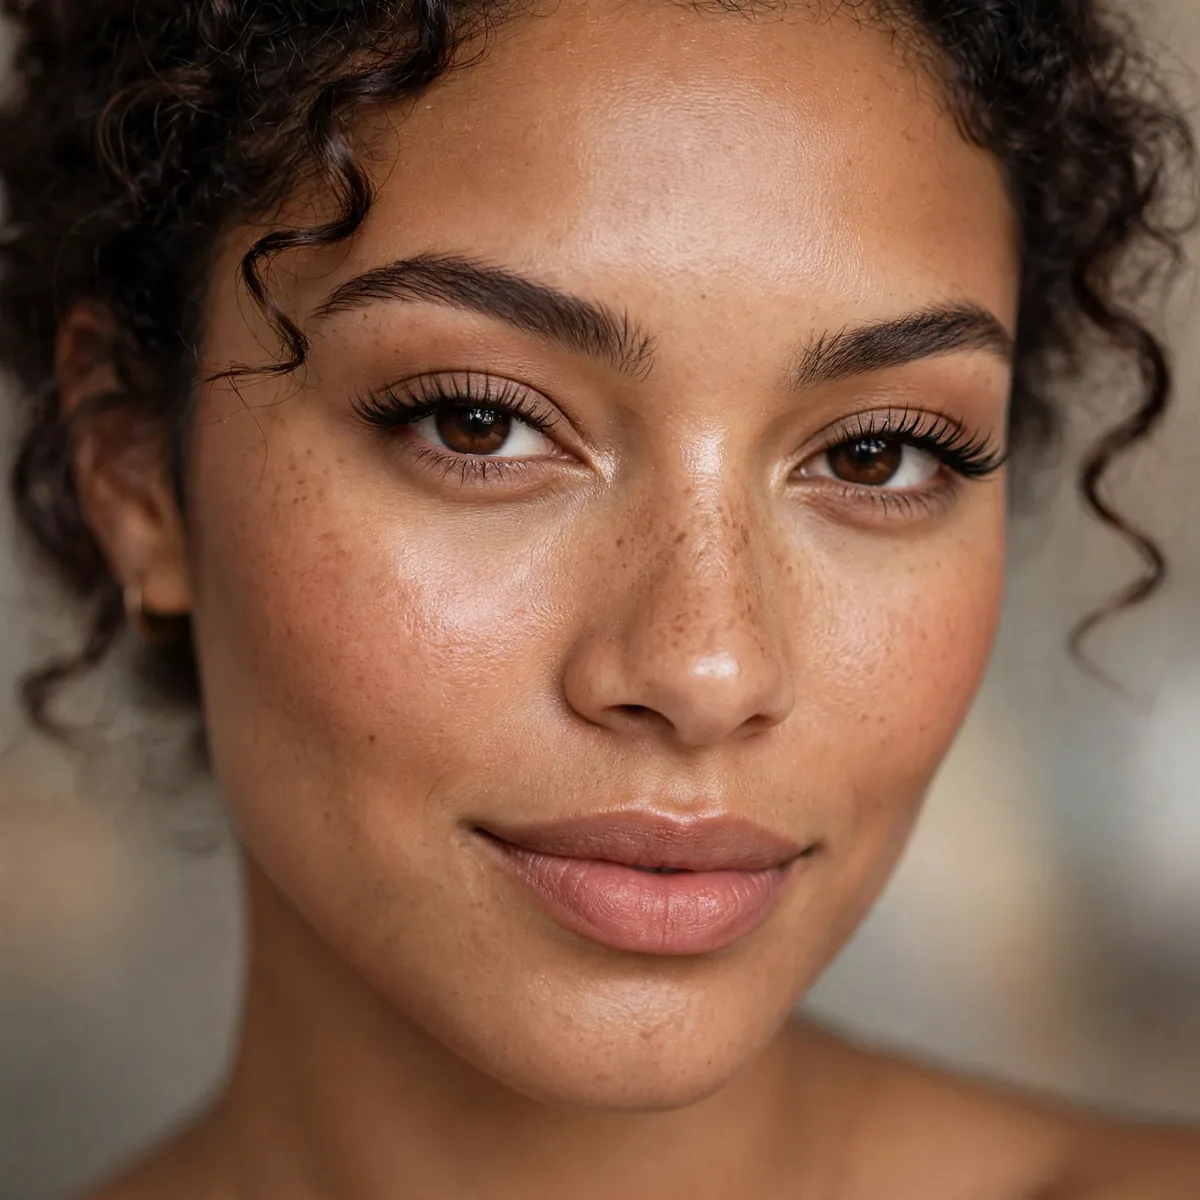
Wear them around the house first — confidence makes falsies look natural.
For removal and care, see our mascara tips guide’s removal section. The more comfortable you are, the more natural they look.
Your first public outing in falsies should be low-stakes, like a quick grocery run or coffee with a friend, not a wedding. Low-pressure environments let you forget you’re wearing them, which is exactly when they start looking natural. Once you’ve survived a full day without fidgeting, you’re ready for the events that actually matter.
One thing beginners don’t expect is that falsies photograph darker and fuller than they look in the mirror, so choose a slightly subtler style for photo-heavy events. And when the compliments come, and they will, resist the urge to touch or adjust your lashes in response. Confidence is quiet, and quiet confidence is what makes falsies look like they were always yours.
Natural falsies are a skill worth having — pin this guide. For lash treatments, compare lash lift vs extensions, or boost natural lashes with mascara tips.




