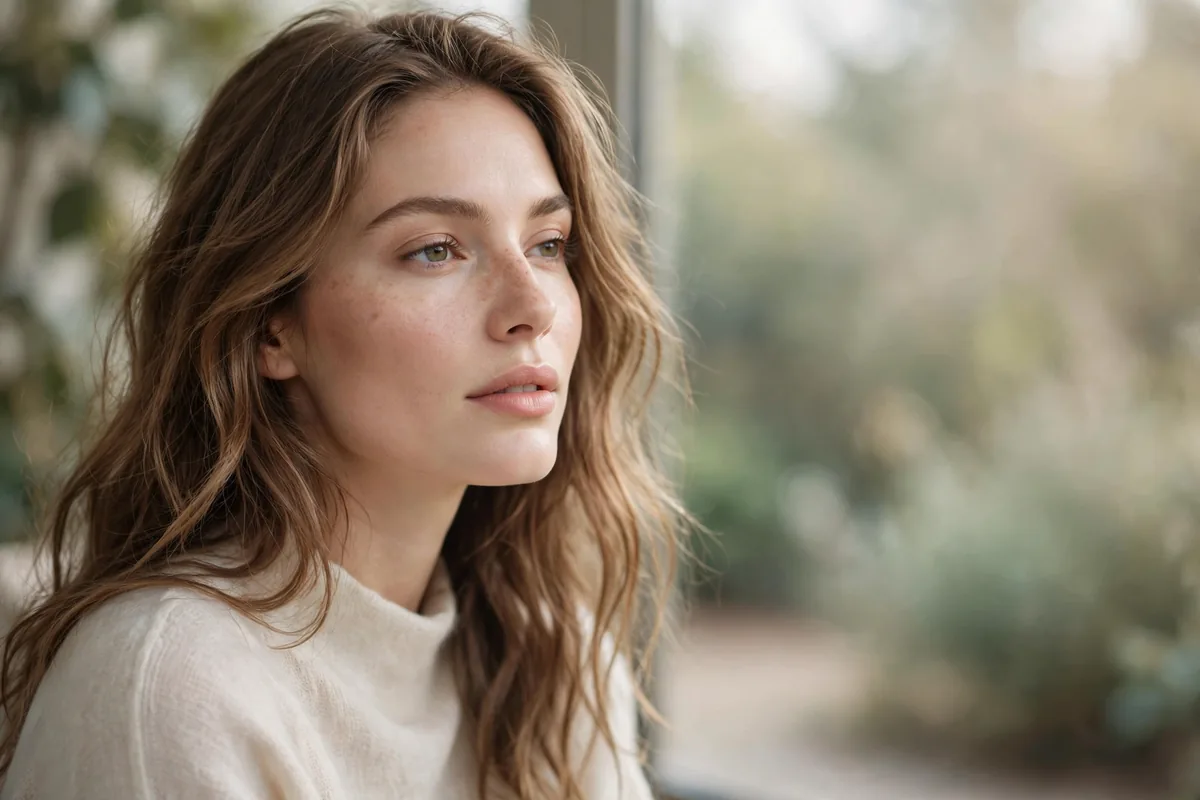
Cloud skin is the soft-focus trend — skin that looks airbrushed and dreamy, like you’re perpetually in perfect lighting.
The cloud skin formula: matte-but-not-flat base, soft blurring powders, and diffused everything. It’s the real-life Instagram filter.
What distinguishes it from matte is the softness — cloud skin has no harsh edges, no visible texture, just dreamy diffusion.
Here are 15 ways to get cloudy. Let’s get into it.
Blurring Primer Base
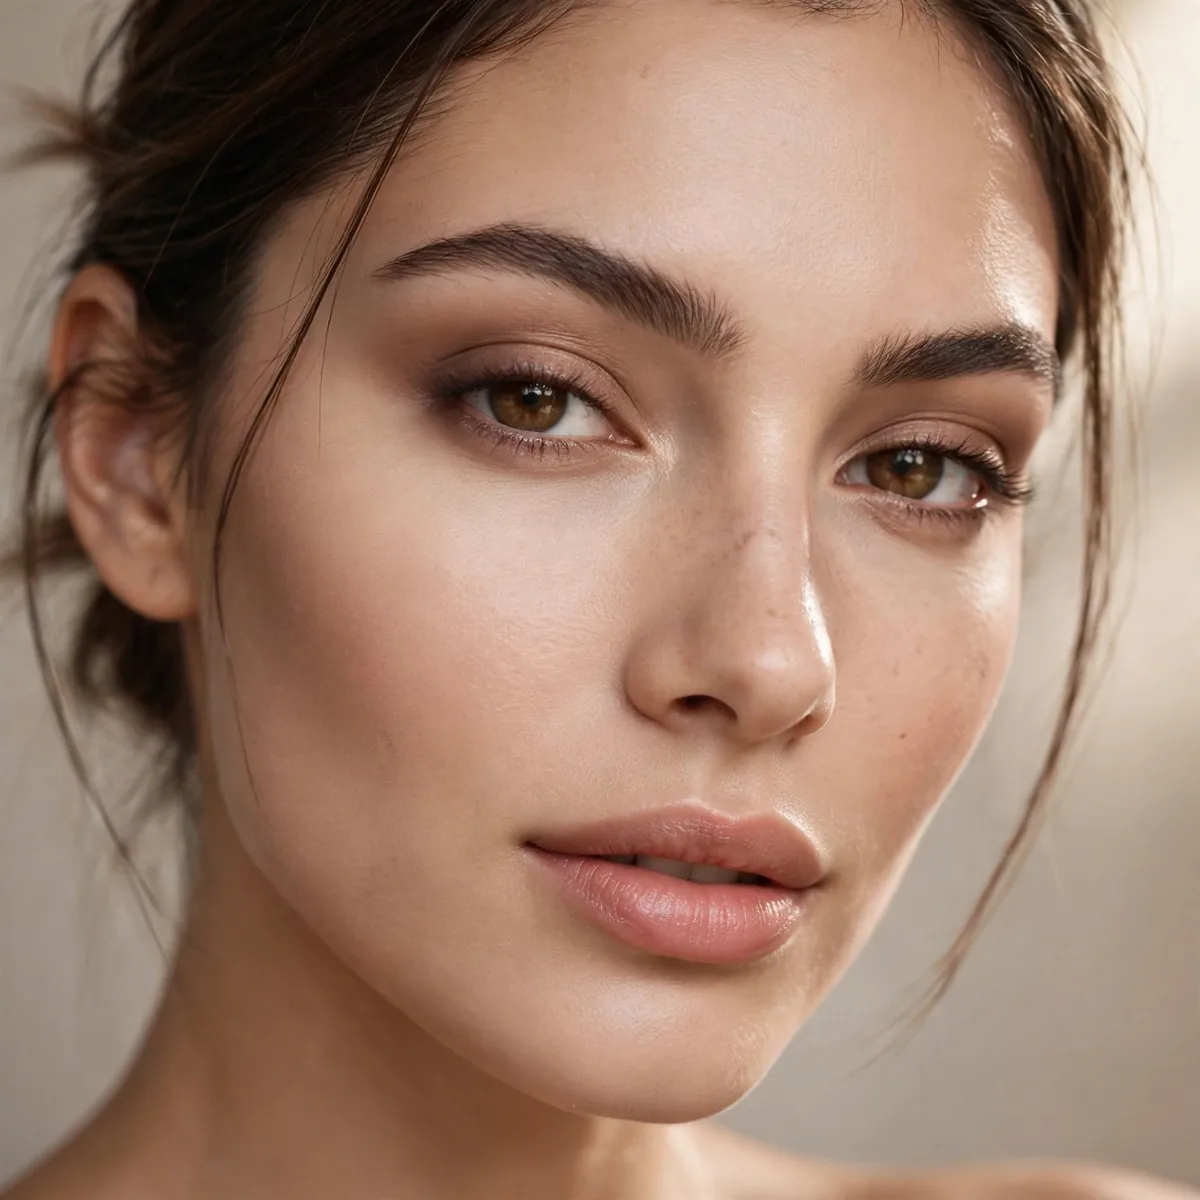
A pore-blurring primer — the foundation of the cloud.
Best for: textured skin. Blurring primers are cloud skin’s essential first step.
Choose a silicone-based primer with light-diffusing particles — these fill in pores and fine lines optically rather than physically, scattering light so texture disappears. Press it into the skin with fingertips, focusing on the T-zone and cheeks where pores show most. The blur this creates is the literal foundation of cloud skin: everything layered above inherits the softness.
Allow the primer a full minute to set before foundation; rushing causes pilling and ruins the smooth canvas. Those with very oily skin should look for mattifying blurring formulas that control shine while diffusing texture. Skipped primer is the most common reason cloud skin looks cakey instead of cloudy — this step is non-negotiable.
Soft Matte Foundation
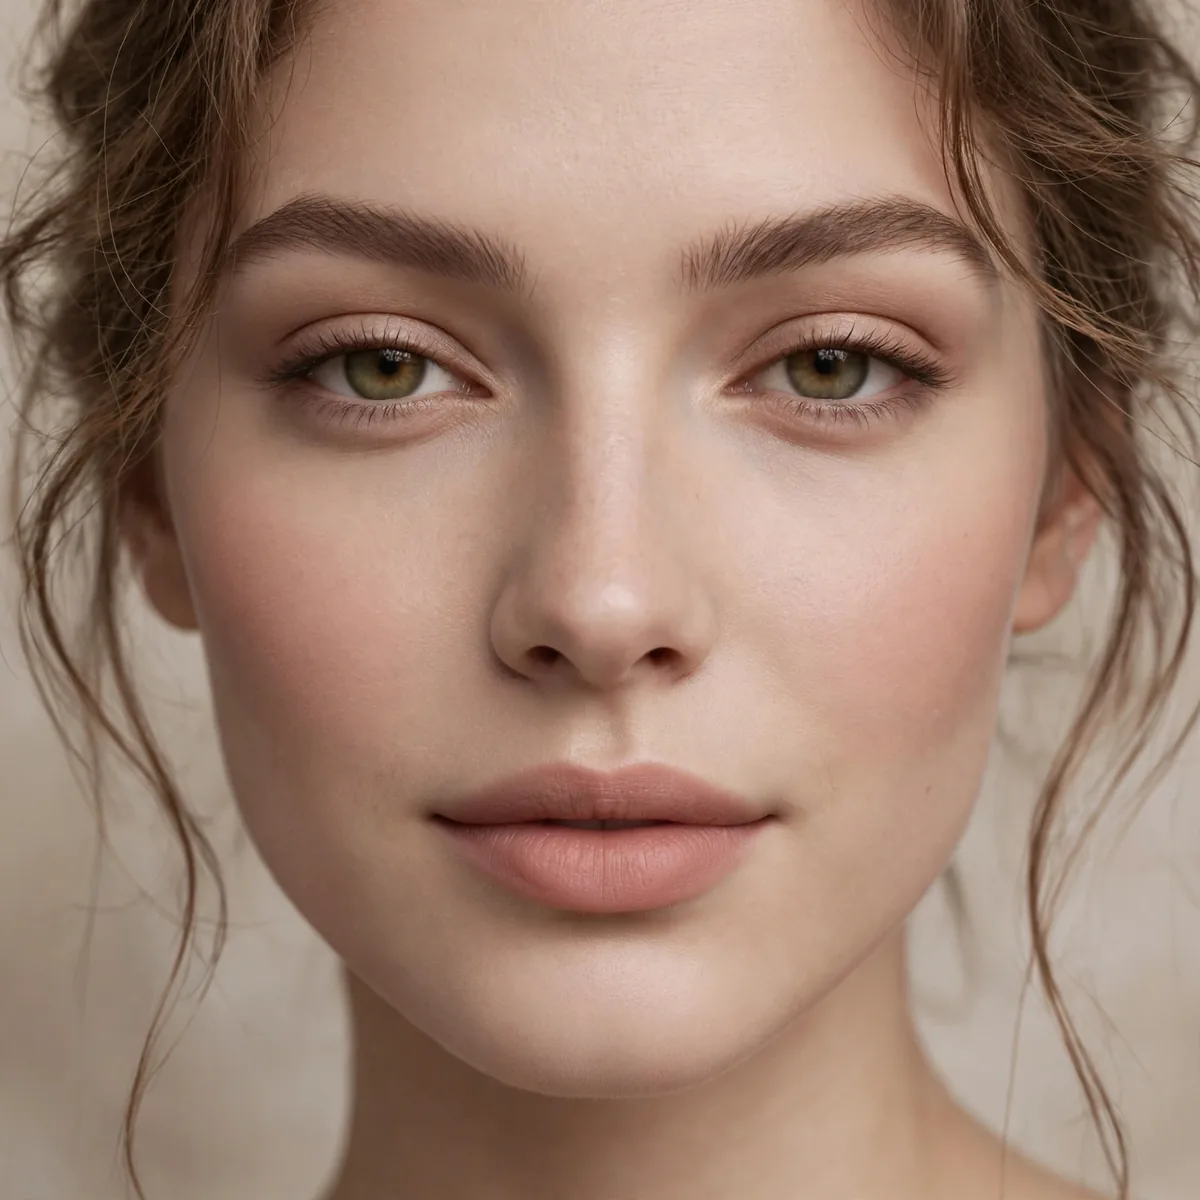
A soft-matte (not flat-matte) foundation. Coverage with a cloud-like finish.
Best for: the base. Soft-matte is the cloud skin texture.
Look for foundations described as natural-matte or soft-focus rather than full-matte — the distinction is everything. Full-matte formulas flatten the face into chalkiness, while soft-matte leaves a whisper of skin-like luminosity beneath the coverage. Apply with a damp sponge in thin layers, which sheers out even full-coverage formulas into cloud-appropriate softness.
Match your undertone carefully, since matte finishes show mismatches more obviously than dewy ones. Set only where needed rather than powdering the whole face at this stage — the cloud’s powder veil comes later as its own deliberate step. Chosen and applied this way, the base looks like perfected skin rather than makeup, which is the entire goal.
Baking Under Eyes
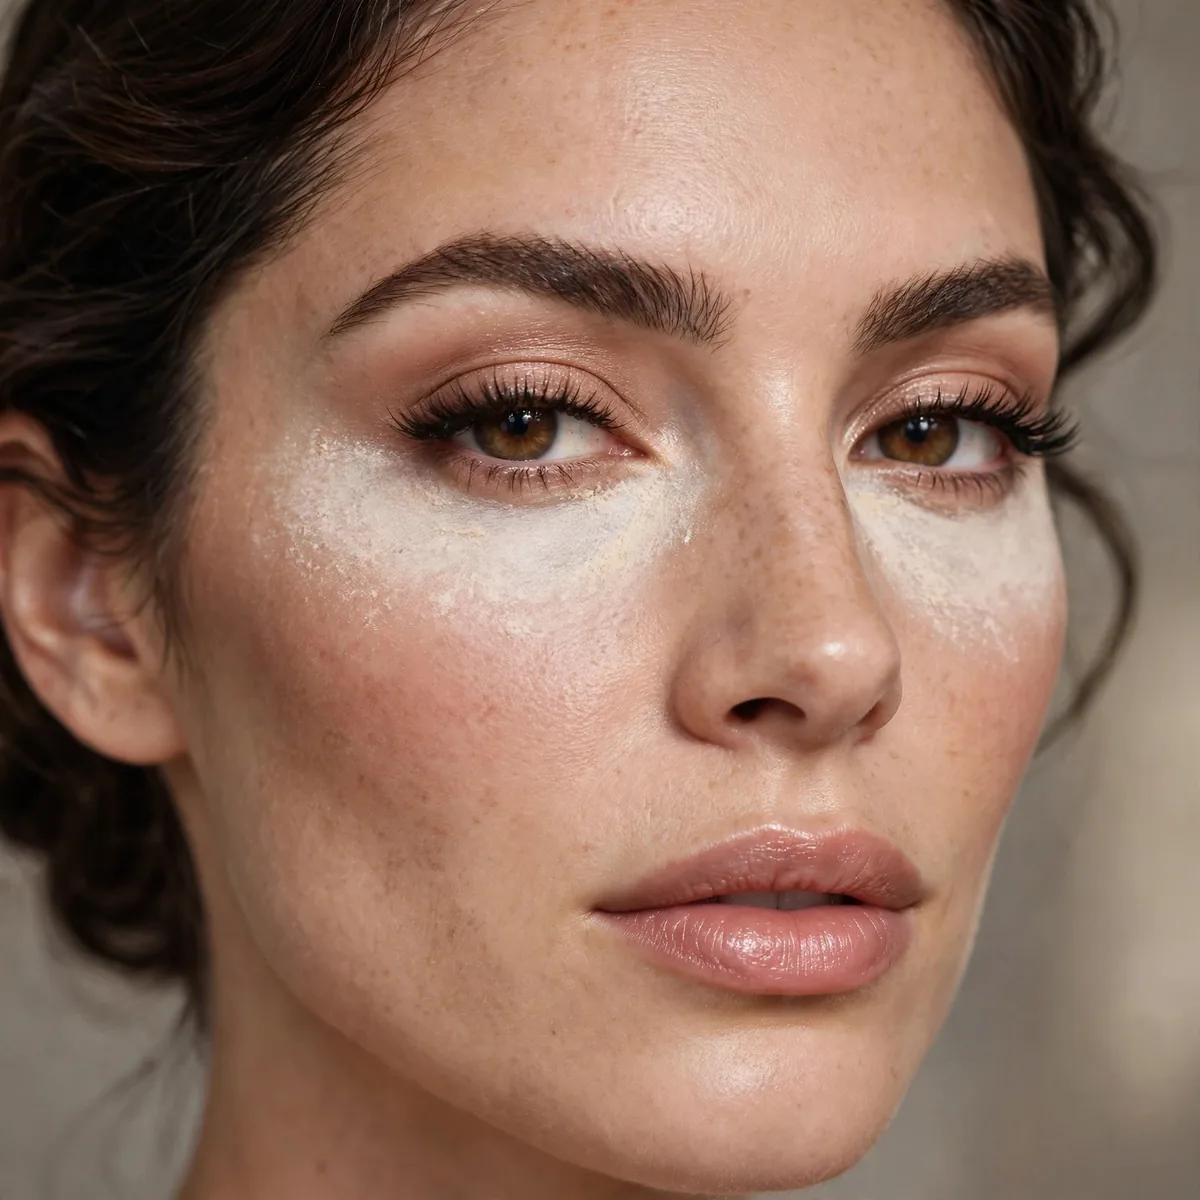
Light baking to set and brighten — the airbrushed under-eye.
Best for: the filtered effect. Baking creates the smoothest under-eyes.
Press a generous amount of finely-milled translucent powder under the eyes with a damp sponge, then let it sit for three to five minutes while you finish the rest of your makeup. The body heat sets the concealer beneath into a creaseless, airbrushed finish. Dust away the excess with a fluffy brush — what remains is the smoothest under-eye imaginable.
Use a truly translucent, finely-milled powder; heavy or tinted powders bake into cakiness rather than cloudiness. Those with dry under-eyes should bake briefly — one to two minutes — and hydrate well beforehand to avoid emphasizing fine lines. Done correctly, baking creates the filtered, bright under-eye that makes cloud skin look professionally retouched.
Diffused Powder All Over
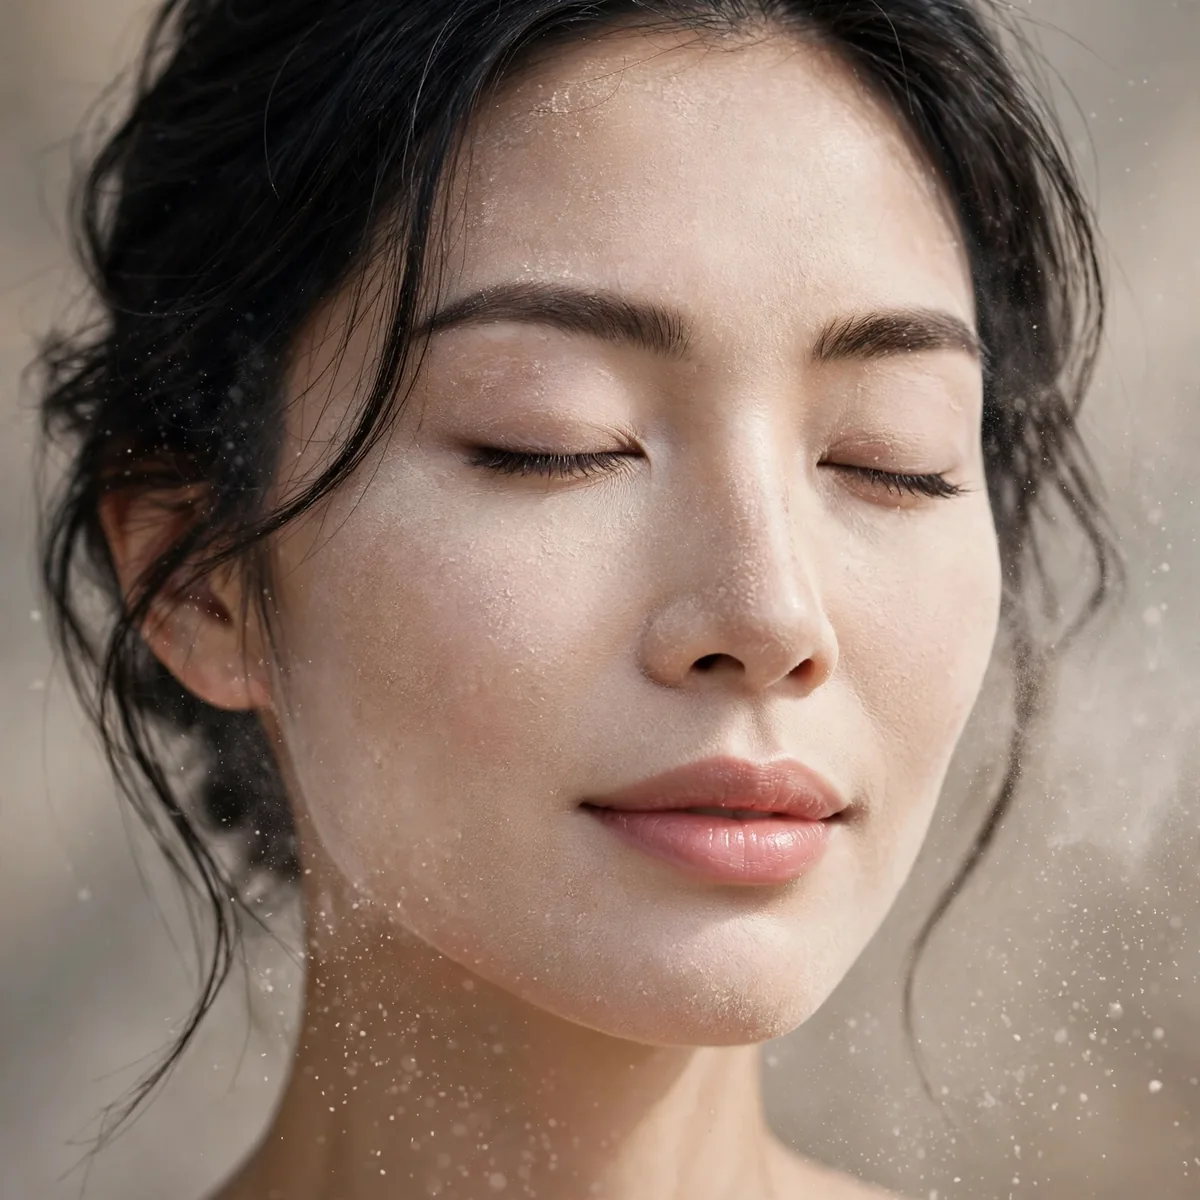
A light veil of powder everywhere — the cloud itself.
Best for: the finish. The all-over veil is what creates the soft focus.
Load the smallest amount of translucent powder onto a large, fluffy brush, tap off the excess, and sweep it across the entire face in light, circular motions. The veil should be barely-there — you are diffusing, not masking. This all-over powder is what creates the signature soft-focus finish, blurring the boundary between skin and makeup completely.
Less is genuinely more here: over-powdering is the fastest way to turn cloud into cake. If the skin looks flat afterward, a hydrating mist will bring back life without disturbing the blur. This step suits normal to oily skin best, though dry types can participate with a hydrating powder formula and an even lighter hand.
Blurred Blush Edges
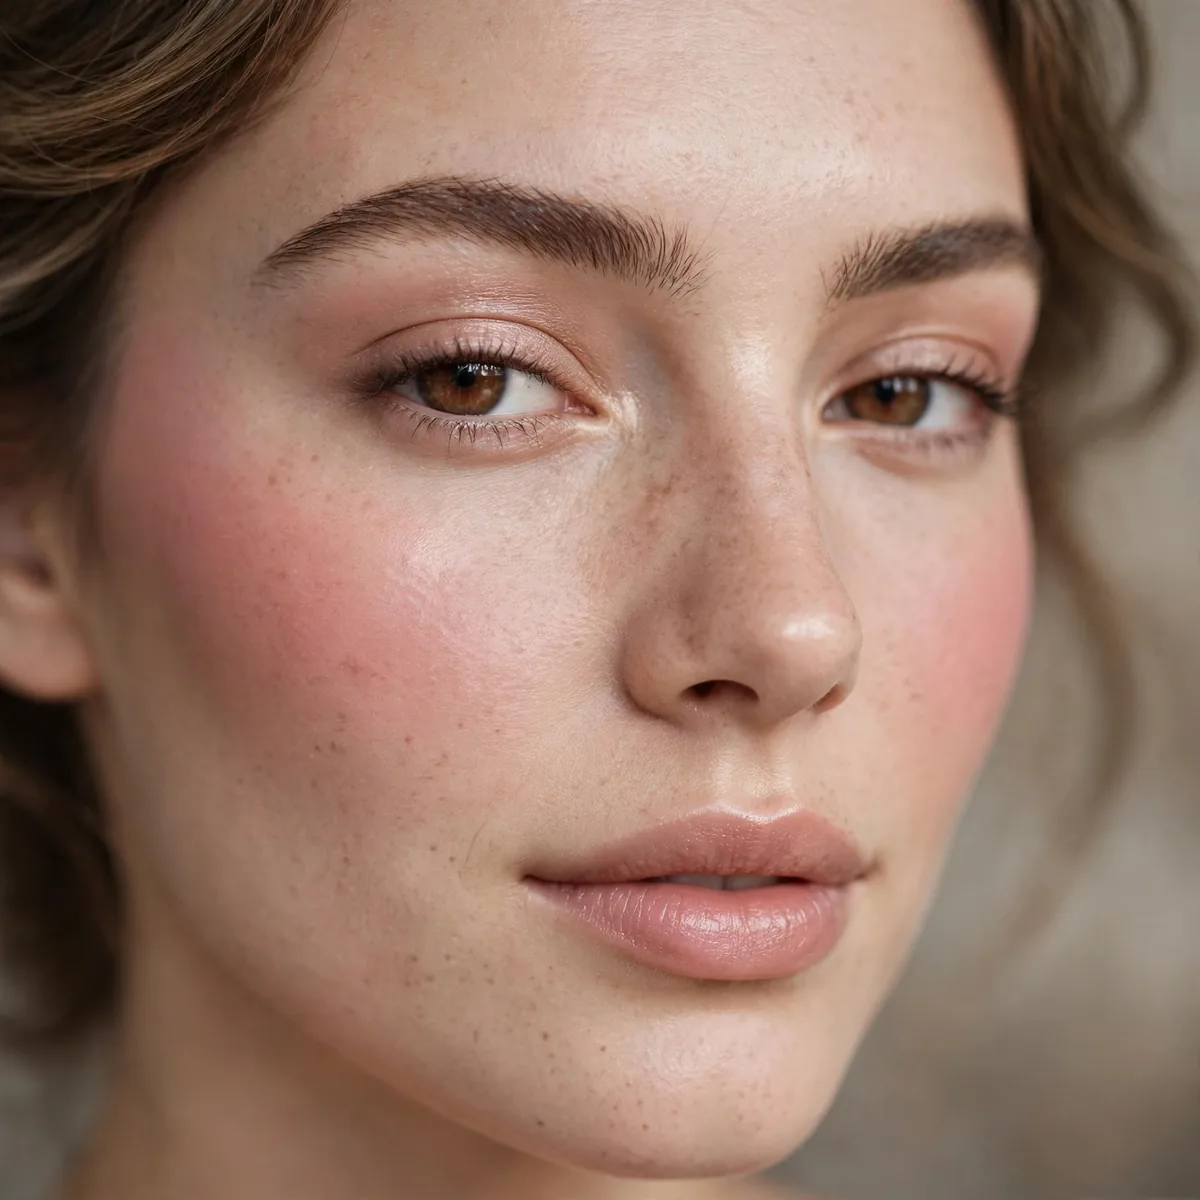
Blush with zero harsh edges — diffused completely.
Best for: the dreamy cheek. Blend blush until you can’t find the edge.
Apply blush slightly heavier than usual, then blend the edges outward with a clean fluffy brush until no perimeter remains visible. The color should fade into skin like watercolor, with the most pigment at the center dissolving into nothing at the edges. This edgeless application is what makes the cheek look airbrushed rather than made up.
Cream blushes blend into cloud skin most seamlessly, melting into the powdered base without disturbing it. Choose soft, diffused shades — dusty rose, muted peach — over bright or neon tones that fight the softness. When the blush has no edge to find, the cheek achieves that dreamy, filtered quality that defines the entire trend.
Soft Contour Haze
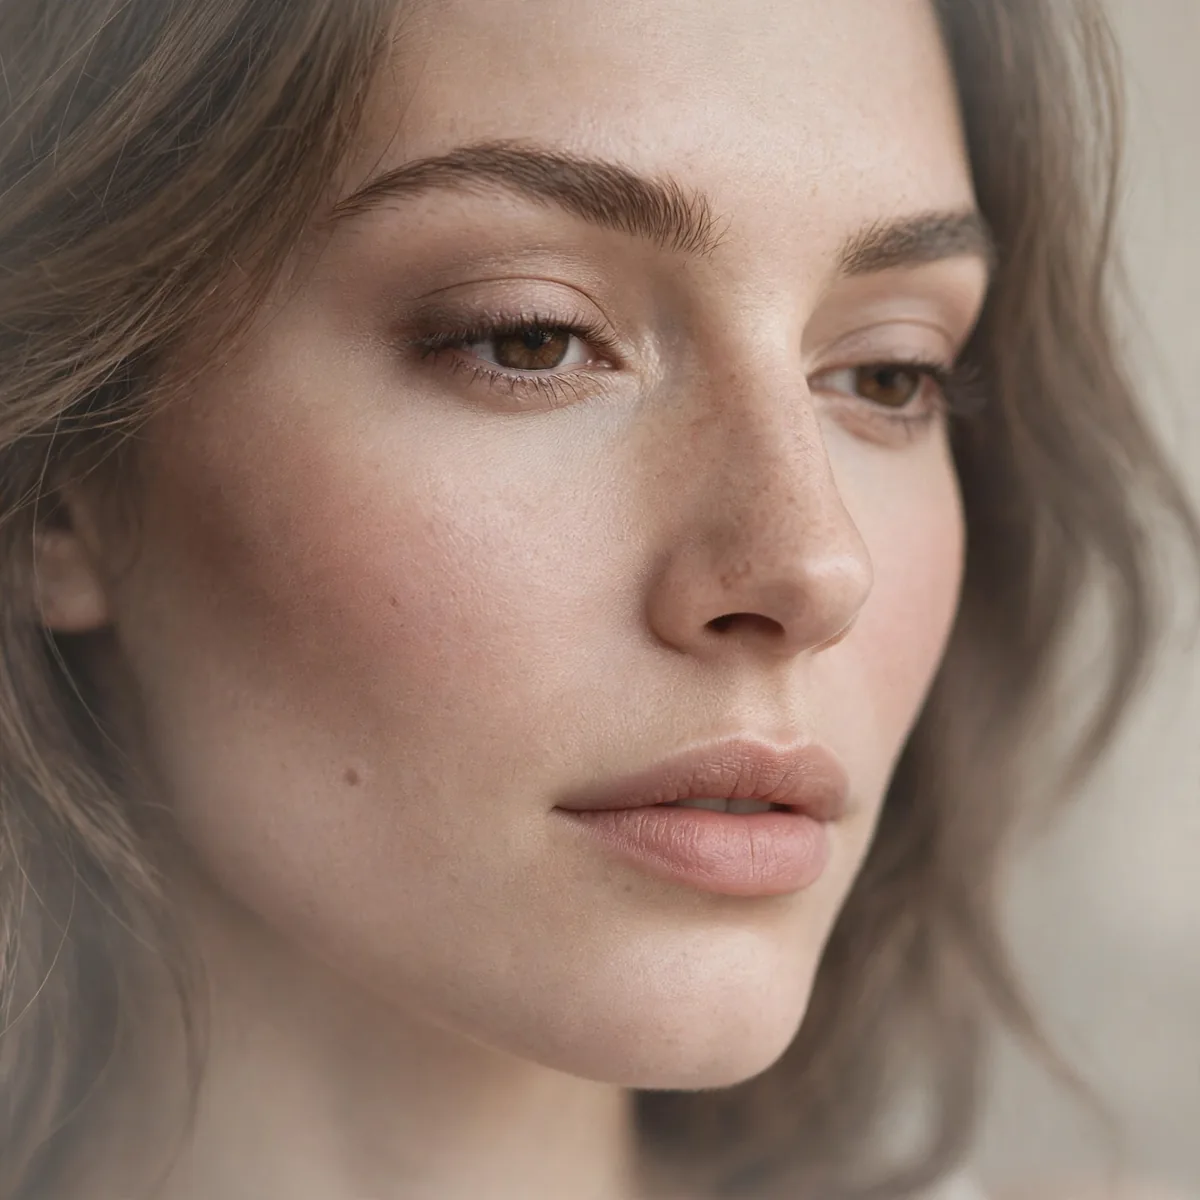
Contour so blended it’s just a haze of definition.
Best for: subtle structure. Cloud contour is felt as softness.
Use a contour shade only one or two steps deeper than your skin, applied with a large fluffy brush in sheer, buildable layers. Blend far beyond what feels necessary — the contour should read as a vague suggestion of shadow, a haze of definition rather than a line. Cool-neutral tones mimic real shadow most convincingly.
Place the haze slightly higher than traditional contour — along the upper hollow rather than deep inside it — for a lifted, diffused effect. Cream contour sticks blended over the powdered base work beautifully, melting into the cloud without harshness. The result is structure you sense rather than see, perfectly in keeping with the trend’s softness.
Airbrushed Highlight
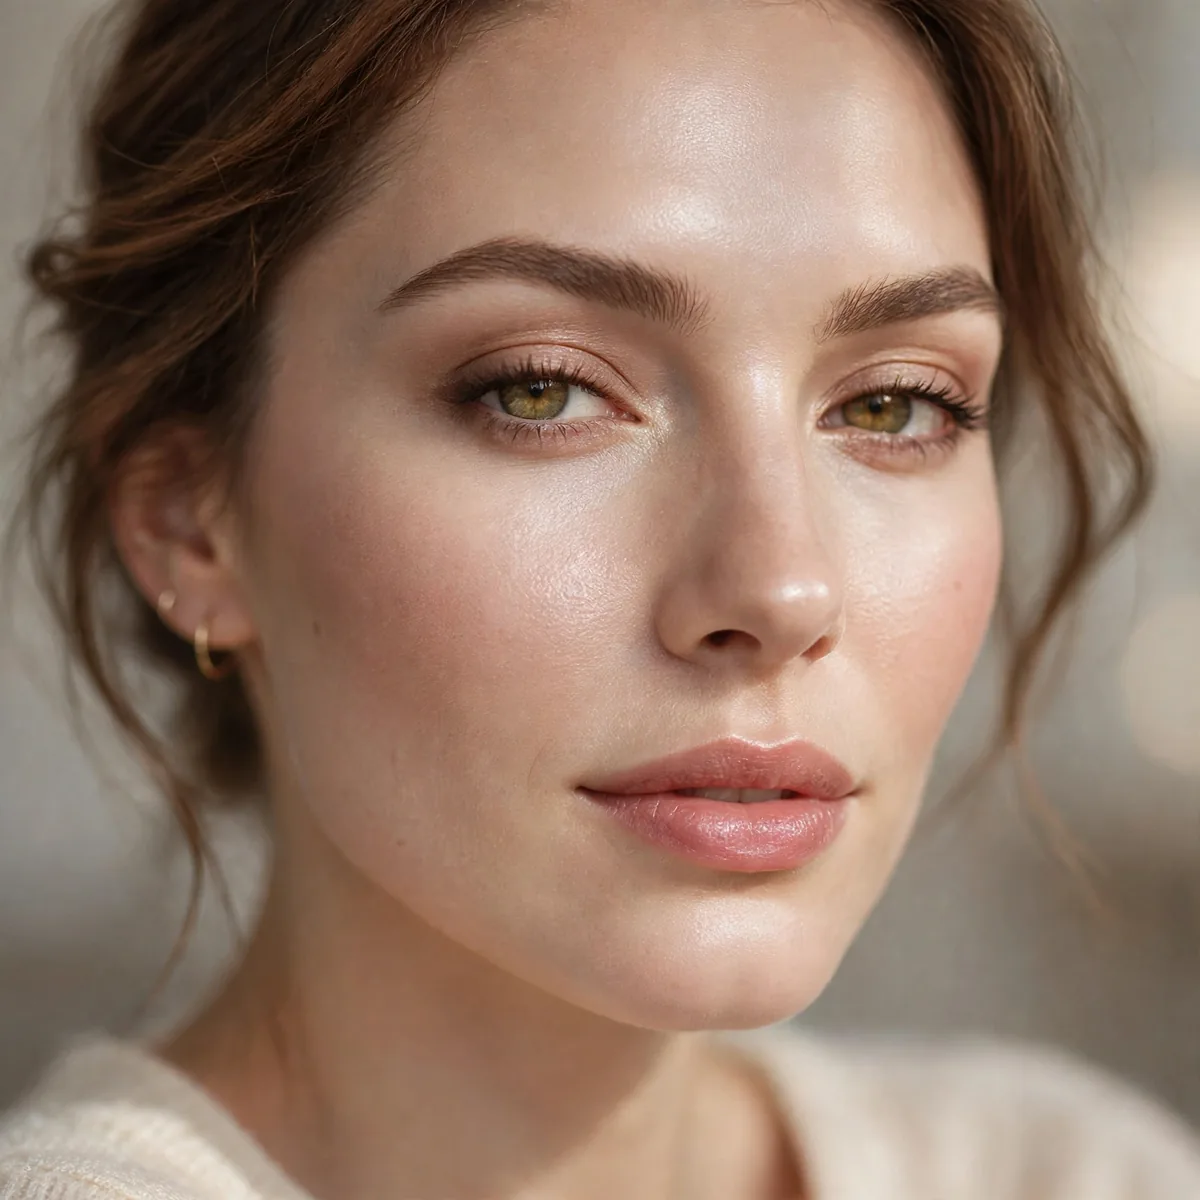
The faintest highlight — glow without shine.
Best for: the cloud’s light. Highlight should whisper here.
Choose a finely-milled, satin-finish highlighter with no visible glitter — the glow should read as light on skin, not sparkle. Press it onto the high points with a small, dense brush using a stippling motion, then blend the edges into the surrounding cloud. The highlight becomes part of the diffusion rather than sitting on top of it.
Champagne and pearl tones suit most complexions; deeper skin glows beautifully with warm gold. Keep the application minimal — cloud skin’s light should whisper, since heavy highlight shatters the soft-focus illusion. Applied with restraint, this faint luminosity gives the face dimension while preserving the dreamy, filtered finish. A fan brush keeps the application sheer and perfectly diffused every time.
Blotted Lip Stain
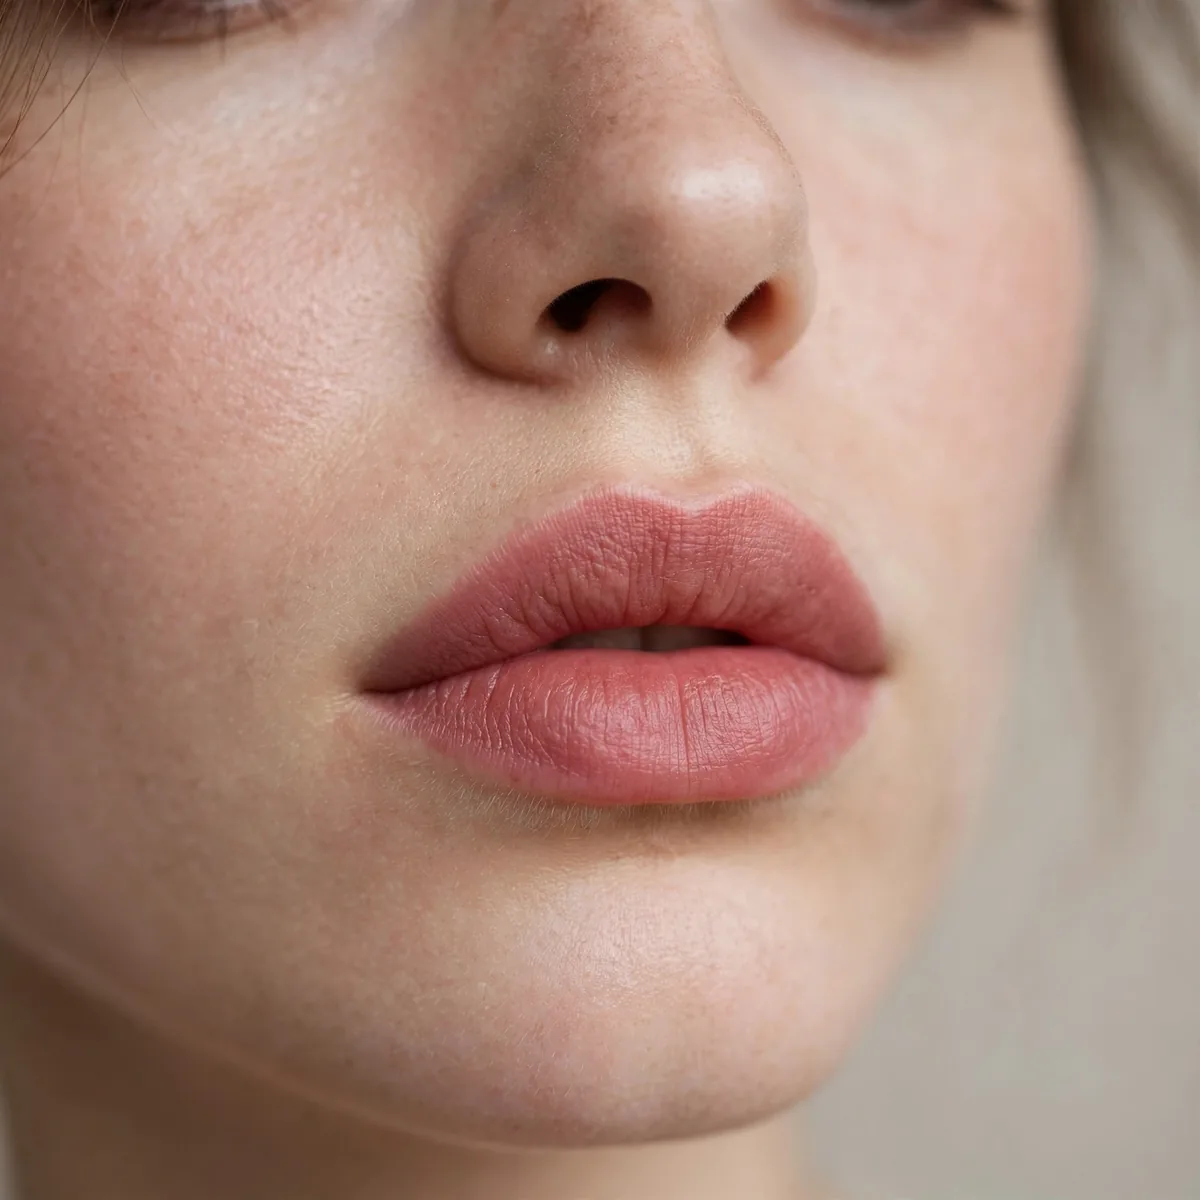
Lipstick blotted down to a stain — soft-focus lips.
Best for: cohesion. Sharp lips would break the cloud.
Apply lipstick generously, then blot firmly with a tissue and reapply, blotting again — each cycle presses more pigment into the lip while removing the creamy surface. The result is a soft-focus stain with blurred edges that harmonizes with the diffused face. Lip liner becomes unnecessary; the blotted edge is naturally soft.
Choose rosy, muted shades over bright or dark tones — soft color keeps the lips in the cloud’s tonal family. A dab of clear balm over the stain adds comfortable hydration without restoring sharp shine. These blotted lips wear for hours and fade evenly, never leaving the harsh ring that crisp lipstick leaves behind.
Diffused Eye Definition
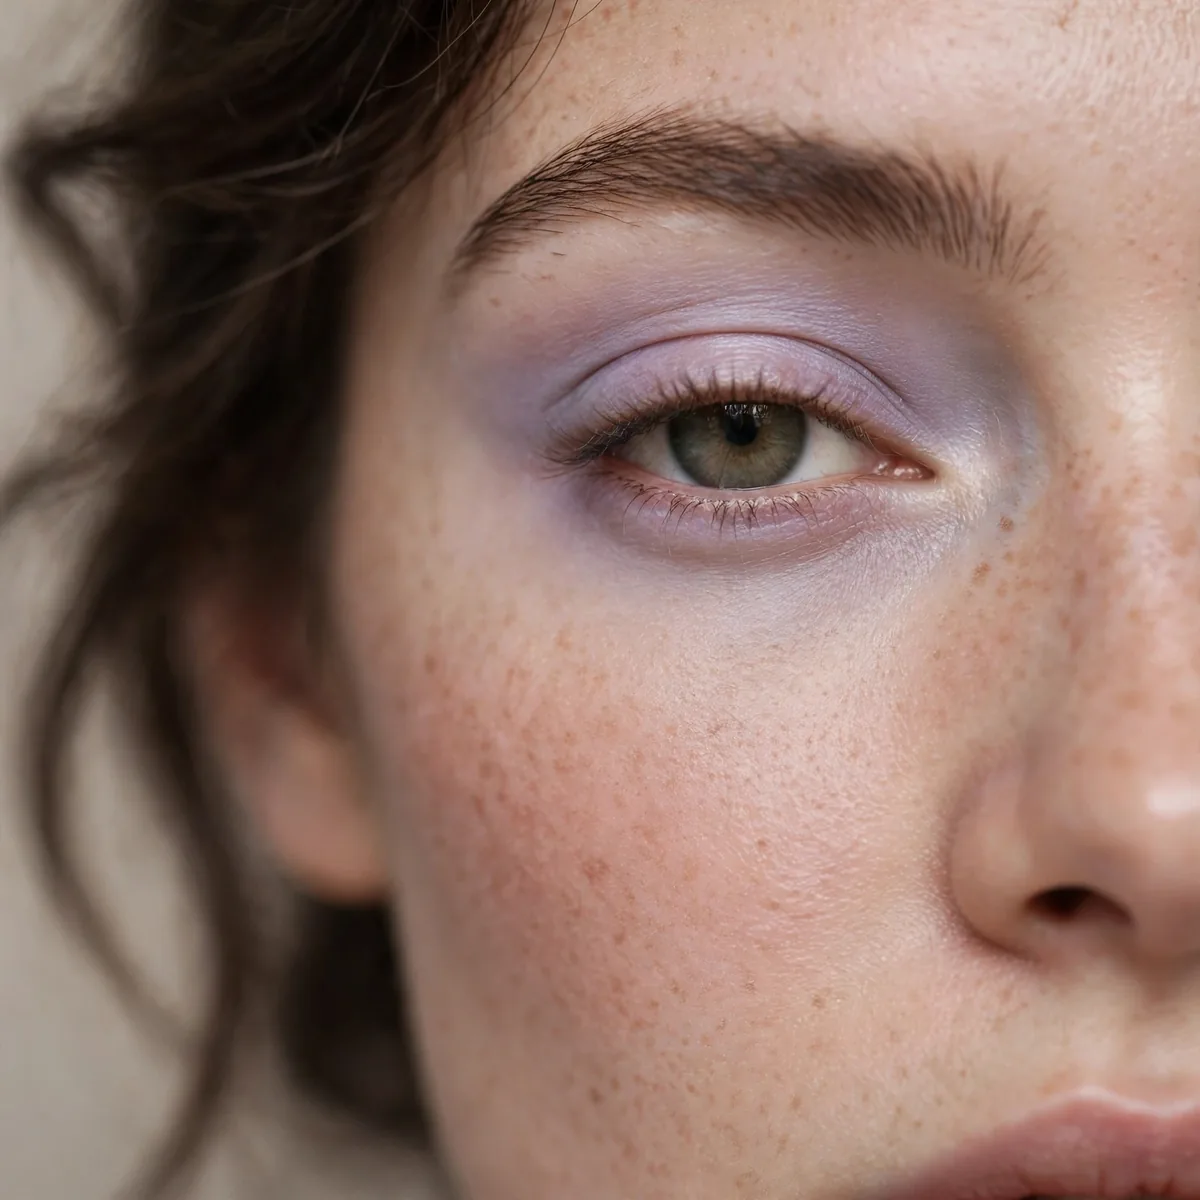
Eyes defined with completely blended shadow — no lines.
Best for: the soft eye. Every edge diffused into cloud.
Define the eyes using only matte shadows in soft neutral tones, blending each shade until every edge disappears into the next. No liner, no harsh lines — the definition comes from depth and gradient alone. Use a fluffy blending brush in small circular motions at the crease, diffusing color upward until it melts into skin.
Tightlining the upper lashes adds invisible definition that keeps the eye from looking washed out against the soft face. Finish with a single coat of brown mascara for gentle framing. The result is eyes that are clearly defined yet contain not one sharp edge — every line dissolved into cloud, perfectly on-theme.
Setting Spray Melt
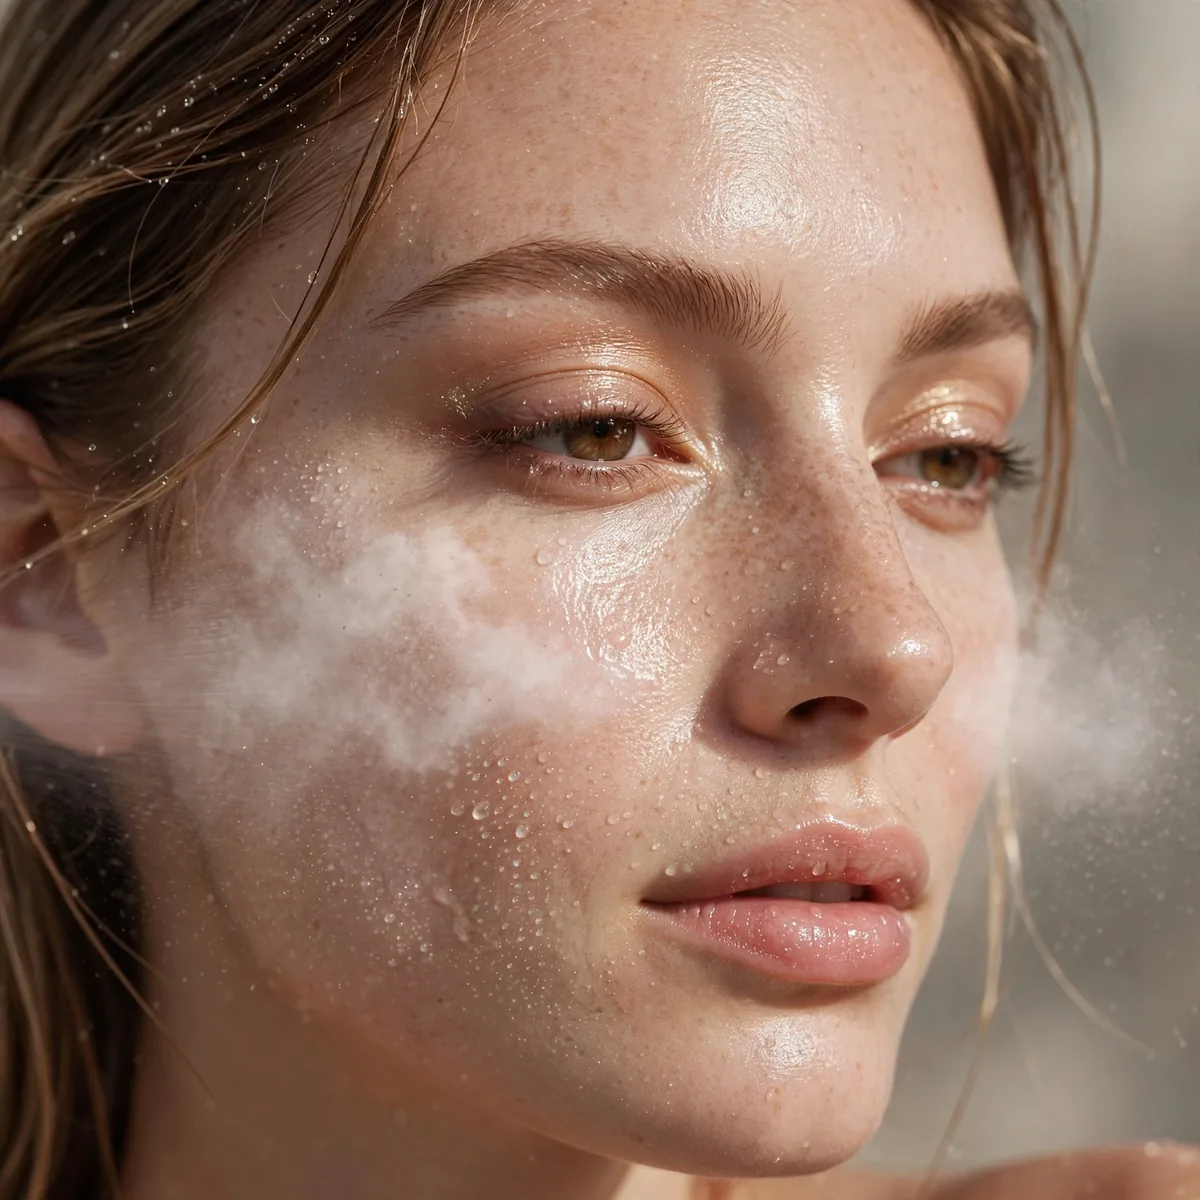
A final mist melts powder into skin — the cloud settles.
Best for: the finish. Spray transforms powder into second skin.
Hold the mist at arm’s length and apply two to three even passes in an X and T pattern across the face. The fine droplets dissolve the powder particles slightly, melting them into the skin so the finish transforms from powdery to second-skin. This is the step that turns layered product into believable, cloud-like softness.
Choose a hydrating or natural-finish spray rather than a matte one — the goal is melding, not further mattifying. Allow it to dry naturally without fanning, which can disturb the finish. The mist also extends wear significantly, locking the diffused layers together so the cloud stays intact and beautiful for hours.
Cloud Skin for Oily Types
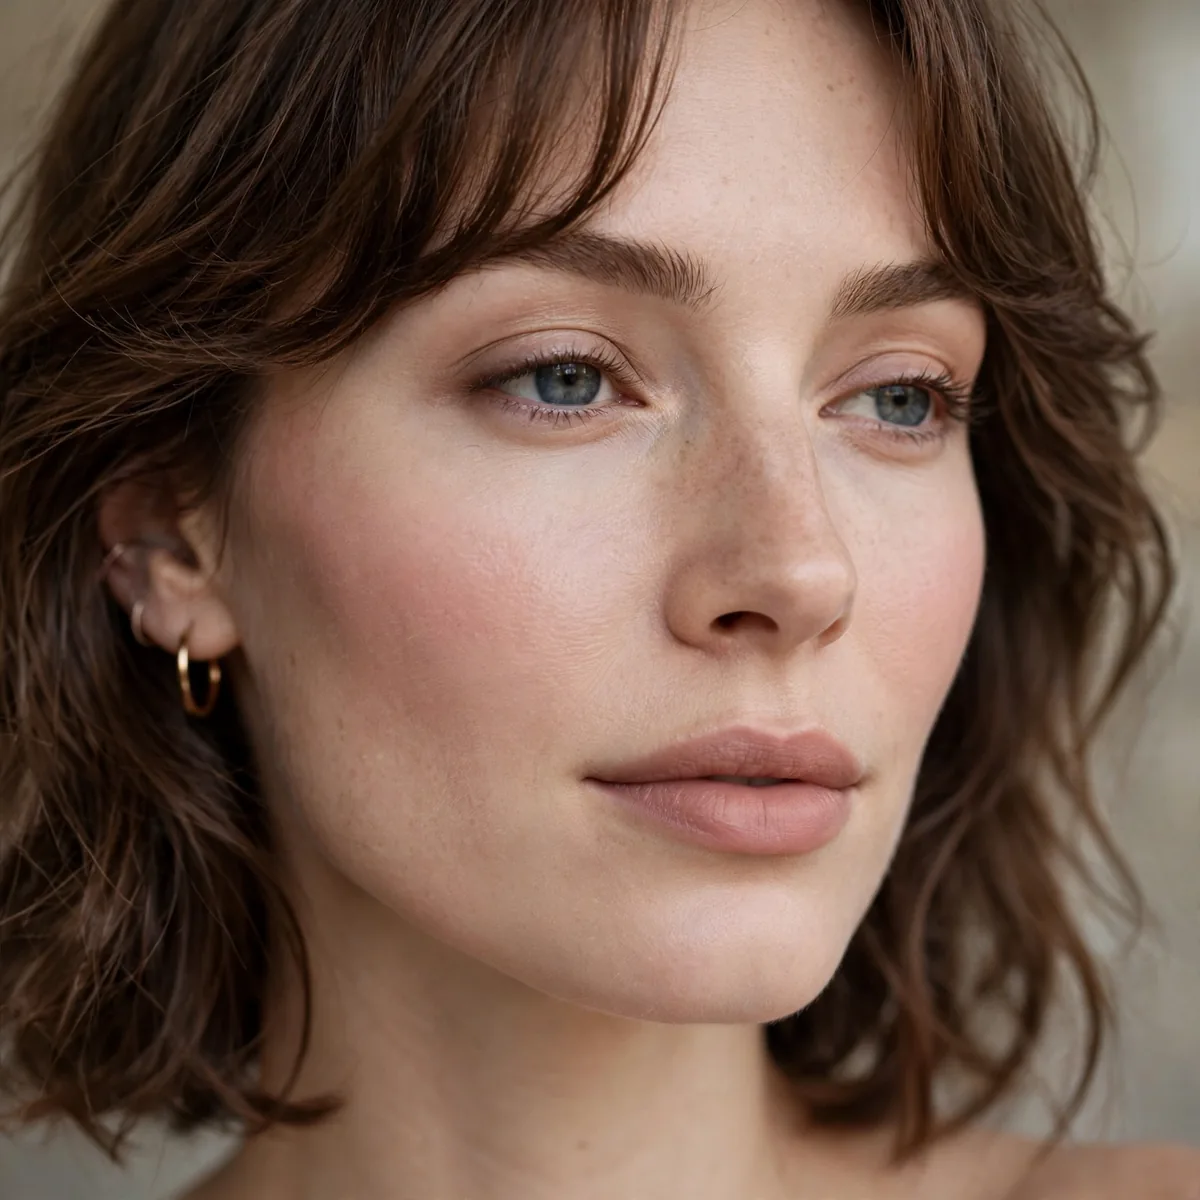
Extra powder and mattifying primer — cloud adapted for oil.
Best for: oily skin. Cloud skin actually suits oil — it’s matte-adjacent.
Start with a mattifying, pore-blurring primer to control oil from beneath, and choose an oil-free, long-wear foundation as the base. Layer powder strategically — a light all-over veil plus extra pressing on the T-zone where shine breaks through first. Blotting papers midday preserve the finish far better than adding more powder.
Cloud skin genuinely suits oily complexions, since the trend’s soft-matte finish aligns with what oily skin needs anyway. A mattifying setting spray as the final step adds insurance against afternoon shine. With oil controlled at every layer, the soft-focus finish holds beautifully — arguably better than on dry skin, which fights the matte elements.
Cloud Skin for Dry Types
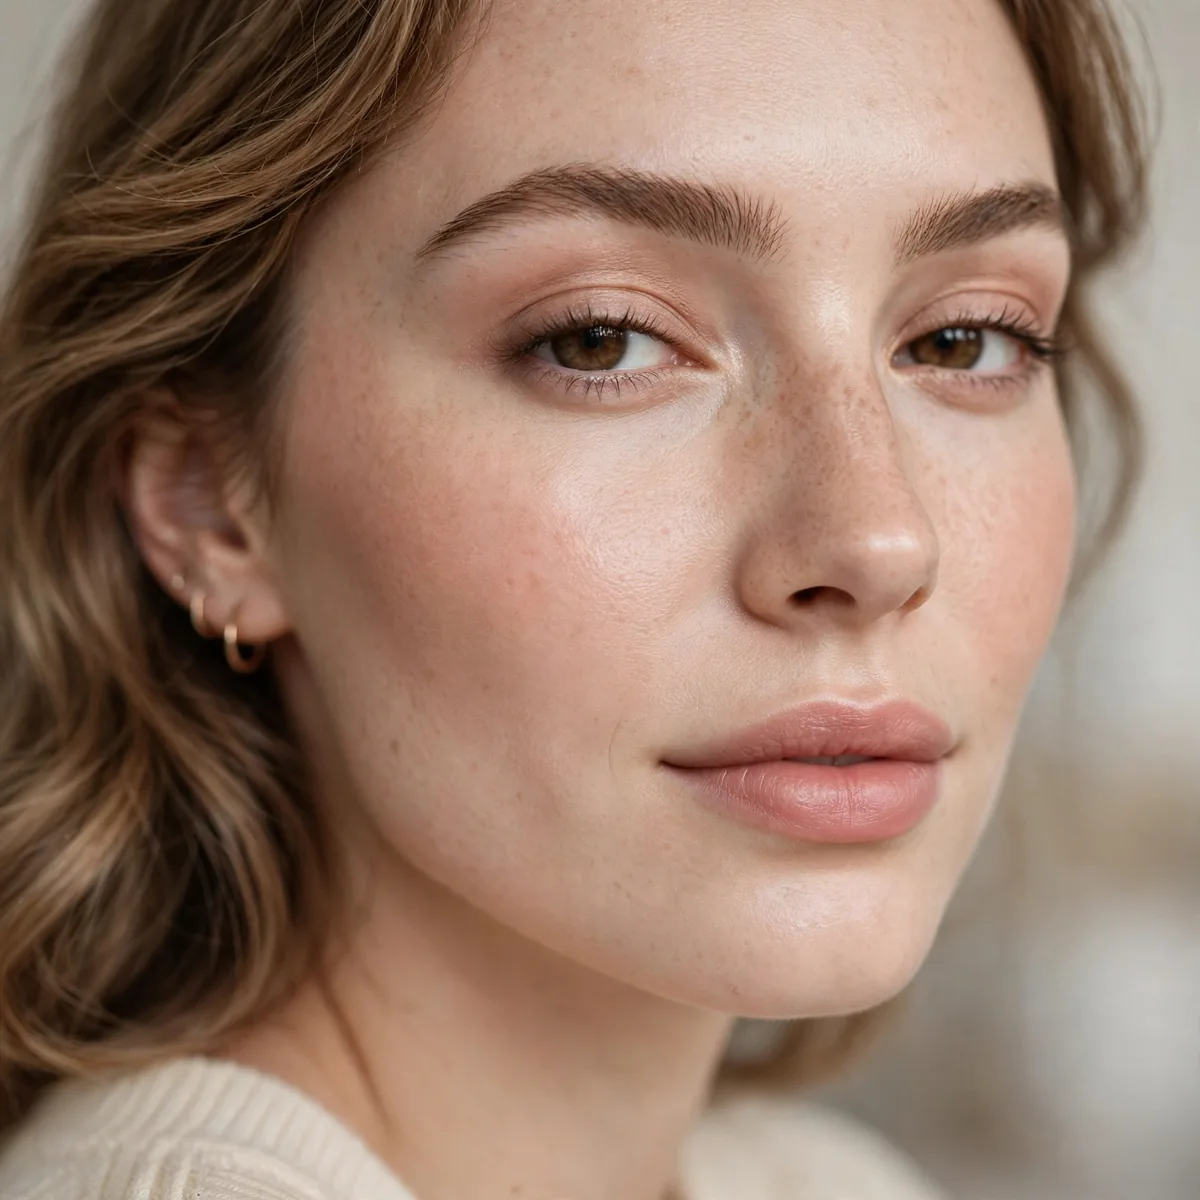
Hydrating primer under the blur — cloud without the dryness.
Best for: dry skin. Hydration first, cloud second.
Begin with a rich, hydrating primer — or even a thin layer of moisturizer left slightly tacky — so the matte elements have moisture to grip rather than dry skin to cling to. Choose a hydrating soft-matte foundation and apply the powder veil with the lightest possible hand, skipping it on the driest areas entirely. Hydration first, cloud second, always.
Mixing a single drop of facial oil into the foundation before application keeps the base supple beneath the powder. Mist generously with a hydrating spray at the end to melt everything into dewy-soft diffusion. Dry skin can absolutely wear this trend — it simply needs the moisture barrier built in at every step rather than assumed.
Porcelain Cloud Finish
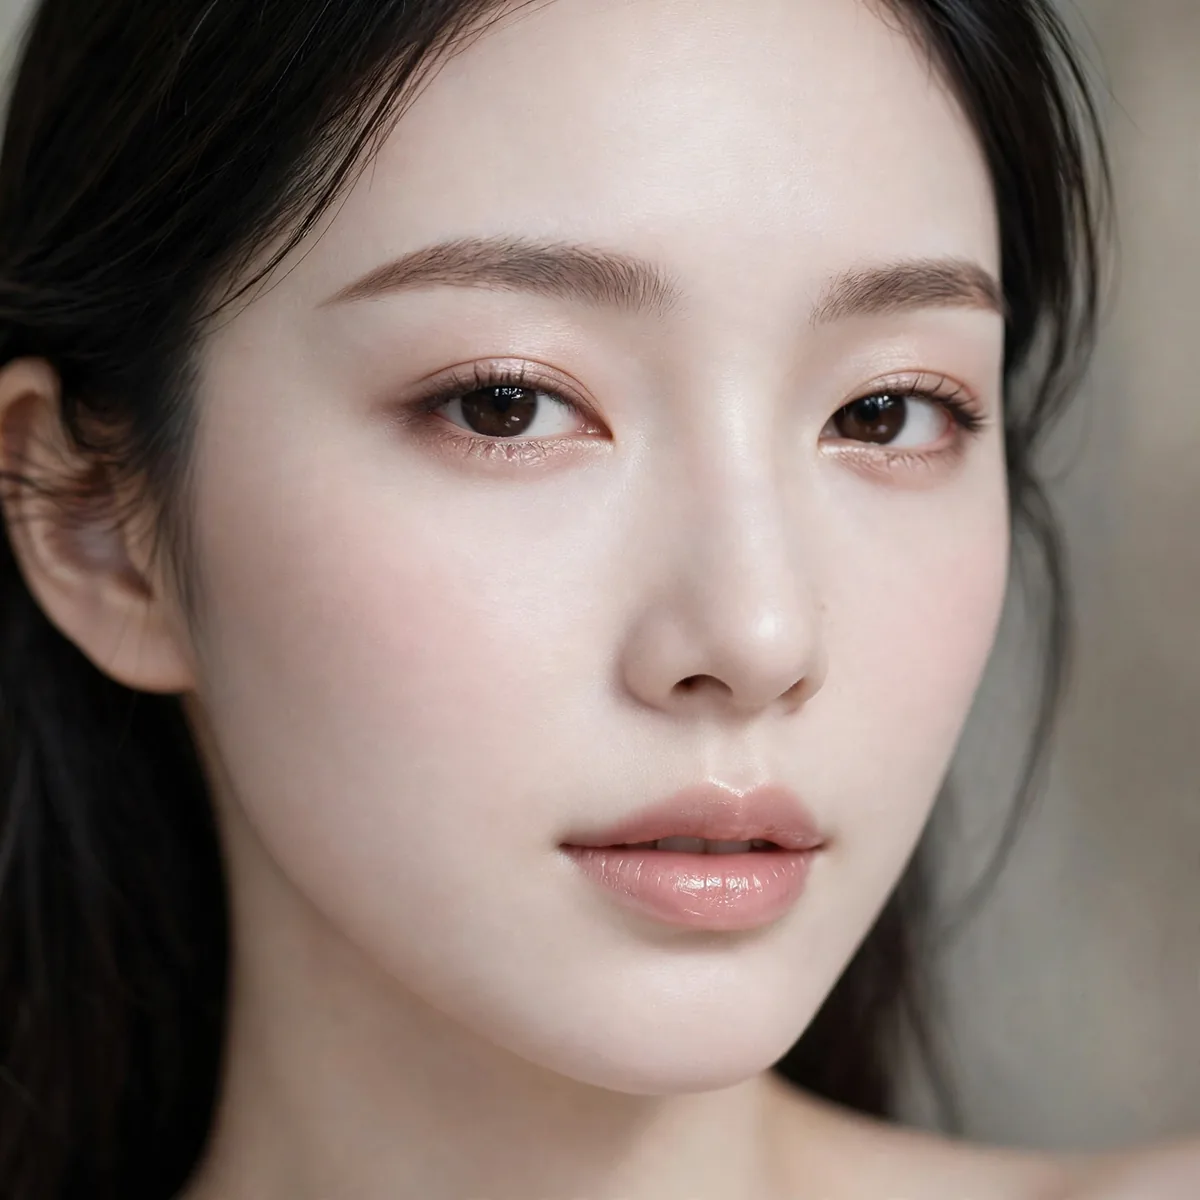
The palest, most perfected cloud — porcelain dream.
Best for: the full filtered fantasy. Porcelain cloud is peak soft-focus.
Take the cloud to its palest, most perfected extreme: full blurring primer, medium-buildable coverage, careful baking, and the complete powder veil. The goal is skin so even and diffused it resembles porcelain — flawless, luminous, and almost unreal. Every step of the cloud routine executed at full intensity creates this filtered-fantasy finish.
This suits fair to light complexions most naturally, though the technique works on any skin tone matched correctly — porcelain here means perfected, not pale. Keep the color palette soft and monochromatic so nothing breaks the dreamlike spell. Porcelain cloud is the trend’s showpiece: maximum soft-focus, maximum artistry, pure walking filter.
Natural Cloud Day
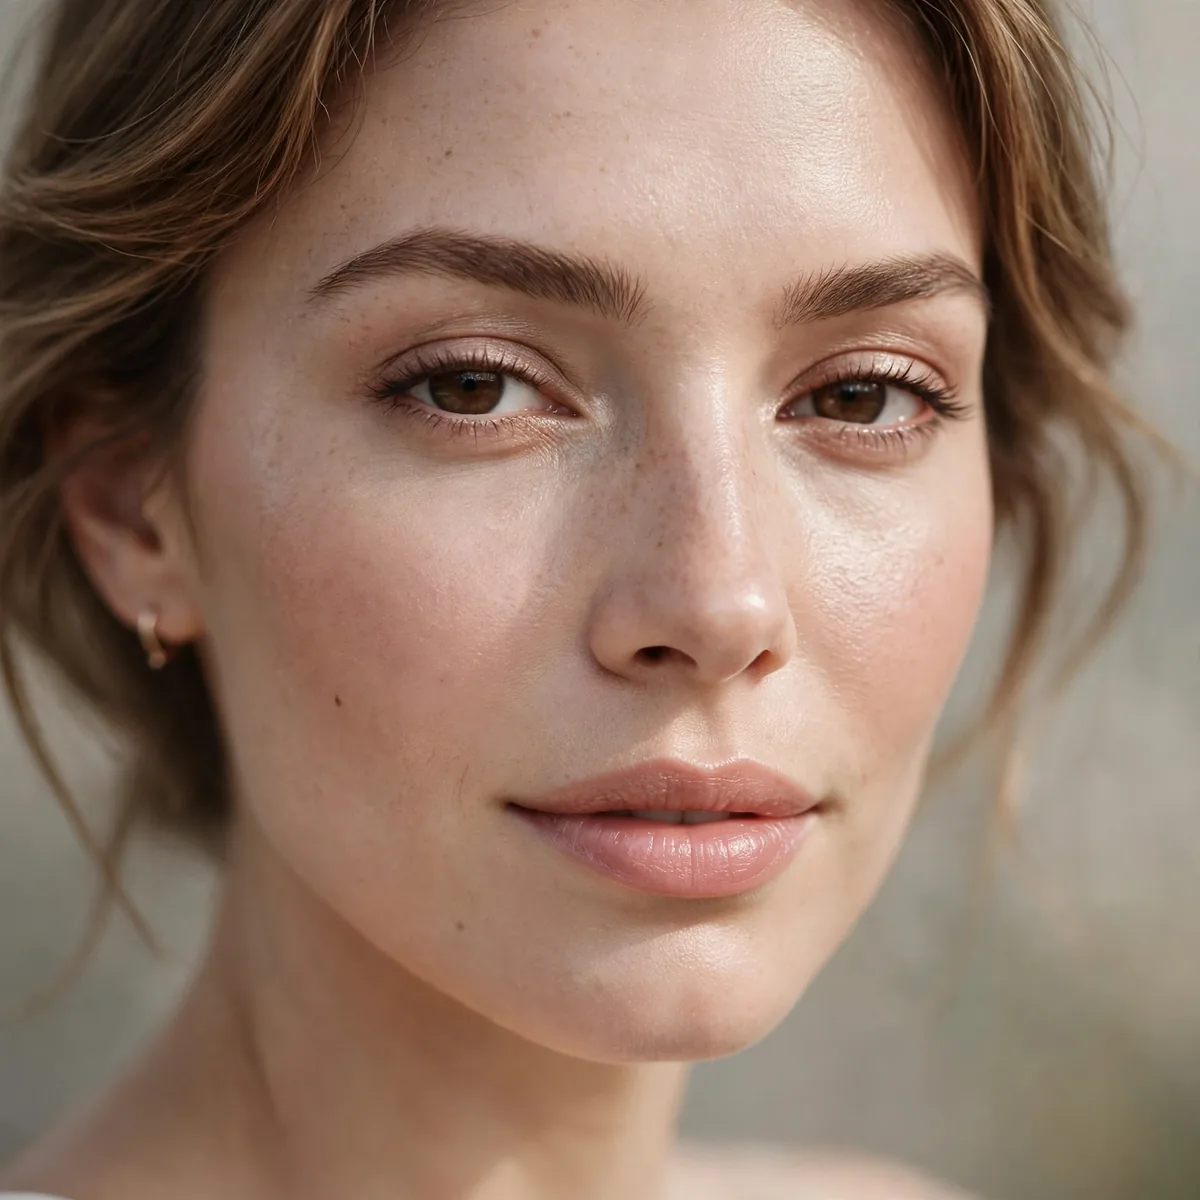
Sheered-down cloud for daytime — soft focus, wearable.
Best for: daily wear. Less powder, same dreaminess.
Sheer everything down for daytime: a tinted moisturizer or skin tint instead of foundation, a whisper of powder only through the T-zone, and cream blush blended to edgelessness. The soft-focus effect remains, just quieter — dreaminess you can wear to the office. Less product also means less risk of cakiness in harsh daylight.
Skip the baking step entirely for this version; daytime cloud should feel like skin, not artistry. A hydrating mist finishes the look and keeps it fresh through the afternoon. This wearable interpretation proves the trend is not just for photoshoots — softened and sheered, cloud skin becomes an everyday finish with a quietly perfected glow.
The Full Cloud
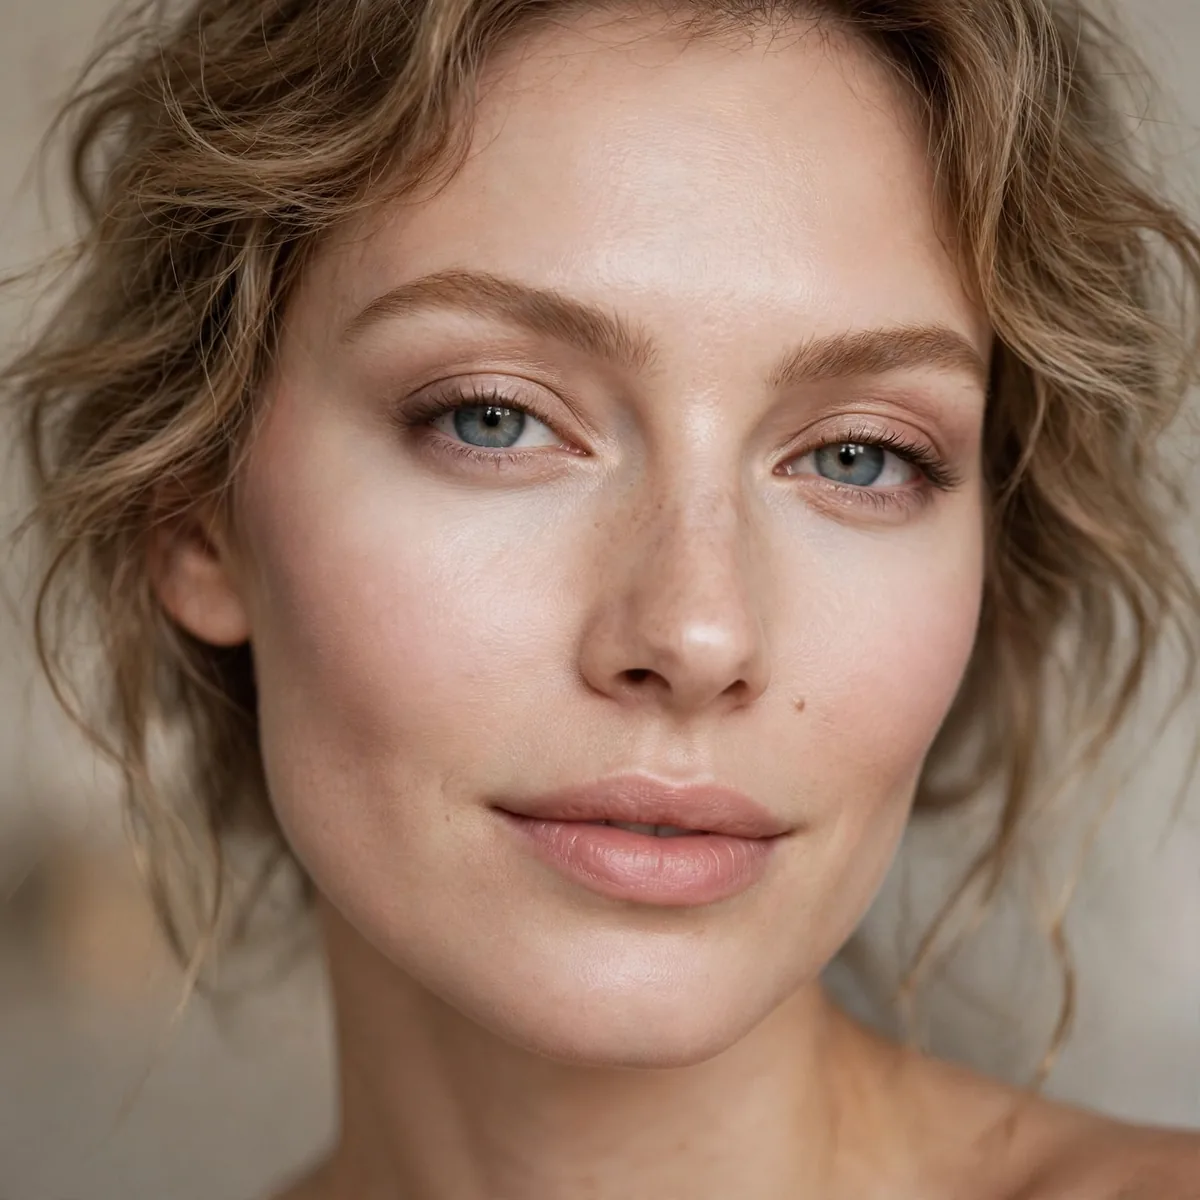
Blurred base, diffused everything, misted finish. Walking soft-focus.
Best for: the complete trend. Cloud skin is a full-face philosophy.
Execute the complete ritual in order: blurring primer, soft-matte base, baked under-eyes, all-over powder veil, diffused blush and contour, whisper highlight, blotted lips, soft eyes, and the final melting mist. Each step builds on the last toward total diffusion. The sequence matters — primer before base, powder before cream color, mist absolutely last.
This is cloud skin as full-face philosophy, made for events, photography, and days when flawless is the assignment. Photograph the finish in natural light to appreciate the true soft-focus effect — the camera reveals the filter-like quality best. Walking soft-focus, achieved entirely with product and technique: the complete cloud, dreamy from every angle.
Softly filtered, naturally you. Float through your day — and for more skin-perfecting, see our natural foundation looks and setting spray vs powder.




