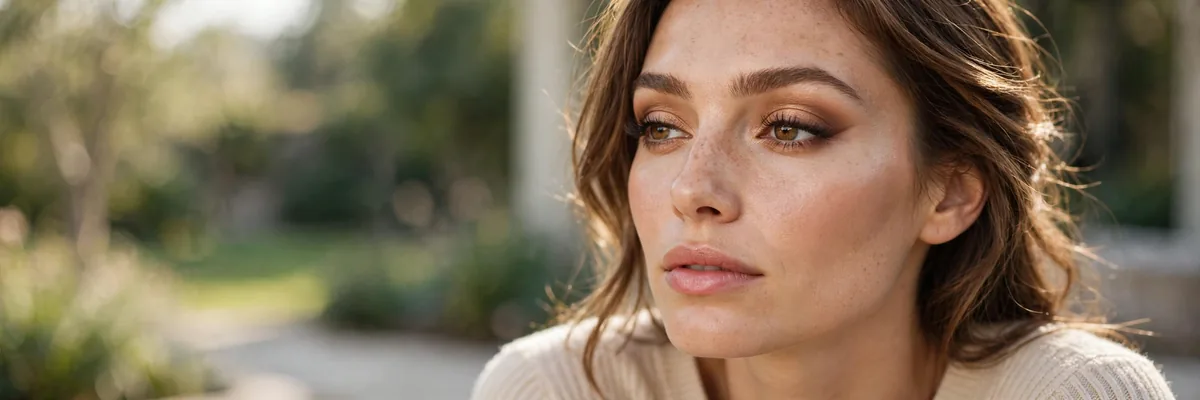
Downturned eyes have a beautiful, soulful quality — and makeup can enhance the lift.
Downturned eyes angle slightly downward at the outer corners. The makeup goal is simple: create upward visual movement through liner angles, shadow placement, and lash direction.
Every technique here follows one rule — angles go UP. Upward wings, upward shadow blending, upward lash curl.
Here are 15 lifting tricks. Let’s get into it.
The Upward Wing
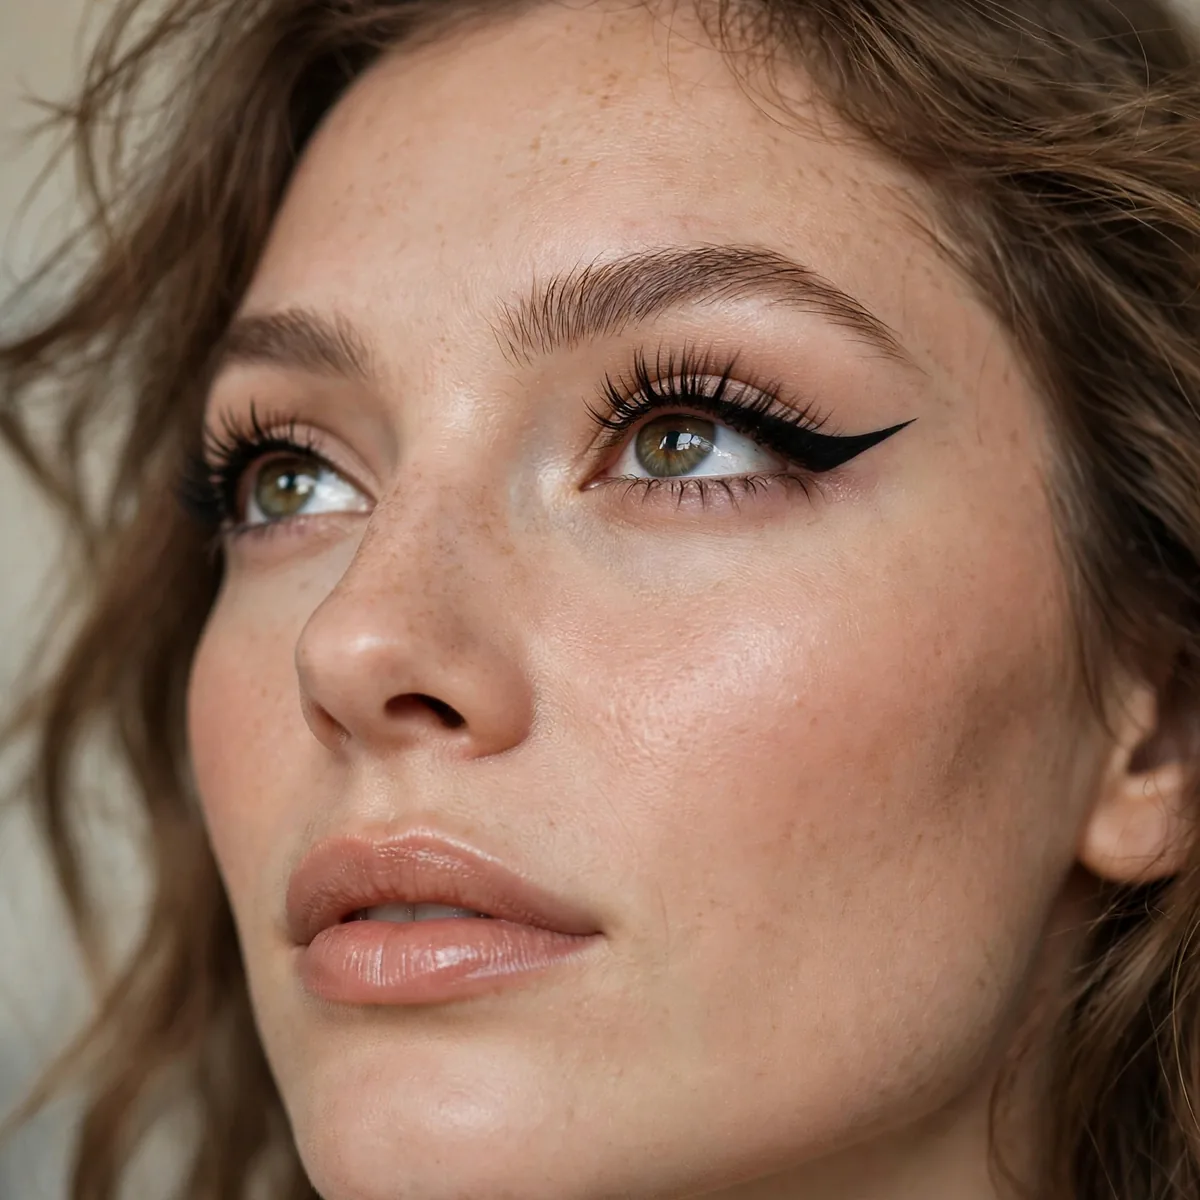
Angle your wing upward toward the brow tail — never straight out or down.
The upward angle is the single most lifting thing you can do. It redirects the whole eye.
Draw the wing with your eyes open and looking straight into the mirror, since a wing mapped on closed eyes shifts position the moment you open them. A small piece of tape angled from the outer corner toward the brow tail makes a foolproof guide, and a felt-tip pen gives beginners steadier control than liquid. Keep the wing modest in length, because an overlong flick exaggerates the downturn instead of correcting it.
A waterproof or smudge-proof liner is worth the investment here, since downturned corners collect moisture and blur regular formulas by afternoon. Balance the upward flick with a defined brow, because strong brows and lifted wings work as a team to redirect the eye. For evening, simply thicken the existing wing rather than redrawing it, which keeps the angle consistent while adding drama.
Lifted Outer Shadow
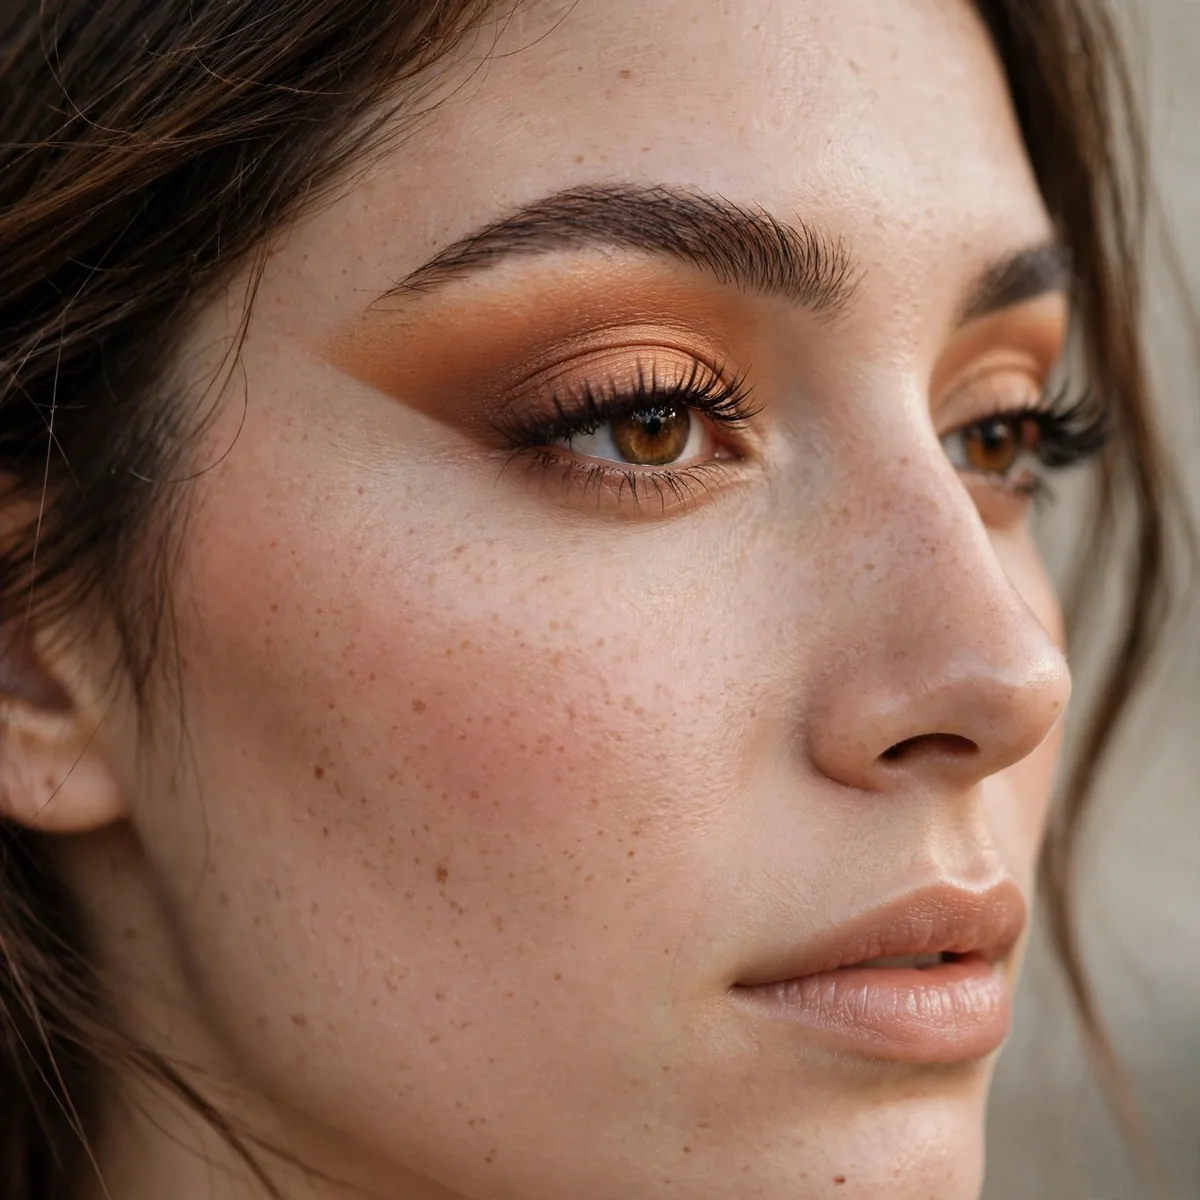
Blend outer-corner shadow upward and outward, never downward.
Shadow direction determines eye direction. Upward blending lifts; downward blending drags.
Use a tapered blending brush for this work, since a brush that is too fluffy diffuses the shadow downward and erases the lifting direction you are trying to build. Keep all outer-corner color above an imaginary line extending from the lower lash line, never below it, which is the geometric key to the lift. Blending downward past that line is the single mistake that undoes the entire technique.
Hooded downturned eyes benefit enormously, because the upward blend stays visible above the fold where straight-across shadow would disappear. Pair the lifted outer shadow with a bright inner corner to create a diagonal axis of light that pulls the whole eye upward. Work over an eyeshadow primer so the carefully placed gradient does not migrate south by evening, which would reverse the lifting illusion entirely.
Skip Lower Outer Liner
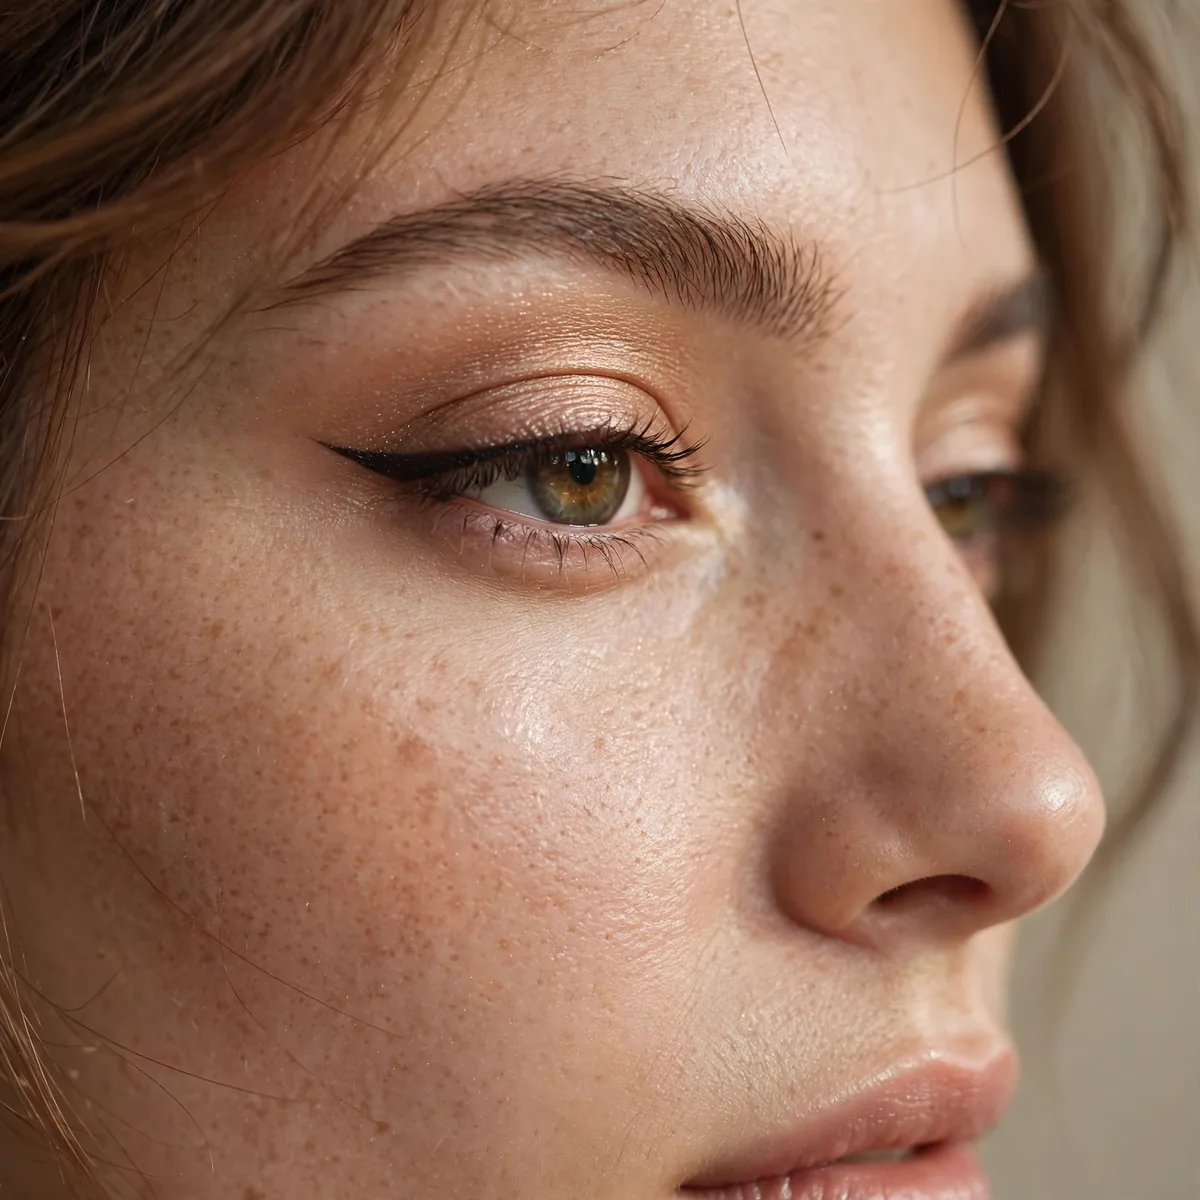
Avoid liner on the outer lower lash line — it emphasizes the downturn.
Keep lower liner to the inner two-thirds only. The outer third stays clean for lift.
Instead of lower liner, tightline the upper waterline to add definition without any downward visual weight. This swap matters most on smaller downturned eyes, where every millimeter of lower liner visually shrinks the eye further. If you miss the definition that liner gives, smudge a soft brown shadow along the upper lash line with a smudge brush, which adds depth exactly where lift is needed.
For evening, you can cheat a little by smoking a deep shadow just under the outer corner without connecting it to the upper liner, which adds smokiness while preserving the lift. The critical mistake is joining upper and lower liner at the outer corner into a closed loop, which frames and emphasizes the downturn. Keep that corner open and clean, and the eye reads lifted even in dramatic makeup.
Curled Outer Lashes
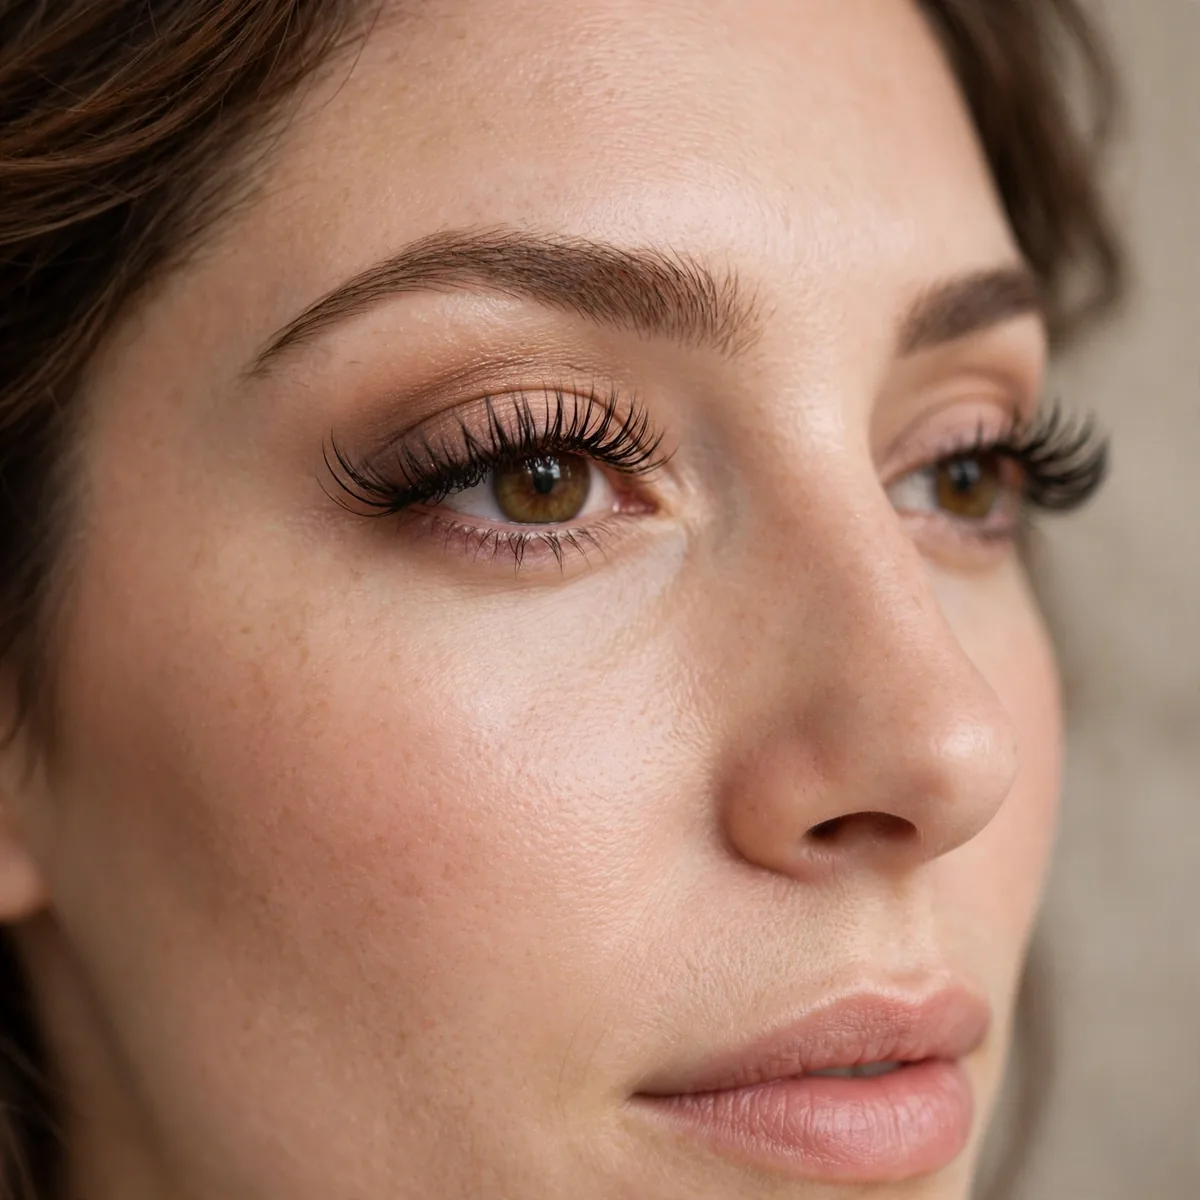
Extra curl on the outer lashes lifts the corner visually.
Concentrate the curler on the outer third. Targeted curling beats uniform curling here.
Warm the curler briefly with a hairdryer, testing it on your wrist first, since gentle heat sets a stronger curl that survives the day. Curl in two stages, clamping at the base then mid-shaft, which builds a smooth arc instead of a crimped angle. A waterproof mascara applied afterward locks the lift in place, because regular formulas weigh the curl down within hours on straight lashes.
Straight, downward-pointing lashes, common in East Asian eye shapes, see the most dramatic transformation from targeted outer curling. A lash primer underneath adds grip and thickness so the curl has something to hold onto. Never curl after mascara, which is the fastest way to snap lashes, and always curl before any shadow fallout lands, since a clean curler grips better than a powdery one.
Highlighter at Outer Corner
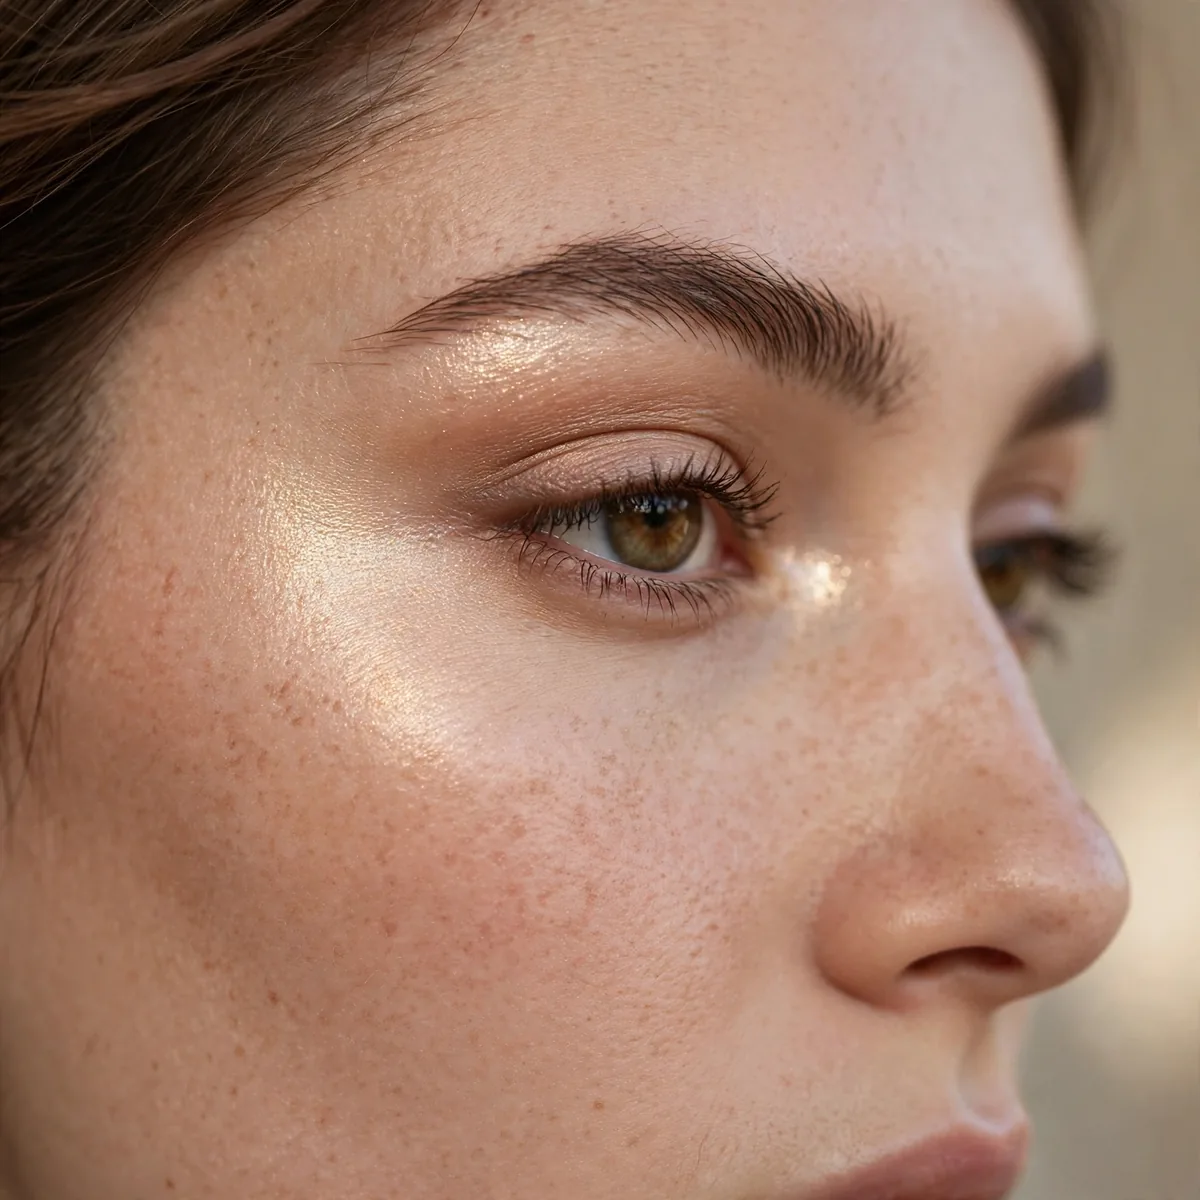
A touch of highlight just past the outer corner lifts the area.
Light attracts the eye upward. Strategic highlight redirects attention.
Place the highlight just beyond the outer corner where the brow bone meets the temple, using a small brush for precision rather than a big fluffy one that spreads shimmer everywhere. Choose a satin or finely milled shimmer rather than chunky glitter, which reads as texture instead of lift in daylight. The glow should look like light hitting skin, not like makeup sitting on it.
Mature skin around the outer eye benefits from this trick, since a soft glow visually smooths fine lines where matte shadow would settle into them. Keep the rest of the outer eye matte so the single point of light has maximum contrast and lifting power. The mistake is over-applying until the highlight becomes a stripe, so build with a light hand and check in natural light before leaving.
The Straight-Across Alternative
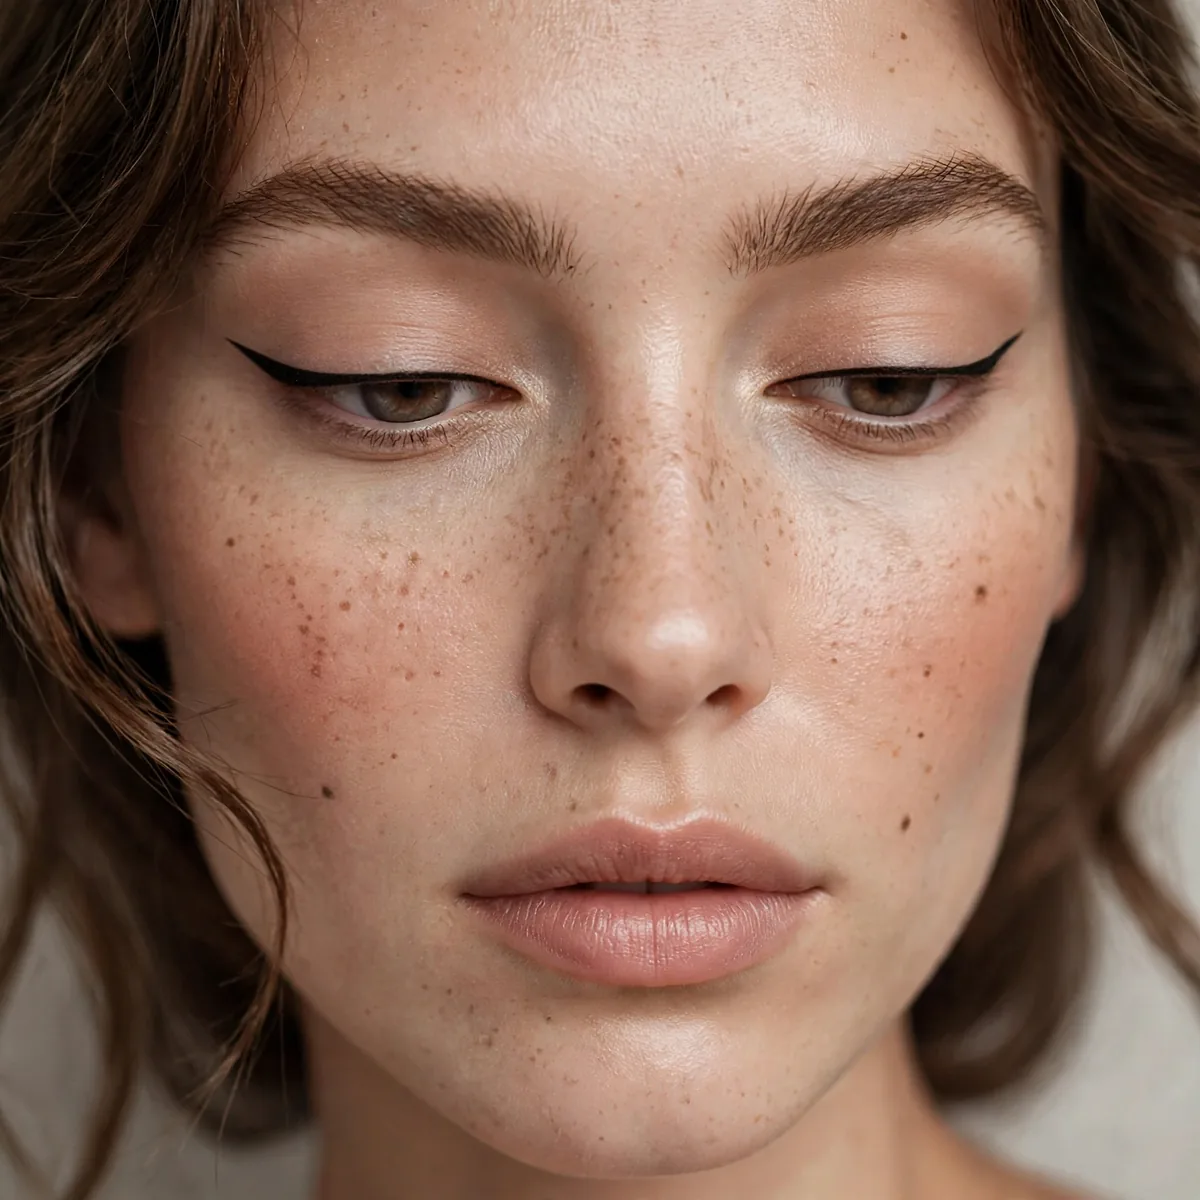
A straight-across liner with no wing avoids emphasizing the downturn.
If wings feel tricky, straight liner is the safe lifting option. No angle, no problem.
A gel liner pressed along the lash line with a flat definer brush gives the most control for a straight-across line, since you can stamp it in short segments instead of drawing freehand. This is the kindest option for shaky hands or beginners, because there is no wing angle to get wrong. Keep the line thinnest at the inner corner and slightly thicker toward the outer third for subtle lift without any flick.
Set the gel line by pressing a matching powder shadow over it, which prevents the straight line from smudging into the downturn by midday. Because the eye stays relatively simple, this is the perfect canvas for a bold lip, letting a red or berry shade carry the drama instead. For evening, thicken the outer third slightly and add mascara, which deepens the look without introducing any downward angle.
Upward Mascara Application
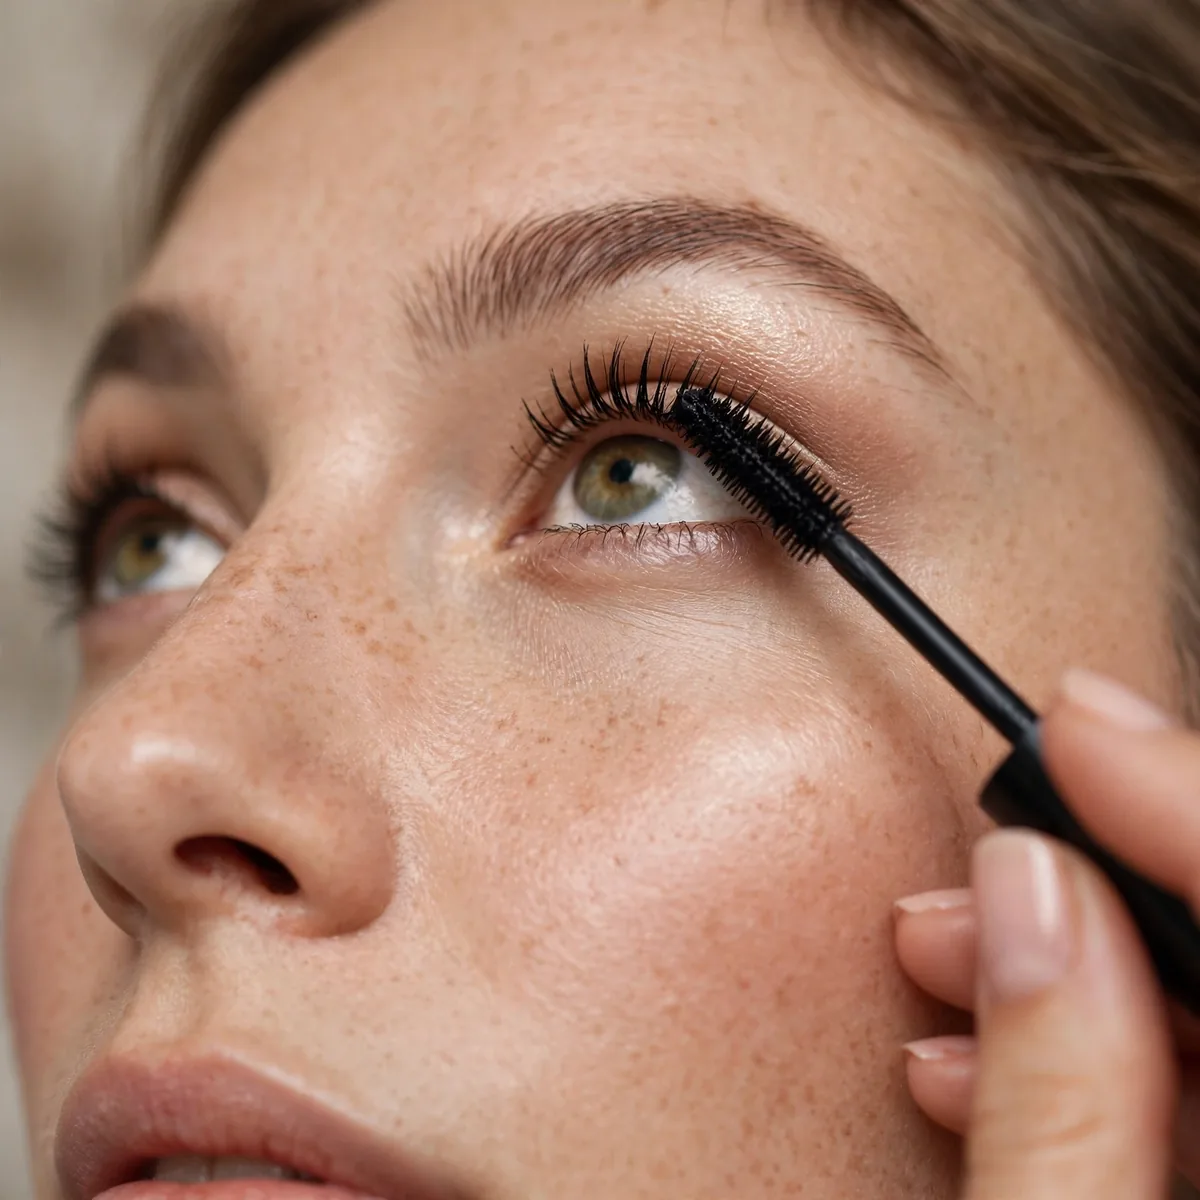
Pull outer lashes upward and outward when applying mascara.
Mascara direction matters. Upward strokes on outer lashes enhance the lift.
Wiggle the wand at the lash base first to deposit volume where it counts, then roll the brush upward through the tips in one smooth motion. A curved wand naturally follows the upward arc you want, making the technique almost automatic. Apply the outer lashes first while the formula is wettest, since the first coat always goes on fullest and the outer corner deserves that intensity.
A tubing mascara is the secret weapon here, since it forms water-resistant tubes around each lash that hold the upward curl through humidity and long days. Never pump the wand in the tube, which pushes air in and dries the formula into clumps. Layer a lash primer underneath for extra grip, and the lifted outer lashes will still be pointing skyward at midnight.
Bright Inner Corner
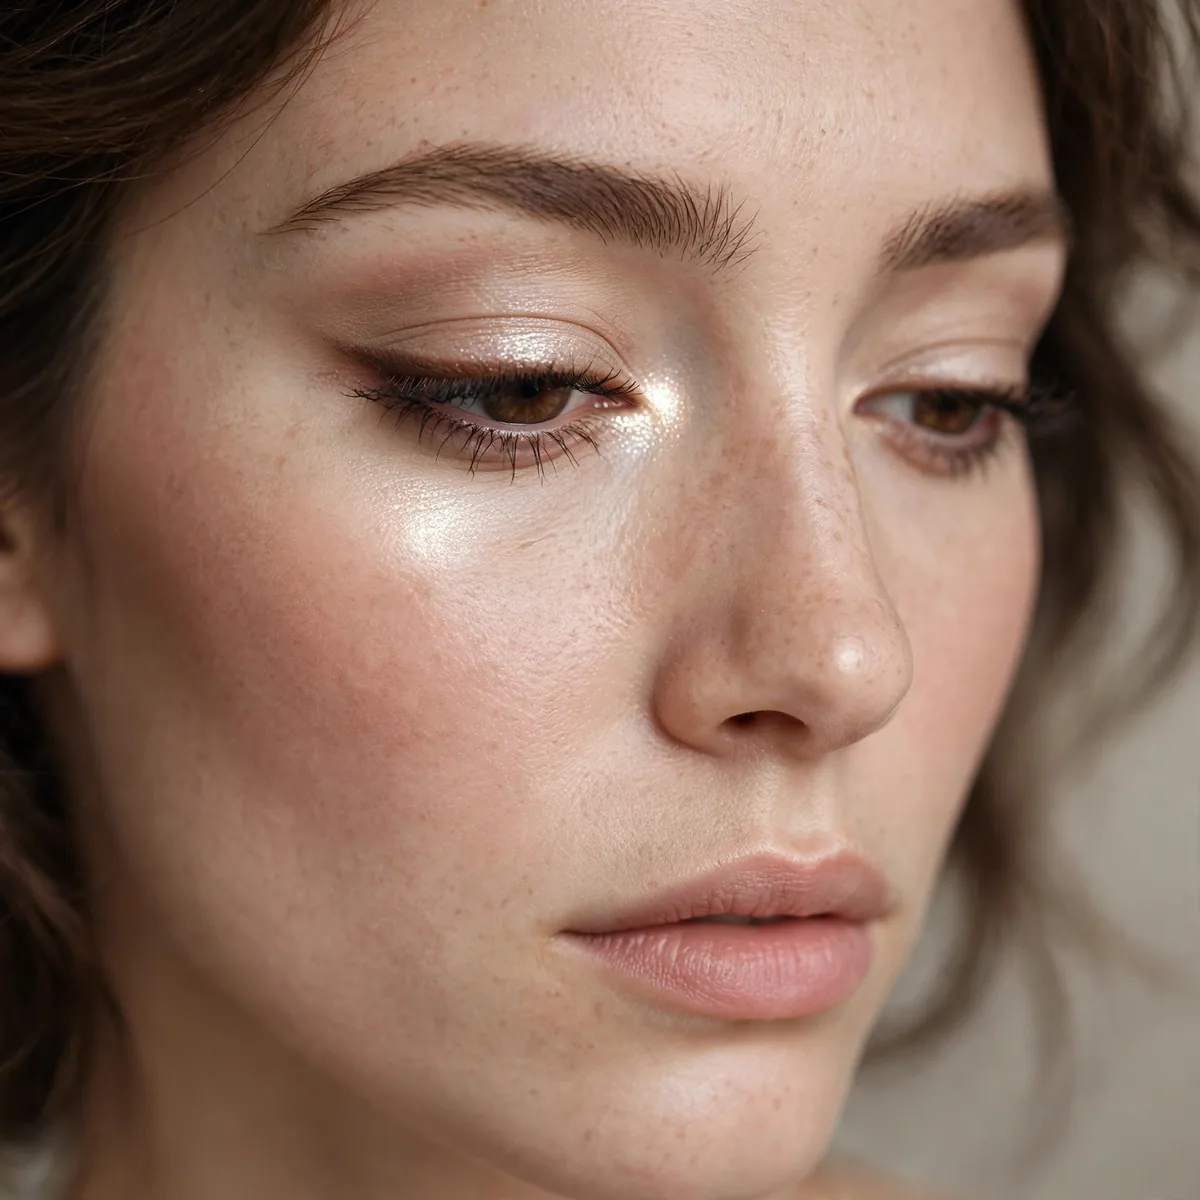
Bright inner corners draw attention inward and upward.
The brightness balances the outer corner, creating overall lift.
Choose a champagne or soft pearl rather than stark white, which can look harsh against most skin tones and reads as dated in daylight. Press it on with your fingertip for the most intense payoff, since the warmth of skin melts shimmer into a seamless glow. Deep-set downturned eyes gain the most here, because the brightness pulls the inner eye forward and balances the shadowed outer corner.
The inner corner sheds makeup fastest thanks to tearing and blinking, so layer a cream shimmer under the powder version to give it something to grip. Keep the brightness compact and close to the tear duct, because spreading it halfway across the lid dilutes the lifting contrast. Done right, this single dot of light rebalances the entire eye without any visible effort.
Avoid Heavy Lower Lash Mascara
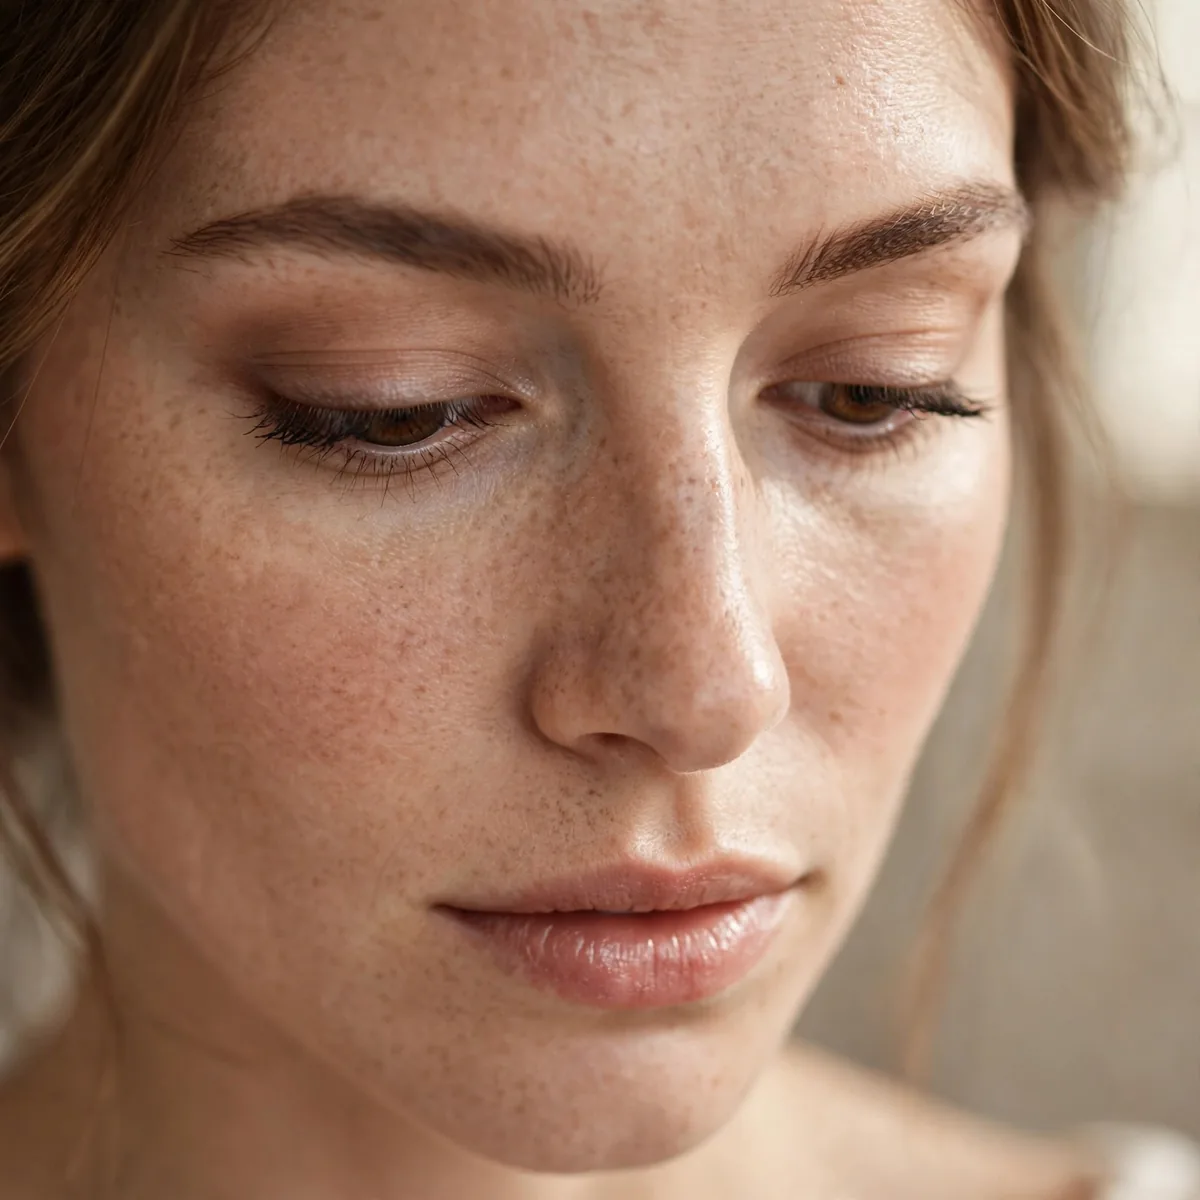
Keep lower mascara minimal — heavy lower lashes drag the eye down.
One light coat maximum on lower lashes. The top does the lifting work.
Wipe excess mascara off the wand on the tube rim before touching the lower lashes, which prevents the clumps that visually drag the eye down. Hold the wand vertically and paint the lashes with just the tip for the sheerest possible coat. If you want lower definition without any mascara weight, tightline the upper waterline instead, which defines the lash base with zero downward pull.
Naturally long lower lashes need this restraint most, since their length already creates downward visual weight that mascara would double. Skip waterproof formulas on the lower lashes, which require harsh rubbing to remove and irritate the delicate under-eye area. Keep all the drama on the upper lashes instead, and the contrast between defined tops and bare bottoms creates lift all by itself.
The Extended Brow Tail
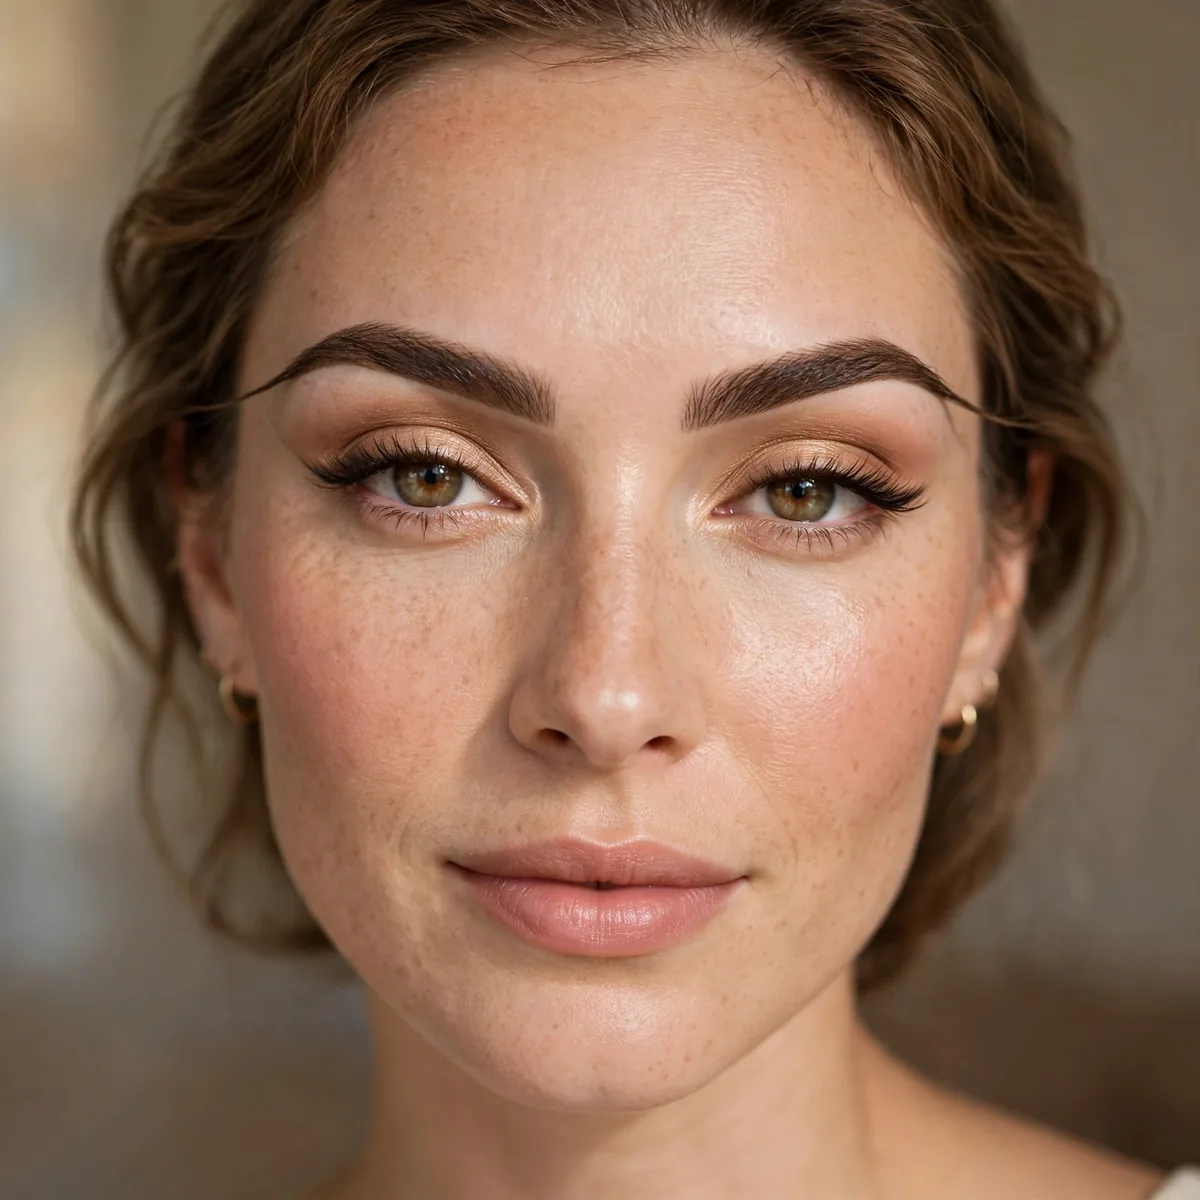
A slightly extended brow tail lifts the whole eye area.
Our brow guide covers tail placement. Brows frame the lift — extend thoughtfully.
Map the tail by holding a brush from the side of your nose past the outer eye corner, which marks exactly where the brow should end. A brow pencil gives the most natural extension, using light hair-like strokes rather than a solid drawn line. The tail must never dip below the brow's starting height, since a low tail drags the whole eye area down and cancels every lifting trick above it.
Short or sparse brow tails gain the most from this extension, since they leave the outer eye visually unsupported. Brush the brow fronts upward with a spoolie for a feathered effect that keeps the extended tail from looking harsh. Lock everything with a tinted brow gel, which holds the hairs in their lifted position through the day and keeps the tail from smudging away by evening.
Cat-Eye Shadow Shape
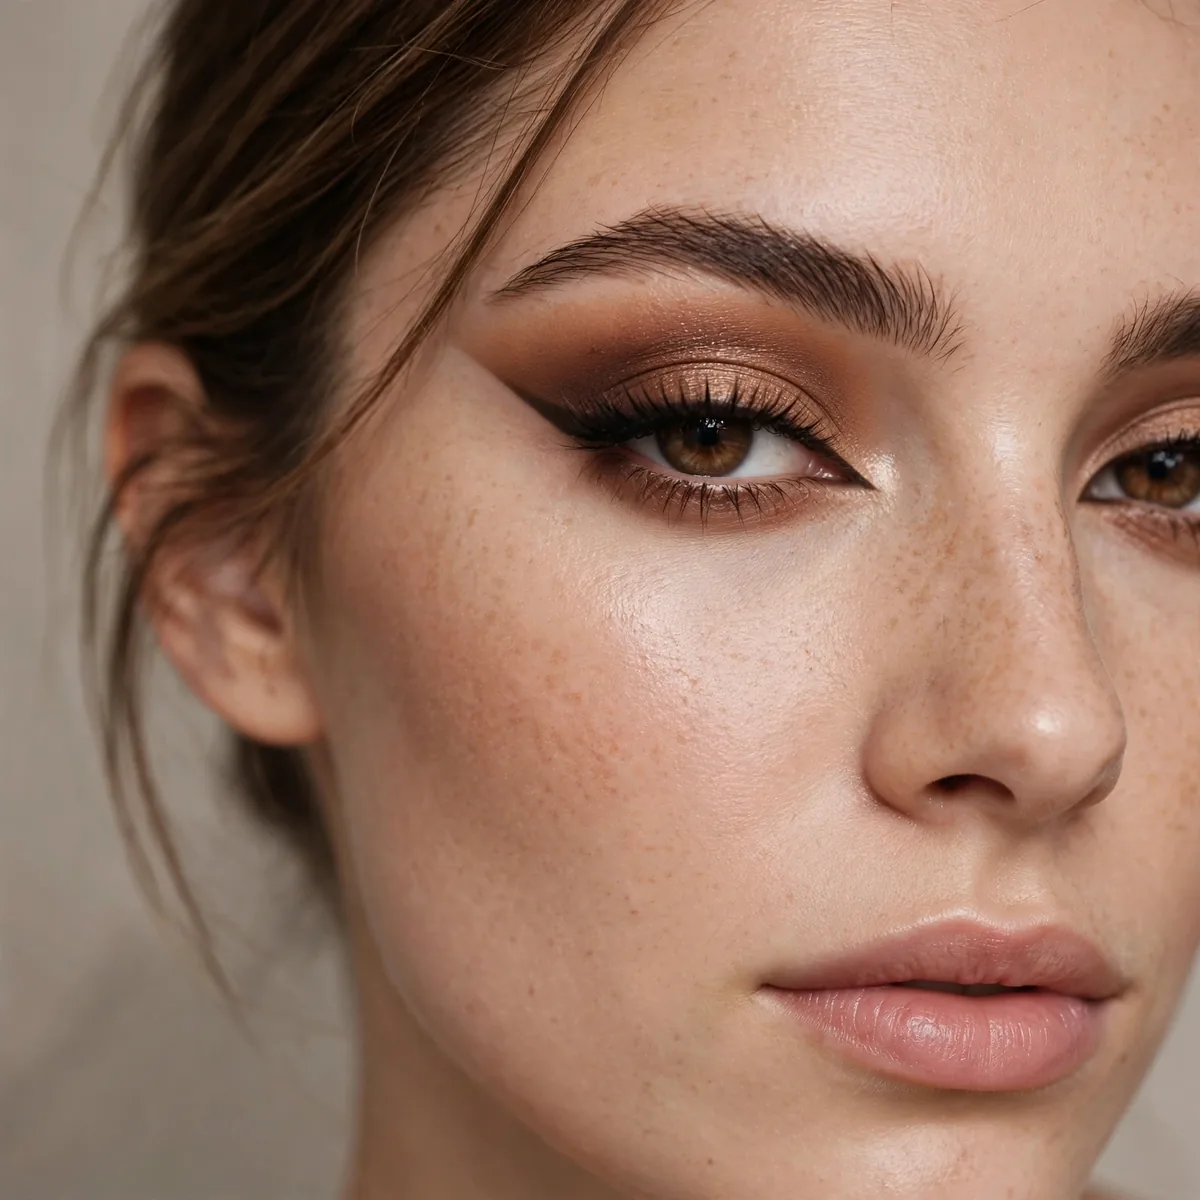
Shape your shadow in a cat-eye: elongated and angled upward.
The shadow shape does the lifting even without liner. Shape is powerful.
Build the shape over a soft transition shade first, which gives the darker cat-eye tones something to blend into instead of harsh edges. Carve the upward angle with a flat brush and a touch of concealer for a crisp perimeter, keeping the flick aligned toward the brow tail. Round downturned eyes suit this shape beautifully, since the elongation counteracts both the roundness and the downward tilt at once.
An eyeshadow primer underneath is essential, since the elongated shape covers more lid real estate and any fading becomes obvious. Keep lips nude or softly glossed so the dramatic eye shape stays the undisputed focal point. The common mistake is making the shape too thick and heavy, which reads as a mask, so keep the color concentrated near the lash line and diffused as it extends outward.
Concealer Lift
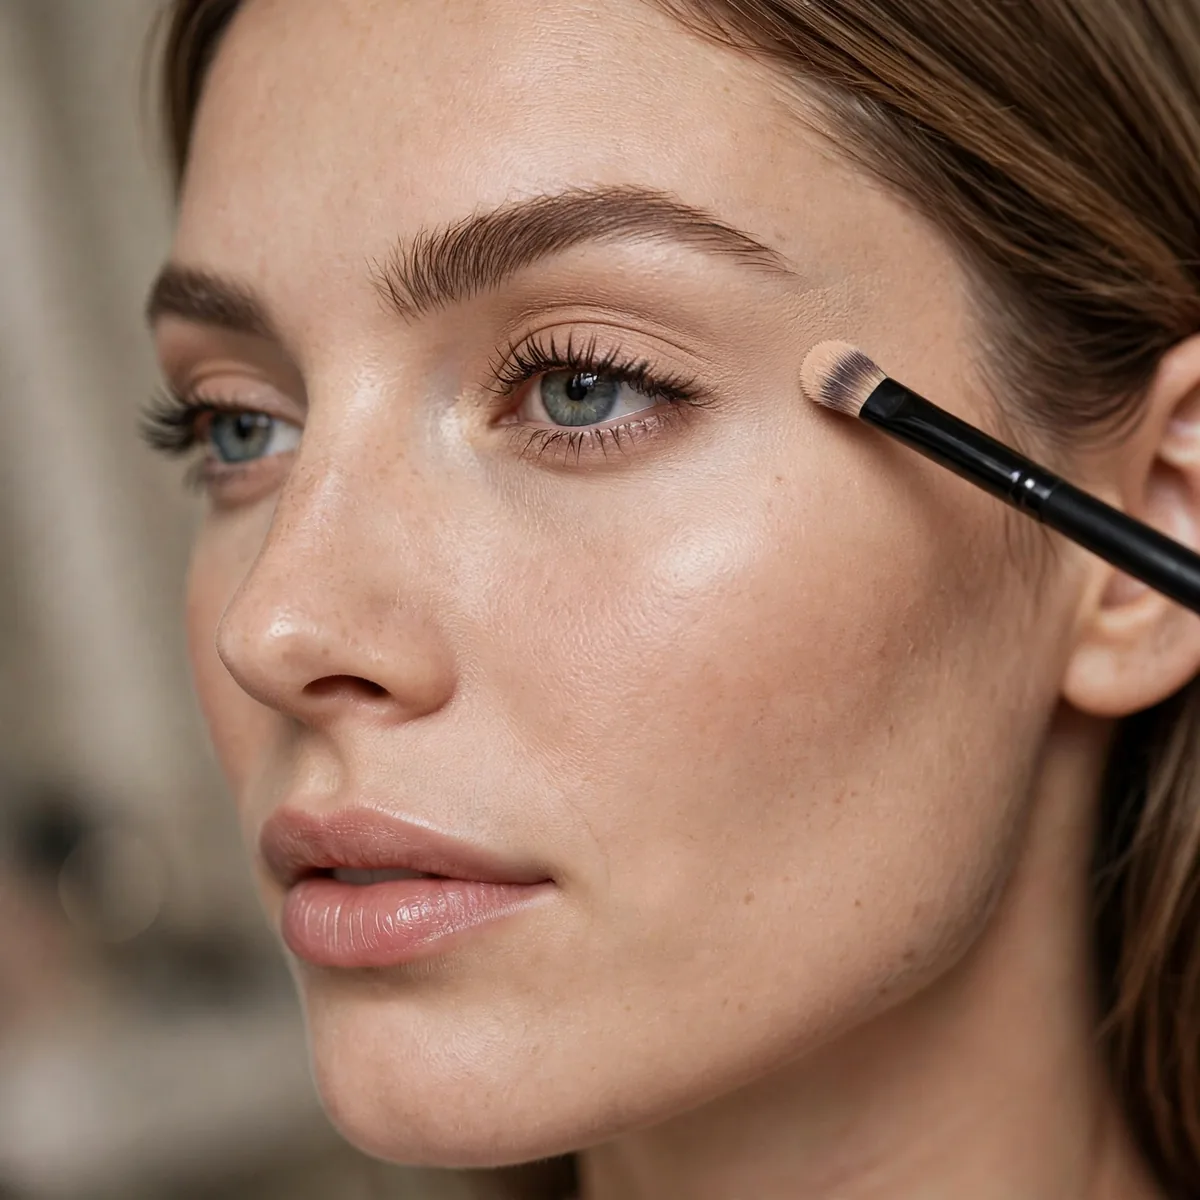
Apply concealer in an upward flick past the outer corner — it cleans and lifts simultaneously.
The upward concealer wing sharpens liner and creates lift. Two jobs, one product.
Draw the concealer flick with the doe-foot applicator first, then blend only in upward strokes with a small flat brush, since blending downward defeats the purpose entirely. A brightening concealer with light-reflecting properties works better here than a heavy full-coverage one, which can look cakey at the delicate outer corner. Set it immediately with a pinch of translucent powder so the lifted edge stays sharp.
This trick flatters every eye shape, not just downturned ones, since a cleaned-up outer corner sharpens any eye look. It pairs perfectly under a winged liner, where the concealer creates a crisp runway for the flick to sit on. Avoid going more than one shade lighter than your skin, because an overly bright concealer wing reads as a stripe rather than a lift in daylight.
False Lash Placement
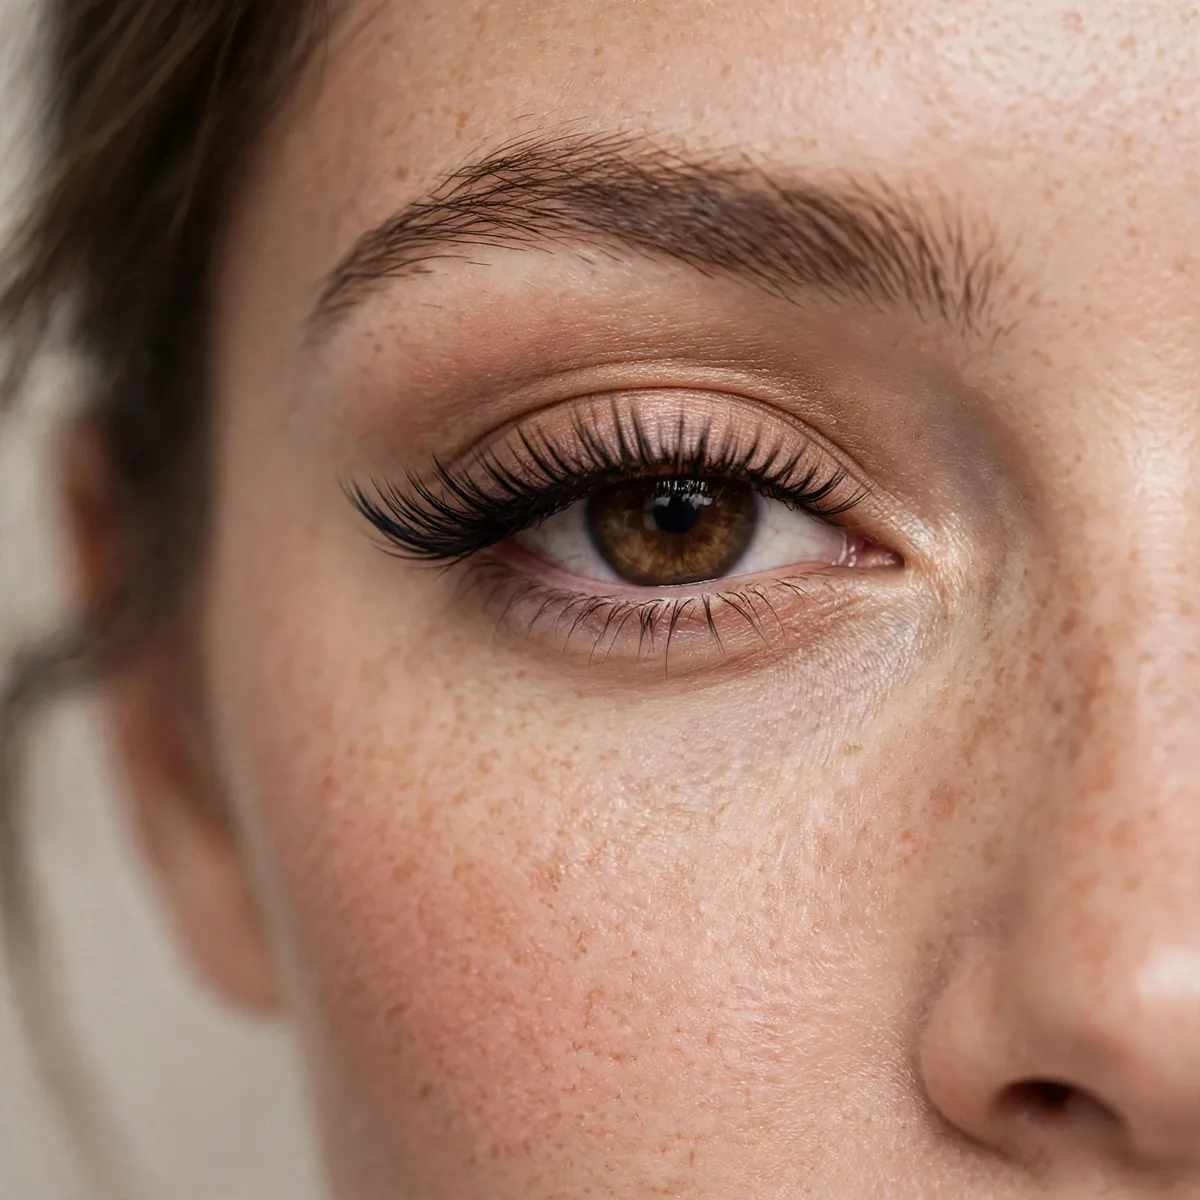
Place falsies slightly upward at the outer corner for instant lift.
Our falsie guide covers basics. Angle the strip upward — placement is the lift.
Trim the strip from the outer edge so the longest lashes sit past your natural outer corner, then position that end slightly higher than your lash line as the glue sets. Let the lash glue turn tacky for thirty seconds before placing, which prevents the strip from sliding down into the downturn. A lash applicator gives far steadier placement than fingers, especially while the angle is still being set.
Sparse natural lashes benefit most, since the falsies supply the outer volume that downturned eyes need for lift. Choose flared or winged lash styles that are longest at the outer edge, which do half the lifting work by design. Remove them gently with an oil-based remover or micellar water on a cotton pad, never pulling, since the outer corner skin is thin and repeated tugging causes sagging over time.
Warm Transition Lift
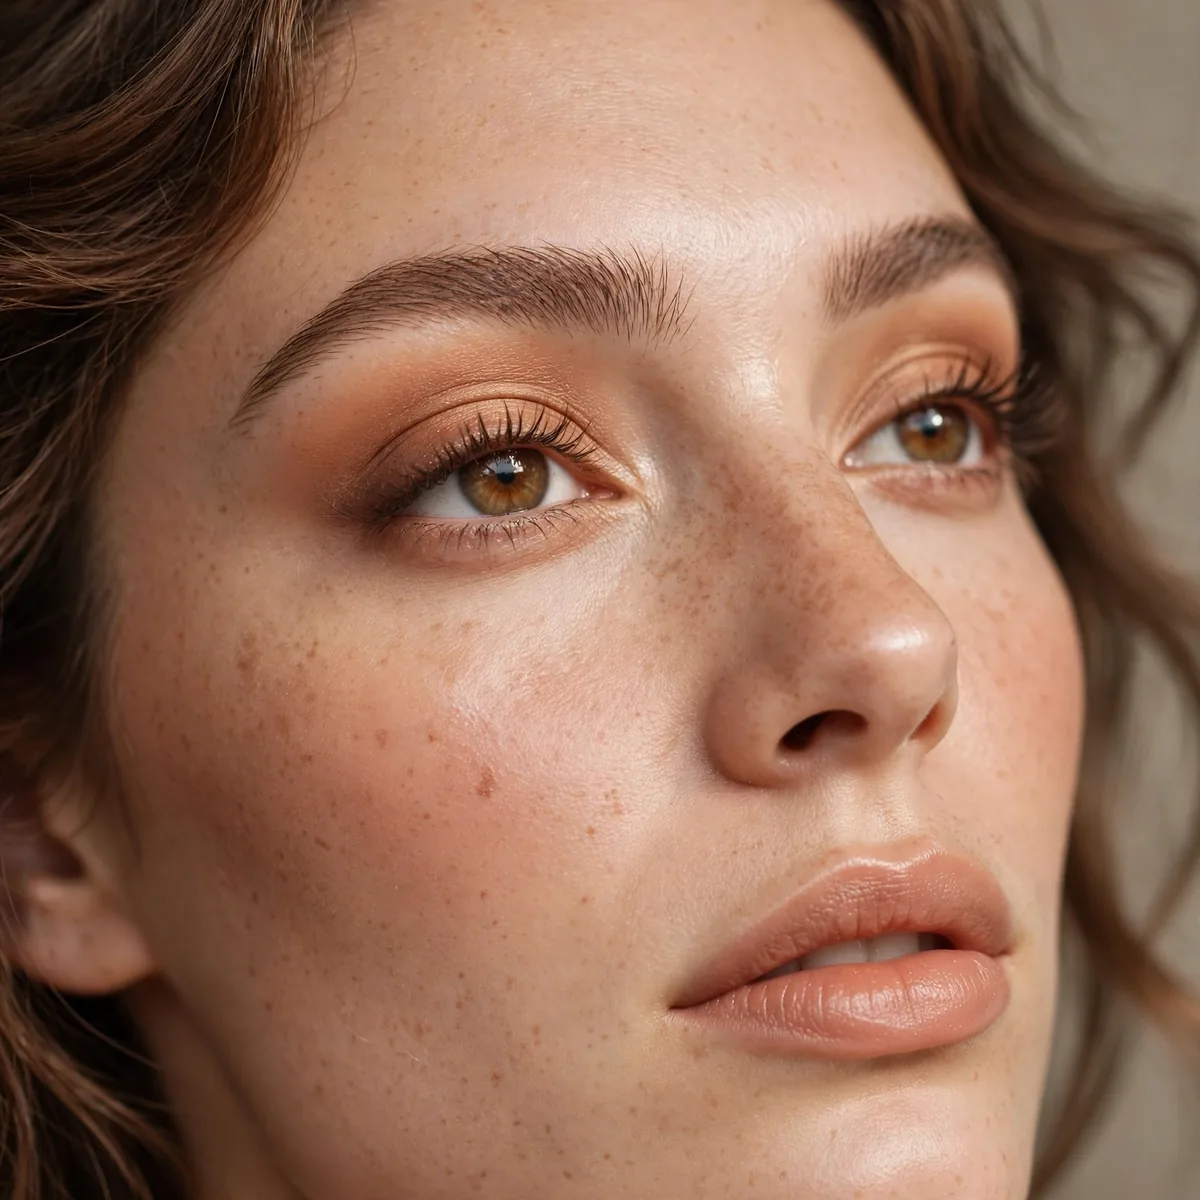
A warm transition shade blended upward creates lift through color.
Warmth advances visually, creating the illusion of lift. Cool tones recede.
Reach for terracotta, warm caramel, or soft amber tones, which advance visually and create the lifting illusion far better than cool grays. Sweep the shade through the crease with a large fluffy brush using upward windshield-wiper motions, keeping the color concentrated above the socket line. Even cool skin tones can wear these warms as transition shades, since they sit deep in the crease rather than on the visible lid.
Warm transition shades tend to fade faster than deeper tones, so press them over an eyeshadow primer for all-day staying power. This technique shines brightest in autumn, when warm tones echo the season and pair naturally with burnt-orange blush and spiced lip colors. Keep the rest of the eye simple and let the warm gradient do the lifting, since overloading the lid competes with the subtle color-lift effect.
The Full Lift Routine
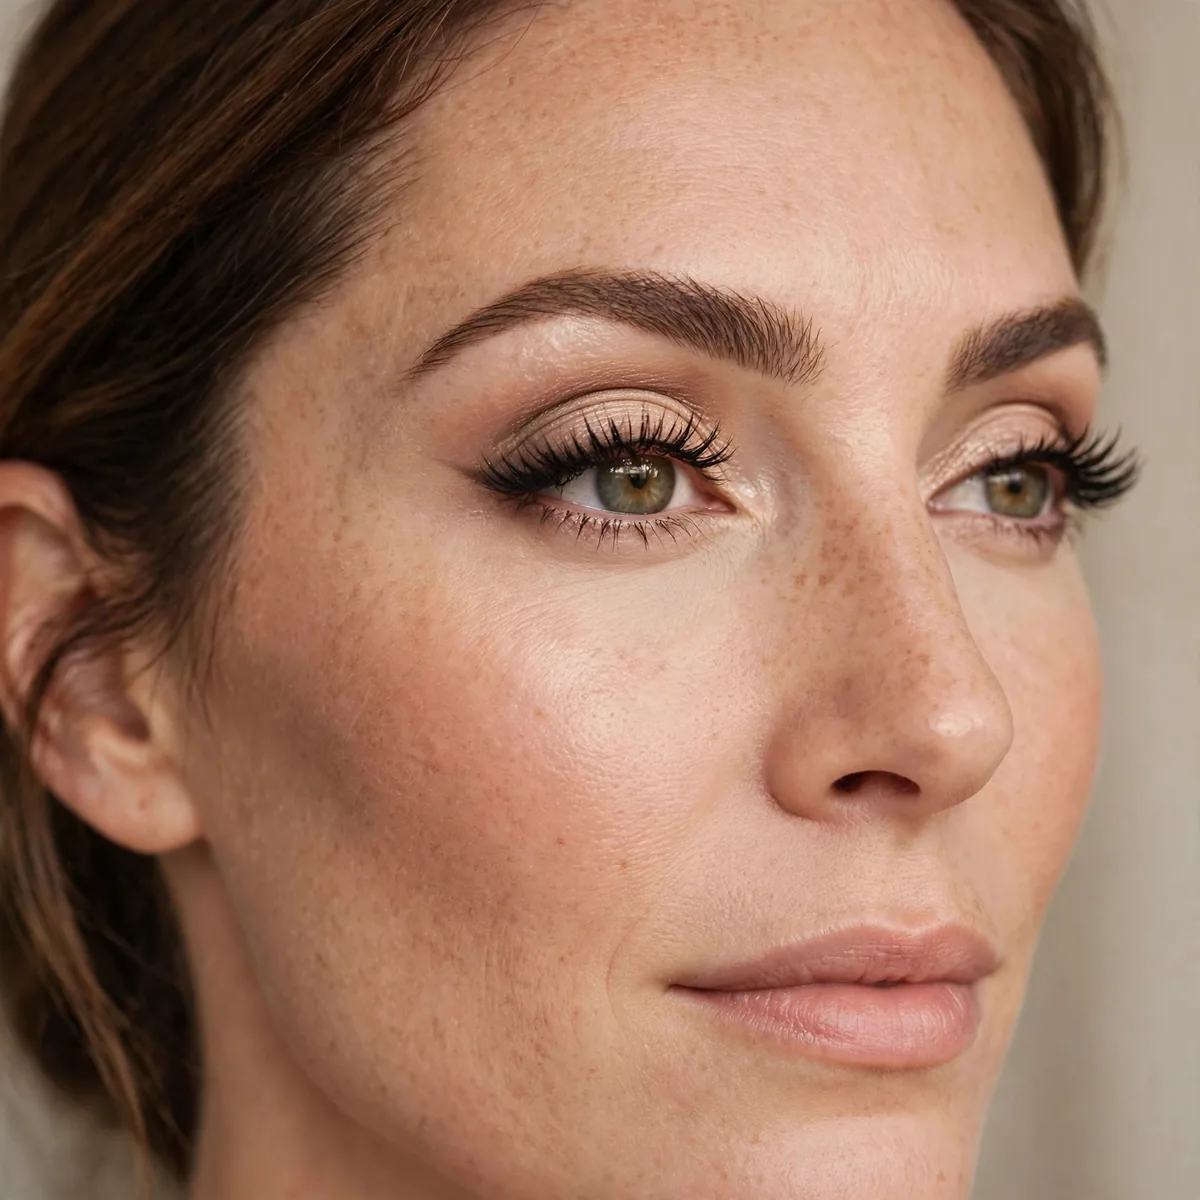
Combine: upward wing, lifted shadow, curled outer lashes, bright inner corner — the full lift.
Each technique adds a little lift; together they transform. Layer them all for maximum effect.
Apply the techniques in this order for the smoothest result: primer and shadow first, then concealer cleanup, followed by liner, curled lashes, mascara, and the inner-corner highlight last. The full routine takes about fifteen minutes once practiced, so try it on a weekend before attempting it on a rushed morning. Photograph each attempt to spot which step gives you the most lift, then prioritize that one on busy days.
Carry a cotton swab for midday touch-ups, since downturned corners are prone to smudging as liner migrates downward with blinking. At night, remove everything with a gentle bi-phase remover rather than scrubbing, because the outer eye area is delicate and rough removal accelerates sagging. Anyone with naturally downturned eyes will find this layered approach more transformative than any single trick used alone.
Lift is a technique, not a feature — pin these tricks. For more eye-shape wisdom, see hooded eye tips or close-set eye tips.




