
Close-set eyes are striking — and a few techniques create beautiful balance.
Close-set eyes sit nearer together than average. The makeup goal: create the illusion of width through bright inner corners, extended outer definition, and strategic highlight.
It’s all about directing attention outward. Every technique here pushes the eye’s visual weight toward the temples.
Here are 18 balancing tips. Let’s get into it.
Bright Inner Corners
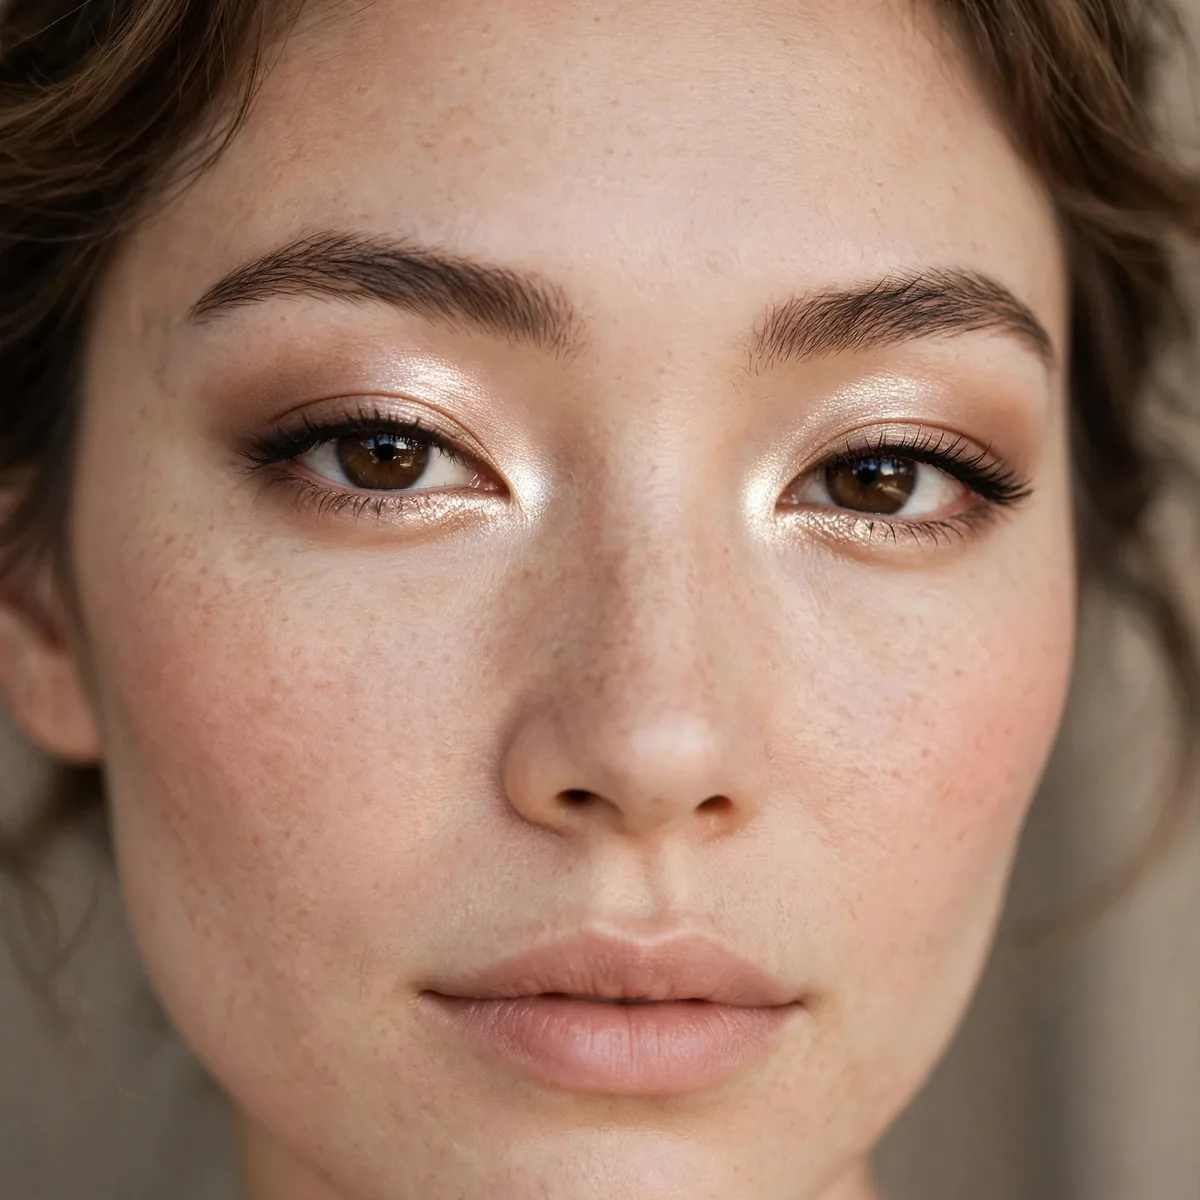
Light, bright inner corners create the illusion of space between the eyes.
This is the #1 close-set tip. Brightness reads as distance.
Press a champagne or pearl shimmer into the inner corner with your fingertip, extending it just a millimeter onto the side of the nose bridge to stretch the perceived spacing. Powder shadows work, but a cream shimmer layered underneath gives the brightness real staying power through the day. The goal is a soft glow that suggests distance, not a stripe of glitter that draws attention to the area.
Skip stark white highlighters, which look harsh against most skin tones and actually emphasize the area you are trying to visually expand. Balance the bright inner corners with real depth on the outer third, since the light-dark contrast is what sells the widening illusion. This brightening step suits every eye color, though green and hazel eyes gain an extra pop from champagne tones.
Extended Outer Liner
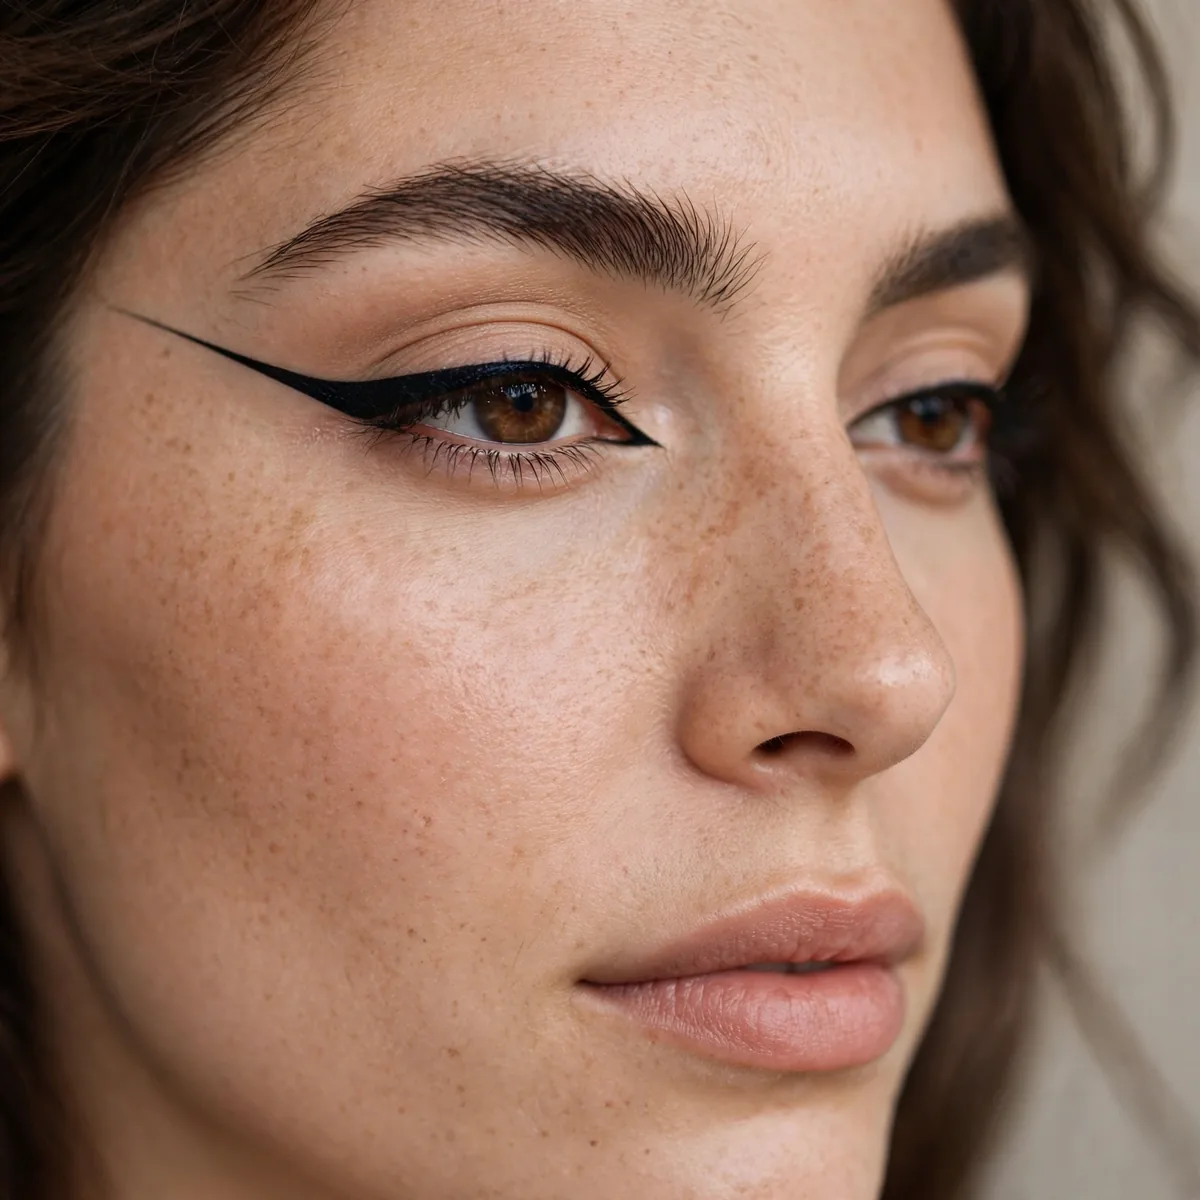
Extend liner slightly past the outer corner to widen the eye.
The extension pushes visual weight outward. Width through elongation.
Extend the liner two to three millimeters past the outer corner, following the natural upward angle of the lower lash line rather than flicking in a random direction. A gel liner with an angled brush gives beginners the most control over the extension length. The extension should read as a natural continuation of the eye, not a separate drawn line, so keep it thin and tapered.
A waterproof formula keeps the extension crisp through watery eyes and long days, since the outer corner is where liner migrates first. The mistake is extending too far, which stops reading as width and starts reading as costume, so check the effect in a mirror at arm's length. Smoke a little dark shadow over the extension to soften it for daytime while keeping the widening effect.
Outer-Third Shadow Focus
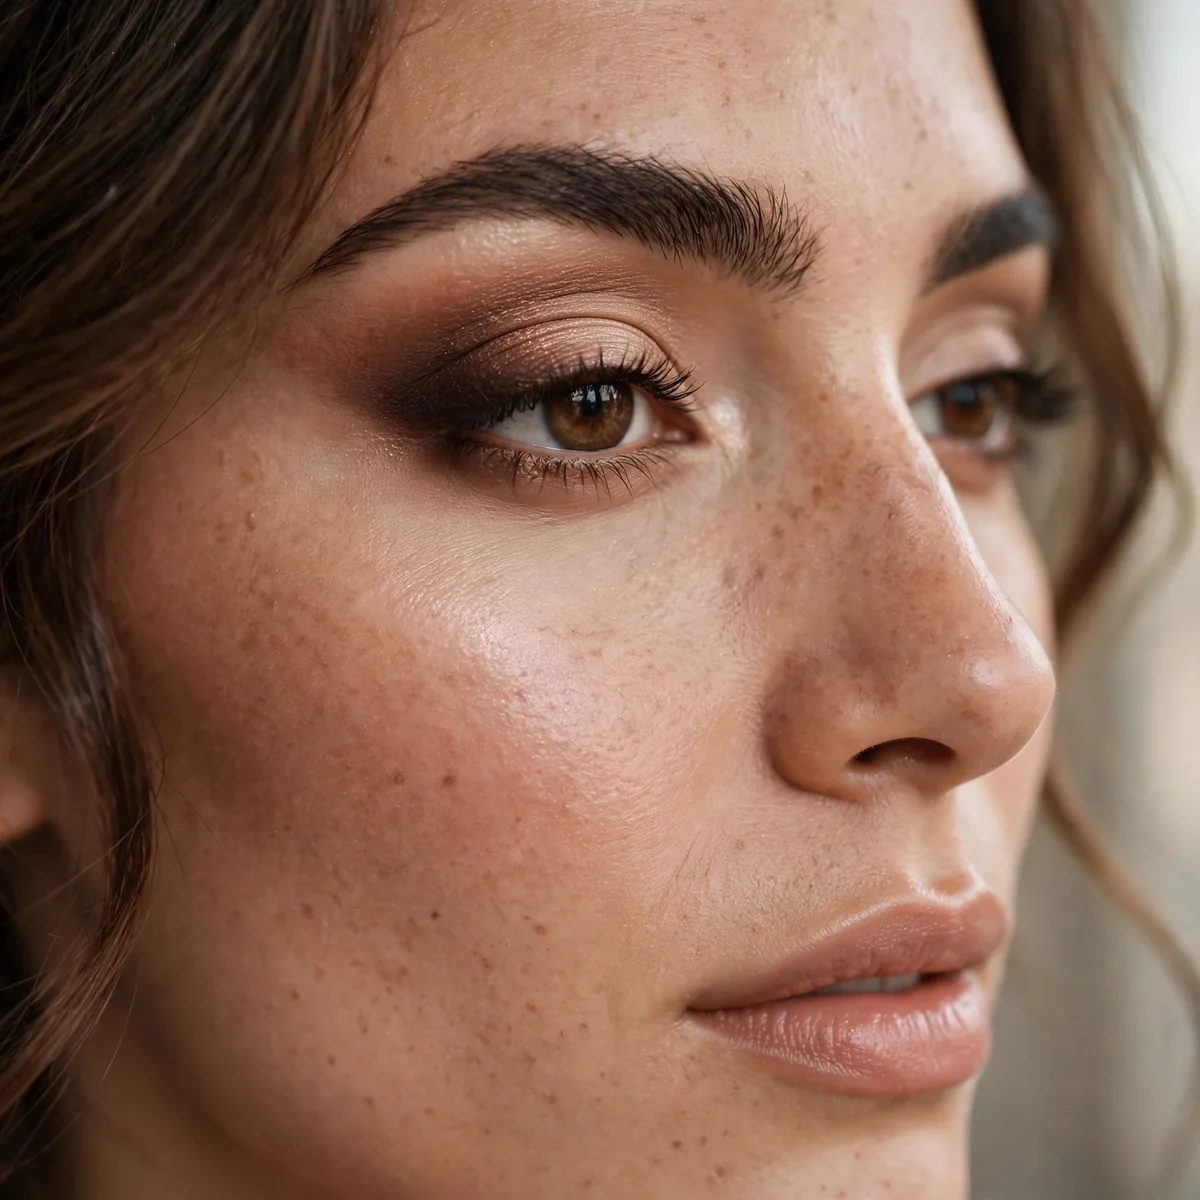
Concentrate darker shadows on the outer third, keeping inner areas light.
Dark outside, light inside — the contrast creates the width illusion.
Build the outer depth in two passes, laying a medium tone first and then pressing the darkest shade only into the outer V, which creates a gradient rather than a harsh block. Use a small, dense brush for the darkest placement so the color stays exactly where you put it. Blend only the edges with a clean fluffy brush, leaving the outer corner itself rich and saturated.
This outer-focus technique suits every eye shape, but close-set eyes gain the most since the contrast directly addresses their spacing concern. Keep lips nude or softly tinted so the eye gradient stays the focal point of the face. Work over an eyeshadow primer, because the deep outer shades are the first to crease and fade, which would flatten the carefully built dimension by evening.
The Outer Wing
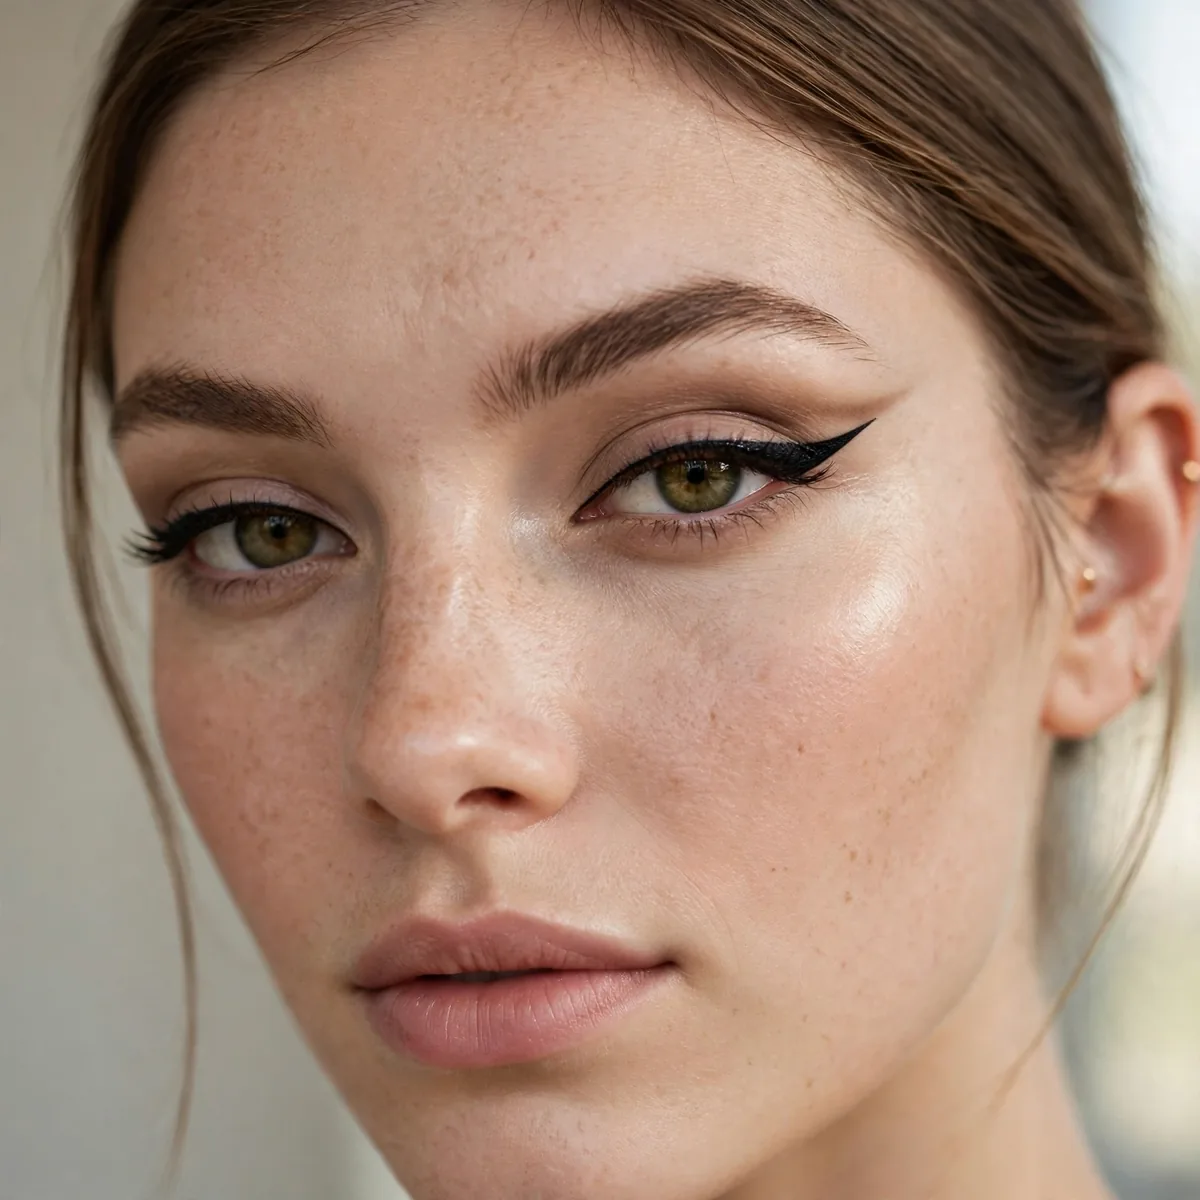
A wing that extends outward emphasizes width beautifully.
Wings are a close-set eye’s best friend. They pull everything toward the temples.
Angle the wing toward the temple or even the hairline rather than steeply upward, since a horizontal emphasis widens while a steep upward flick can actually narrow close-set eyes. Sketch the shape with eyes open so you can see the true widening effect as you draw. The most common mistake is defaulting to a classic cat-eye flick, which lifts beautifully but does little for spacing.
Set the wing by pressing a matching powder shadow over the liner, which keeps the horizontal line from softening into a smudge by afternoon. Pair it with mascara concentrated on the outer lashes to double the widening effect. For evening, extend the wing a touch further and deepen the outer shadow, which stretches the spacing illusion even wider under low light.
Avoid Dark Inner Corners
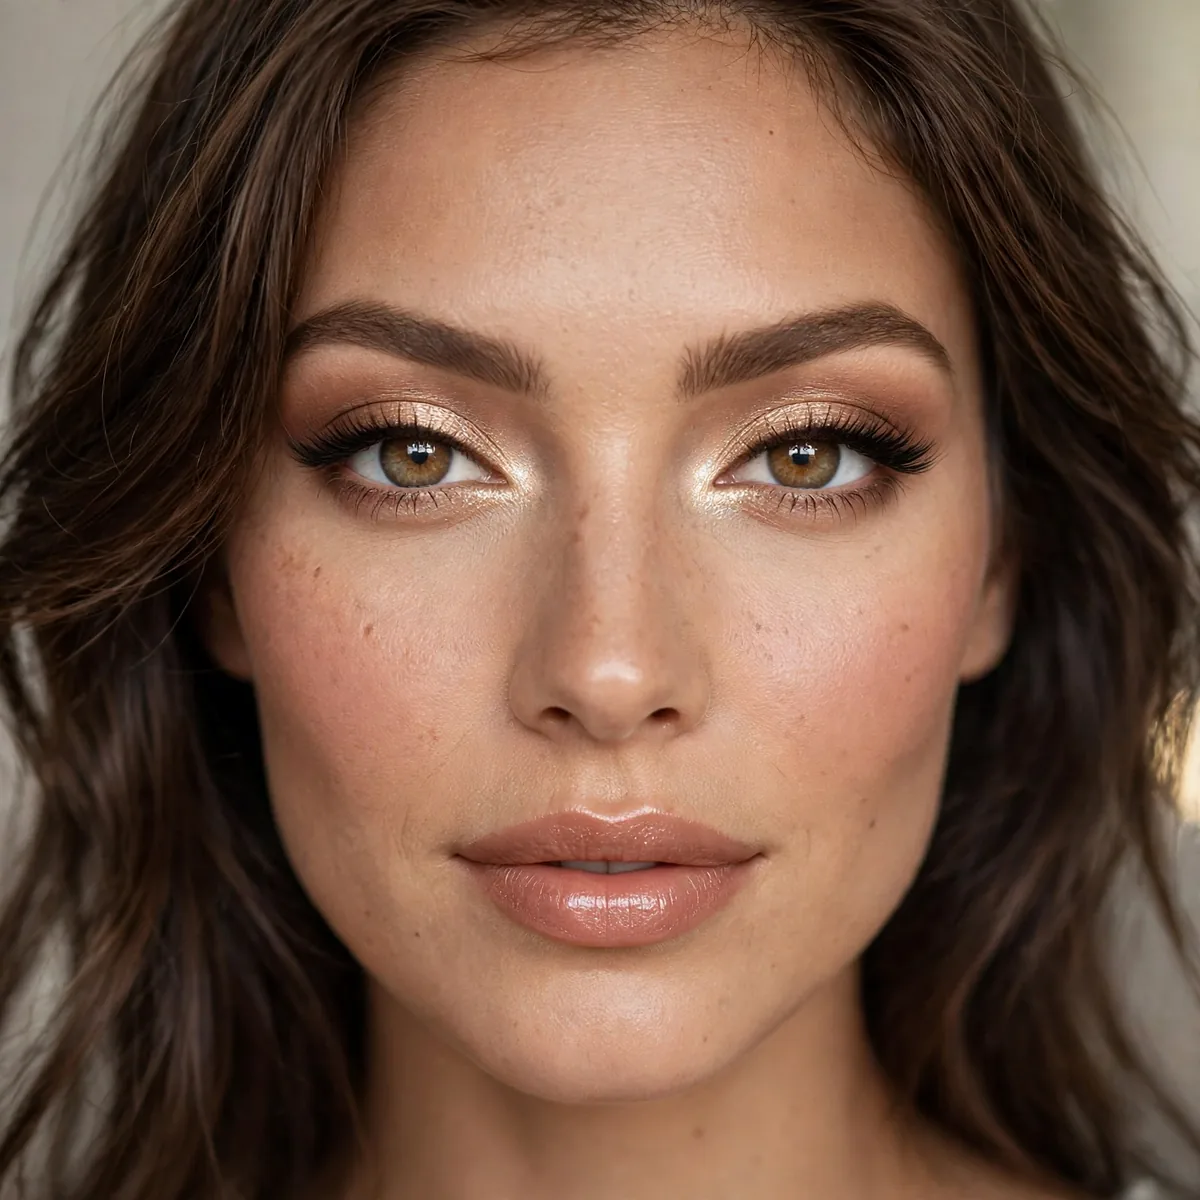
Keep dark shades away from the inner corner — they close off the space.
Dark inner corners emphasize closeness. Light inner corners create distance.
Stop every dark shade at the middle of the lid and blend it toward the outer corner only, treating the inner half as a protected light zone. Use a clean blending brush to melt the boundary between the light inner lid and the deeper outer tones so no harsh line divides them. This discipline with placement matters more than product choice, since even the prettiest shadow narrows close-set eyes when it creeps inward.
Tightlining the upper waterline is the one exception, since it defines the lash base without adding visible darkness to the inner corner. Always pair this restraint with a bright inner-corner highlight, which actively pushes the perceived spacing wider. The classic mistake is a fully smoked-out inner corner, which looks dramatic up close but photographs as one continuous dark band across close-set eyes.
Brow Spacing Illusion
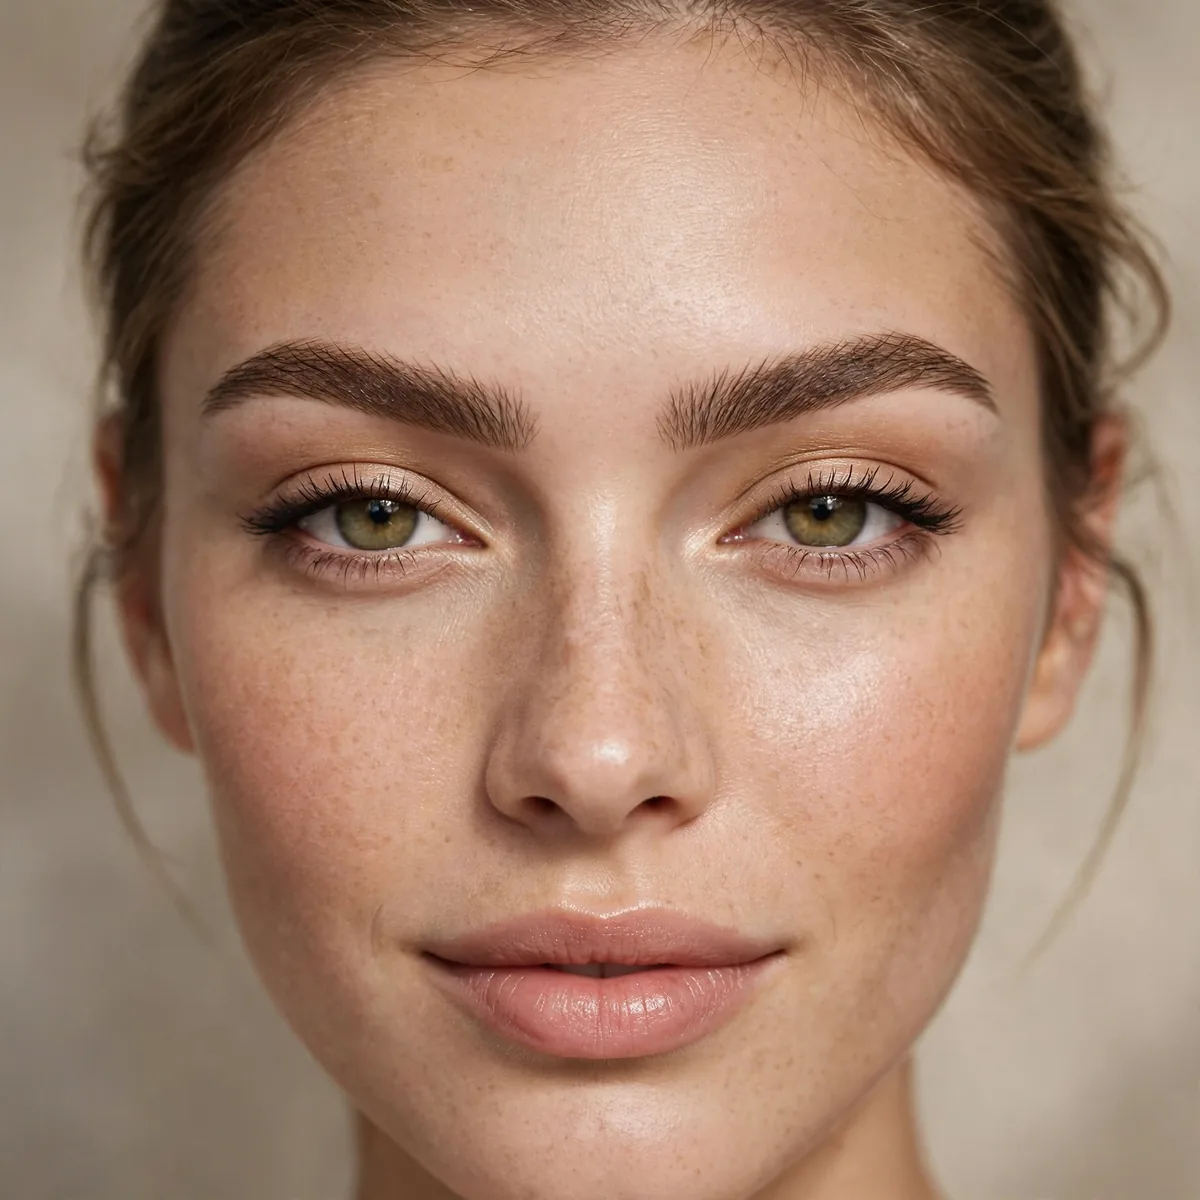
Don’t over-extend brow fronts inward — it emphasizes closeness.
Our brow guide covers mapping. Keep brow fronts at the natural starting point, not closer.
Find your natural brow start by holding a brush vertically along the outer edge of your nostril, and never draw the brow inward past that point. Fill the front of the brow with light, upward strokes using a pencil one shade softer than your hair, which keeps the area airy. Brush the front hairs upward with a spoolie for a feathered effect that reads as openness rather than density.
Naturally close-set brows gain the most from this restraint, since every millimeter of inward extension visually pulls the eyes together. Avoid the heavy, blocky brow-front trend entirely, which is the fastest way to undo all your widening eye work. Pair softly defined brow fronts with a bright inner-corner highlight, and the center of the face reads open and balanced.
Highlight the Center
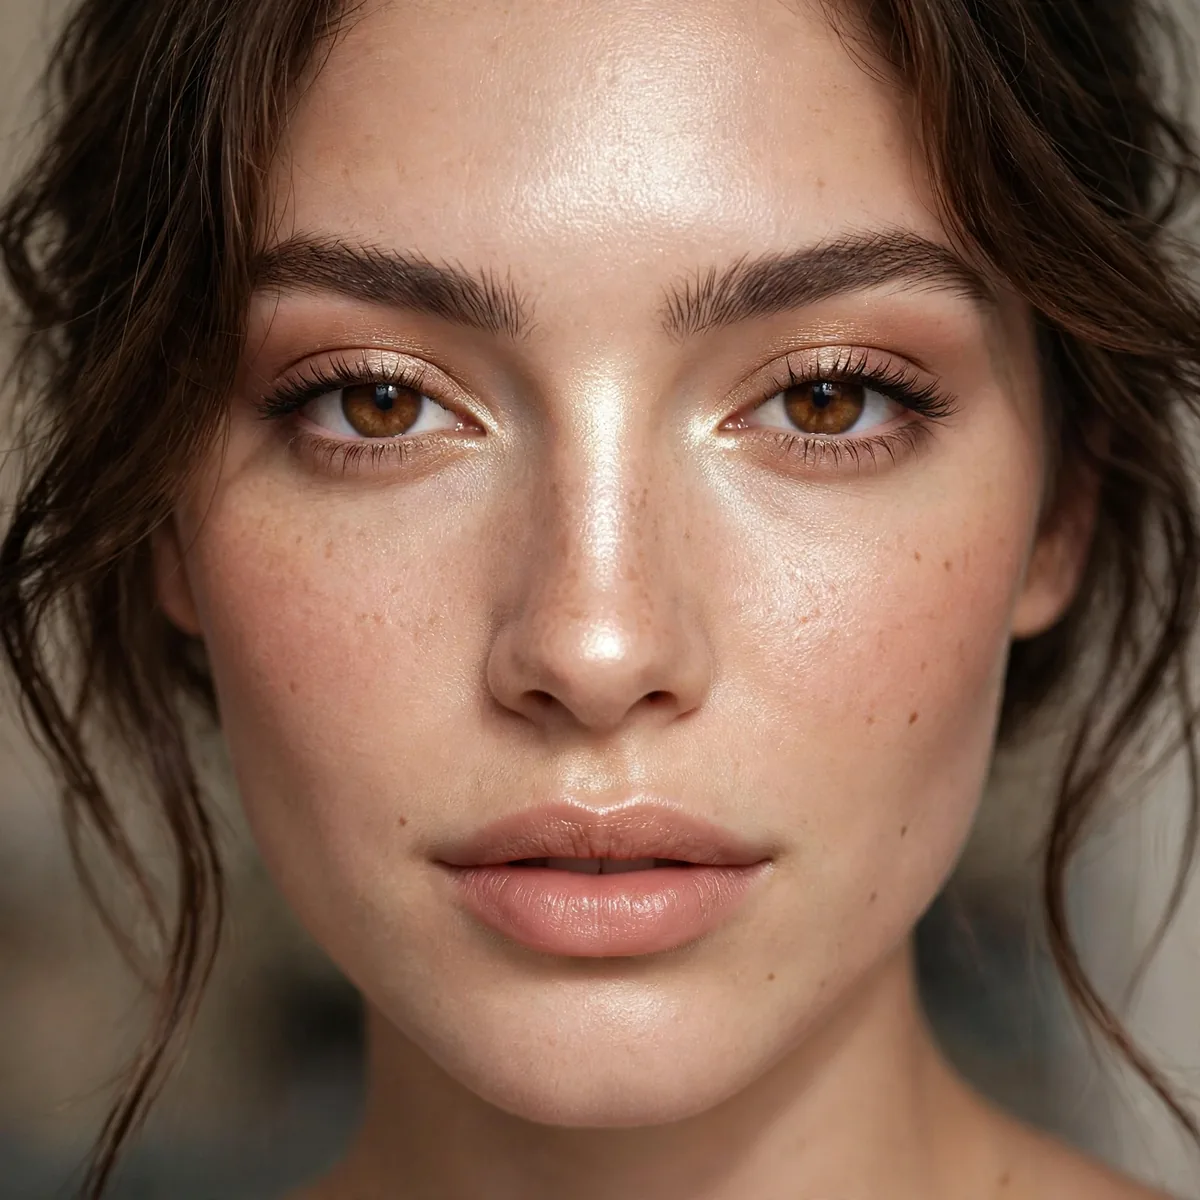
A touch of highlight on the nose bridge between the eyes creates separation.
Light between the eyes reads as space. It’s subtle but effective.
Use a matte highlighter or a concealer just one shade lighter than your skin, since shimmer on the nose bridge can look oily in daylight. Press a tiny amount between the eyes with your fingertip and blend the edges until no line is visible. The effect should be subliminal, reading as natural brightness rather than obvious makeup, which is exactly why it works as a spacing illusion.
The mistake is applying too much, which creates a visible light stripe that draws attention to the center instead of opening it. For extra definition, add the faintest contour down the sides of the nose, which makes the highlighted center recede visually. Set the area with a whisper of translucent powder so the brightness does not turn shiny by midday.
Smokey Outer V
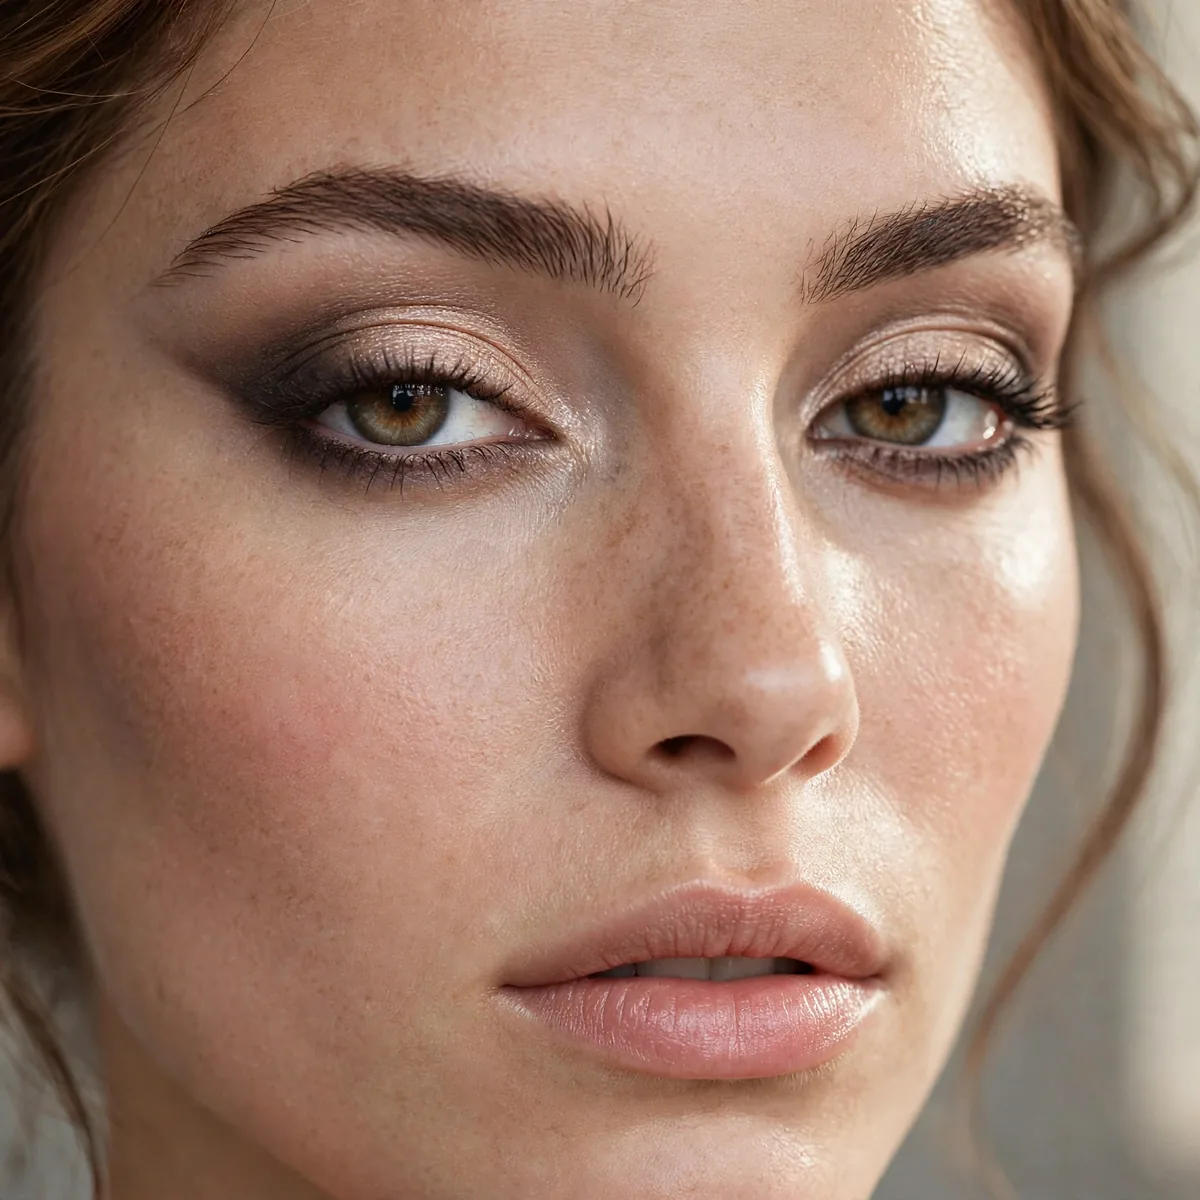
Smoke out the outer V for depth that widens.
The outer V is where width is built. Deepen it confidently.
Draw the V with the point aimed toward the temple, not downward, using a pencil brush to keep the shape tight and controlled. Press a matte dark shadow into the V rather than sweeping it, which builds intensity without spreading darkness inward. Blend only the inner edge of the V so it melts into the lid, leaving the outer point crisp and defined for maximum widening impact.
Deep-set close-set eyes suit this technique well, since the outer V adds dimension exactly where the eye naturally recedes. Keep lips nude and cheeks soft so the smoked outer corners own the face. Work over primer to stop the deep shades from creasing, and never drag the V past the middle of the lid, which collapses the spacing you are trying to build.
Mascara Outer Focus

Concentrate mascara on the outer lashes for a widening effect.
Outer-lash emphasis pulls the eye outward. Direction through mascara.
Apply mascara to the outer lashes first while the wand is fully loaded, since the first pass always deposits the most product. Wiggle the wand outward toward the temple as you pull through, which fans the lashes in the widening direction. Add a second coat to the outer third only, leaving the inner lashes with a single light coat for the perfect wide-set balance.
A waterproof formula on the outer lashes holds the outward fan through humidity and long days without drooping. The mistake is overloading the outer corner into clumps, which reads as heaviness rather than width, so comb through with a clean spoolie after applying. Curl the outer lashes before mascara to amplify the effect, since lifted and fanned lashes widen more than flat ones.
Light Lid, Dark Crease
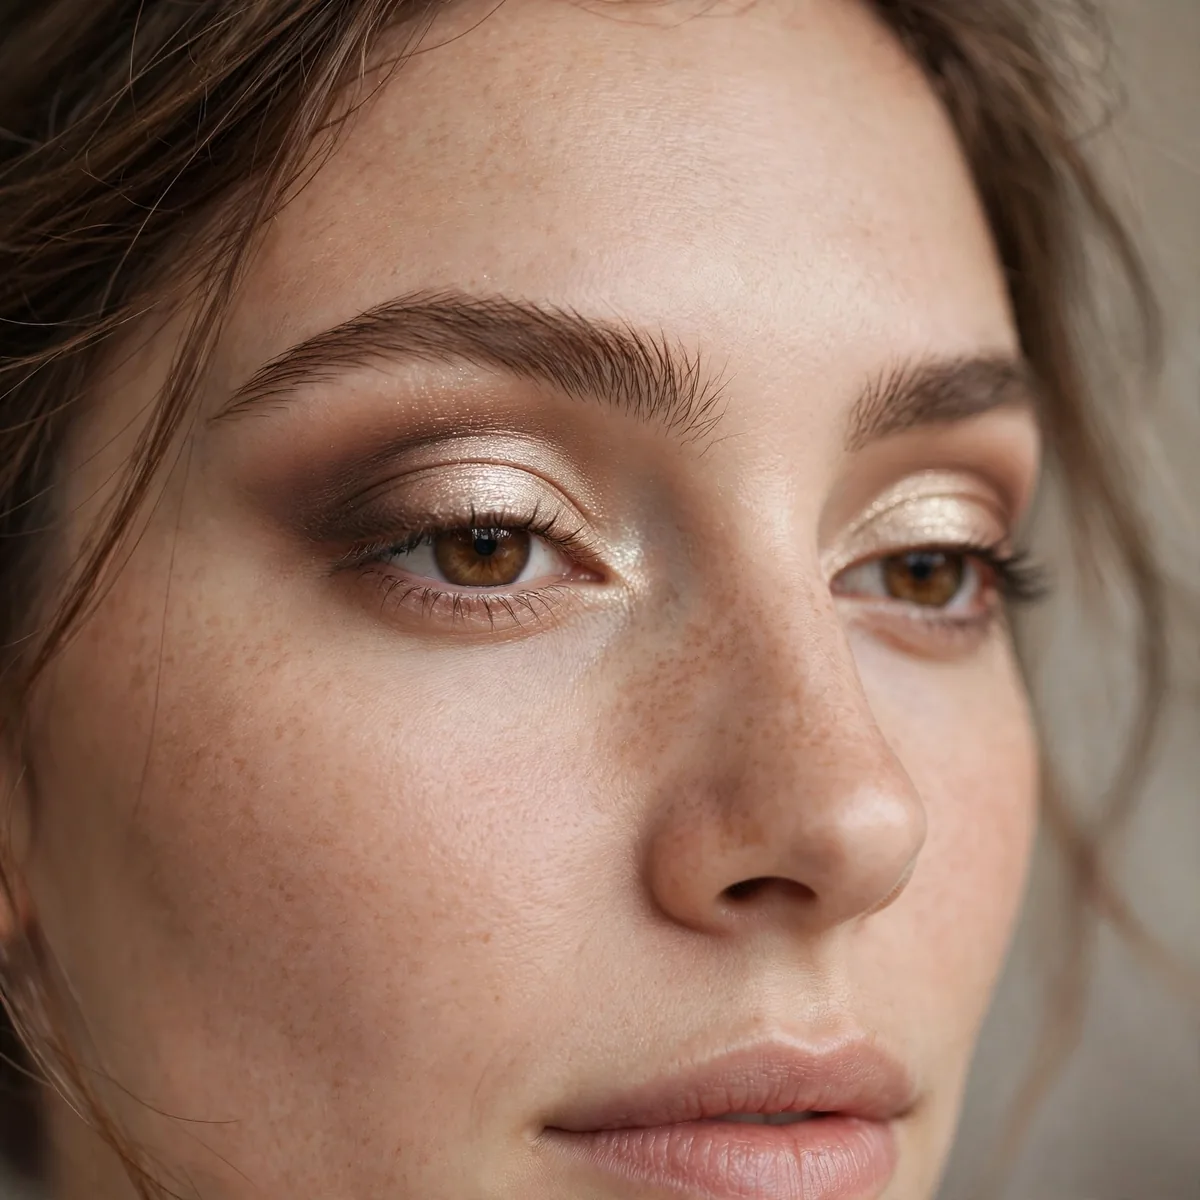
Light on the lid, darker in the outer crease — the widening gradient.
The gradient should darken toward the temples, never toward the nose.
Sweep a light shimmer or satin shade across the mobile lid, keeping it brightest at the center to catch light. Then work the darker crease shade with a fluffy brush, blending it outward past the outer corner rather than around toward the nose. The gradient should visibly travel toward the temples, which trains the eye to read the face as wider than it is.
Hooded close-set eyes benefit doubly, since the light lid opens the eye while the outer crease depth builds the spacing. Never take the dark shade across the whole lid, which erases the gradient and narrows everything. Extend the brow tail slightly to echo the outward eye work, and the upper face reads as one harmonious, widened frame.
Skip Inner Lower Liner
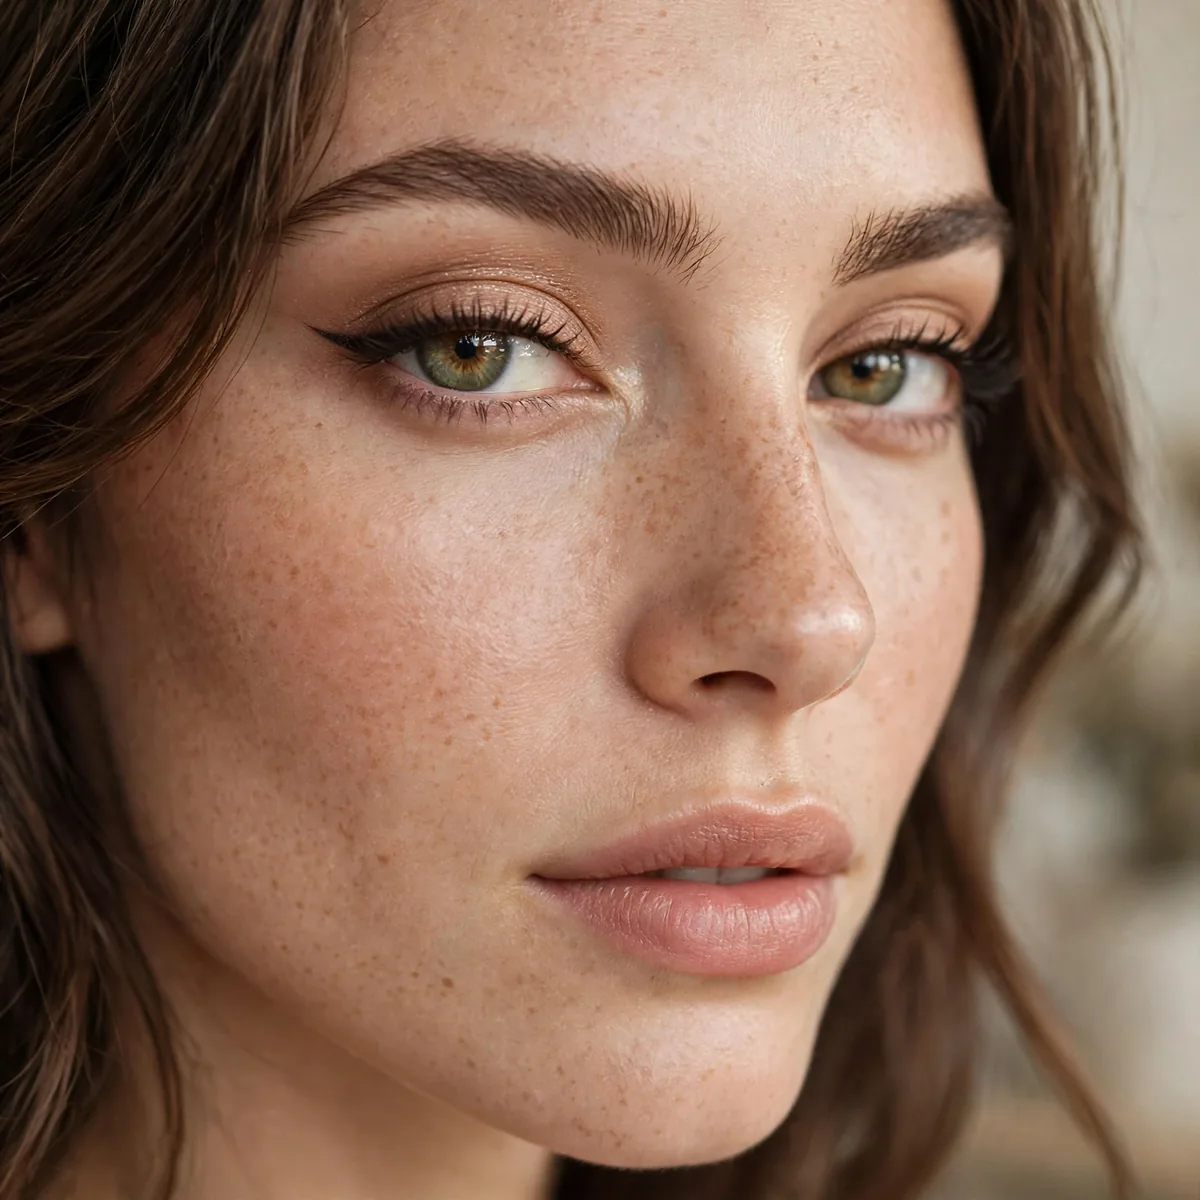
Avoid liner on the inner lower lash line — it narrows the spacing.
Keep lower liner to the outer half only. Inner lower liner closes things in.
Start the lower liner at the middle of the lash line and work outward, never inward, using short strokes that you smudge immediately with a pencil brush. A soft powder shadow often works better than pencil here, since it diffuses without a hard edge. The goal is a gentle suggestion of definition at the outer half, fading to nothing as it approaches the center.
Never line the inner waterline on close-set eyes, which is the fastest way to visually pull the eyes together. Pair the bare inner lower lash line with a bright inner-corner highlight to maximize the spacing effect. Use a waterproof pencil for the outer half so the liner survives watery eyes without migrating inward, which would undo the careful placement.
Blush Placement Balance
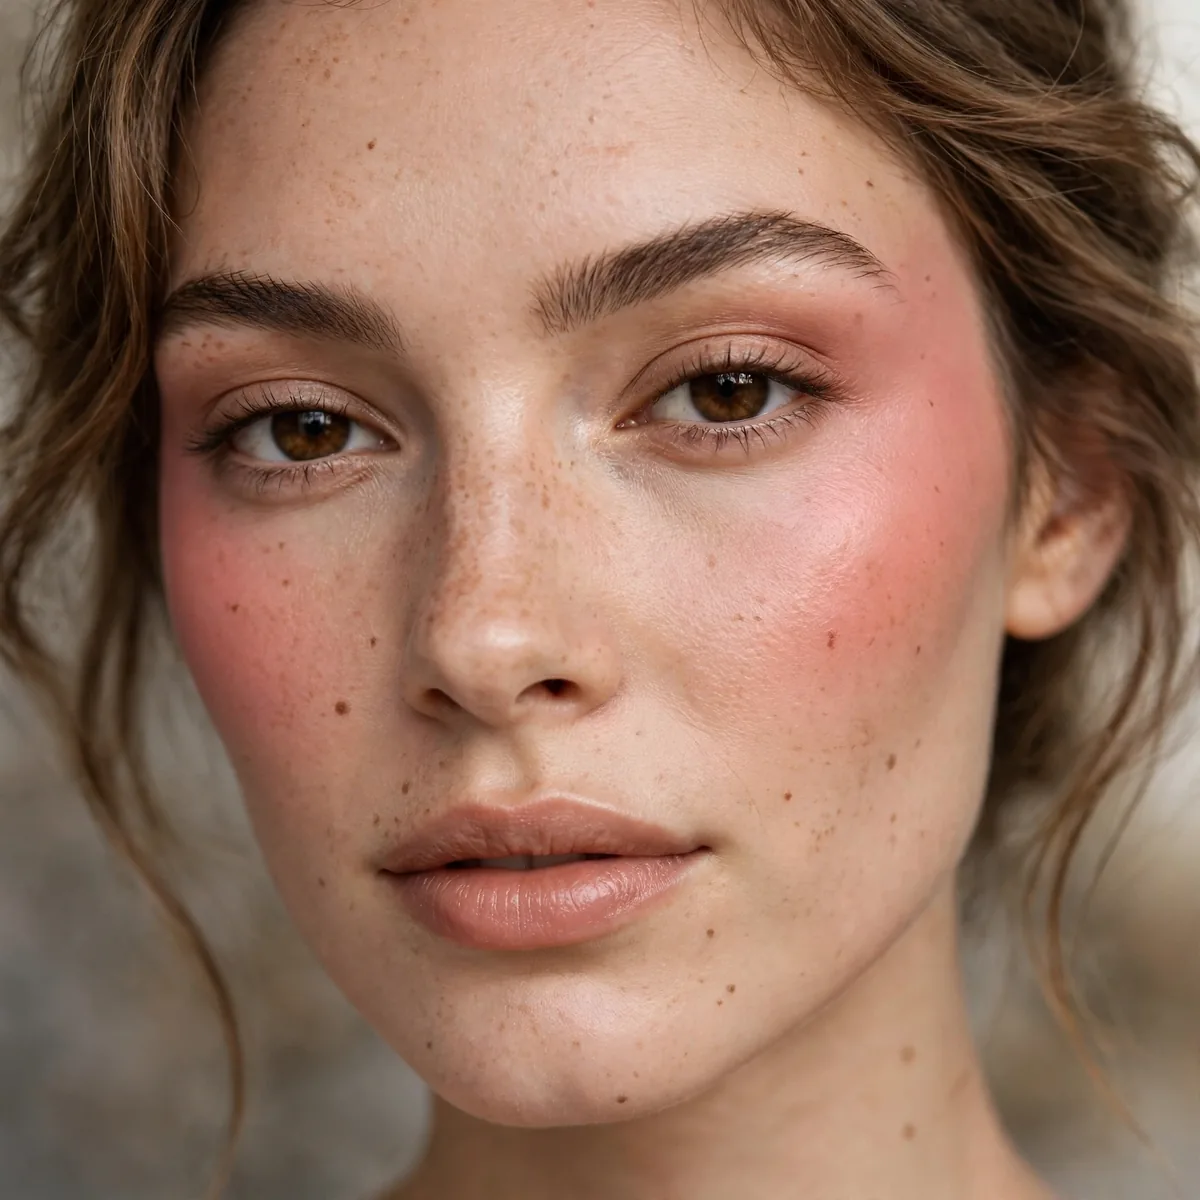
Apply blush slightly outward on the cheeks to balance the eye spacing.
Our blush guide covers placement. Outward blush complements the widening eye work.
Sweep blush onto the outer apples of the cheeks and blend upward toward the temples, keeping the color away from the nose. An angled blush brush makes this placement almost automatic, since its shape follows the cheekbone. Warm peach and terracotta tones echo the widening eye work best, while cool pinks near the nose can visually pull everything back toward the center.
The classic mistake is starting blush too close to the nose, which drags the whole face inward and fights your eye work. Keep at least two finger-widths between the nose and where the blush begins. A touch of contour under the cheekbones amplifies the outward direction, and in summer a warm blush paired with sun-kissed skin makes the widened balance look completely natural.
The Cat-Eye Advantage
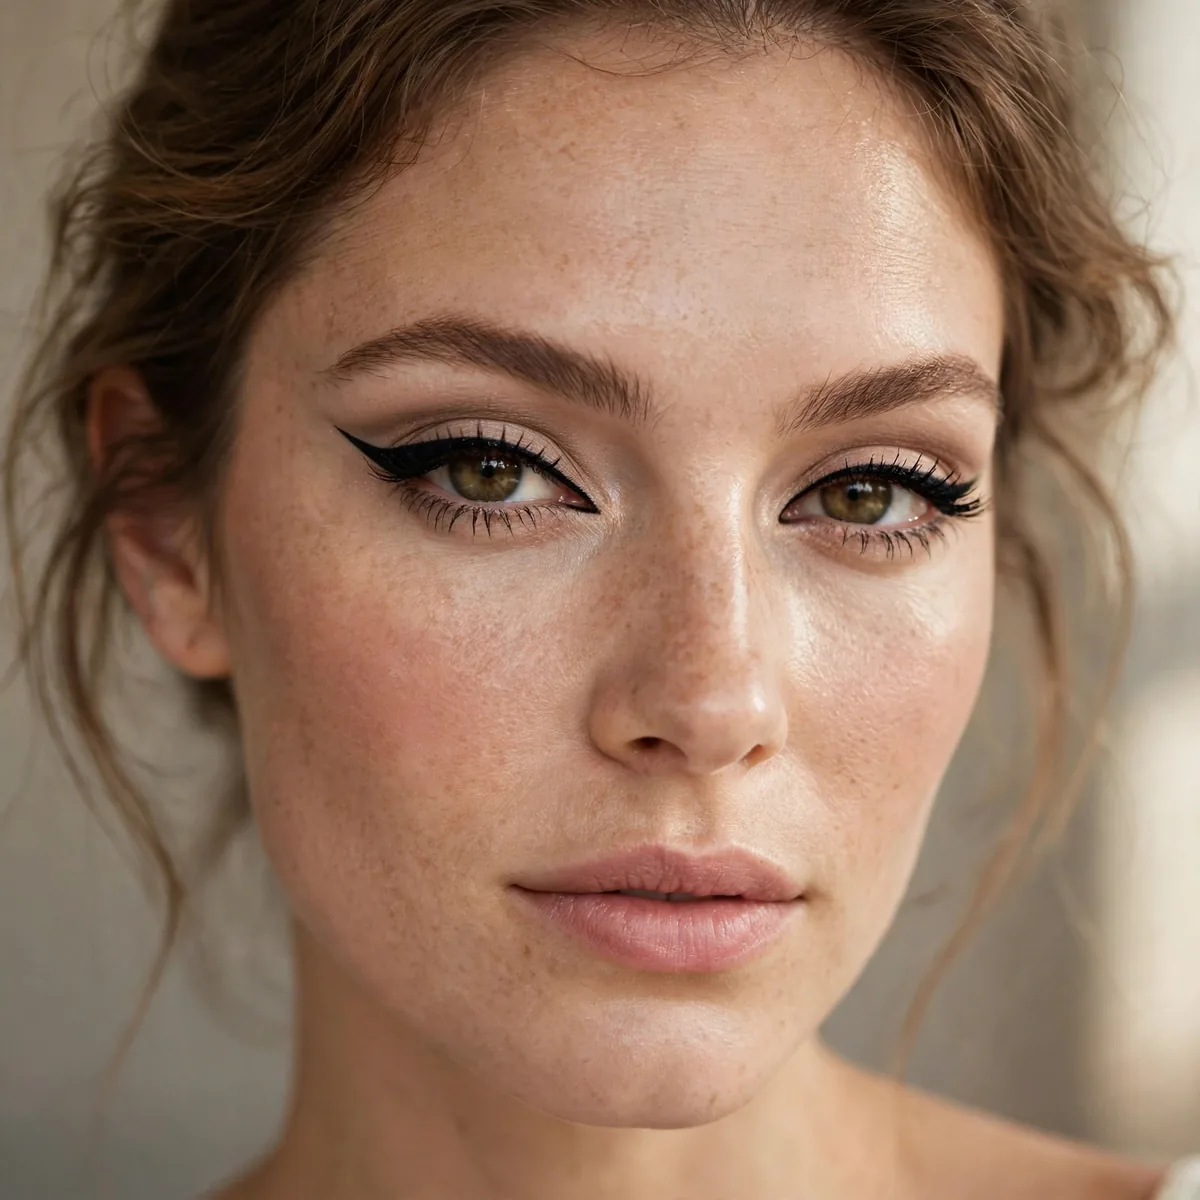
Cat-eye shapes are ideal — they extend outward by design.
The cat eye’s DNA is width. It’s the most flattering classic shape for close-set eyes.
Keep the cat-eye wing more horizontal than lifted, since the goal here is width rather than lift. Sketch the shape with your eyes open so you can judge the true spacing effect as you draw. A felt-tip liner gives the steadiest line for the long, even flick this technique needs, and short connecting strokes beat one shaky continuous line.
A waterproof liner keeps the long wing crisp through the day, since extended lines are the first to blur at the outer corner. Pair the cat eye with mascara focused on the outer lashes to double the widening message. The mistake is drawing the wing too thick, which eats up lid space and visually narrows the eye, so keep the line sleek and tapered.
False Lash Wing Effect
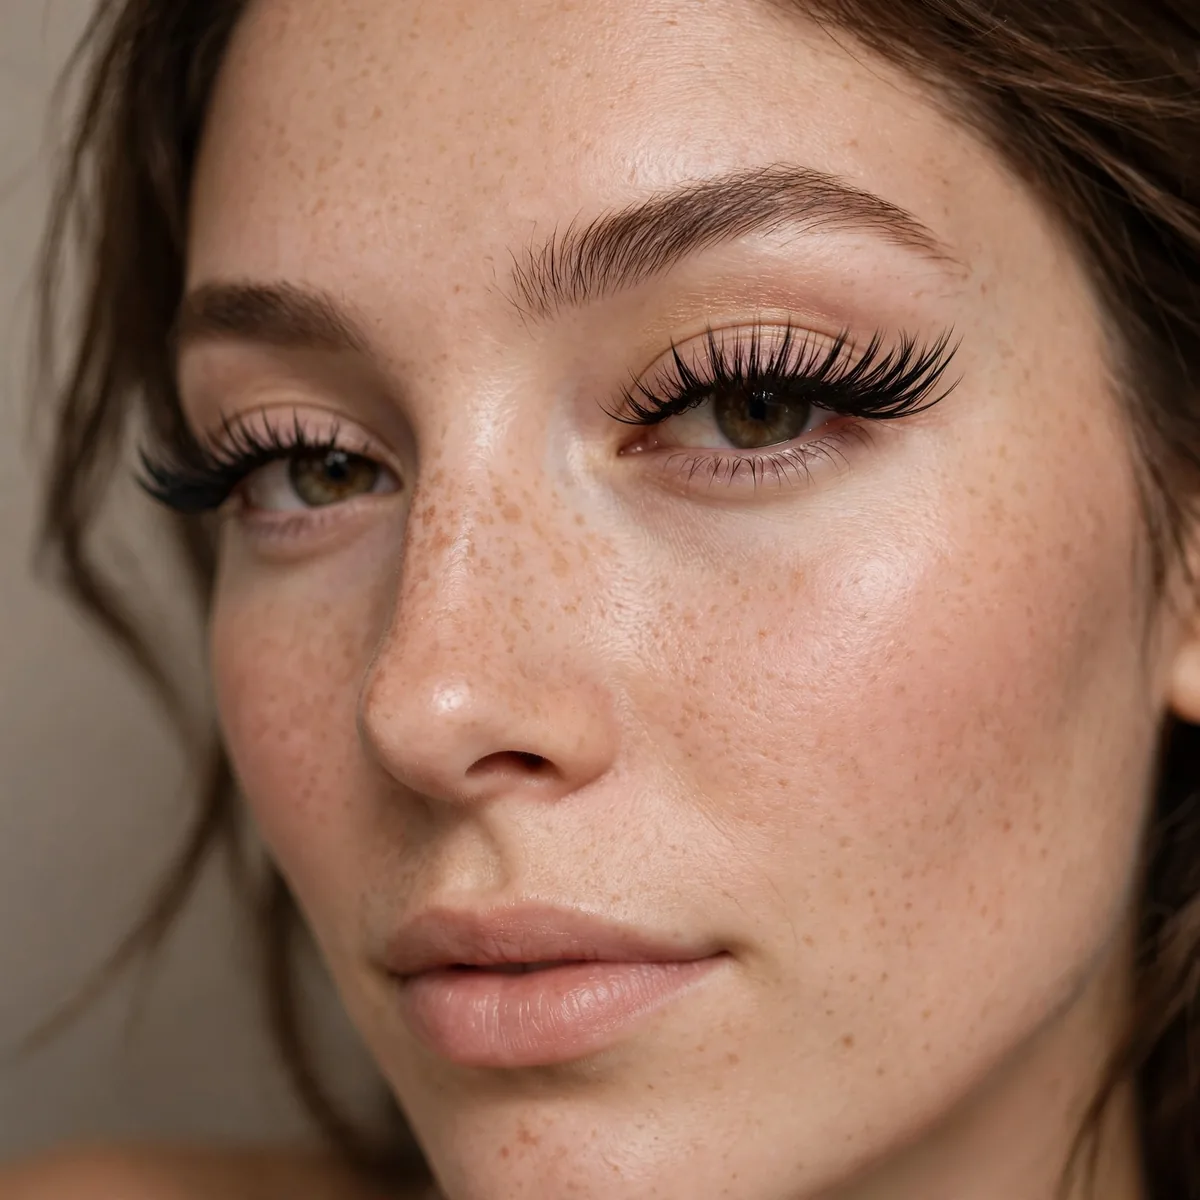
Falsies with outer-corner emphasis widen dramatically.
Choose styles longer at the outer edge. The lash shape does the widening work.
Choose flared or cat-eye lash styles that graduate from short at the inner corner to long at the outer edge, which is the lash equivalent of all your widening shadow work. Trim the strip from the inner end so the longest lashes land past your natural outer corner. Half lashes or outer-corner accents are an even easier option, delivering the wing effect with almost no measuring.
Let the lash glue go tacky for thirty seconds before placing, which stops the strip from sliding inward and ruining the spacing. The mistake is wearing a full strip that extends too far toward the inner corner, which visually pulls the eyes together. Remove falsies gently with an oil-based remover, since tugging at the outer corner stretches the exact skin you are trying to keep lifted.
Concealer Brightening
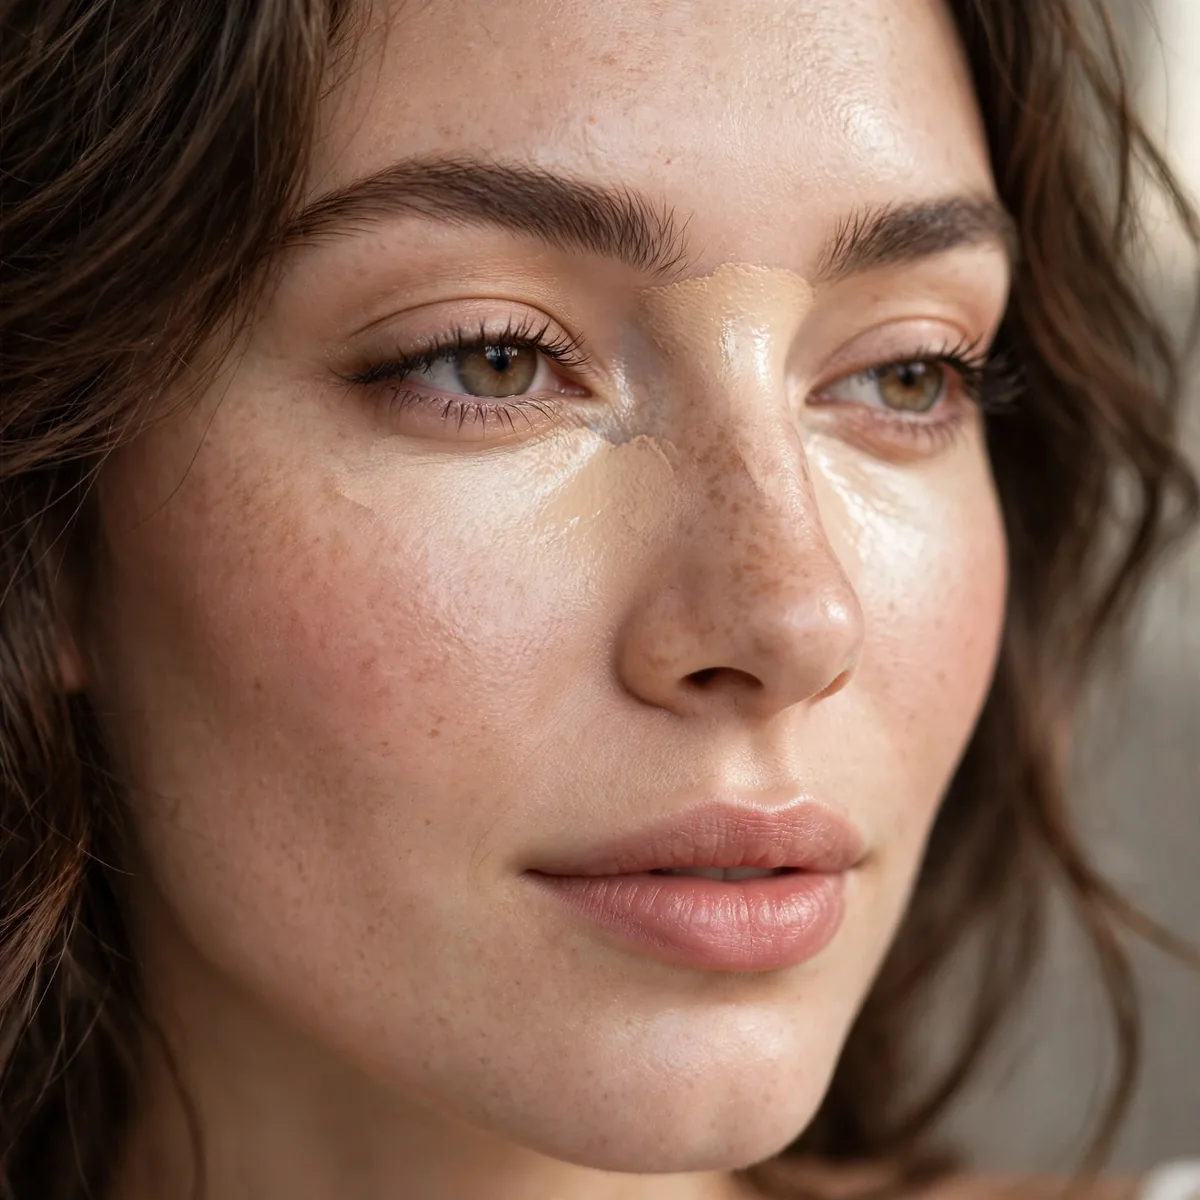
Brighten between the eyes and at the inner corners with concealer.
Brightness equals perceived space. Concealer is a spacing tool here.
Apply the concealer in a small inverted triangle that starts at the inner corner and points down the side of the nose, which brightens the whole zone rather than just dotting the corner. A brightening formula with niacinamide treats darkness while it covers, giving you skincare benefits with the spacing effect. Blend with a damp sponge using pressing motions, which melds the concealer seamlessly into the surrounding skin.
Choose a concealer only one shade lighter than your skin, since going lighter creates an obvious mask between the eyes that defeats the natural spacing illusion. Set the area with a light dusting of translucent powder to stop creasing, because brightener that settles into fine lines draws attention instead of deflecting it. Check the blend in daylight, where harsh indoor lighting cannot hide unblended edges.
Eyeshadow Shape Outward
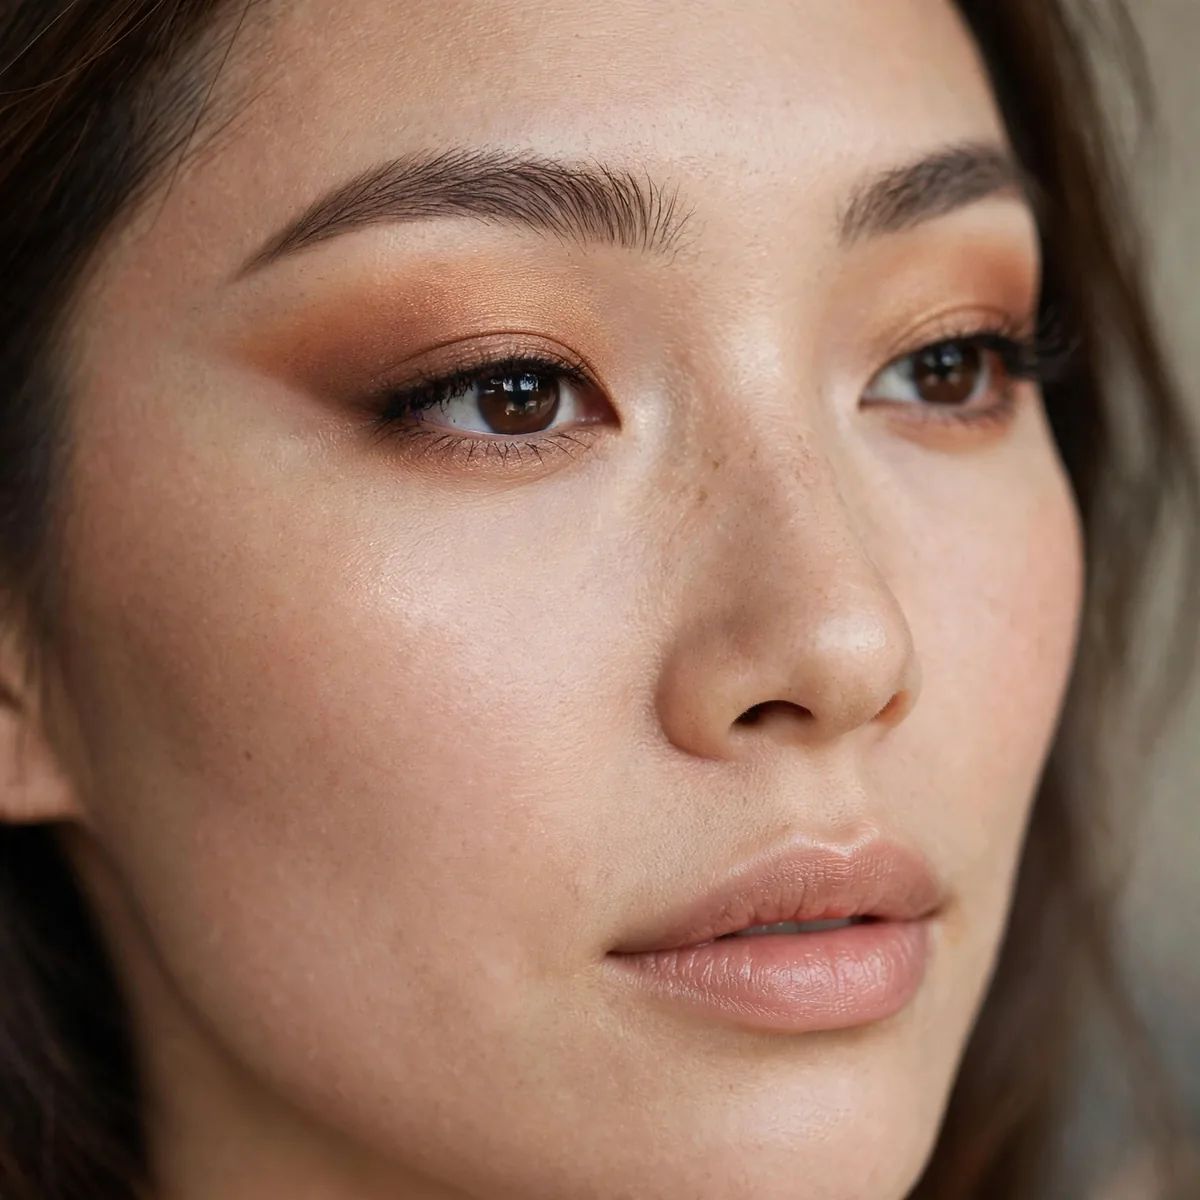
Shape all shadow to extend slightly past the outer corner.
The extended shape is the theme. Every element should reach outward.
Place a small piece of tape from the outer corner toward the brow tail as a guide, which guarantees every shadow you apply follows the outward direction. Blend all edges in outward strokes, never circular ones that diffuse color inward. Keep the inner half of the lid clean and light as your anchor, so the outward-reaching shadow has maximum contrast to work against.
Round close-set eyes gain the most, since the outward shaping counteracts both the roundness and the closeness in one move. Echo the direction with blush blended toward the temples so the whole face moves outward together. The mistake is applying shadow in a symmetric rounded shape, which is the default habit and the exact opposite of what close-set eyes need.
Avoid Center-Heavy Looks
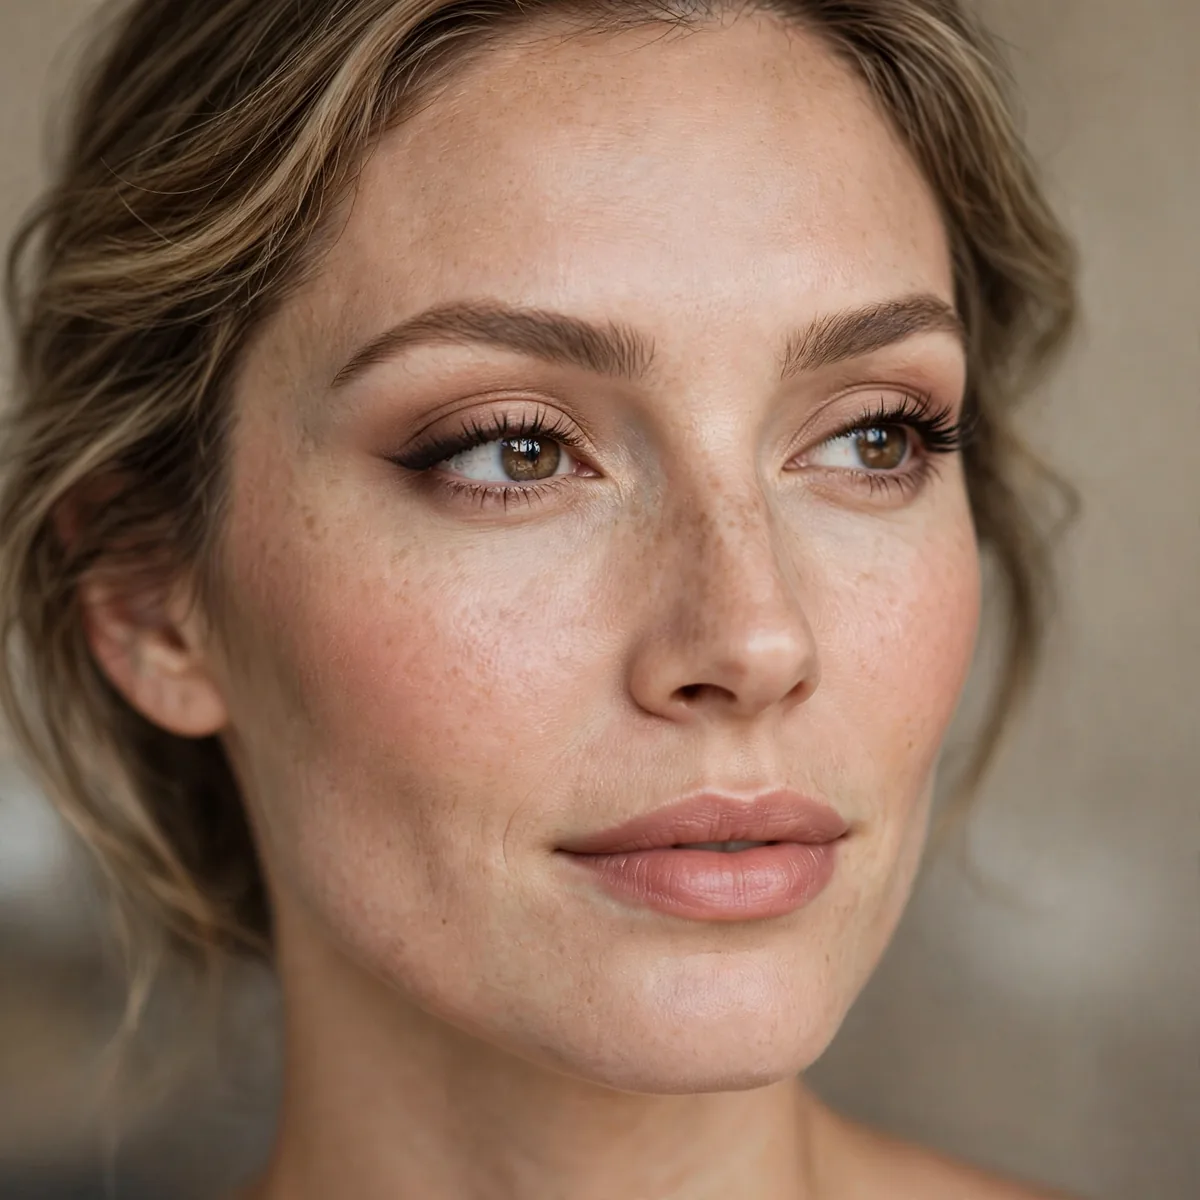
Keep the center of the lid simple — heavy center emphasis narrows.
Let the outer areas carry the drama. Center stays quiet.
Keep the center of the lid to a sheer wash of a light shade, resisting the urge to pack shimmer or dark color where the lid is fullest. If you love a lid pop, place it slightly toward the outer third instead of dead center, which keeps the brightness working for spacing. Center-heavy means any concentrated pigment at the middle of the lid, and on close-set eyes it acts like a magnet pulling focus inward.
The one exception is a halo eye where the center shimmer is flanked by real depth on both sides, though even then keep the outer side deeper. Let the outer third carry all the drama, from smoky shadow to winged liner to fanned lashes. For evening, intensify the outer drama rather than the center, which deepens the look while protecting the spacing you built during the day.
The Balanced Finish
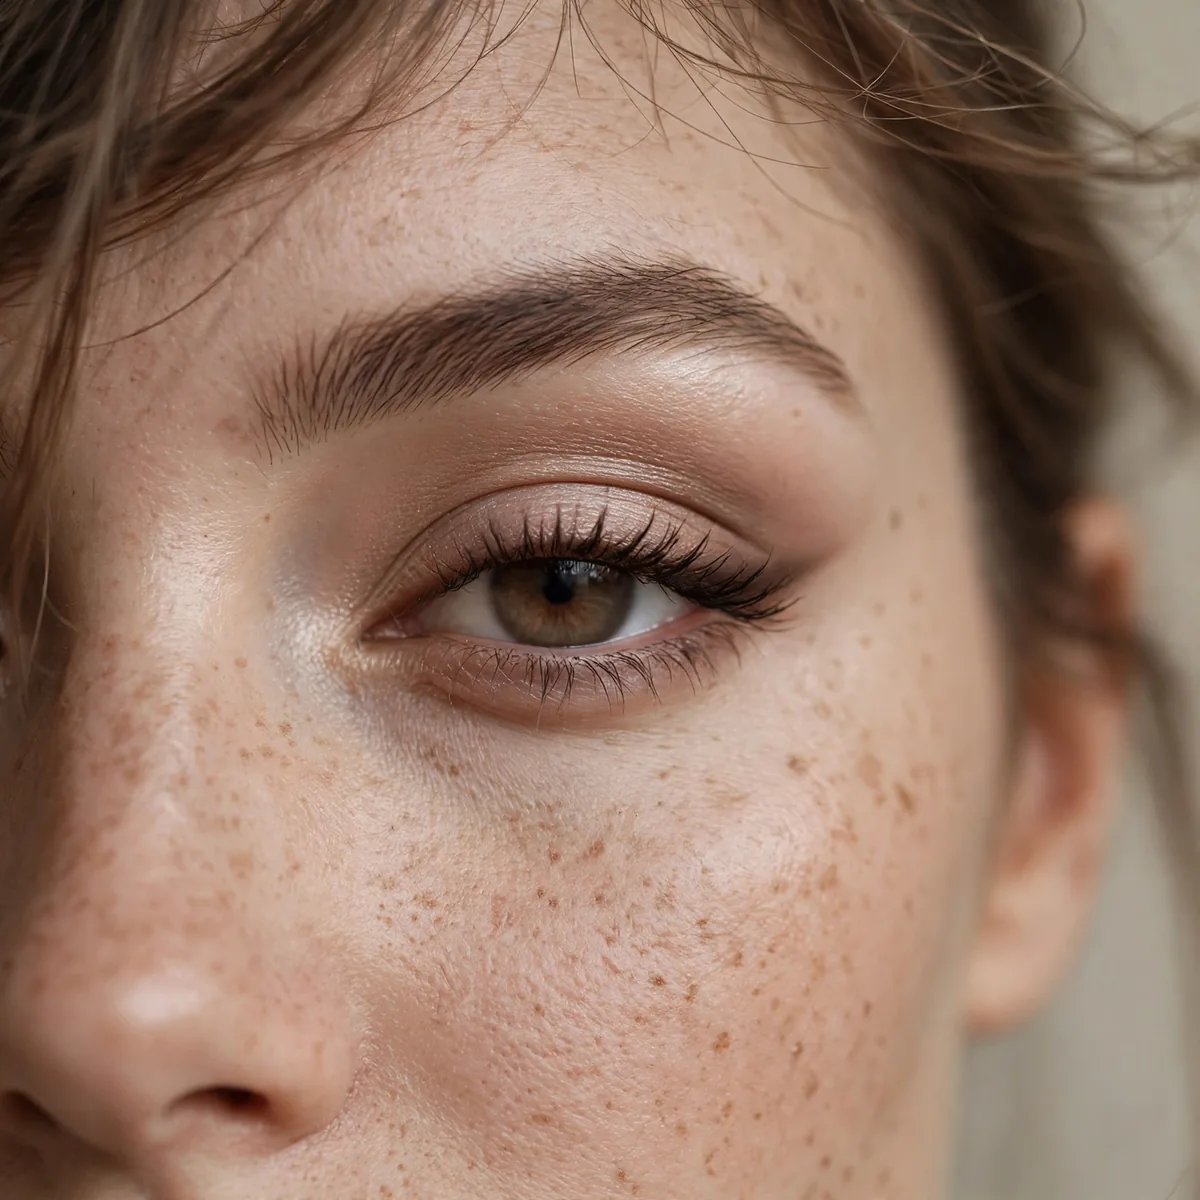
Step back and check symmetry and spacing — the final balance check.
For overall face harmony, our contour guide helps. Distance in the mirror reveals what close-up misses.
Step back at least an arm's length from the mirror, since close-up application always exaggerates the center of the face. Take a quick phone photo, which reveals spacing and symmetry issues your eyes miss in the mirror. Check the balance in both warm indoor light and daylight if you can, because harsh bathroom lighting flatters nothing and hides nothing equally.
Mist setting spray in an X motion over the finished face to melt the powders together and lock the widening work in place. Sweep away any shadow fallout under the eyes with a clean fluffy brush before you leave, since stray darkness near the inner corner undoes the spacing illusion. Then stop tweaking, because a balanced, confident finish always reads better than an overworked one.
Balance is achievable — pin these tips. For more eye-shape guidance, see hooded eye tips or downturned eye tricks.




