
Laminated brows are the closest thing to a brow transplant without the surgery.
The salon treatment chemically sets brow hairs in an upward direction, creating fullness that lasts weeks. But the at-home versions — soap, gel, wax — get you 80% there daily.
The look suits full brows best, but even sparse brows benefit from the upward styling. It’s about direction as much as density.
Here are 18 looks and techniques. Let’s get into it.
The Salon Lamination
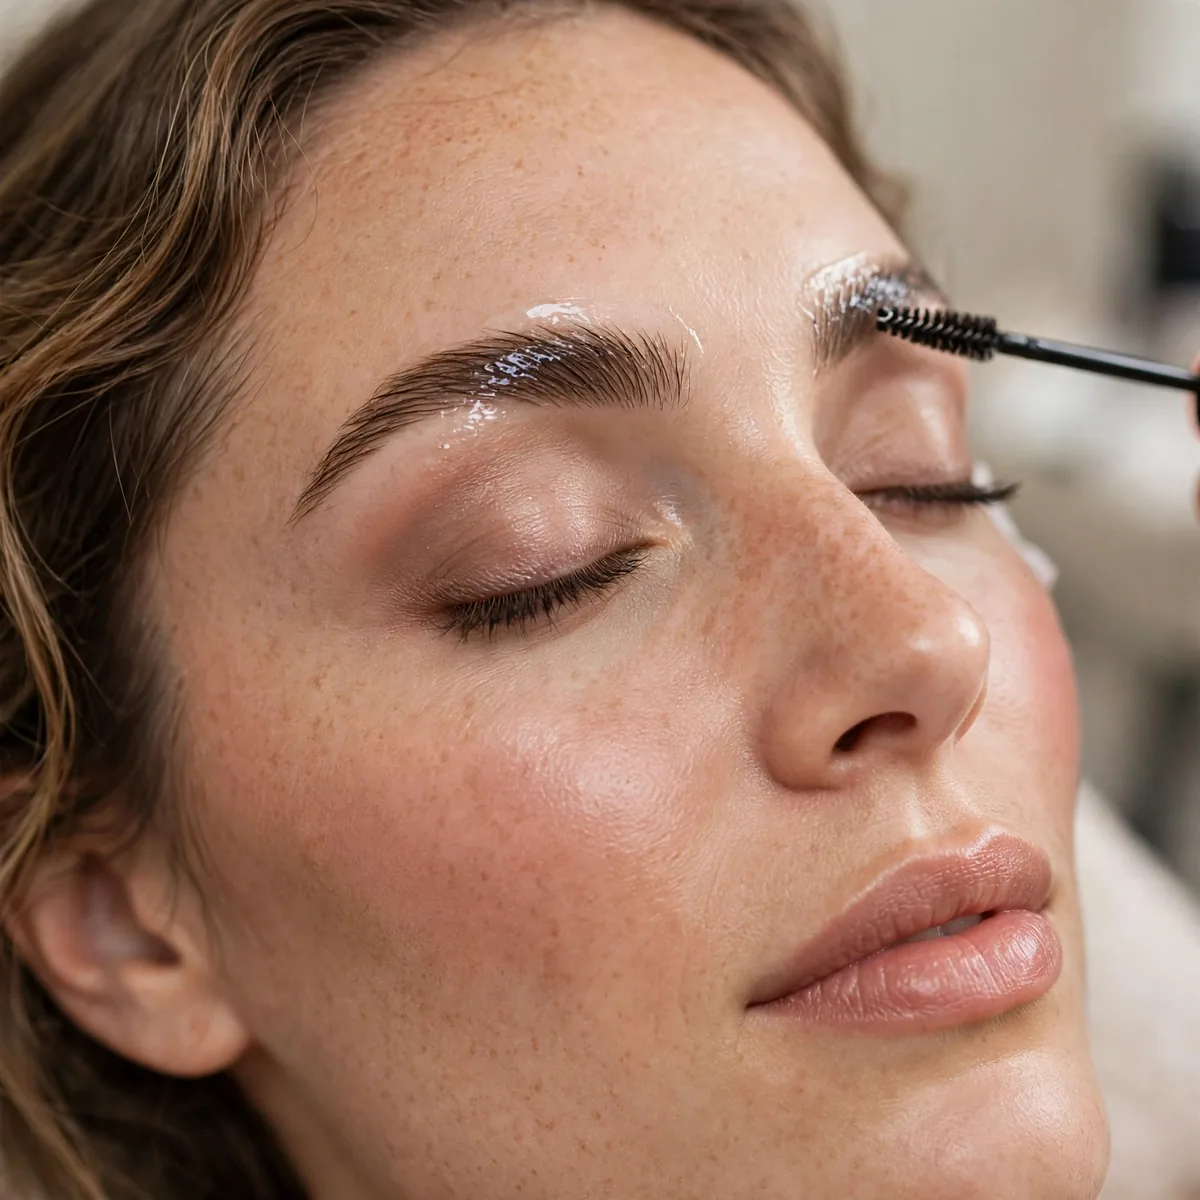
The professional treatment: hairs set upward for 4-6 weeks of effortless fullness.
Worth it if you love the look daily. The time savings alone justify the cost.
Salon lamination flatters sparse or fine brow hairs most, since direction creates the illusion of density that product alone cannot. Ask your technician to map your shape before applying the setting lotion, and arrive with clean, product-free brows. Avoid waxing or tweezing for 48 hours beforehand so the tech works with your full natural growth.
After treatment, brush brows upward each morning with a clean spoolie to reinforce the set direction. Skip retinoids and strong exfoliating acids near the brow area for the first week, since they break down the lamination faster. A nightly drop of squalane or castor oil keeps treated hairs supple rather than brittle, stretching results toward six weeks.
Soap Brow Method
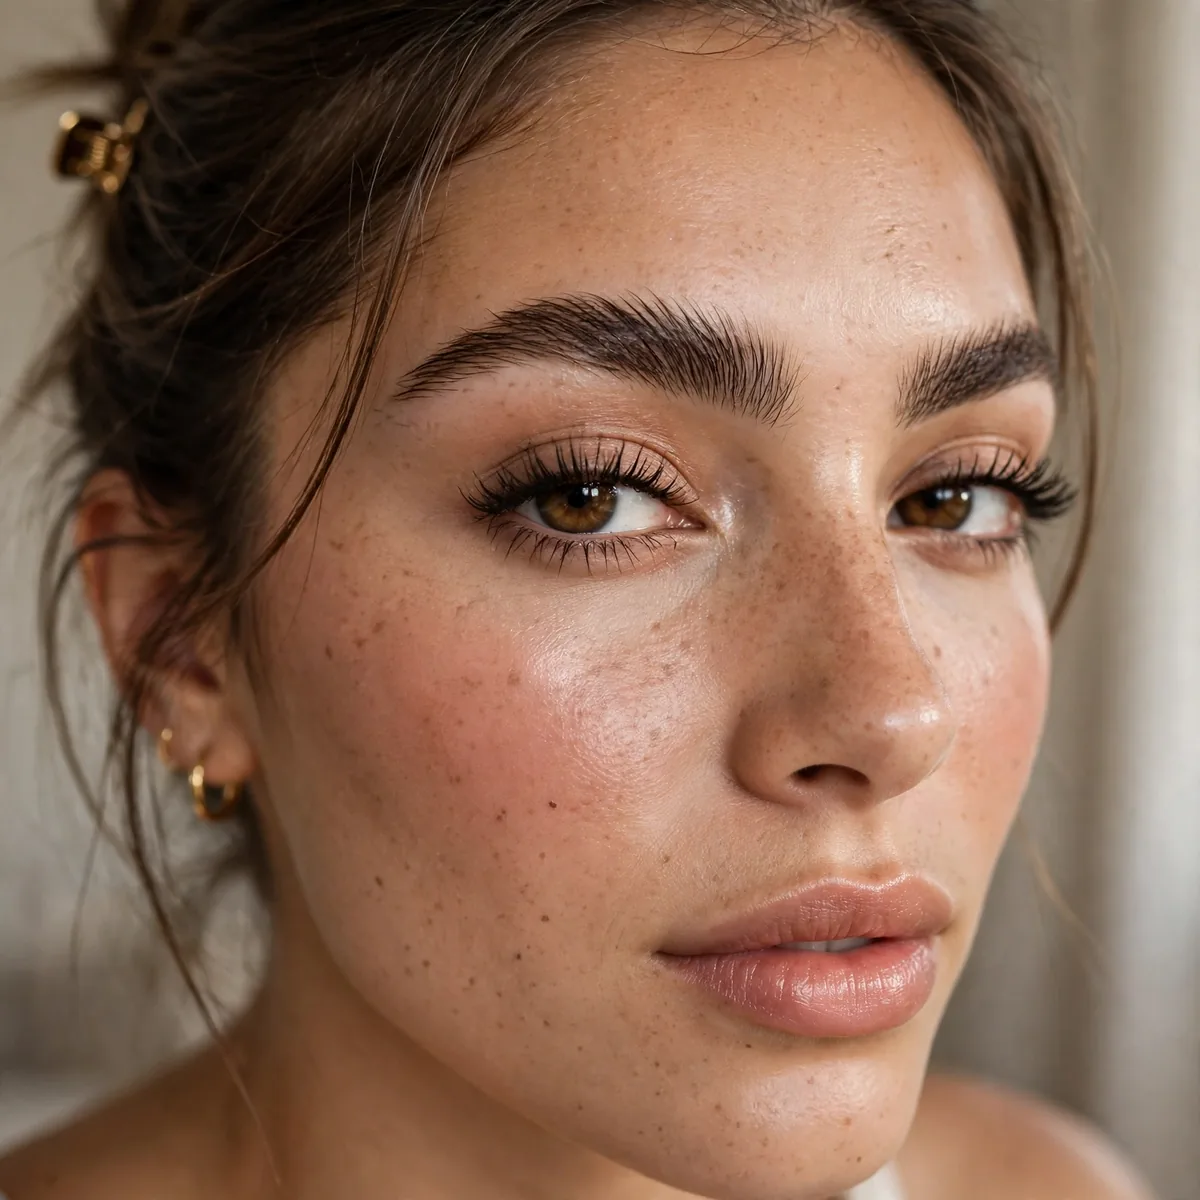
Damp spoolie, soap, brush upward — the original at-home lamination.
The classic technique. Cheap, effective, and endlessly customizable.
The trick is a barely-damp spoolie, not a wet one — spritz once, then wipe the excess on the back of your hand before touching your brows. Choose a clear, glycerin-based soap bar over fragranced or moisturizing ones, which leave residue. Pressing hairs upward with the flat side of the spoolie, rather than just sweeping, locks them in place with a smoother finish.
Too much product is the classic mistake: thick layers dry into white flakes by midday. In humid weather, seal your soap work with a light clear brow gel for extra insurance. Removal should be gentle — a micellar-water-soaked pad pressed on for ten seconds dissolves everything without tugging hairs loose.
Strong-Hold Gel Version
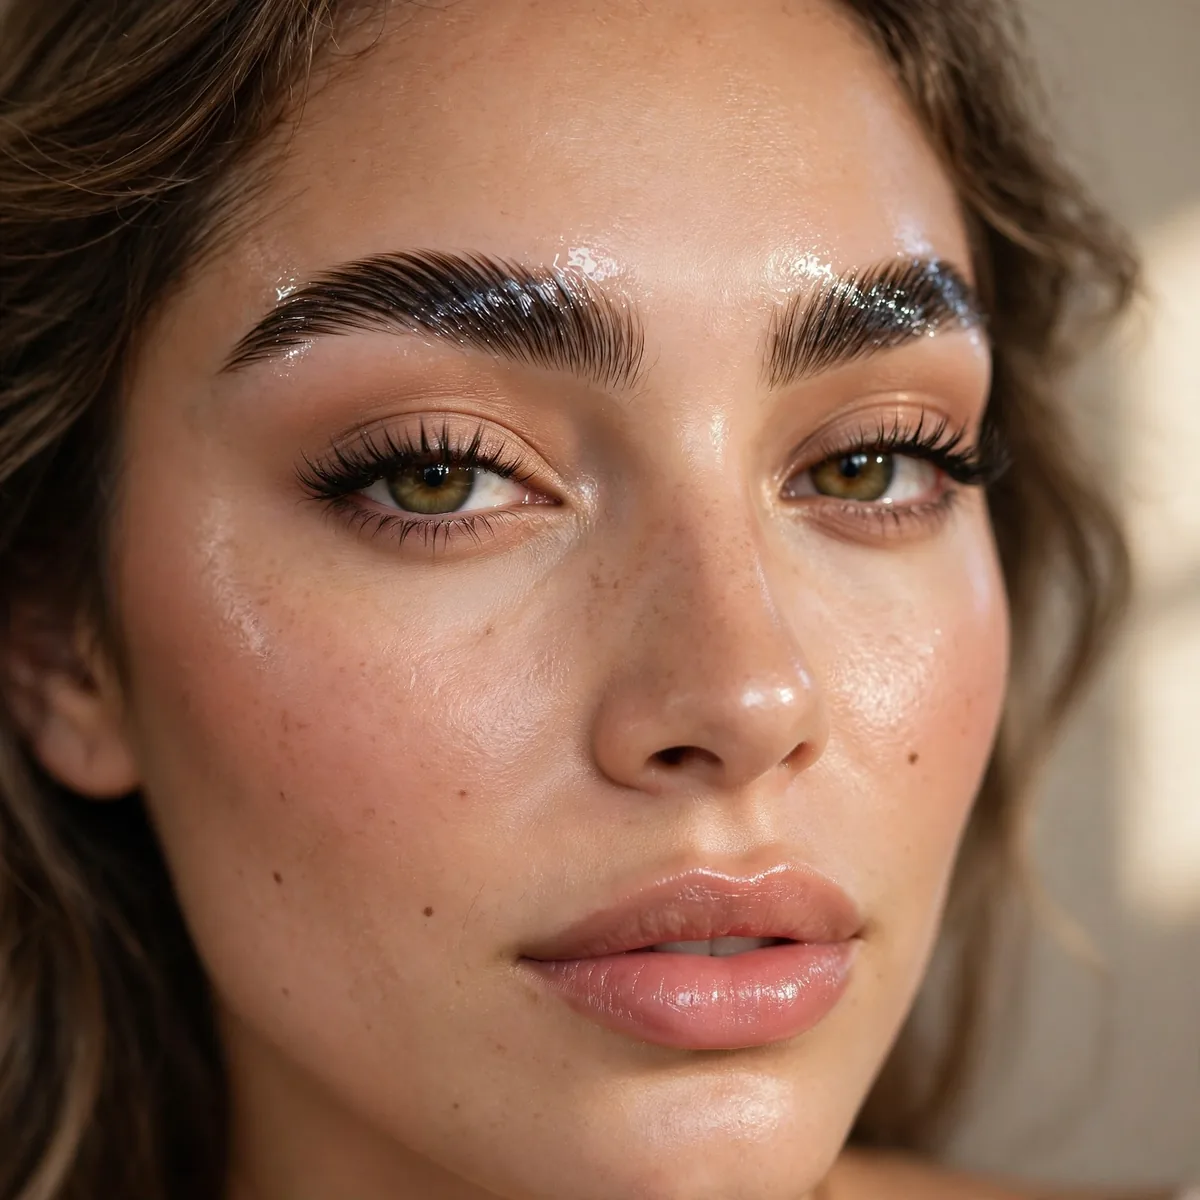
Maximum-hold brow gel brushed upward — the modern soap brow.
Gels are less fussy than soap. Find your hold level and commit.
Work in zones rather than coating the whole brow at once: style the head first, then the arch, then the tail, so nothing dries before you shape it. Look for gels built on flexible polymers, which hold through the day without turning crunchy. Using the flat edge of a dual-ended brow brush to press hairs flat after brushing up gives that true laminated sheen.
Oily skin types should skip soap and go straight to gel, since natural oils dissolve soap-based styles within hours. Tinted strong-hold gels double as your fill step, which simplifies busy mornings. For weddings or long events, this is the reliable pick — the hold survives heat, happy tears, and hours of photos without a midday fix.
Wax Stick Technique
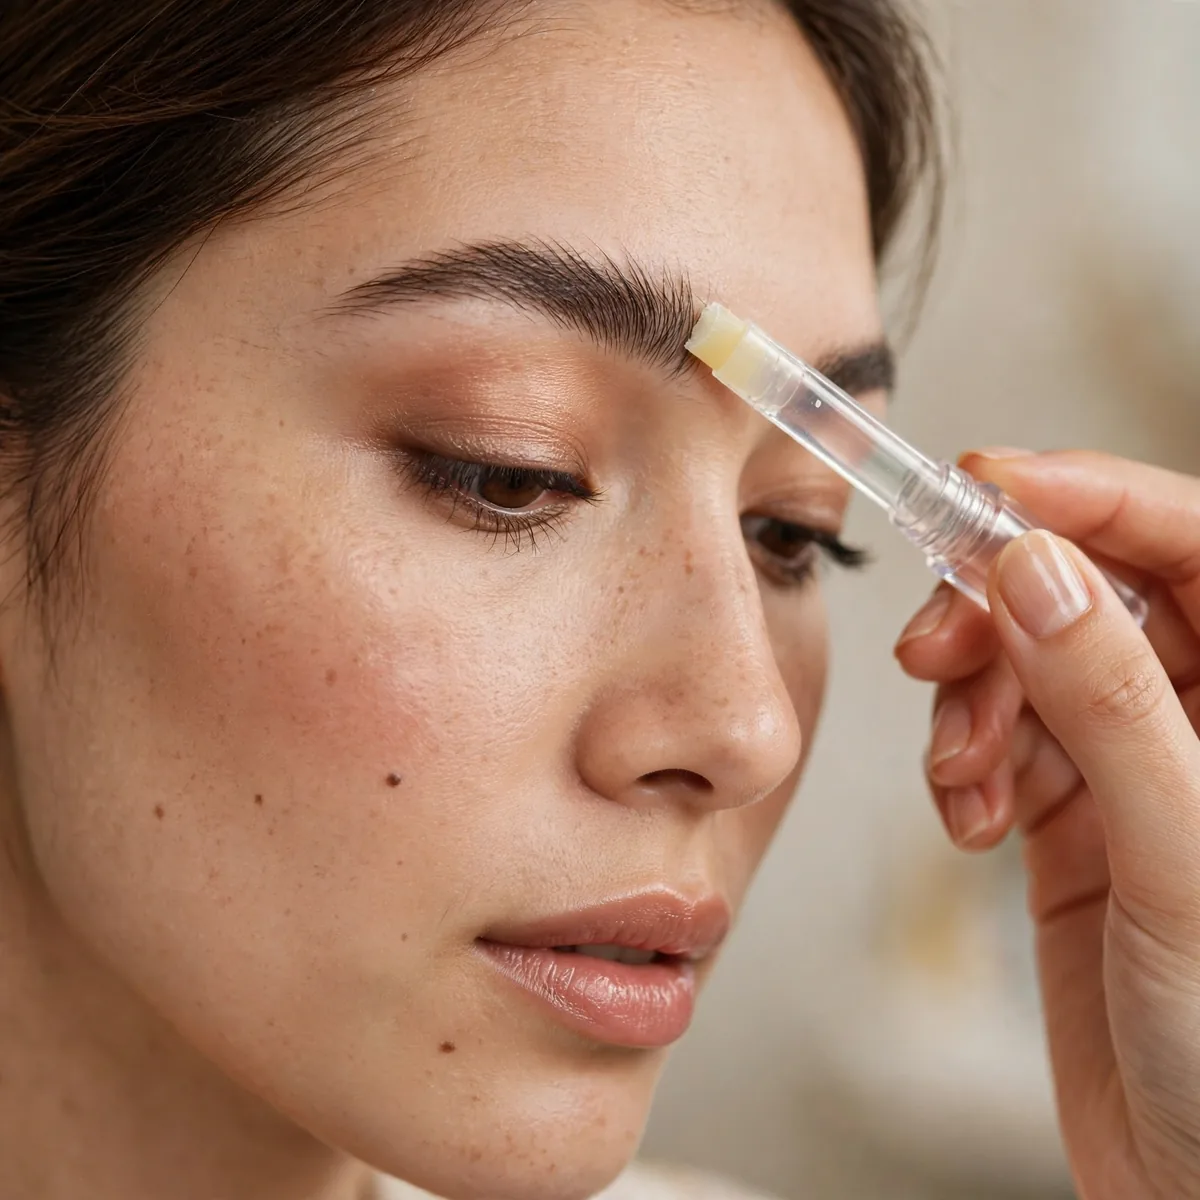
Brow wax sticks give lamination hold with more control than soap.
The precision tool. Wax sticks place product exactly where you want it.
Warm the wax tip on the back of your hand for a few seconds so it glides instead of dragging. Draw short upward strokes that follow your natural growth pattern, then spoolie through to distribute the product evenly. Wax has a bonus talent: it fills the micro-gaps between hairs while styling, so sparse patches look denser without a separate filling step.
Summer heat is the enemy of wax — it softens and migrates, so blot with tissue rather than layering more product on top. Avoid pairing wax sticks with heavy pomade underneath, since the textures compete and look cakey. An oil cleanser at night melts everything away cleanly without harsh rubbing.
The Full Fluff
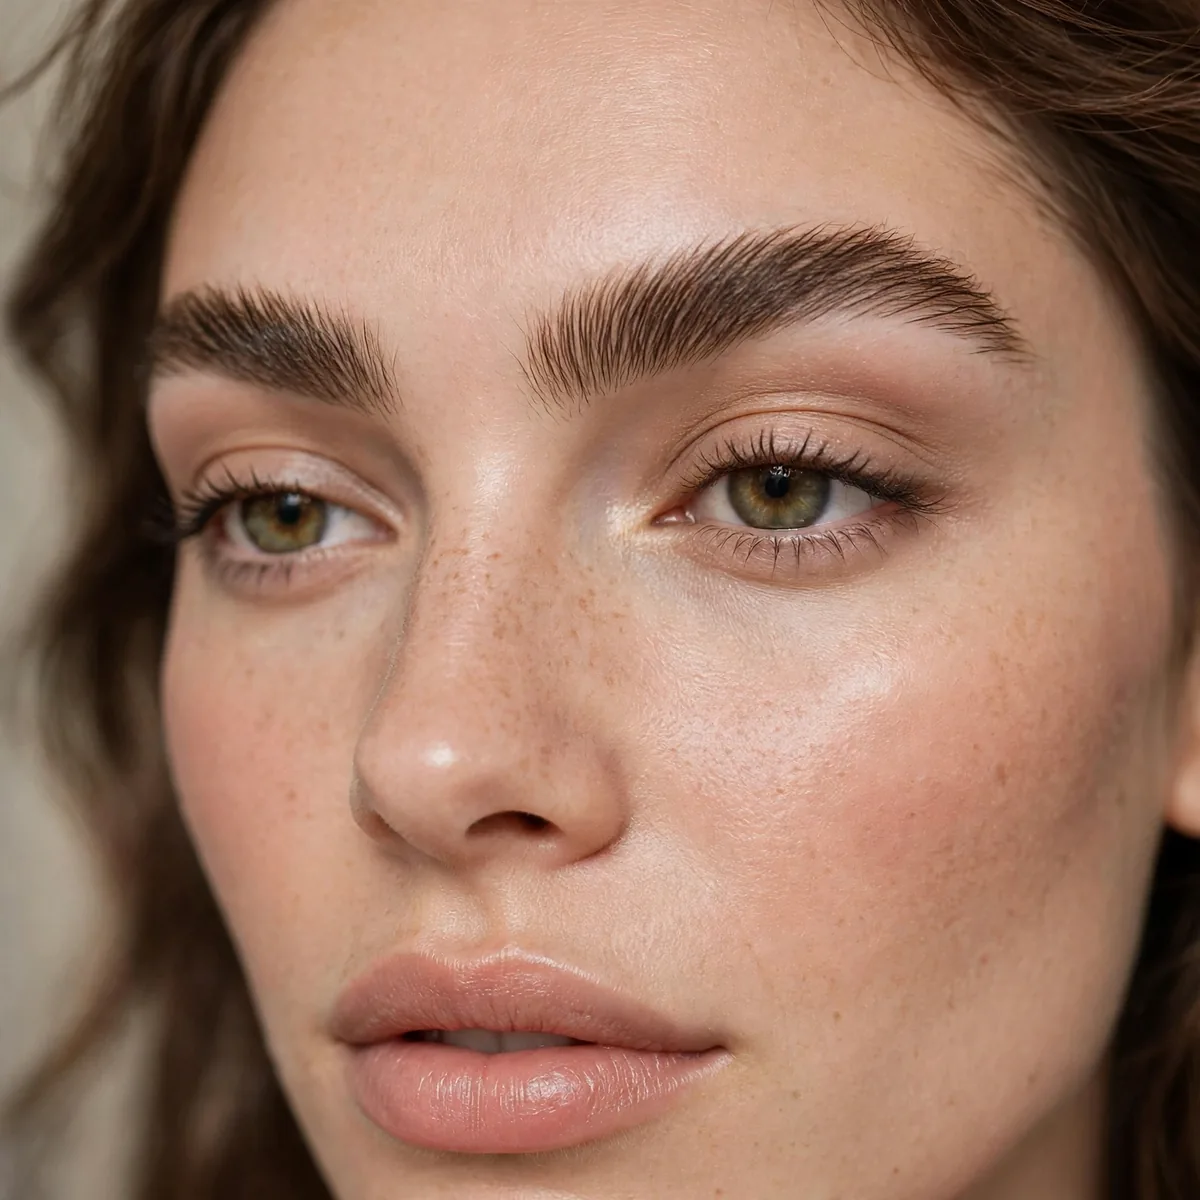
Maximum upward styling for maximum fullness — the full fluff.
Best on naturally full brows. The fluff needs hair to work with.
Round faces gain the most from full fluff, since the vertical lift adds perceived length to the face. Keep the fluff concentrated toward the center and arch rather than the tails, or strong foreheads can look heavier. Resist trimming the top line — fluff depends on length, and over-trimming is the fastest way to lose the effect entirely.
Let the brows be the star by keeping the rest of the face minimal: bare skin, cream blush, and a soft lip. For evening, deepen the look with a bold lip rather than heavy eye makeup — competing features cancel each other out. A quick evening refresh with tinted gel revives the lift without starting over.
Soft Laminated Look
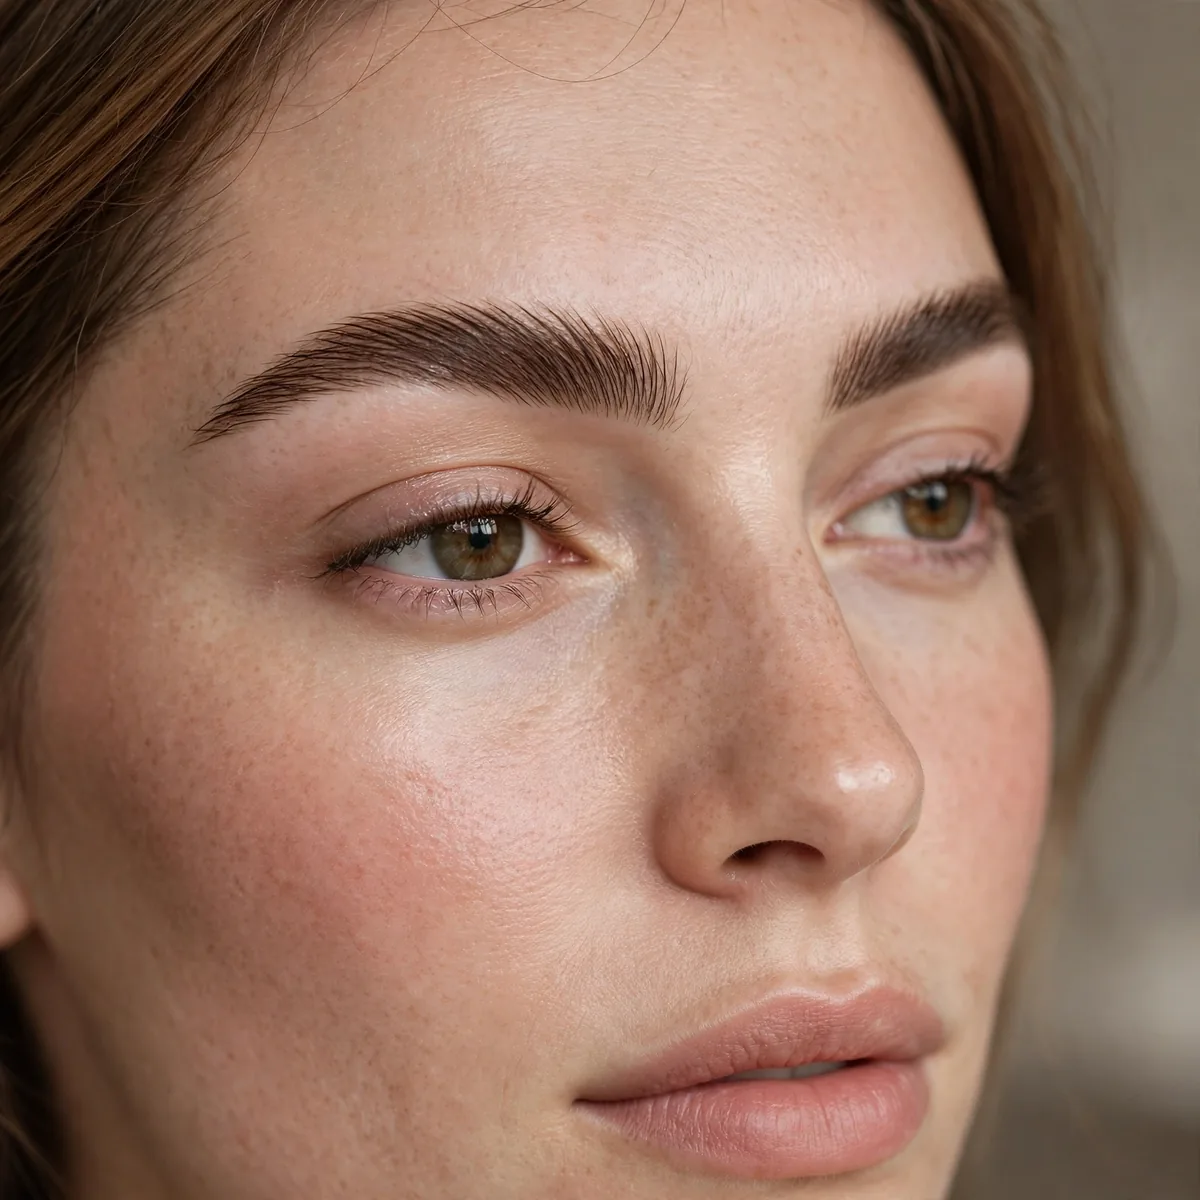
A gentler upward brush — laminated texture without the drama.
The wearable lamination. All the texture, half the statement.
Brush hairs at roughly a 45-degree angle instead of fully vertical for a softer, more believable lift. Dilute your soap slightly or choose a light-hold gel so the texture stays touchable rather than shellacked. This gentler version is especially kind on mature skin, where aggressive lamination can draw attention to texture on the brow bone.
The soft laminated look is built for offices, first dates, and anywhere makeup should look effortless. It pairs beautifully with satin-finish skin and cream blush for a cohesive, fresh-faced routine. At night it removes easily with a gentle cleanser — no soaking or scrubbing required, which keeps delicate brow hairs intact.
Laminated Plus Tint
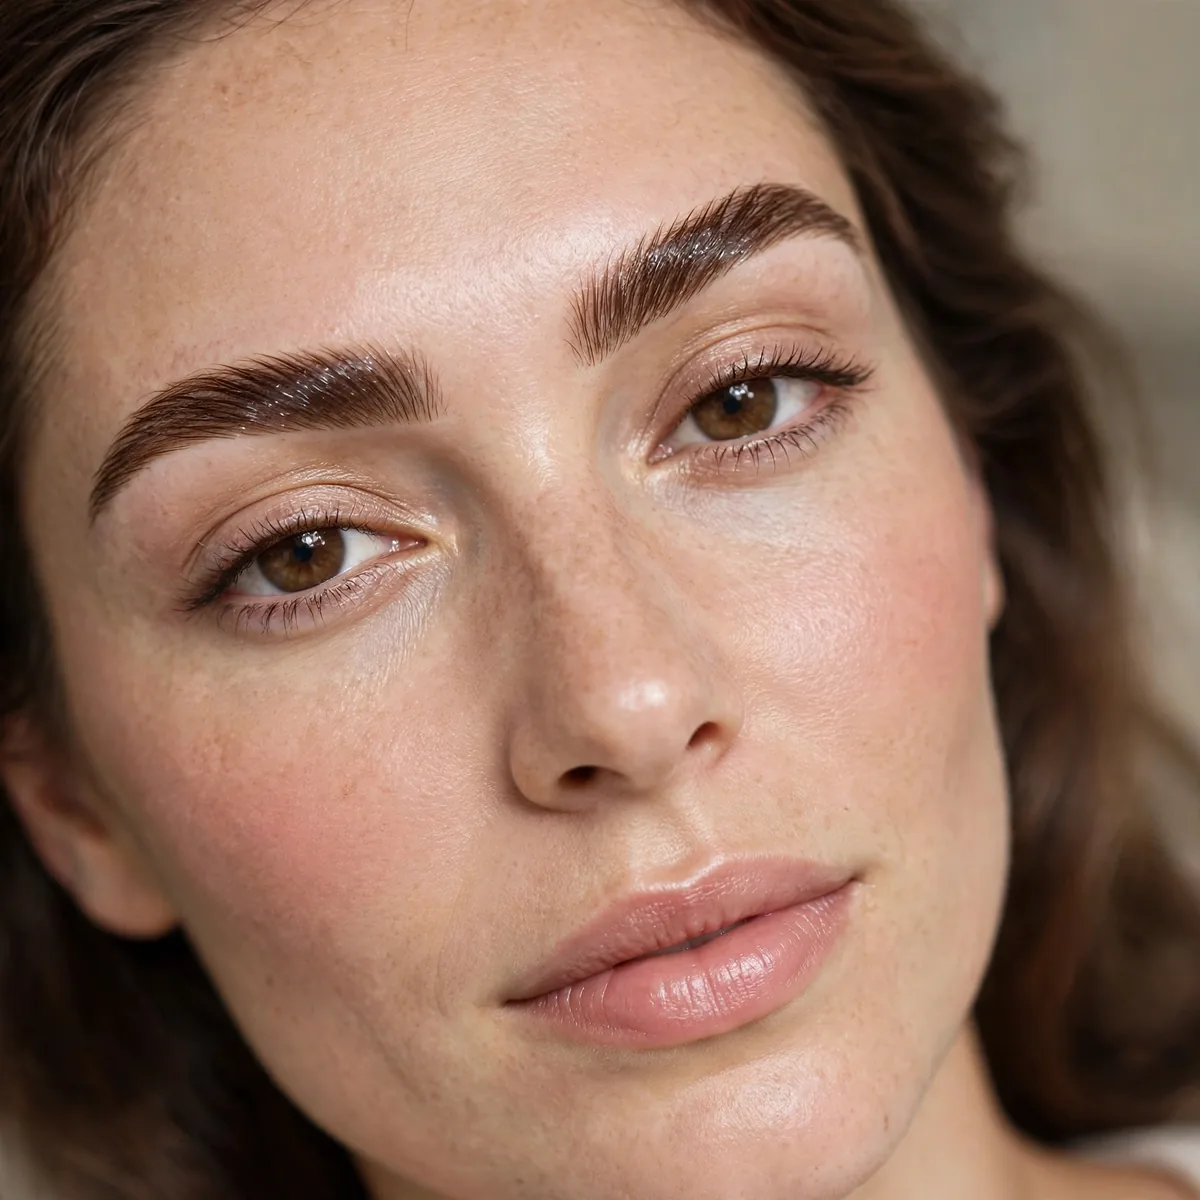
Tint plus lamination — color and direction together.
Tinting fills the gaps that lamination reveals. They’re better together.
Blonde and light-brown brow owners see the biggest transformation, since tint adds the depth their hairs naturally lack. Go just one shade deeper than your natural color for believable dimension — two shades reads harsh. Timing matters: tint first, then book the lamination at least 48 hours later to avoid over-processing already sensitized hairs.
Skip harsh at-home tint kits with strong developers, which can fry brow hairs when combined with lamination chemicals. Always patch-test behind the ear first. The skin stain fades faster than the hair color, so refresh it weekly with a fine brow marker between appointments. Daily sunscreen on the brow area noticeably extends tint life.
The Brushed-Through Finish
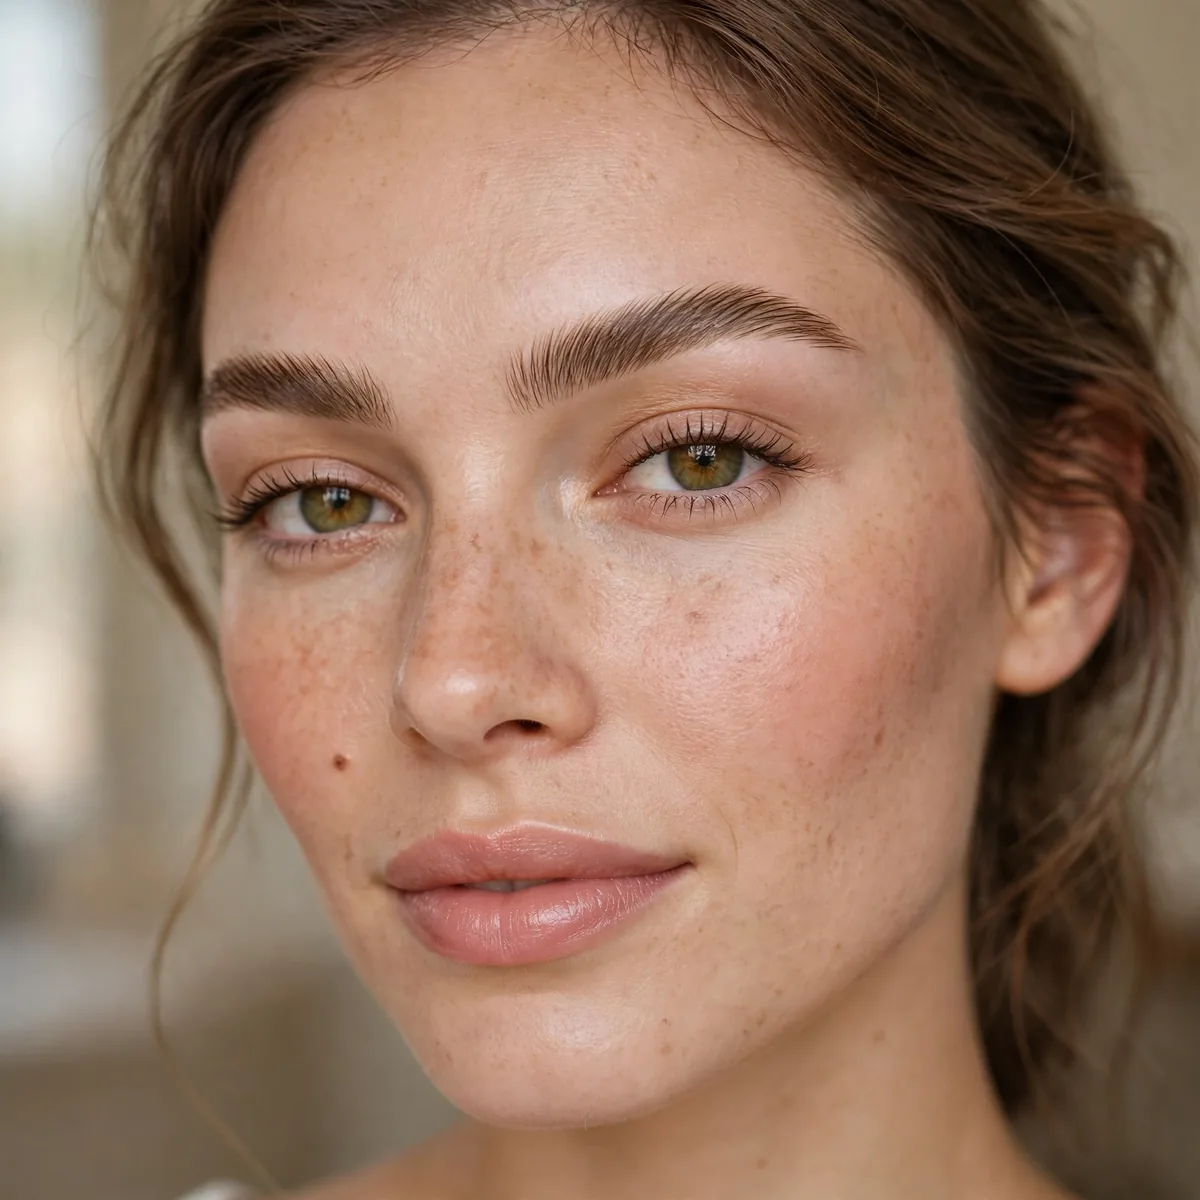
After setting upward, brush through once for a softer finish.
The brush-through prevents the "stuck" look. Texture should look touchable.
Wait until the setting product is about eighty percent dry before the final brush-through — too wet and you lose hold, too dry and it flakes. If your spoolie drags, switch to a clean metal lash comb, which separates hairs without disturbing the set. Angle that final pass very slightly toward the tail for a shape that looks styled rather than stuck.
This finish is a wedding-guest favorite: polished in photos but natural in person. In winter it hides dry flakes better than rigid, glossy styles. Hooded eyes benefit too — the brushed-through softness opens up the eye area more than slicked-down lamination, which can make lids look heavier. A quick midday brush with a clean spoolie revives the softness without adding any product.
Lamination on Sparse Brows
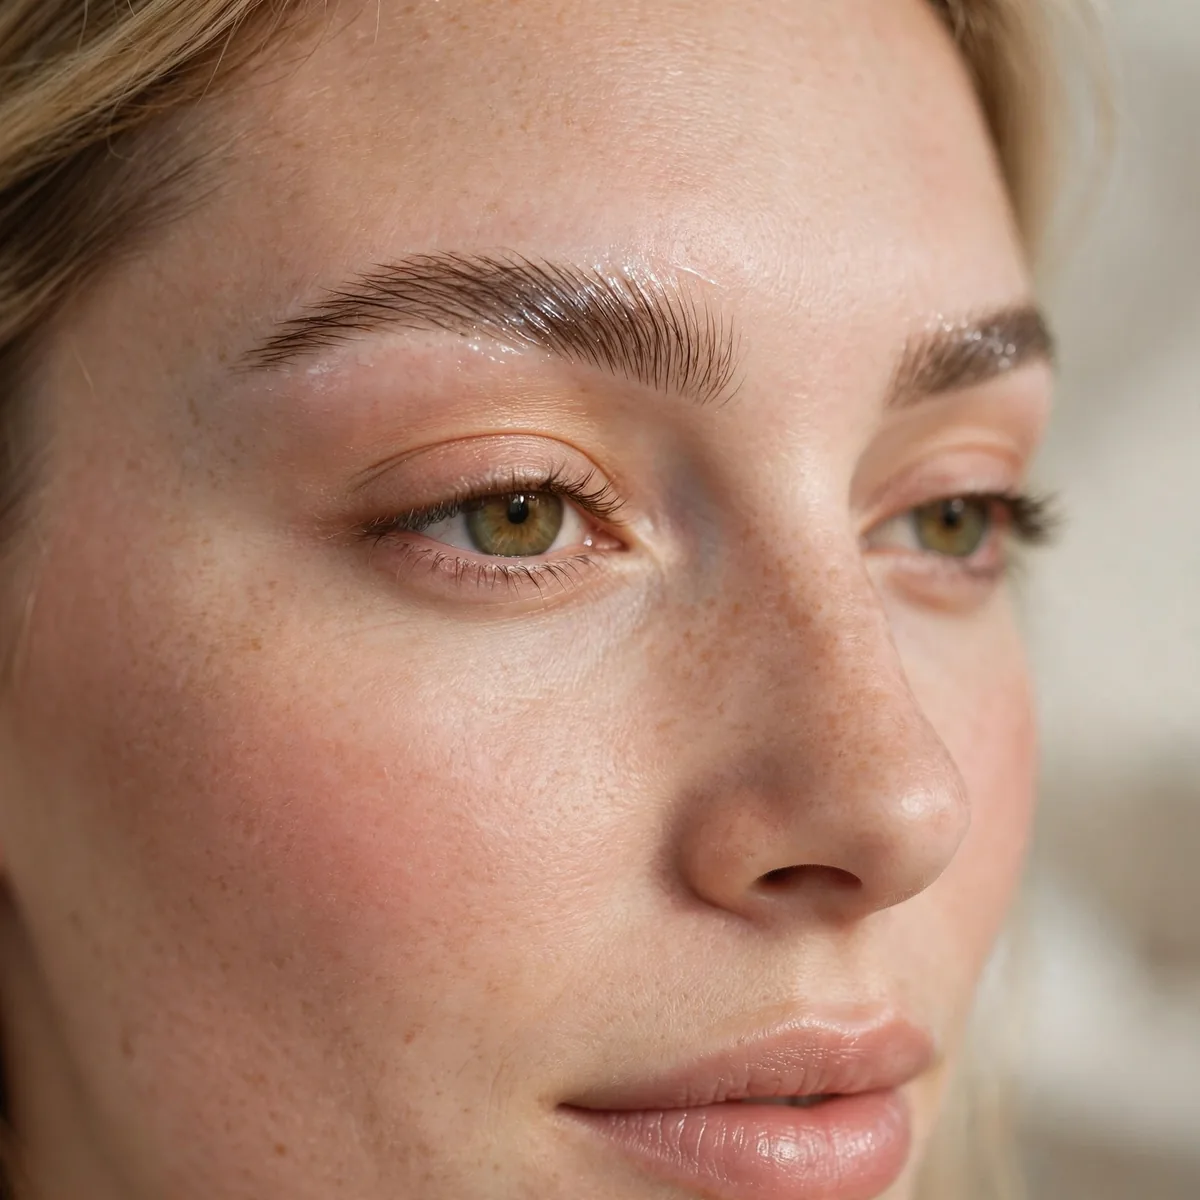
Upward styling plus strategic fill — lamination works on sparse brows too.
Fill sparse spots first, then laminate over. The combination creates believable fullness.
Use hair-stroke pencil marks to sketch in missing areas before any gel touches the brows, then brush existing hairs upward to veil the pencil work. A precise line of concealer around the brow perimeter sharpens the shape and makes sparse brows read dramatically fuller. The order matters: fill, laminate, then clean the edges.
Never brush upward across truly bald patches — styling empty skin only highlights what is missing. Angle those zones toward neighboring hair instead. For genuine regrowth, a peptide-based brow serum applied nightly between salon visits encourages density over time. Patience and consistent care beat overfilling every time. Resist the urge to press harder where hair is missing; gentle strokes always look more natural.
The Extended Lamination
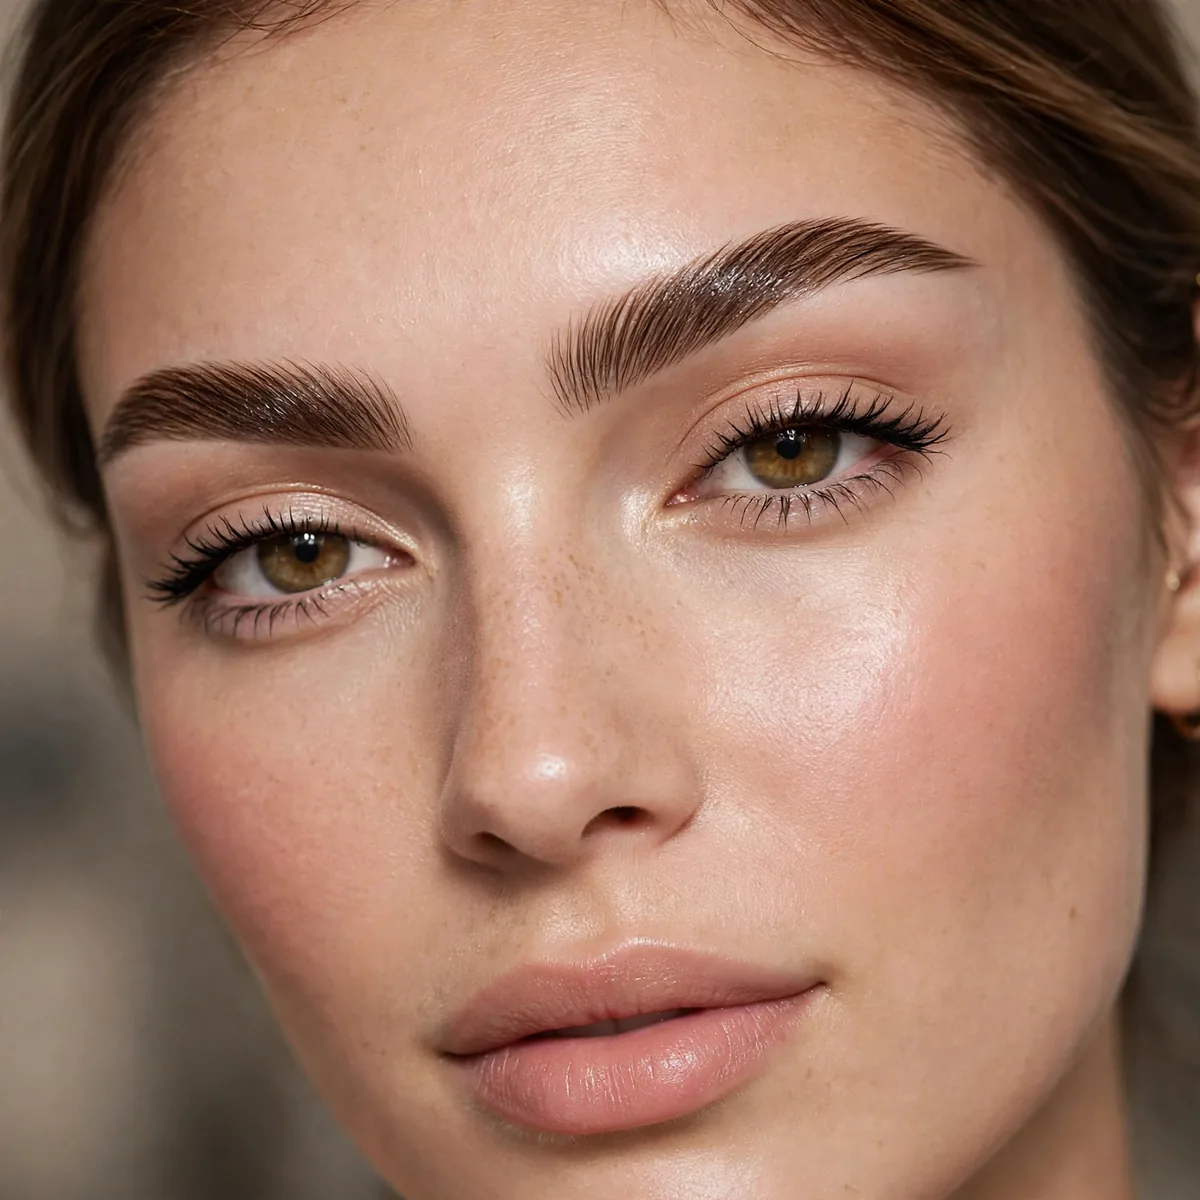
Brushing the tail slightly outward extends the brow naturally.
The outward brush elongates without product. Direction as shaping.
Close-set eyes gain the most balance from an extended tail, since the outward direction creates breathing room. Map your endpoint first: align an imaginary line from the outer corner of your nose through the outer corner of your eye — the tail should stop there. Extending past that line drags the whole face downward.
The extended tail echoes a winged liner beautifully, so the two pair naturally for evening looks. For formal events, set the tail with a waterproof gel so the extension survives heat and humidity. On round faces, extended tails add welcome length that upward-only styling cannot provide. Check both brows in natural light, since uneven extensions are easy to miss indoors.
Glue-Like Hold Products
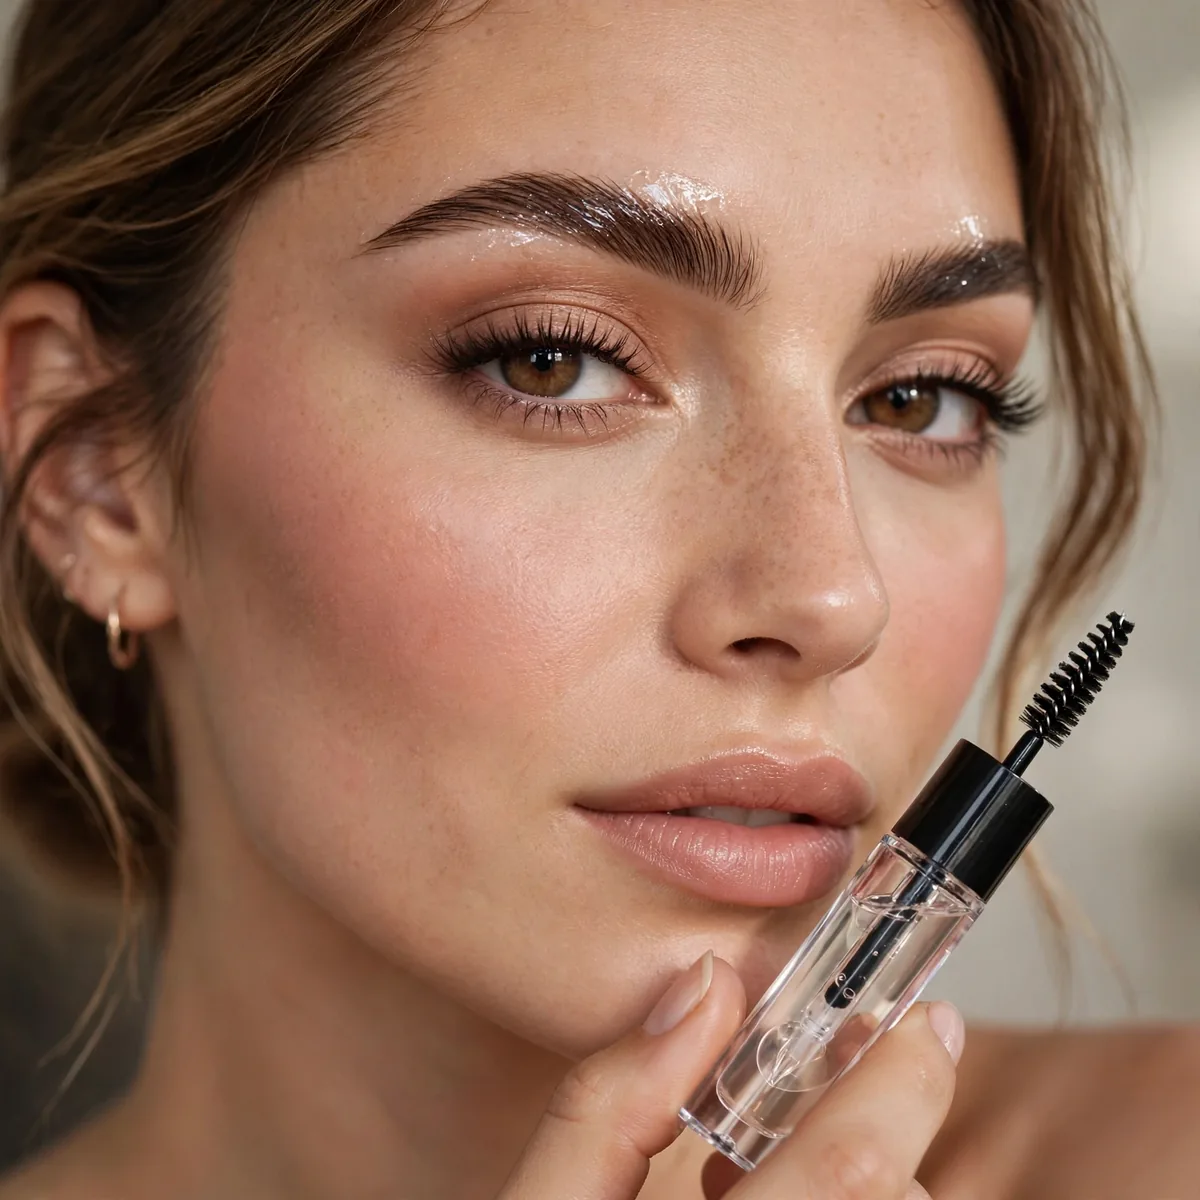
Brow glues offer the strongest at-home hold — truly laminated-stuck.
For all-day events. Regular gel won’t survive dancing; glue will.
Apply brow glue in thin layers, letting each turn tacky before brushing — thick wet coats slide around instead of gripping. Press hairs into place with the back of a spoolie for extra adhesion. Keep a damp cotton bud within reach to clean the perimeter immediately, since dried glue along the edges is nearly impossible to remove neatly.
These formulas demand proper removal: massage with an oil cleanser for a full minute rather than pulling or scrubbing. Daily use can dry out brow hairs, so reserve glue for events and rotate in a nourishing brow oil on off days. If the skin around your brows is sensitive or recently peeled, skip glue entirely until fully healed.
Laminated With Defined Tail
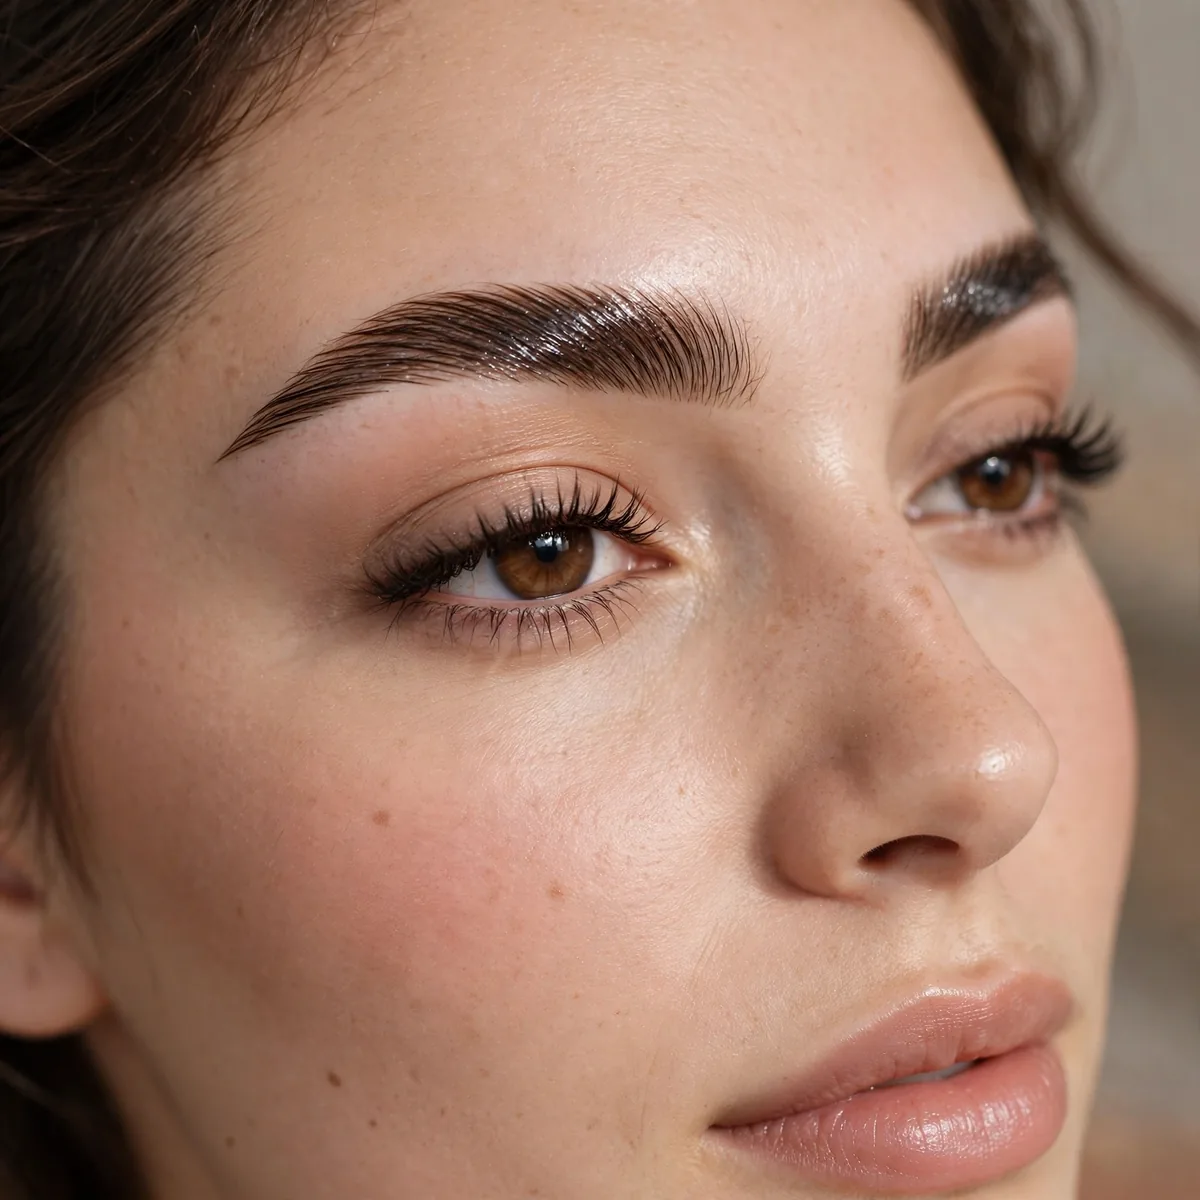
Fluffy fronts, defined tail — the best of both worlds.
Define the tail with pencil after laminating the fronts. Structure plus softness.
Leave the front third of the brow product-only, then begin defining from the arch outward with a fine-tipped pencil. The contrast between fluffy fronts and a crisp tail is the entire appeal, so blend the two textures gradually around the arch — a hard seam looks like two different brows. Short, hair-like strokes beat solid filling.
Almond and round eyes wear this combination best, since the tail adds structure exactly where it is needed. The defined tail photographs crisply, making this a strong choice for events with cameras. For daytime, keep the tail feather-light; for evening, deepen it with a matching powder for extra presence. Blend the powder softly so the tail never looks stamped on.
The Natural Lamination
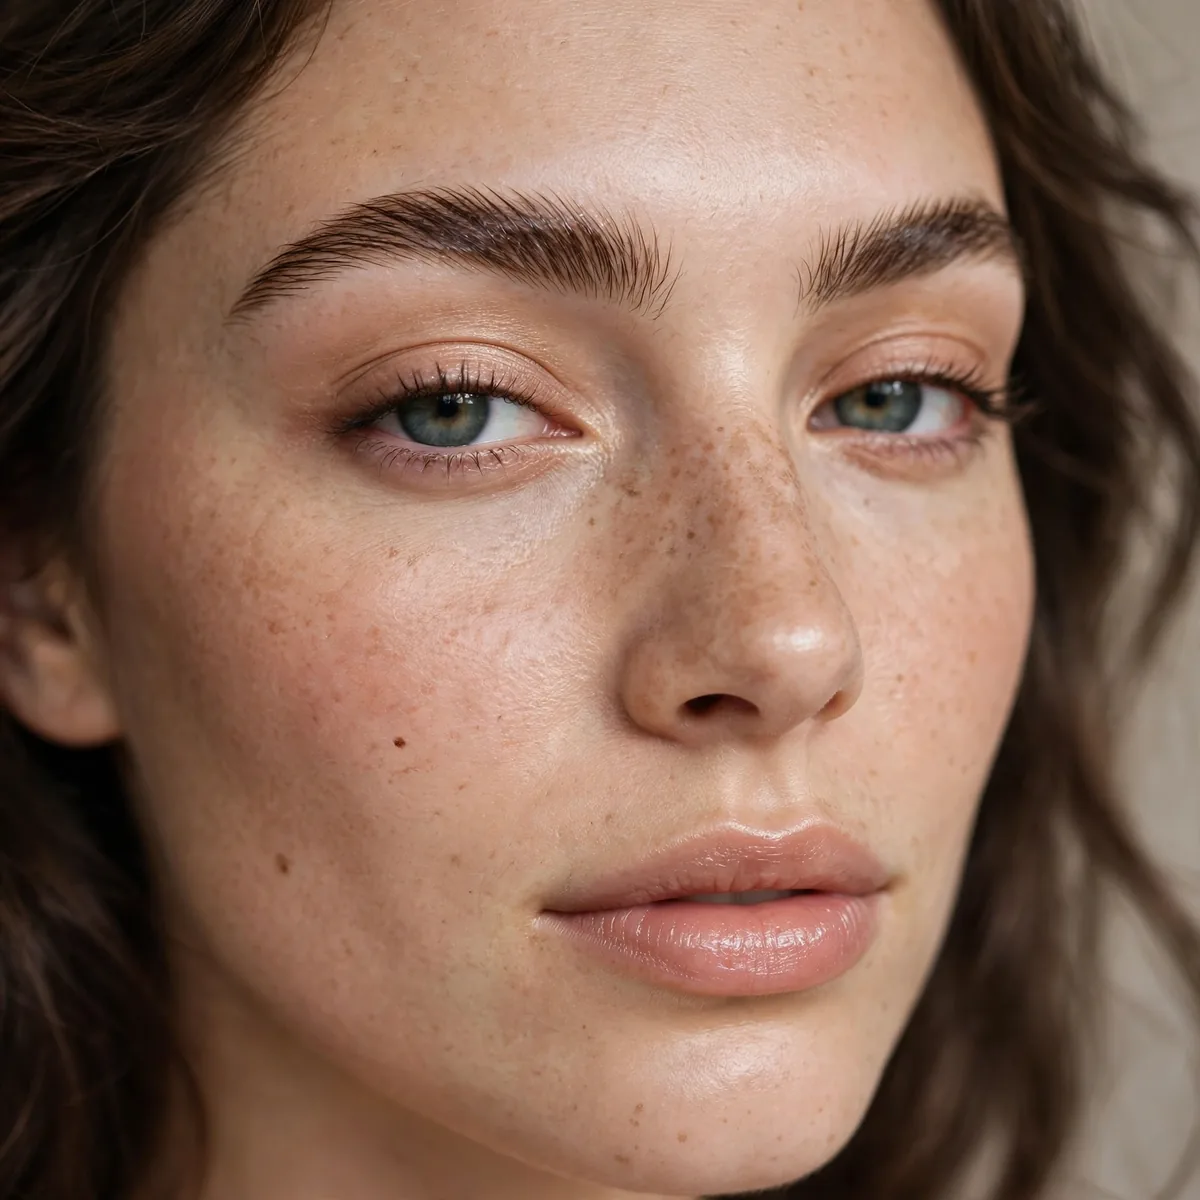
Just enough upward styling to look full, not enough to look "done."
For natural-brow lovers, our natural brow looks pair well. The goal is enhanced, not obvious.
Follow your natural growth direction as the guide, lifting only where hairs genuinely sweep downward — fighting the grain looks artificial. A tinted brow mascara one shade lighter than your hair keeps the enhancement invisible. This is the no-makeup-makeup of brows: nobody should be able to name what changed, only that you look polished.
Naturally straight brows that resist dramatic styling wear this look best. Summer-friendly too, since minimal product means less to melt in heat. Pair it with dewy skin and brushed-through lashes for a cohesive barely-there routine that takes five minutes and photographs beautifully in daylight. Reapply the tinted mascara after swimming, since water breaks down the light hold.
Lamination Aftercare
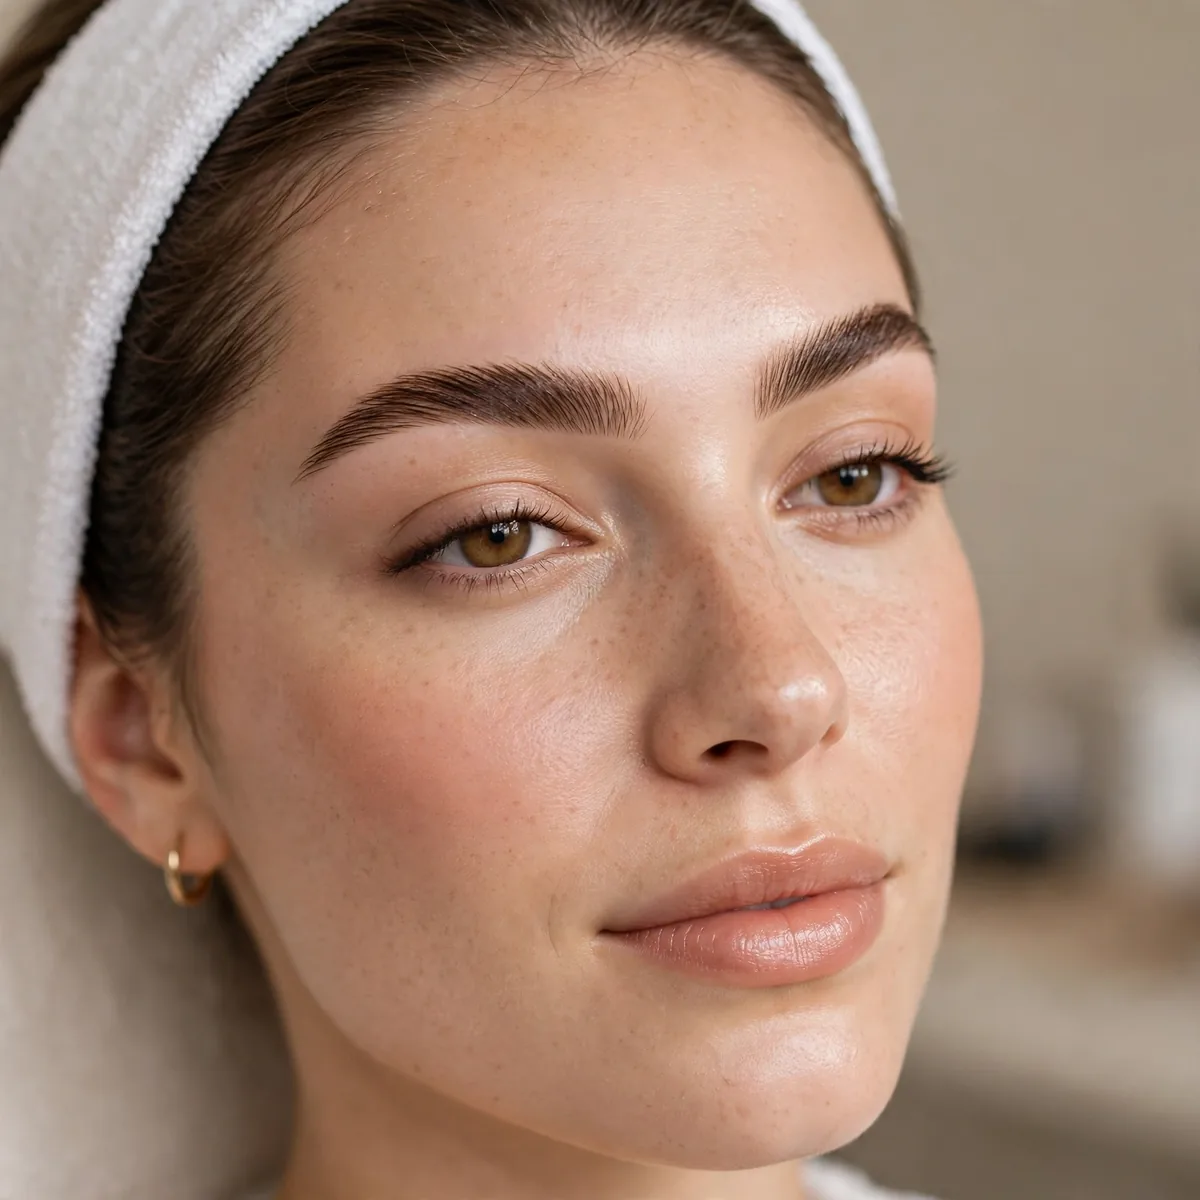
Keep laminated brows dry for 24 hours; condition with oil after.
Aftercare determines longevity. The first day makes or breaks the treatment.
Avoid steam, saunas, and intense workouts for a full 48 hours after treatment — heat and sweat are the fastest ways to break a fresh set. Sleep on your back the first night so pillow pressure does not crease the brows. Once the initial window passes, a nightly drop of castor or squalane oil keeps treated hairs flexible.
Do not tweeze aggressively between appointments, since regrowth direction affects your next set. Exfoliating acids and strong vitamin C serums near the brow area weaken lamination prematurely. With diligent aftercare most clients stretch results to six weeks — and rebooking before the set fully drops keeps the shape consistent. Mark your calendar for week five to secure your preferred appointment slot.
The Bold Laminated Brow
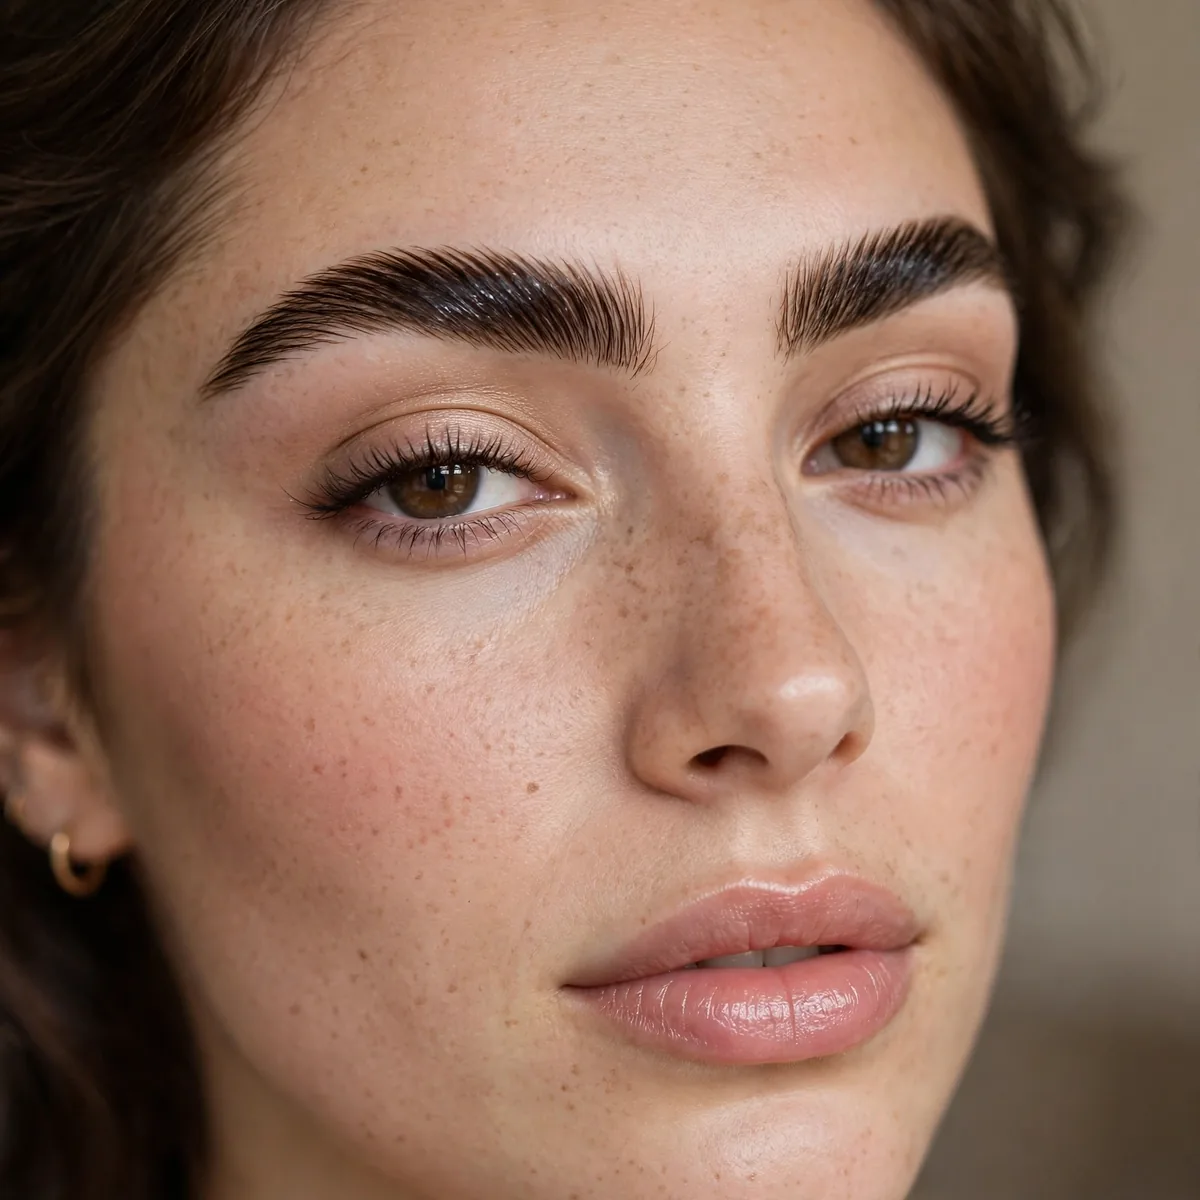
Maximum fluff, maximum presence — the statement lamination.
Bold lamination suits bold features. It’s a look with confidence built in.
Balance is everything with bold lamination: pair strong brows with either a statement lip or defined eyes, never both. Oval and heart-shaped faces carry the weight best, since their proportions absorb the drama. Keep the forehead clear of heavy bangs, which compete with bold brows for visual attention and crowd the face.
Save this look for nights out, editorial shoots, and occasions where impact is welcome — conservative offices are not its habitat. The classic mistake is going bold everywhere, which reads chaotic rather than confident. Check symmetry in your phone camera before heading out, since bold styles photograph dramatically. A sheer lip gloss keeps the focus exactly where it belongs.
Laminated for Thin Brows
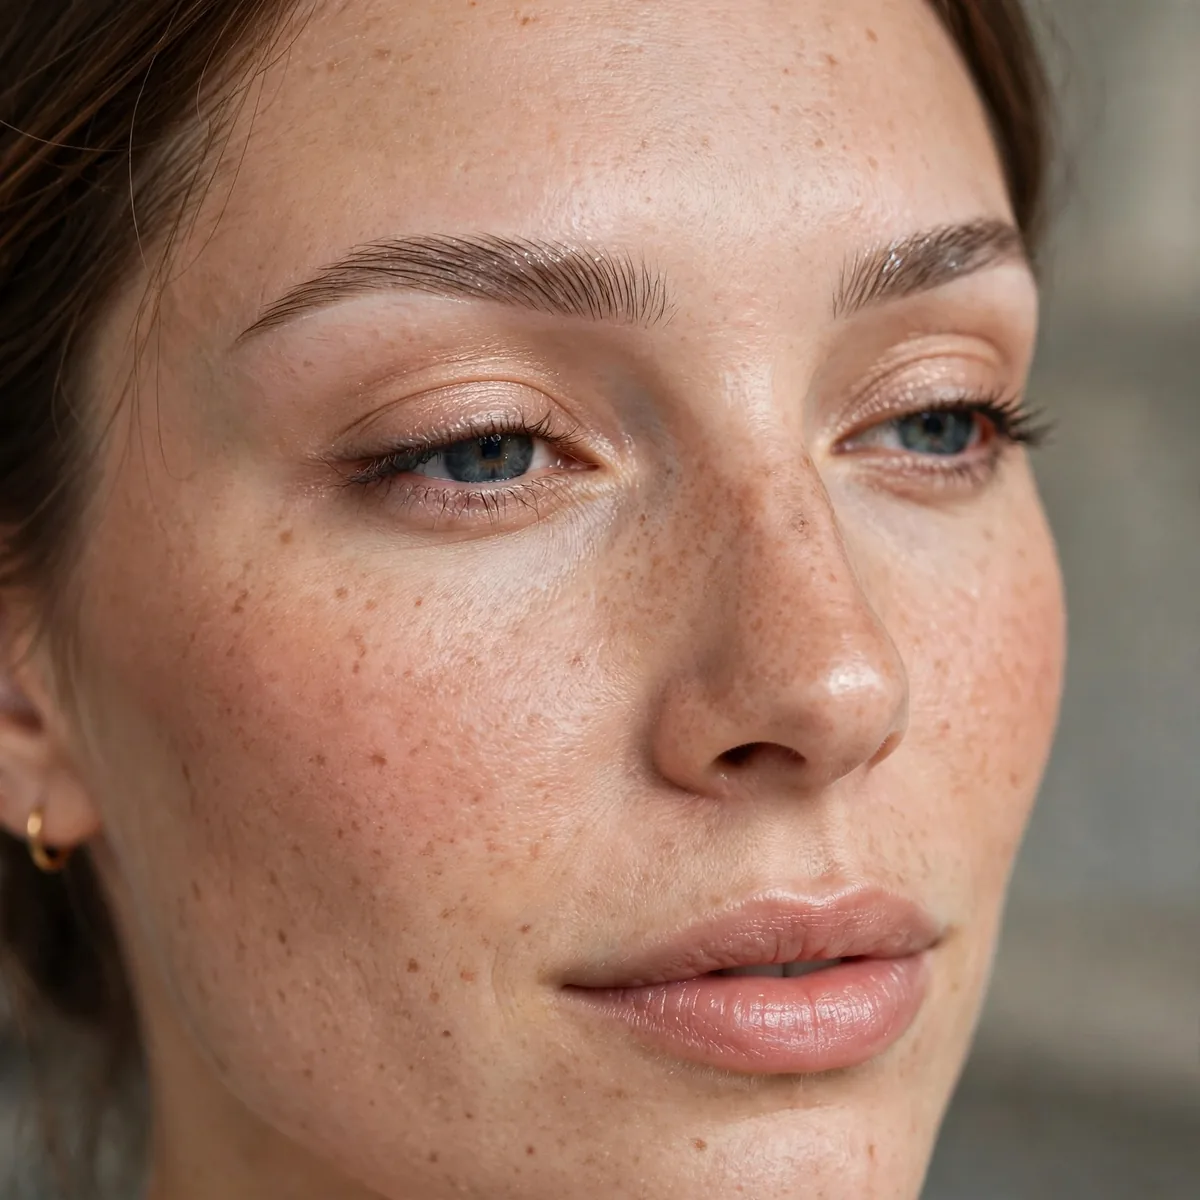
Upward styling makes thin brows look fuller than any fill.
Direction creates the illusion of density. It’s optical, not actual — and it works.
Brush thin hairs upward and slightly outward to cover maximum skin with minimum hair — the outward angle is what creates the coverage. A skin-tone concealer applied beneath the brow lifts the whole area visually and makes the fluff pop. Underneath it all, microblading-style pen strokes at the base add realism that gel alone cannot fake.
This technique is a lifesaver while growing brows out, since styling disguises the awkward in-between phase. Layer in a peptide brow serum nightly for genuine density over the coming months. And resist over-trimming: every millimeter of length contributes to the illusion, so only obvious strays should go. Photograph your brows monthly to track the real progress that serums deliver.
The Hybrid Brow
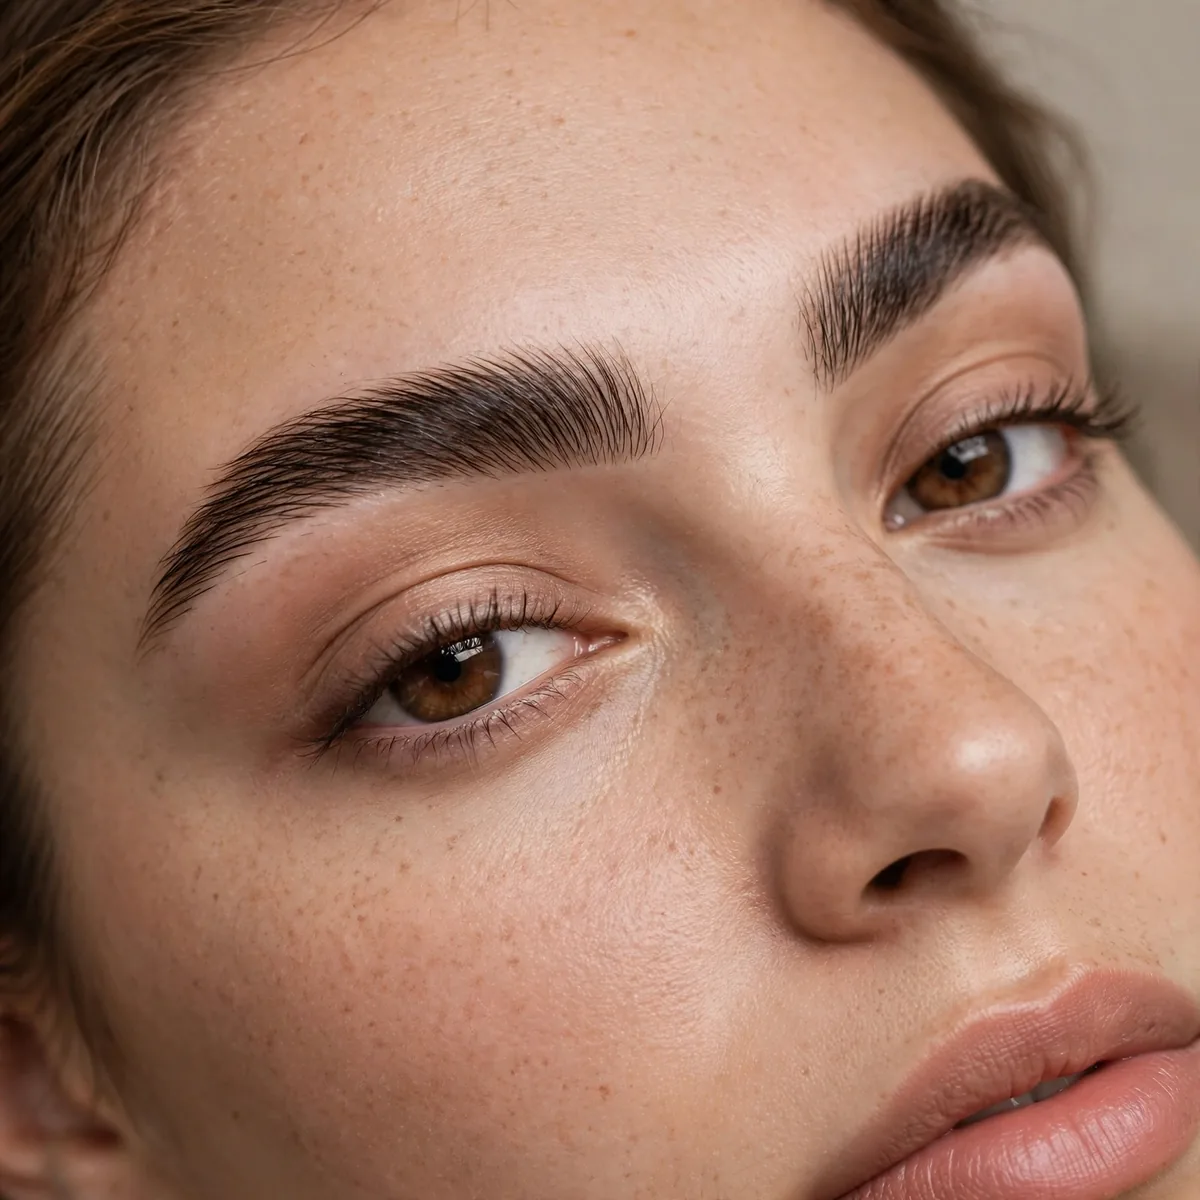
Laminate the fronts, fill the tails — the hybrid approach.
Different zones, different techniques. The hybrid is the most customized brow.
Set the front two-thirds upward with gel, then map the tail with powder for softness or pencil for precision depending on the occasion. The arch is the handoff point between the two techniques — spend time blending there so no visible seam appears. Different zones genuinely need different tools, which is why the hybrid outperforms one-product routines.
This is the problem-solver brow for full fronts and sparse tails, the most common uneven pattern. For evening, deepen the tail fill by one shade for extra definition. For day, skip the tail fill entirely and let the lamination carry the look — the hybrid adapts to your schedule. Keep both a pencil and a powder in your kit so the hybrid stays flexible.
Maintaining the Look
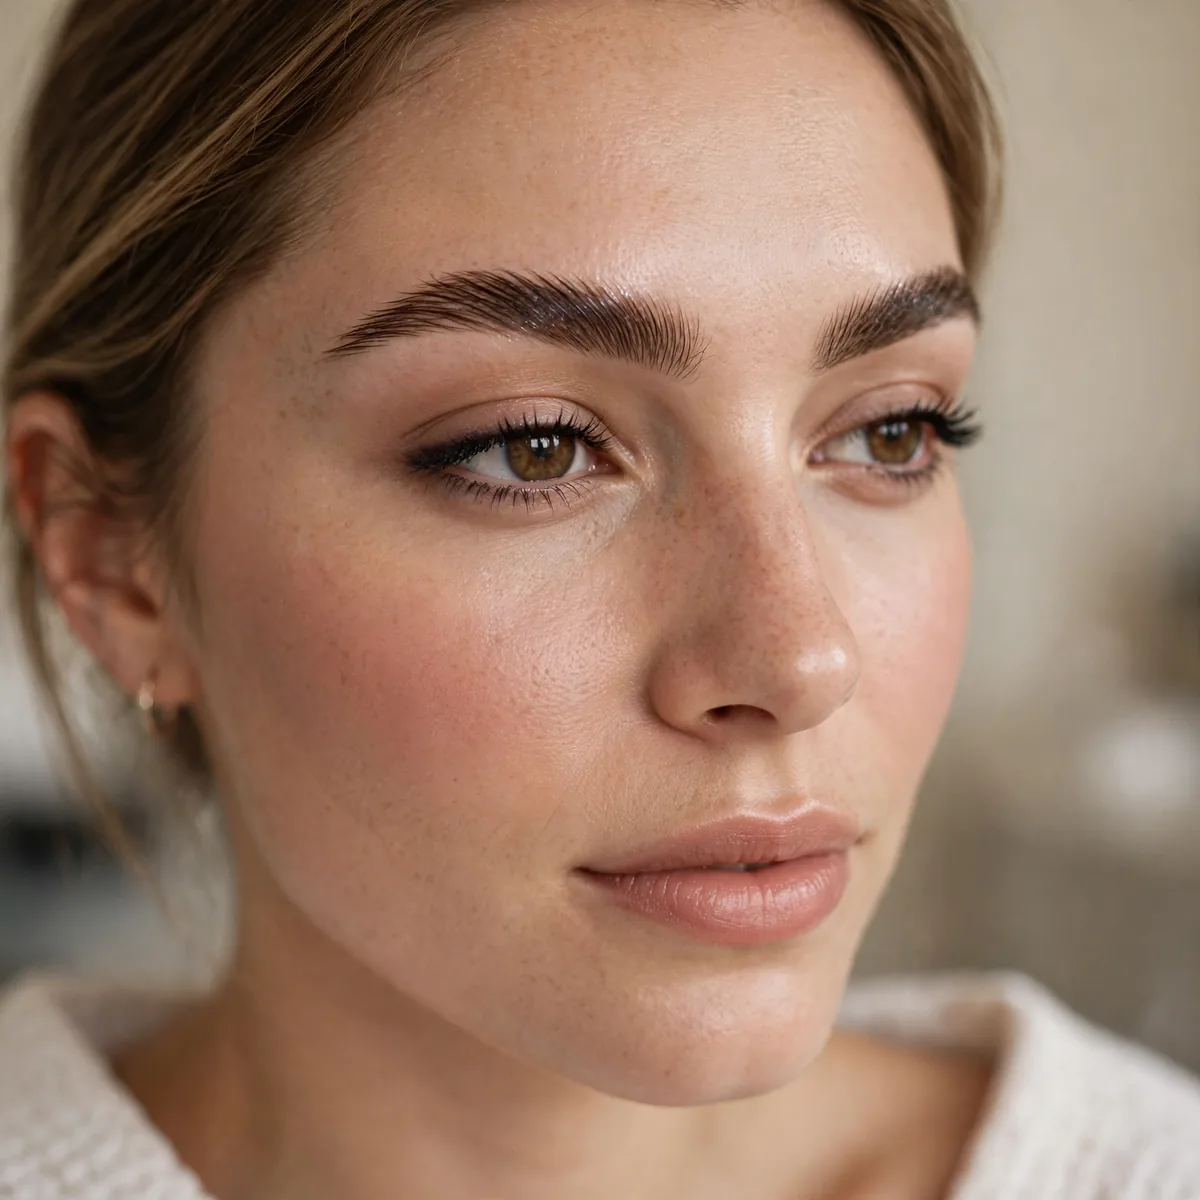
Daily gel touch-ups keep the laminated look between salon visits.
For shape maintenance, see our eyebrow shapes guide. Consistency beats intensity — a quick daily brush-up maintains the effect.
Build a simple rhythm: mornings get a dry spoolie brush-up followed by light-hold gel, and evenings get a brush back into the natural direction before cleansing so product never sets overnight. Once a week, gently exfoliate the brow area to prevent ingrown hairs. Consistency with this small routine beats any single heavy-handed styling session.
Rotate between two hold levels — strong for events, light for daily wear — to avoid styling fatigue on the hairs. Trim only obvious strays, and do it monthly at most. The biggest maintenance mistake is layering fresh heavy product over yesterday's residue; always start from a clean brow for the best results.
Fluff is a lifestyle — pin these techniques. For softer approaches, see natural brow looks, or find your shape with eyebrow shapes for every face.




