
Fading lipstick by dessert is optional. Here’s how to skip it.
Long-wear lips come from layering: exfoliated base, liner foundation, thin lipstick layers, blotting between coats. Each step adds hours.
Formula matters too — mattes and stains outlast creams and glosses by miles. Choose strategically for long days.
Here are 20 tips for bulletproof lips. Let’s get into it.
Exfoliate First
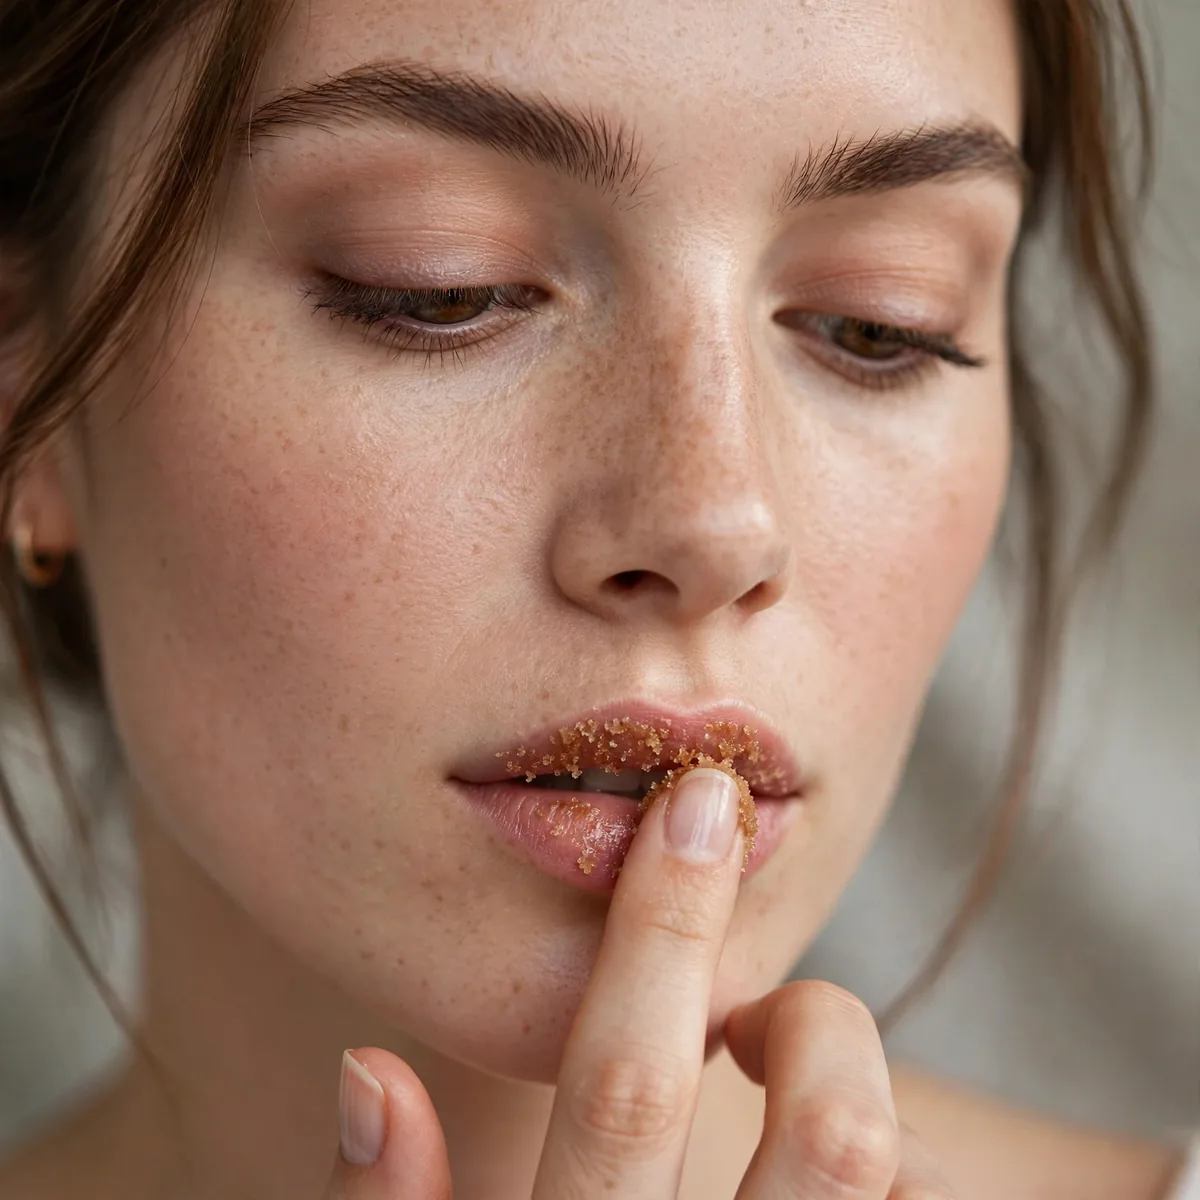
Smooth lips hold color evenly; flaky lips shed it in patches.
A quick lip scrub before application is the foundation of longevity.
A gentle sugar scrub used once or twice a week keeps lips smooth without the irritation that daily exfoliation can cause. Massage it in small circles for thirty seconds, then wipe away with a damp cloth so no gritty residue interferes with your lipstick application. Sensitive lips can skip the scrub and simply buff gently with a soft, damp toothbrush instead.
Exfoliating the night before a big event works better than doing it minutes beforehand, since freshly scrubbed lips can be slightly swollen or sensitive. Follow with a rich lip mask overnight, and by morning your lips will be perfectly primed to hold color for hours. This advance prep is the secret behind brides and models whose lipstick survives entire wedding days.
Lip Balm Base (Blotted)
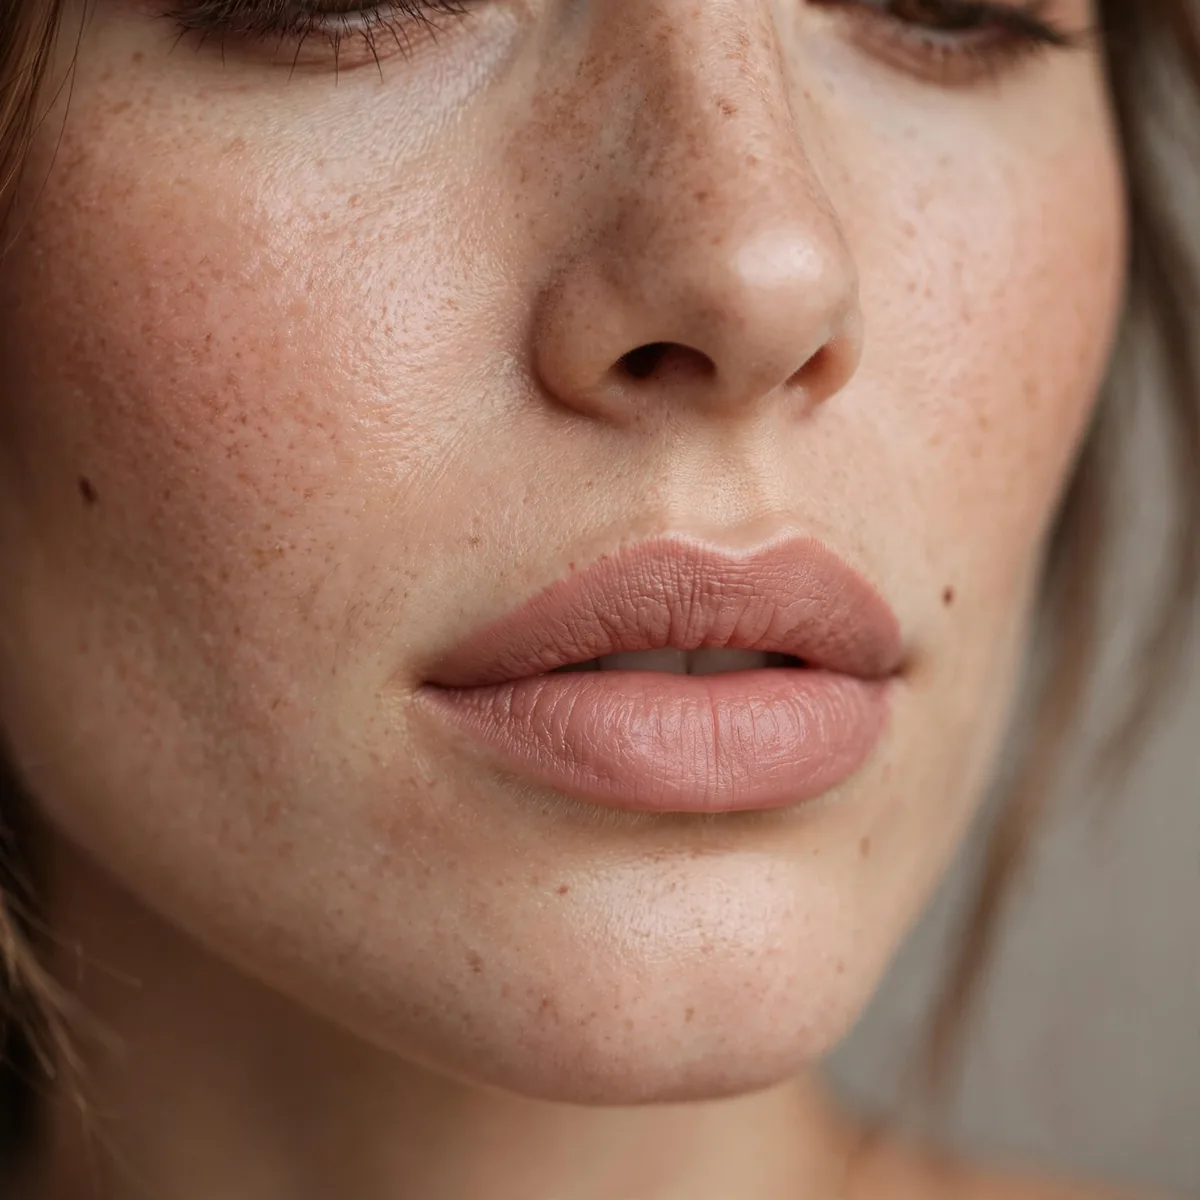
Apply balm, then blot most of it off — hydration without slip.
The blotted balm hydrates without creating a slippery base. Balance is key.
Choose a balm without heavy oils or waxes that leave a slick film, since those break down lipstick fastest. Ingredients like hyaluronic acid and squalane hydrate without greasiness, and a thin formula absorbs quickly so blotting takes only a few seconds with a tissue. Skip menthol or plumping balms under long-wear formulas, as they can react with the color and cause patchiness.
The blotting step is what separates this technique from simply wearing balm under lipstick, which slides everywhere. Press a tissue firmly between your lips after the balm absorbs, then wait a full minute so the remaining hydration settles into the skin before any color touches it. Patience here pays off in hours of extra wear later.
Liner as Foundation
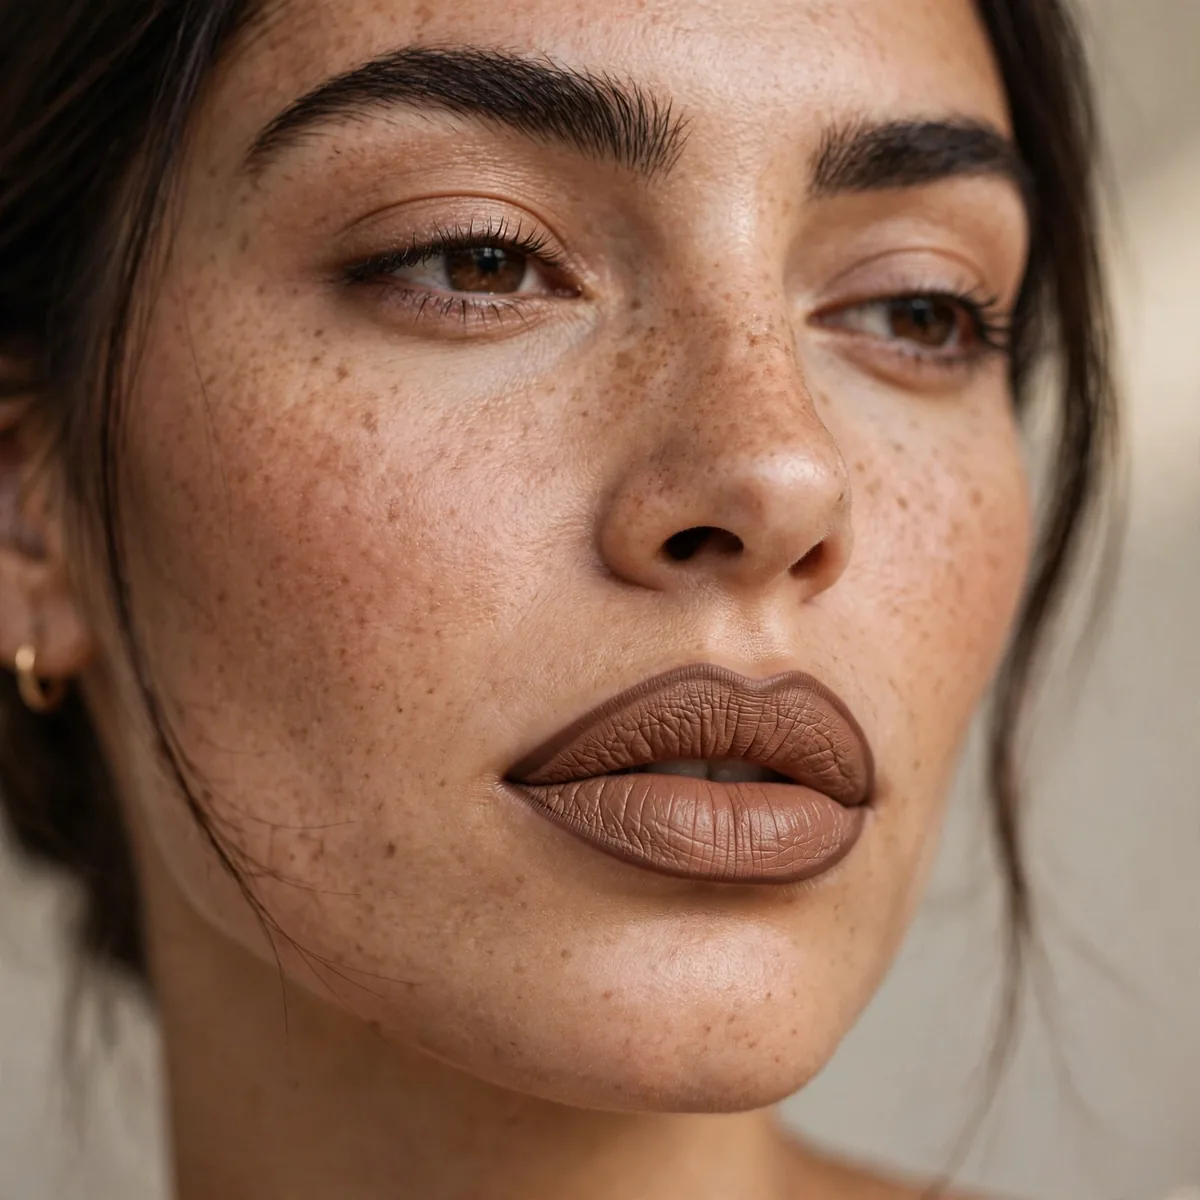
Fill the entire lip with liner before lipstick — the grip layer.
Liner’s waxy formula grips lipstick. It’s the primer for lips.
Match your liner to your lipstick shade rather than going darker, since a visible liner ring looks dated when the center fades. Use short, feathery strokes to fill the entire lip, slightly overlining only the cupid’s bow and center of the lower lip for a natural fullness effect. Creamy liners grip better than dry, waxy ones that tug and skip.
A full-lip liner base also prevents the dreaded fading-from-the-center look, because the waxy layer underneath keeps pigment anchored where eating and talking wear it away fastest. When your lipstick eventually fades, the liner underneath ensures you still have even, presentable color instead of a bare ring. Reapply a quick liner touch-up midday and your lipstick looks freshly applied without starting over.
Thin Layers Rule
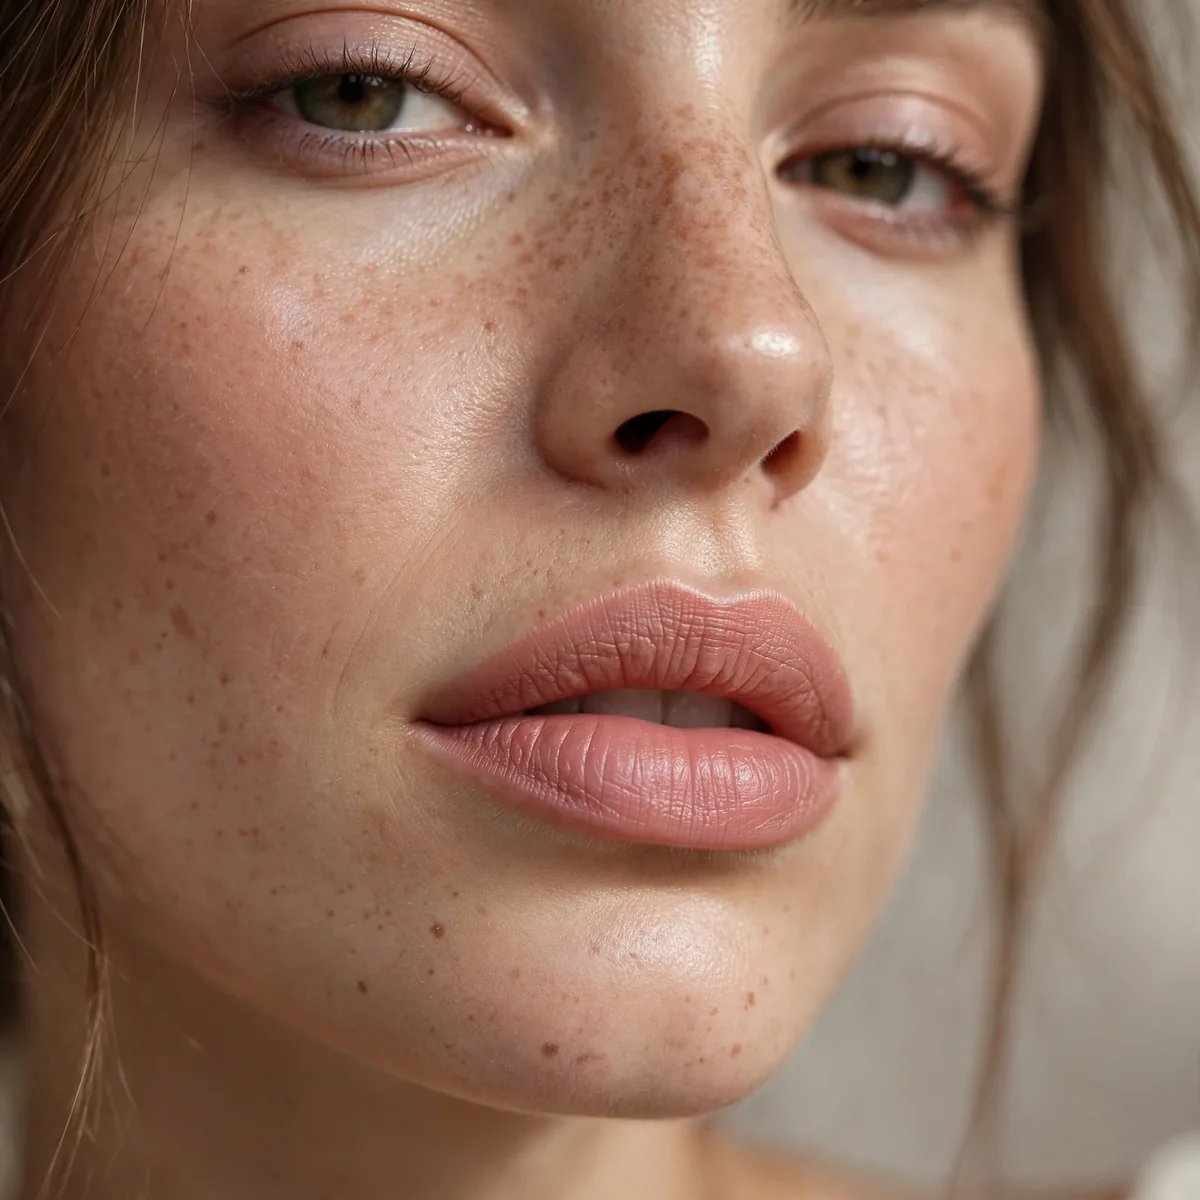
Multiple thin layers outlast one thick one.
Thin layers dry down properly; thick layers stay mobile and transfer.
Apply the first layer with a lip brush for precision, pressing color into the lip lines rather than swiping it across the surface. The brush deposits a thinner, more even coat than a bullet, and working the pigment into every crease prevents the patchy fading that thick direct application causes.
Between layers, let each coat set for at least thirty seconds before adding the next, since rushing traps moisture that later causes sliding. Two patient thin layers genuinely outlast four rushed ones, and the color looks richer and more professional when every layer has time to bond to the one beneath.
The Blot and Reapply
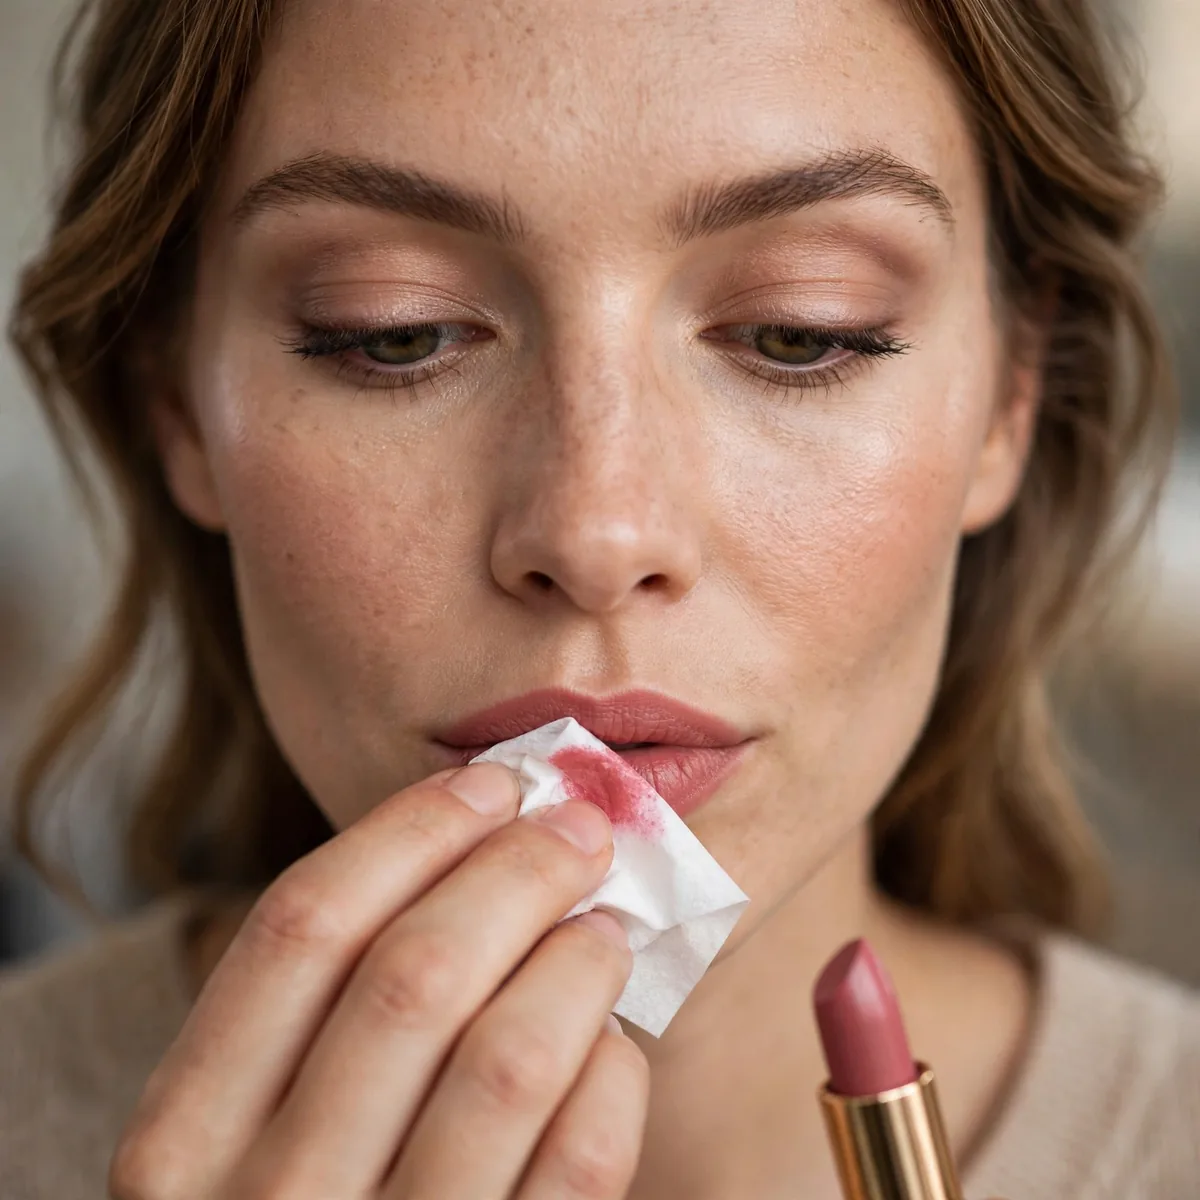
Apply, blot with tissue, reapply — the classic longevity method.
Blotting removes excess oils; reapplying builds pigment. The combination lasts.
When blotting, fold the tissue once and press your lips together firmly for five seconds rather than rubbing, which disturbs the pigment. The tissue absorbs surface oils and excess product while leaving the stained base layer intact, creating a matte foundation that the second coat grips beautifully. Repeat the blot-and-reapply cycle twice for special occasions when you need truly bulletproof wear.
This classic technique dates back to old Hollywood makeup artists who needed color to survive long film shoots under hot lights. The method works because each blotting removes the mobile ingredients while each reapplication adds pure pigment, gradually building color that behaves more like a stain than a cream lipstick.
Translucent Powder Seal
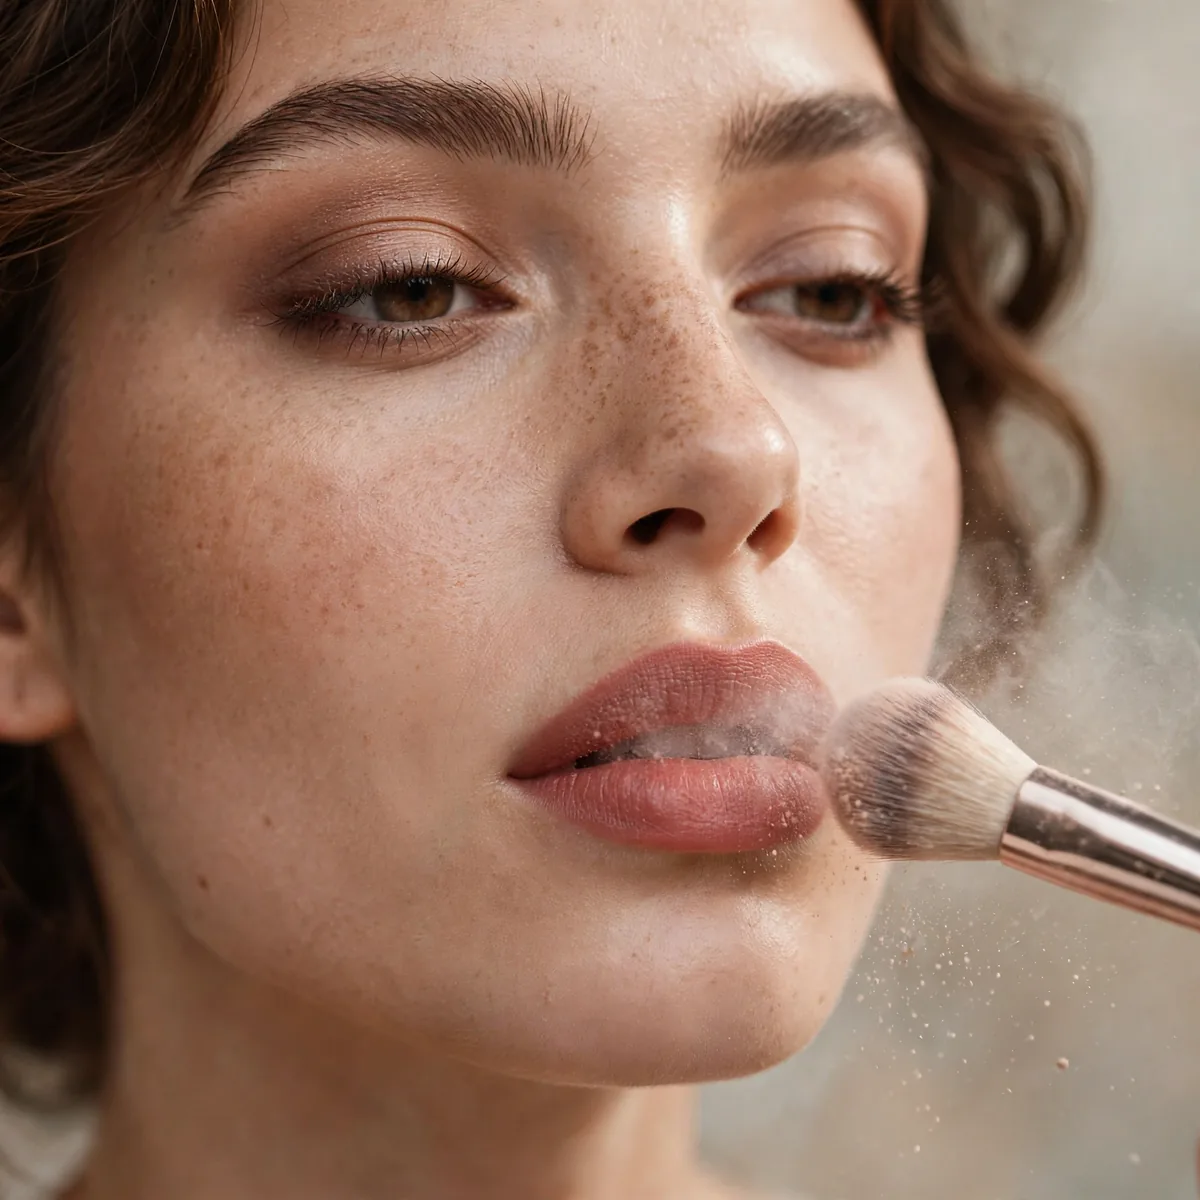
Dust translucent powder through tissue over lips — the old Hollywood seal.
The tissue diffuses the powder. It sets without dulling the color.
Use the thinnest single-ply tissue you can find, since thick layers block too much powder from reaching the lipstick. Hold it taut over your lips with one hand and dust powder over it with a fluffy brush, letting the fine particles settle through the fibers onto the color beneath for an even seal.
This sealing trick works best with satin and cream finishes, since true mattes are already set and do not need the extra help. After powdering, apply one final whisper-thin layer of lipstick to restore any vibrancy the powder muted, and the color will look fresh while wearing like iron all day.
Matte Formula Choice
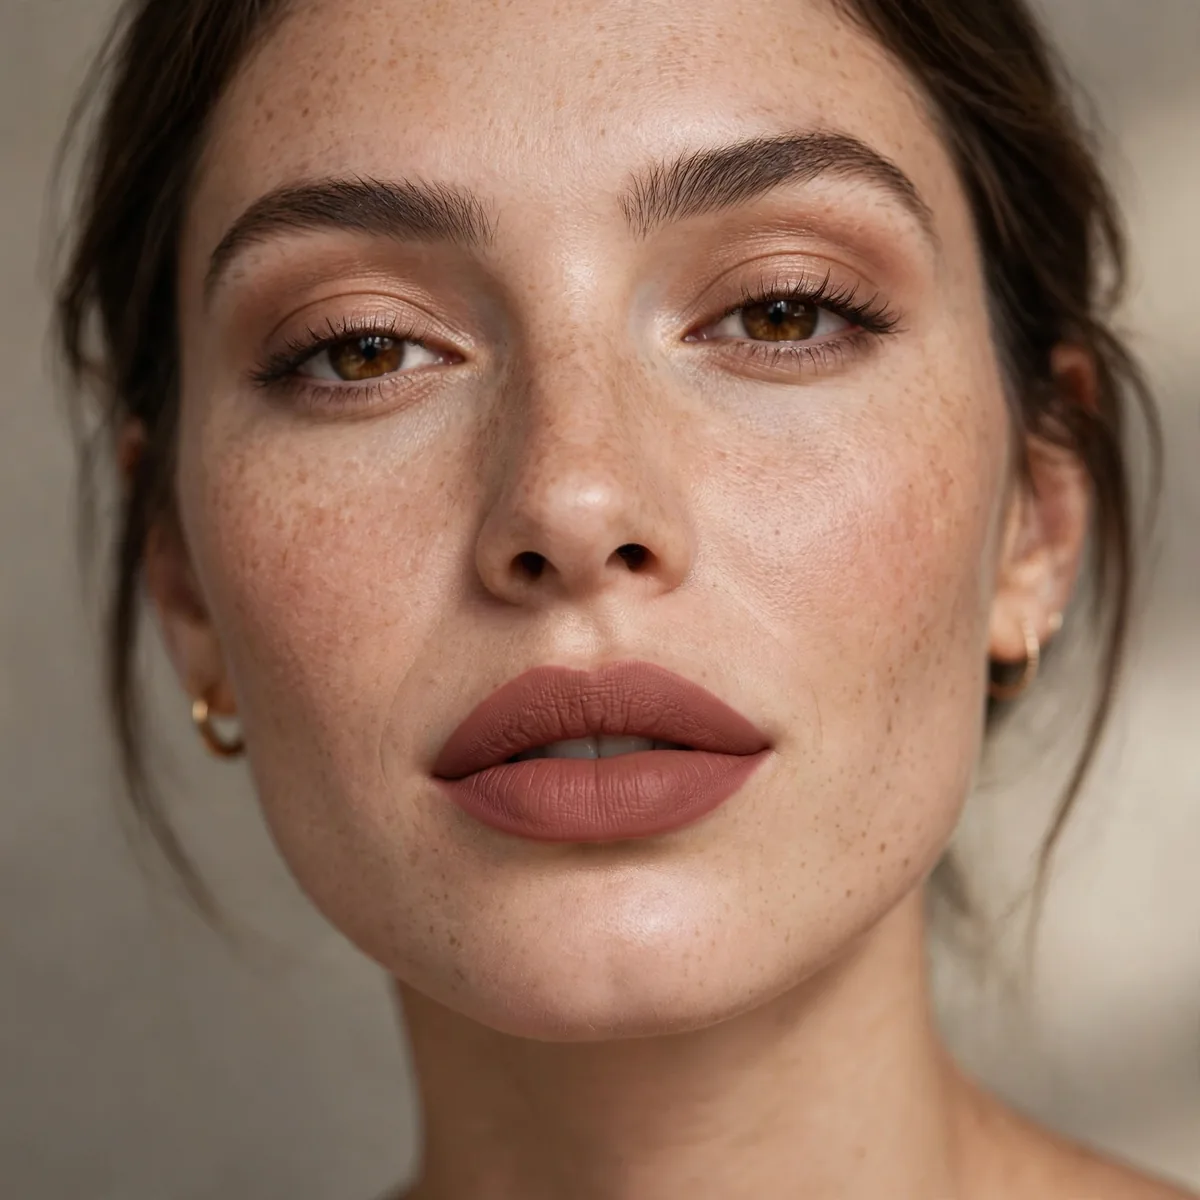
Matte formulas last longest — choose matte for important days.
The dry-down is what creates longevity. Matte’s finish is functional.
Not all mattes wear equally: liquid mattes with flexible film-formers last longest, while traditional bullet mattes offer comfort with slightly less staying power. Look for formulas mentioning long-wear or transfer-resistant on the packaging, and avoid anything described as hydrating or glossy if longevity is the priority. Test a new matte on the back of your hand first to check how quickly it sets.
Because mattes can emphasize dryness, the lip prep steps matter even more with these formulas than with creams. Exfoliated, balm-blotted lips let matte pigment glide on smoothly and wear evenly, while skipping prep guarantees the flaky, cracked look that gives mattes their unfair bad reputation. A tiny dab of lip oil pressed over a fully set matte revives comfort without sacrificing much wear.
Stain Under Lipstick
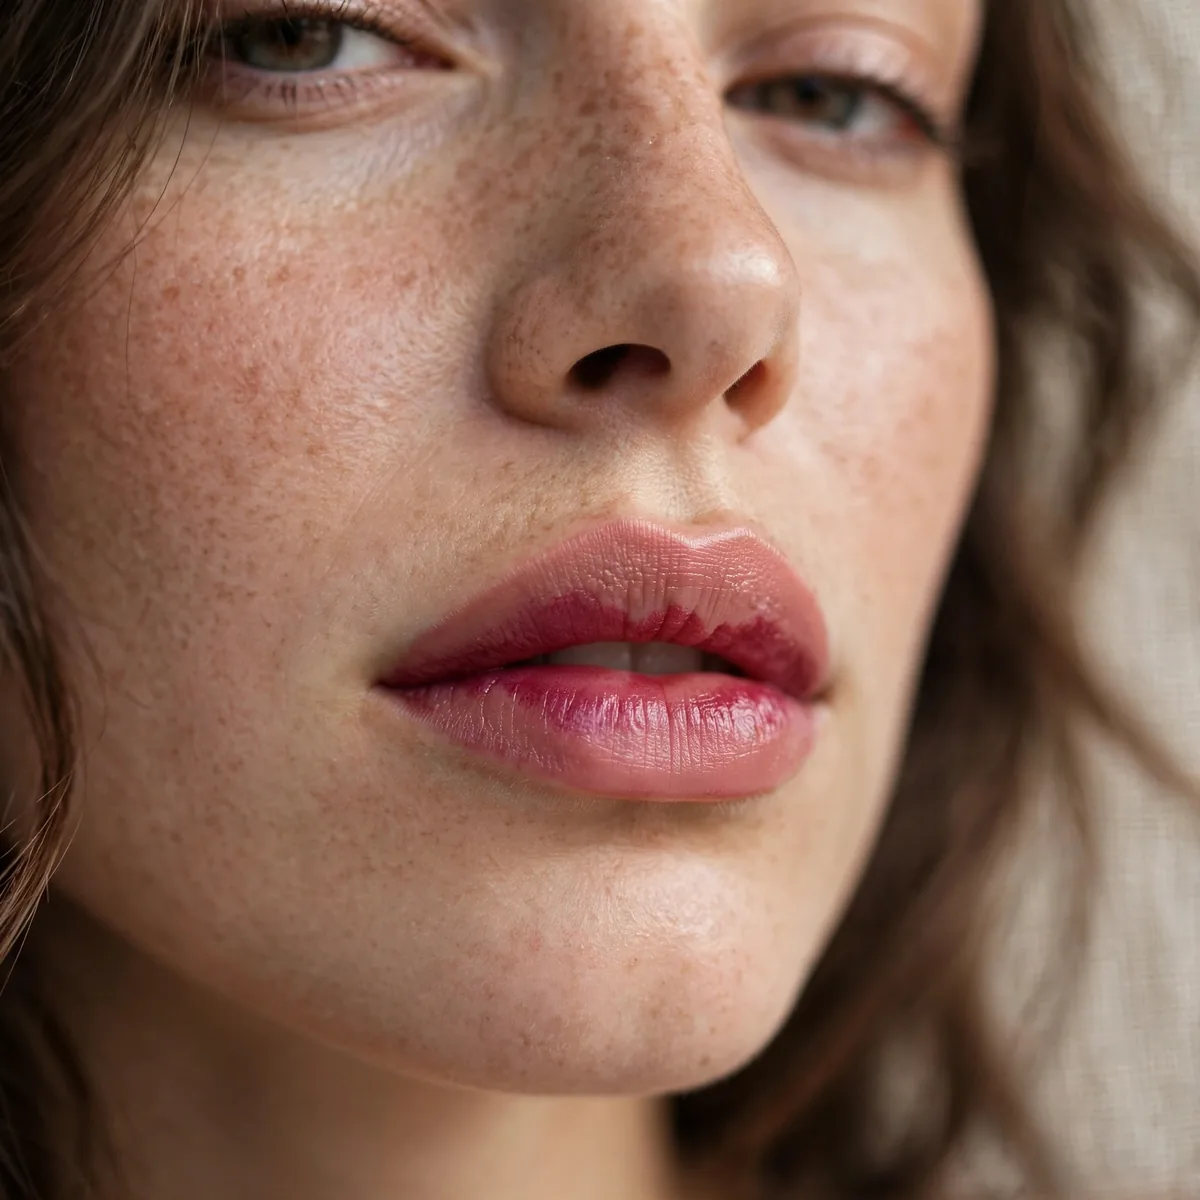
Stain first, lipstick over — the stain is the backup color.
Our stain vs lipstick guide compares. When lipstick fades, stain remains.
Apply the stain to bare lips and let it develop for two minutes before layering anything over it, since stains need direct contact with skin to bond properly. Blot the stain gently once it sets, then apply your lipstick normally — the stain underneath acts as insurance that keeps working all day.
Choose a stain in the same color family as your lipstick rather than an exact match, since the layered combination creates depth that looks more natural. A berry stain under a red lipstick, for example, adds richness that survives fading gracefully, so even hours later your lips retain a believable flush of color.
Avoid Oily Foods (Strategically)
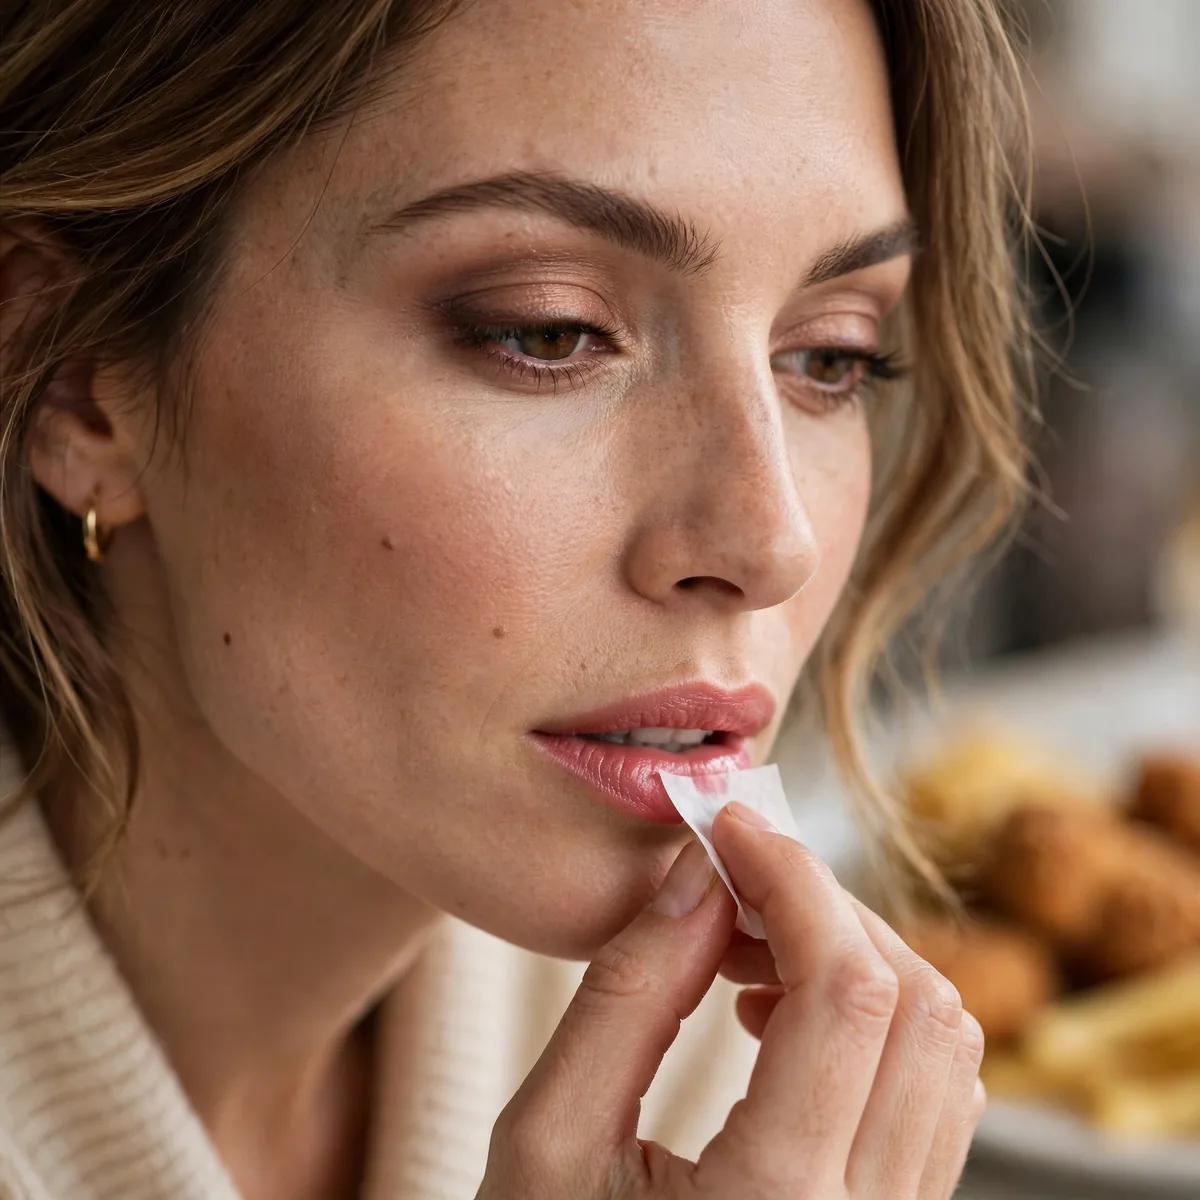
Oil dissolves lipstick — blot after oily foods and touch up.
You can’t avoid eating; you can plan for it. Pack the touch-up.
Salad dressings, fried foods, and buttery sauces are the biggest culprits, since oil literally dissolves the waxes and film-formers holding your lipstick in place. Eat these foods with a fork positioned carefully, or cut items into bite-sized pieces that minimize contact with your lips during the meal. Sandwiches eaten from the back edge and pizza with a knife and fork both spare your lipstick considerably.
After eating anything oily, press your lips with a napkin to lift the grease film before it migrates into the color. Then do a quick mirror check and touch up only the center of the lips where wear shows first, since the edges protected by liner usually survive meals surprisingly well.
The Straw Strategy
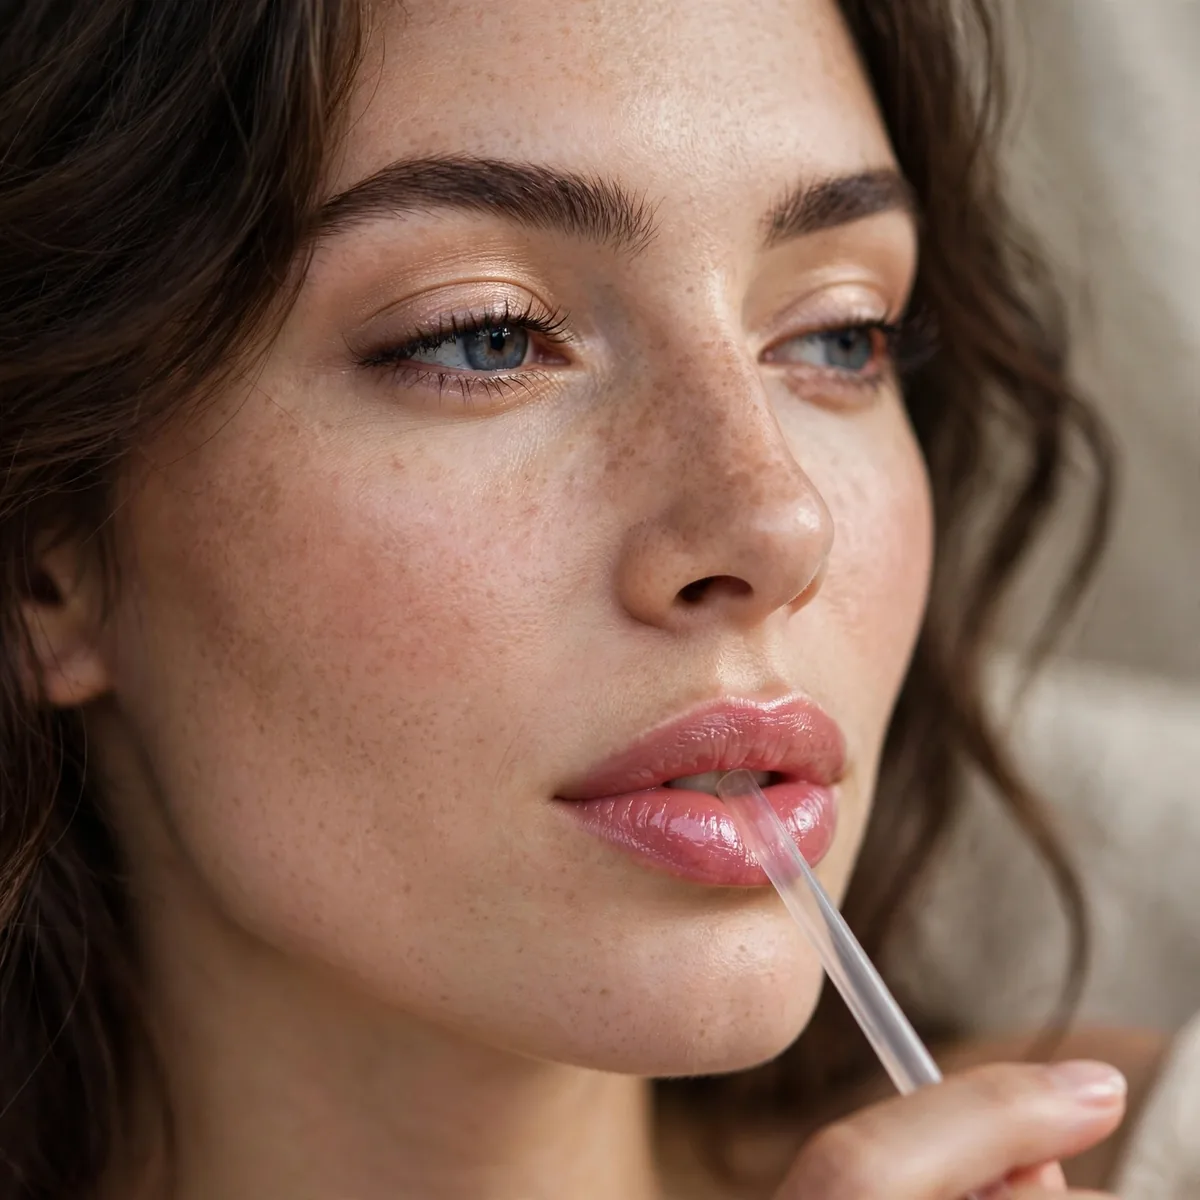
Drink through a straw to minimize lip contact.
Less contact equals less transfer. Simple physics, real results.
Position the straw toward the back of your mouth rather than pursing your lips around it, which still creates friction on the color. Metal and glass straws stay cooler and transfer less than plastic, and keeping one in your bag means you are always ready to protect your lipstick at restaurants.
For hot drinks like coffee, skip the straw entirely and sip from the rim with minimal lip contact instead, since heat and steam break down lipstick faster than cold drinks do. Blot your lips gently after each sip of anything hot, and reapply sooner than you would after cold beverages.
Lip Primer Products
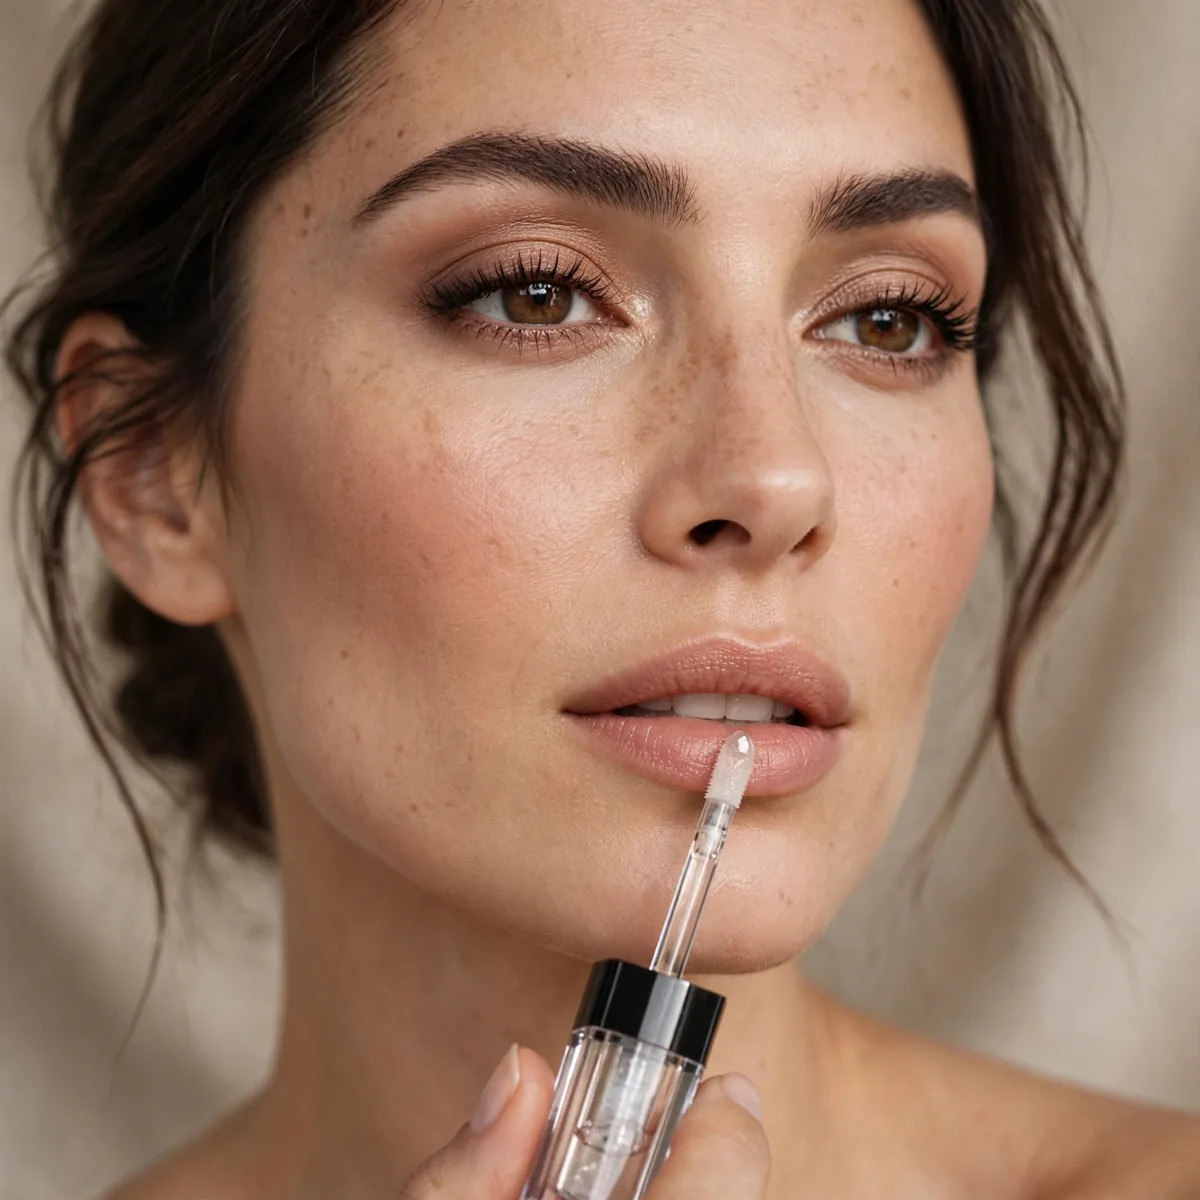
Dedicated lip primers grip color like face primer grips foundation.
If longevity is a constant battle, a primer is worth the investment.
Lip primers typically contain silicones that fill in lip lines and create a smooth, grippy canvas for color, much like face primer does for foundation. Apply a thin layer, let it set for thirty seconds, then apply lipstick normally — the primer prevents feathering into fine lines around the mouth.
Primers pay for themselves if you wear bold or dark shades regularly, since those colors show feathering and fading most obviously. A pea-sized amount lasts for months of daily use, making it one of the most cost-effective additions to a long-wear routine for anyone serious about lipstick longevity. Store it with your lipsticks so you never forget the step in a morning rush.
Define the Edges
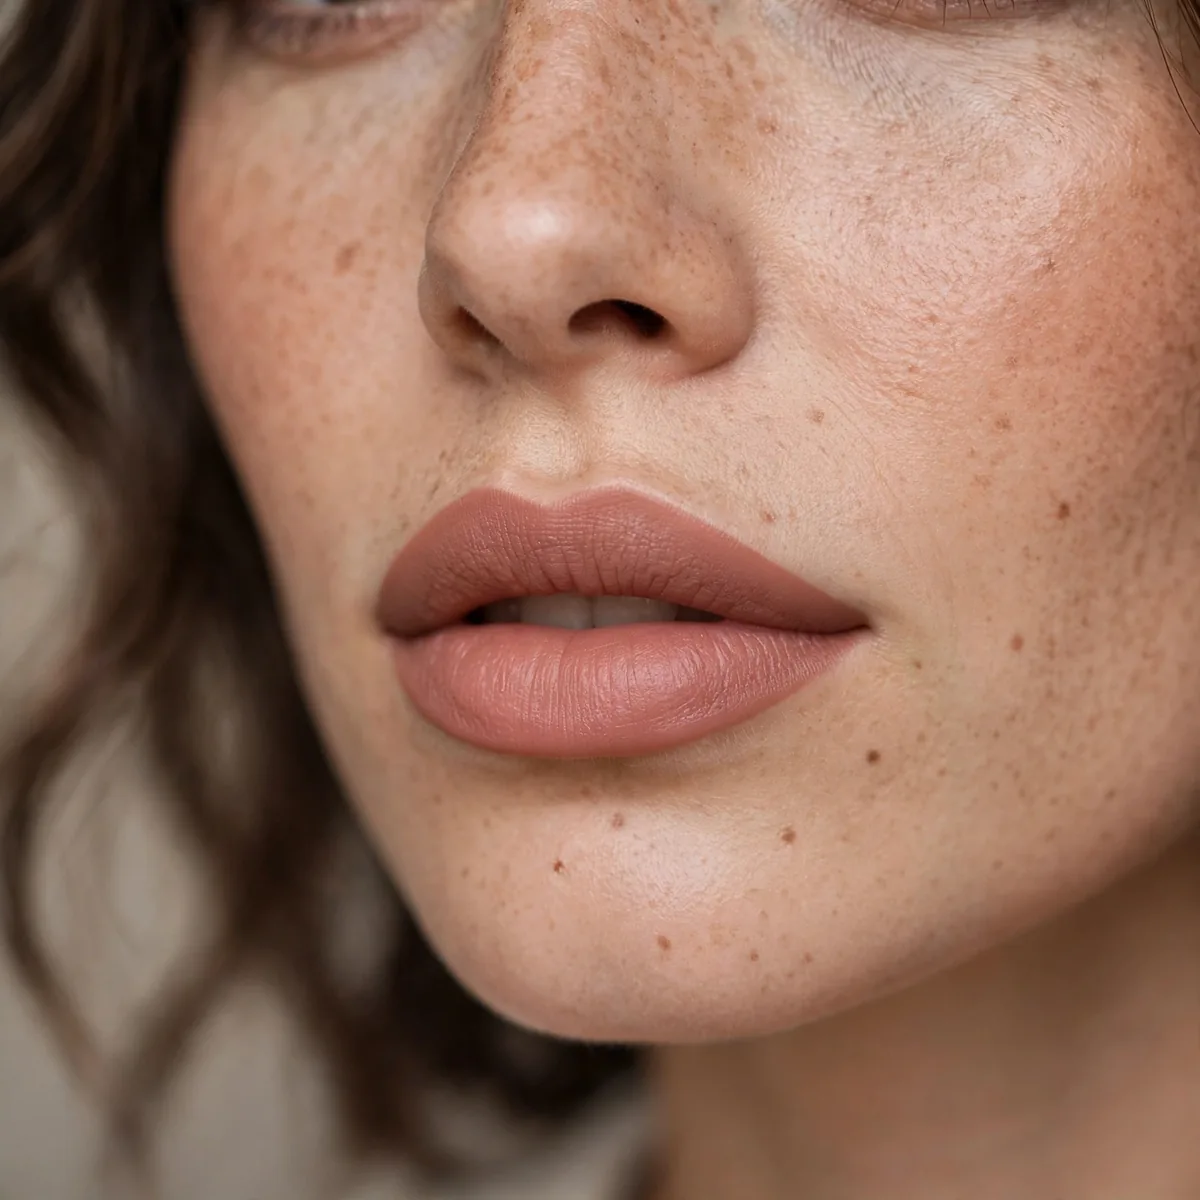
Crisp edges wear better — bleeding starts at fuzzy borders.
Concealer around the lip line creates the crisp barrier. Clean edges last.
Trace concealer just outside your natural lip line with a small flat brush, then blend the outer edge into your foundation so no harsh line remains. This creates an invisible barrier that stops lipstick from traveling into fine lines, and it makes the lip shape look cleaner and more deliberate.
This concealer trick is essential for deep reds, berries, and dark plums, which bleed more visibly than nude shades. Choose a concealer that matches your skin exactly rather than going lighter, since a pale ring around the lips draws more attention than the feathering you are trying to hide completely.
Two-Coat Minimum
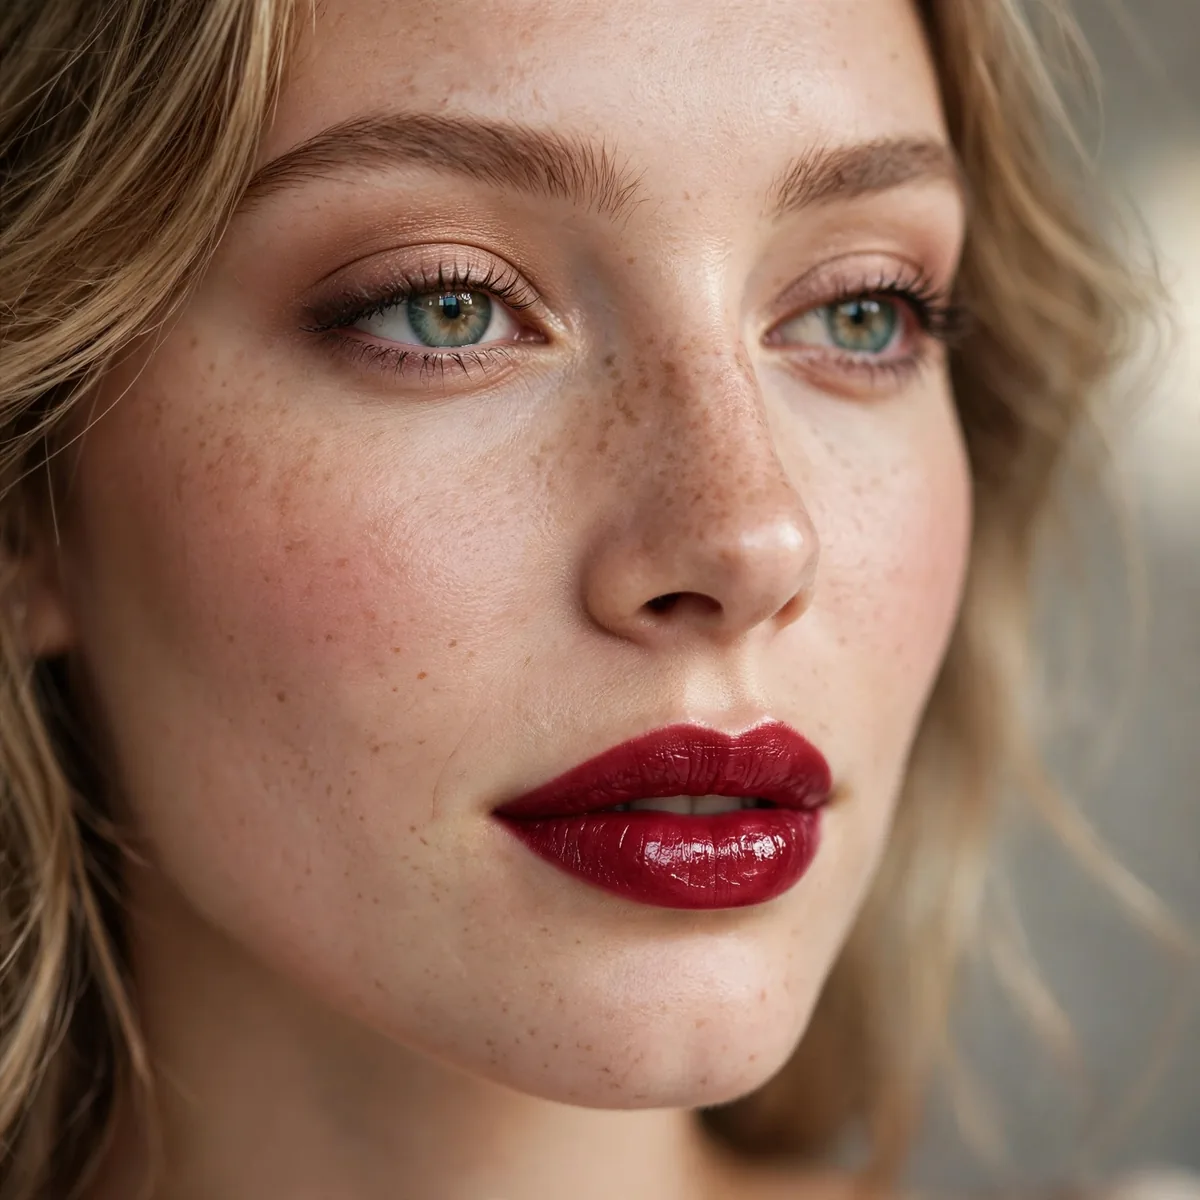
One coat is color; two coats is wear.
The second coat fills what the first missed. Coverage equals longevity.
The first coat establishes the true color and reveals any uneven patches in your application, acting as a diagnostic layer. Blot lightly after the first coat to remove excess, then apply the second coat with more confidence, filling in thin spots and building the coverage that creates real staying power.
Skipping the second coat is the most common reason lipstick fades by lunchtime, since a single layer simply lacks the pigment density to survive talking, drinking, and eating. The extra ninety seconds a second coat takes is the cheapest longevity upgrade in all of makeup. Make it non-negotiable on days when touch-ups will be difficult or impossible.
Choose Transfer-Proof
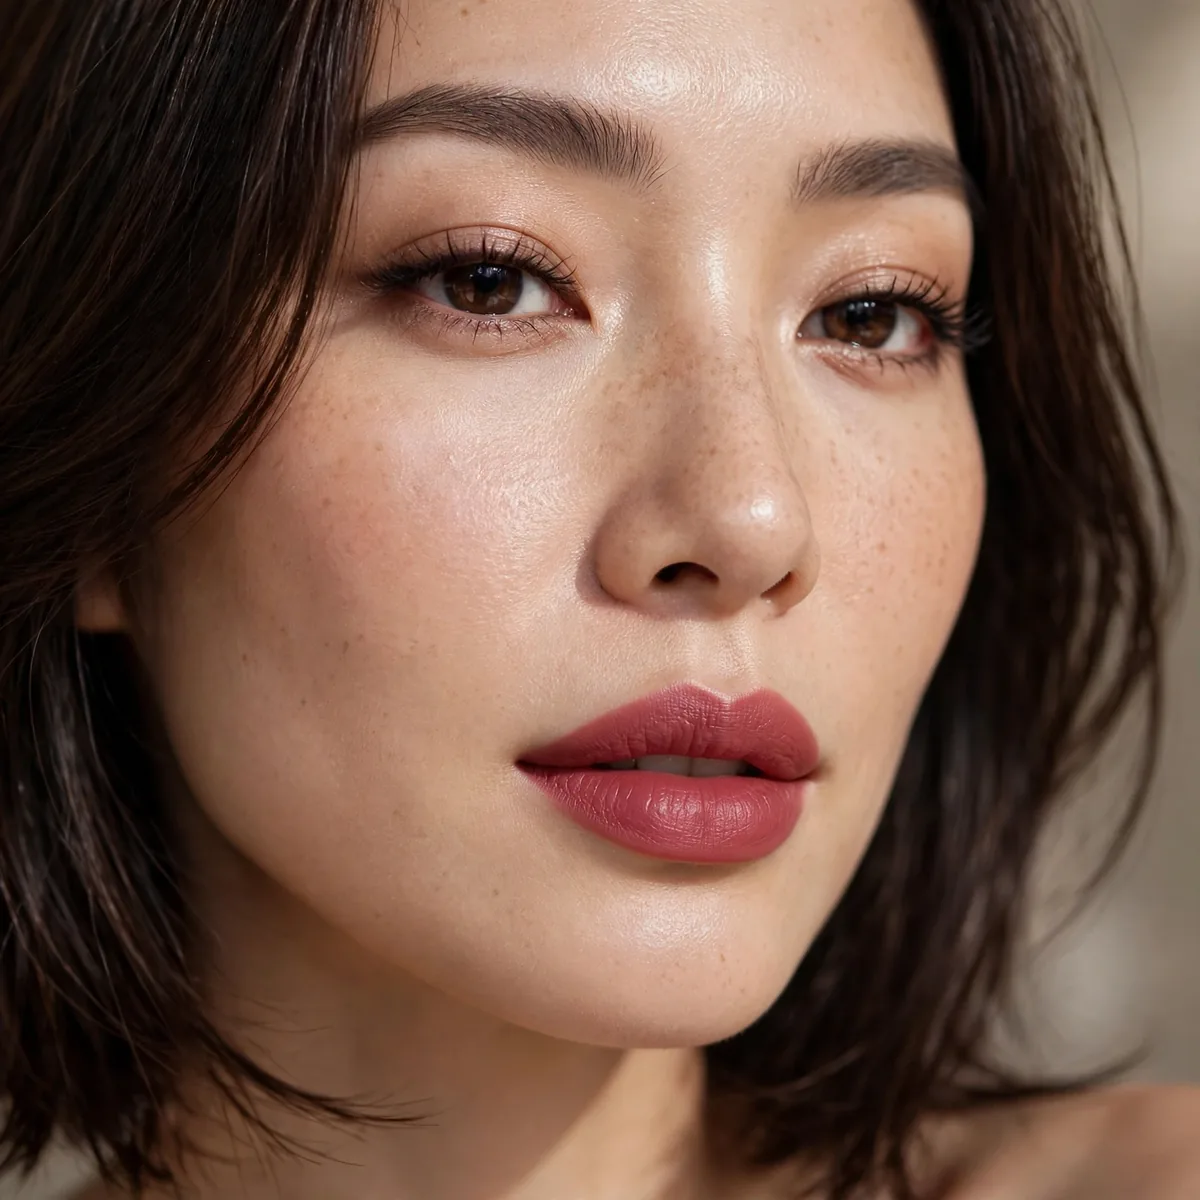
Liquid lipsticks and transfer-proof formulas survive eating best.
For the ultimate test, transfer-proof is the only guaranteed option.
Transfer-proof liquid lipsticks use volatile ingredients that evaporate to leave a flexible film of pure pigment bonded to the lips. Apply them in one confident layer without going back over spots, since reworking the formula as it sets causes the crumbling and patchiness people complain about. Let the formula set undisturbed for a full minute before pressing your lips together.
These formulas demand thorough removal with an oil-based cleanser, since scrubbing at set pigment damages the delicate lip skin. They also suit special occasions better than daily wear for most people, because the long-wearing film can feel drying over many consecutive days of use. Alternate with hydrating formulas on off days to keep your lips healthy and comfortable.
Mid-Meal Check
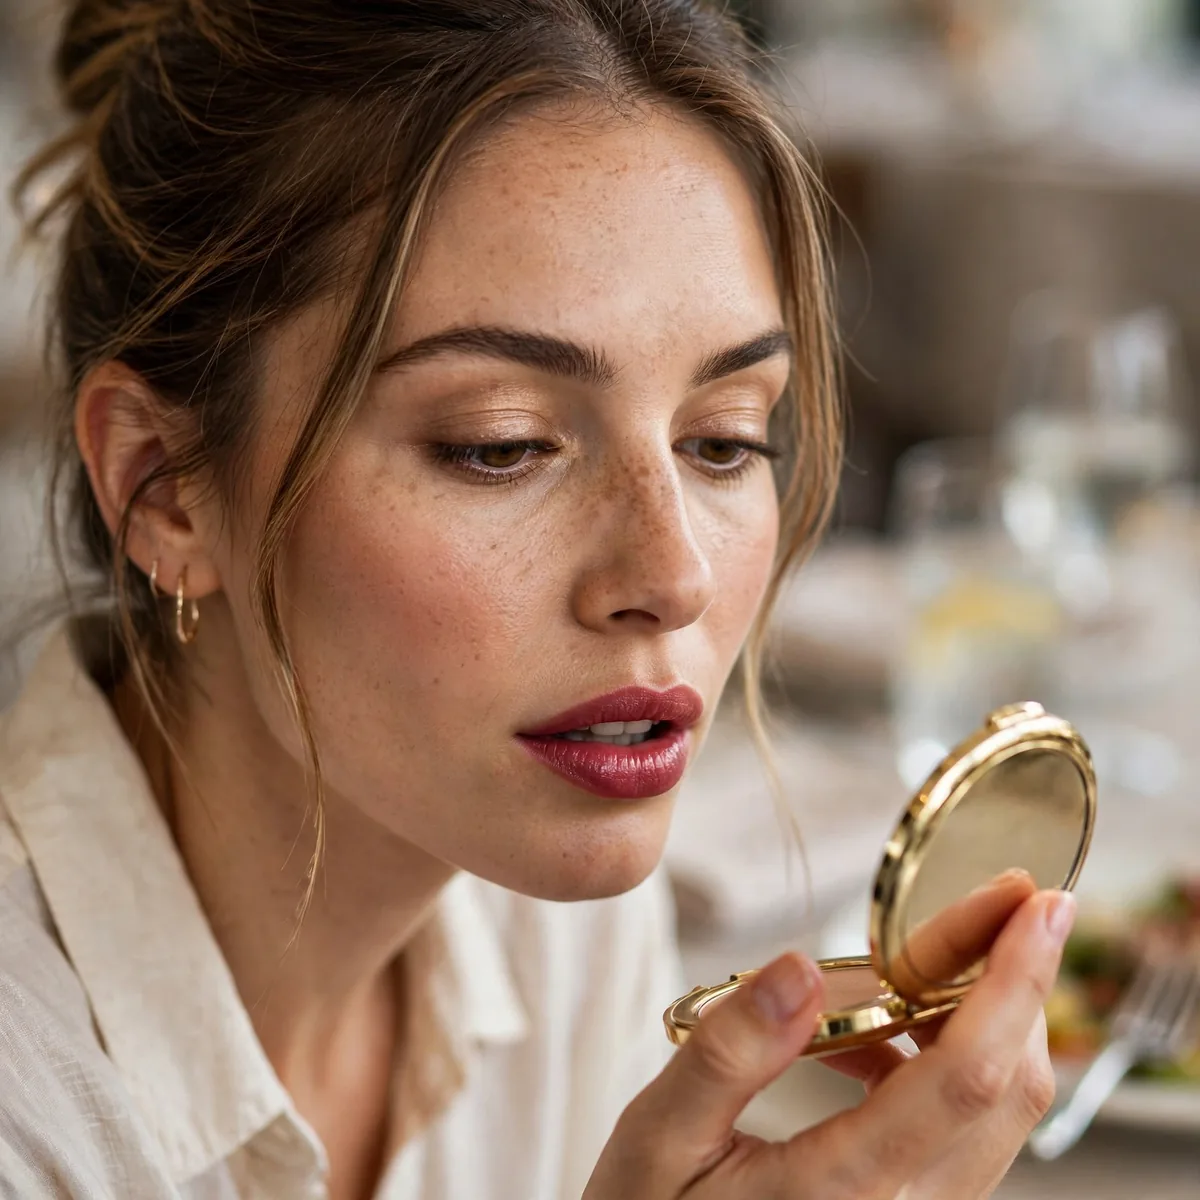
A quick bathroom check mid-meal catches fading early.
Early touch-ups look better than late rescues. Timing matters.
Excuse yourself between courses rather than waiting until dessert, since a two-minute touch-up early looks seamless while a rescue job late looks obvious. Bring your lipstick and liner in a small clutch or pocket so the check takes seconds and you return to the table looking polished. Discreet maintenance is the hallmark of someone whose makeup always looks intentional.
In the bathroom, blot first to remove food residue, then reapply lipstick to the center of the lips and press them together to distribute it. Check the corners for smudging and clean any migration with a fingertip or cotton swab, since neat edges matter more than perfect color at this stage.
Carry the Bullet
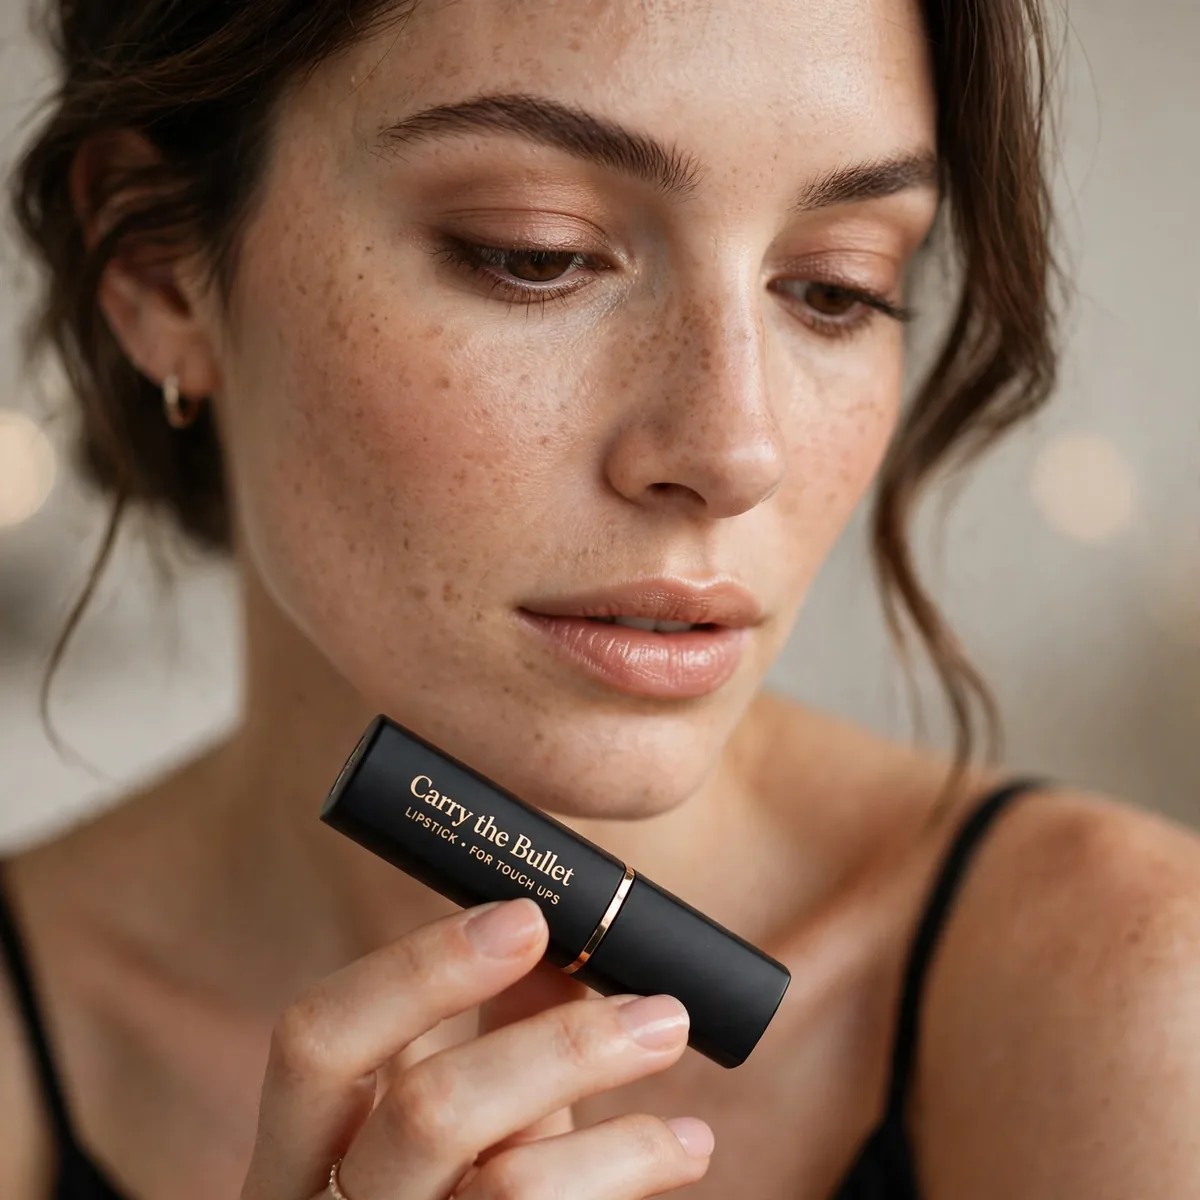
Bring the lipstick — no tip replaces the actual product.
The 10-second touch-up beats every prevention method. Pack it.
Decanting lipstick into a tiny pot saves space but the bullet’s angled tip gives you the precision a finger or brush cannot match on the go. Toss the full tube into your bag each morning alongside blotting papers, and you will never be caught with fading color and no way to fix it.
Choose a lipstick case or pouch that protects the bullet from heat, since melted lipstick in a bag is a disaster nobody wants to clean. In summer, keep the tube in an inner pocket away from direct sun, and twist up only what you need so the tip stays sharp for precise application.
Night Out Layering
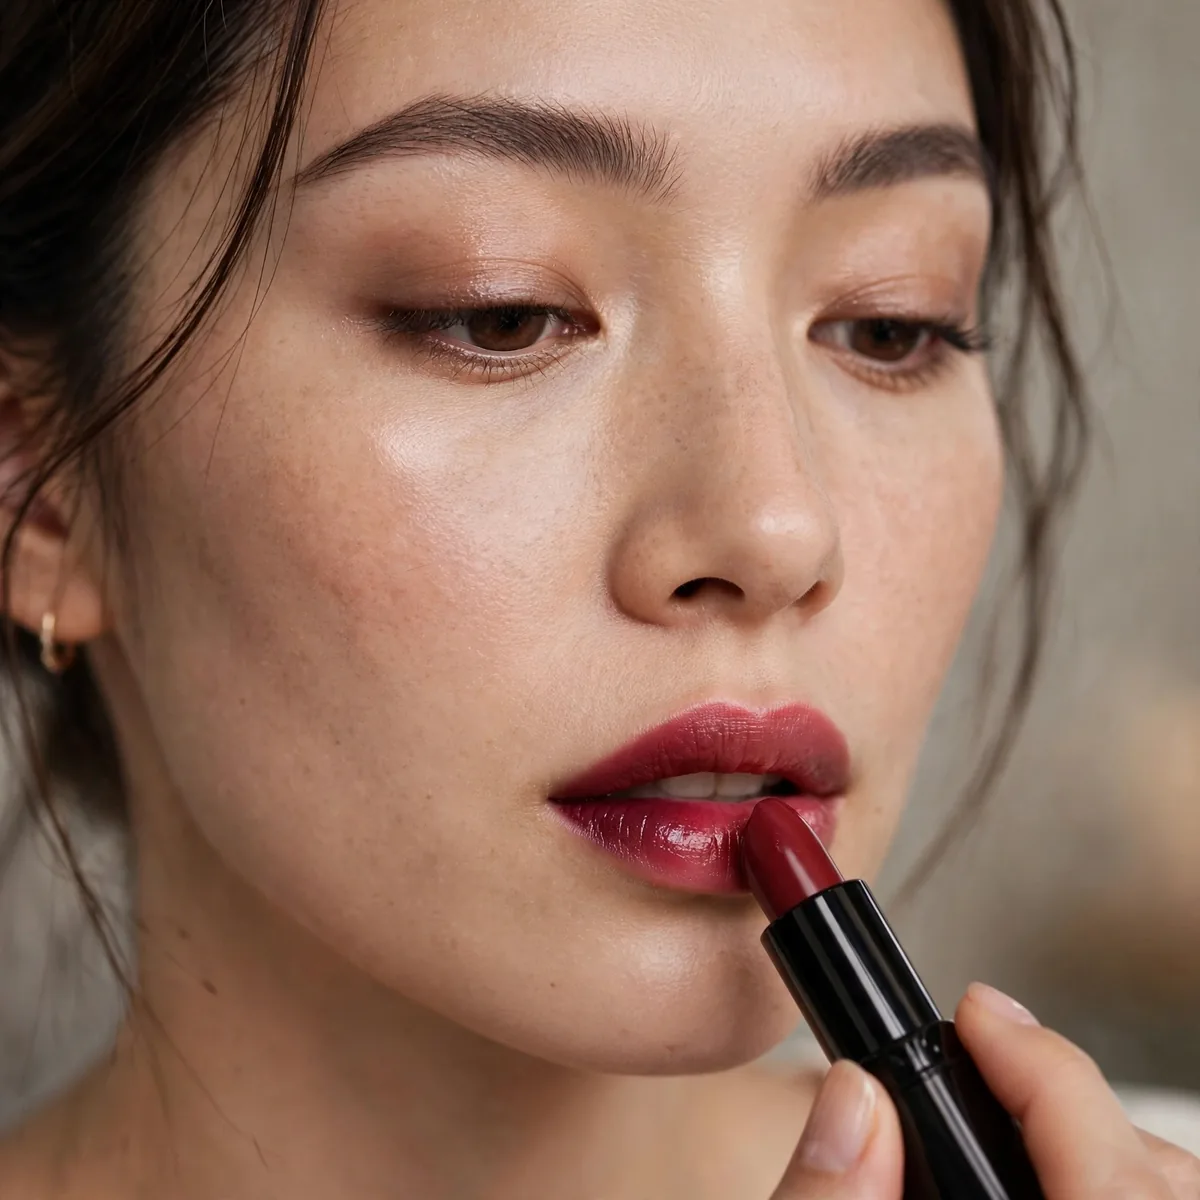
For evenings: liner, stain, lipstick, blot, lipstick — the full arsenal.
Layer everything for maximum wear. Evenings demand the complete routine.
Start the evening routine at least twenty minutes before leaving so every layer sets properly instead of sliding around in transit. Apply stain first, let it develop while you finish your eye makeup, then build liner and lipstick layers calmly — rushed layering is the main reason evening lipstick fails early.
For dancing and late nights, add a final dusting of the tissue-and-powder seal over your layered lipstick for extra insurance. The combination of stain, liner, two lipstick coats, and powder creates a bulletproof base that survives hours of talking, sipping, and smiling without a single touch-up. Pack the bullet anyway for peace of mind, even if you never need it.
Removing Long-Wear Properly
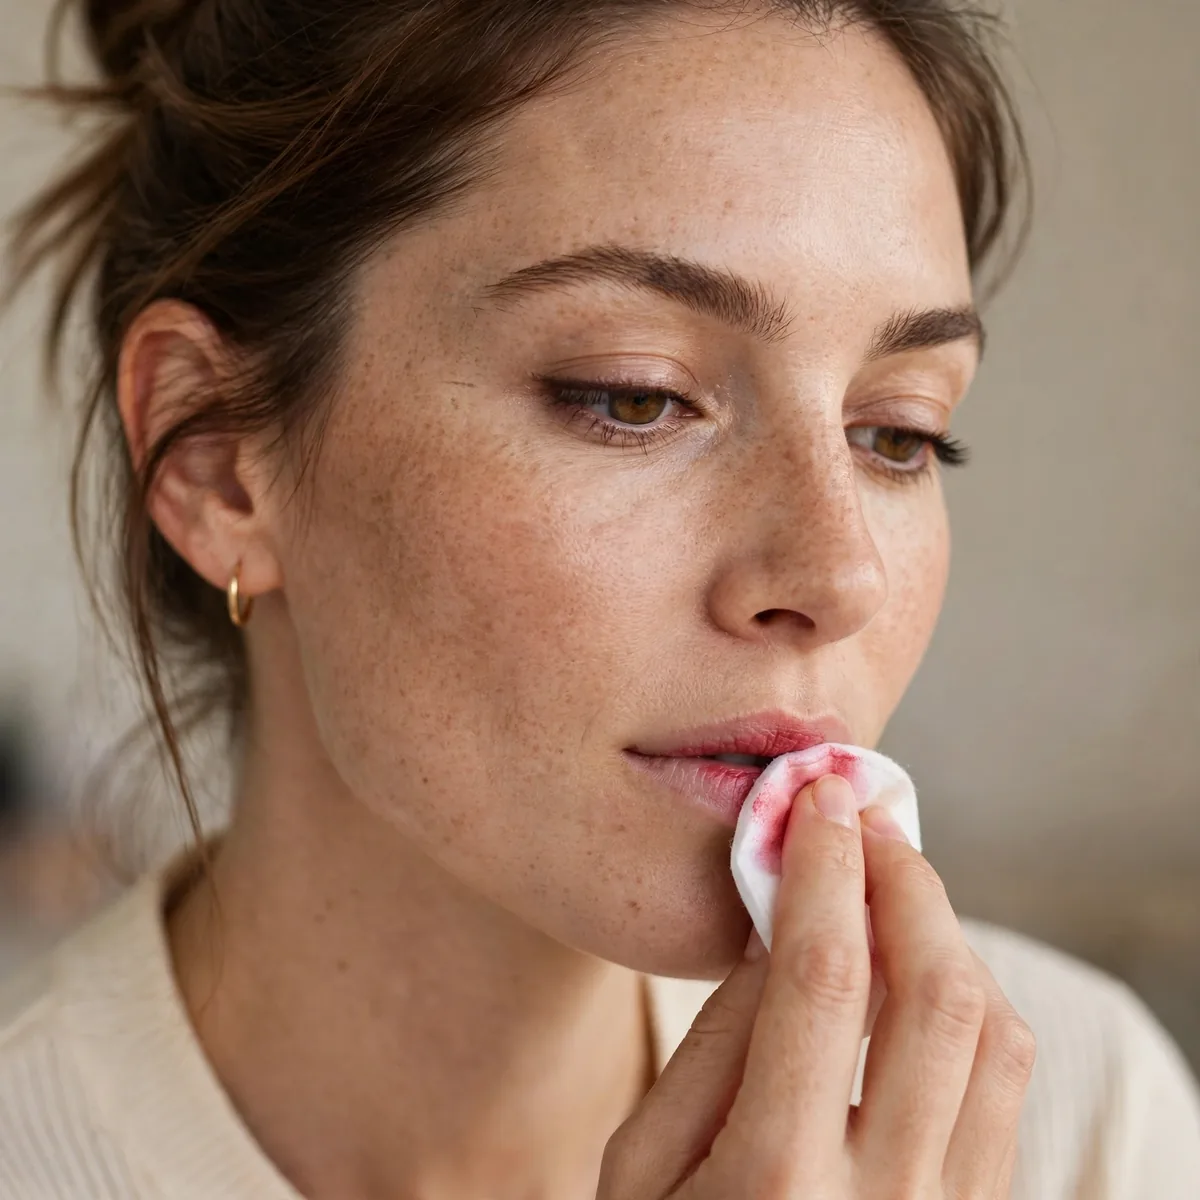
Oil-based remover dissolves long-wear gently — never scrub.
Scrubbing damages lips and discourages future long-wear. Dissolve, don’t drag.
Soak a cotton pad with oil-based remover and hold it against your lips for thirty seconds before wiping, letting the oil dissolve the film-formers instead of forcing them off. The waiting step is what protects your lips, since dissolved pigment wipes away with zero friction or tugging. Coconut oil or jojoba oil work beautifully as gentle alternatives to commercial removers.
After removal, apply a nourishing lip balm or overnight mask immediately, since long-wear formulas leave lips slightly dehydrated even with gentle removal. This recovery step keeps your lips healthy enough to handle long-wear again the next day, preventing the dryness cycle that makes people abandon these formulas. Think of it as skincare for your lips — removal and recovery are two halves of one routine.
Lip Health Matters
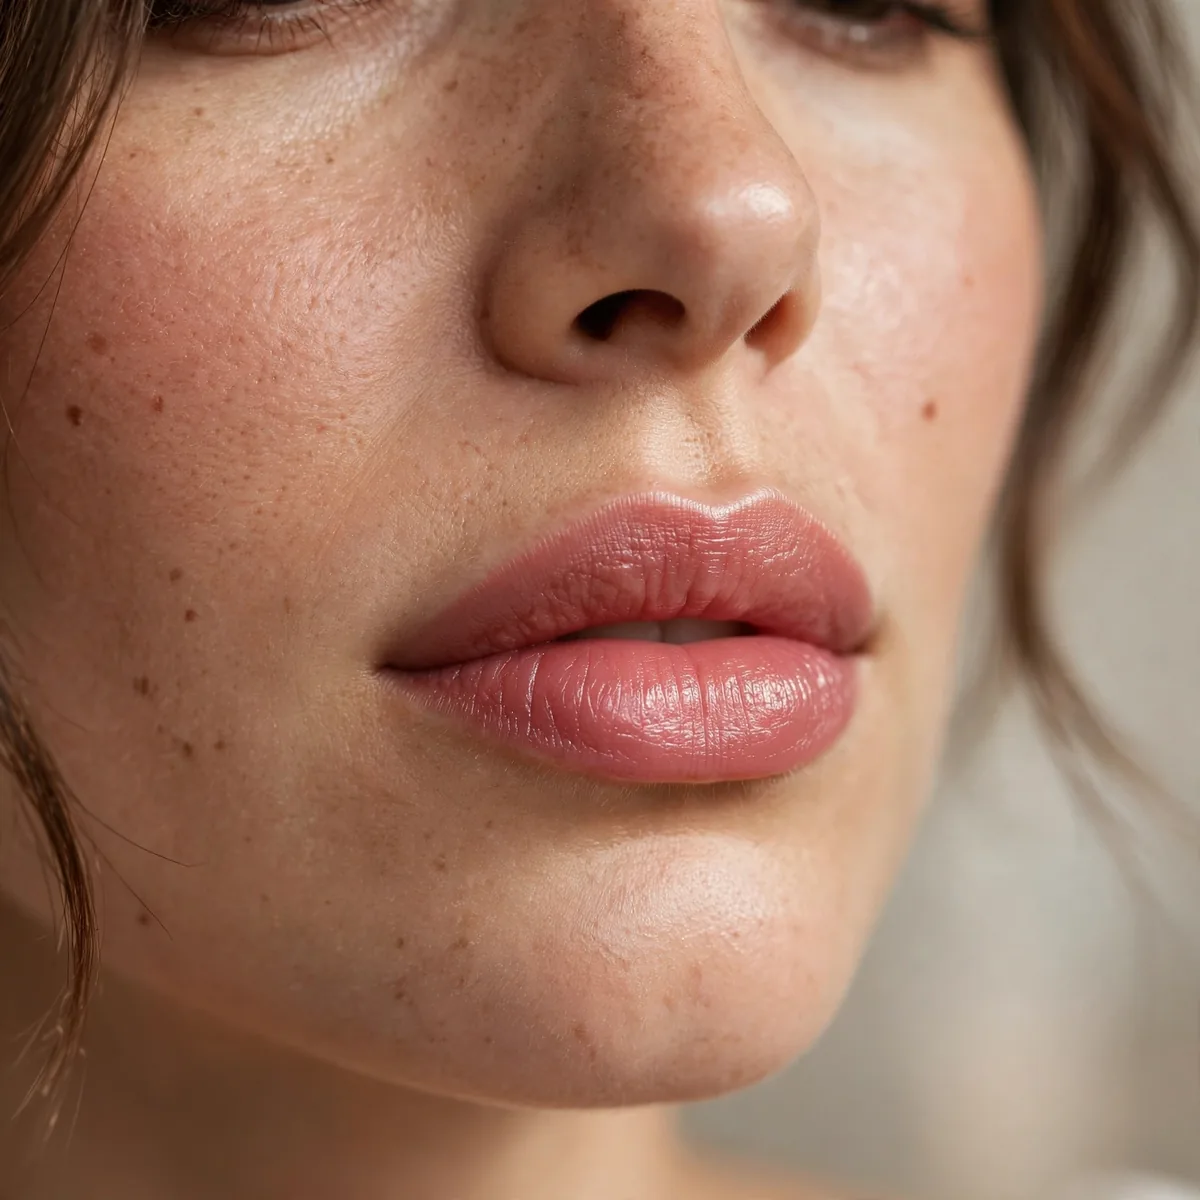
Healthy lips hold color better — hydrate nightly.
For lip-plumping techniques, our lip liner guide helps. Good lips wear lipstick well.
Drink plenty of water throughout the day, since dehydrated lips chap and flake no matter how much balm you apply on top. Internal hydration shows up in lip texture within days, and smooth, plump lips from the inside out hold every lipstick formula noticeably longer. Avoid licking your lips, which feels hydrating but actually dries them out faster through evaporation.
Protect your lips from sun damage with an SPF lip balm during the day, since UV exposure thins and ages lip skin just like the rest of your face. Healthy, undamaged lips have a smoother surface that grips color evenly, making sun protection a genuine longevity strategy rather than just a health habit.
Realistic Longevity
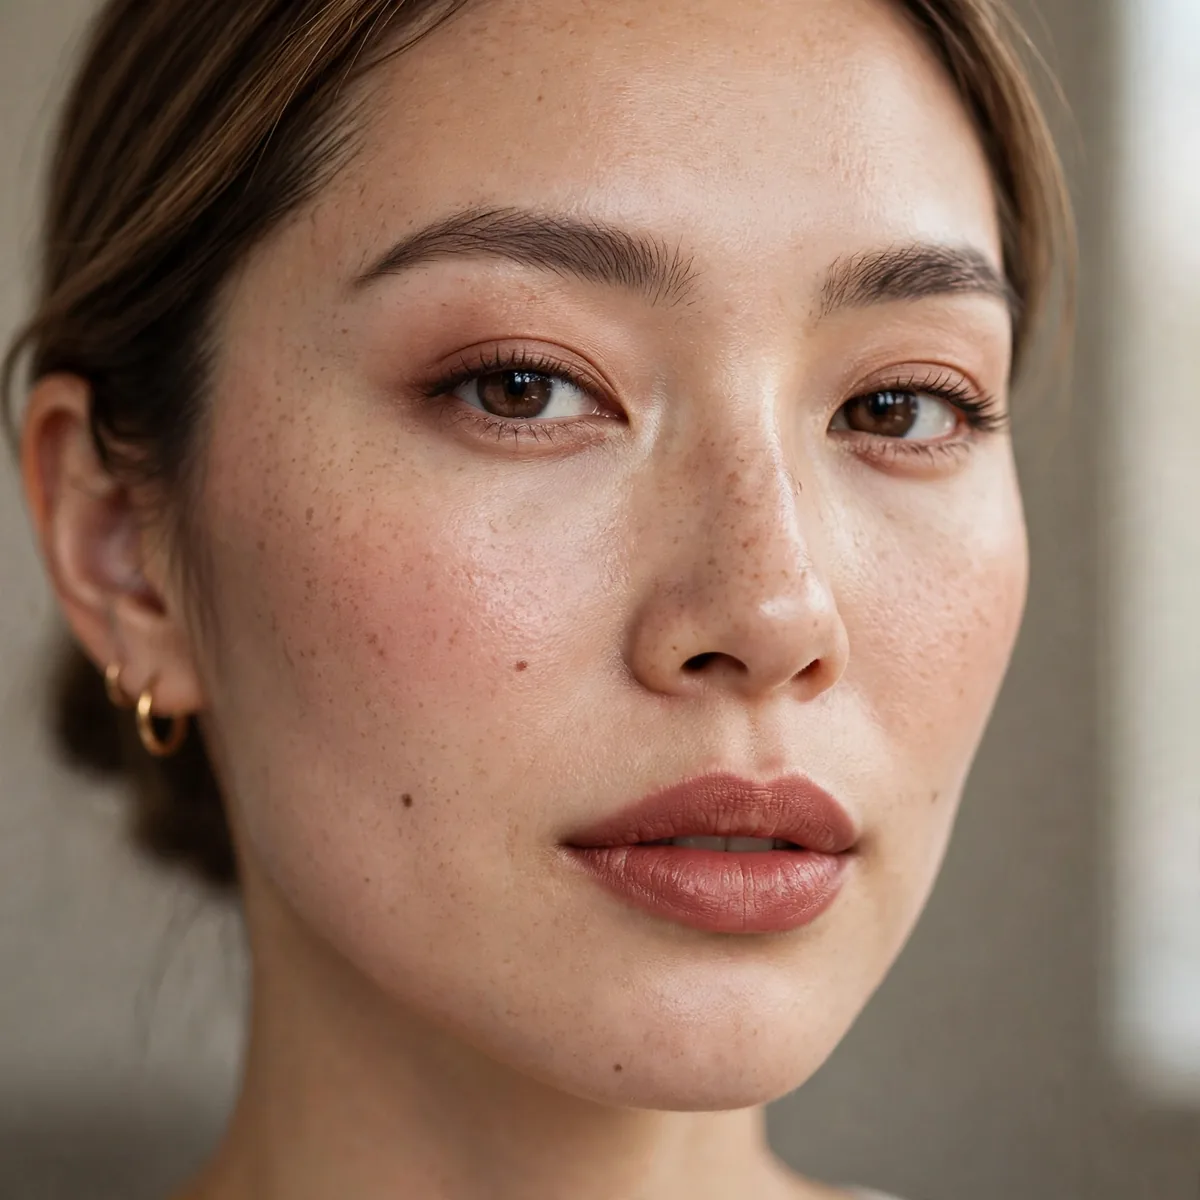
Eight hours with one touch-up is excellent — perfection isn’t the goal.
Honest expectations prevent frustration. Plan the touch-up; enjoy the wear.
Even the best transfer-proof formulas fade at the very center of the lips where food and drink make direct contact, so plan for that reality. A quick center touch-up with the bullet takes ten seconds and restores the look completely, which is far more practical than chasing a formula that never fades.
Judge your lipstick’s performance by how it looks at the end of the day, not by whether it survived untouched. Even, graceful fading that leaves a soft stain reads as polished and intentional, while demanding absolute perfection from any formula only leads to disappointment and constant reapplication anxiety. Celebrate the wear you got instead of mourning the touch-up you needed.
Dinner-proof lips are achievable — pin these tips. For formula choices, see lip stain vs lipstick, or find shades in red lipstick shades.




