
The problem with matte isn’t matte — it’s flat matte.
Matte makeup gets a bad rap for looking dull and lifeless. But dimensional matte — with varied tones, textures, and strategic placement — looks sophisticated and modern.
The secret: matte needs contrast to avoid flatness. Different matte tones, subtle texture variation, and precise placement create depth without a drop of shimmer.
Here are 18 dimensional matte looks. Let’s get into it.
Dimensional Matte Base
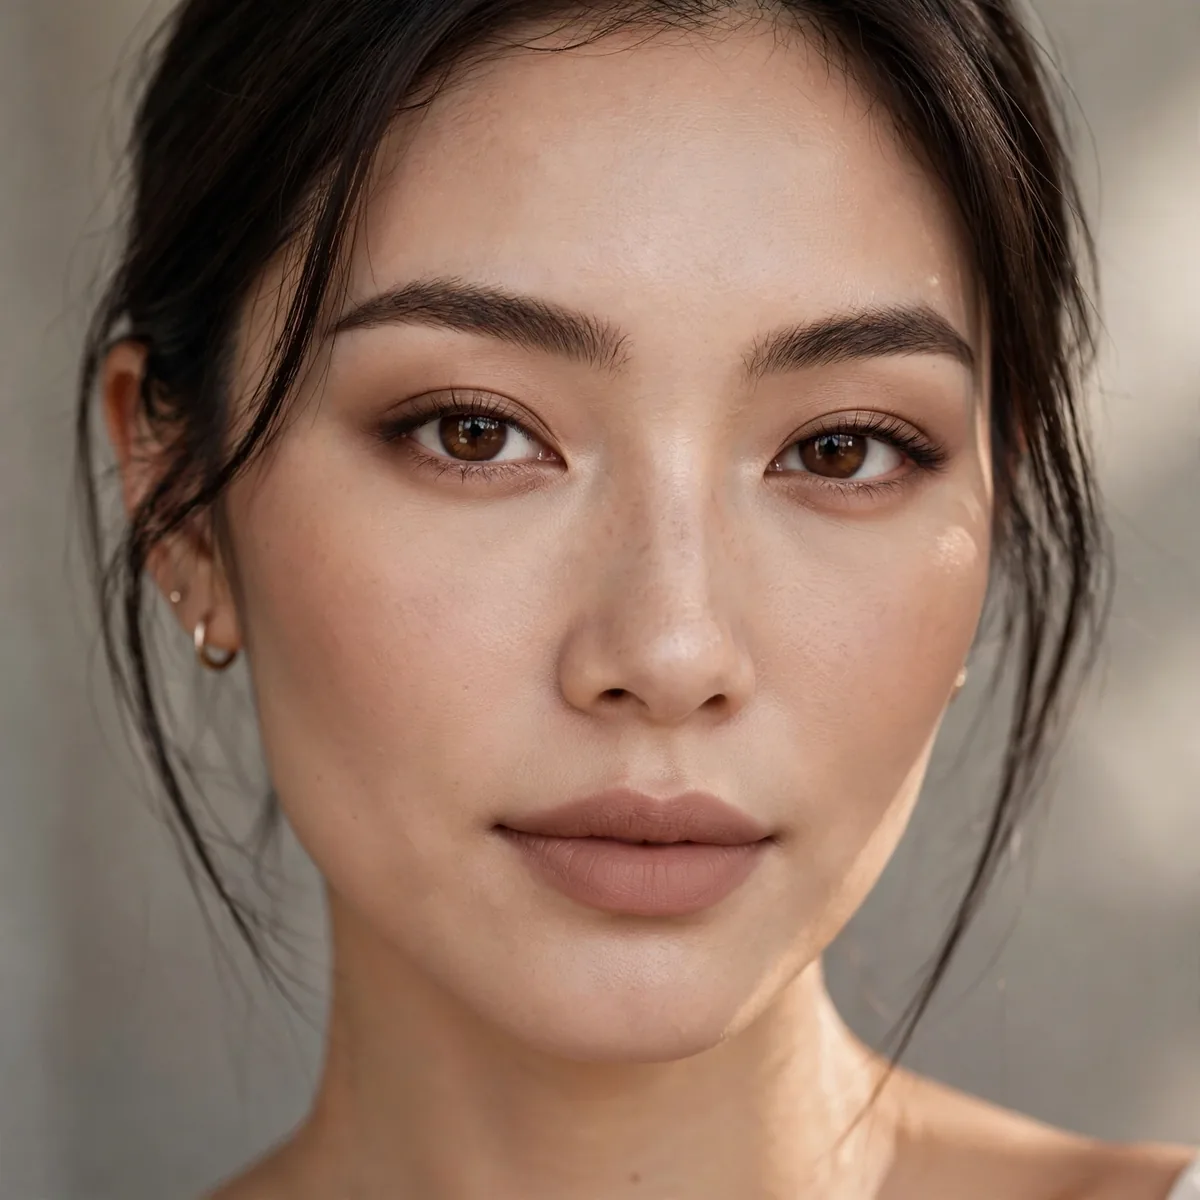
Matte foundation with varied coverage — more where needed, less where not.
Varying the base creates natural dimension. Uniform matte is what looks flat.
Choose a soft-matte foundation with niacinamide for oil control that doesn’t look powdery — the formula matters as much as the technique. Apply with a damp sponge in thin layers, building only where redness or uneven tone shows through. Let each layer set for a minute before adding more; rushing creates the cakey buildup that reads flat.
This approach suits combination and oily skin best, but dry skin types can make it work with a hydrating primer underneath. Set only the zones that crease — under-eyes and around the nose — with a finely milled powder pressed in with a puff. Skip setting the cheeks entirely so your blush melts into skin rather than sitting on top of powder.
Matte Contour Depth
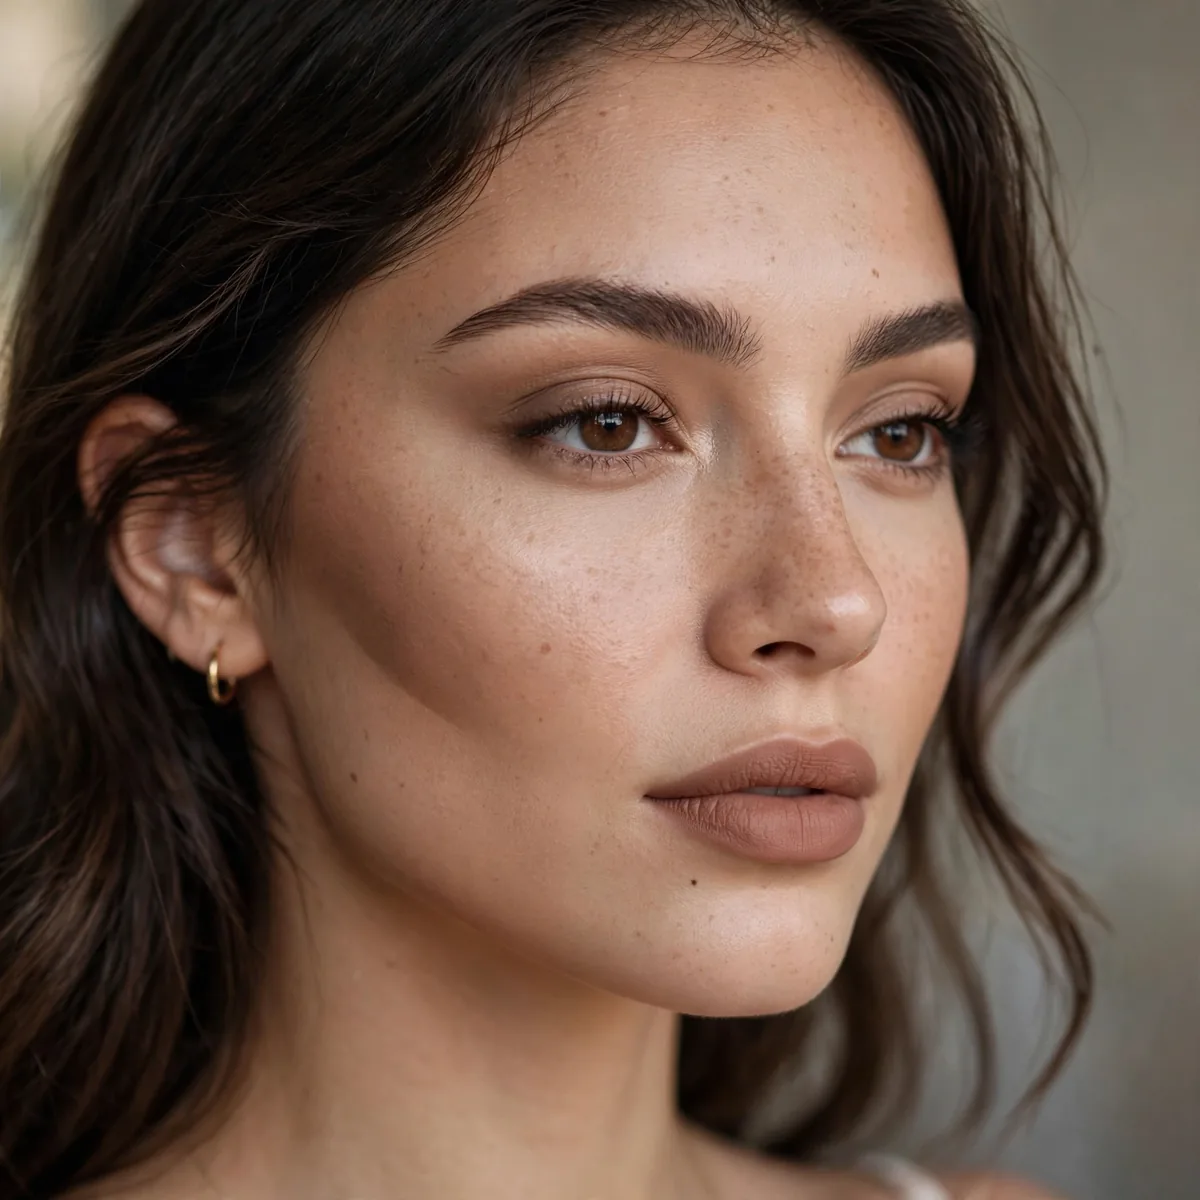
Matte contour creates the shadows that prevent flatness.
Our contour guide details technique. Contour is matte’s best friend.
Pick a contour shade two tones deeper than your skin with a neutral-to-cool undertone — warm bronzers read as tan, not shadow. Use a small angled brush and build in sheer passes along the hollows of the cheeks, temples, and jawline. Blend upward, never downward, so the shadow lifts rather than drags the face.
Cream-to-powder contour sticks create the most natural matte shadows, melting into foundation without patchiness. Set the contour lightly with a translucent powder to lock it through long days. For photography, deepen the contour slightly — cameras flatten dimension, so what looks perfect in the mirror can disappear in photos. Check your work in natural light before leaving.
Blush as Dimension
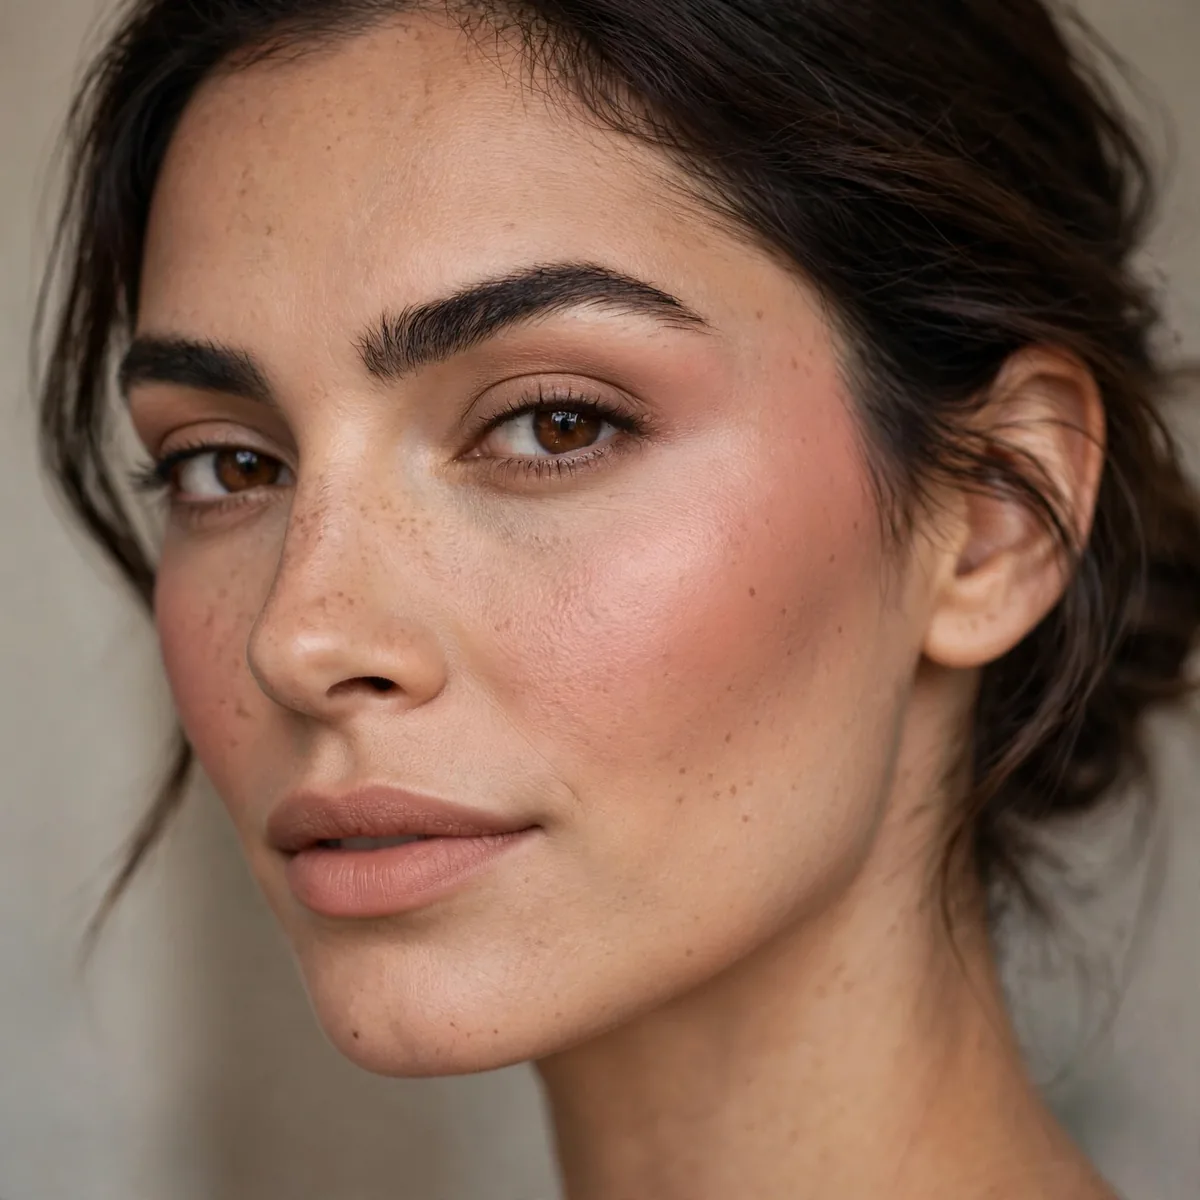
Matte blush adds color dimension to a matte base.
Color variation prevents flatness. Blush is doing structural work here.
Layer two matte blushes — a deeper shade on the apples, a brighter one swept toward the temples — to build dimensional color. Cream-to-powder blush formulas melt into matte foundation seamlessly where pure powders can sit on top. Apply with a stippling brush in bouncing motions, which presses color into skin rather than sweeping it across.
Warm peachy blushes add life to matte skin in a way cool pinks can’t — they mimic the natural flush that matte foundation hides. This trick suits fair to medium skin tones especially well; deeper complexions should reach for rich terracotta or berry mattes. Smile, apply, then blend upward — and stop before the blush creeps toward the nose, which ages the face.
Matte Eye Definition
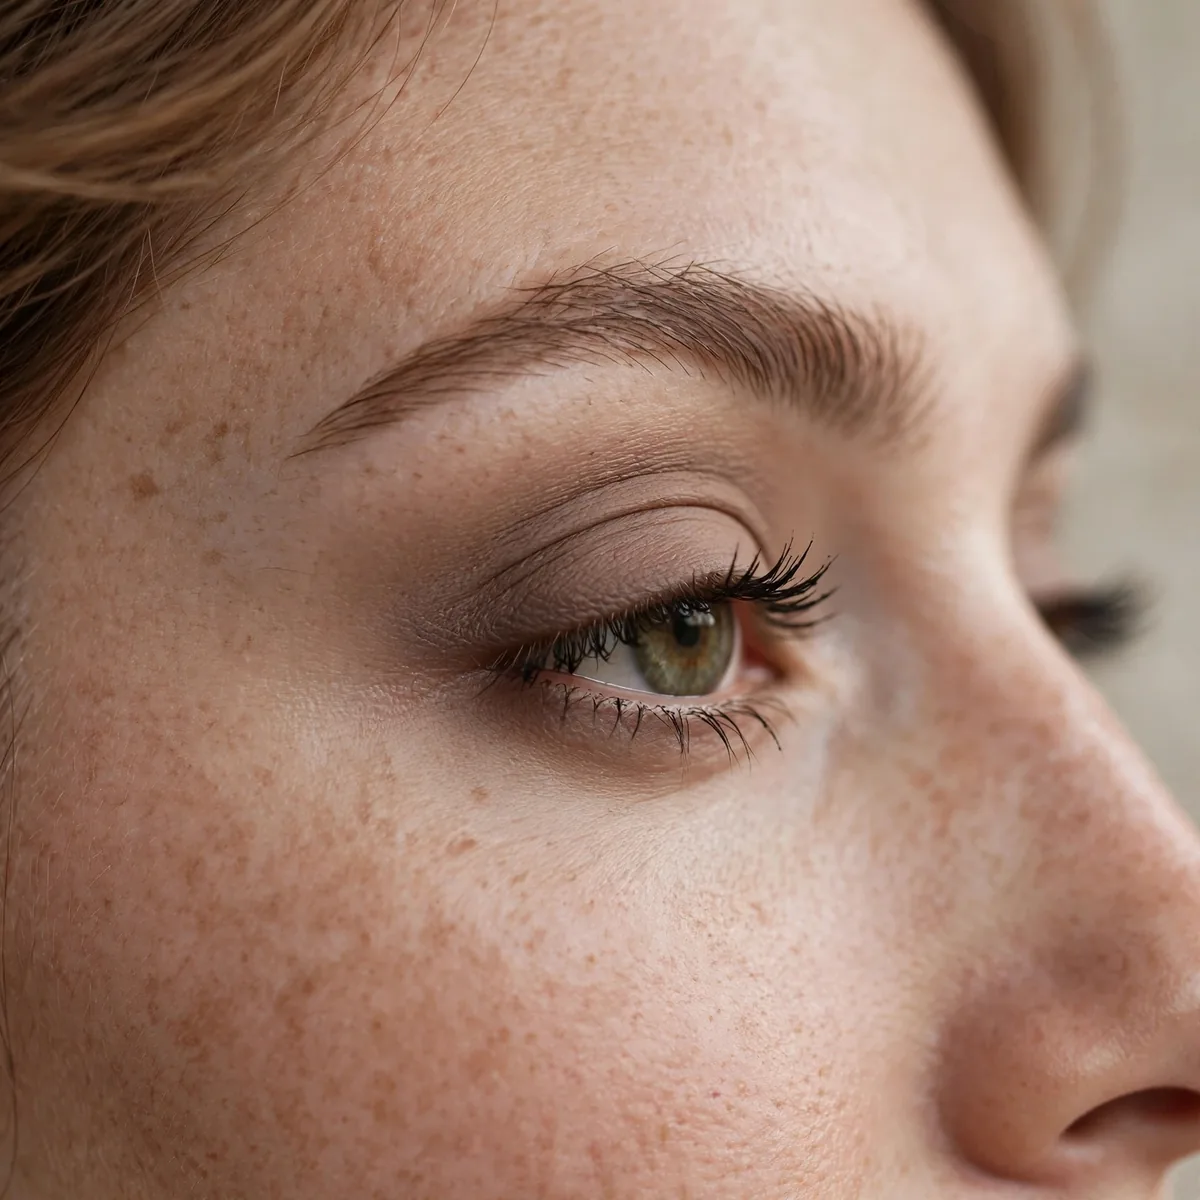
All-matte eyes with varied tones — depth through shade, not shimmer.
Three matte tones create more depth than one shimmer. Variety beats sparkle.
Build the eye with four matte tones — a skin-tone base, a transition shade, a crease color, and a deep outer-corner shade. The gradient between them creates the depth shimmer usually provides. Use a separate clean brush for each blending step; matte shadows turn muddy fast when colors mix on a dirty brush. Take your time — matte blending rewards patience.
Hooded eyes gain the most from all-matte definition, since shimmer on the lid emphasizes the fold while matte recedes it gracefully. Pair the matte eye with a satin or glossy lip to keep the face balanced — texture contrast between eyes and lips is what prevents the whole look from reading flat. A waterproof matte liner tightlined adds anchoring definition.
The Texture Mix
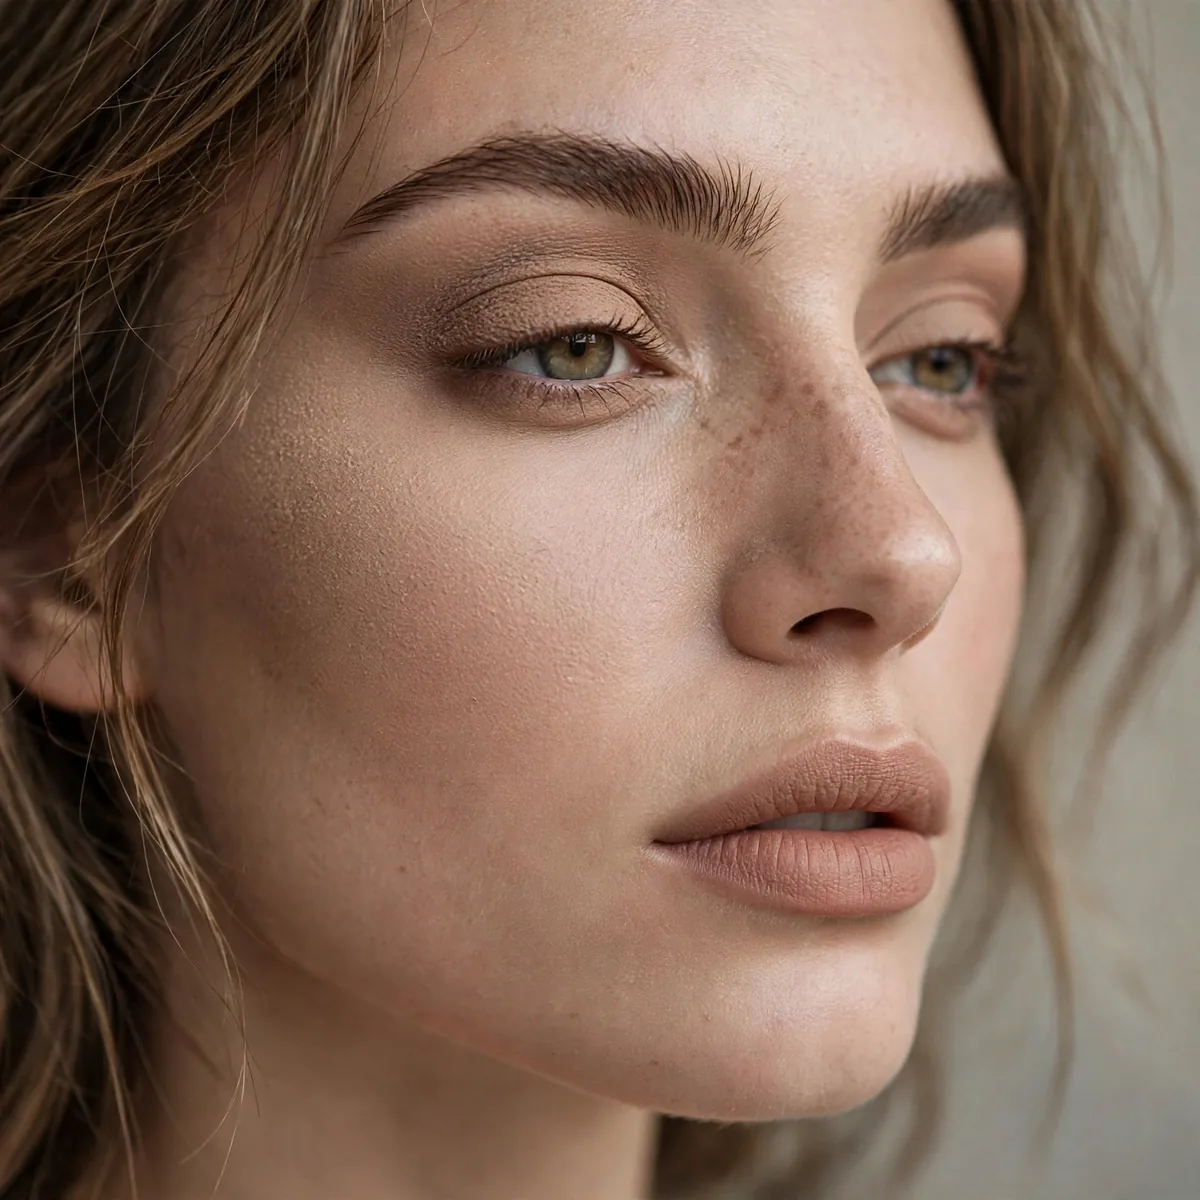
Velvet matte lips, soft-matte skin, matte eyes — varied matte textures.
Different matte textures catch light differently. The variation reads as dimension.
Apply the velvet lip first, since its rich texture sets the tone for the whole face. Choose a soft-matte foundation with a blurring primer underneath — the primer’s smooth canvas lets different matte textures sit evenly. Keep eyes in a mid-matte finish, slightly softer than the lip, so the textures graduate from bold to quiet across the face.
This layered approach suits evening events and photography beautifully, where varied textures catch light in interesting ways. For daytime, soften one element — swap the velvet lip for a blurred matte stain so the face doesn’t feel overdressed. Blot with rice-paper sheets midday rather than adding powder, which would flatten the careful texture variation you’ve built.
Matte With Bold Brows
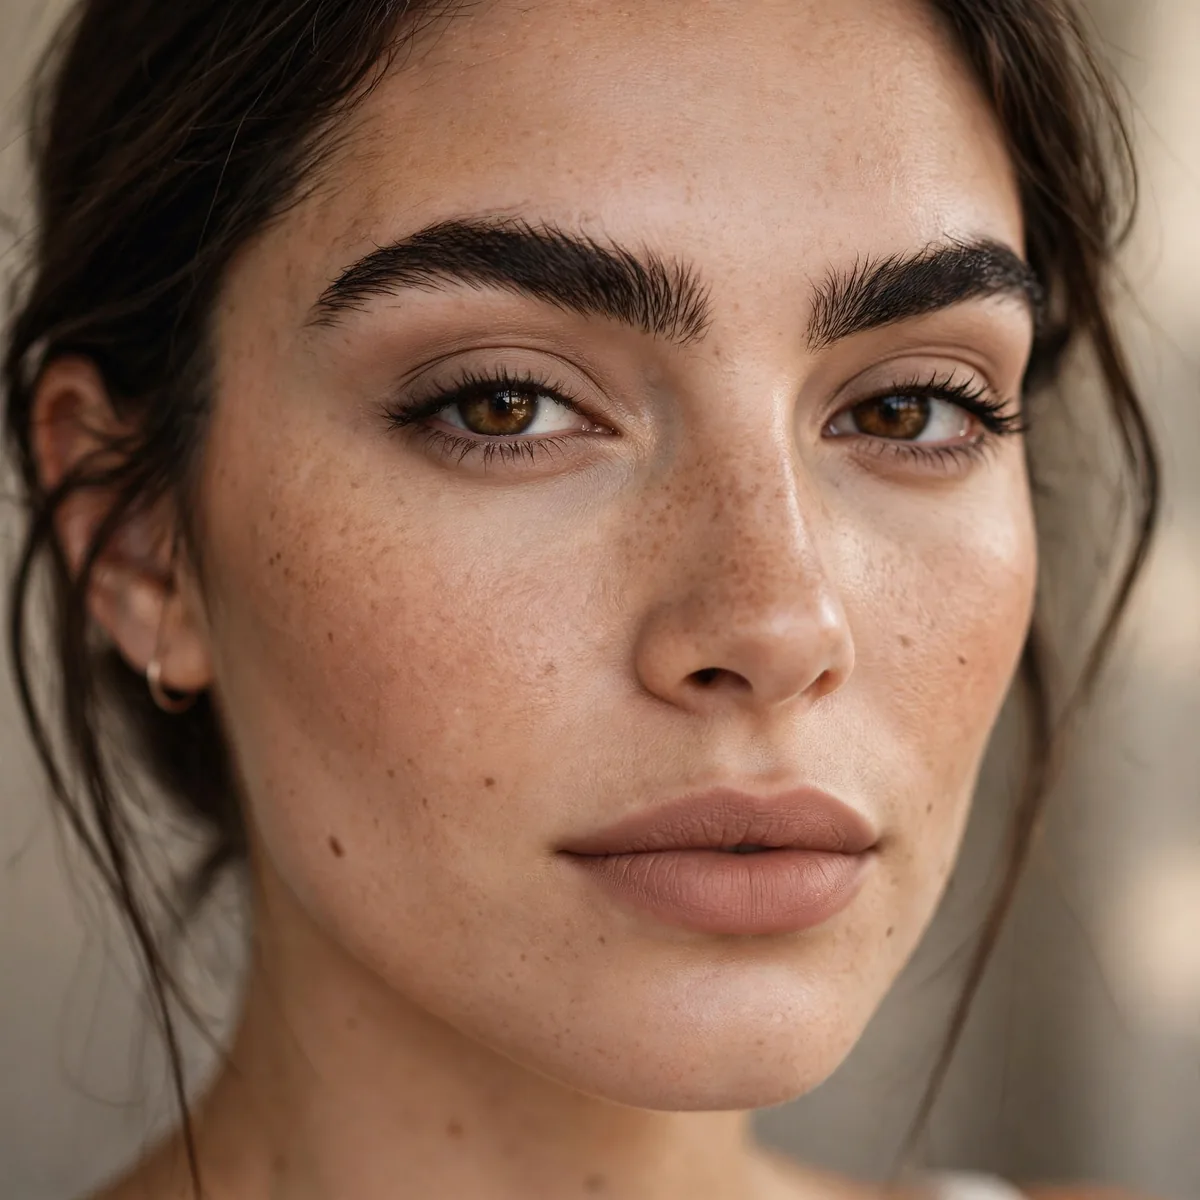
Strong brows add structure that prevents matte flatness.
Brows frame the matte face. Definition somewhere prevents dullness everywhere.
Fill brows with a matte pomade or powder in short hair-like strokes, focusing density through the arch and tail. The tail should extend just past the outer eye corner — too short and the frame collapses. Set with a clear brow gel brushed upward, then neaten the edges with a flat concealer brush for the crisp structure that matte skin needs.
Strong brows suit round and heart-shaped faces especially well, adding the angular structure those face shapes lack. Keep the brow shade one step softer than your hair color for a natural bold effect — too dark reads harsh against matte skin. Pair with a simple matte eye so the brows stay the undisputed focal point of the upper face.
Satin-Matte Hybrid
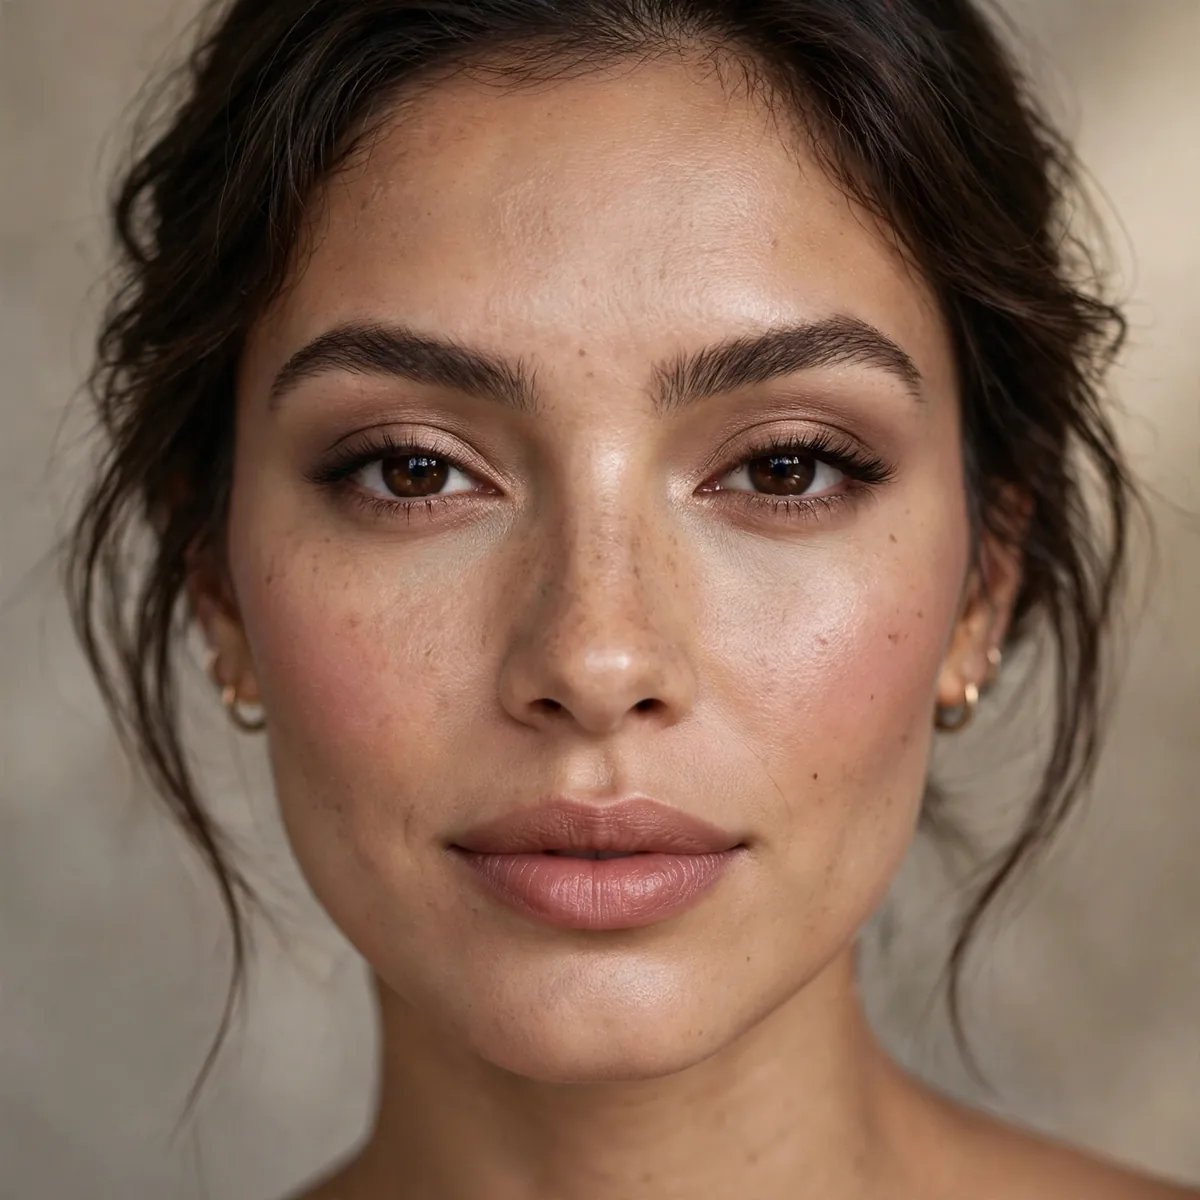
Satin-matte finishes — the middle ground with life.
Not fully matte, not dewy. The hybrid has dimension built in.
Look for foundations labeled natural-matte or demi-matte — they deliver the hybrid finish in one step. Apply with fingers rather than a sponge; body heat helps the satin-matte formula meld into skin. One thin layer usually suffices, since these finishes build coverage without the mask effect of traditional mattes. This is the easiest matte look for beginners to nail.
Dry and mature skin types thrive with this finish, getting matte’s polish without its parching effect. Pair it with cream blush and a satin lip to keep the whole face in the same soft-focus family. For summer, the hybrid’s light reflectivity photographs beautifully in golden-hour light — it’s the matte that loves warm weather instead of fighting it.
Matte Lip Focus
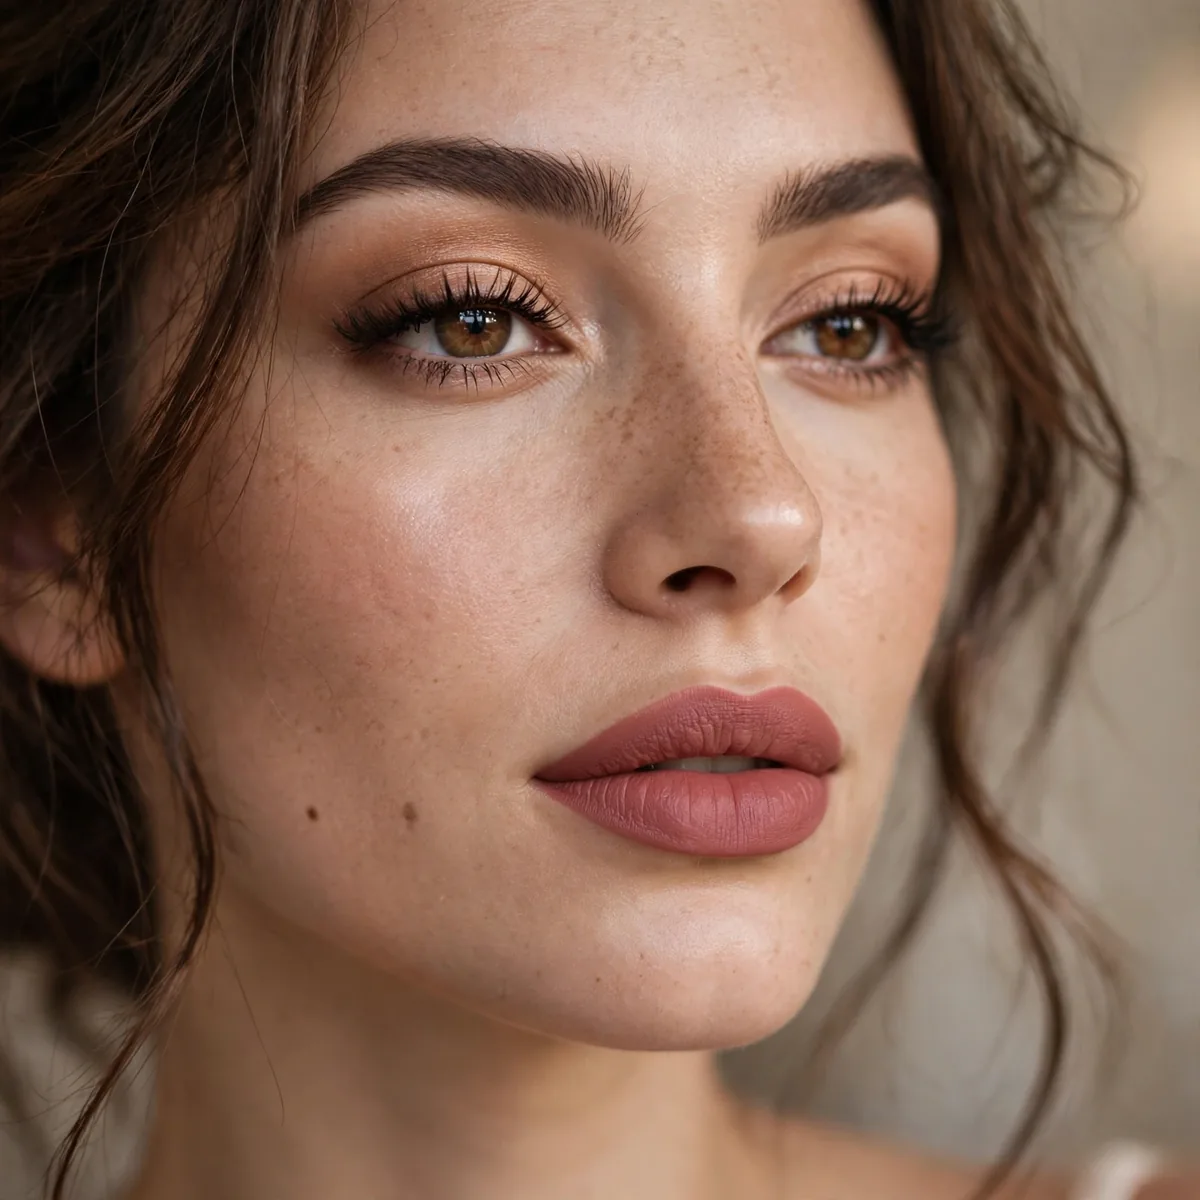
A matte lip as the dimensional anchor — color plus texture.
Our red lipstick guide has shades. The lip provides the interest matte skin needs.
Prep is everything: exfoliate lips gently with a damp washcloth, then apply a thin balm layer and blot before lipstick. Line just outside your natural lip line at the cupid’s bow only — overdrawing the whole lip looks artificial. Fill with the matte bullet straight from the tube, then press a tissue over lips and dust translucent powder through it to set.
With the lip as the star, keep everything else whisper-quiet: groomed brows, a wash of matte neutral shadow, and softly defined lashes. This balance suits evenings and events where the lip color needs to last — matte formulas survive dinner and drinks far better than glosses. Carry the lipstick for touch-ups, blotting first so fresh color adheres to a clean base.
Strategic Powder Placement
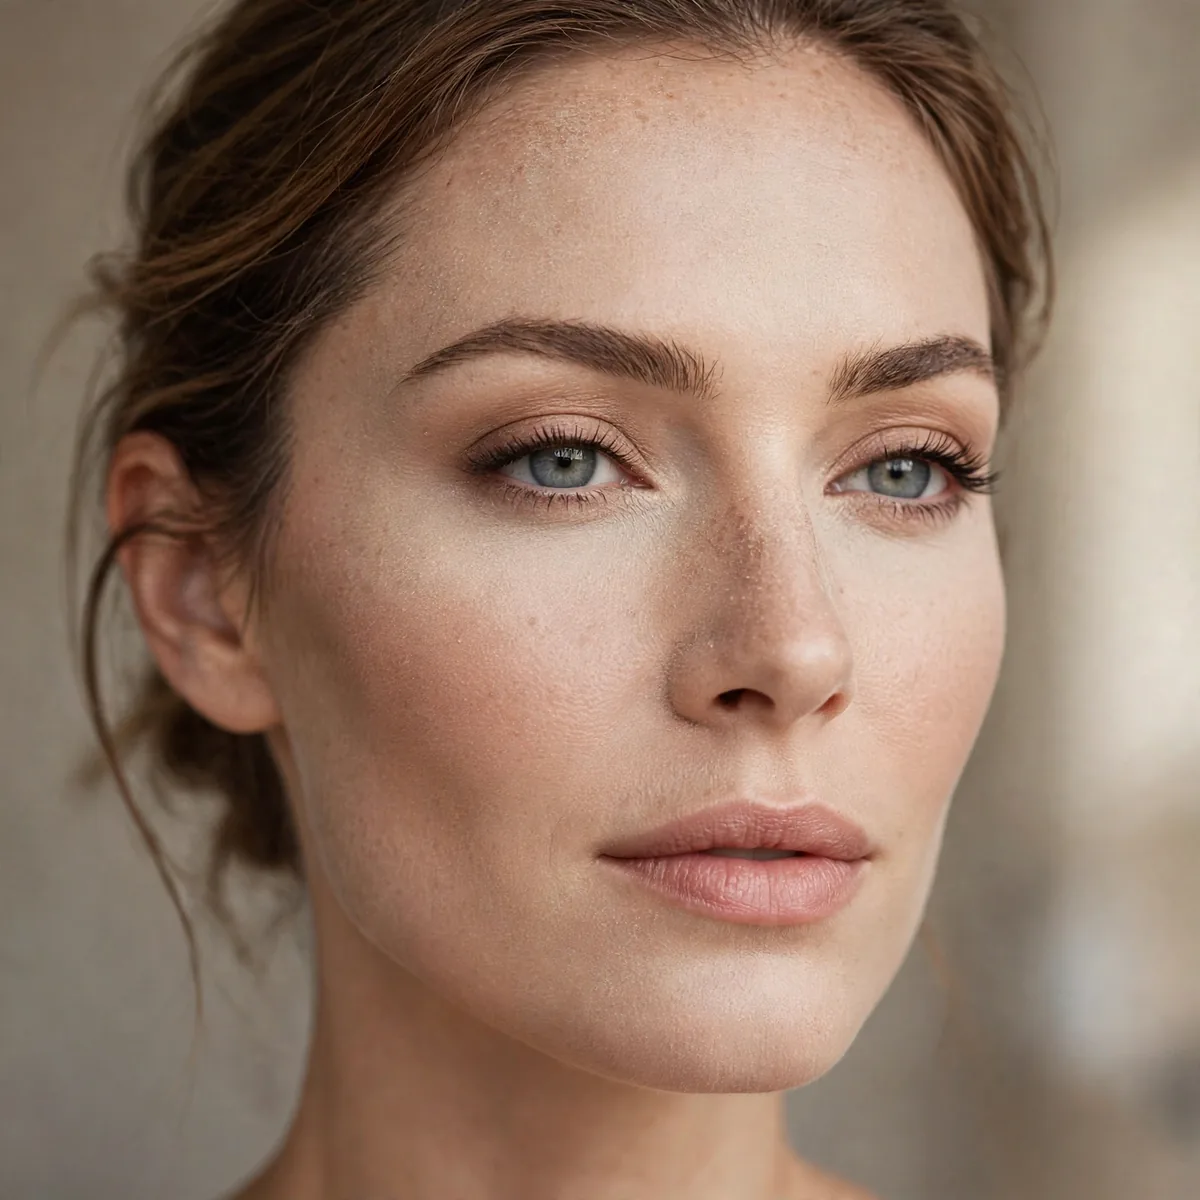
Powder only the T-zone; leave cheeks naturally luminous.
Selective mattifying preserves life. All-over powder is what flattens.
Use a small fluffy brush for precision — big powder brushes defeat the strategic purpose. Press powder into the T-zone with a rolling motion rather than sweeping, which disturbs foundation. The sides of the nose and chin collect oil fastest, so give them an extra press. A powder with a hint of color corrects redness in the T-zone simultaneously.
Combination skin is the ideal candidate for this technique — oily where it matters, luminous everywhere else. In humid weather, carry blotting papers and press them on the T-zone before considering more powder; layering powder over oil creates buildup. For dry skin, skip powder entirely and use a mattifying primer only on the T-zone under foundation.
Matte Bronzer Warmth
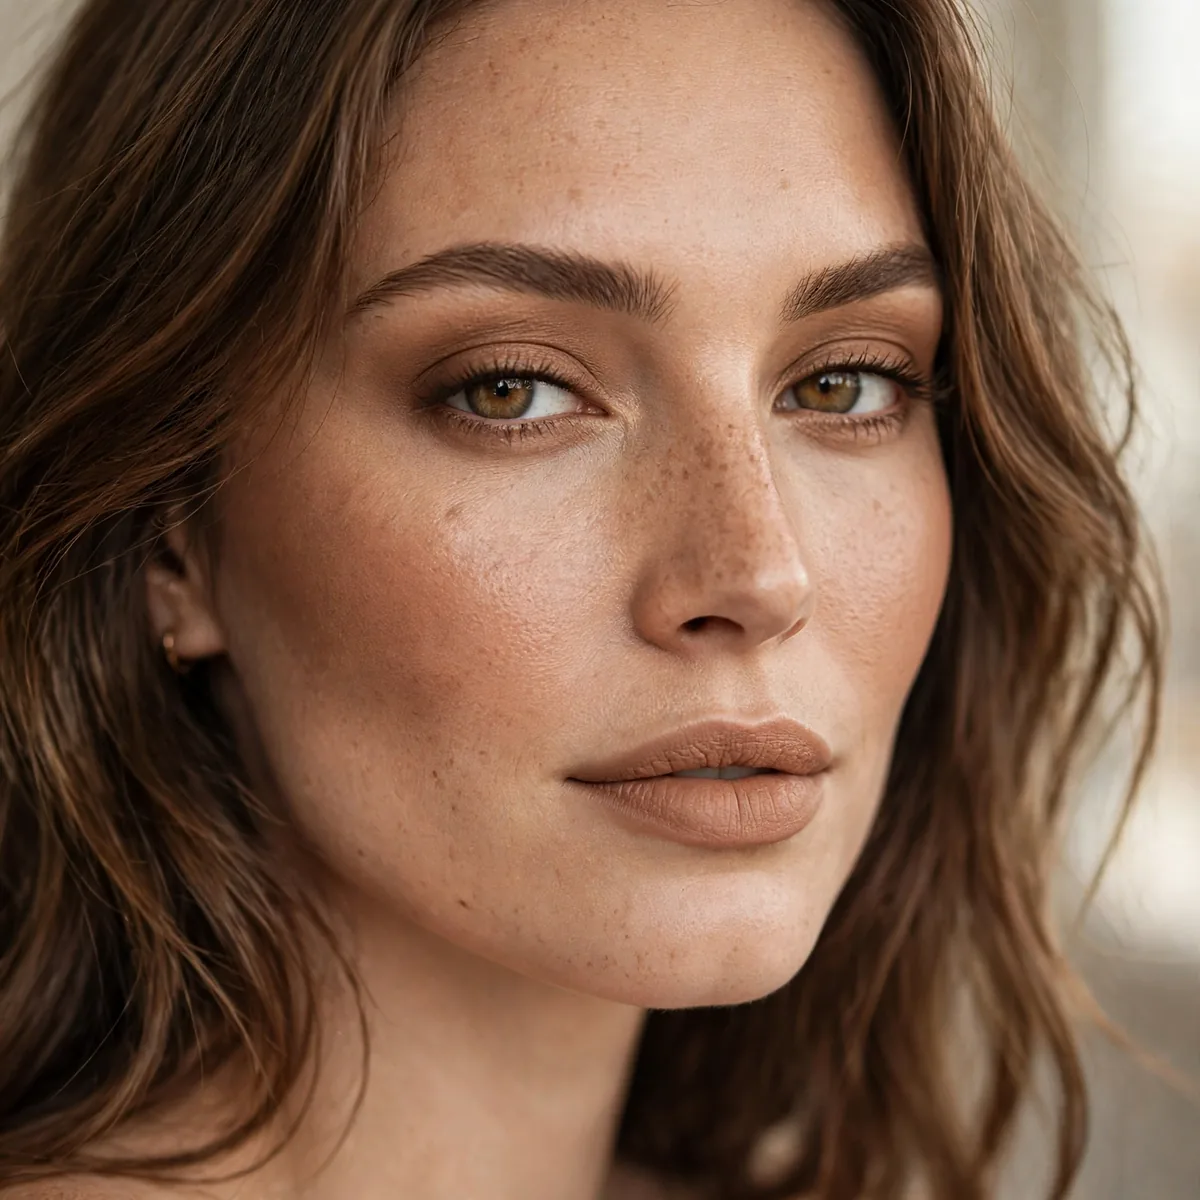
Matte bronzer adds warm dimension without shine.
Warmth is dimension. Bronzer’s color variation enlivens matte base.
Apply bronzer in a figure-three motion: temple to cheek hollow to jawline, which warms the face’s perimeter naturally. Use a large fluffy brush with a light hand — bronzer should whisper, not shout. Tap off excess before touching skin, and build in two sheer passes rather than one heavy one for the most natural sun-kissed effect.
Choose a bronzer with neutral-to-warm undertones and zero orange — matte formulas reveal undertone mistakes mercilessly. Fair skin needs the lightest touch with a taupe-leaning bronzer; deep skin can handle richer terracotta mattes. Sweep a touch across the eyelids too, which ties the warm face together and makes the bronzer look like a natural flush.
Defined Lash Line
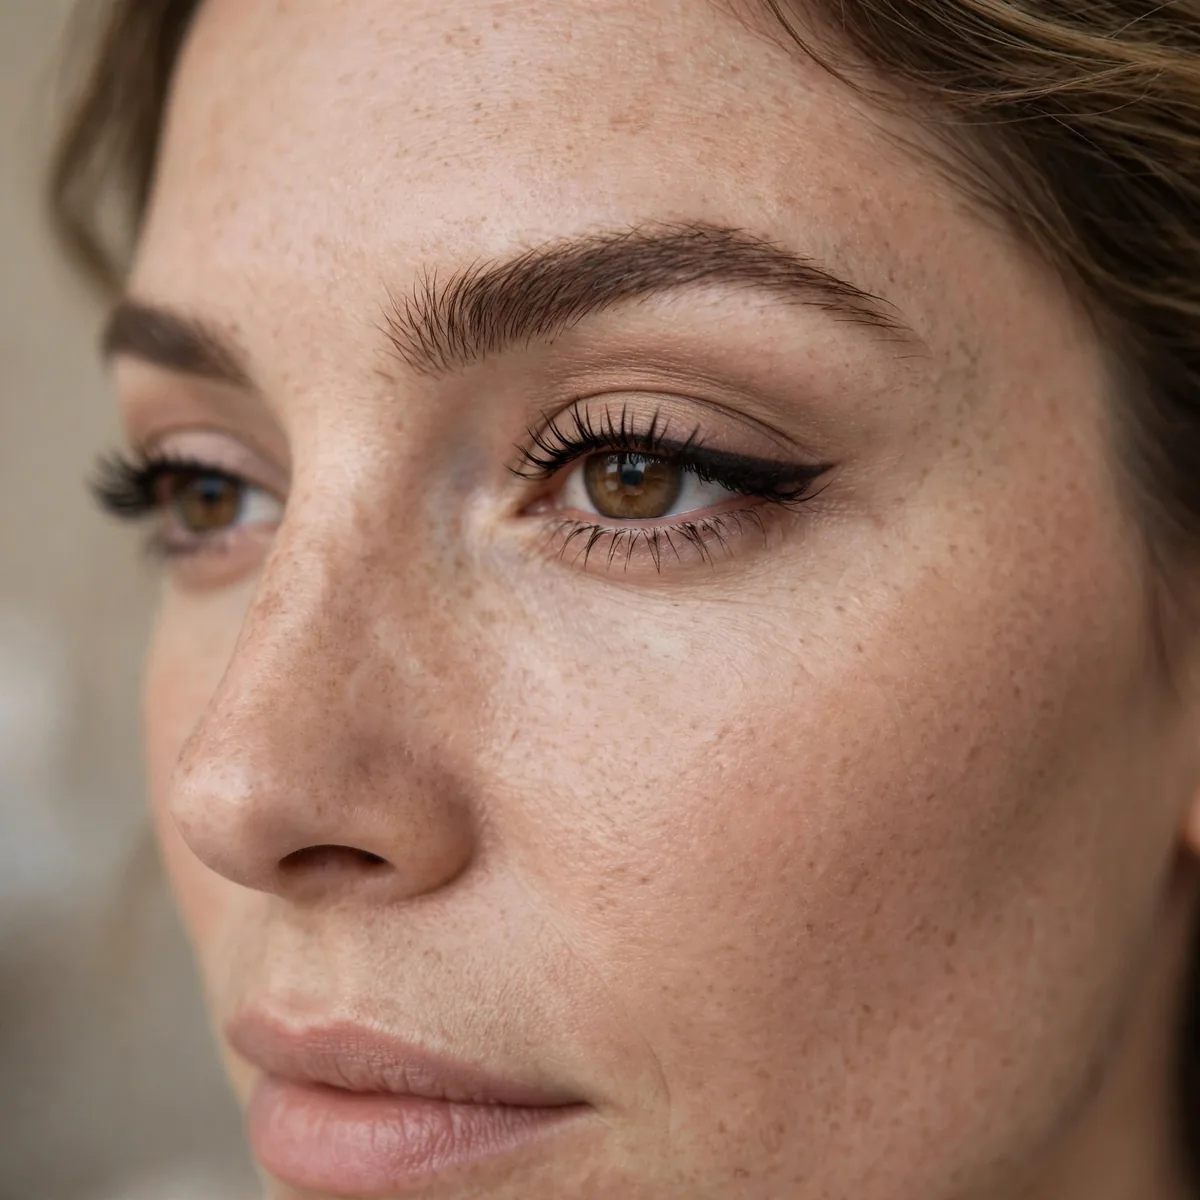
Dark matte liner defines eyes within the matte aesthetic.
Definition prevents the washed-out look matte can create. Eyes need anchoring.
Tightline with a waterproof matte pencil, working it between the lash roots in short dabs. Follow with a thin smudged line of matte shadow along the upper lashes using an angled brush — the shadow softens the pencil’s edge while keeping everything matte. Set the line with matching powder shadow to prevent the transfer that ruins crisp definition.
This defined line suits small eyes beautifully, giving them presence without the heaviness of a full smokey. For daytime, keep the line thin and close to the lashes; for evening, smudge it slightly wider at the outer corner for subtle drama. Brown-black pencil reads softer than true black against matte skin — reserve pure black for after-dark looks.
Matte Monochrome
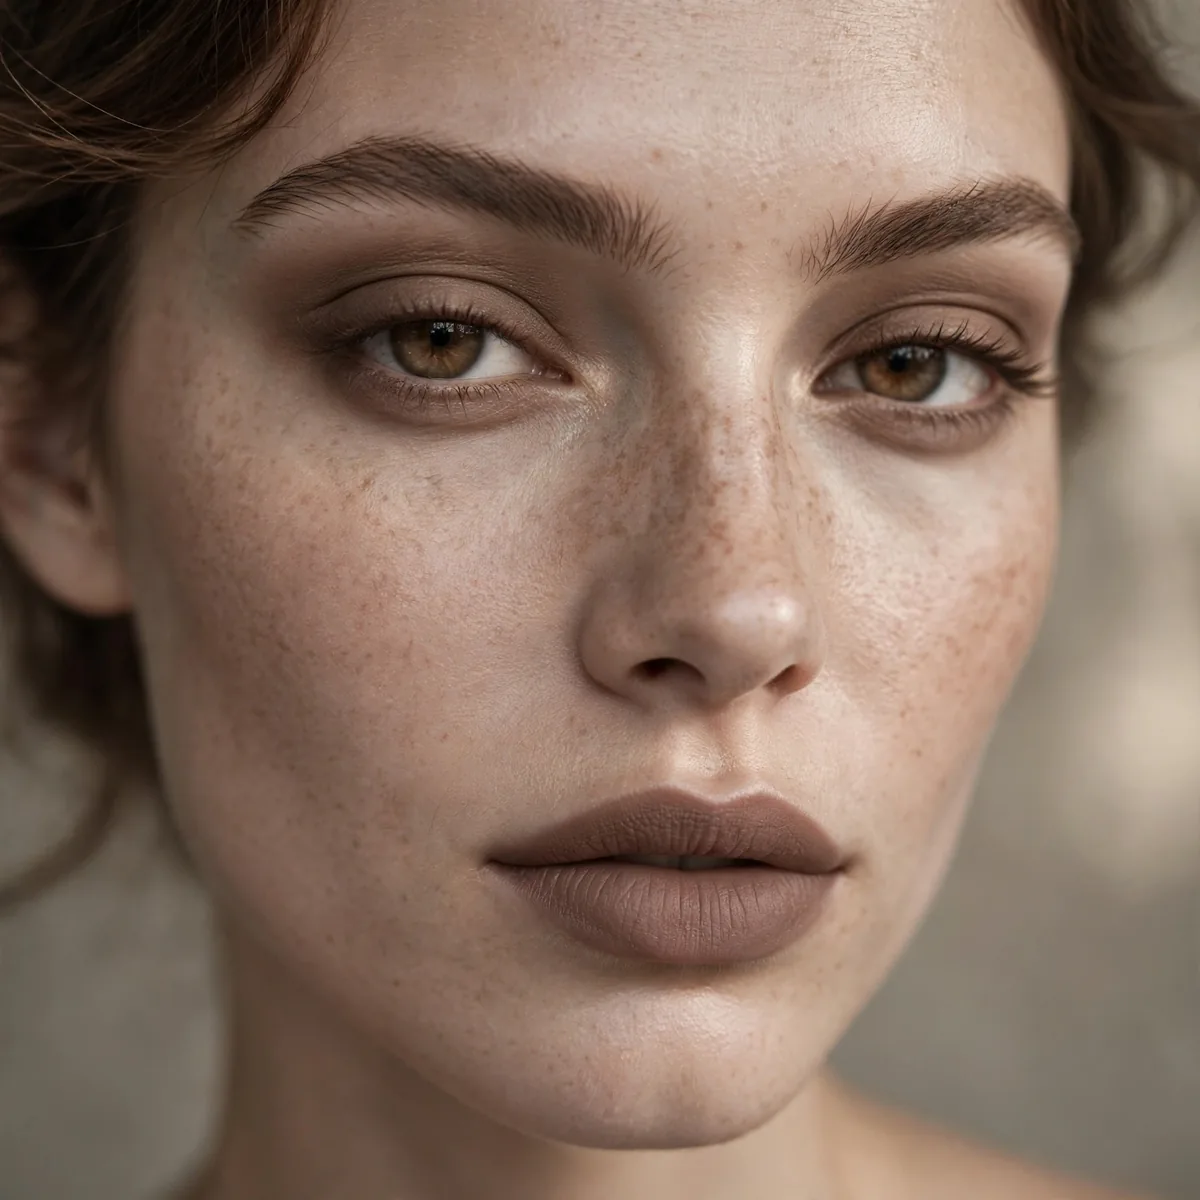
One matte tone across eyes, cheeks, lips — tonal and chic.
Monochrome in matte is strikingly modern. The tonal variation provides the interest.
Start with the lip shade as your anchor, then find blush and eyeshadow in the same color family but slightly different depths. Apply the deepest tone on the eyes, the mid-tone on cheeks, and keep the lip true to the bullet — this gradient keeps monochrome dimensional. Use a lip brush to sheer out the same lipstick as cream blush for perfect color matching.
Rose and terracotta monochromes suit the widest range of skin tones — rose for cool undertones, terracotta for warm. This look shines at fashion events and editorial shoots where its intentional restraint photographs strikingly. The pitfall is matching too exactly; slight variation between products reads sophisticated, while identical tones across the face can look one-note.
The Blurred Matte Lip
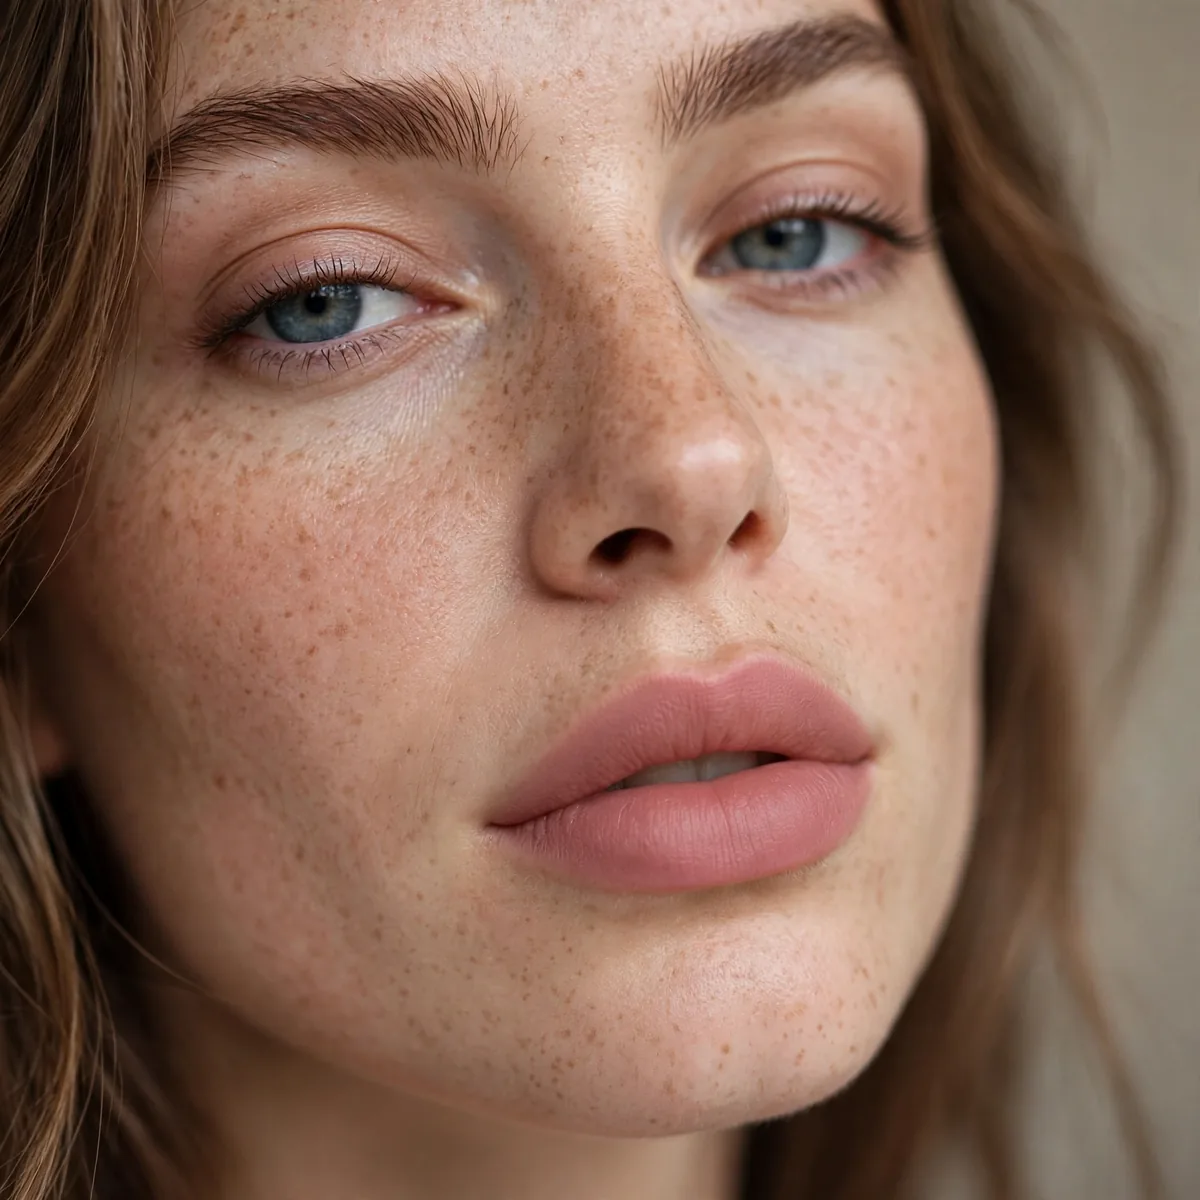
Blurred matte lips — soft edges, modern finish.
Blurring softens matte’s severity. The edge treatment changes everything.
Apply the matte lipstick to the center of lips only, then blend outward with a fingertip or small lip brush. The edges should fade into your natural lip tone with no visible line. For extra softness, blot with tissue and reapply just the center — this double-layered core with diffused edges is the signature of the blurred technique.
This forgiving finish suits thin lips beautifully, since the soft edge makes lips look fuller without harsh definition. It also hides the feathering that matte lipsticks develop on mature lips — the blur disguises what crisp lines reveal. Reapply by pressing color into the center rather than rebuilding the edges; the lived-in blur only improves with wear.
Matte With Graphic Liner
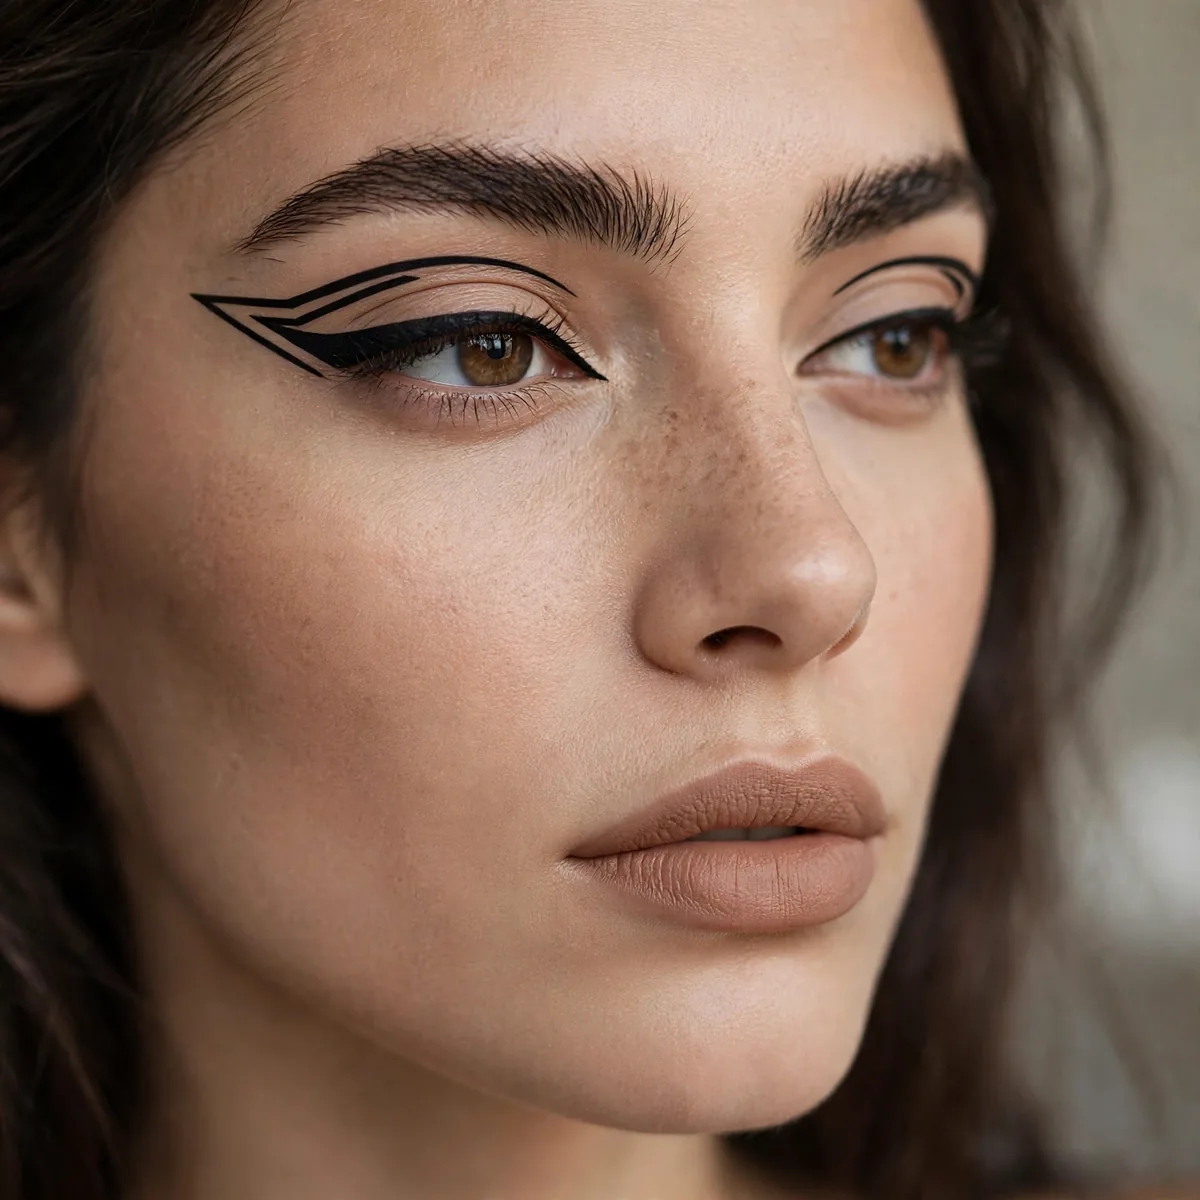
Graphic liner on matte skin — the contrast is striking.
Our graphic liner guide has ideas. The liner provides the drama matte base needs.
Sketch the graphic shape first with a taupe eyeshadow pencil — it erases easily if the wing goes wrong. Once the shape is right, trace over it with a matte liquid liner in smooth, confident strokes. Rest your elbow on a table for stability, and draw the wing with the eye open so the shape follows your natural lid fold.
Hooded eyes need the graphic shape drawn higher and thicker than feels natural, so it stays visible when the lid folds. Keep the rest of the face truly minimal — bare matte skin, groomed brows, nude lips — so the liner owns the entire look. Remove with an oil-based cleanser on a precision cotton bud, tracing the shape to dissolve it cleanly without smearing.
Velvet Skin Technique
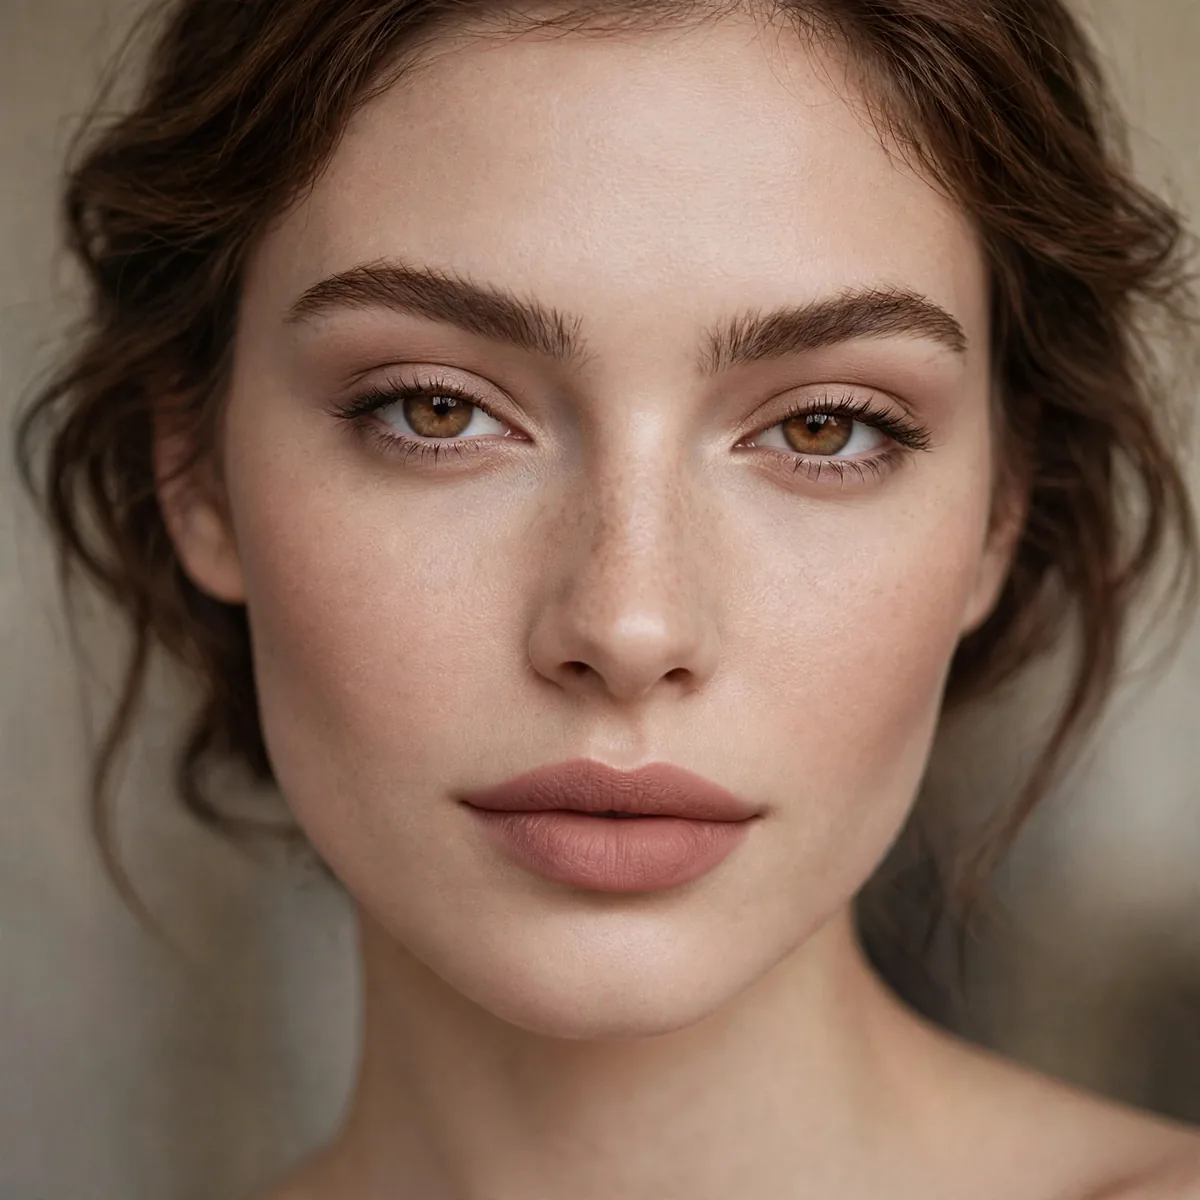
The "velvet" finish — matte but with a soft-focus glow.
Velvet is matte’s sophisticated cousin. It’s never flat, never shiny.
The velvet effect starts with skincare: a niacinamide serum followed by a lightweight moisturizer creates the plump canvas this finish needs. Apply foundation with a dense buffing brush in circular motions, which presses product into skin for that seamless velvet texture. Skip heavy concealer — spot-conceal only, since thick layers break the velvet illusion.
Mature skin adores this finish — the soft-focus blur minimizes pores and fine lines without the dryness of full matte. Set with the tiniest whisper of powder, applied with a large fan brush that deposits almost nothing. For evening, the velvet base pairs gorgeously with a satin lip and softly smudged liner for quiet, expensive-looking glamour.
Matte Evening Drama
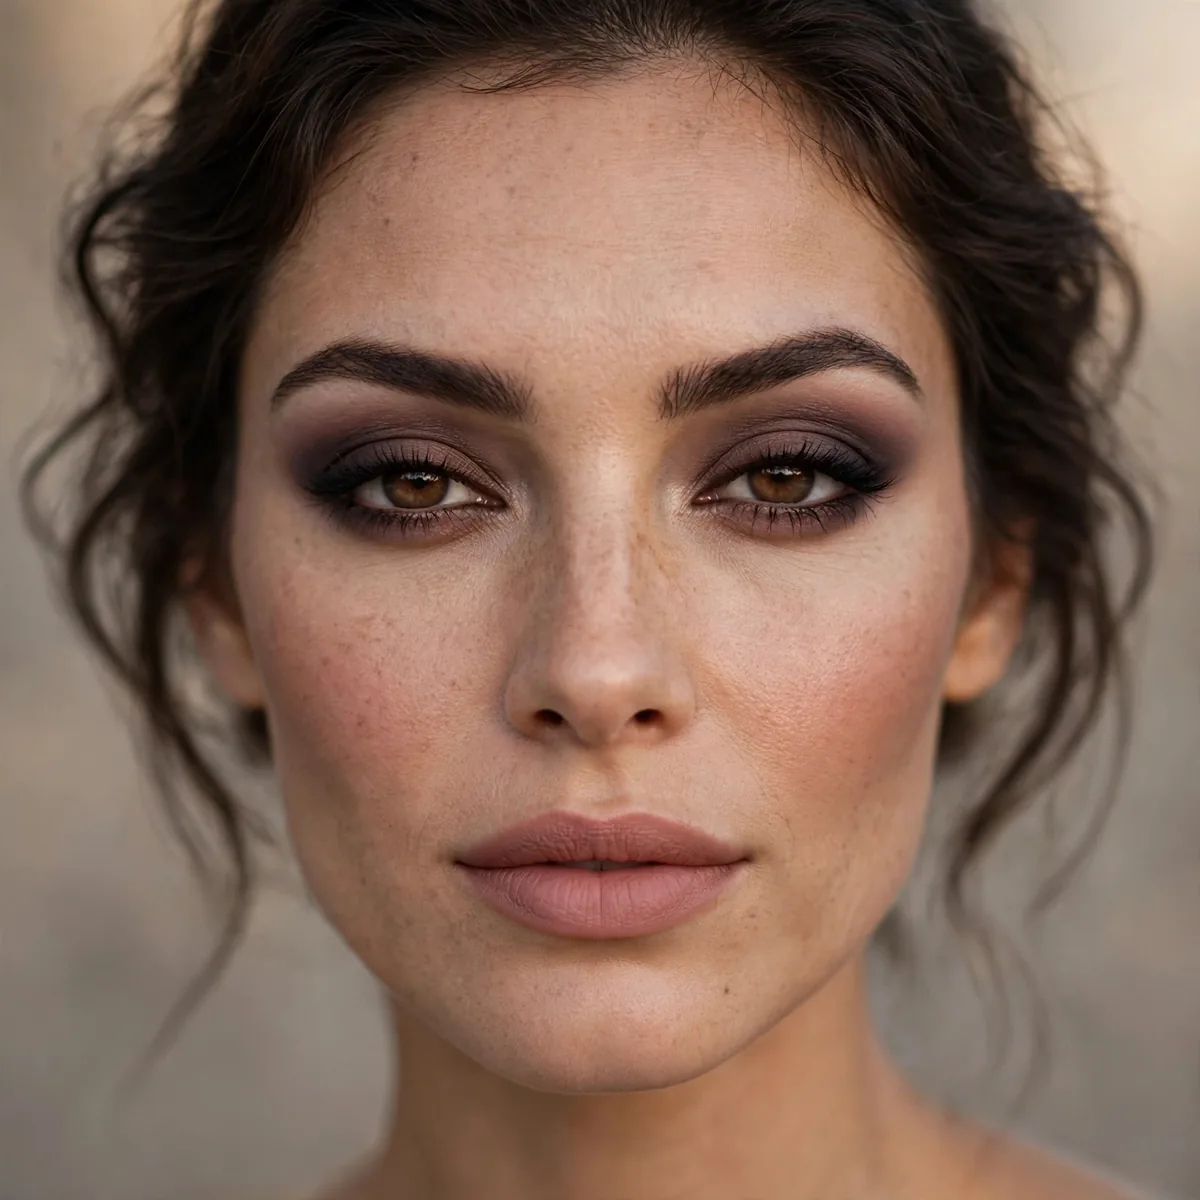
Full matte for evening — dramatic through depth, not shine.
Evening matte is bold and modern. The drama comes from definition.
Build the drama through layered matte depth: a deep crease, a darker outer V, and a tightlined lash line in black. Each layer should be blended before the next goes on — rushing creates harsh bands instead of seamless drama. Prime lids generously, since evening events run long and matte shadow fades faster than shimmer under warm lighting.
Balance the dramatic eye with an understated lip — a matte nude or soft brown keeps the face from tipping into costume. This look photographs beautifully under flash, since matte surfaces don’t bounce light into hot spots. Carry blotting papers for mid-event touch-ups; evening matte stays flawless longer when oil is blotted rather than powdered over.
The Lived-In Matte
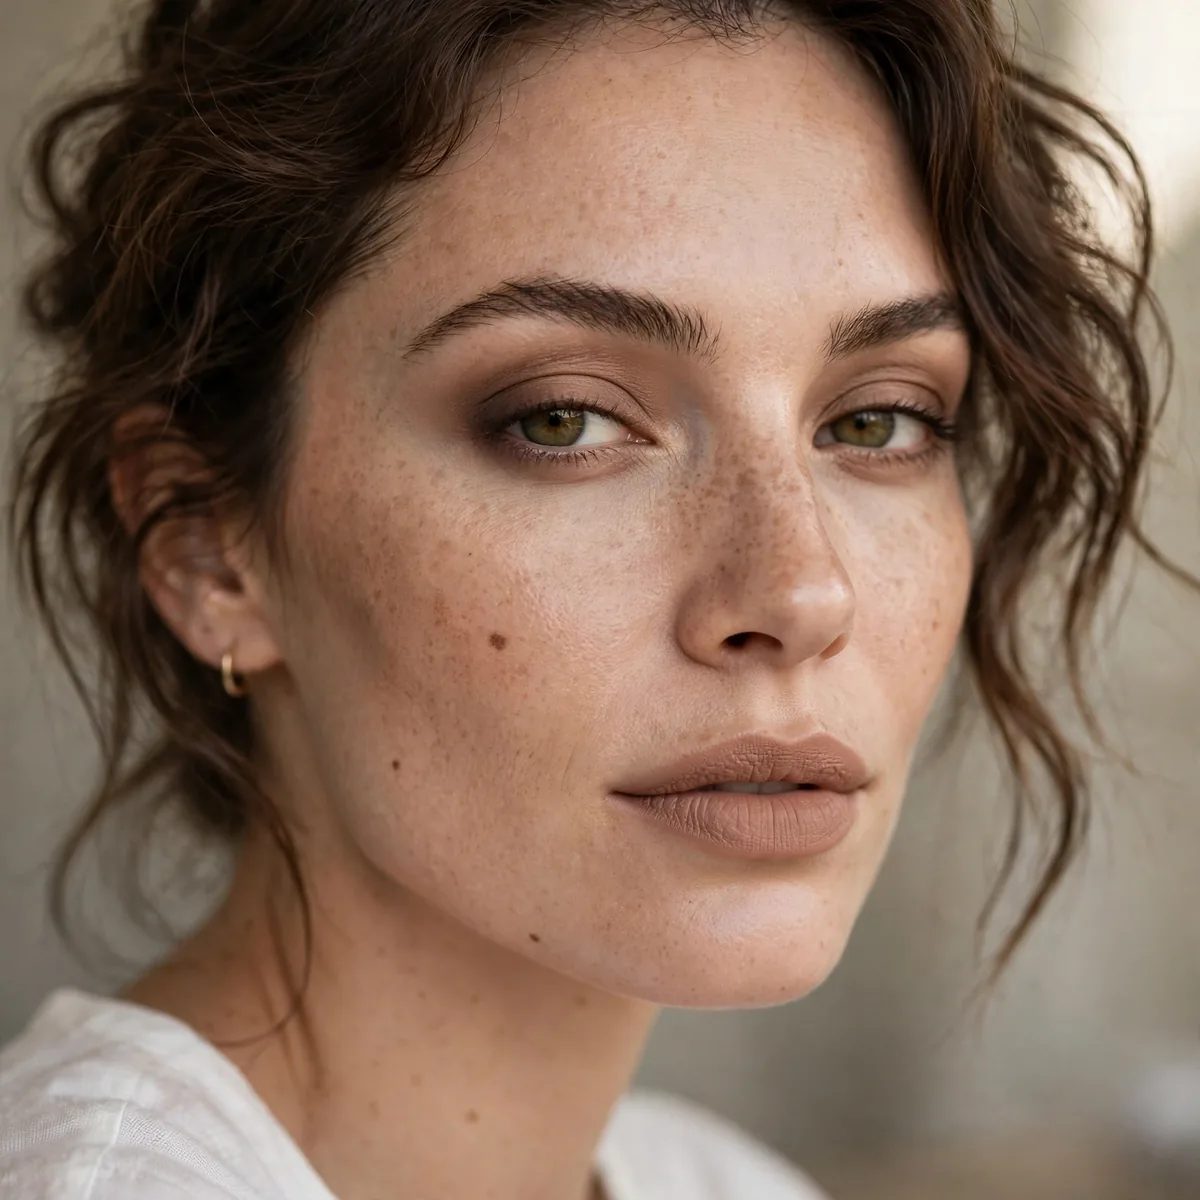
Matte that’s been worn in — softened edges, natural variation.
Lived-in matte has dimension that fresh matte lacks. Time adds character.
Create the lived-in effect intentionally: apply your matte look fully, then press a clean damp sponge over the cheeks and forehead to soften everything. Smudge the liner slightly with a fingertip and blot the lip once with tissue. The goal is makeup that looks like it’s been worn beautifully for hours — softened, not sloppy.
This relaxed finish suits creative workplaces and weekend socializing, where polished matte can feel too severe. It also flatters mature faces beautifully — the softened edges never settle into lines the way crisp matte application can. Refresh it for evening by re-blotting the T-zone and adding a fresh layer of blush; the lived-in base accepts touch-ups gracefully.
Matte Confidence
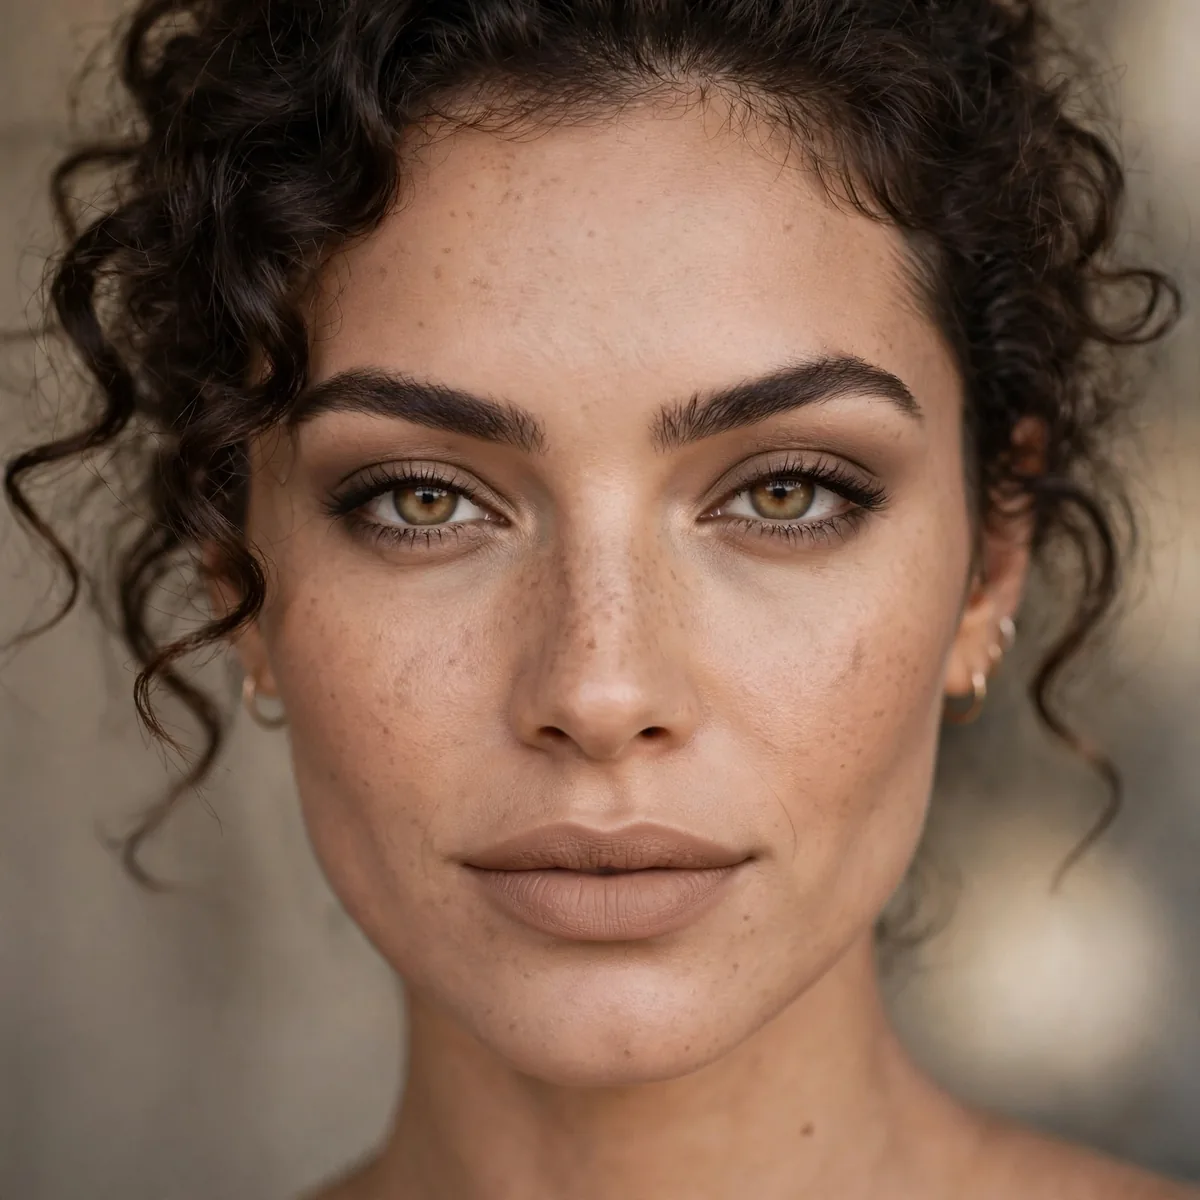
Own the matte — confidence is the ultimate dimension.
For oily-skin matte mastery, our oily skin foundation guide helps. Attitude completes the look.
Confidence in matte comes from prep: well-moisturized skin, a blurring primer, and foundation matched perfectly at the jawline. Test your shade in daylight, not store lighting — mismatched matte is unforgiving. Finish with a light mist of setting spray, which melts powder into skin and removes the dusty look that undermines matte confidence.
Own the look by keeping posture and expression relaxed — matte makeup with a tense face reads severe. This finish suits professional settings and important meetings, projecting polish and control. For all-day wear, the setting-spray sandwich works best: mist before foundation, mist after, and your matte stays fresh from morning meeting to evening commute.
Matte with dimension — pin these looks. For oily-skin matte, see foundations for oily skin, or compare dewy looks for the opposite aesthetic.




