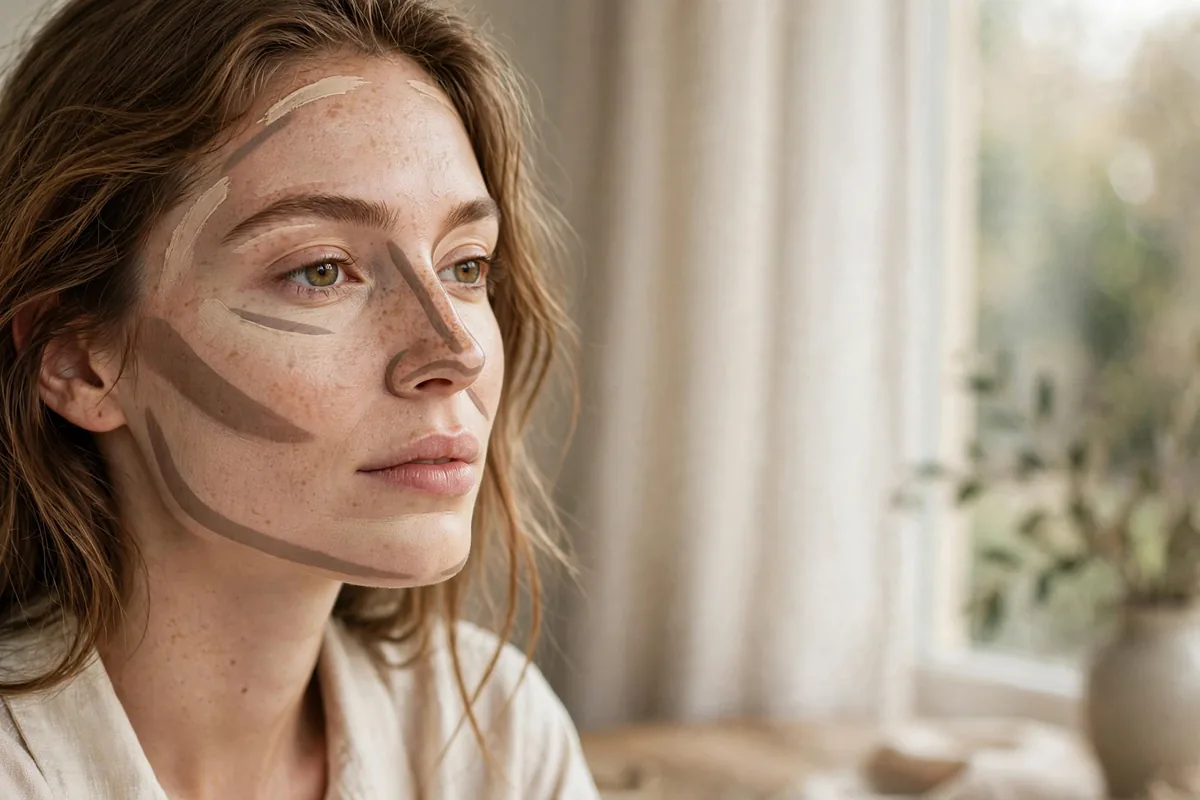
Underpainting flips the script — contour and highlight go UNDER foundation, creating dimension that looks like bone structure, not makeup.
The technique, borrowed from fine art: paint shadows and light first, then sheer foundation over the top. The result is sculpting that seems to come from within.
What makes it revolutionary is the naturalism — no visible contour lines, ever.
Here are 18 ways to underpaint. Let’s get into it.
Basic Underpainting Order
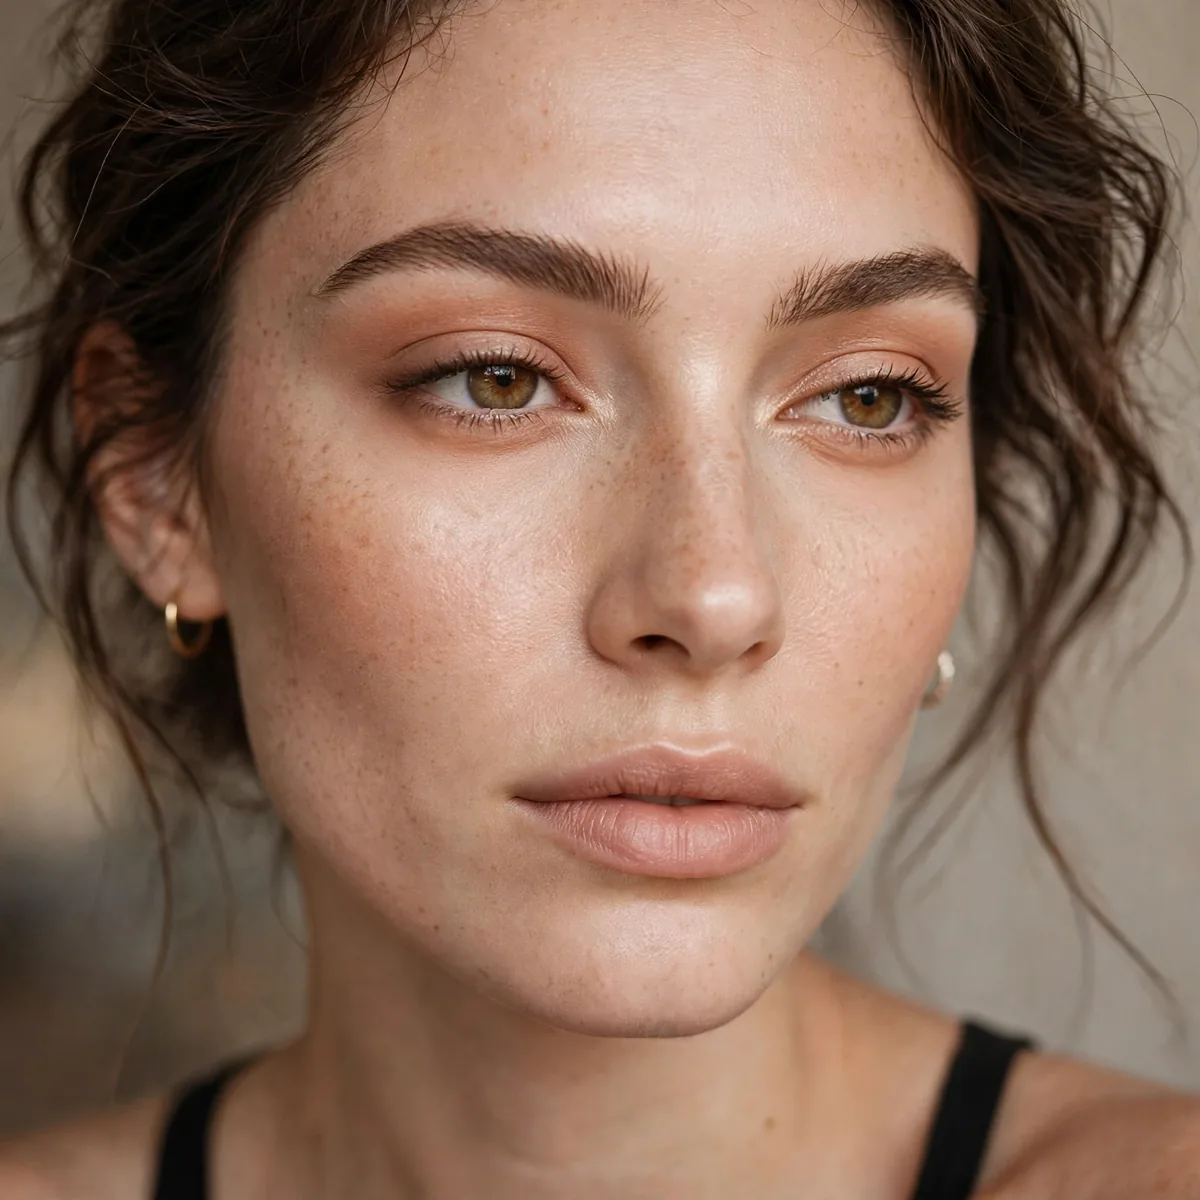
Contour, highlight, blush, THEN foundation. The fundamental reorder.
Best for: learning the technique. The order is everything.
Think of the order as a painting primer: contour maps the shadows, highlighter lifts the high points, blush brings life back in, and the sheer foundation melts it all together. Work quickly while creams stay blendable, using light strokes rather than heavy swipes so each layer stays exactly where you placed it. The reveal comes when the foundation veil softens every edge at once.
The mistake most newcomers make is treating this like a normal contour routine with the layers reversed. Keep each under-layer thinner than you think necessary — a sheer wash reads more believable once the base floats over it. Oily complexions may want a mattifying primer underneath for staying power, while drier skin types benefit from the technique’s hydrating cream formulas and a dewy finish.
Cream Contour Under
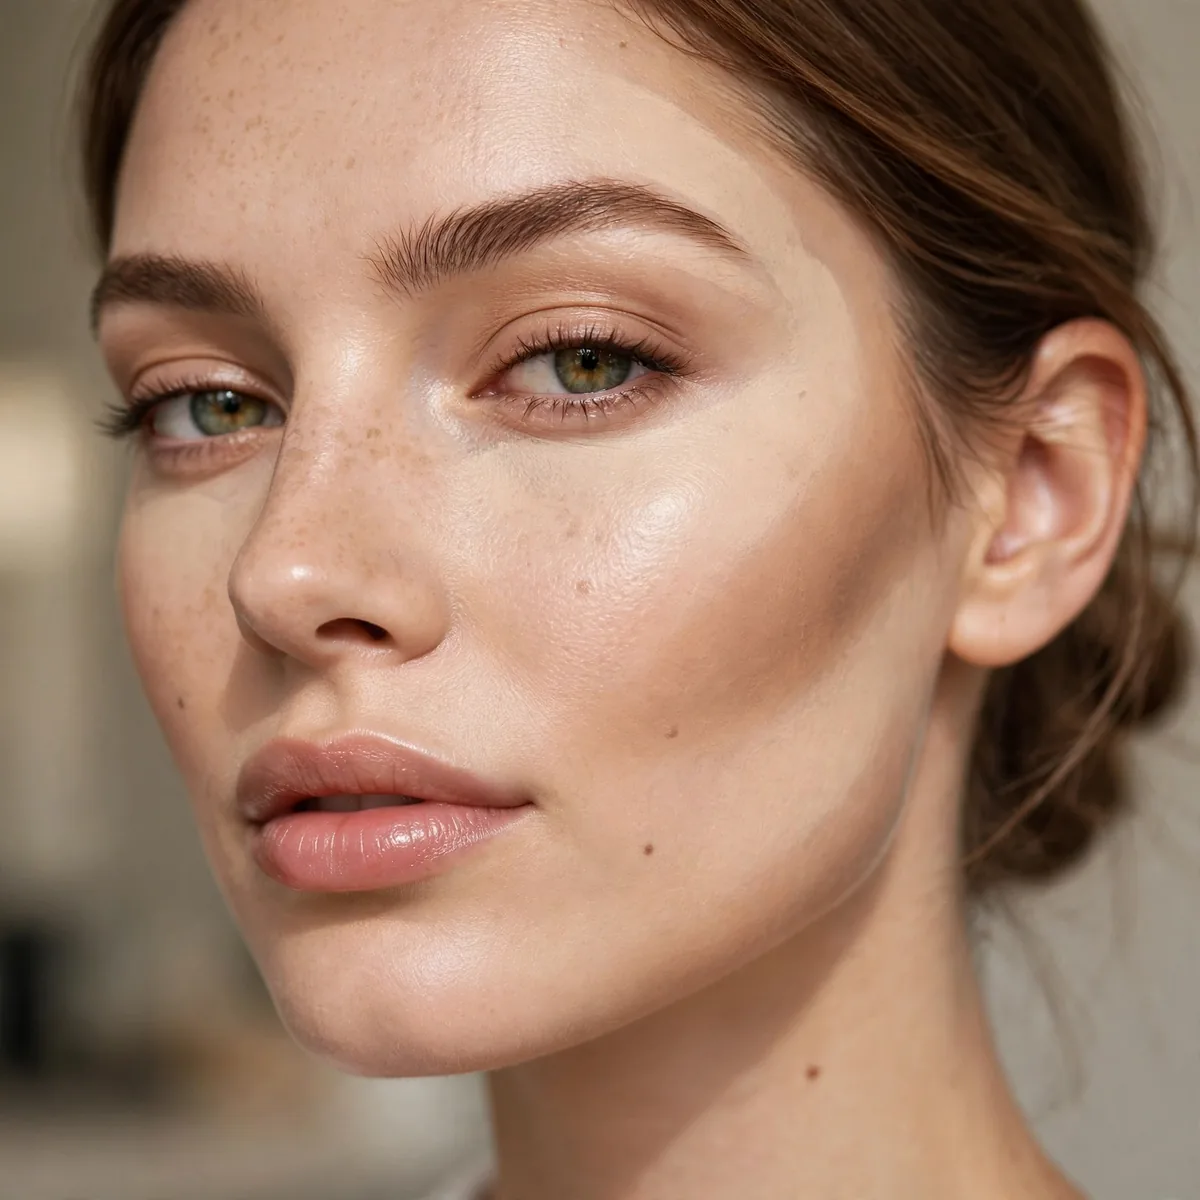
Cream contour applied first, sheered over with foundation — invisible sculpting.
Best for: the natural cheek. Underpainted contour never looks stripey.
Cream sticks and contour wands outperform powders here because they fuse with a liquid base instead of sitting on top. Choose a cool-toned taupe if your undertone runs neutral-to-cool, or a warmer bronze shade for golden complexions — the color peeks through subtly, so matching undertones matters more than depth. Tap and press the product in; dragging smears the placement you just mapped.
Blend the cream almost to invisibility before the foundation goes on — harsh edges only exaggerate under a sheer veil. A stippling brush or damp sponge sheered in circular motions keeps the pigment diffused, and the result reads as natural shadow along the cheek hollows and temples. This softer approach flatters rounder face shapes that want definition without any obvious sculpting lines.
Highlight Underpainting
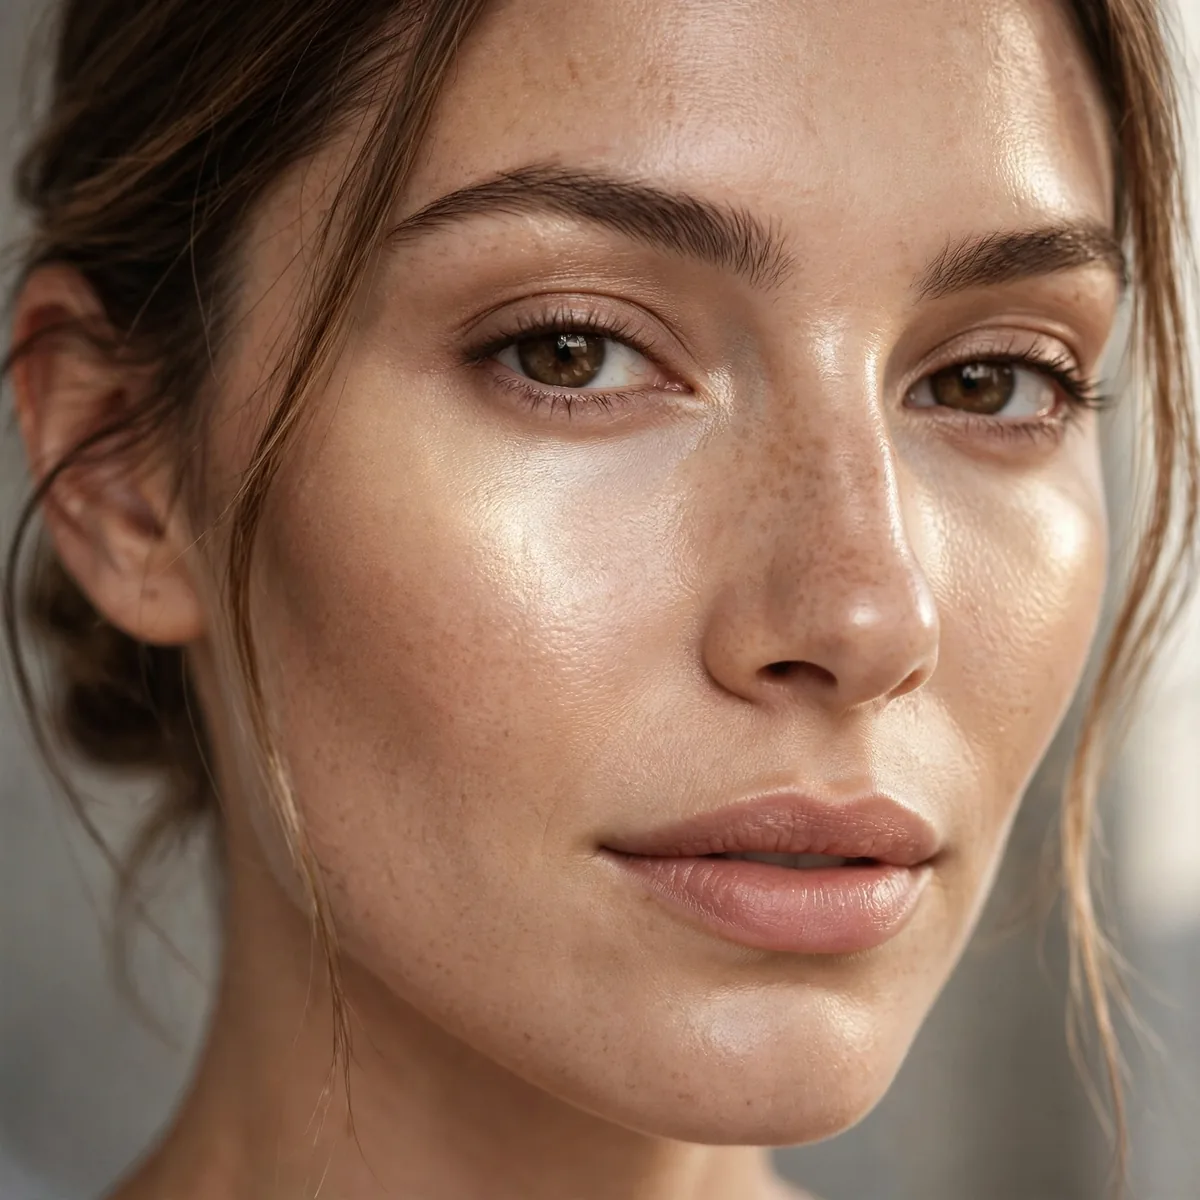
Liquid highlight under foundation — glow from within.
Best for: the lit-from-within effect. Underpainted glow looks like great skin.
Liquid illuminators and dewy drops are the ideal medium here, delivering a candlelit glow that a powder simply cannot replicate under a base. Focus placement on the cheekbones, the bridge of the nose, the inner corners, and the cupid’s bow — anywhere overhead light would naturally catch. Keep the sparkle minimal; underpainting needs a luminous sheen, not glitter particles that read as texture through foundation.
Fair skin picks up a pearl-toned highlighter beautifully, while golden and deep complexions glow with champagne or bronze-tinted liquids. The payoff builds through the day too: as natural oils surface, the underpainted luminosity intensifies into that coveted glass-skin effect. One caveat — skip this on areas with enlarged pores or active breakouts, since light-reflecting particles draw the eye exactly where you don’t want it.
Blush Underpainting
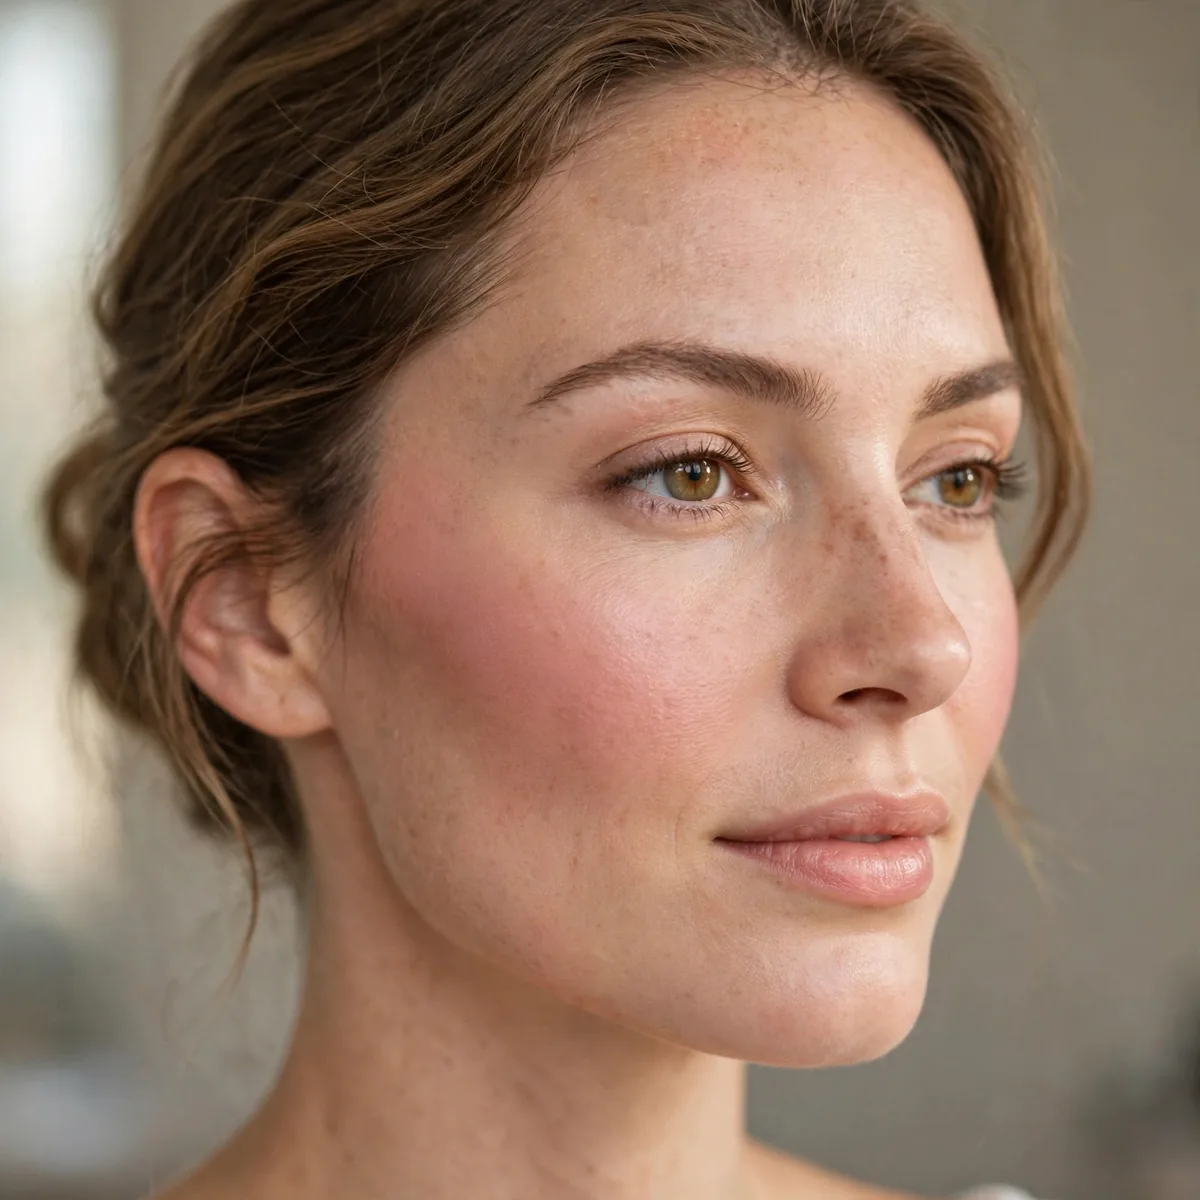
Cream blush under foundation — the flush looks internal.
Best for: natural flush. Underpainted blush can’t look clownish.
Cream and gel blushes melt into skin in a way powders never can, and that melt is the secret to the internal flush. Sweep the color across the apples and blend upward toward the temples — the lift this creates is flattering on every face shape, especially longer faces that want width rather than length. Settle on a shade one notch deeper than your natural flush so it survives the foundation veil.
Rosy pink wakes up fair complexions, coral and apricot energize medium and olive skin, and rich berries or plum read gorgeous on deep tones. Because the pigment sits beneath the base, application errors are forgiving — overdo it slightly and the foundation rescues you. The technique also lasts longer than surface blush through an eight-hour day, since the color is anchored under the base rather than sitting exposed.
Sheer Foundation Over
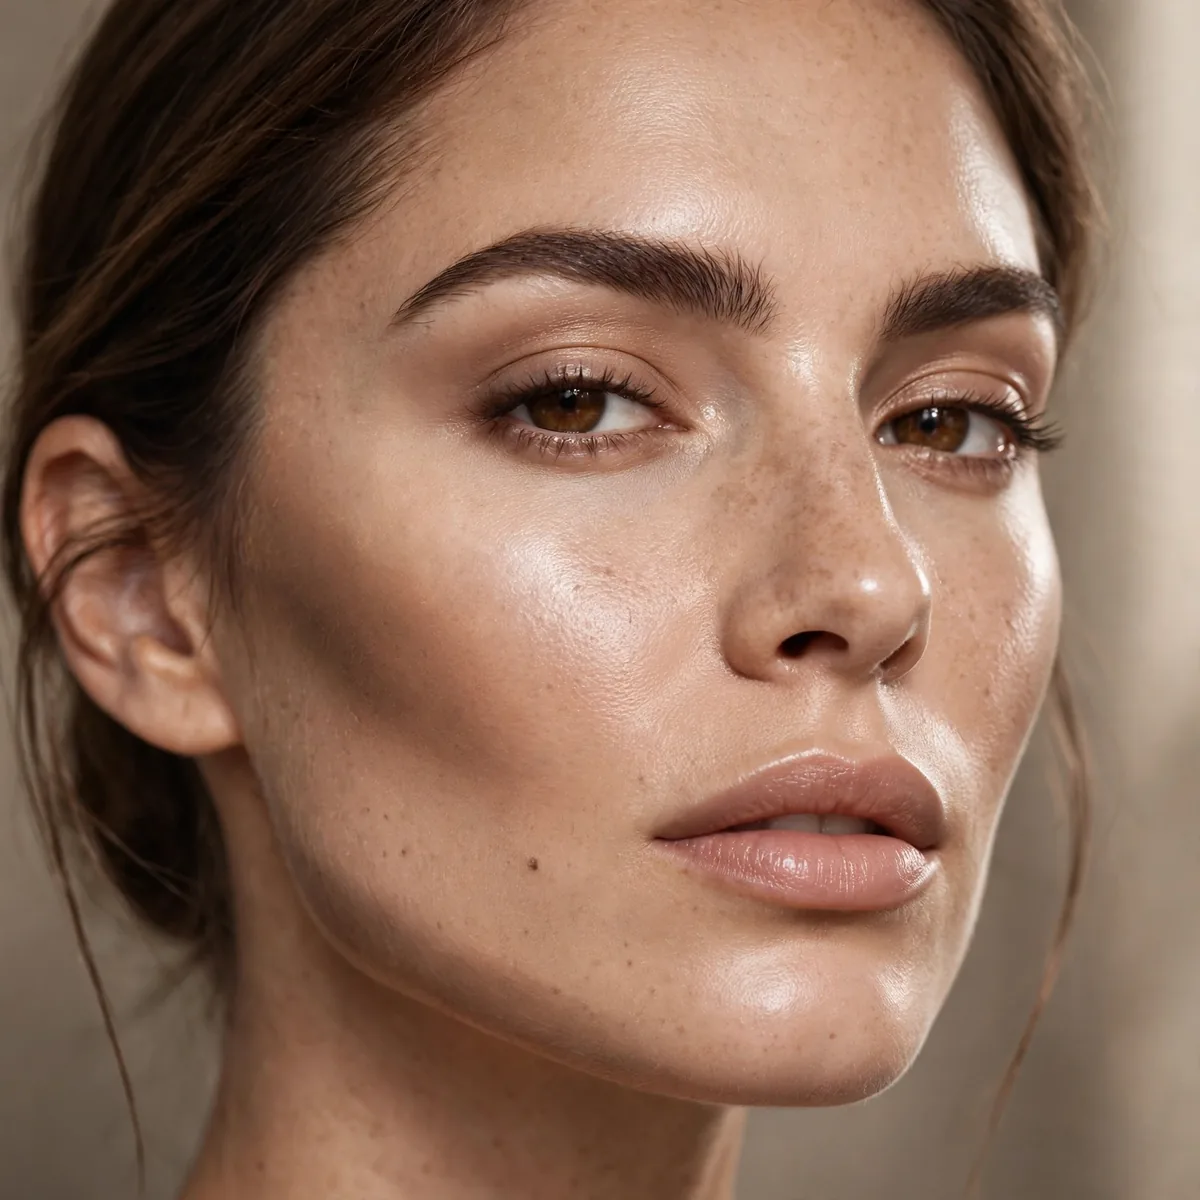
The foundation MUST be sheer — heavy coverage buries the underpainting.
Best for: the technique to work. Sheer is non-negotiable here.
Look for skin tints, tinted moisturizers, or light-coverage foundations with a fluid consistency — thick formulas simply erase everything beneath. One thin layer stippled over the underpainting is plenty; the coverage builds where you need it while the sculpting stays visible. A damp beauty sponge pressed in a bouncing motion keeps the underlying work undisturbed far better than buffing.
Test the sheer base on your jawline first to confirm it lets the underpainting show through before committing to the full face. If your usual foundation is medium coverage, try mixing a drop of facial oil or moisturizer in to thin it out rather than buying something new. And resist the urge to add a second coat — extra coverage is the fastest way to flatten all that beautiful dimension back to a blank canvas.
Underpainted Nose Contour
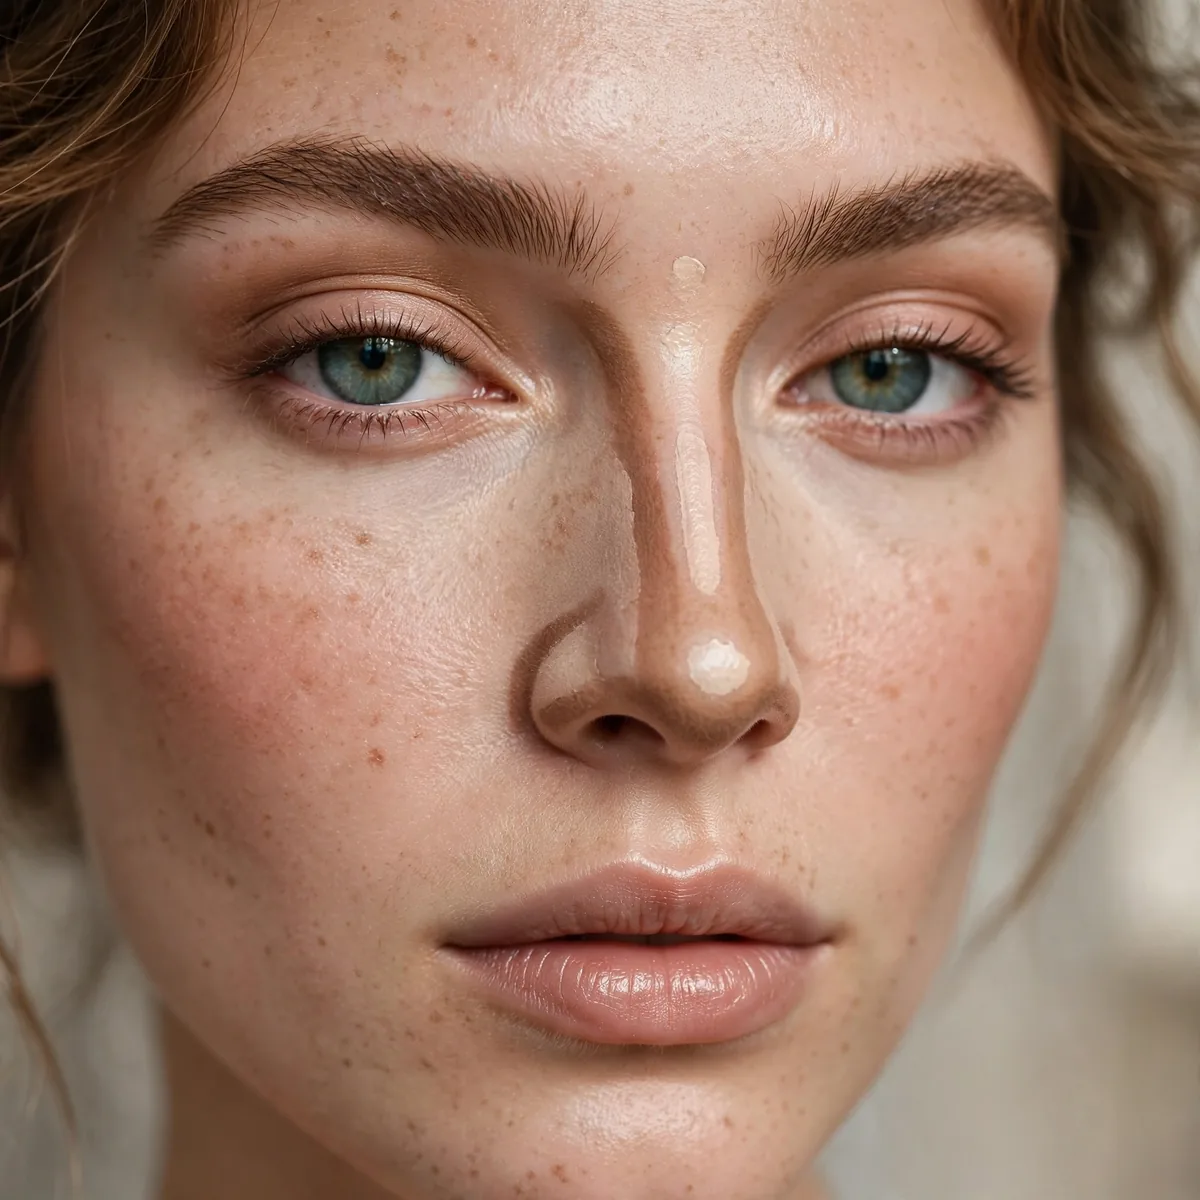
Nose contour under foundation — slimming without lines.
Best for: nose definition. The most natural nose contour possible.
Trace two slim lines down the sides of the bridge, stopping just before the tip, then sheer your base over the top. The lines blur into a soft shadow that narrows the nose optically without the telltale painted stripes. Keep the tone subtle — a shade deeper than your skin, never dramatically dark — because underpainting magnifies contrast choices in a way surface contouring hides.
Add a whisper of underpainted highlighter down the center of the bridge and the narrowing effect doubles, especially flattering for wider or rounded nose shapes. Blend each side outward so the shadow melts into the surrounding skin rather than reading as parallel tracks. This approach survives heat and humidity better than surface contour too, since the pigment is sealed beneath your base instead of sweating off on top.
Jawline Underpainting
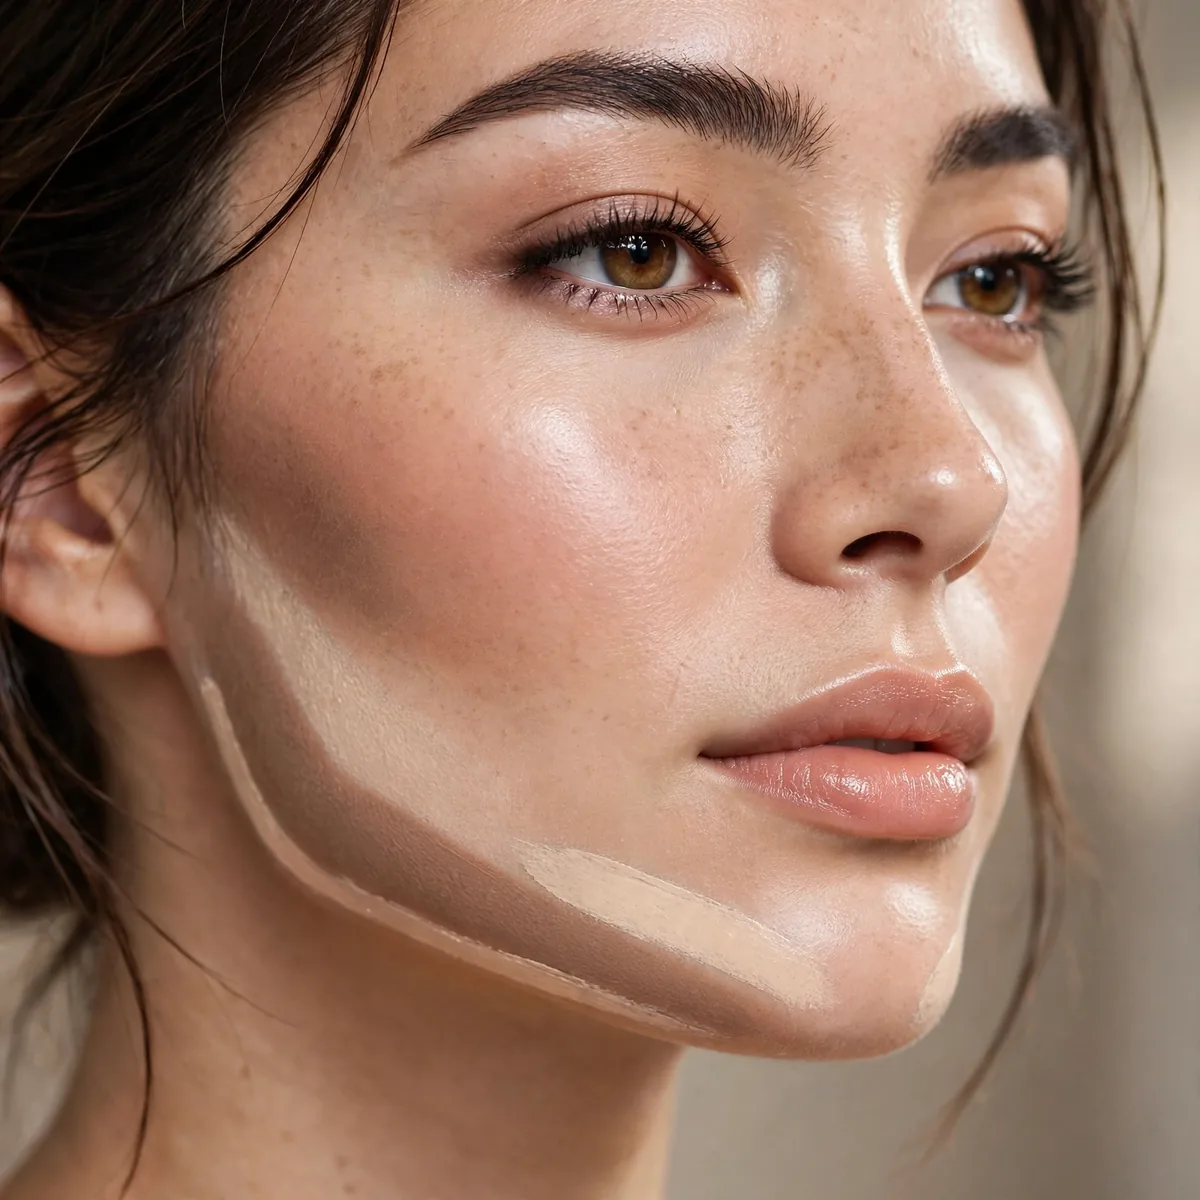
Contour along the jaw under foundation — defined, not drawn.
Best for: jaw definition. Underpainting keeps it believable.
Shade just beneath the jawbone rather than on top of it — the shadow should read as depth, not as a drawn line. Blend downward into the neck slightly so there’s no visible line where makeup stops and bare skin begins. This subtle placement photographs beautifully because cameras exaggerate harsh edges, and underpainting keeps the jawline looking carved yet completely natural.
Softer or fuller jawlines benefit most, since the technique builds definition that surface contouring often makes obvious. Choose a matte cream — any shimmer near the jaw catches light and undoes the slimming illusion. For all-day wear, the underpainting survives meals and long commutes because the base anchors it; just press a little translucent powder over shine if the area gets glossy by afternoon.
Temple Underpainting
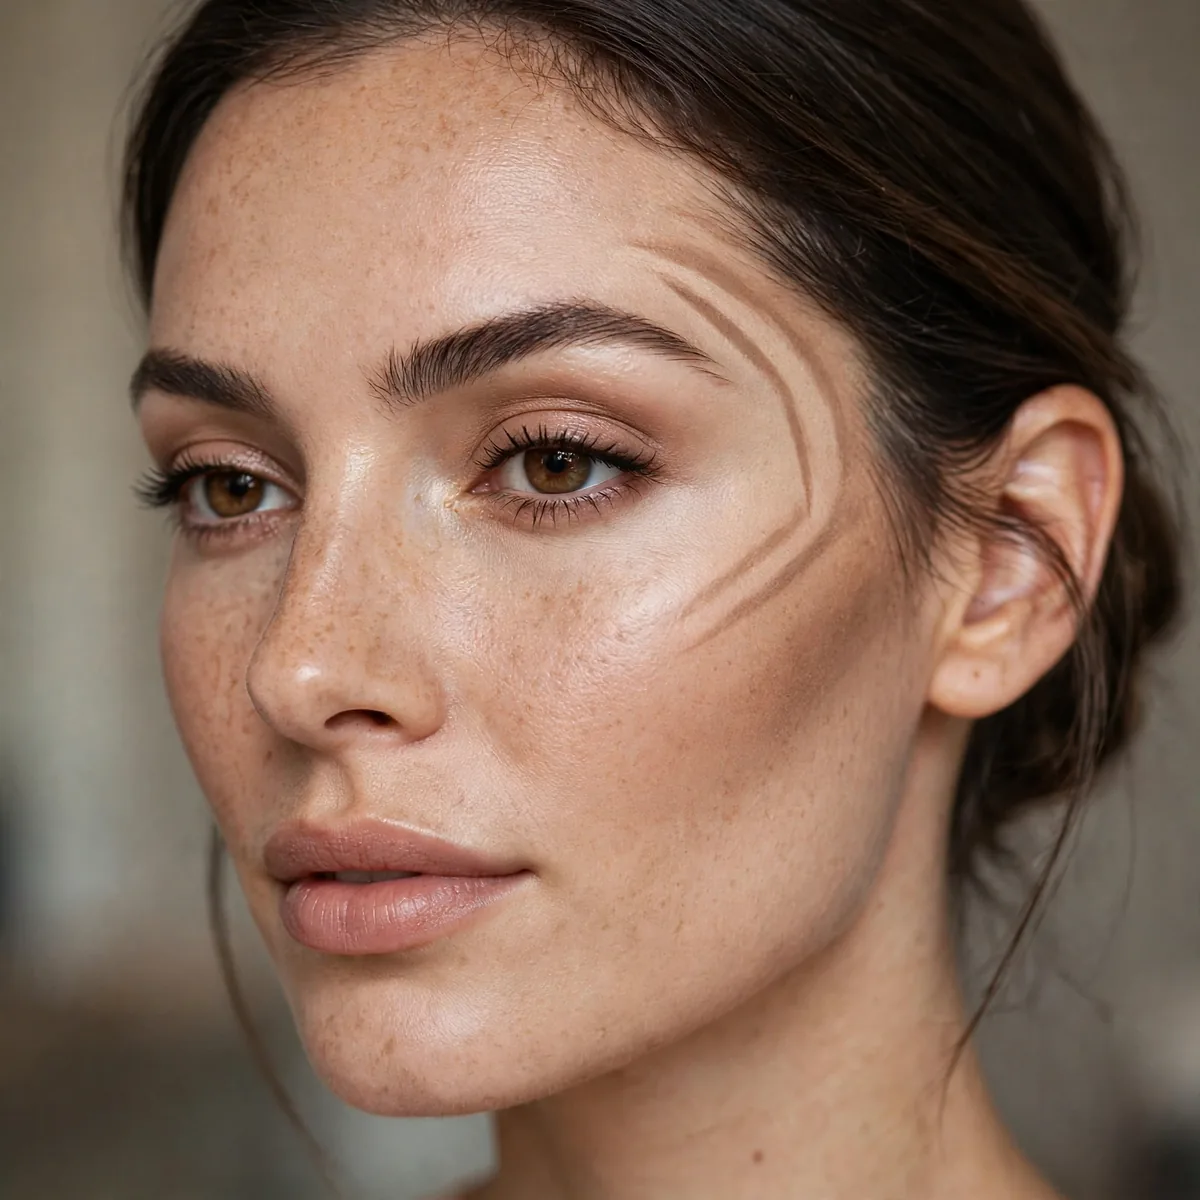
Subtle temple shading under base — face-framing dimension.
Best for: larger foreheads. Gentle shaping from beneath.
Diffuse a soft wash of contour along the hairline and into the temples, extending no further than the outer third of the forehead. The effect visually narrows a broad forehead the way a soft vignette frames a photograph. Feather the edges with a fluffy brush before the base goes on — abrupt borders read as dirt smudges once sheered over.
Longer and more oval face shapes gain the most from this trick, as the shading balances proportions without heavy-handed sculpting elsewhere. Pair it with a center-forehead highlight underneath the base and the forehead looks naturally dimensional rather than flat or overly large. Those with bangs can skip this step entirely — the hairline already does the framing work.
Underpainting for Beginners
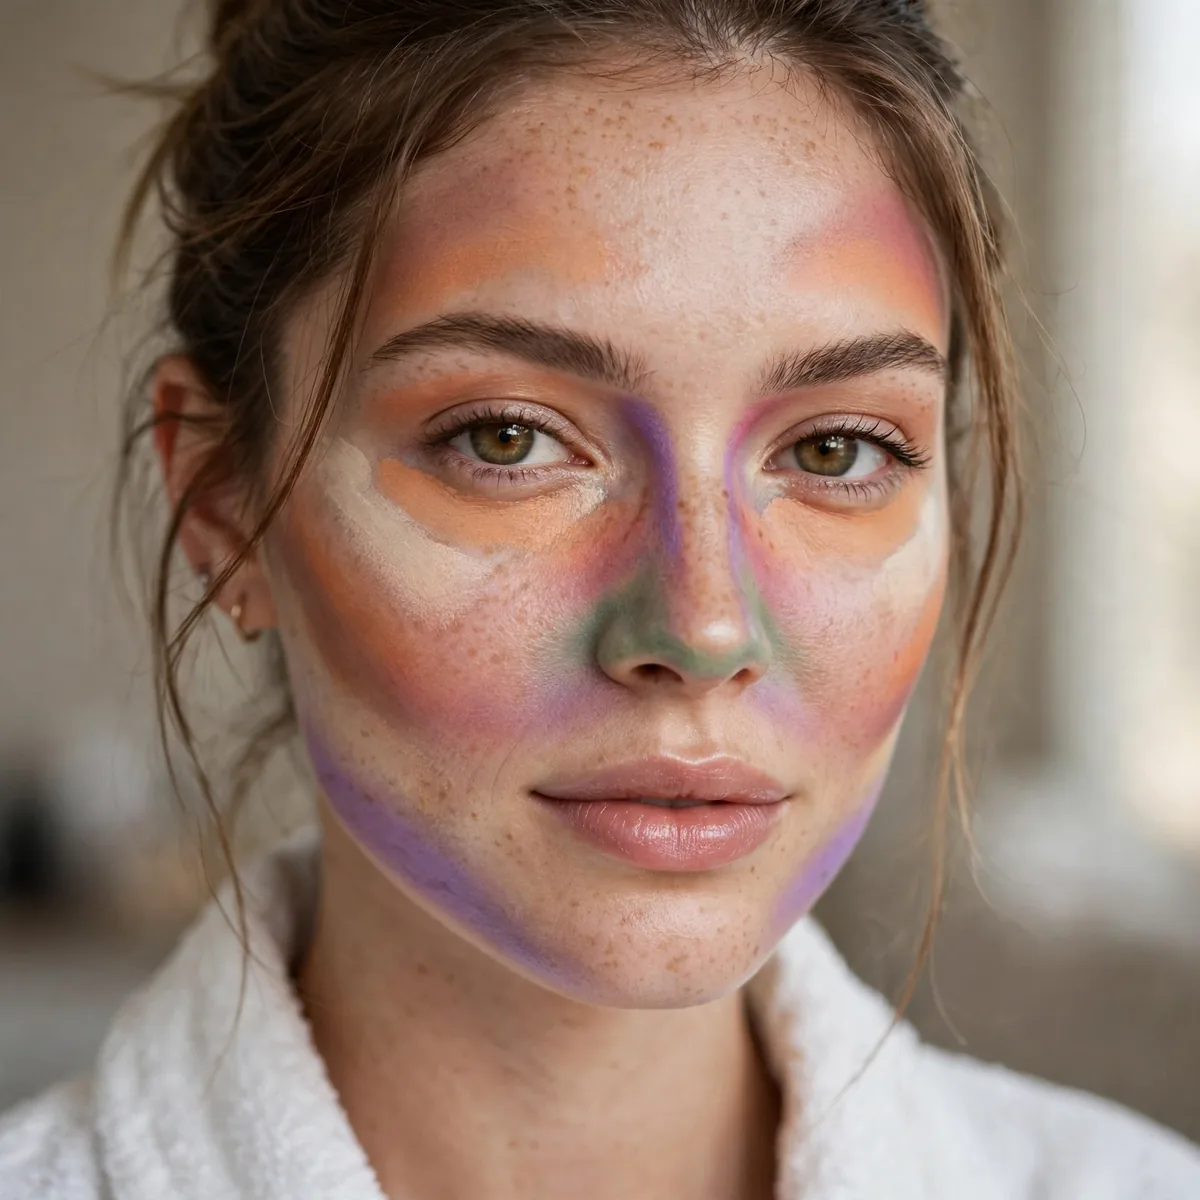
Start with just contour and blush under — two products, huge difference.
Best for: first-timers. Master two products before adding highlight.
Strip the routine to its bones: one cream contour and one cream blush, nothing else, until your hands learn the placement. Map the contour along the cheek hollows and jawline, add the blush to the apples, then veil everything with your usual tinted moisturizer. Practicing on a lazy Sunday beats experimenting on a wedding day — repetition builds the muscle memory fast.
The learning curve is forgiving because the foundation layer rescues almost every mistake — heavy-handed contour softens, misplaced blush diffuses. Watch one side of your face as a guide; asymmetry disappears when you mirror placement carefully. Once the two-product version feels second nature, add the underpainted highlighter and you’ll have the complete invisible-sculpt routine down.
Underpainting Tools
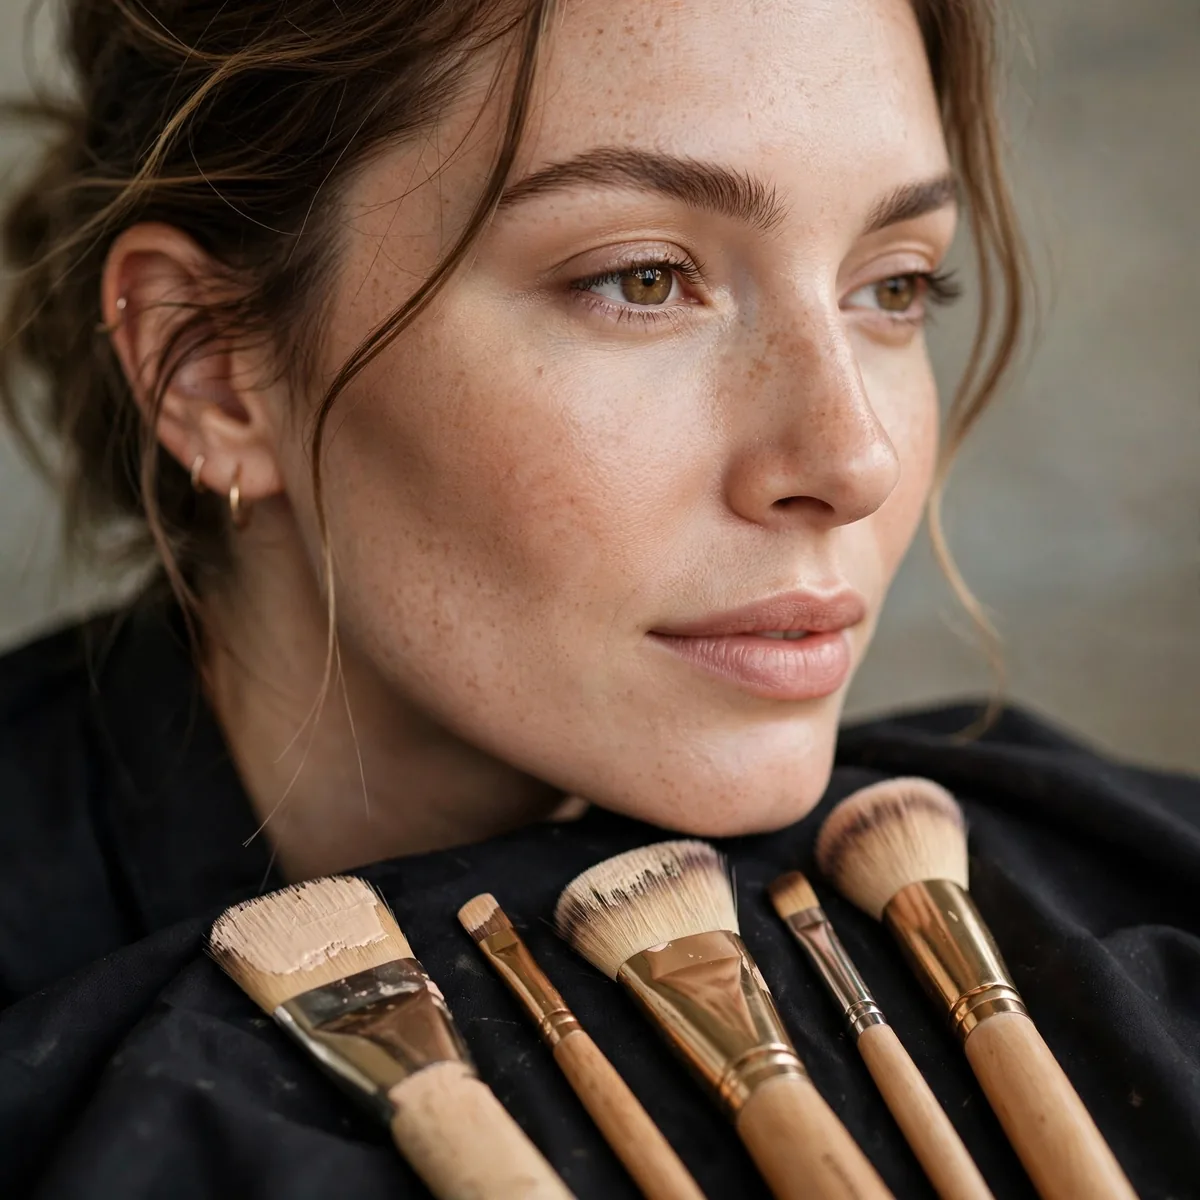
Dense brushes for contour, damp sponge for the foundation veil.
Best for: the right application. Tools matter in underpainting.
A dense, angled brush lays cream contour down precisely, while a synthetic flat-top buffs it into a soft wash. The foundation veil needs a damp sponge worked in pressing motions — sweeping or buffing will shift the underpainting you just placed. Keep your brushes clean between layers; muddy tools mix the shades into an indistinct haze instead of keeping them distinct.
Washing the sponge after each use matters more here than usual, since trapped pigment stains future applications. A stippling brush offers an alternative for the veil if you prefer a more polished finish over sponge texture. And for blending the underpainting itself, your fingers genuinely work — body heat melts cream products into skin better than any tool, making edges vanish effortlessly.
Cream vs Liquid Under
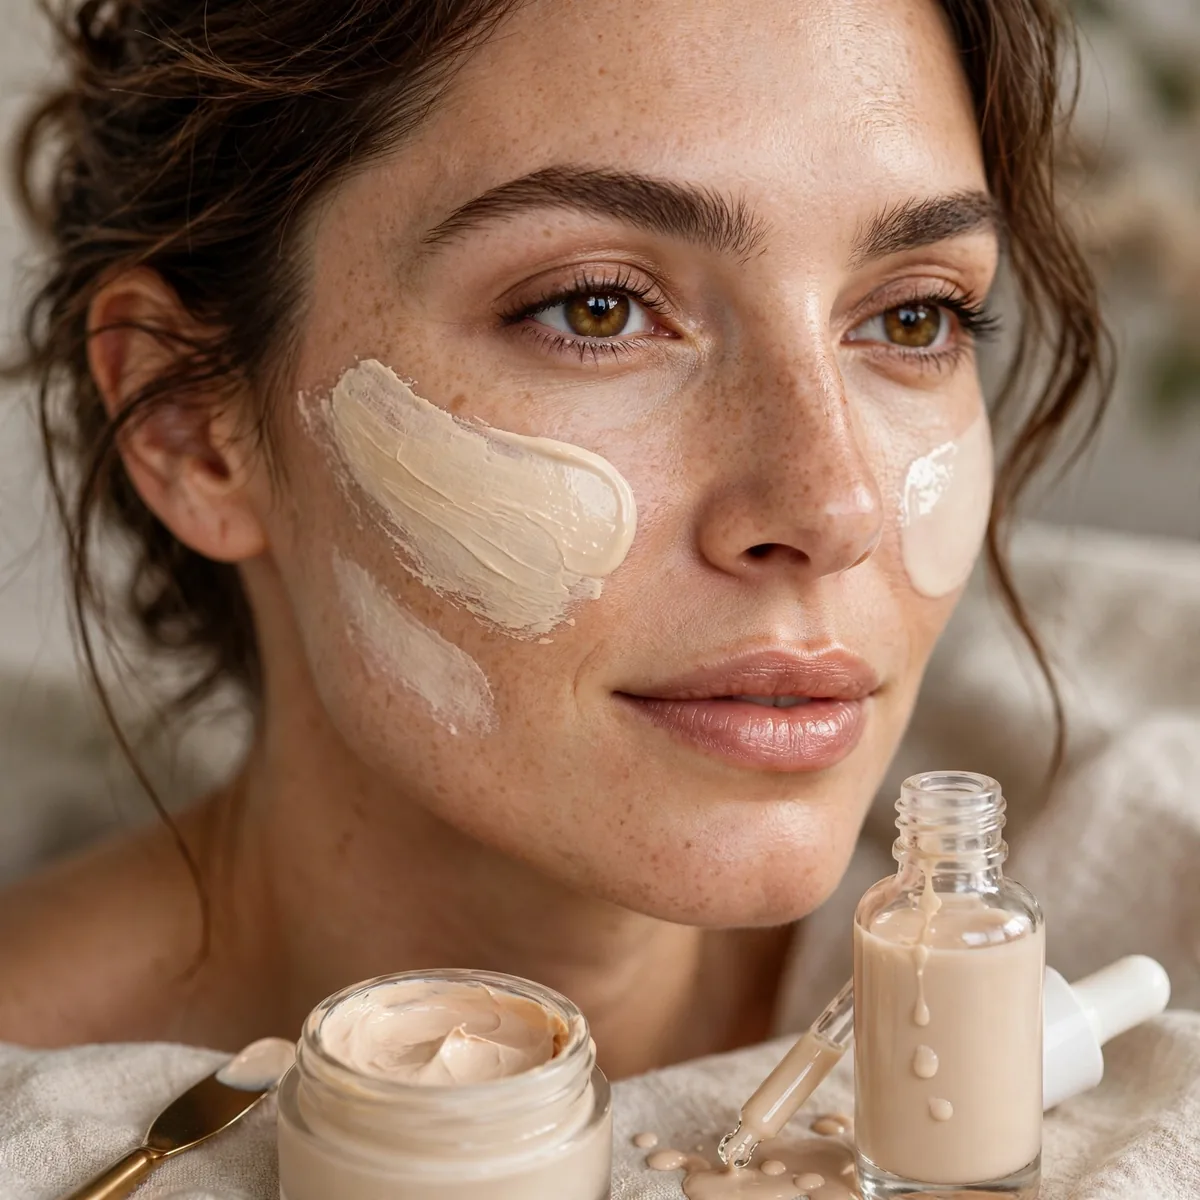
Creams underpaint best — they meld with foundation seamlessly.
Best for: product choice. Creams are underpainting’s native texture.
Cream sticks give the most control for mapping contours — the waxy texture stays put exactly where drawn. Liquids and serums, meanwhile, shear out more easily and suit beginners who fear harsh lines. Either way, stick to hydrating formulas; dry or powdery products fight the foundation instead of fusing with it, and the whole illusion collapses into patchiness.
Avoid waterproof or long-wear matte formulas in the under-layer — they set too fast and resist the foundation’s blending. Stick products designed for sculpting tend to blend better than generic concealers pressed into double duty. Price doesn’t dictate performance either; some drugstore creams melt beautifully, so experiment with what’s already in your makeup bag before investing in something new.
Underpainting for Mature Skin
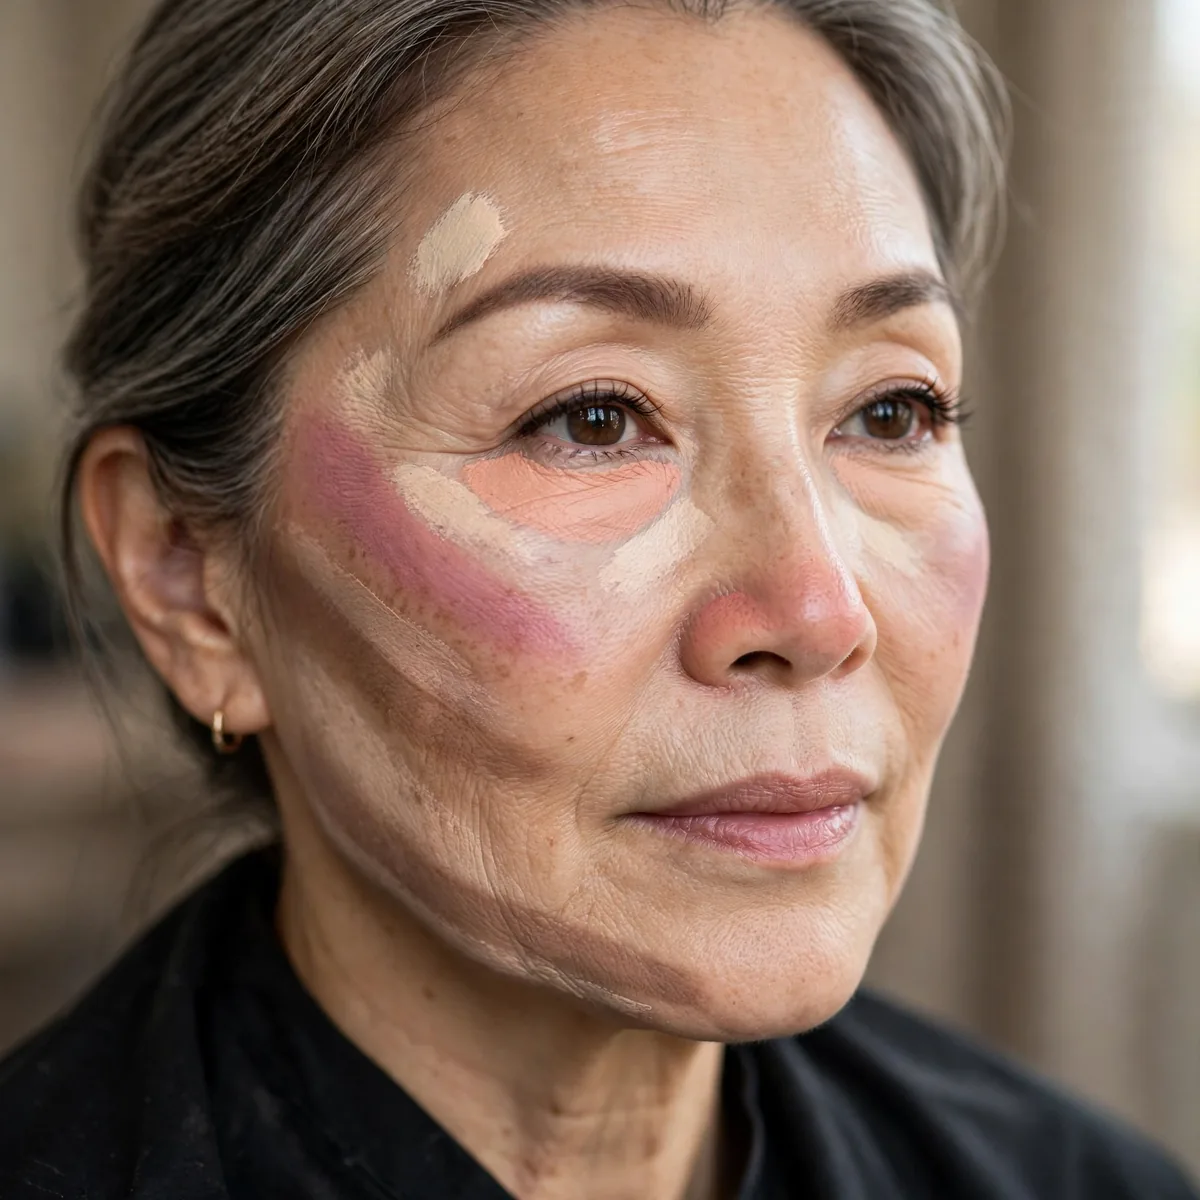
The gentlest sculpting for mature skin — no harsh lines ever.
Best for: mature skin. Our mature skin guide pairs well.
Fine lines and texture vanish fastest under cream underpainting because there’s no powder settling into creases. Use a hydrating, lightweight formula in the base and skip heavy setting powder — a light mist of setting spray locks everything without emphasizing texture. The technique restores the dimension that time softens, especially through the cheeks and jawline where elasticity fades first.
Choose cream contours a touch warmer than usual — cooler grays can read ashy on mature skin, whereas warmth looks like healthy vitality. Blend with a light touch around the nasolabial area and under-eyes, where delicate skin punishes heavy-handedness. The result reads as rested and lifted rather than made-up, which is exactly why the method has such a devoted following among seasoned makeup artists.
Bronzer Underpainting
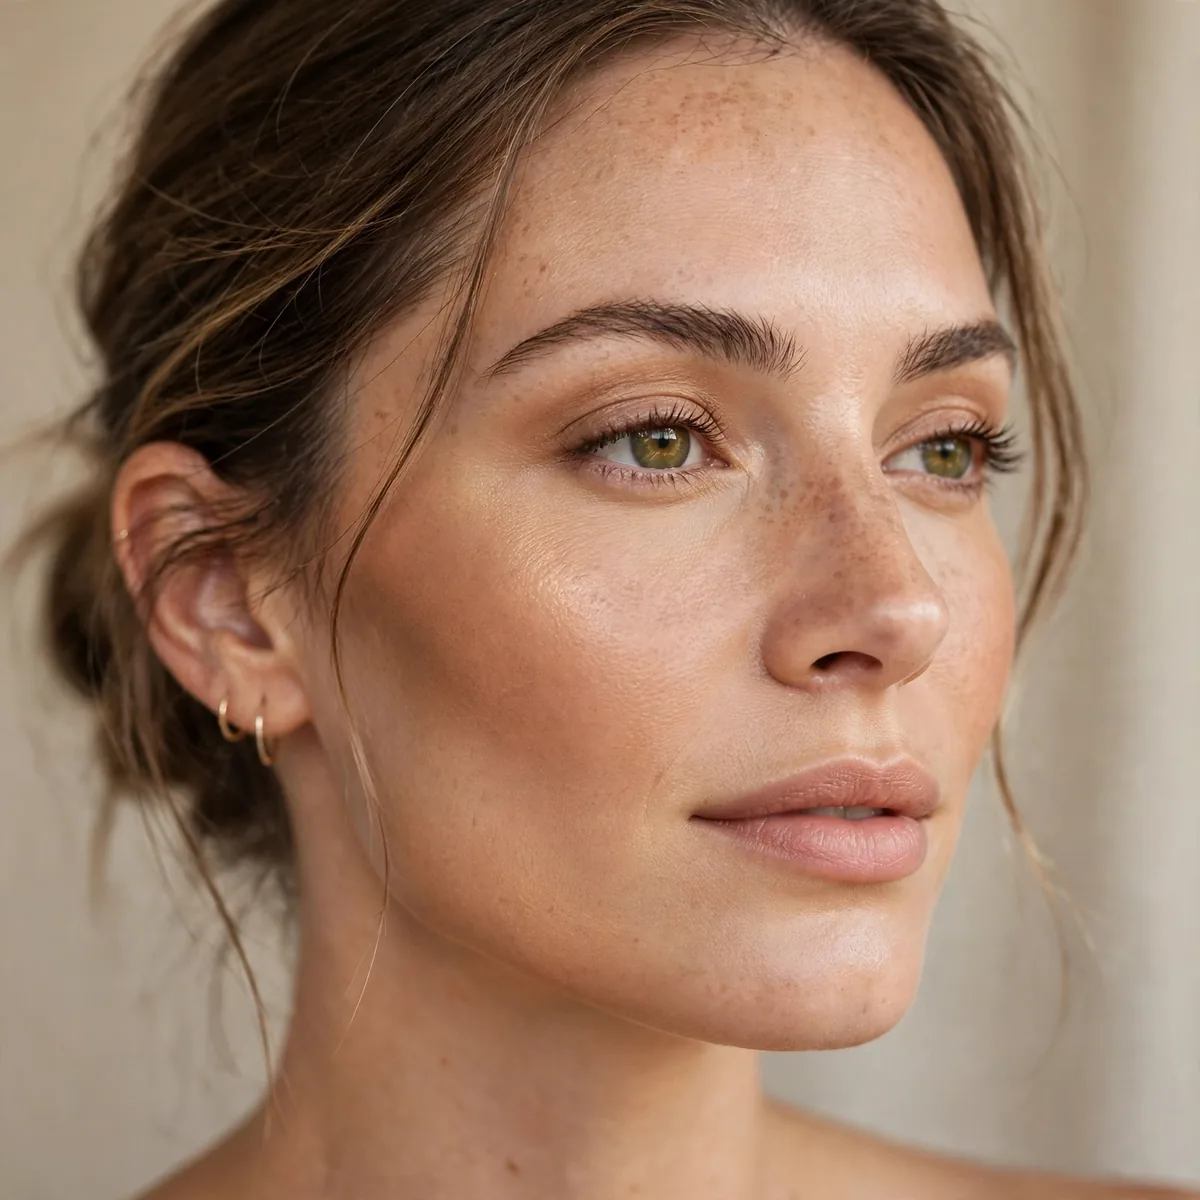
Bronzer under foundation — warmth from within.
Best for: the healthy glow. Underpainted bronzer looks like a real tan.
Dust or stipple the bronzer where the sun would actually hit — across the cheekbones, the bridge of the nose, and the perimeter of the forehead. Because the base mutes it, you can be bolder than usual with the amount; timid bronzing disappears entirely. Matte bronzers work best underneath since shimmer particles can clump when sandwiched between cream layers.
The sun-kissed effect reads most convincing in summer and on warm or olive undertones, though fair skin can pull it off with a light-handed tawny shade. Pair the bronzer underpainting with a matching warm blush and the warmth looks woven through the whole face. Skip cool-toned contour in the same routine — mixing gray contour with warm bronzer can turn muddy instead of sunlit.
Color Correct Under
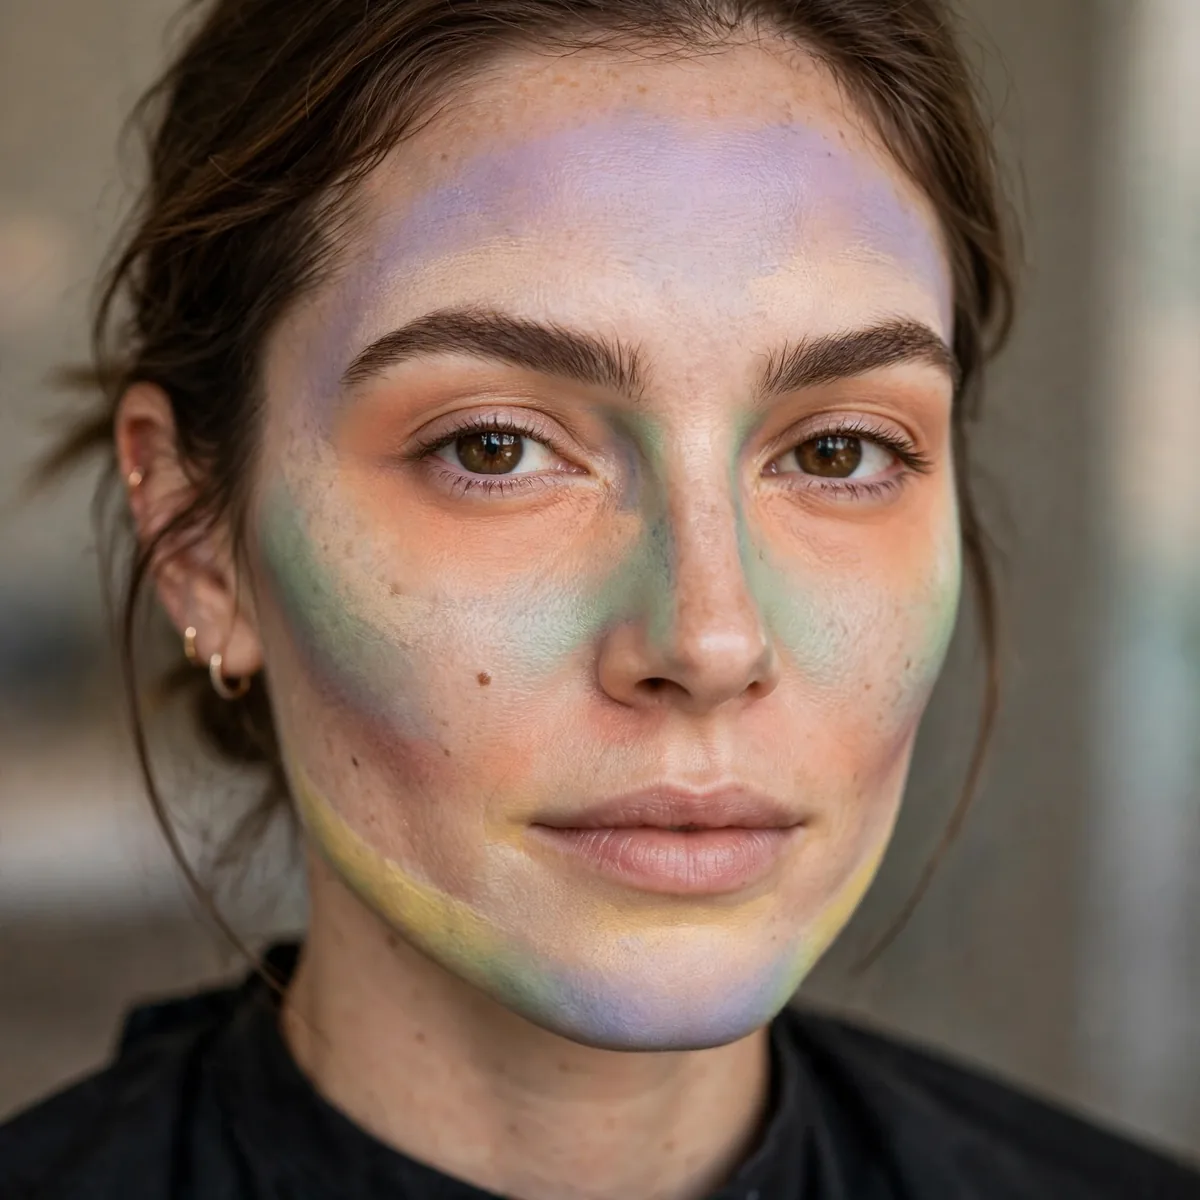
Correctors as the first underpainting layer — neutralized from beneath.
Best for: redness and darkness. Correct first, sculpt second.
Green neutralizes redness around the nose and chin, peach or orange cancels under-eye darkness, and lavender brightens sallow patches — each goes on before any sculpting. Pat the corrector in with a finger or small brush and let it set for a minute before continuing. This first layer means you need far less foundation overall, which keeps the entire underpainting looking breathable.
Acne-prone and sensitive complexions gain the most from this layering order, since redness vanishes without heavy full-face coverage. Use correcting palettes sparingly — tiny dots beat big swipes, and the foundation will carry the rest. One caution: peach correctors run warm, so blend them thoroughly on cool or very fair skin to avoid an orange cast showing through the veil.
Underpainting Setting
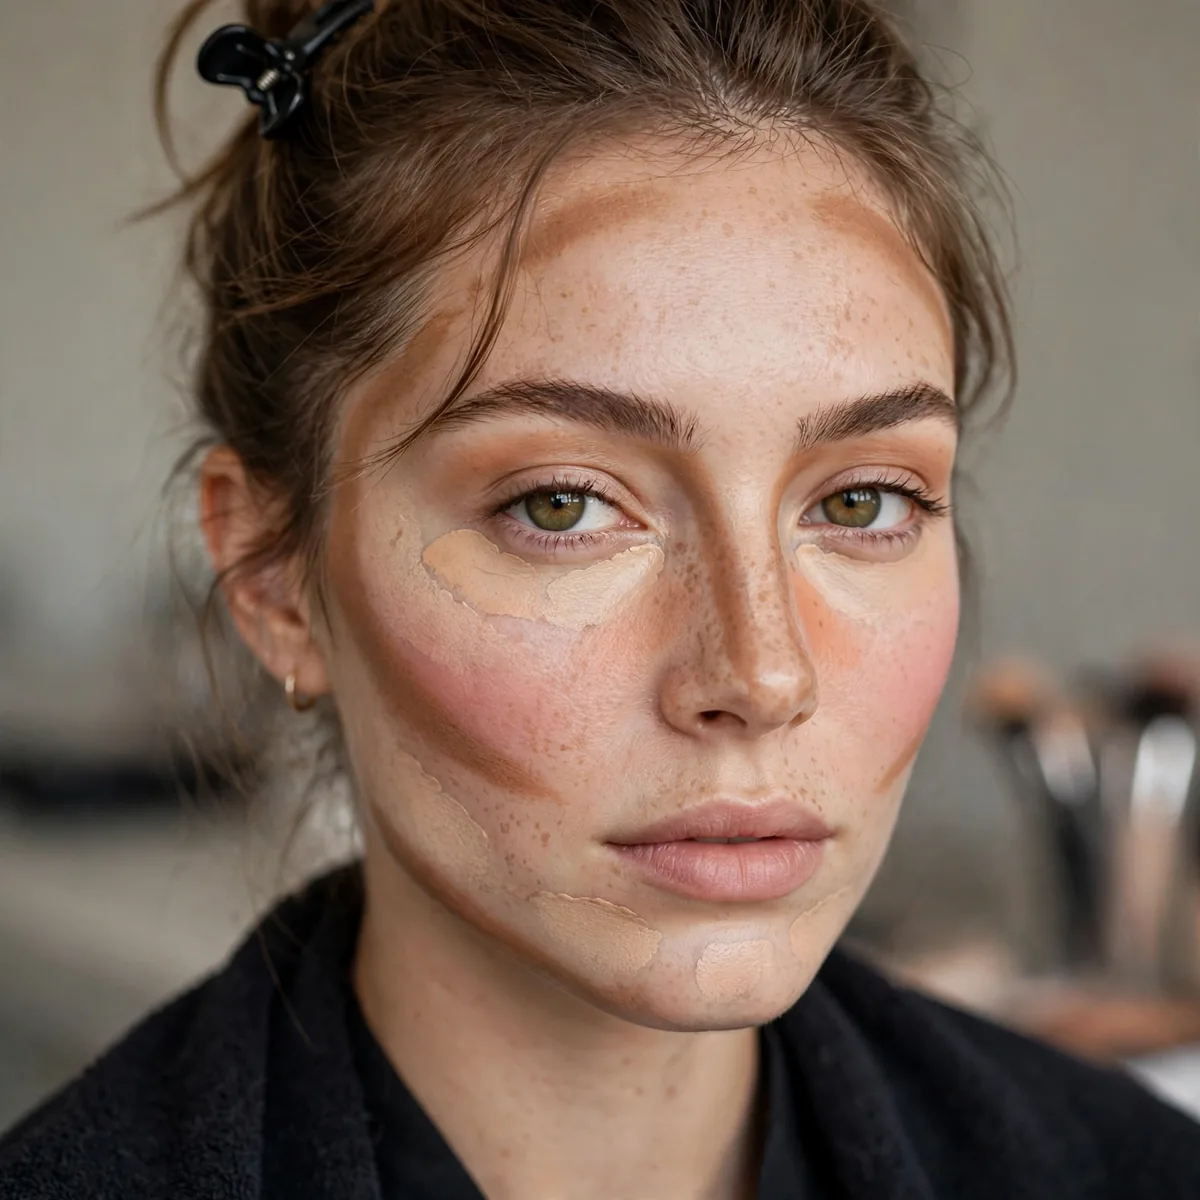
Light powder and spray to lock the layers — set without disturbing.
Best for: longevity. Gentle setting preserves the underpainting.
A fine mist of setting spray after the base, pressed lightly with a sponge, fuses the layers without adding texture. If you prefer powder, use the tiniest amount of translucent formula only through the T-zone — heavy powdering buries the glow you just built. Cream products layered this way actually set better than powders alone, gripping each other for genuinely longer wear.
For special events, layer spray before and after the foundation veil for double insurance that lasts past midnight. Blotting papers, not extra powder, handle midday shine best — they absorb oil while leaving the underpainting intact. And remember that a dewy finish is the whole point of the technique, so don’t chase full matte; some luminosity is the desired outcome, not a flaw.
Evening Underpainting
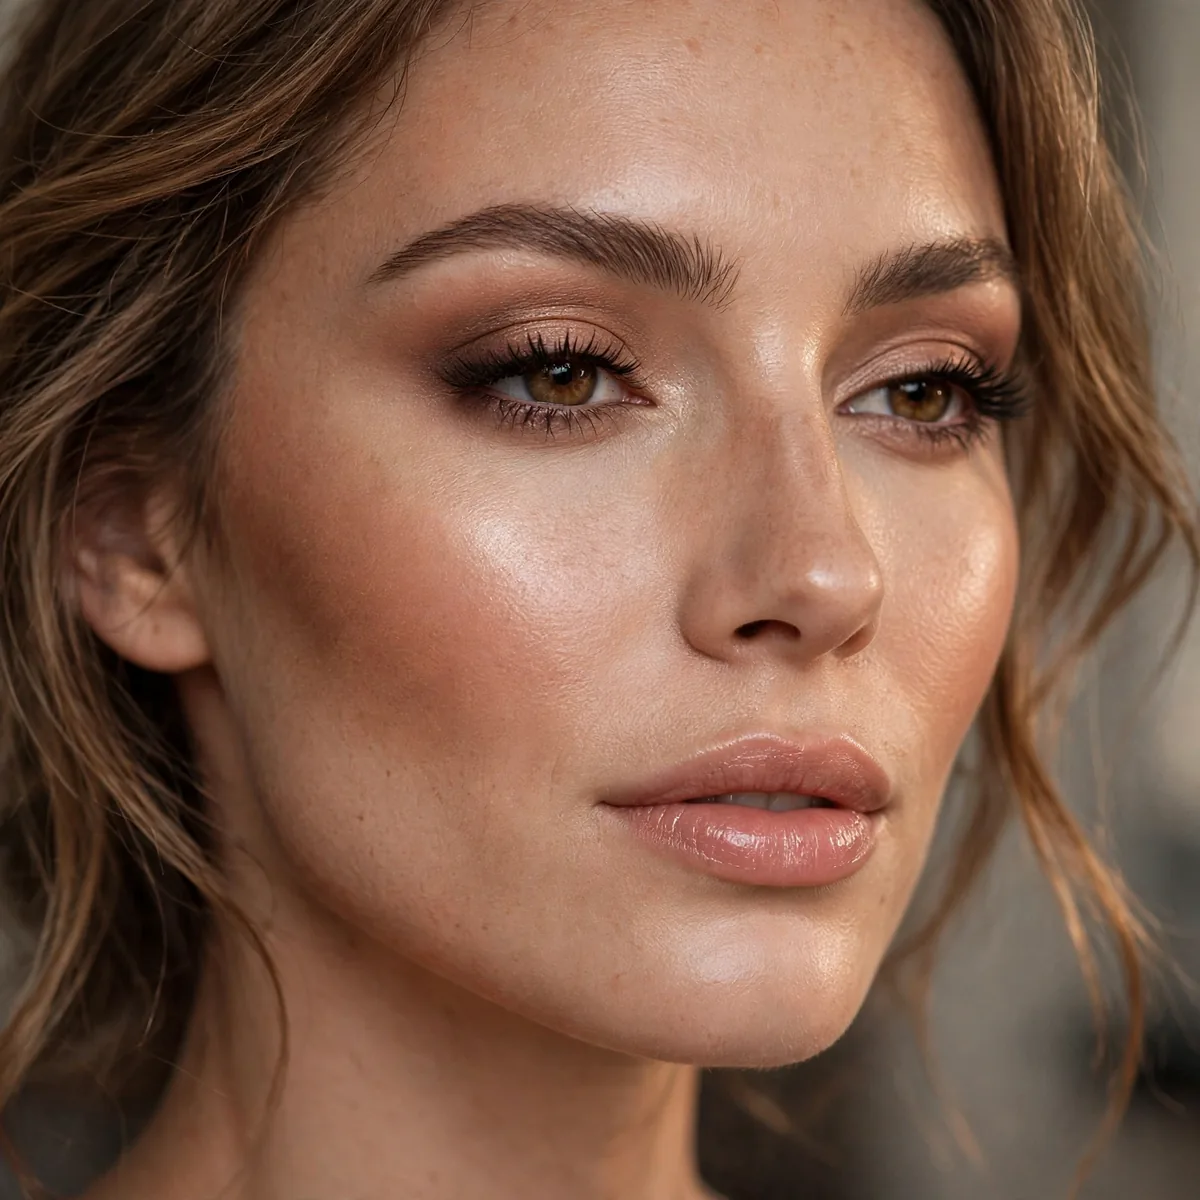
Deeper underpainting for evening — more sculpt, still natural.
Best for: nights out. Intensify placement, keep the technique.
Deepen the contour shade by one level and extend the blush slightly higher for evening — the extra depth reads through candlelight and camera flashes without looking heavy. Add a touch more underpainted highlighter along the cheekbones so the face catches light in dim venues. The technique handles intensity gracefully because every layer stays soft, even when the placement is bolder.
This amped-up version suits dinner dates, cocktail parties, and any event photographed in low light. Pair it with a bolder lip or smokier eye since the face can carry the drama — the invisible sculpt keeps everything balanced. Keep blotting papers and a mini setting spray in your clutch; evening heat and dancing test even the most carefully layered makeup.
Underpainting Mistakes
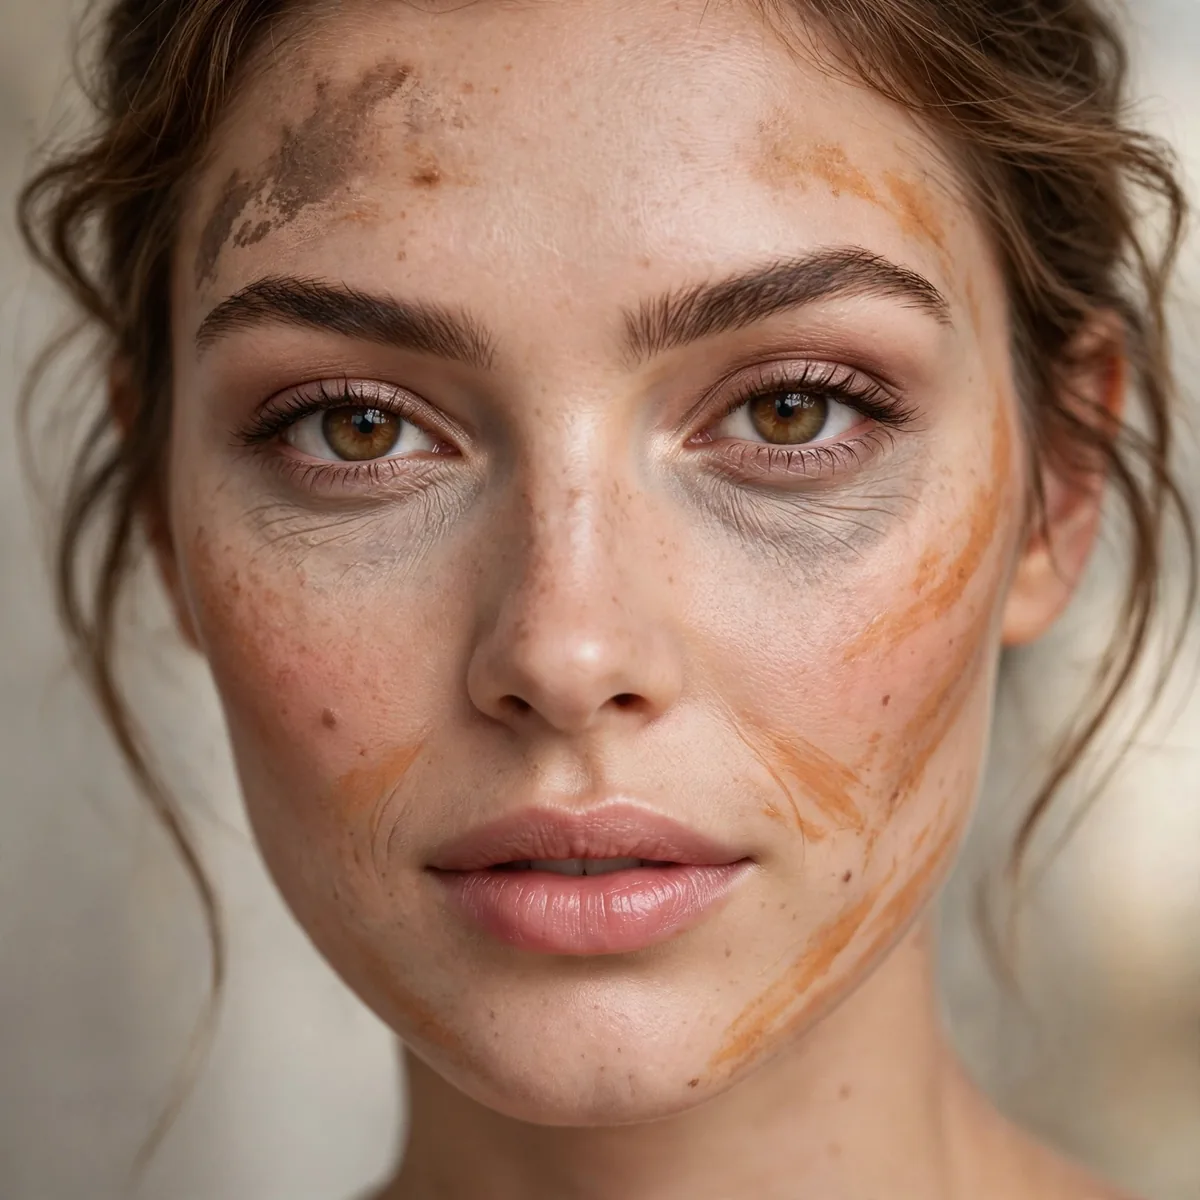
Too much product, too-heavy foundation — the two killers.
Best for: troubleshooting. Less is more in every underpainting layer.
The classic error is applying foundation with a buffing brush, which drags the carefully placed underpainting into streaks. Press and bounce the sponge instead, working in sections so the base settles on top rather than mixing in. Another pitfall: blending the underpainting too aggressively before the veil — you need the placement distinct enough to peek through the sheer coverage.
Wrong undertone matching creates the gray, muddy cast that makes people abandon the technique entirely — cool contours on warm skin or vice versa read as bruising. Also watch product age: expired cream formulas separate and apply patchily, ruining the melt. When something looks off, remove one layer rather than piling on fixes; underpainting rewards restraint, not rescue missions.
The Full Underpaint
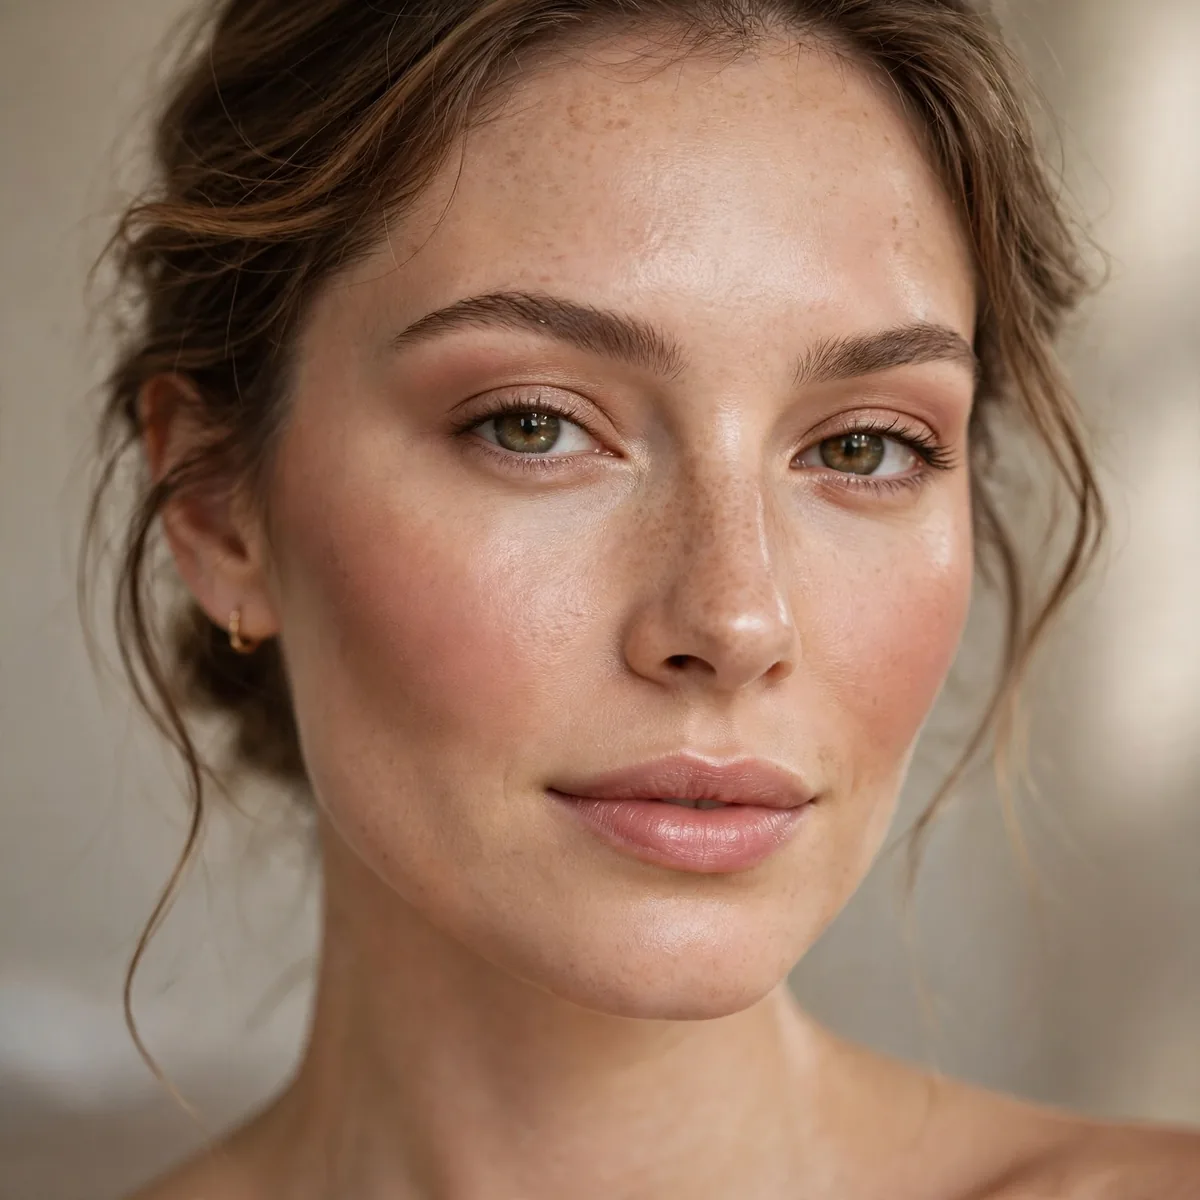
Correct, contour, highlight, blush, sheer base. The complete invisible sculpt.
Best for: mastering the art. Every layer working from beneath.
Work in thin, deliberate passes and let each layer settle for thirty seconds before the next — patience is the invisible ingredient. Map everything with a mirror held at arm’s length to check symmetry, since underpainting magnifies imbalances the way surface makeup doesn’t. The final reveal should surprise you: run your hand over the finished face and feel nothing but skin, while the mirror shows sculpted, glowing dimension.
Photograph the finished look in natural window light — the technique’s true test is whether sculpting reads on camera without visible makeup lines. In person, the payoff is a face that looks naturally defined from every angle, flattering everything from oval to square face shapes. Master this full sequence and you’ll rarely reach for heavy contouring again; the invisible sculpt becomes your everyday baseline.
Sculpted, naturally. Paint from beneath — and for more sculpting wisdom, see our contour tips and highlight placement.




