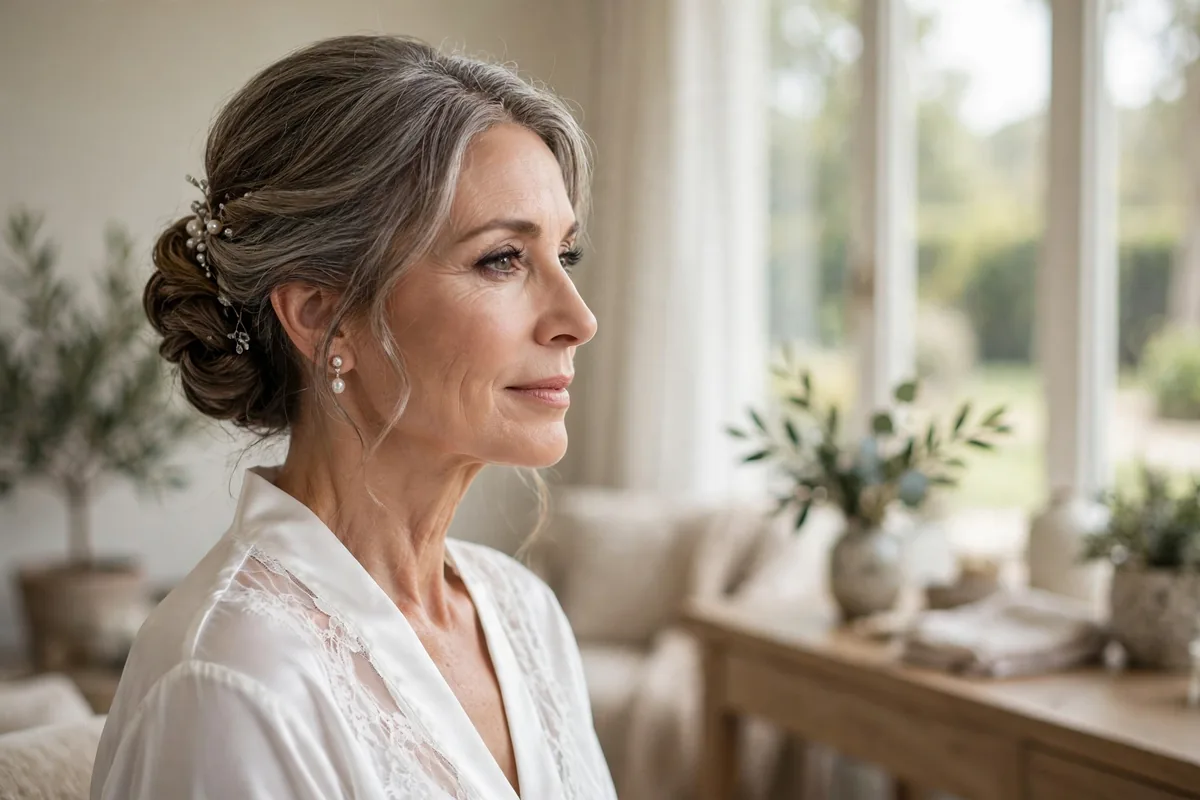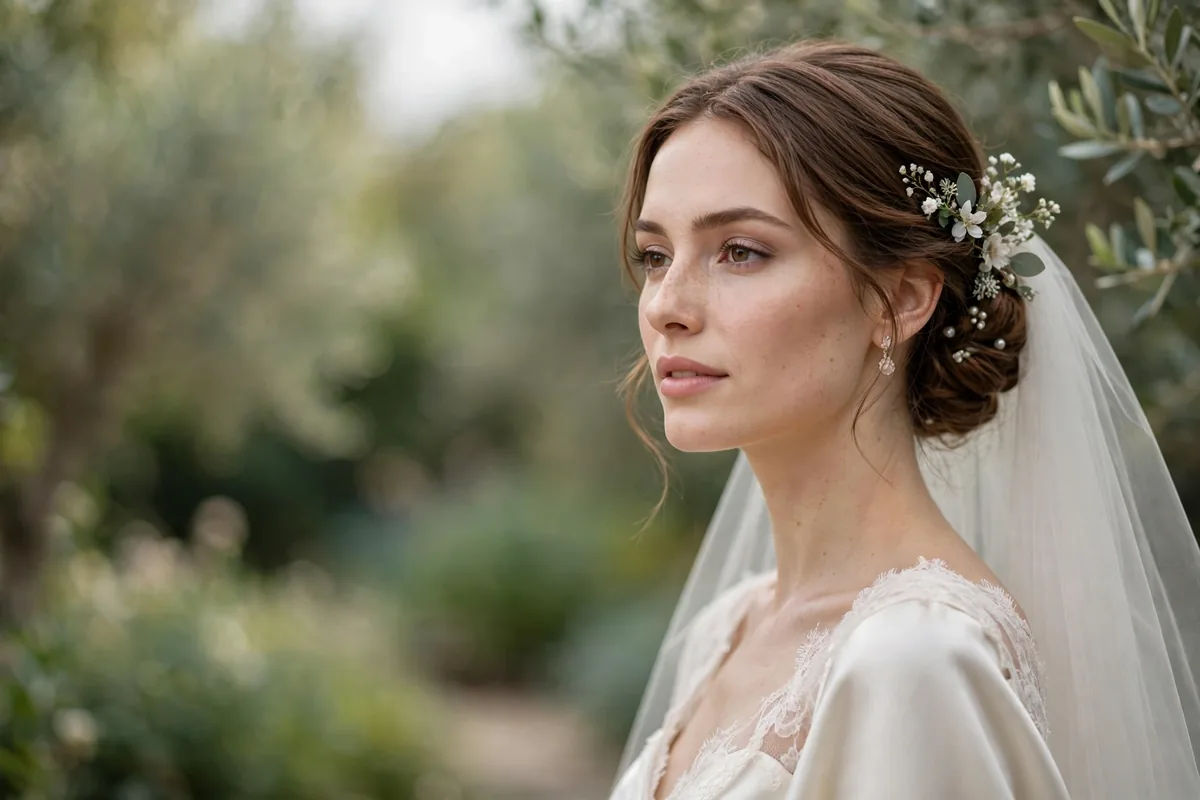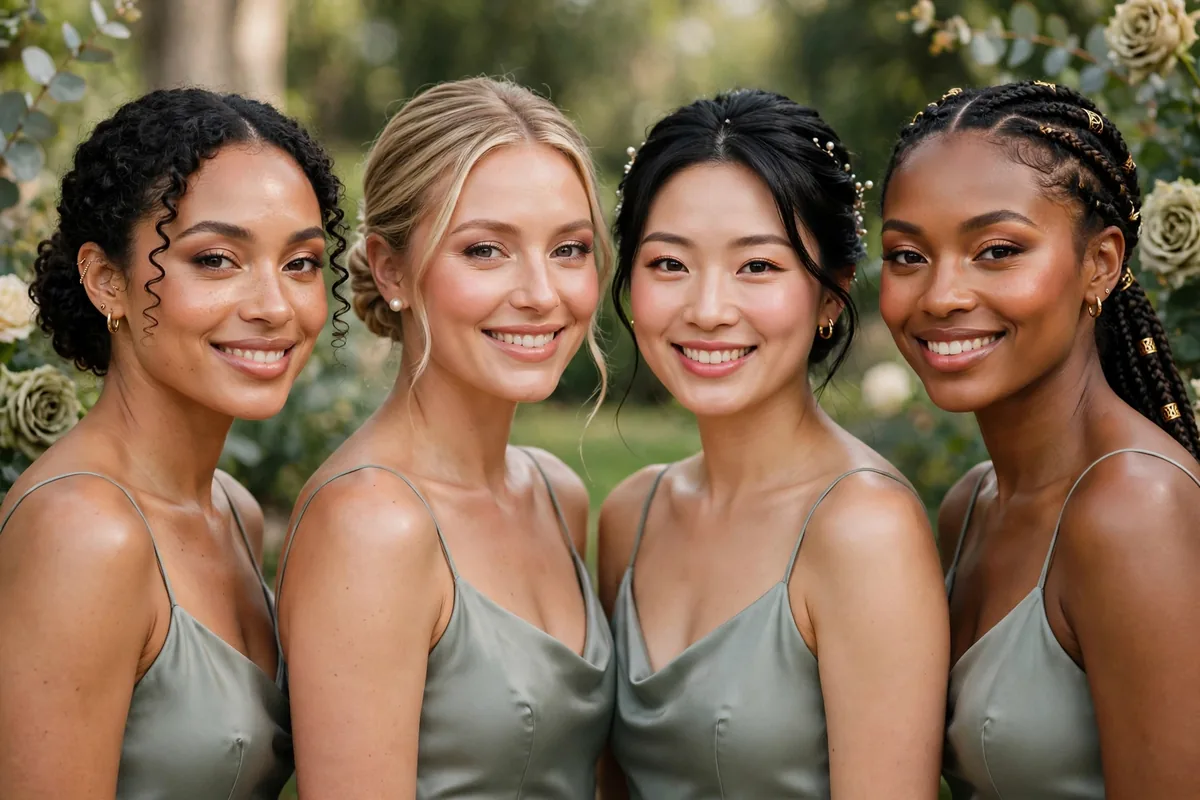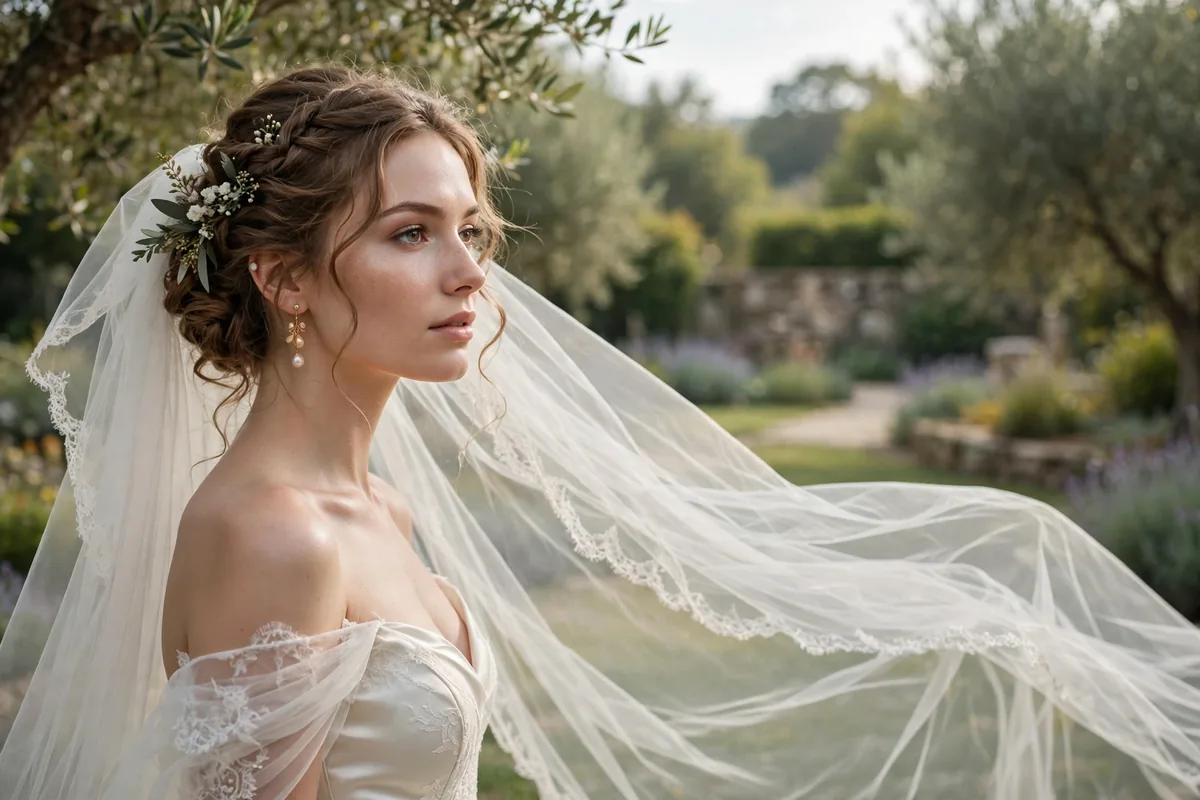
The veil and hairstyle must work as one — here’s how to pair them perfectly.
Different veils need different support: cathedral veils need secure updos; birdcages need sleek bases; mantillas need volume.
The golden rule: the hairstyle should secure the veil AND look good after it’s removed for the reception.
Here are 20 pairings. Let’s get into it.
Cathedral Veil + Low Chignon
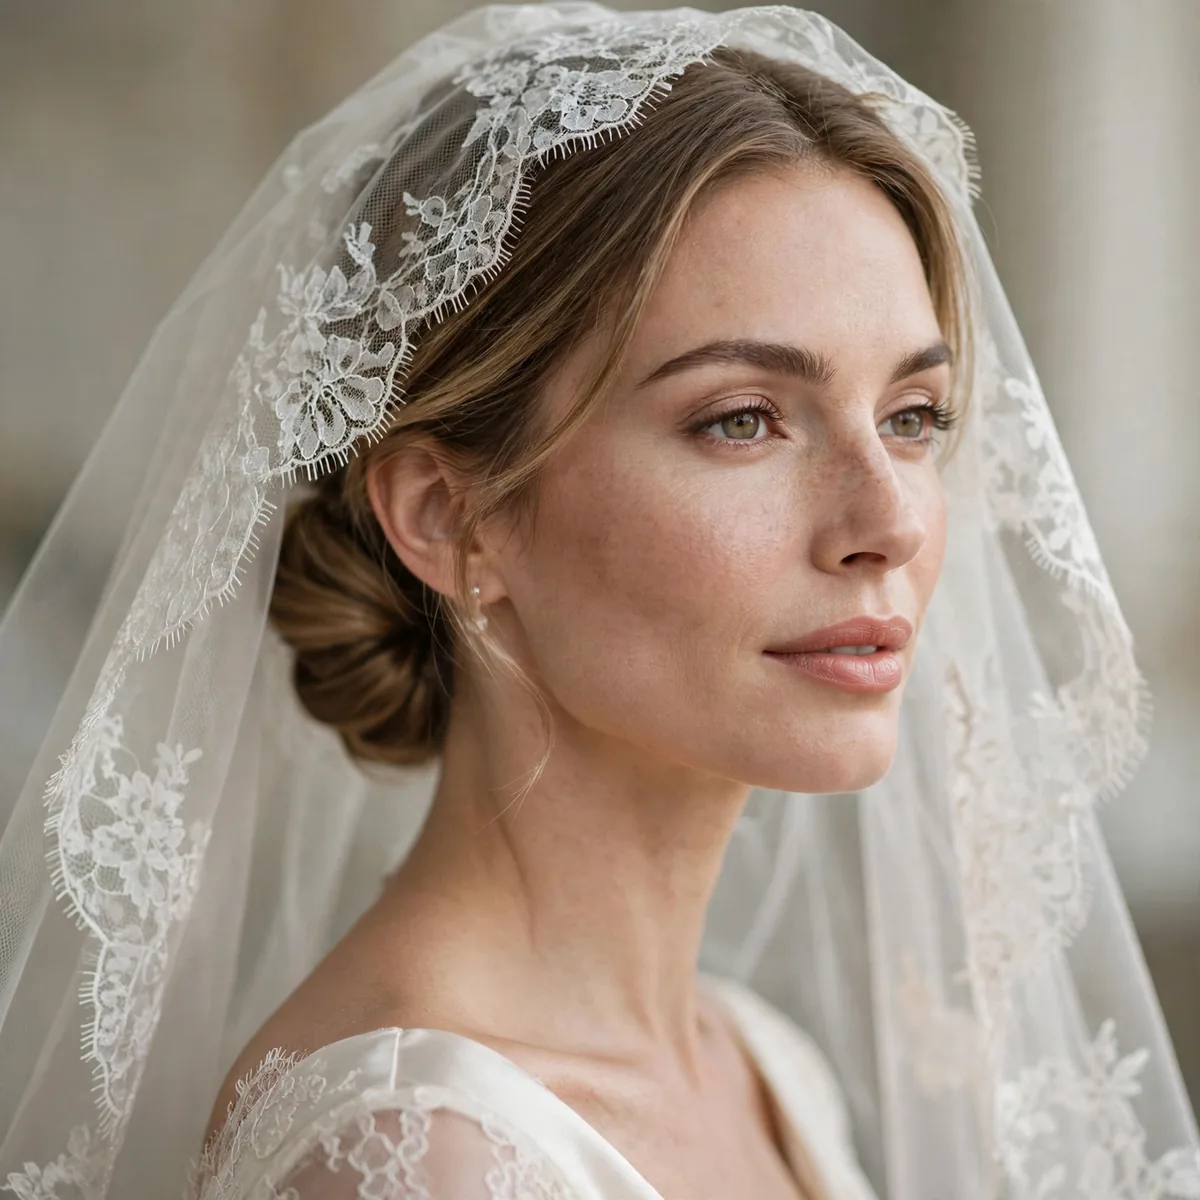
The classic pairing: a dramatic cathedral veil anchored by a secure low chignon.
The chignon’s structure supports the veil’s weight and length.
A cathedral veil runs 108 inches or longer, pooling past the train — its weight demands serious anchoring. Sew or pin the comb just above the chignon, then add two crossed bobby pins through the comb’s teeth into the bun for insurance. Assign a bridesmaid to fluff and arrange the veil at the altar; it tangles in heels and pews otherwise. For the recessional, gather it over one arm — dragging a cathedral veil down the aisle invites trips.
The chignon must be substantial and tightly pinned — a wispy bun cannot carry cathedral weight and will tilt by the ceremony’s end. This pairing belongs with formal gowns: ball gowns, dramatic trains, and grand venues match the veil’s scale. Ask your photographer for the veil-toss shot — an assistant lifts the veil high behind you as you turn — and the wind-catch portrait; cathedral veils create the most breathtaking images in a bridal album.
Fingertip Veil + Soft Waves
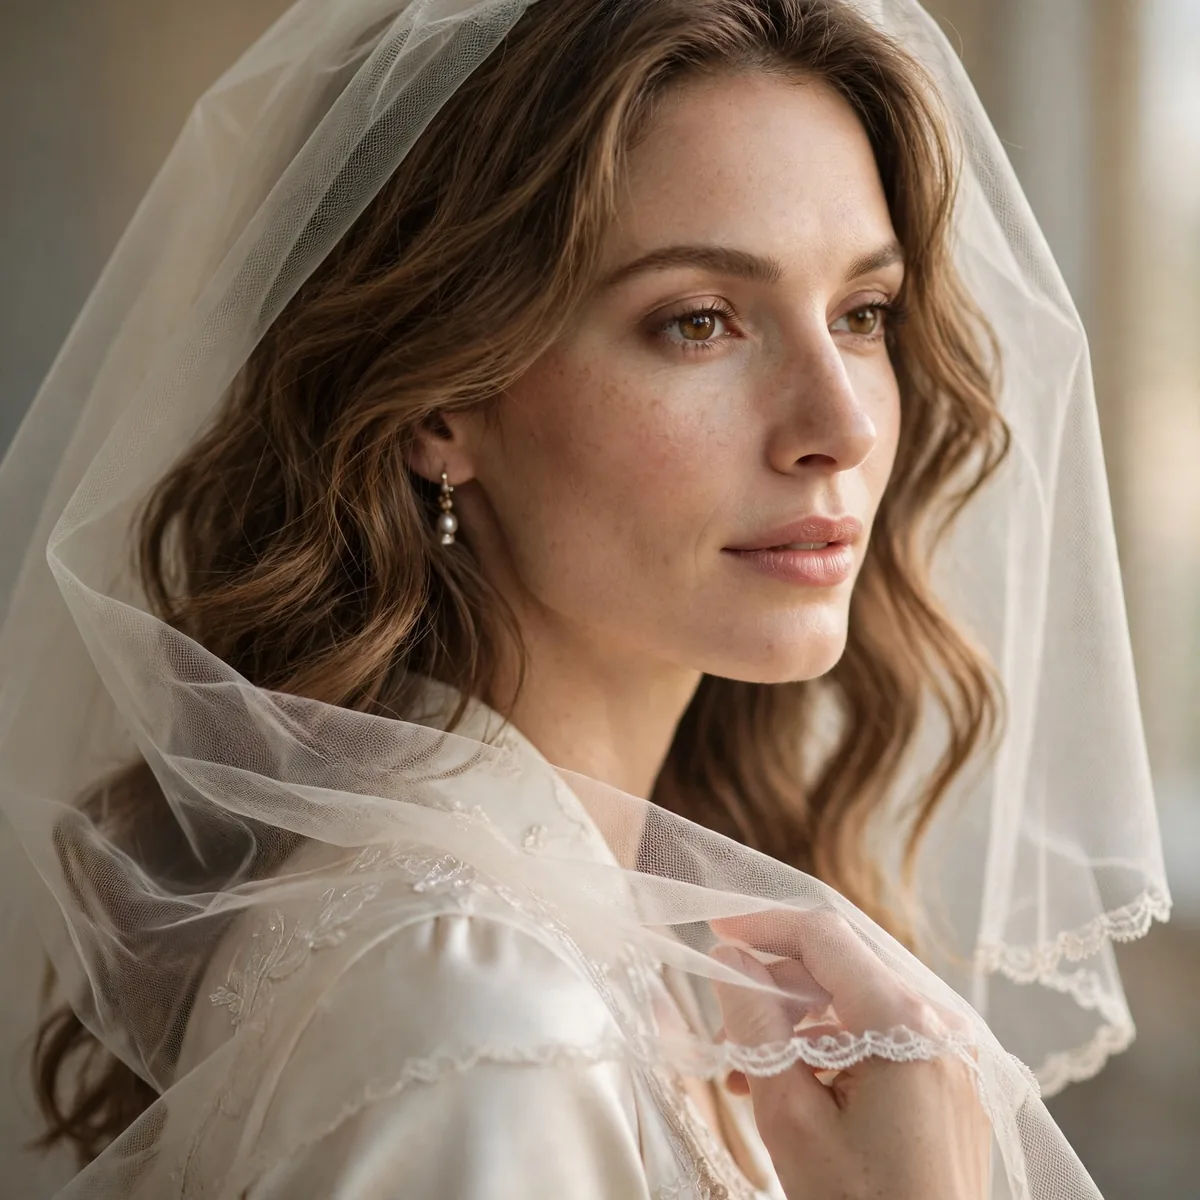
A fingertip veil floats over soft waves — romantic and effortless.
Place the veil at the crown so waves cascade beneath it.
A fingertip veil measures 36 to 40 inches, ending where your fingertips rest — the most versatile length ever made. Place the comb at the crown, nestled into the waves so the netting floats over them. Prep the crown with texture spray; silky waves shed combs within the hour. This length suits nearly every dress silhouette, from sheath to ball gown, and transitions seamlessly from ceremony to reception.
One caution: hours under netting flatten waves, so plan to remove the veil for the reception and revive the waves with a quick scrunch and spray. In photos, the veil’s sheer layer over waves creates gorgeous depth — ask for backlit shots where light glows through both. Outdoors, this length catches breeze beautifully without the sail-effect of longer veils; two extra pins at the comb handle most gusts.
Birdcage + Sleek Bob
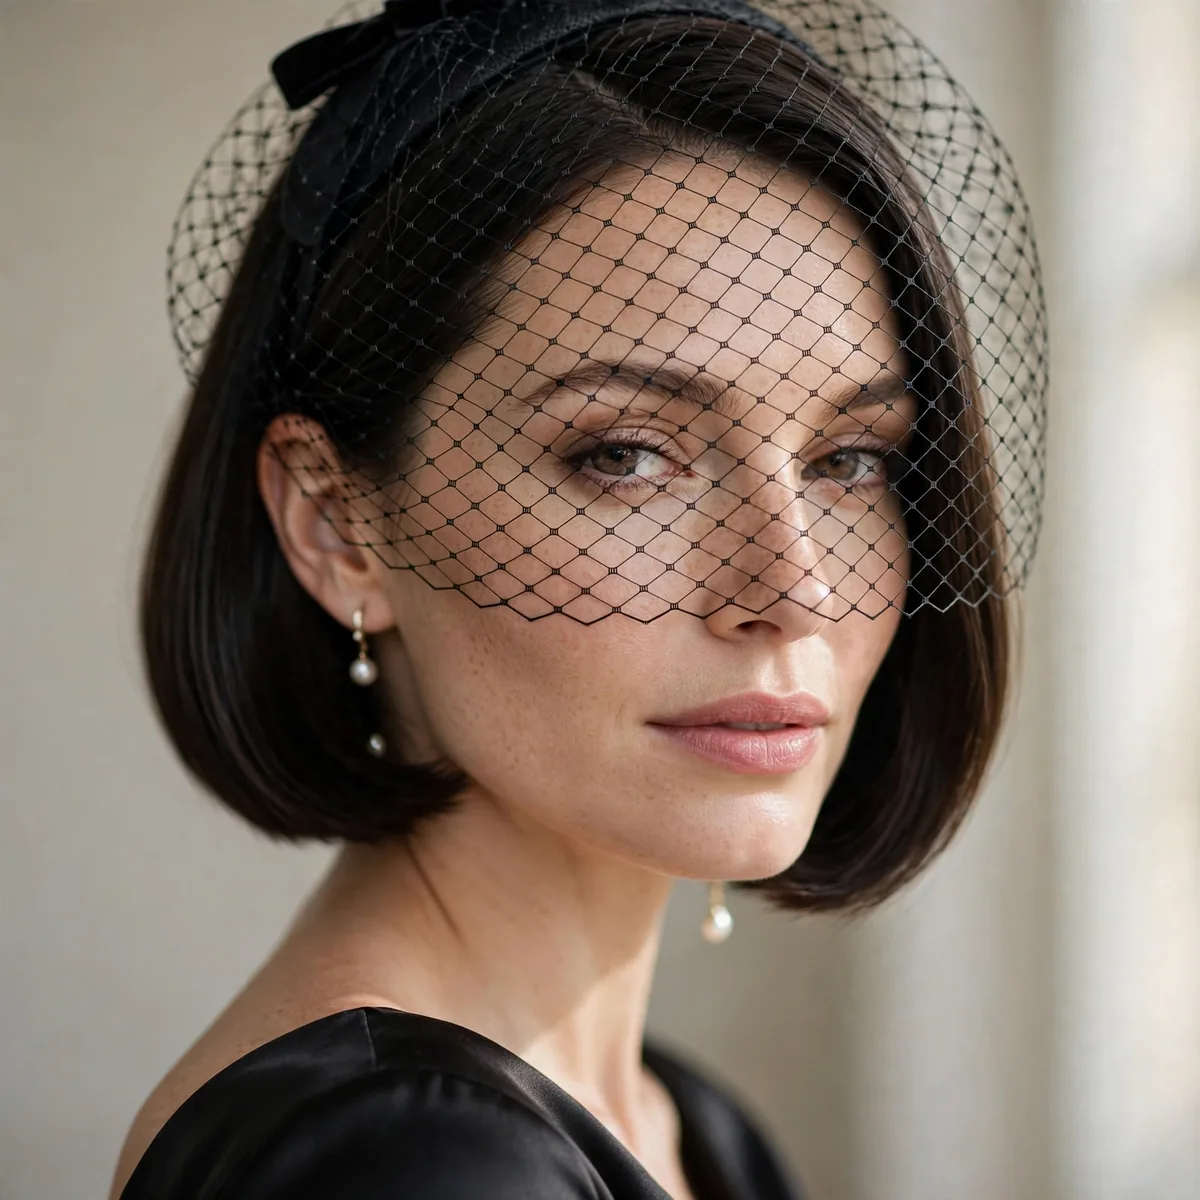
The vintage dream team: birdcage veil over a sleek bob or crop.
Keep hair smooth beneath; texture fights the veil’s net.
Sleekness is non-negotiable beneath netting — flat-iron the bob smooth and seal with serum, since texture and frizz show through the grid. Position the birdcage tilted over one eye for vintage mystique, securing with bobby pins at each temple hidden under the hair. The netting should just kiss the nose; too long and it reads costume, too short and it loses the effect. Russian veiling drapes softer than French for this look.
Pair with a bold red lip and defined brow — the netting softens features, so makeup needs extra definition to read through it. Skip other headpieces; the birdcage is the entire accessory story. Most brides wear it for the ceremony and portraits, then remove it for the reception — the transition takes seconds. Photograph it in black and white at least once; the netting’s graphic grid is made for monochrome.
Mantilla + Voluminous Curls
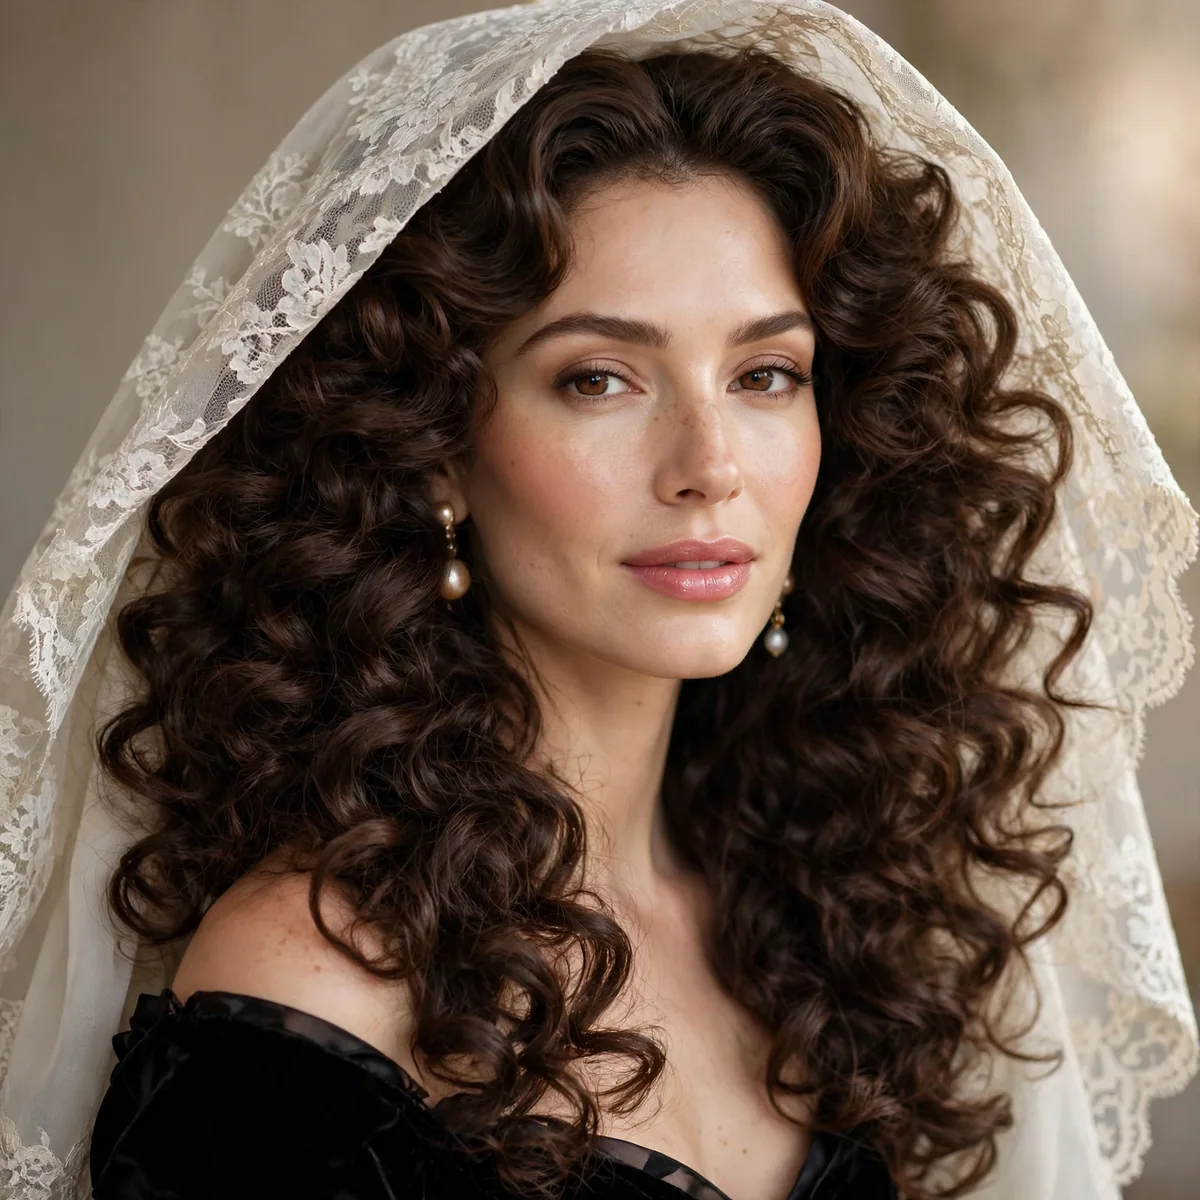
A lace mantilla needs volume beneath — big curls or a full updo.
The lace should drape, not disappear into flat hair.
A mantilla is worn draped over the head like a shawl, its lace edge framing the face — no comb, just careful placement and pins. It demands real volume underneath: big barrel curls, a teased crown, or a full updo, since the heavy lace collapses flat hair and disappears. Position the lace edge to frame the face symmetrically, pinning discreetly at the temples. Rooted in Spanish bridal tradition, it pairs beautifully with heirloom lace gowns.
Lace is heavy, so anchor with more pins than feels necessary — six to eight U-pins distributed around the head, hidden under the drape. Outdoors, wind is the mantilla’s nemesis; it billows like a sail, so this style suits indoor or calm-weather ceremonies best. Ask your photographer for macro shots of the lace against your hair — the detail is the whole point. Remove carefully after portraits; lace snags on earrings and beading.
Blusher Veil + Simple Updo
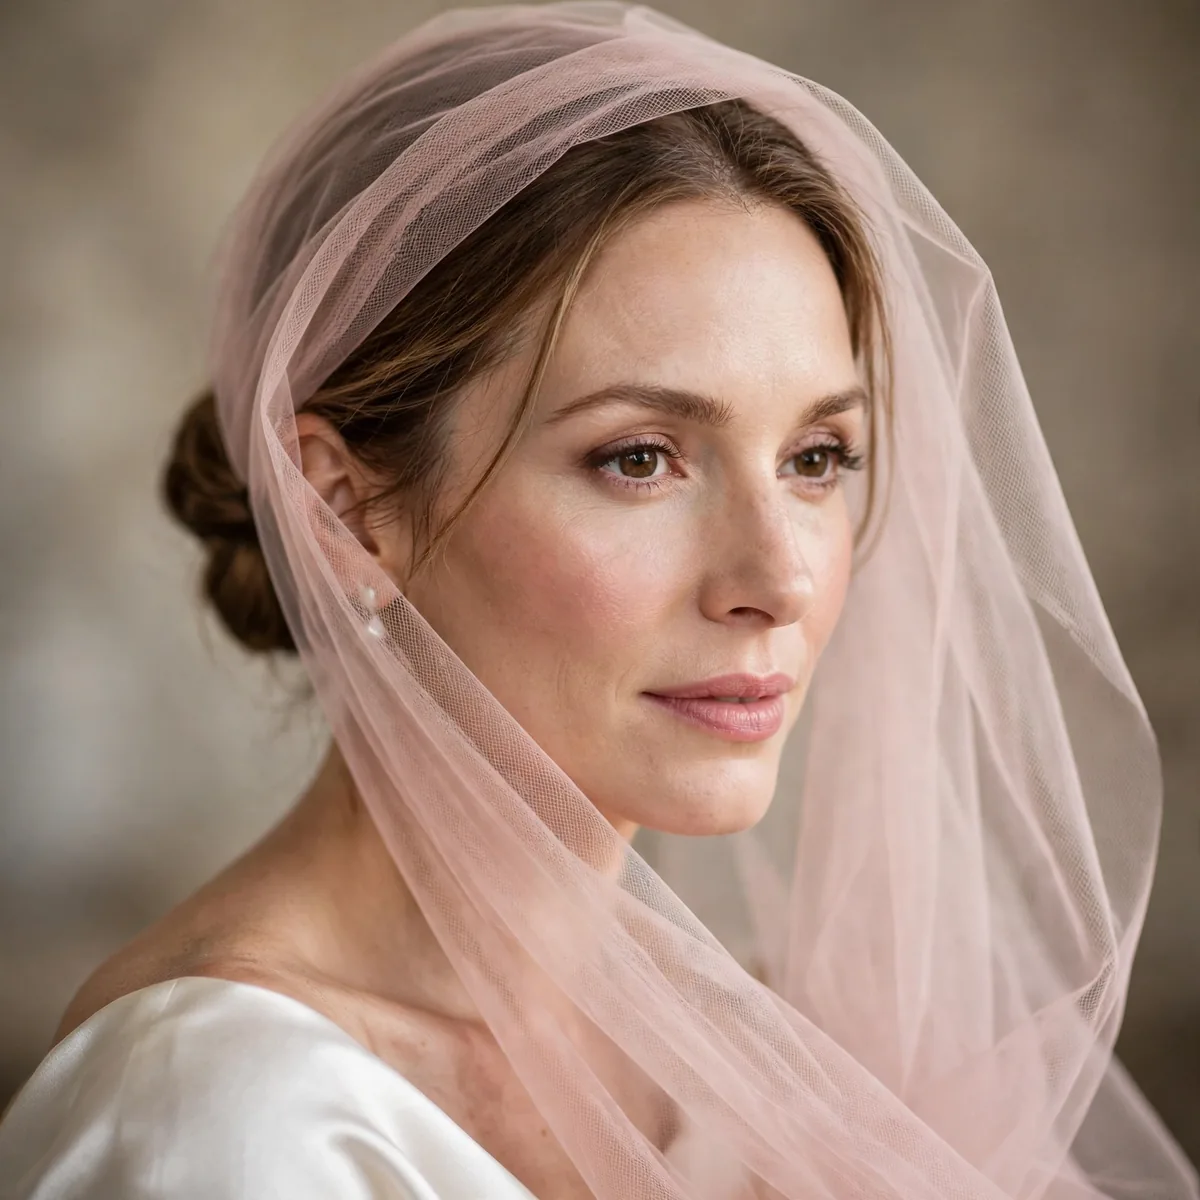
A blusher (face-covering) veil pairs with a simple updo — the veil is the moment.
Keep the hairstyle clean so the blusher drapes perfectly.
The blusher is a short tier — usually 30 inches — worn over the face for the processional, then flipped back over the head after the first kiss. Keep the updo sleek and simple: a smooth chignon or polished bun, since the blusher’s netting drapes directly over the style. Choose the lightest veiling for the blusher tier; heavy netting distorts features in photos and irritates the skin it touches.
Rehearse the blusher lift — whether your partner, parent, or officiant does it, the motion should be smooth and practiced, not fumbled. Makeup must be impeccable under a blusher; netting magnifies every flaw it covers, so the base, blush, and lip need to be photo-perfect. Tell your photographer to shoot the lift in burst mode; it is one of the day’s most emotional frames. After the flip, the blusher becomes a second sheer layer over the longer tier.
Chapel Veil + Half-Up
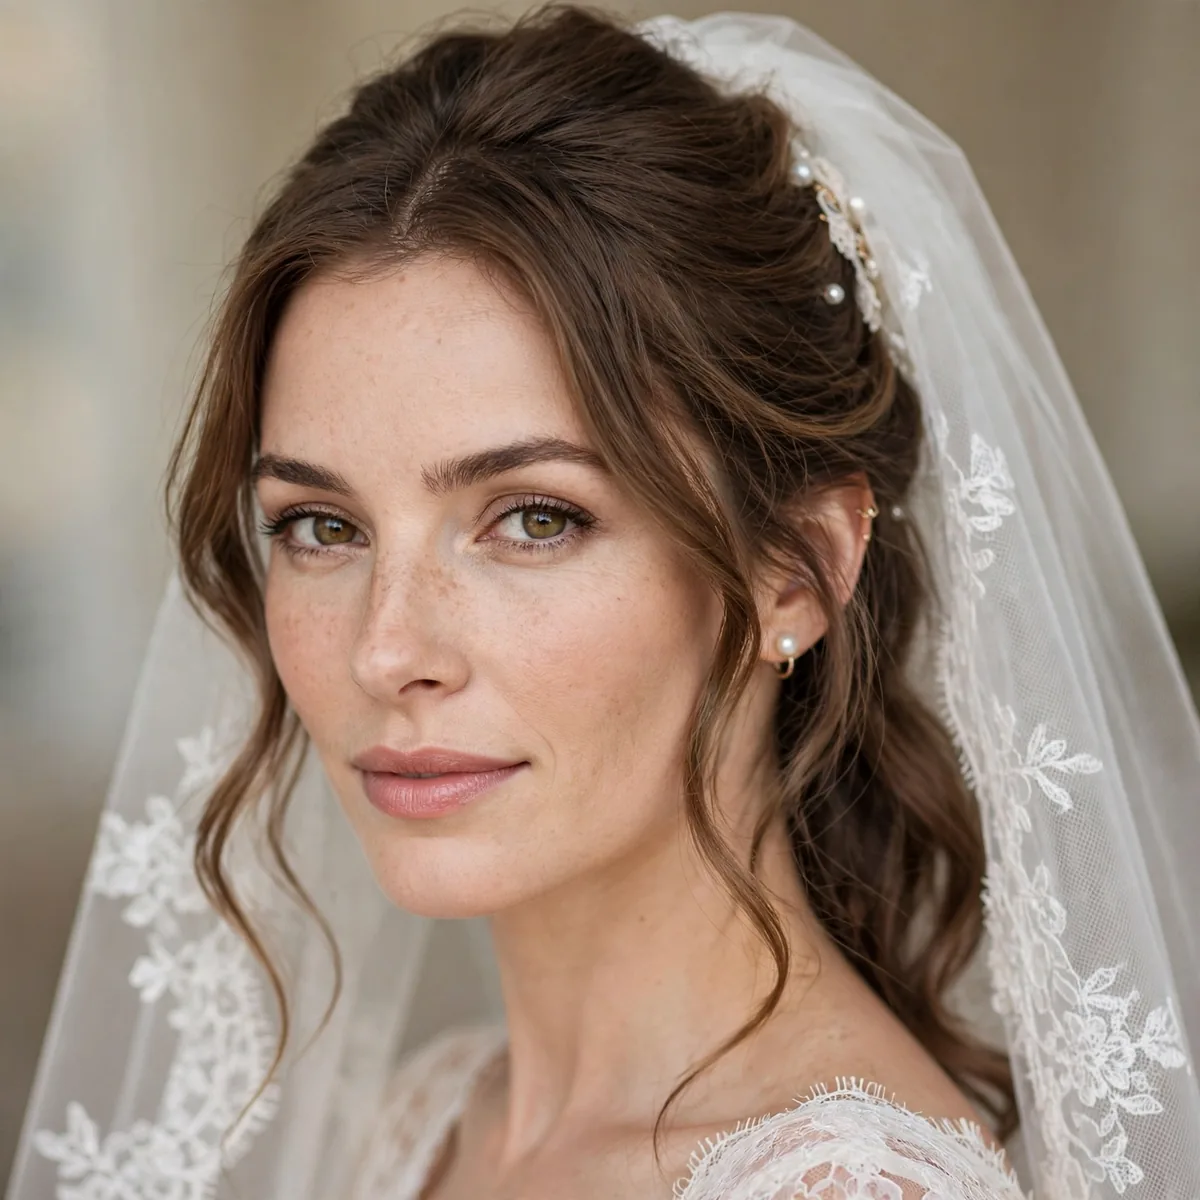
A chapel-length veil with half-up hair — formal but romantic.
The half-up section gives the veil a secure anchor point.
A chapel veil sweeps the floor at 90 inches — formal without the cathedral’s drama. The half-up section is the perfect anchor: tease the crown section firmly, smooth the top layer over it, and seat the comb into the teased base. The half-up’s texture grips the comb far better than all-down hair. This pairing suits semi-formal to formal weddings, bridging the gap between romantic and grand.
Style the down portion in soft waves or curls — the contrast between the structured crown and flowing lengths is the look’s charm. Because the veil removes for the reception, the half-up must look finished on its own; add a decorative pin or small flowers where the comb sat to disguise the anchor point. In photos, the chapel length creates beautiful movement shots — ask for walking portraits where the veil trails behind you.
No Veil: Floral Alternative
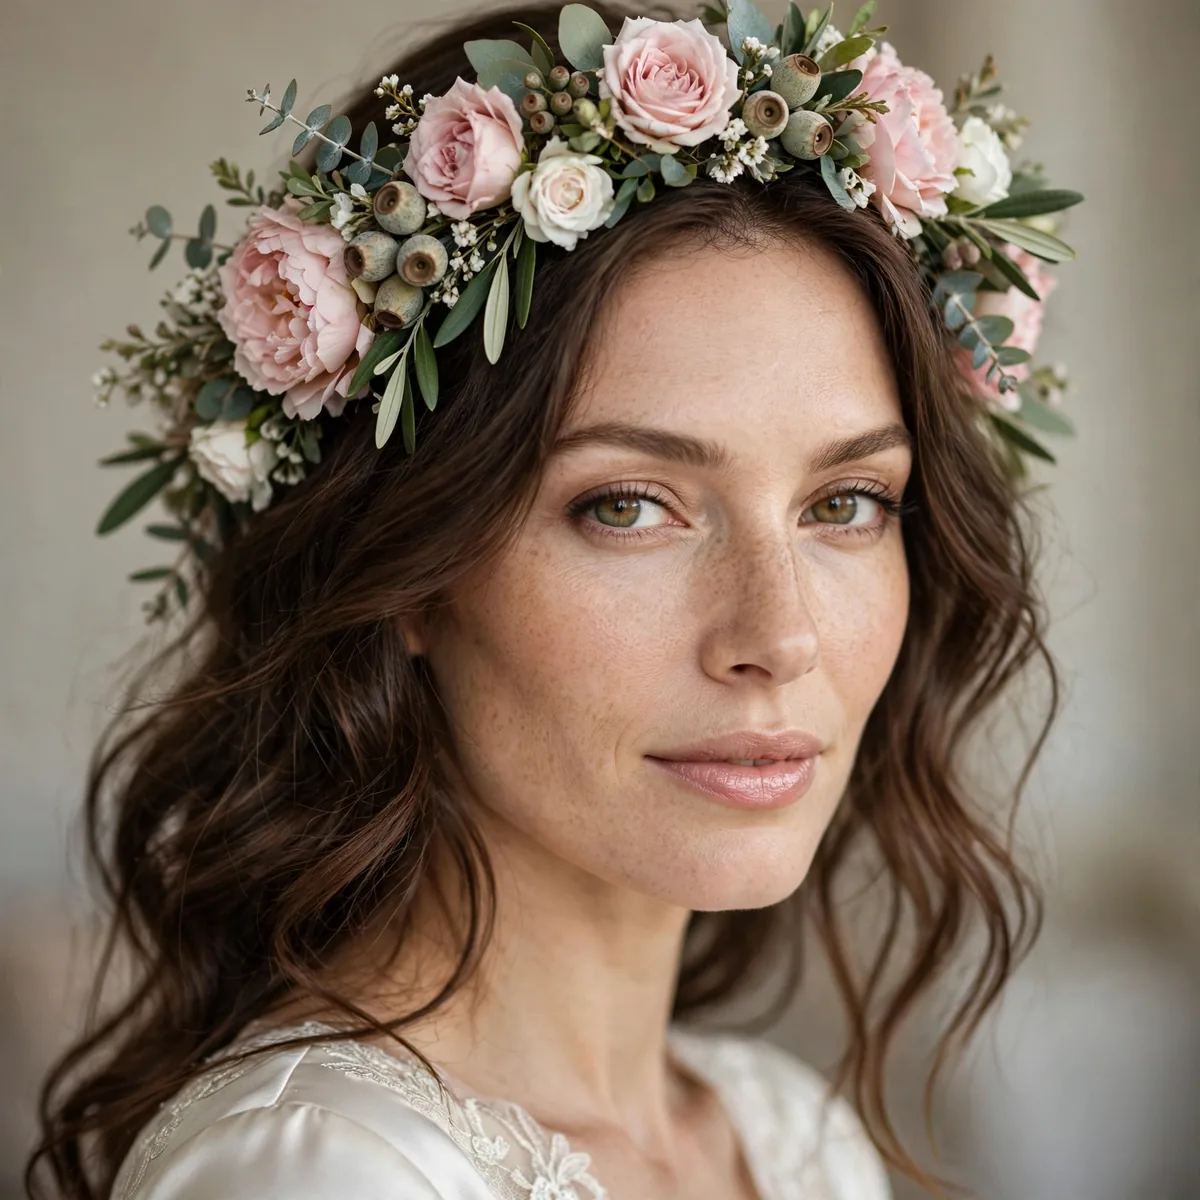
Skipping the veil? A floral piece or headband gives bridal symbolism without fabric.
This is increasingly popular — and photographs beautifully.
Floral alternatives range from full crowns to a single gardenia tucked behind the ear — the scale should match your venue’s formality. Fresh flowers photograph more richly than silk, but silk survives heat and a twelve-hour day; choose based on your climate. Have your florist wire the pieces and add water tubes for freshness. A floral comb or a cluster of pins offers the symbolism with less commitment than a crown.
Any hairstyle works without a veil — the freedom is the point — though flowers sit most securely in textured updos and braids. The floral choice can carry meaning: your birth flower, blooms from your grandmother’s garden, or flowers matching your bouquet. Keep the arrangement cool until go-time and mist it; wilted flowers photograph sadly. Ask your florist for a backup bloom — a thirty-second swap at the reception keeps everything fresh.
Veil + Braided Updo
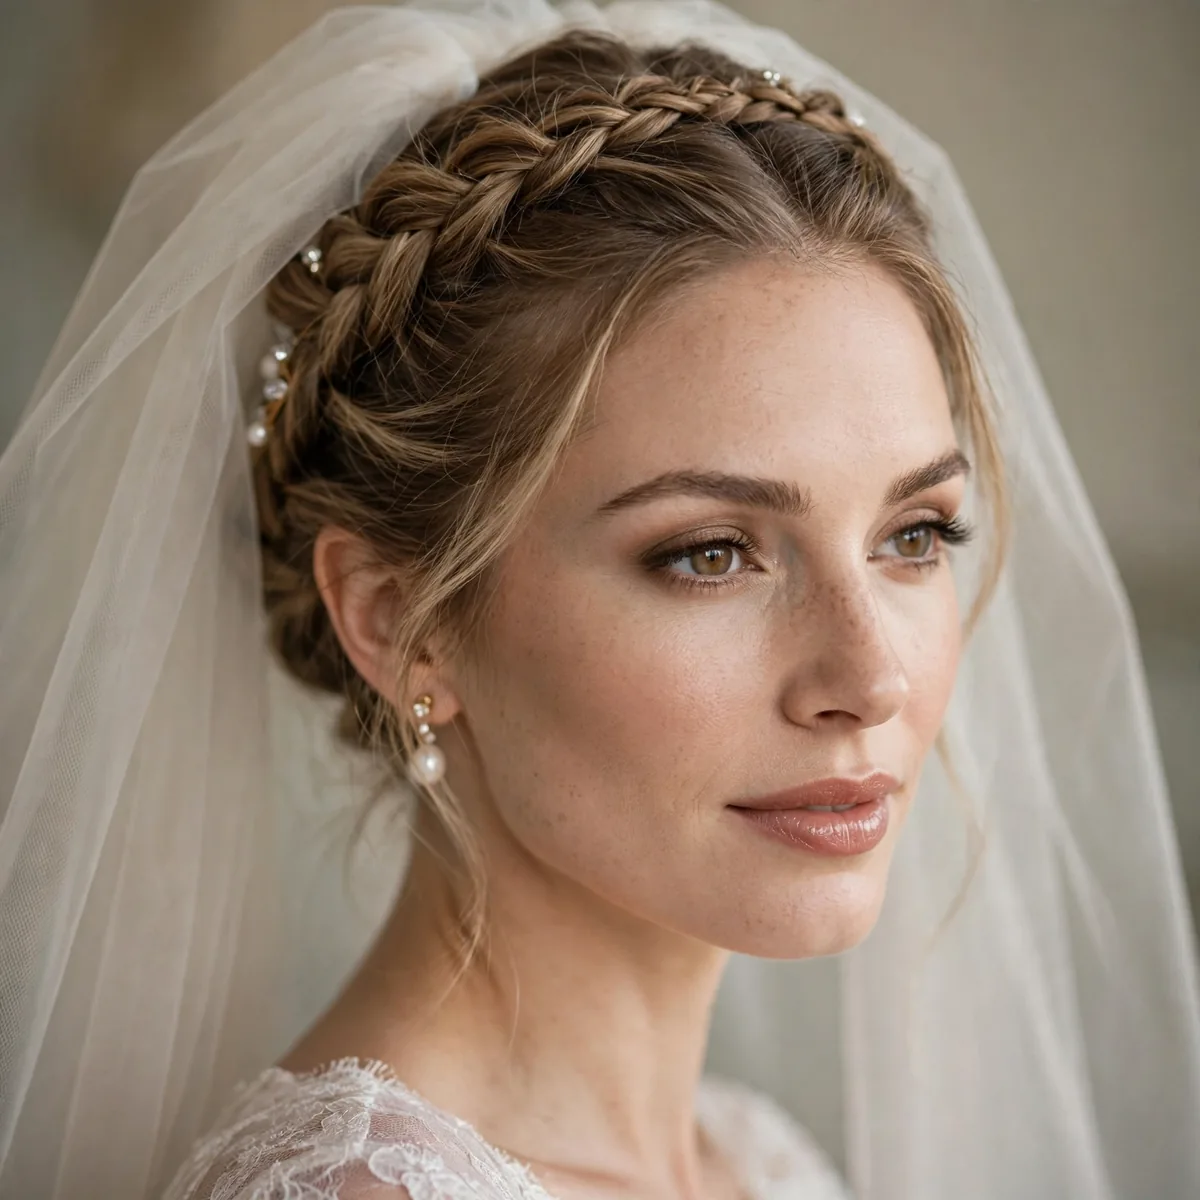
Braids grip veil combs securely — a braided updo is functionally ideal.
The texture hides the comb completely.
Braided texture is nature’s Velcro for veil combs — the ridges catch the comb’s teeth far better than smooth hair. Dutch braids, fishtails, and milkmaid crowns all work; choose based on your formality level. Seat the comb directly into the thickest part of the braid, then weave two bobby pins through the comb and into the braid’s stitches. The braid’s texture swallows the comb entirely — no visible hardware in photos.
This is the most secure veil pairing in existence — braids plus pins hold through wind, hugs, and enthusiastic dancing. It suits every veil length, from birdcage to cathedral, since the anchor never depends on the veil’s weight. For the reception, the braided updo looks complete the moment the veil lifts out — no restyling needed. If dancing hard, the braid actually tightens; this pairing only gets more secure as the night goes on.
Short Veil + Pixie
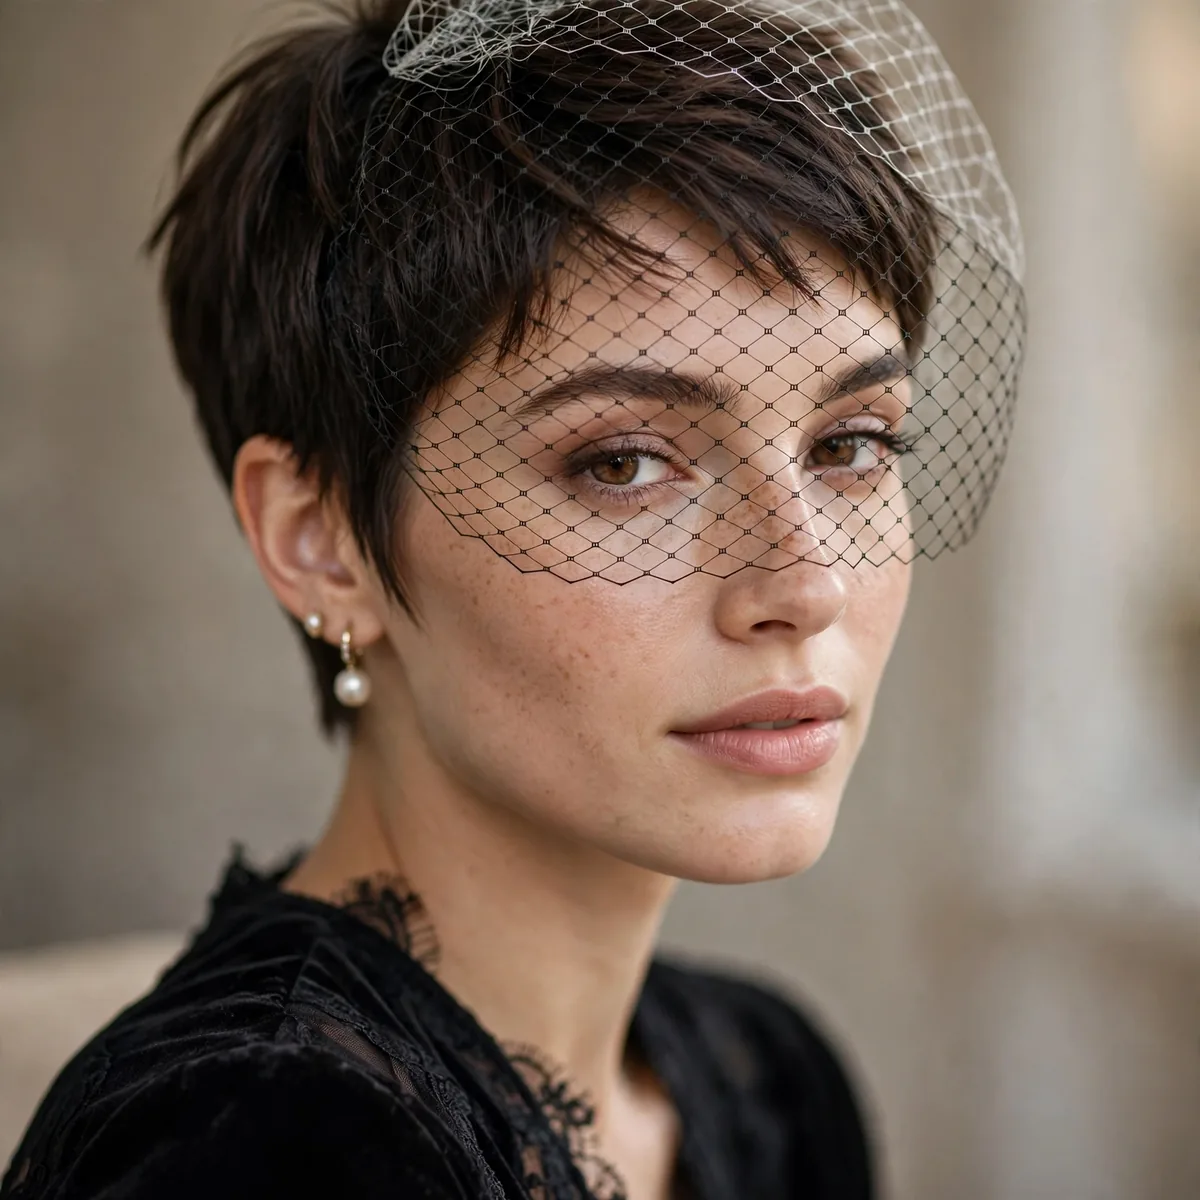
A shoulder-length veil with a pixie — sweet, modern, and proportional.
Short veils suit short hair; long veils can overwhelm crops.
Shoulder-length veils — 20 to 24 inches — keep the proportions right on cropped hair; anything longer visually drags the pixie down. A blusher-length veil worn swept back is equally charming. Place the comb at the crown, tilting slightly, and anchor with crossed bobby pins — pixies offer less hair for the comb to grip, so pins are mandatory. Add texture spray at the anchor point for extra hold.
Give the pixie height and texture so it holds its own against the veil — a flat pixie disappears under netting. A crystal headband can layer with a short veil for extra bridal signaling, or keep it minimal. The veil lifts out in seconds for the reception, leaving the pixie perfectly intact. In photos, the short veil’s movement is delightful — ask for a twirl shot where the veil flares around the crop.
Veil Removal Plan
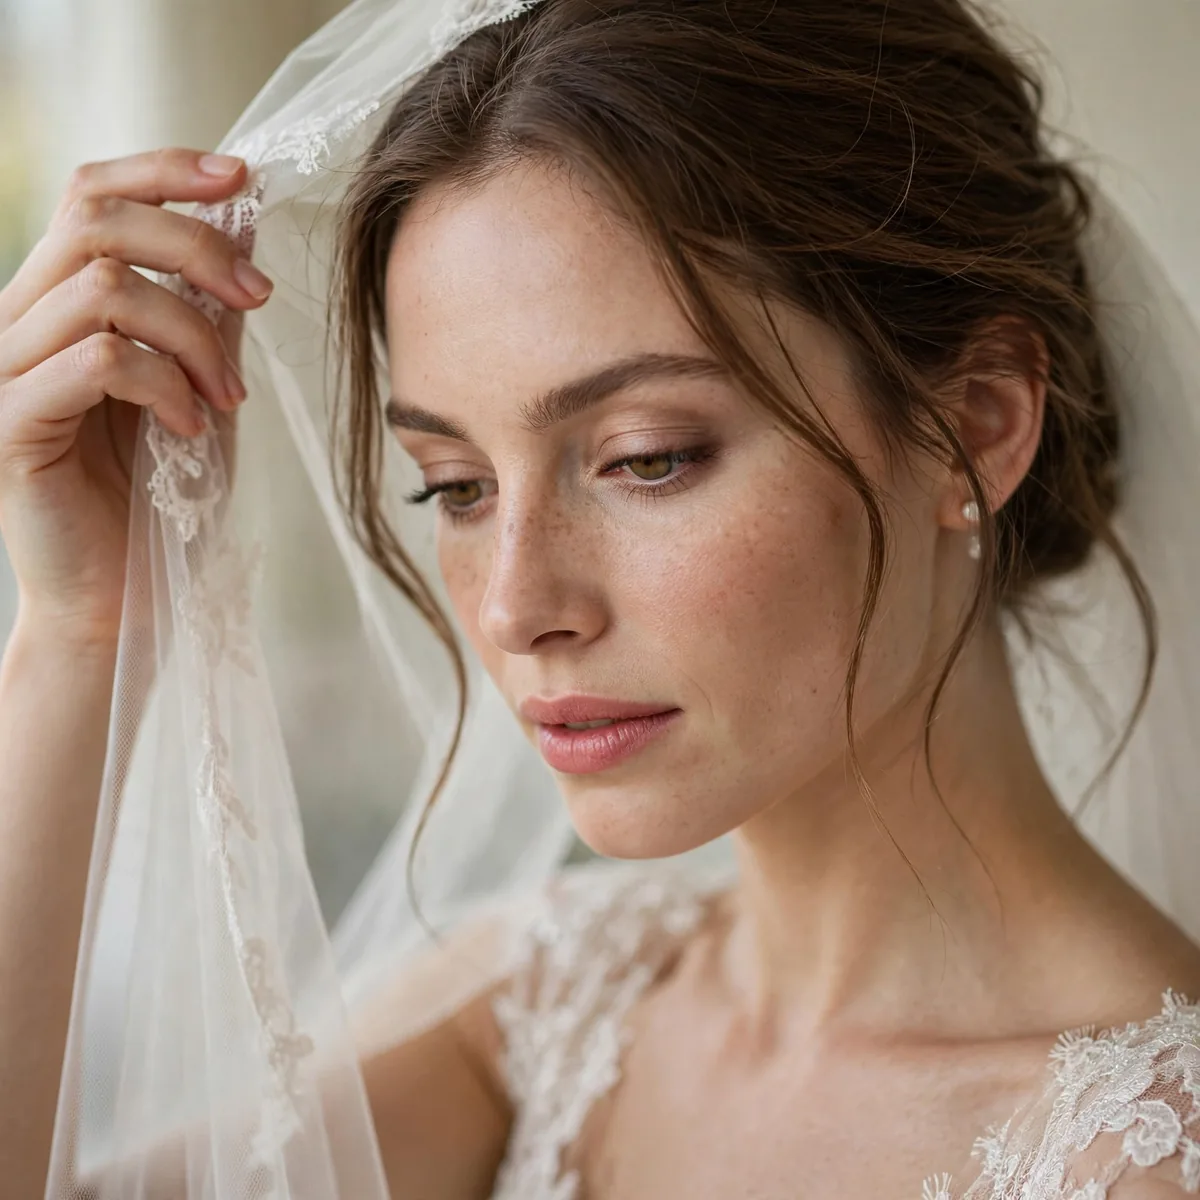
Plan the transition: the hairstyle must look complete WITHOUT the veil for the reception.
Practice removal at the trial — some veils take teamwork.
Time the removal for after portraits, before the reception entrance — you want veil photos, then freedom to dance. Assign the job in advance: your maid of honor, your stylist if still present, or your partner for a sweet moment. The technique matters: lift the comb straight up and out, never drag it through the hair — dragging pulls the style apart. Keep the veil’s storage bag with your overnight things.
Design the hairstyle to shine solo: add a decorative pin, fresh flower, or jeweled comb at the anchor point so the veil’s absence looks intentional, not empty. After removal, smooth any flattened sections with fingers and a light mist of spray — five seconds restores the shape. Practice the whole sequence at the trial: veil in, portraits, veil out, reception hair. Knowing the transition works removes all day-of anxiety.
Cathedral + High Bun
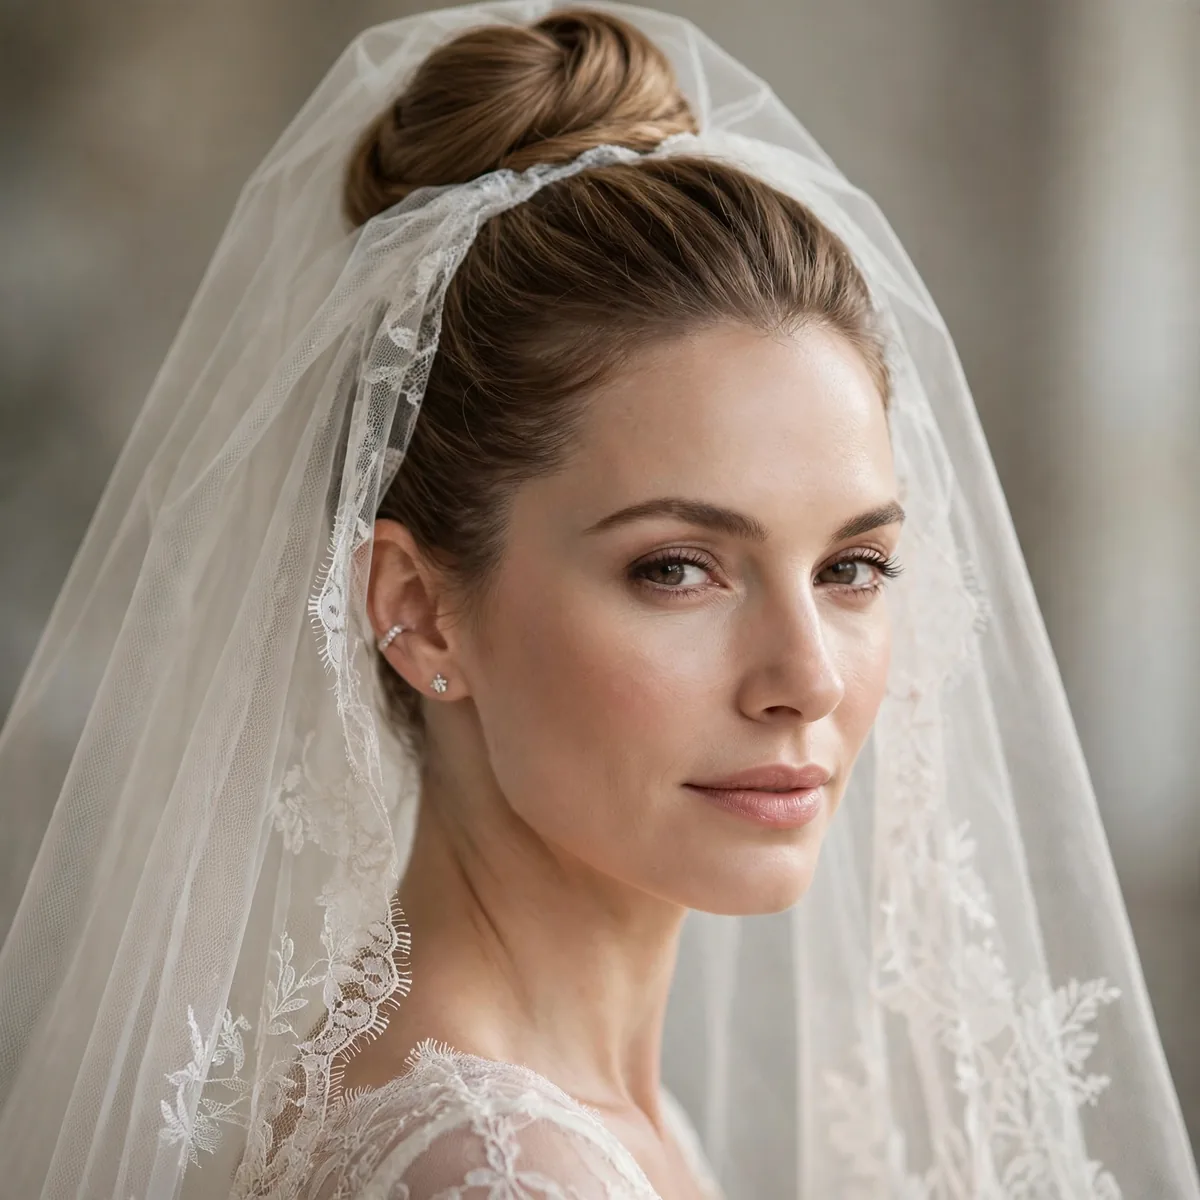
A high bun gives cathedral veils dramatic height — red-carpet bridal.
The bun must be rock-solid; cathedral veils are heavy.
The bun must be architectural: a mesh donut base, hair wrapped and pinned in sections, then wrapped in a fine hair net for insurance. Place it high on the crown — the height plus the cathedral’s length creates the red-carpet silhouette. Seat the veil comb below the bun, not above; the bun’s mass then hides the comb completely. Test the whole structure by shaking your head — nothing should shift.
Be honest about weight: a cathedral veil plus a high bun pulls backward all day, so counterbalance with the bun positioned slightly forward and take ibuprofen preemptively if you are sensitive. This is a grand-venue pairing — cathedrals, ballrooms, historic churches match its scale. The photos are unmatched: height, length, and drama in every frame. Just avoid windy outdoor ceremonies; the veil becomes a sail attached to your head.
Waltz Veil + Waves
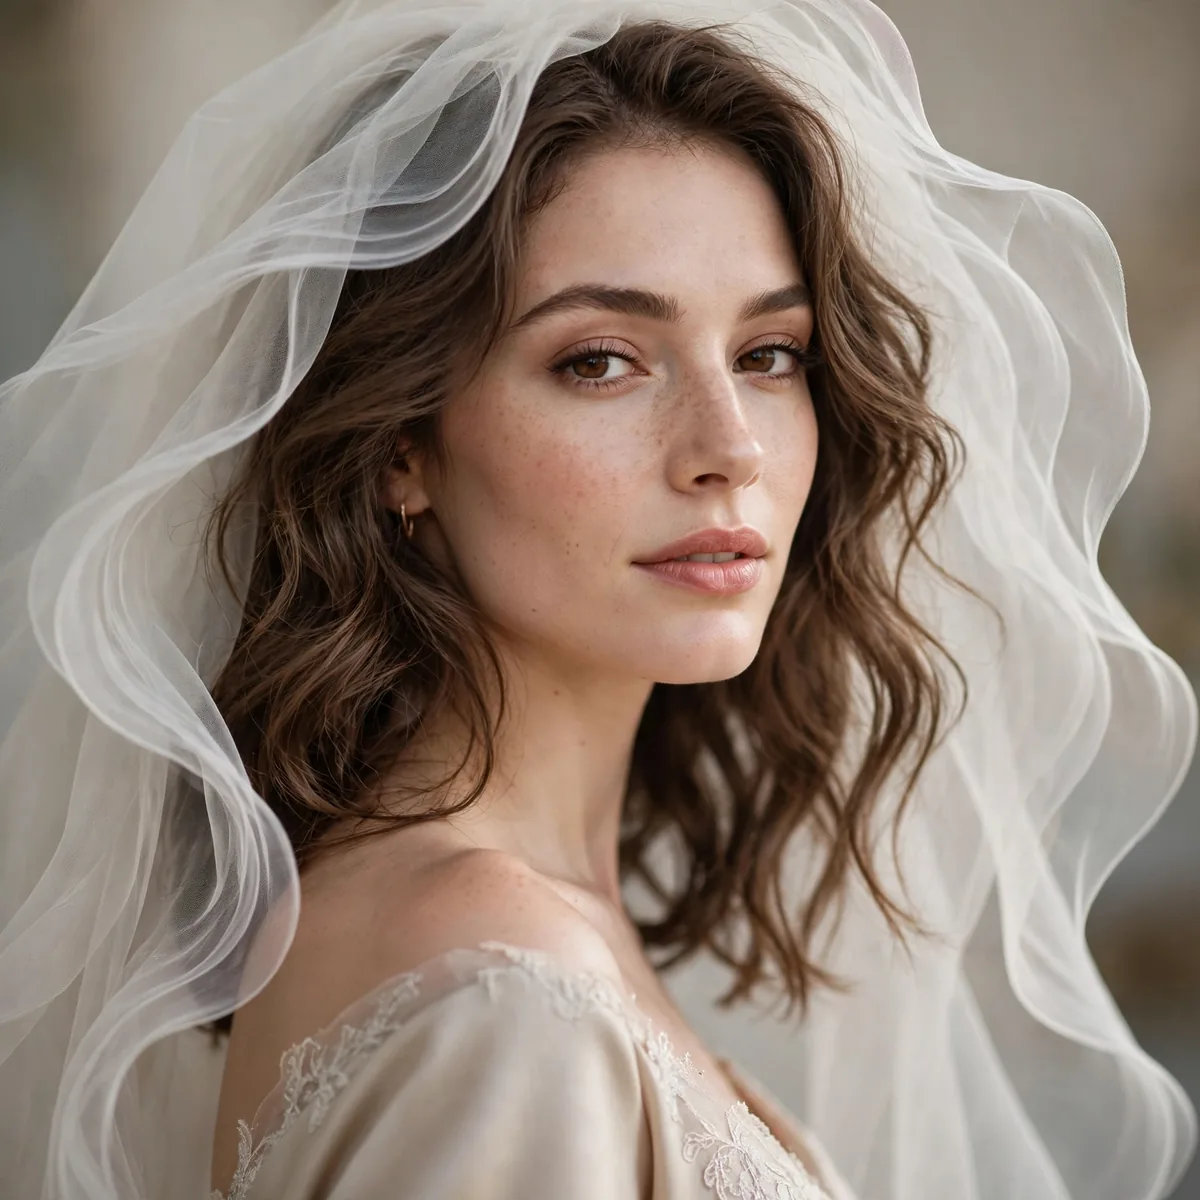
A waltz (knee-length) veil with flowing waves — balanced and beautiful.
This length moves beautifully in photos.
A waltz veil falls 54 to 60 inches — knee-length — hitting the sweet spot between presence and practicality. It moves beautifully in photos without the tripping hazard of longer lengths. Prep waves with texture spray at the crown for comb grip, and place the veil just behind the crown’s peak so waves cascade freely beneath. The length flatters petite brides especially, adding drama without overwhelming.
The waltz length is the dancer’s veil — it moves with you instead of tangling around guests, so many brides keep it on all night. It catches breeze photogenically without the runaway risk of cathedral lengths; two pins handle ordinary wind. This is the most versatile veil length made: formal enough for church, practical enough for the dance floor, and romantic in every photograph.
Double-Tier Veil + Chignon
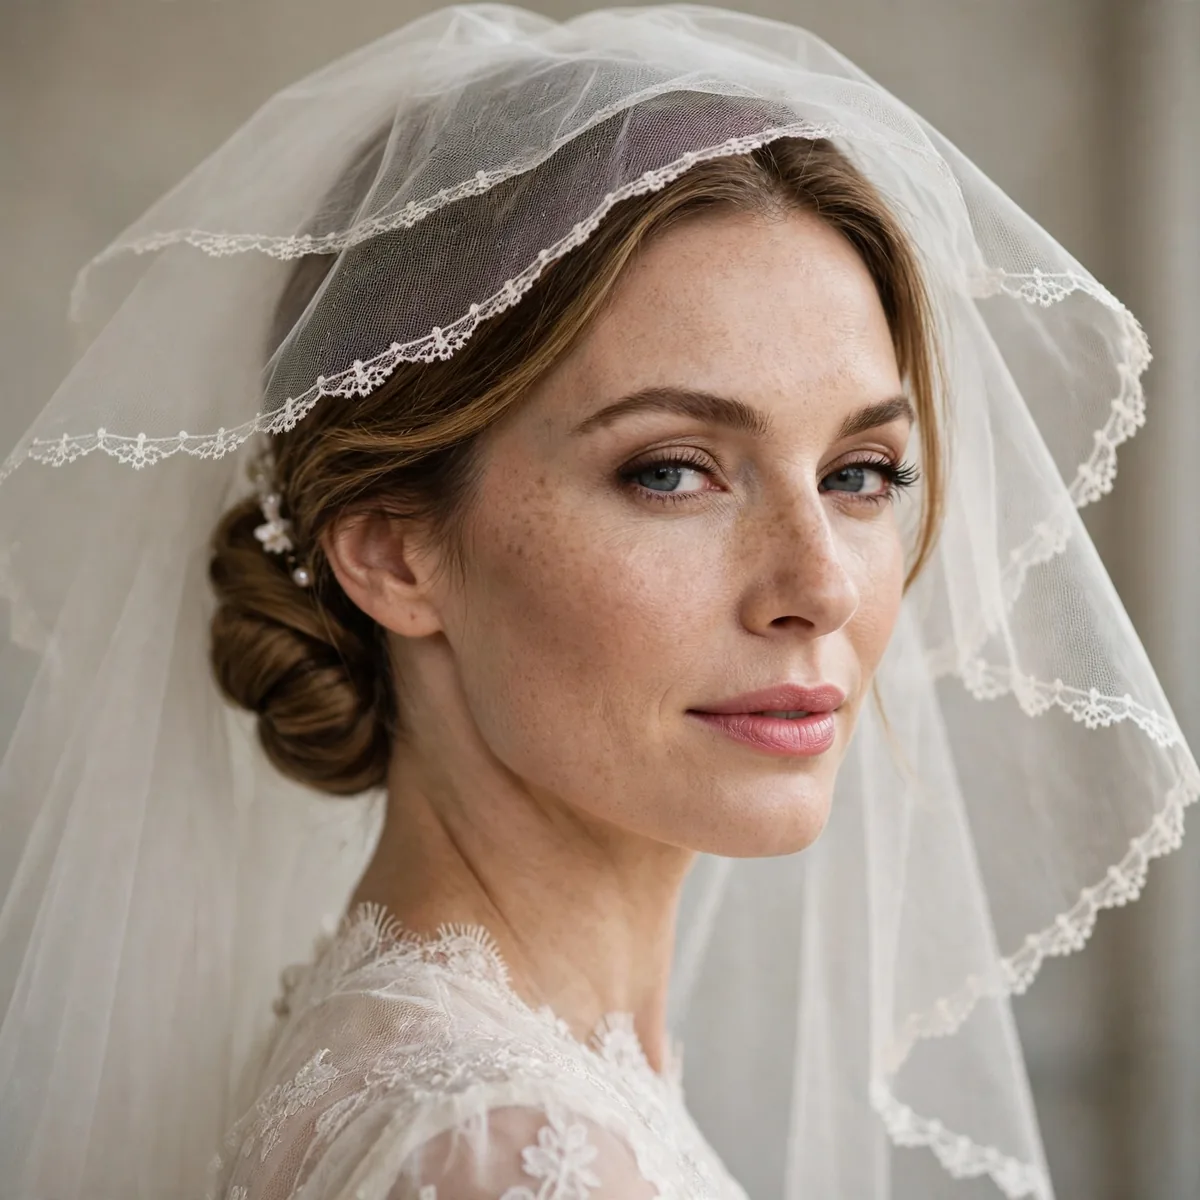
Two tiers need a substantial base — a full chignon handles both layers.
The blusher tier flips back over the longer tier after the ceremony.
Both tiers gather onto a single comb: the short blusher tier on top, the long tier beneath. The chignon must be full — add padding if needed — since it anchors double the netting weight. Place the comb above the chignon so the blusher falls naturally over the face. After the kiss, flip the blusher back over the crown; it layers over the long tier as a soft second veil for the rest of the day.
The double-tier is the traditionalist’s choice — maximum ceremony with a built-in costume change. Photographers love it: blusher-down portraits before the ceremony, blusher-back for the rest, two distinct looks from one veil. The weight is real, so the chignon must be fortress-solid; a skimpy bun tilts under double netting. This pairing suits formal, traditional weddings where the veil is a centerpiece, not an accessory.
Veil With Hair Down
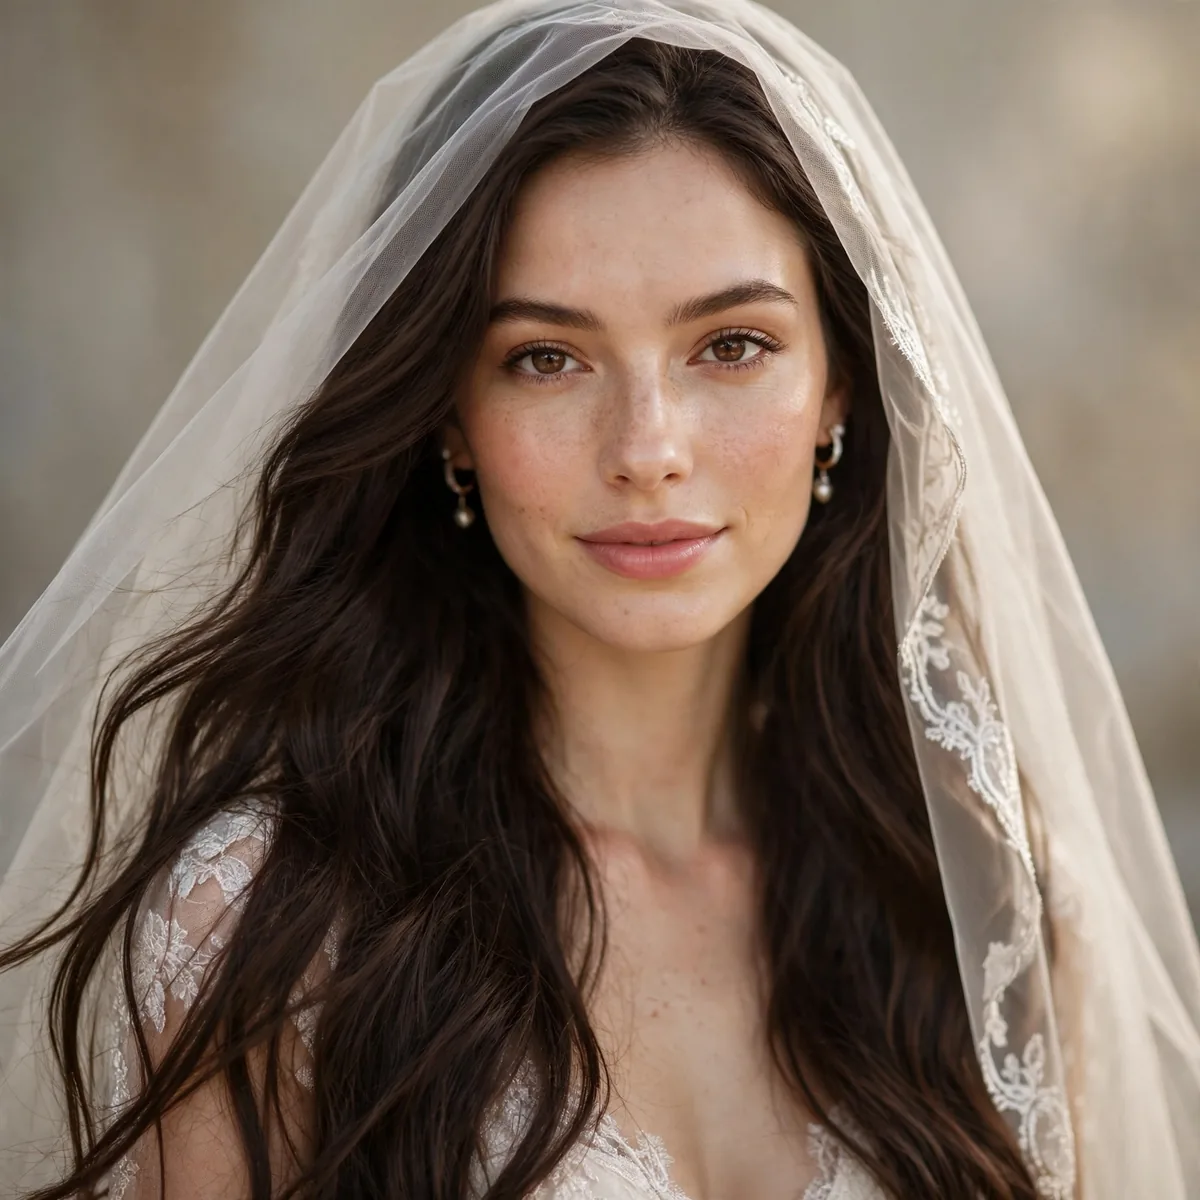
Veils CAN work with hair down — secure at the crown with texture for grip.
Tease the crown slightly; silky hair lets veils slide.
Yes, it works — with preparation. Tease the crown firmly and mist with texture spray; the comb needs something to bite into, and silky straight hair offers nothing. Seat the comb into the teased section just behind the crown’s peak, then smooth the top layer over the comb’s base to hide it. Waves and curls hold veils better than straight lengths — the texture gives the comb endless grip.
Choose lighter veils — fingertip or waltz — since heavy lengths pull on unanchored hair all day. The real enemy is wind: loose hair plus a veil plus gusts equals a tangled mess, so this pairing suits indoor or calm-weather weddings. In photos, hair and veil flowing together is pure romance — ask for movement shots. Pack a small brush; the veil’s edge can snag fine hair, and a quick smooth-through fixes it.
Juliet Cap Veil
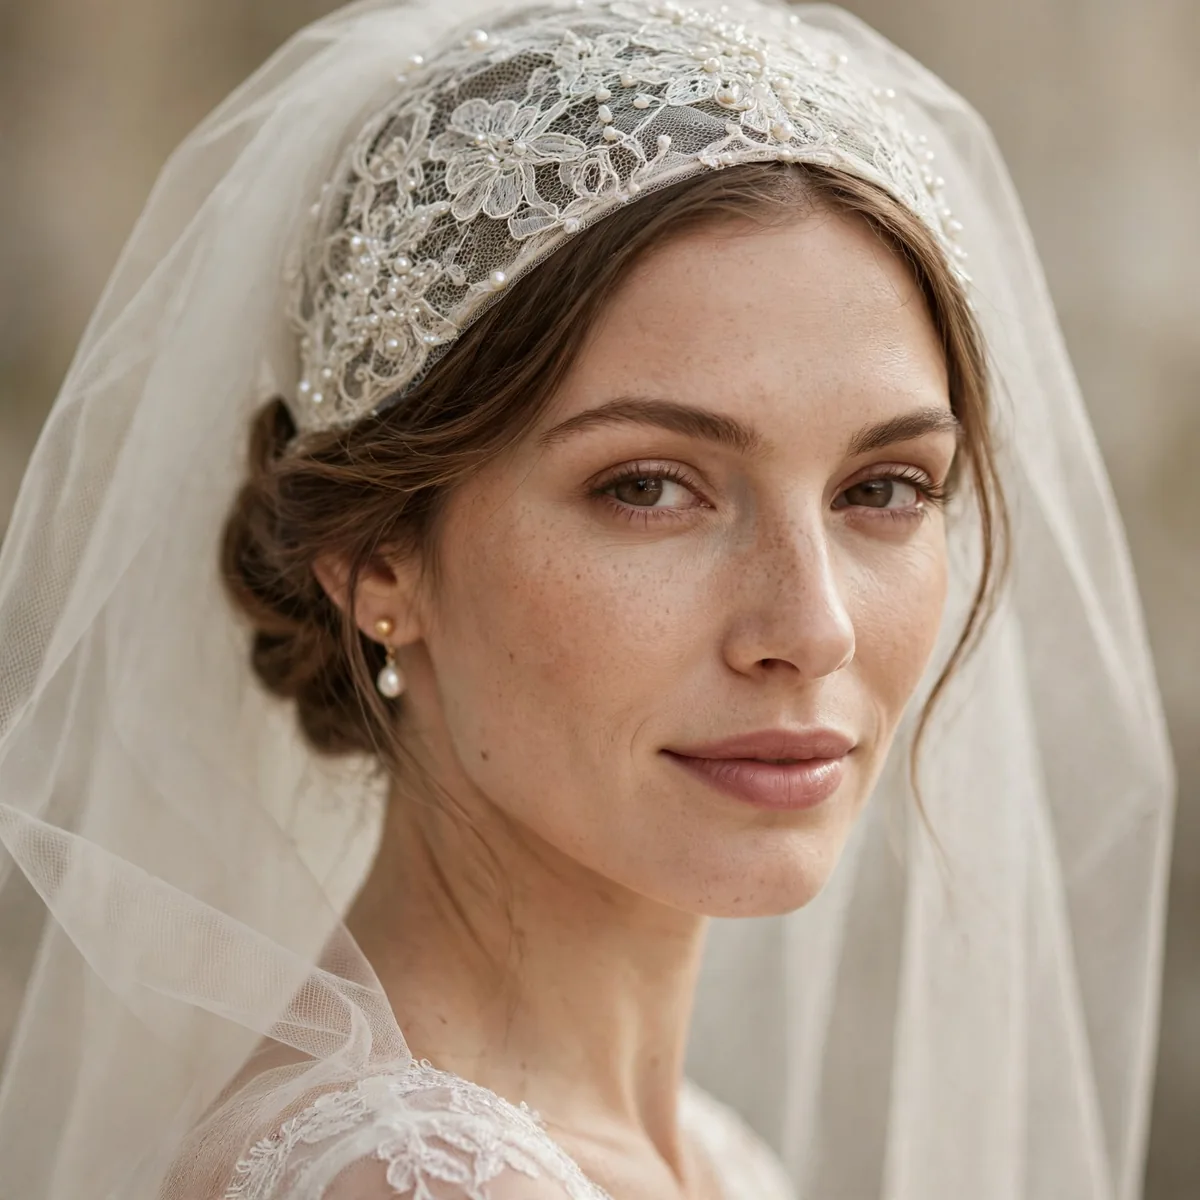
A Juliet cap (fabric cupping the head) suits vintage waves or sleek bobs.
The cap style is pure 1920s-30s romance.
The Juliet cap is a fabric cup — often lace or embroidered tulle — that sits on the crown like a skullcap, with the veil falling from its edge. It frames the face in a perfect oval, pure 1920s romance. It suits vintage finger waves or sleek bobs best; the cap needs smooth hair beneath to sit properly. Have it fitted — a loose cap slides, and pins through the cap’s edge into the hair secure it.
Juliet caps are rarely off-the-rack — source vintage or commission custom from a veil maker, allowing eight to twelve weeks. Pair with 1920s-inspired makeup: defined brow, soft smokey eye, deep red lip. The cap suits intimate, vintage-themed weddings beautifully — garden parties, historic venues, art-deco ballrooms. It photographs like a film still; ask your photographer for at least one dramatic, shadowy portrait.
Pouf Veil + Smooth Updo
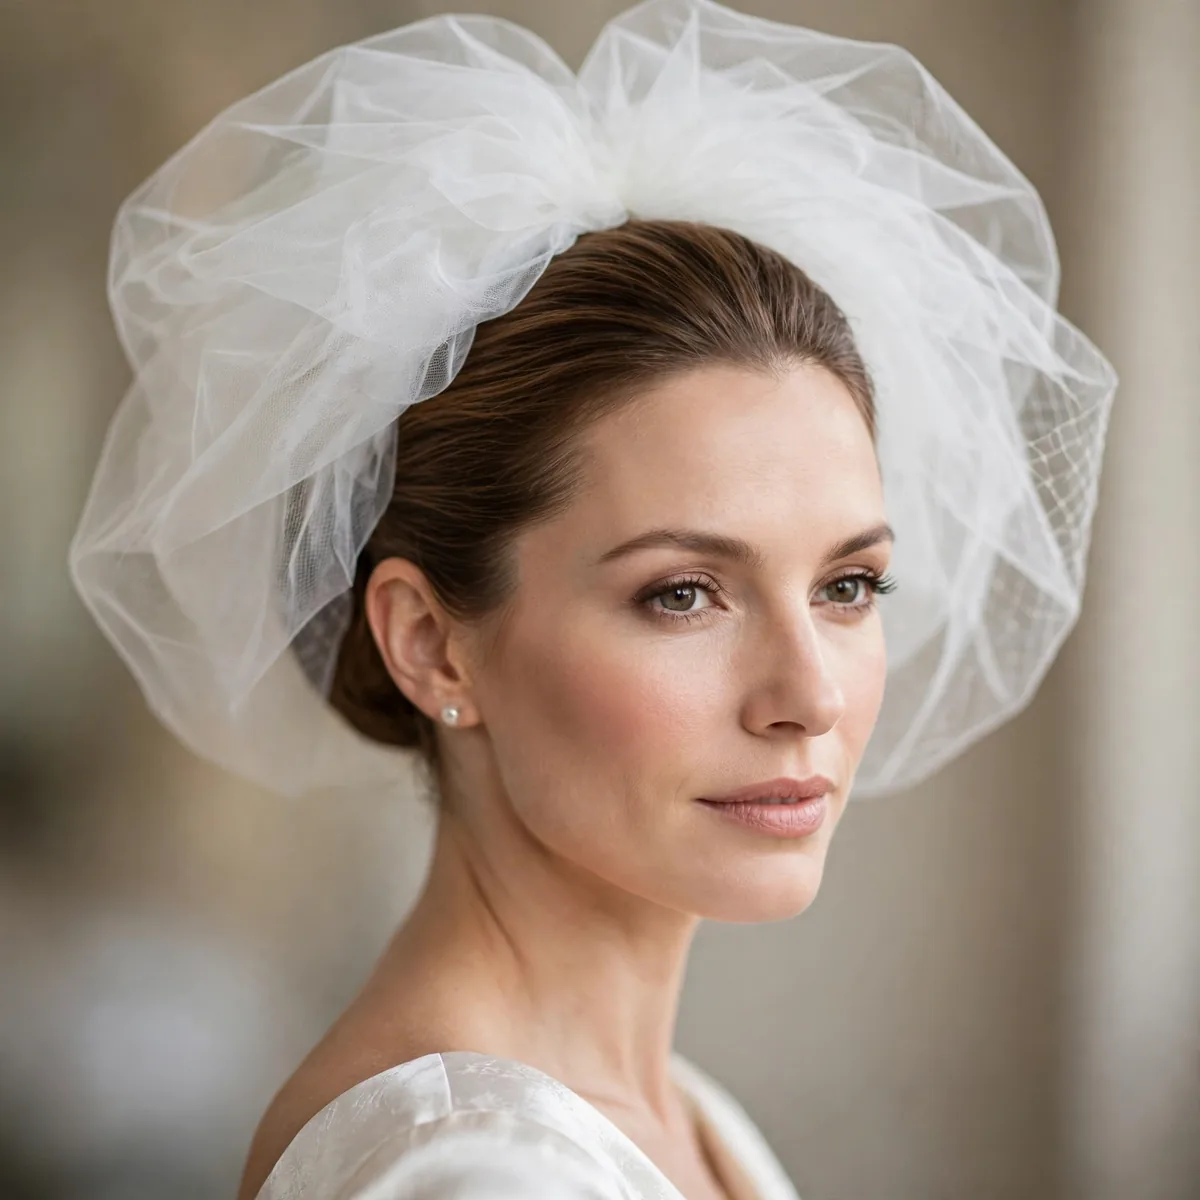
A pouf (gathered volume at the crown) needs a smooth, secure base beneath.
The pouf adds height — great for petite brides.
The pouf is gathered tulle at the crown, creating a soft bubble of volume before the veil falls — instant height and vintage charm. Beneath it, the updo must be smooth and fortress-secure: a polished bun or sleek chignon, since lumps show through the pouf’s sheerness. The pouf’s height flatters petite brides and short faces, adding inches where they count. Position it just behind the crown’s peak for the classic silhouette.
Pin the pouf’s base thoroughly — gathered tulle shifts more than flat veiling, and a lopsided pouf ruins the symmetry. This is a retro-wedding star: 1960s themes, mod dresses, and beehive-adjacent styling all welcome it. In photos, the pouf creates a beautiful halo effect in backlit shots. Keep the rest of the look clean; the pouf is a statement, and competing accessories crowd it.
Colored Veil Edge
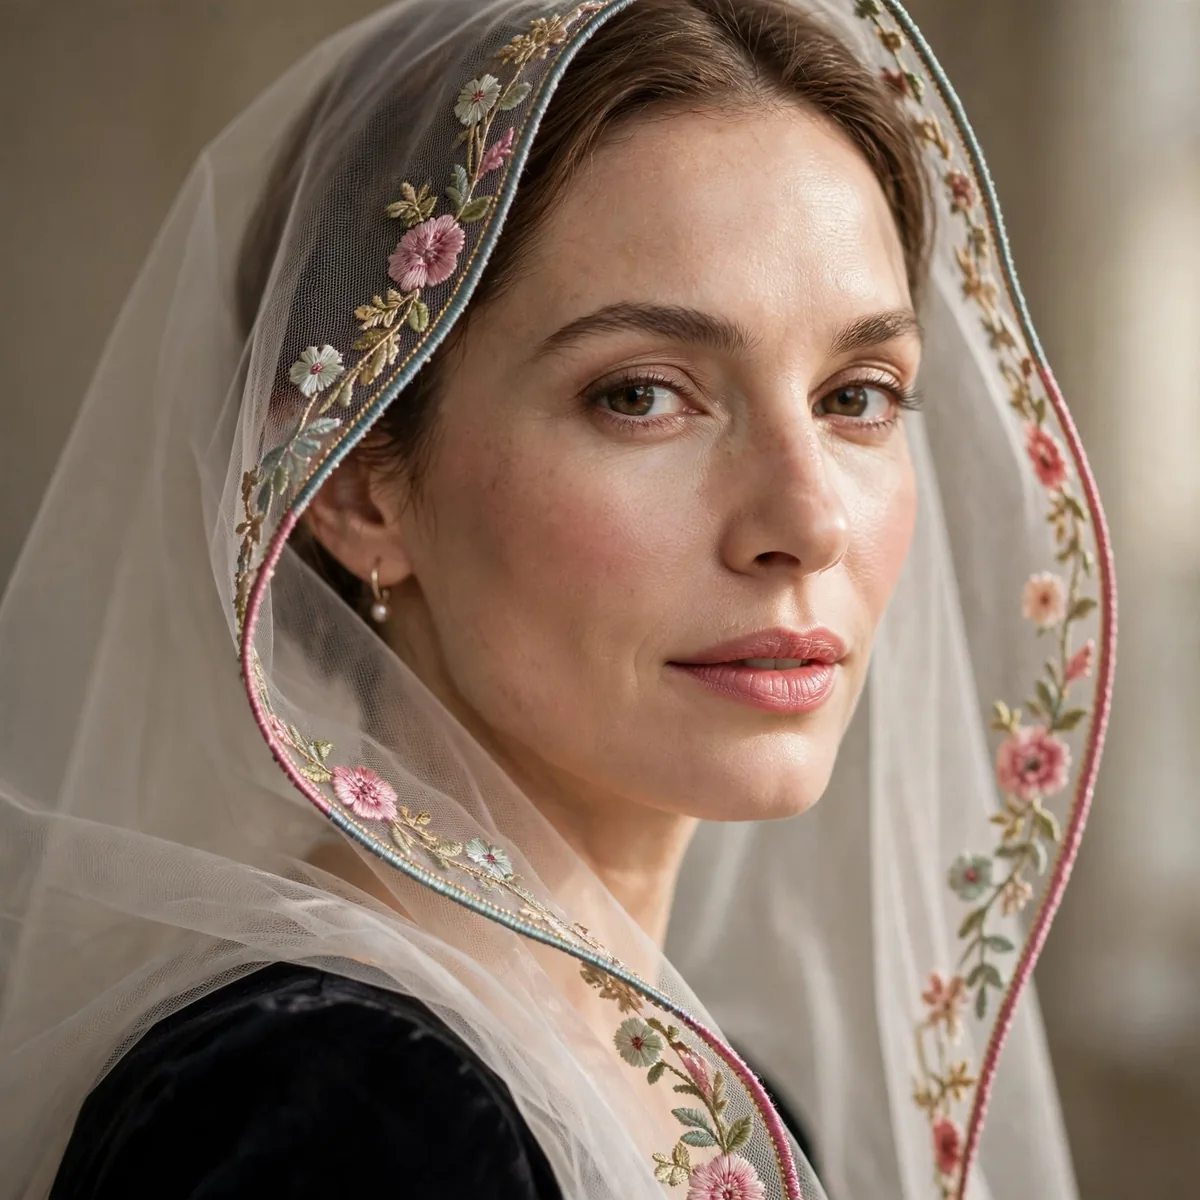
Veils with blush or blue edging — a subtle personal touch.
Match the edge to your palette for cohesion.
Veil edging comes blush-pink, pale blue, or hand-painted with florals — the color reads as a whisper, not a shout, against ivory tulle. Match the edging to your palette exactly: bring a ribbon swatch when ordering, since ‘blush’ varies wildly between makers. Embroidered edges with tiny flowers or pearls add texture as well as color. The effect is most visible in movement shots, where the edge catches light.
A blue-edged veil doubles as your ‘something blue’ — tradition woven invisibly into the look. Any hairstyle pairs with edged veils, since the color lives at the perimeter, not the anchor. In photos, ask for detail shots of the edging against the dress; the subtle color story rewards close-ups. Keep accessories in the same color family to avoid a rainbow effect — one accent color is elegant, three is busy.
Veil + Tiara Combo
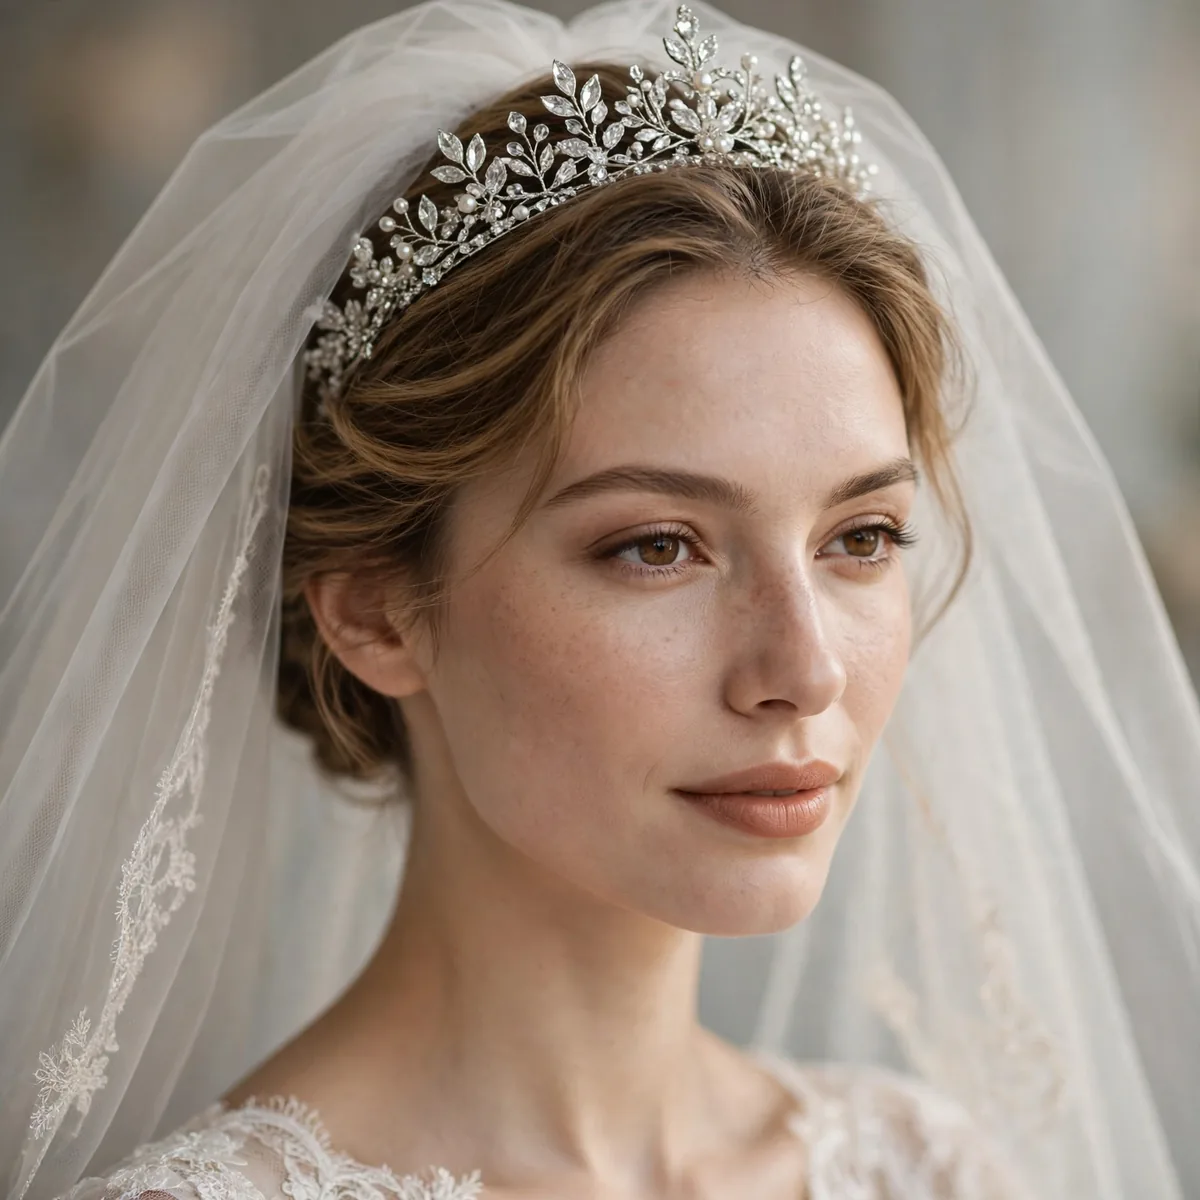
Tiara in front, veil behind — the princess combination, done right.
The tiara anchors the veil; place the veil comb just behind it.
The order is fixed: tiara at the front hairline-to-crown, veil comb seated just behind it — never the reverse. Choose a delicate tiara; a massive crown plus a veil overwhelms the face. Pin the tiara first with crossed bobby pins, then seat the veil comb behind it, adding two more pins through the comb. The tiara’s band actually helps anchor the veil, each piece reinforcing the other.
Updos carry this combination best — the tiara needs height to sit against, and the veil needs the bun’s mass to hide its comb. This is peak princess formality; match it with a grand venue and a gown with presence. Keep earrings small and makeup soft — tiara plus veil plus chandeliers plus smokey eye is four statements too many. The combination photographs regally; ask for at least one straight-on portrait.
Wind-Proofing Your Veil
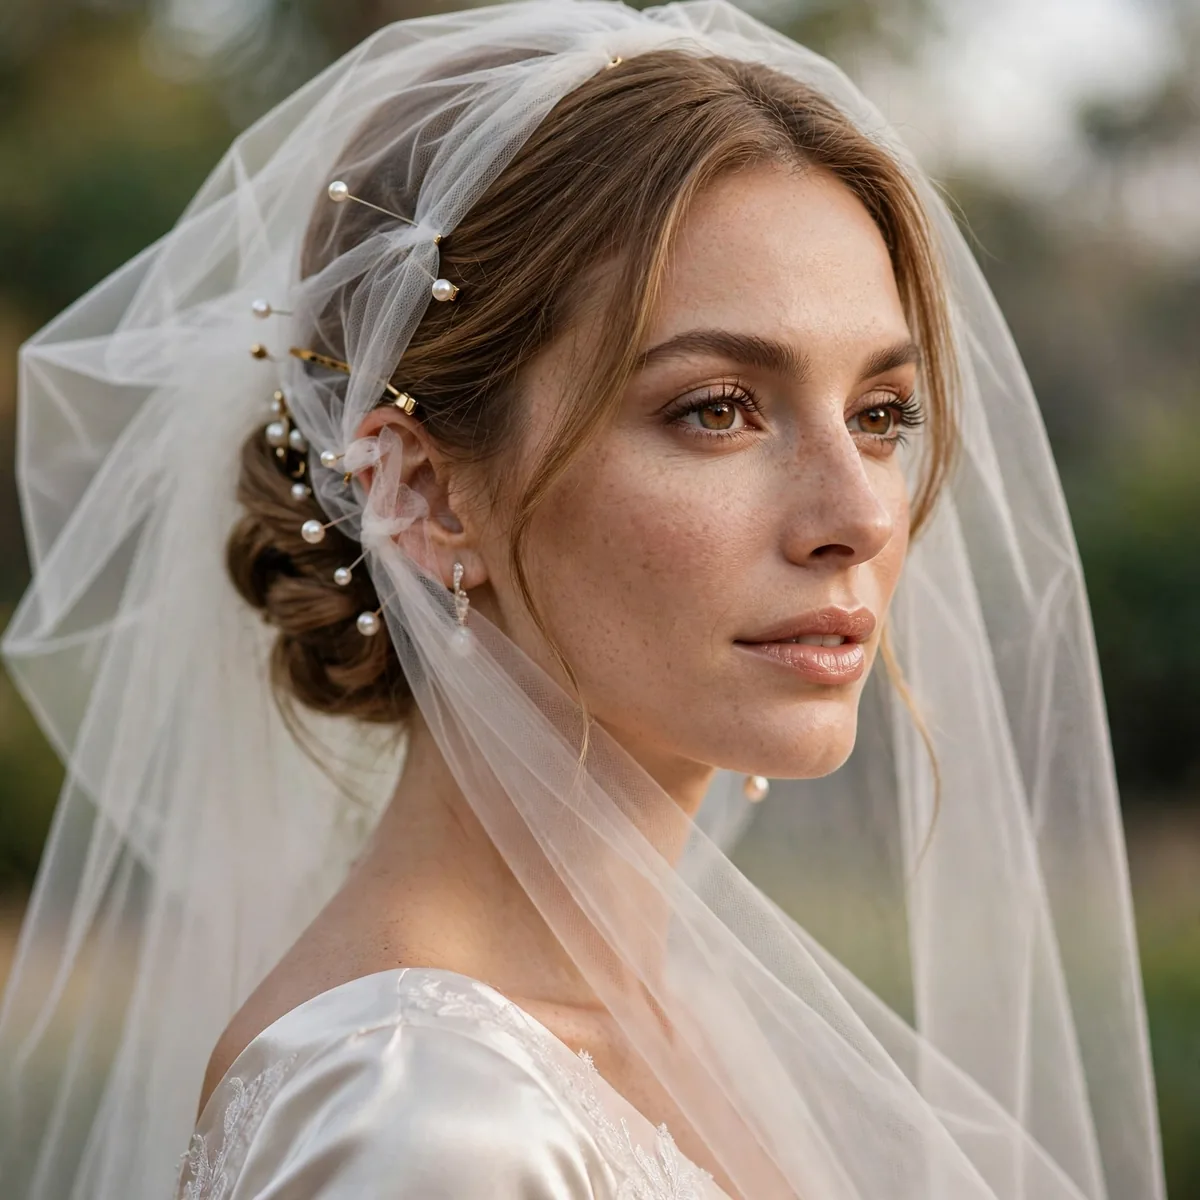
Outdoor weddings: extra pins, heavier comb, and a backup plan for gusts.
See our outdoor wedding tips for full weather strategy.
Wind-proofing is pinning plus weight: use a heavier-gauge comb, add four to six crossed bobby pins through the comb’s teeth, and choose a slightly heavier tulle — featherweight veiling becomes a kite. Anchor into a textured style: braids, twists, or a teased crown grip far better than sleek hair. For extreme forecasts, a fingertip or waltz length stays manageable where cathedral lengths become sails.
Have a backup plan: if gusts turn violent, your maid of honor removes the veil between ceremony and portraits — a two-minute job with the pins mapped. Alternatively, drape the veil as a shawl for outdoor portraits; it photographs beautifully and cannot fly away. Embrace some wind in photos — a veil caught mid-billows is the most romantic shot in many albums. Just keep one attendant on veil duty whenever you are outdoors.
The Reveal Moment
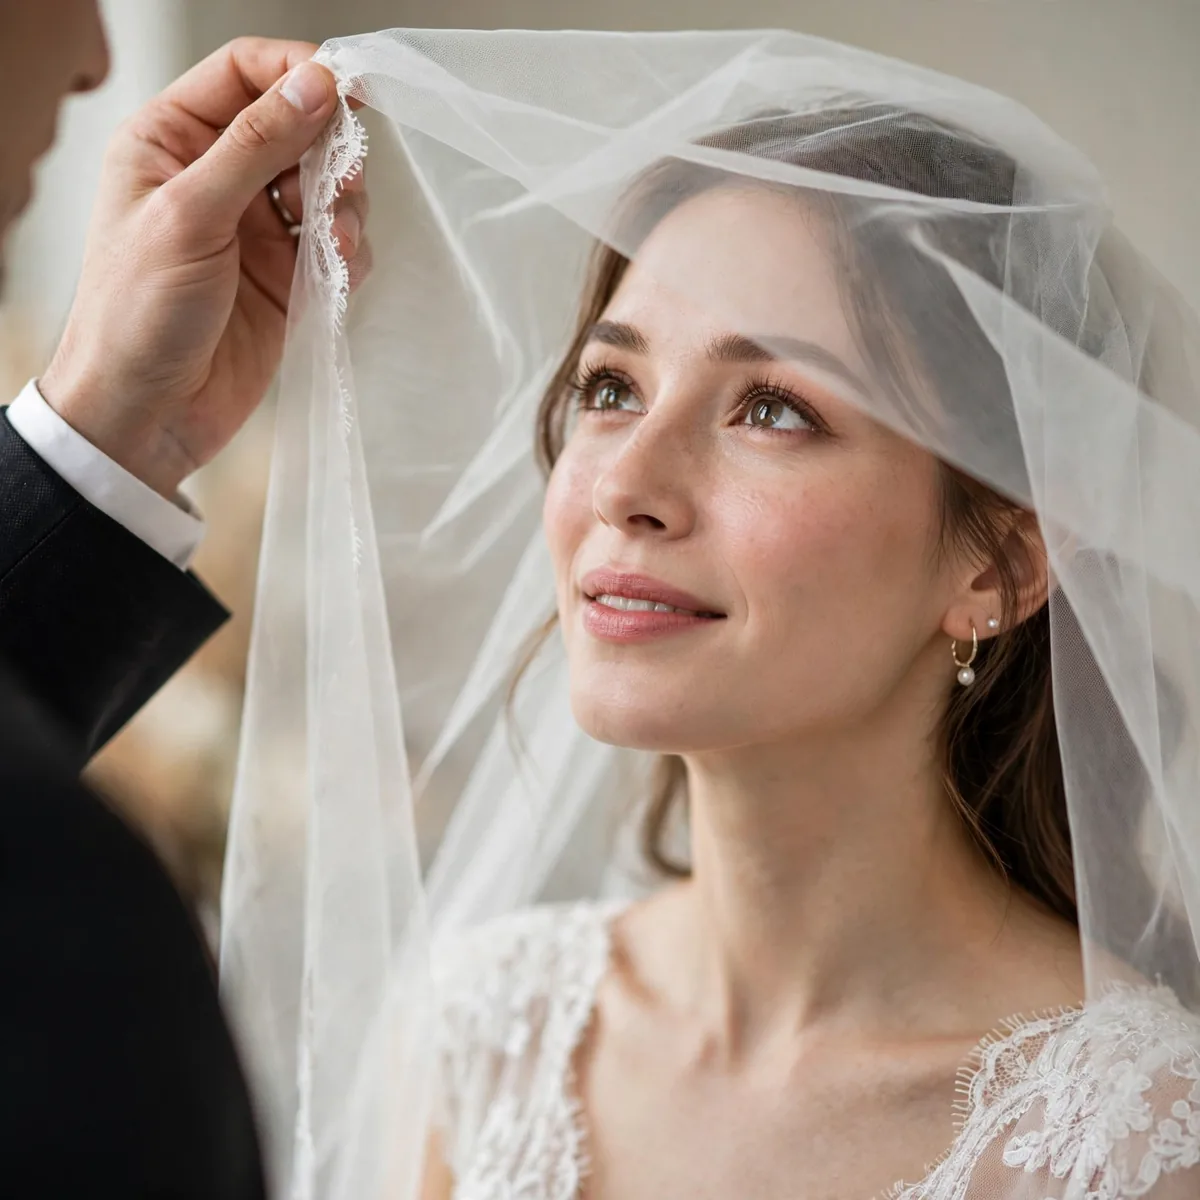
Plan the blusher lift: it’s a photographed moment — make sure the veil moves gracefully.
A lightweight blusher lifts better than a heavy one.
Choreograph it: decide exactly when the blusher lifts — traditionally after the vows, before the kiss — and who does the lifting. A lightweight blusher floats up gracefully; a heavy one drops like a curtain. Practice the motion twice at the rehearsal so hands know the path. The lifter should stand slightly to the side, not block the photographer’s angle — this moment is staged for the camera as much as for the couple.
Tell your photographer in advance — this is a burst-mode moment, and a second shooter capturing the groom’s reaction doubles the magic. The lift takes three seconds; missing it is not an option. Afterward, the blusher rests over the crown as a soft second layer, adding depth to every remaining portrait. Years later, this is the frame you will enlarge: the exact second the veil lifted and the day truly began.
Veiled and beautiful. Save these pairings, and complete the look with our long hair styles or short hair styles.