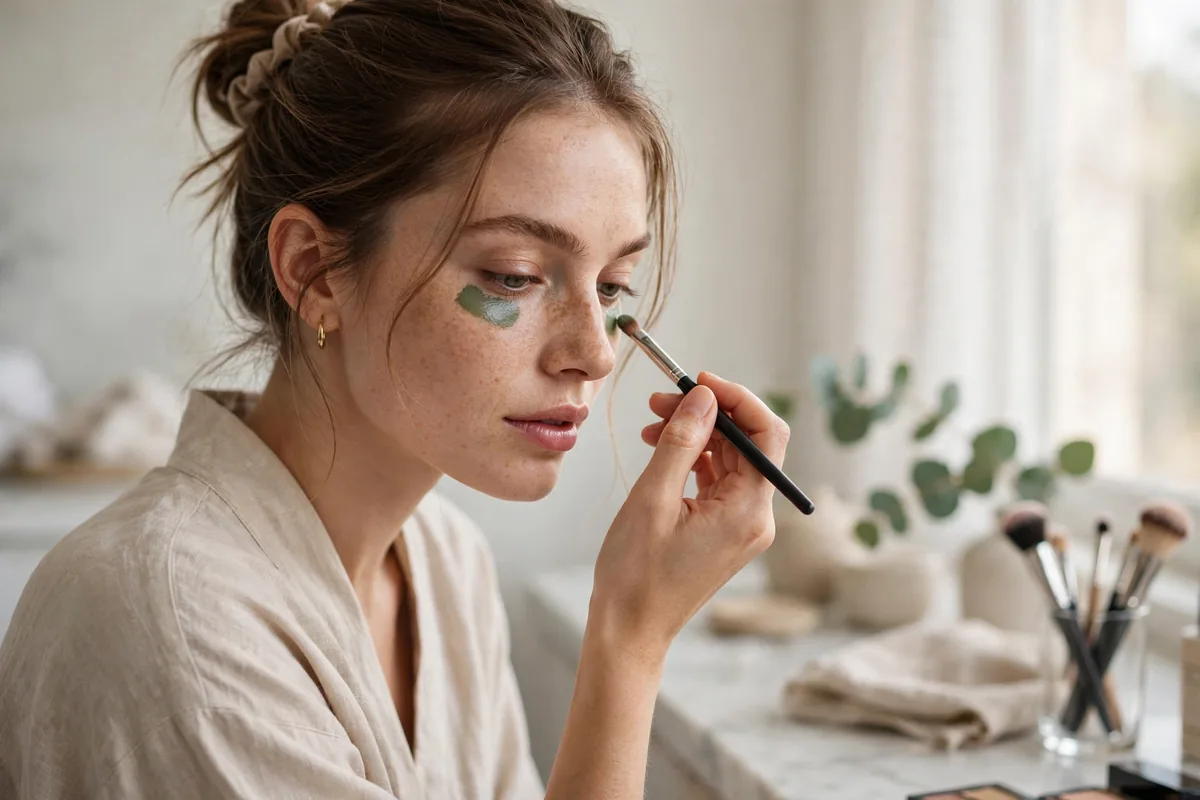
Concealer covers. Corrector cancels. There’s a difference, and it matters.
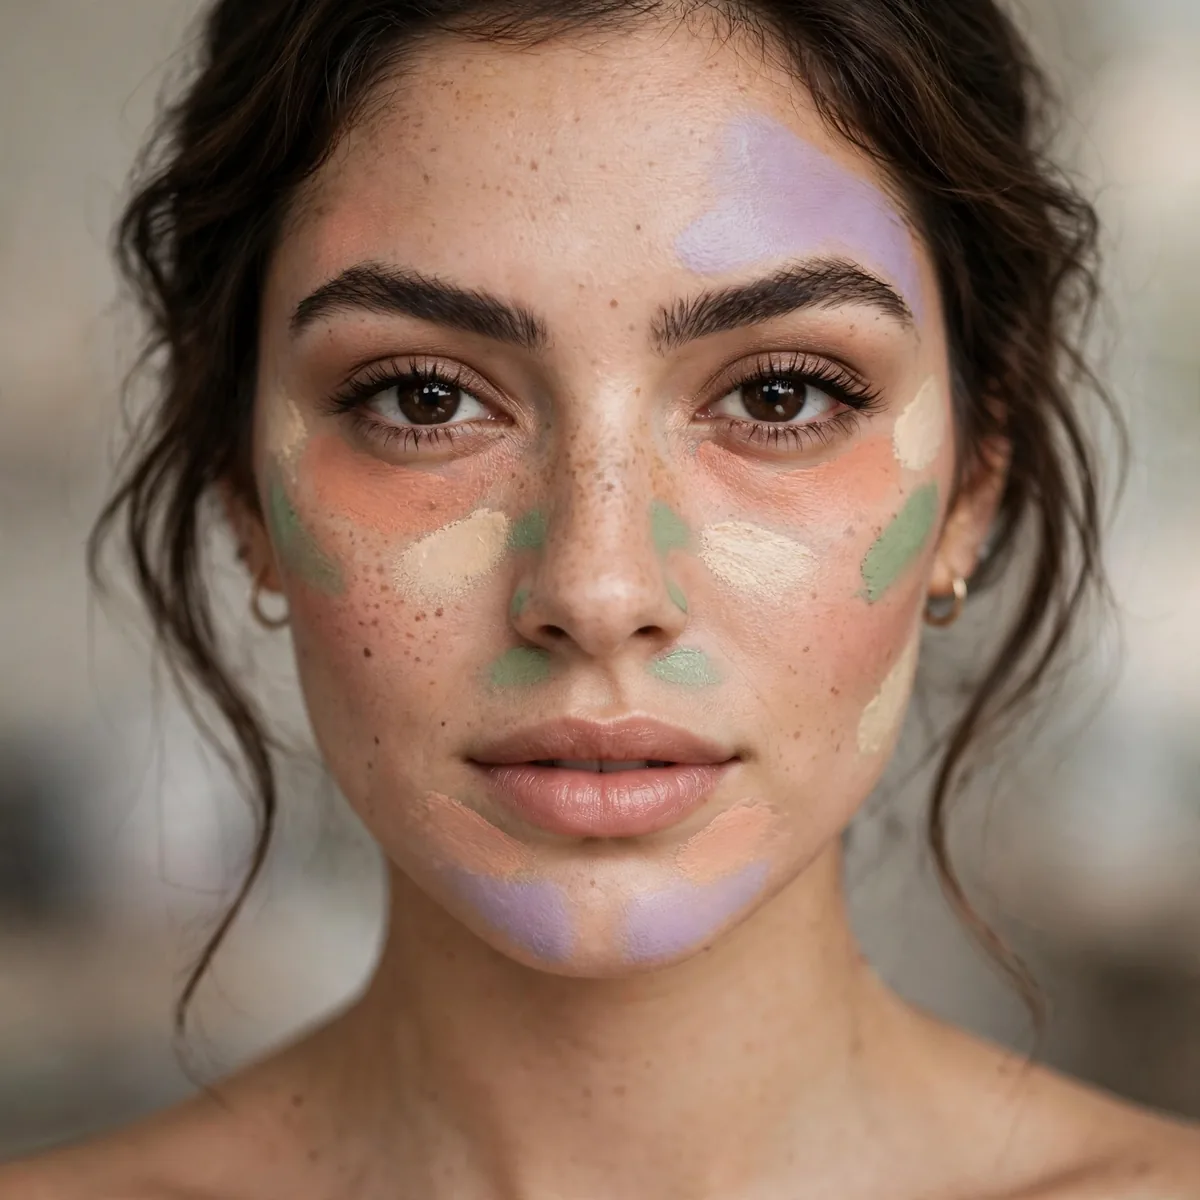
Color correcting uses opposite colors to neutralize discoloration: peach cancels blue-purple dark circles, green cancels redness, lavender cancels sallowness. It’s physics, not magic.
The result: you need less concealer, and the finish looks more natural. Correcting first is the pro secret.
Here are 20 tips. Let’s get into it.
Peach for Dark Circles
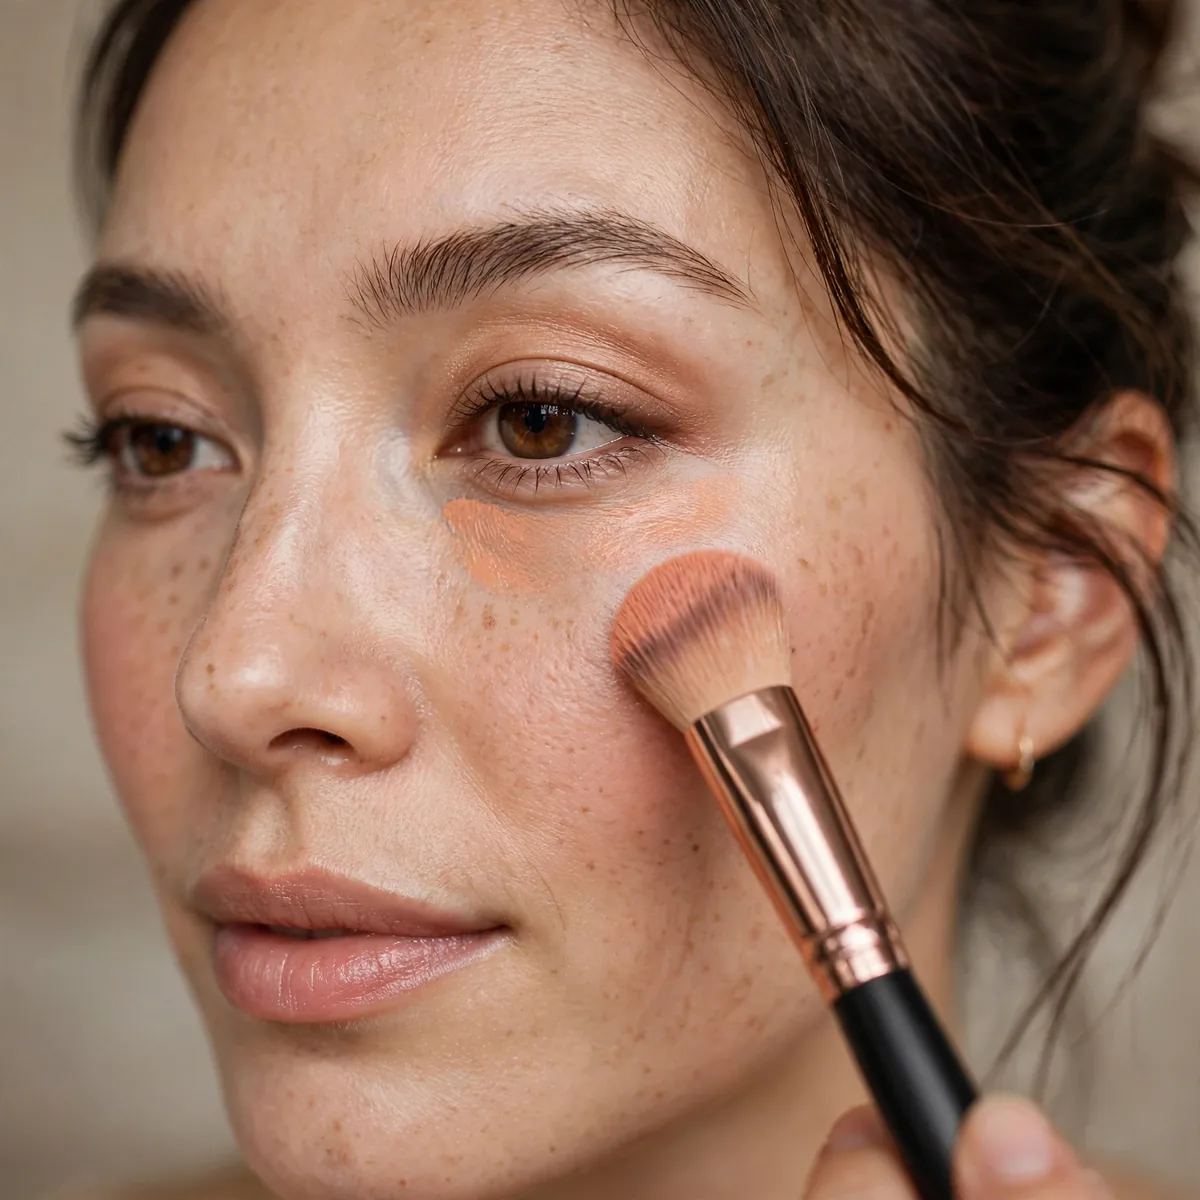
Peach/salmon cancels the blue-purple of under-eye darkness.
The corrector color should match your darkness depth — deeper circles need deeper peach.
Warm the corrector between your fingers before applying, which thins the texture so it melts into the delicate under-eye skin. Pat it on with your ring finger using gentle pressing motions, never dragging, since the under-eye area is thin and dragging creates more darkness. Medium skin tones with blue-purple circles see the most dramatic correction from a true peach shade.
Set the corrector with the tiniest amount of translucent powder before concealer, which stops it from migrating into fine lines by midday. The classic mistake is applying corrector like concealer in a thick layer, which leaves a visible peach cast that no amount of foundation hides. Follow with a brightening concealer one shade lighter than your skin to lift the corrected area.
Green for Redness
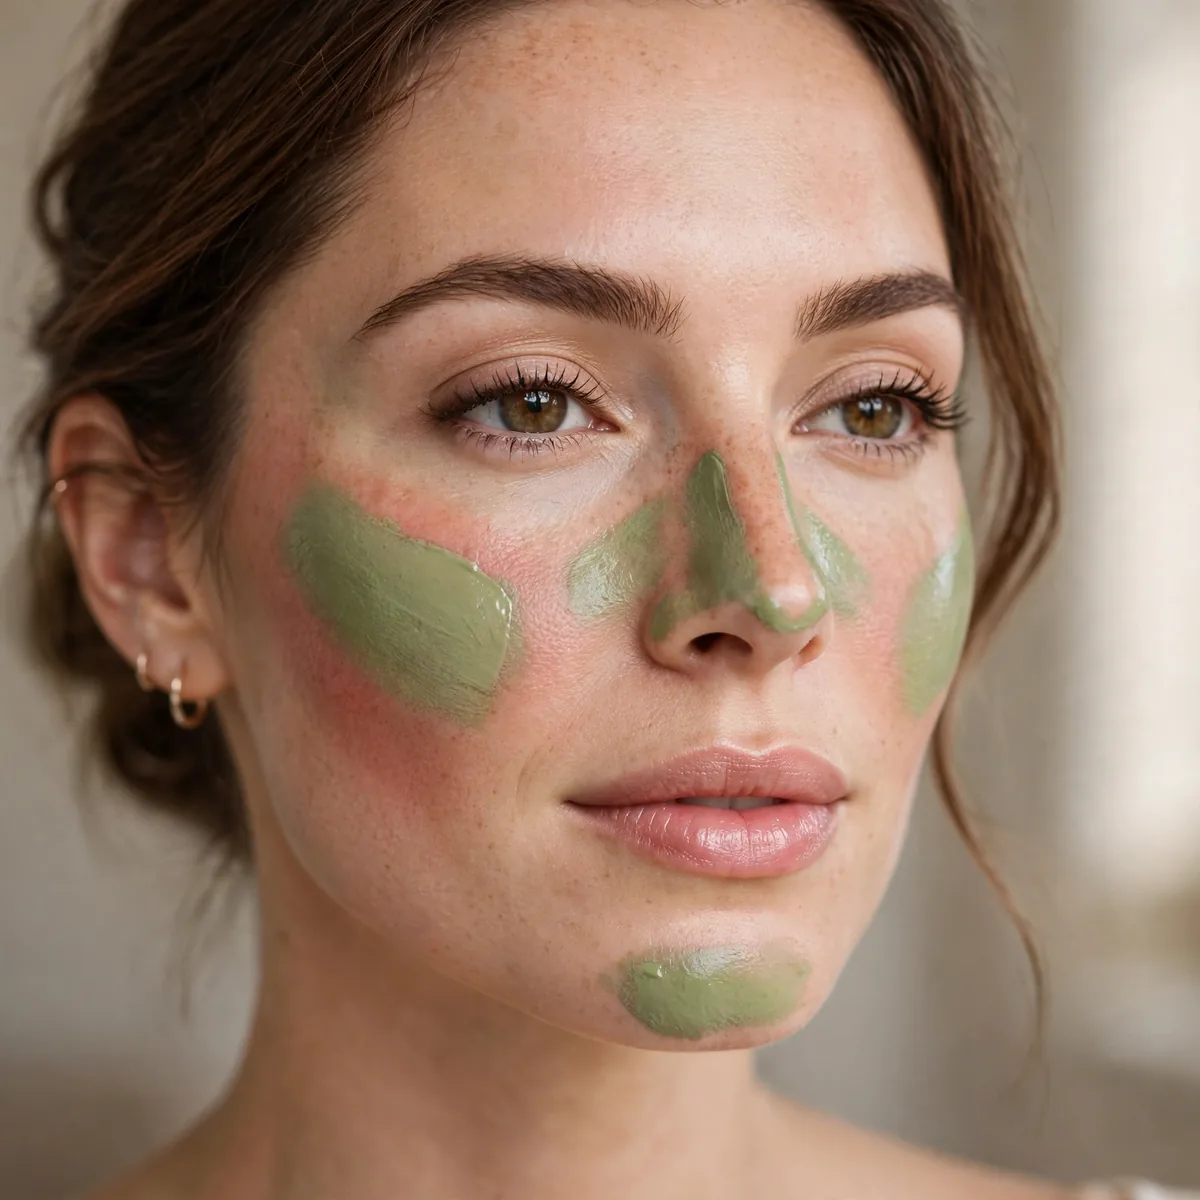
Green neutralizes redness from blemishes, rosacea, or irritation.
Apply only on the red areas — green elsewhere looks ashy. Precision matters.
Dot the green corrector precisely onto red spots with a small concealer brush, then stipple just the edges so the green melts into surrounding skin without spreading. Those with rosacea across the cheeks often do better with a green-tinted primer, which neutralizes all-over redness in one step. For isolated blemishes, the targeted corrector keeps the rest of the face untouched and natural.
The tell-tale mistake is a visible green halo around each blemish, which happens when the corrector is not blended at the edges or the layer is too thick. Always sandwich the corrector between skincare and a medium-coverage foundation, which unifies everything without needing heavy concealer. If redness peeks through by afternoon, press a little more foundation over the spot rather than adding corrector.
Lavender for Sallowness
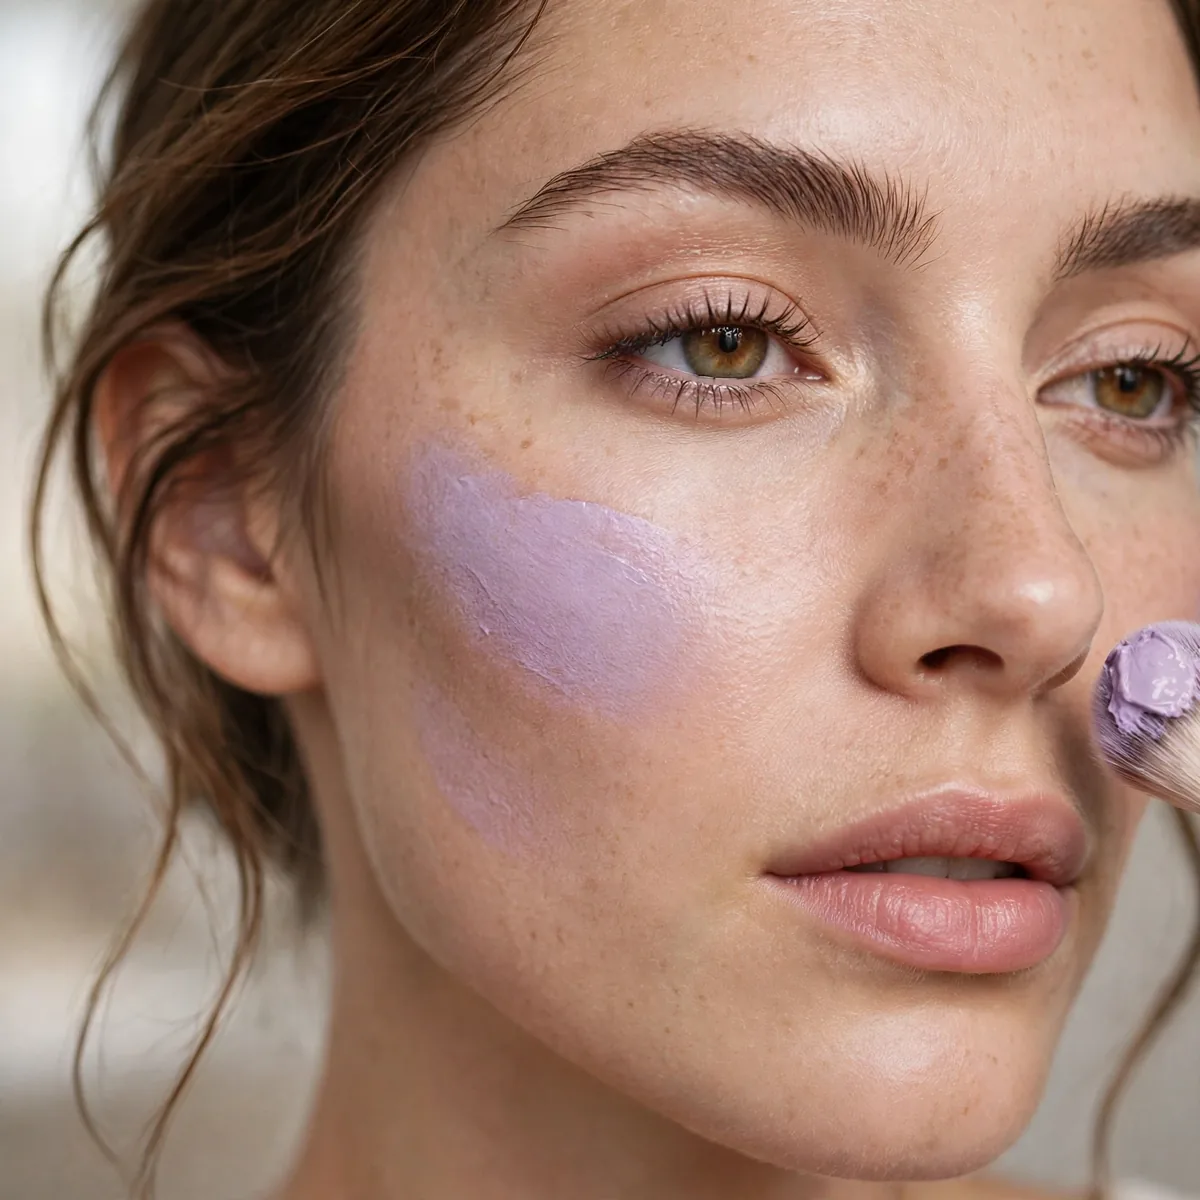
Lavender brightens yellow, sallow tones.
A lavender primer gives all-over brightness. Targeted lavender fixes spots.
Mix a drop of lavender corrector into your moisturizer for the sheerest all-over brightness, which is ideal when winter dullness makes the whole face look sallow. Focus targeted lavender around the mouth and across the forehead, where yellow tones concentrate most. Olive undertones prone to sallowness see the biggest transformation, since lavender directly counteracts the yellow-green cast.
Too much lavender turns the skin grayish rather than bright, so start with half the amount you think you need and build only if necessary. A luminous or dewy foundation layered over lavender correction amplifies the lit-from-within effect. This is primarily a daytime and photography trick, since the brightening reads most naturally in daylight and on camera.
Yellow for Purple Veins
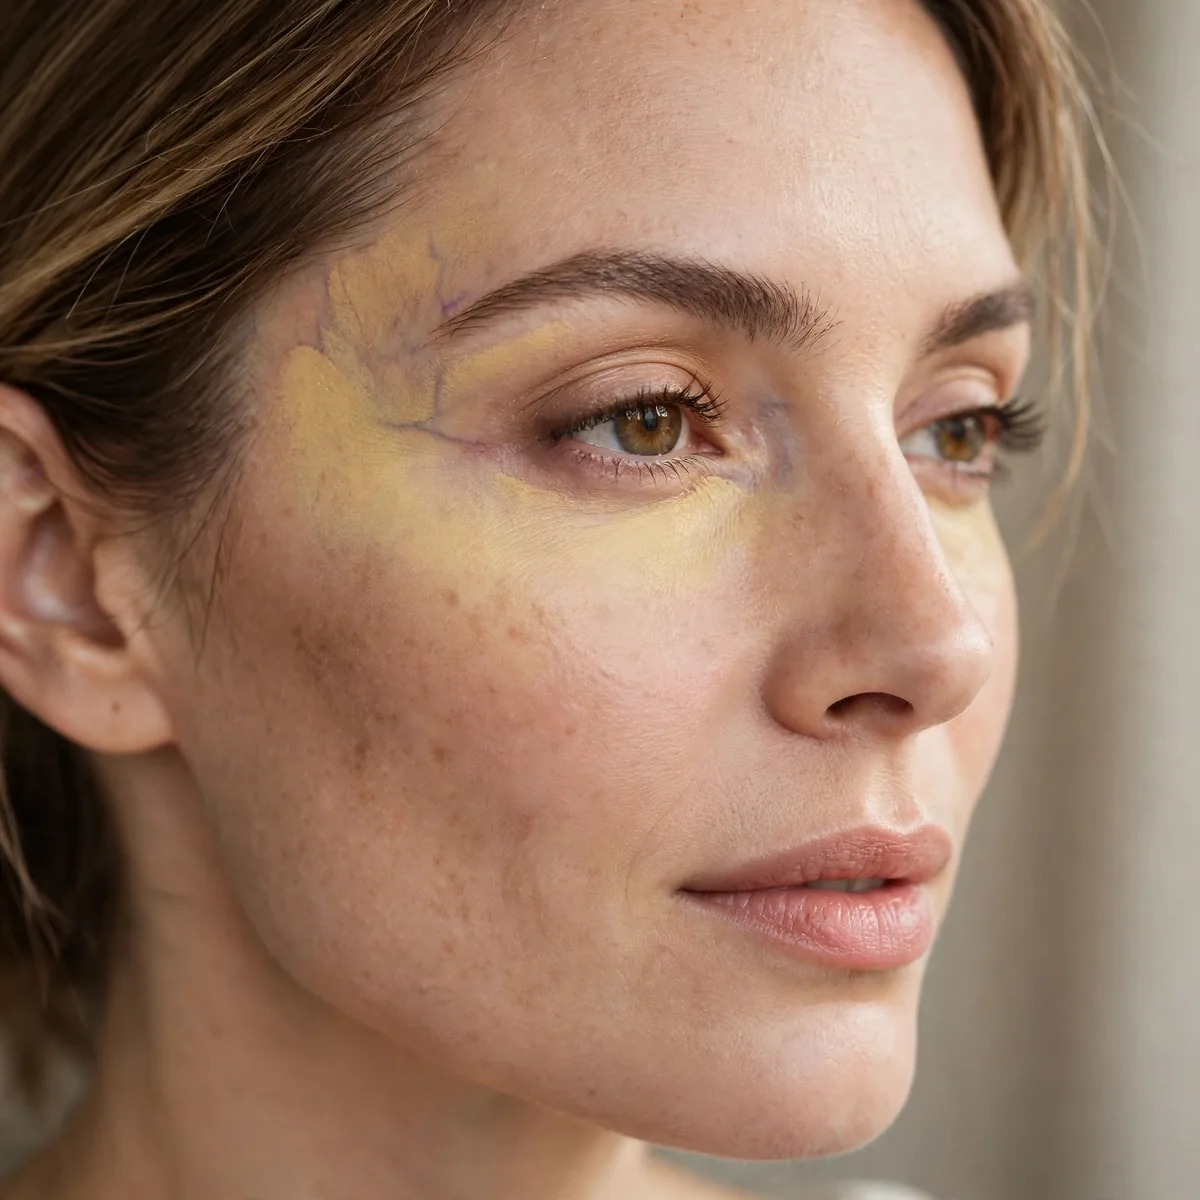
Yellow cancels purple tones in fair skin especially.
The subtle corrector. Yellow is the gentle neutralizer.
Press a sheer layer of yellow corrector over visible veins with a damp sponge, which sheers the product out so it neutralizes without looking like makeup. Fair, translucent skin shows purple veining most, especially across the eyelids and temples where the skin is thinnest. The damp sponge is key here, since fingers deposit too much product and brushes leave streaks on such a subtle correction.
On the eyelids, follow the yellow corrector with an eyeshadow primer, which doubles as a base that keeps shadow vibrant all day. The mistake is choosing a corrector that is too saturated, which leaves a visible yellow cast that reads as jaundiced rather than neutralized. Because yellow is so subtle, it rarely needs setting beyond your normal powder routine.
Orange for Deep Skin
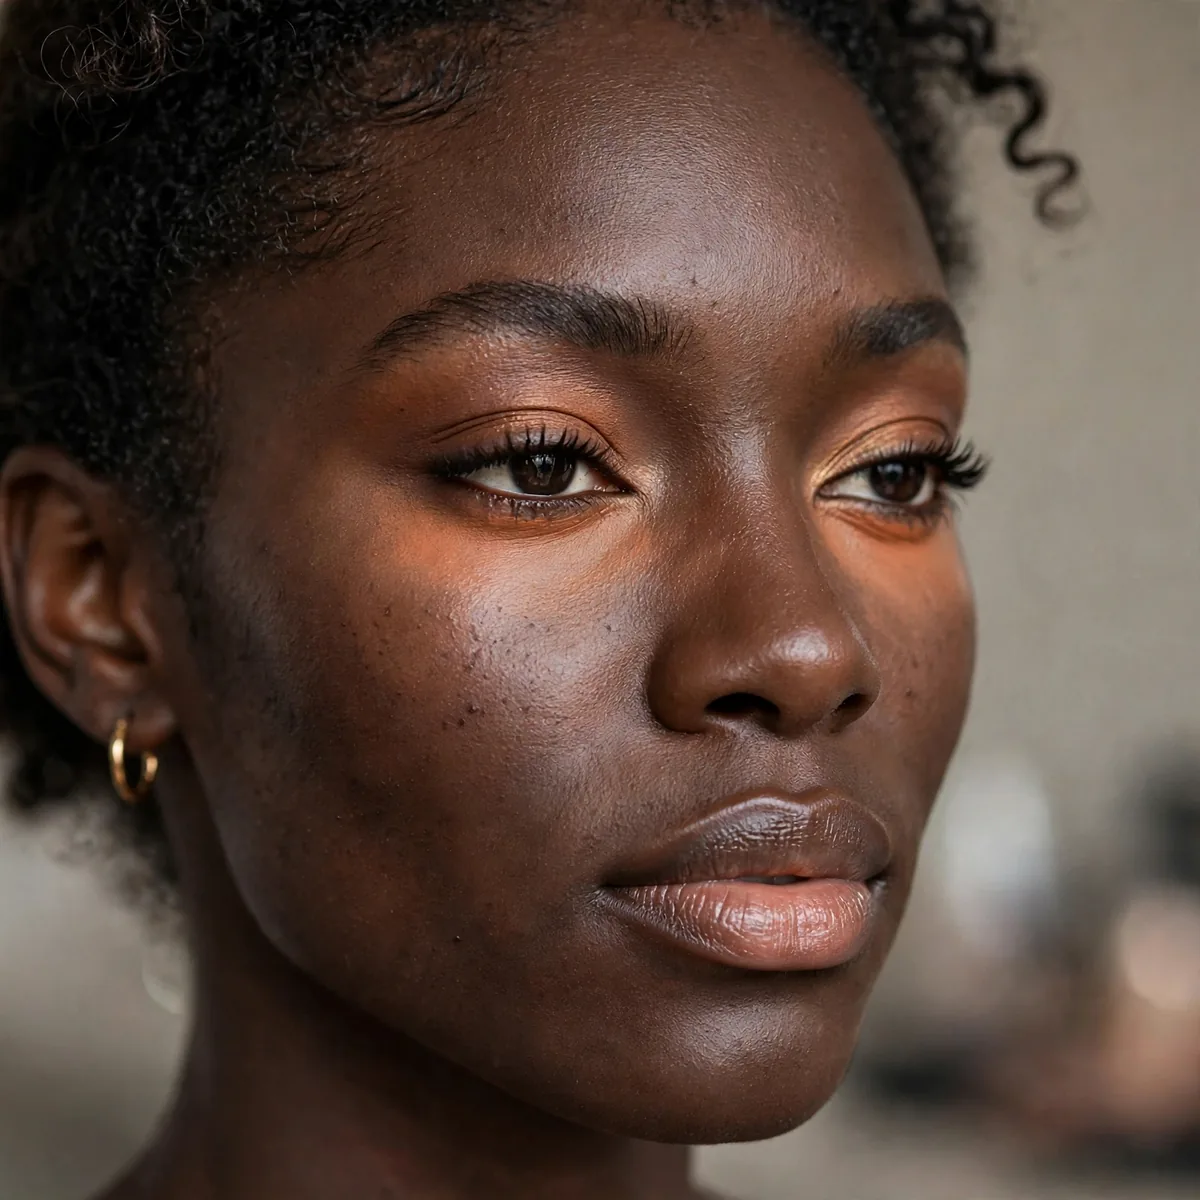
Deeper skin needs orange-red correctors for hyperpigmentation.
Match corrector depth to skin depth — deep skin needs rich correctors.
Blend orange corrector thoroughly with a brush first, then press the edges with a damp sponge, since unblended orange is the most visible corrector mistake on deep skin. Cream formulas melt best into rich skin tones, gripping hyperpigmentation without looking dry or ashy. Those dealing with post-acne marks or melasma patches will find a deep orange-red the single most transformative shade in the kit.
Follow with a full-coverage foundation in your exact skin tone, which unifies the corrected spots with the rest of the face. Set the corrected areas with powder to lock everything through humidity and long days. The biggest mistake is skipping corrector and piling on foundation instead, which looks heavy and still lets the darkness show through by afternoon.
Corrector Before Concealer
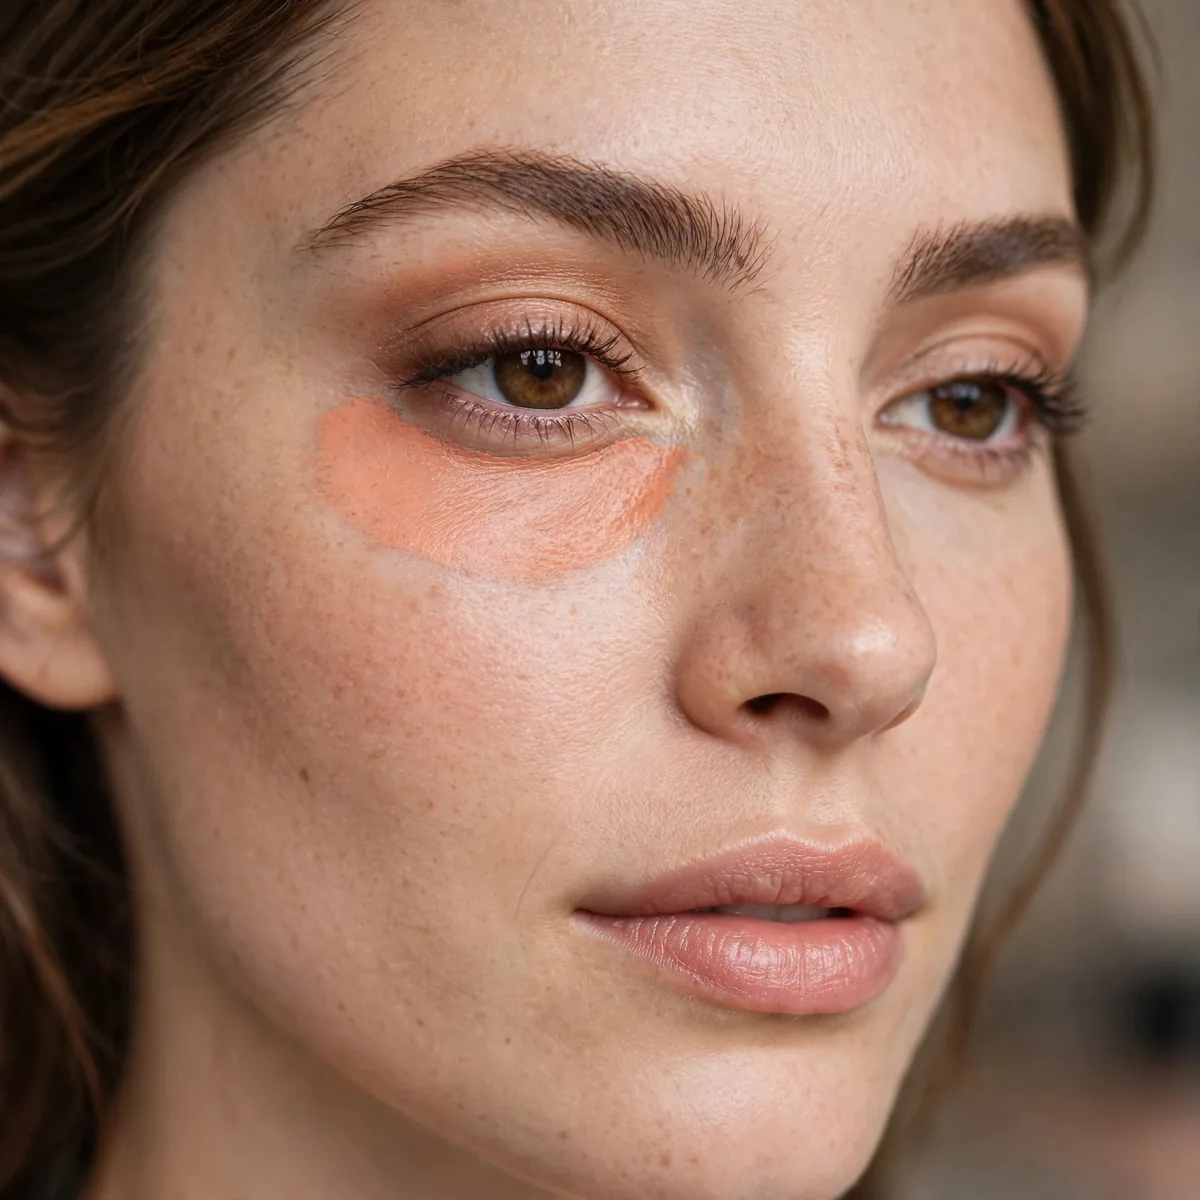
Always correct first, then conceal with skin-tone product.
The order is non-negotiable. Corrector cancels; concealer covers. Sequence matters.
Color theory is the reason the order is fixed: the corrector neutralizes the discoloration at the color level, so the concealer only needs to match your skin tone rather than fight the darkness. Let the corrector set for a full minute before layering concealer, which stops the two from mixing into a muddy layer. Thin applications of each beat one thick layer of either every time.
The one exception is spot-concealing an active blemish, where some artists conceal first to avoid disturbing the spot and then correct only if redness peeks through. Use separate brushes for corrector and concealer to keep the colors pure, since a contaminated brush muddies both. Clean those brushes weekly, because corrector buildup harbors bacteria that can aggravate the very blemishes you are covering.
Thin Layers Only
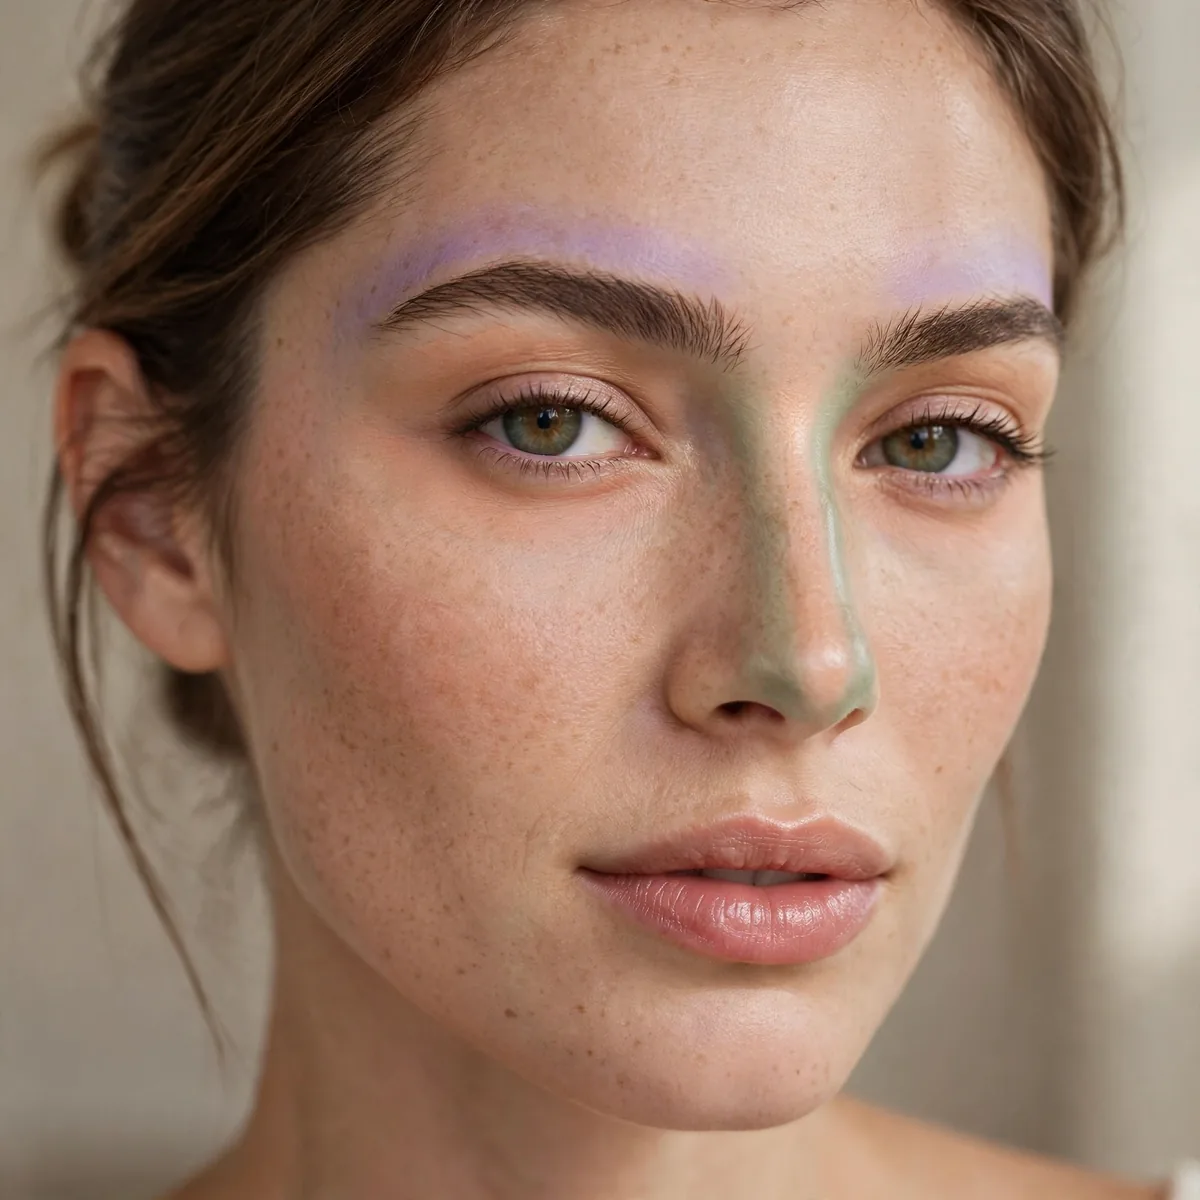
Corrector should be sheer — thick corrector shows through.
Sheer correction plus sheer concealment beats thick anything. Thin wins.
Build coverage in two or three sheer passes rather than one heavy one, waiting about thirty seconds between layers so each can set. A stippling brush is ideal for this, since its duo-fiber bristles deposit the thinnest possible veil of product. Each pass should look slightly too sheer on its own, because the layers compound into full correction without ever looking thick.
Mature and textured skin benefits most from the thin-layer rule, since thick corrector settles into every line and pore and advertises the texture. Never rub corrector in, which moves the pigment around instead of building it, and always press or stipple. At night, remove the layered correction with a cleansing balm and gentle massage rather than scrubbing, which irritates the skin you worked to perfect.
The Triangle Method
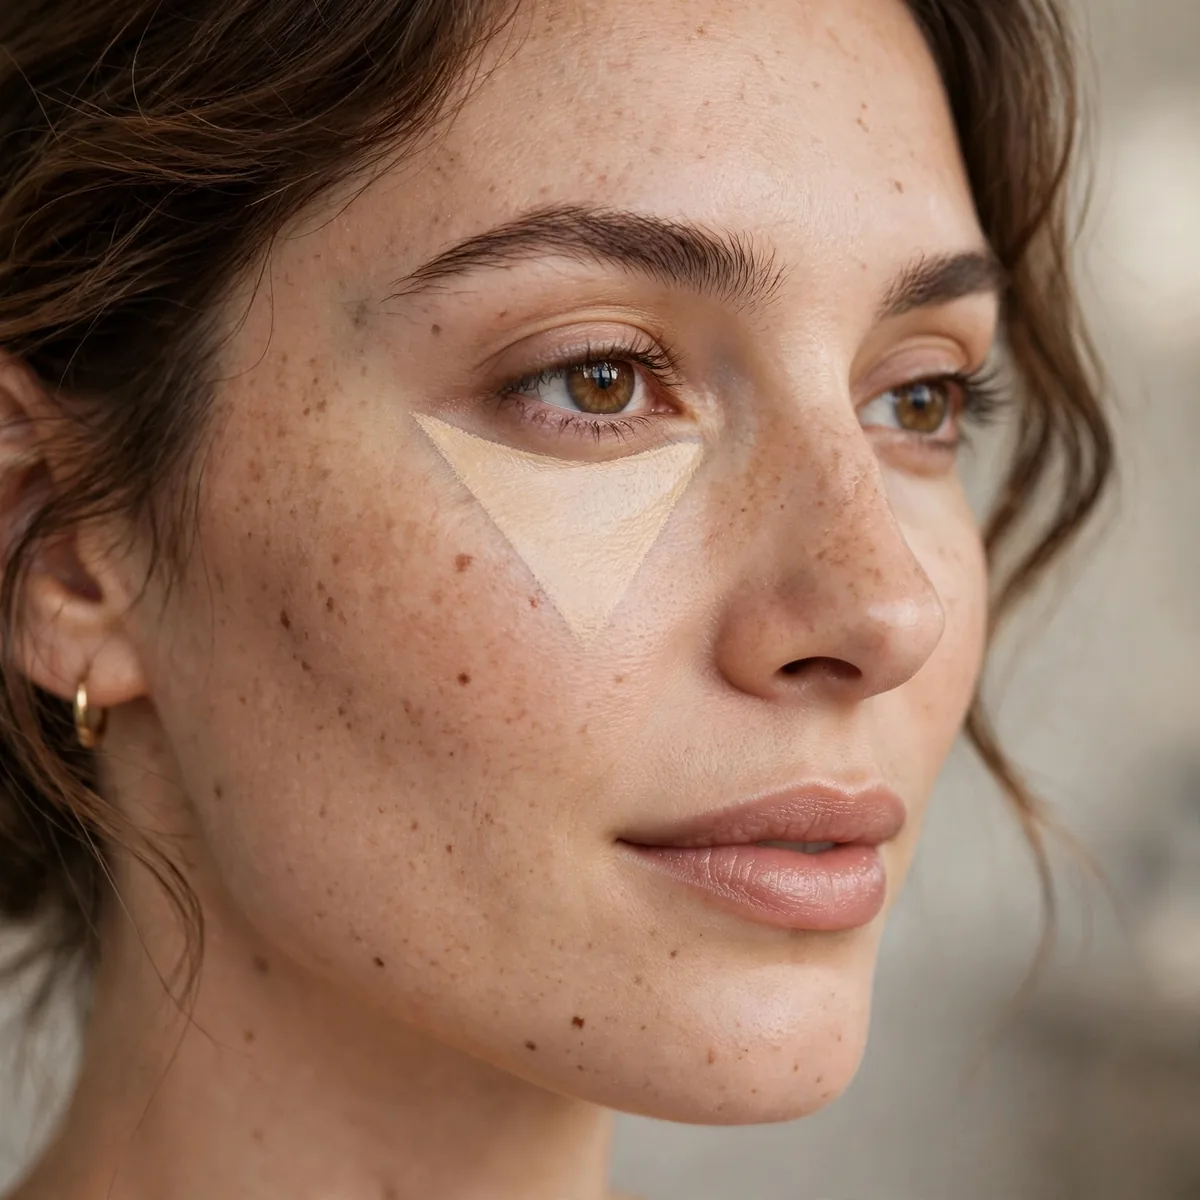
Apply corrector in an inverted triangle under the eye, not just on the darkness.
The triangle brightens the whole area, not just the circle. It’s more natural.
Size the triangle from the inner corner to the outer corner of the eye, with the point reaching down toward the cheek, which is larger than most beginners expect. Blend the corrector downward into the cheek rather than outward toward the temple, which keeps the brightness concentrated where darkness lives. A damp sponge pressed in bouncing motions melds the triangle edges invisibly into foundation.
Deep under-eye hollows and tear troughs gain the most from the triangle, since the larger shape brightens the shadow the hollow casts. The common mistake is drawing the triangle too small, which just outlines the darkness instead of diffusing it. Finish with a brightening under-eye powder pressed only over the triangle, which sets the correction without dulling its luminosity.
Set Corrector Lightly
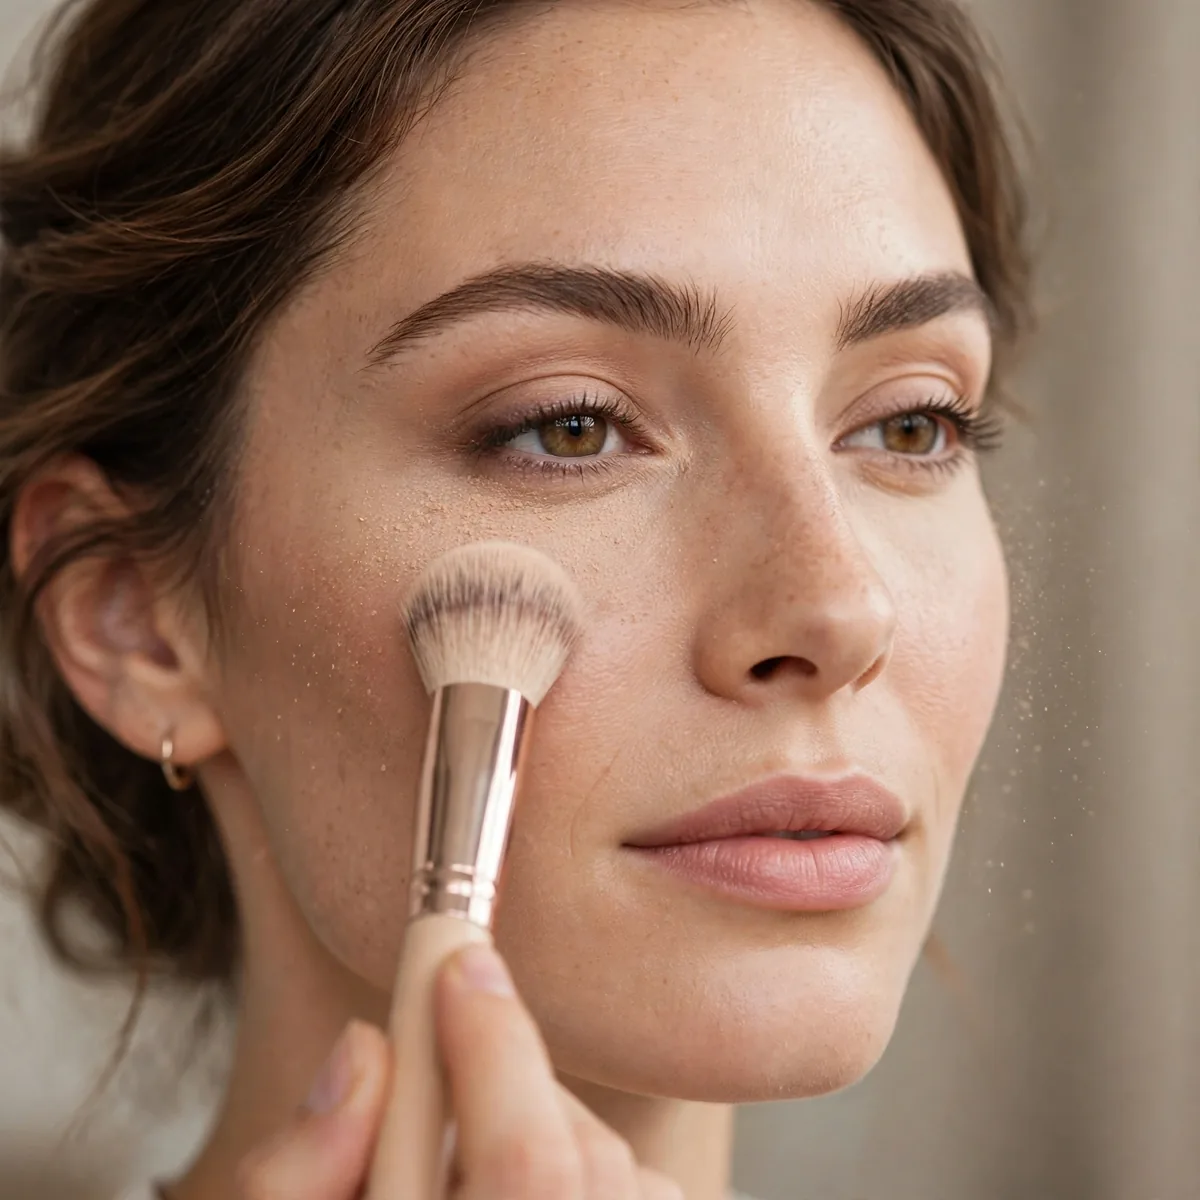
Set corrector with a touch of powder before concealer.
Unset corrector migrates. The powder lock keeps it in place.
Press the powder on with a small velour puff using a rolling motion, which sets the corrector without disturbing the color work underneath. Choose a finely milled translucent powder, since heavier powders go chalky over corrector and undo the brightening. You need far less than you think, so tap the puff once to remove excess before it ever touches your face.
Oily skin types need this setting step most, since their natural oils break down corrector within hours. The mistake is baking the under-eye for too long, which dries the delicate area and emphasizes every fine line. If powder feels too heavy for your skin, a light mist of setting spray over the corrector offers a modern, flexible alternative that still locks the color.
Color-Correcting Primers
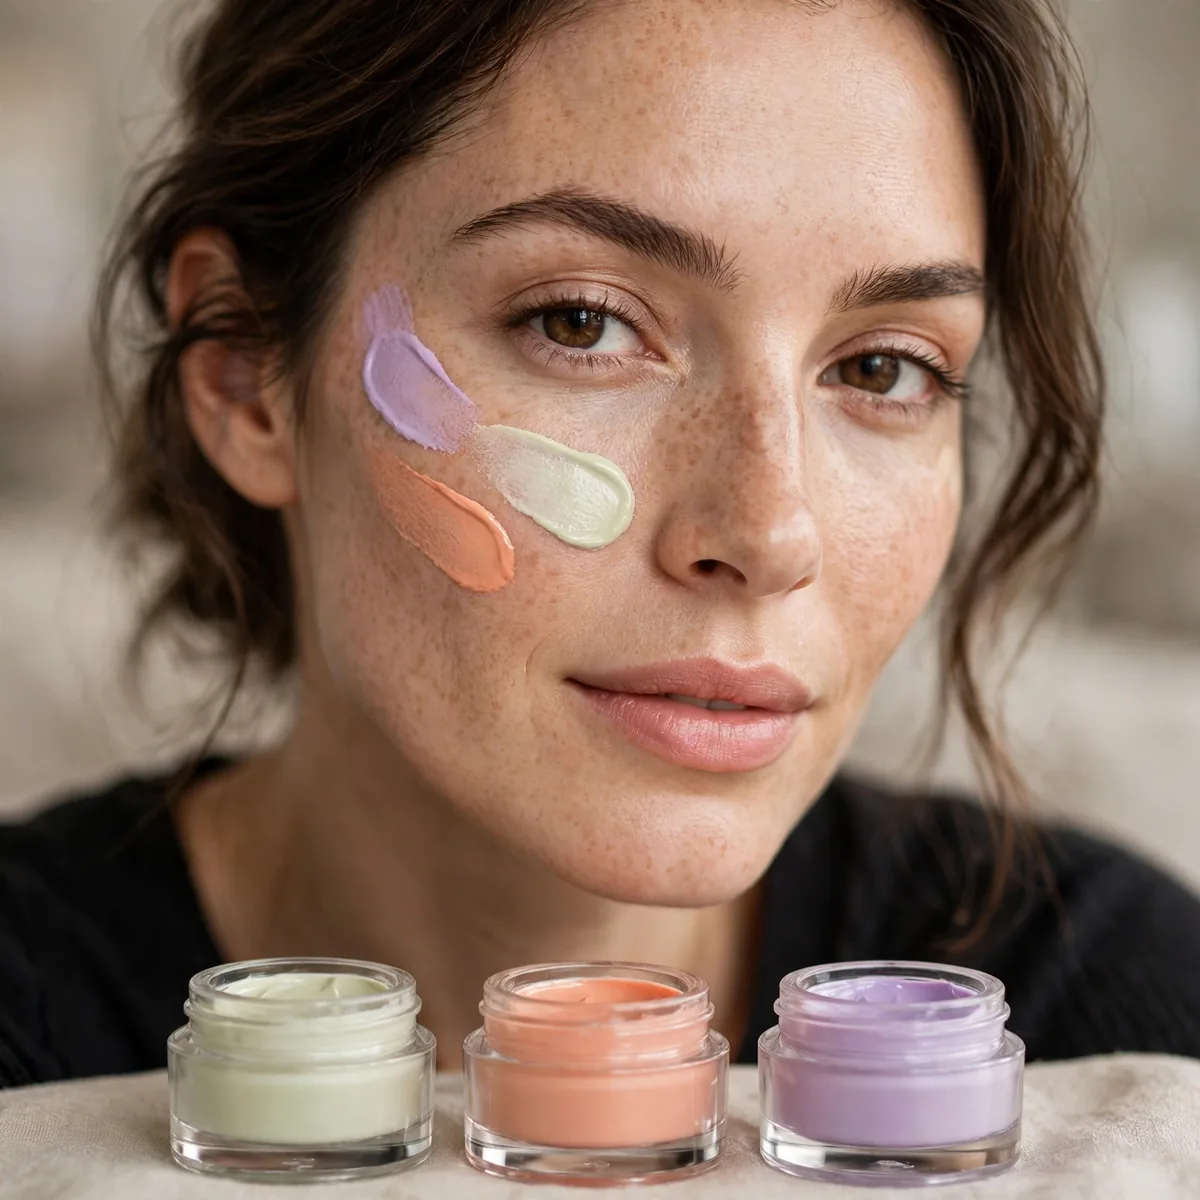
Tinted primers correct all-over tone issues efficiently.
Green primer for redness, lavender for dullness — the all-over fix.
Apply the tinted primer after moisturizer has fully absorbed, using a pea-sized amount warmed between your palms and pressed over the face. These primers suit all-over concerns best, which is their whole advantage over targeted correctors. Blend the primer down the neck slightly so the corrected tone does not stop in a visible line at the jaw.
Pair a correcting primer with a light or medium foundation, since the primer already handles the tone work and heavy base becomes redundant. The mistake is layering a matching corrector over a correcting primer, which doubles the color and creates the exact cast you were trying to erase. In summer, a lavender or peach primer under tinted SPF gives corrected, protected skin in two steps.
Blemish Spot Correcting
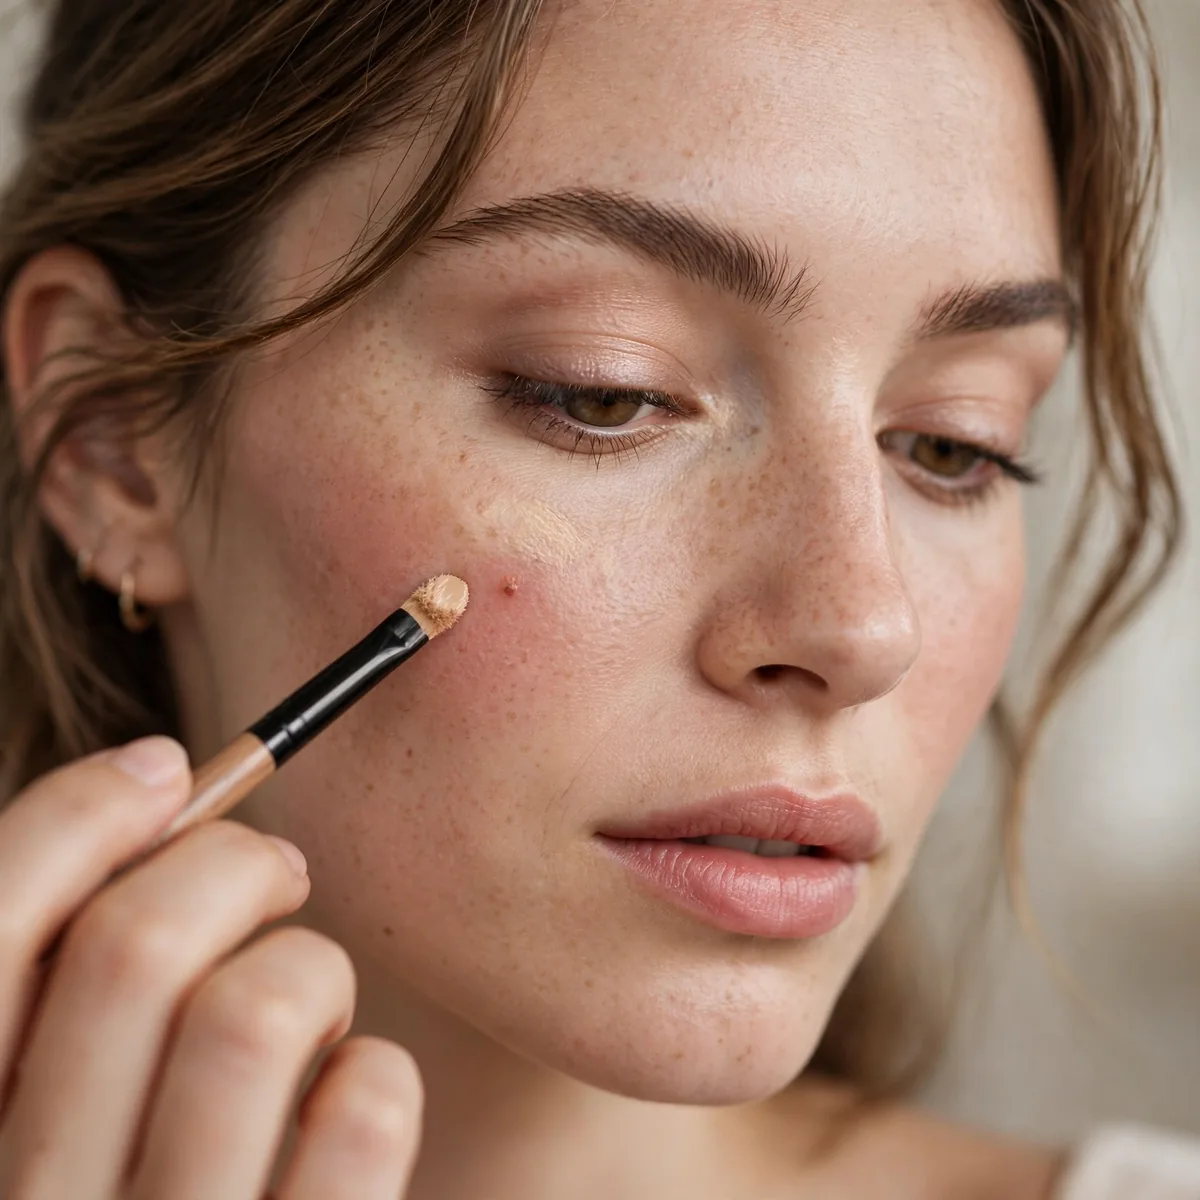
Dot green on blemishes, blend edges, then conceal.
For blemish coverage, precision beats coverage area. Dot, don’t smear.
Let the green corrector dry for a full minute before concealing, which keeps the layers distinct instead of blending into a gray smear. Use the tiniest brush you own for the initial dot, since precision is everything on a raised blemish. Those dealing with hormonal breakouts along the jaw will find this dot-and-wait method far more effective than rushing the layers.
Never correct over a freshly picked blemish, since product on broken skin looks worse and risks infection, so let it calm first or cover it with a hydrocolloid patch instead. Follow the correction with a concealer that exactly matches your skin, pressed on rather than rubbed. Sanitize the brush after use on active breakouts to avoid spreading bacteria to clear skin.
Dark Spot Correcting
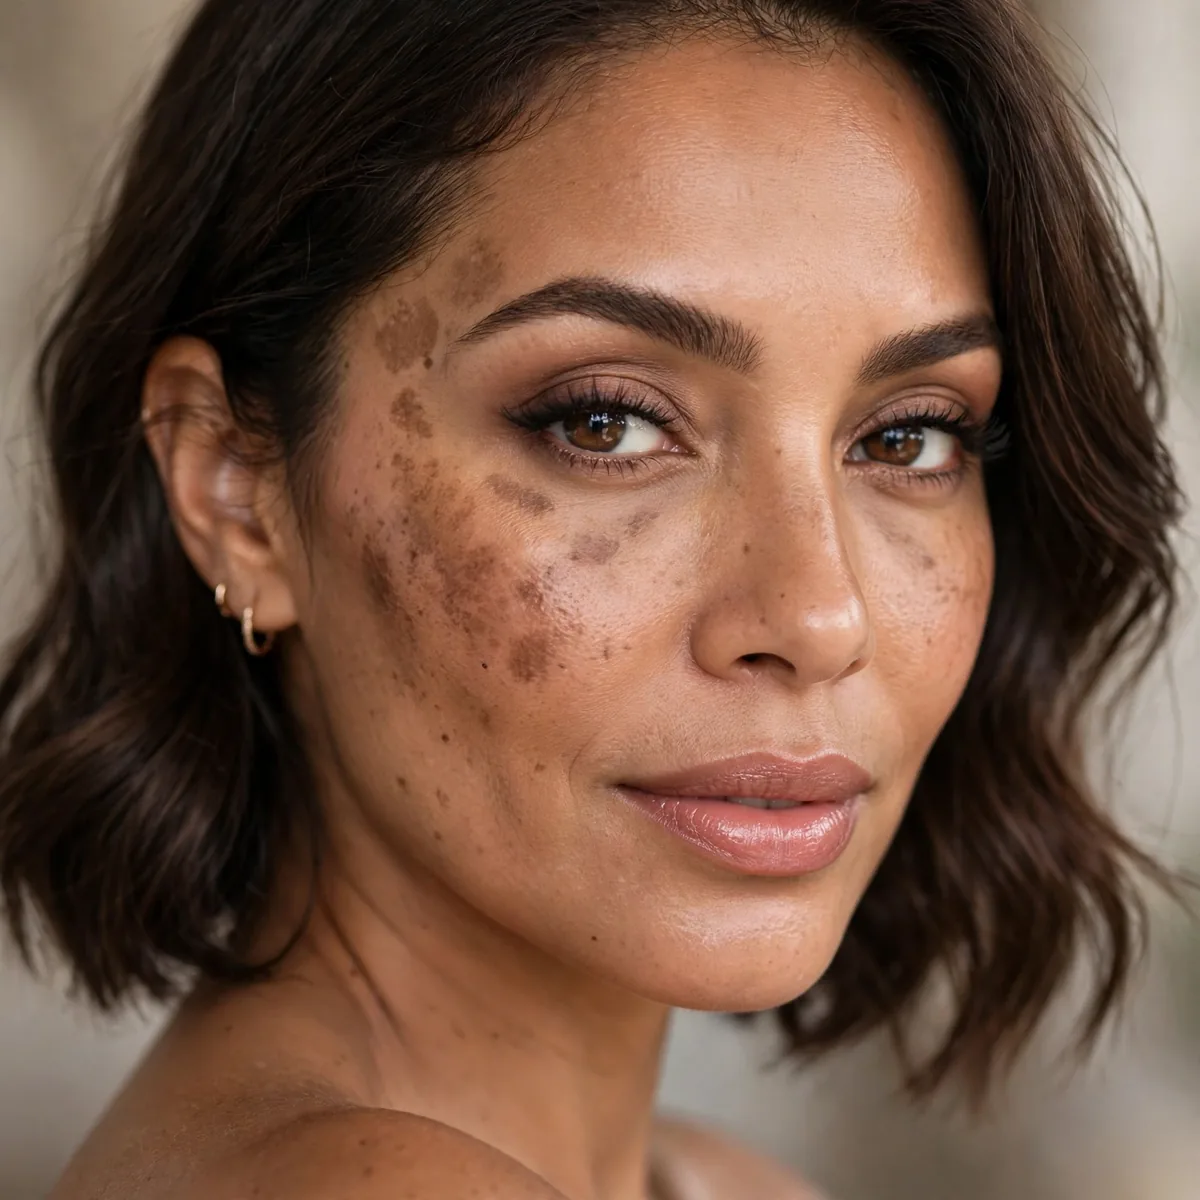
Peach-orange on dark spots before foundation evens tone.
Correcting spots before base means less foundation overall. Work smart.
Apply the peach-orange corrector only to the dark spot itself with a small flat brush, then feather just the edges so the color melts into surrounding skin. Sun spots and melasma patches need this exactness, since correcting the surrounding skin too lightens it unnecessarily. The feathered edge is what makes the spot disappear under foundation instead of showing as a corrected island.
Set each corrected spot with a tiny press of powder before foundation, which stops the corrector from shifting as you blend base over it. A medium-coverage foundation is all you need afterward, since the corrector already did the heavy lifting. For the long game, layer skincare with niacinamide or vitamin C underneath, which gradually fades the spots the corrector is covering.
Under-Eye Brightening Combo
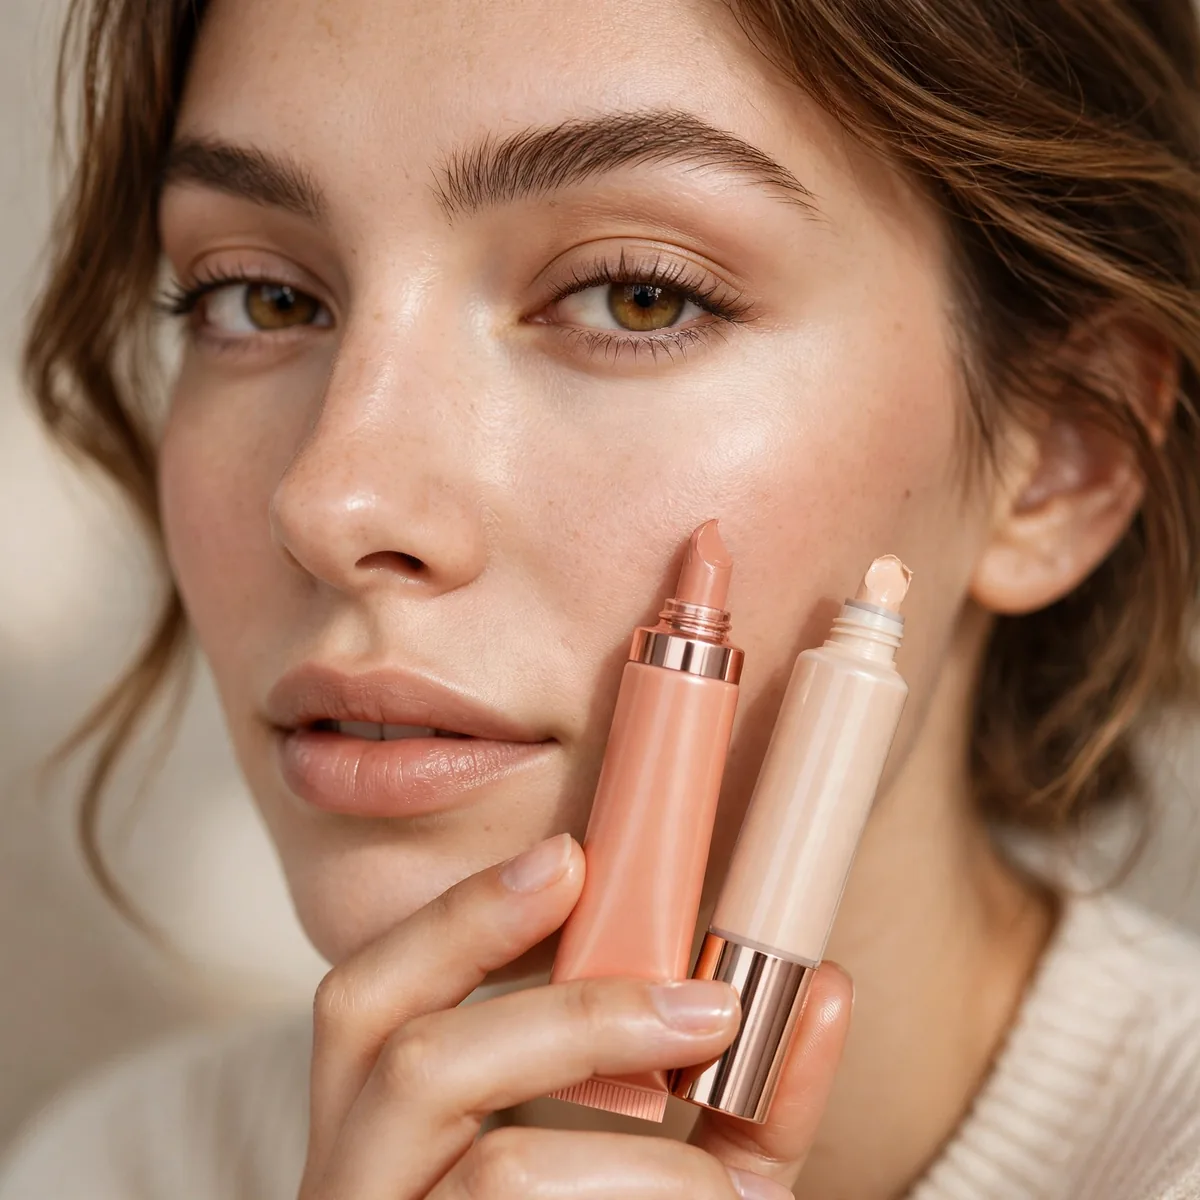
Peach corrector plus brightening concealer — the complete under-eye.
The combo addresses both color and light. Darkness needs both canceled and brightened.
Apply the peach corrector first and blend it fully before the brightening concealer goes anywhere near the area, since the two layers serve different jobs. Use a damp sponge to bounce the brightening concealer over the corrected zone, keeping it to the inner two-thirds of the under-eye. Less is more with both products, because the under-eye shows every excess immediately.
Chronic dark circles from genetics or thin skin respond best to this combo, since neither product alone fully solves both the color and the shadow. Avoid a brightening concealer more than one shade lighter than your skin, which creates a reverse-raccoon effect in photos. Set the whole under-eye with a whisper of powder, because this much layering creases fast without a lock.
Avoid Over-Correcting
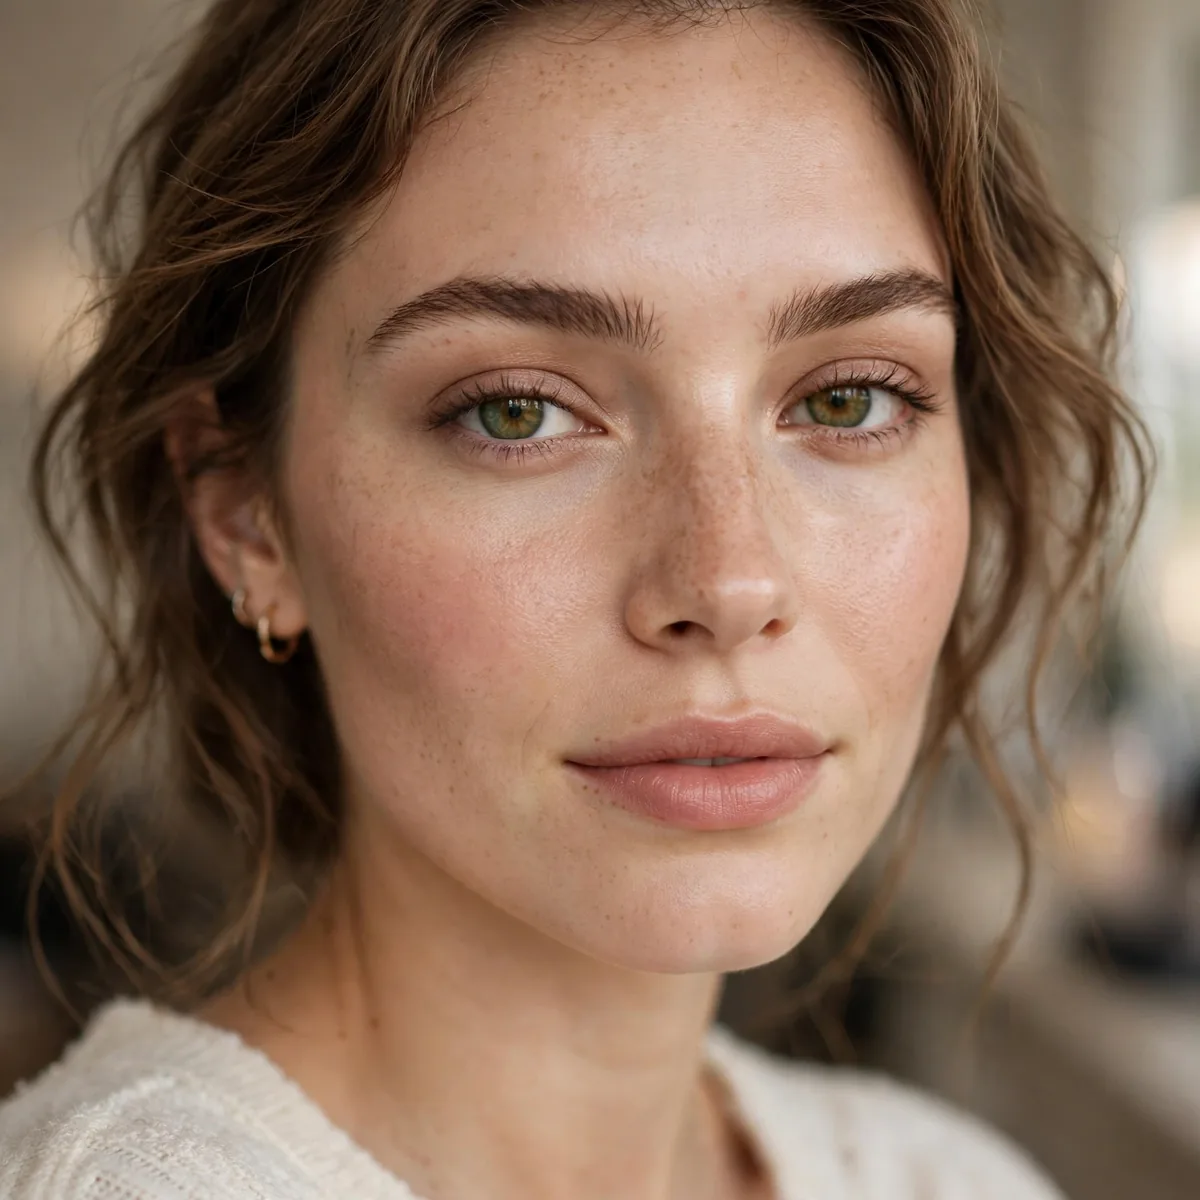
Too much corrector creates new color problems.
If you see the corrector color, you’ve used too much. Sheer is the rule.
Check your correction in natural daylight before leaving, since indoor lighting hides the color casts that daylight exposes mercilessly. If you spot the corrector shade, remove the excess with a damp sponge rather than covering it with more product. Start application at the center of the discoloration and blend outward, which naturally deposits the least product where you need the least.
Beginners over-correct most often, usually from treating the corrector like a concealer and applying it in concealer quantities. Reframe the goal as neutralization rather than coverage, which naturally keeps your hand lighter. Pair restrained correction with a sheer-to-medium foundation, and the two sheer layers will outperform one heavy layer every single time.
Correcting for Photography
Cameras amplify discoloration — correct more for photos.
What looks fine in person can photograph poorly. Compensate for the camera.
Apply about twenty percent more corrector than you would for real life, since cameras flatten and amplify discoloration in ways the mirror never shows. Choose HD or photo-friendly formulas without SPF flashback ingredients, which can turn corrected areas ghostly white under flash. Take test photos in the actual event lighting before committing, because ballroom light and daylight punish different mistakes.
Weddings and long events demand bulletproof setting, so powder the corrected areas and carry blotting papers plus a mini concealer for touch-ups. The mistake is correcting for the mirror and skipping the camera test, which is how discoloration surprises you in the professional photos. Remember that video is even less forgiving than stills, so blend edges with extra care.
The Minimalist Correct
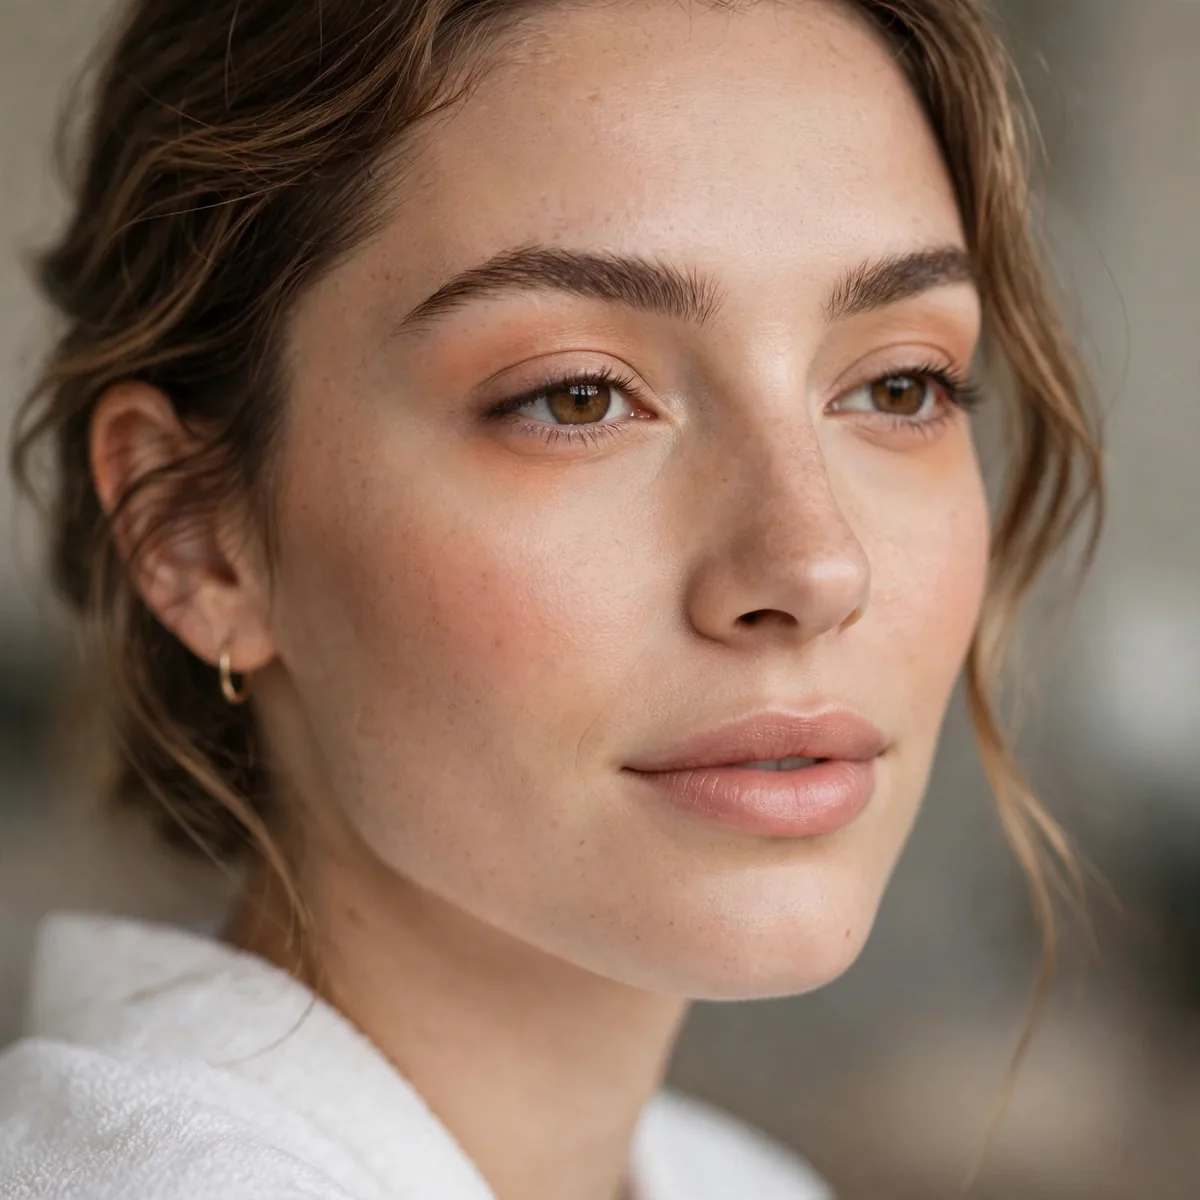
Correct only the worst area — often that’s enough.
You don’t need to correct everything. Target the main concern and stop.
Identify your single biggest concern in the mirror each morning, whether it is under-eye darkness or one red blemish, and correct only that. One well-chosen product applied well beats a full kit applied anxiously. This restraint suits good-skin days and the no-makeup makeup aesthetic perfectly, where the goal is to look rested rather than made up.
Follow the single correction with a tinted moisturizer or skin tint, which evens the rest of the face without burying the targeted work. The whole routine takes under three minutes, making it ideal for busy mornings when a full face is not happening. Minimal correction also photographs beautifully, since cameras reward skin that still looks like skin.
Corrector and Foundation Order
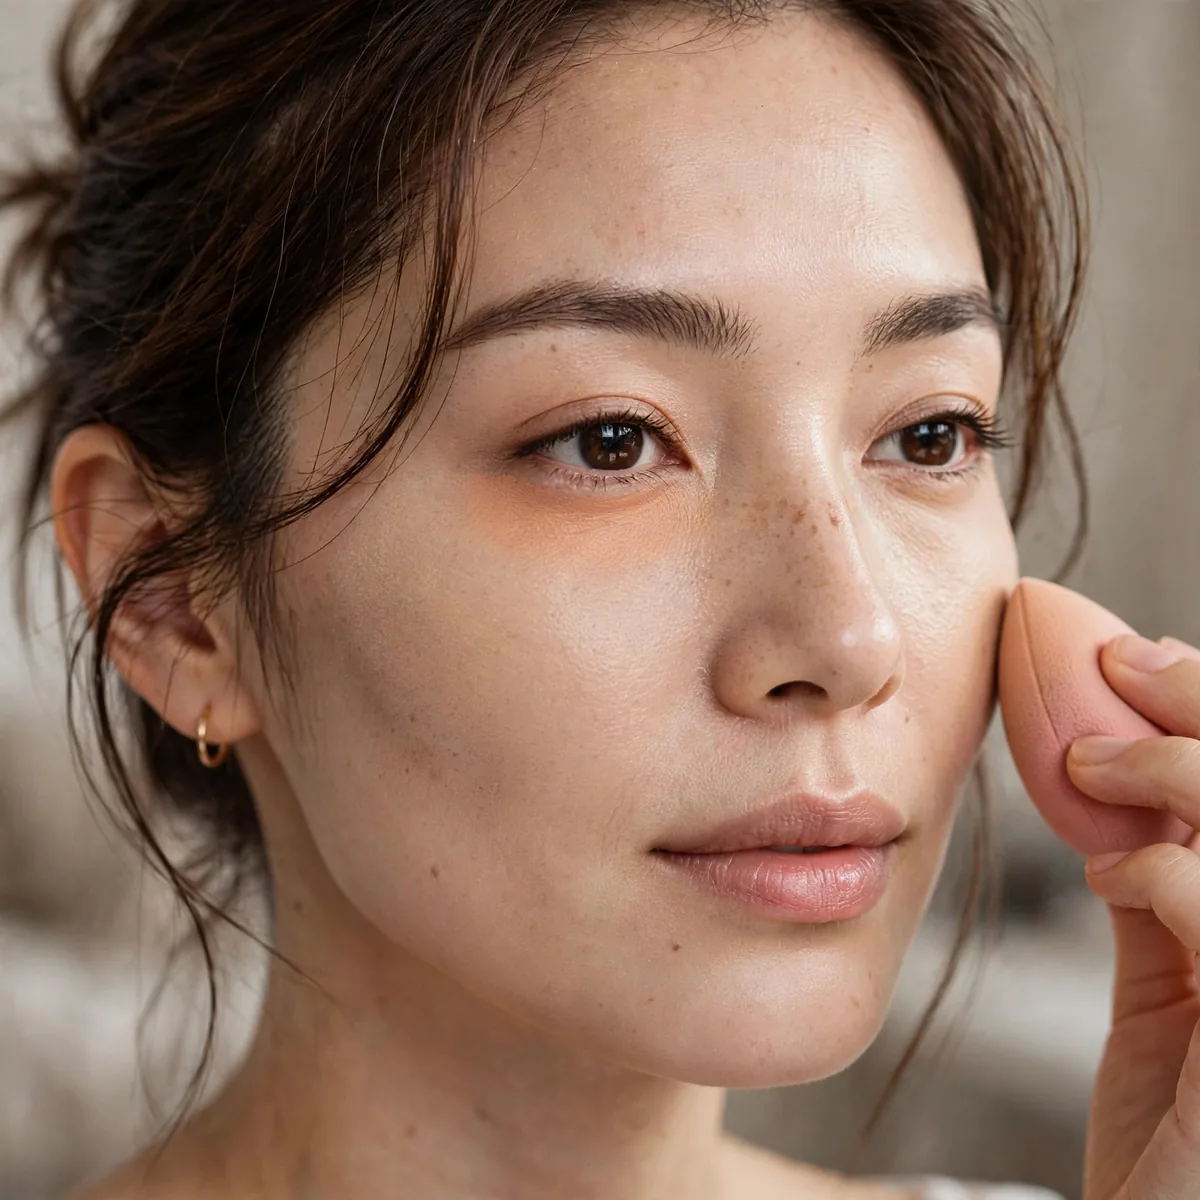
Spot-correct before foundation; the base then needs less coverage.
For base strategy, our natural foundation guide builds on this. Correct first, cover less.
Spot-correct first, then stipple foundation over the corrected areas with a bouncing motion rather than sweeping, which would wipe the corrector away. A damp sponge is the ideal tool here, since it presses foundation on top without disturbing the color work beneath. This order means the foundation only needs to unify tone, so you can use far less of it overall.
The exception is very full-coverage routines, where some artists apply foundation first and then correct only what still shows through. The classic mistake is applying foundation first out of habit and then needing twice the corrector to fight through it. In summer, this correct-first order lets you drop to a tinted moisturizer, since the tone work is already handled.
Mature Skin Correcting
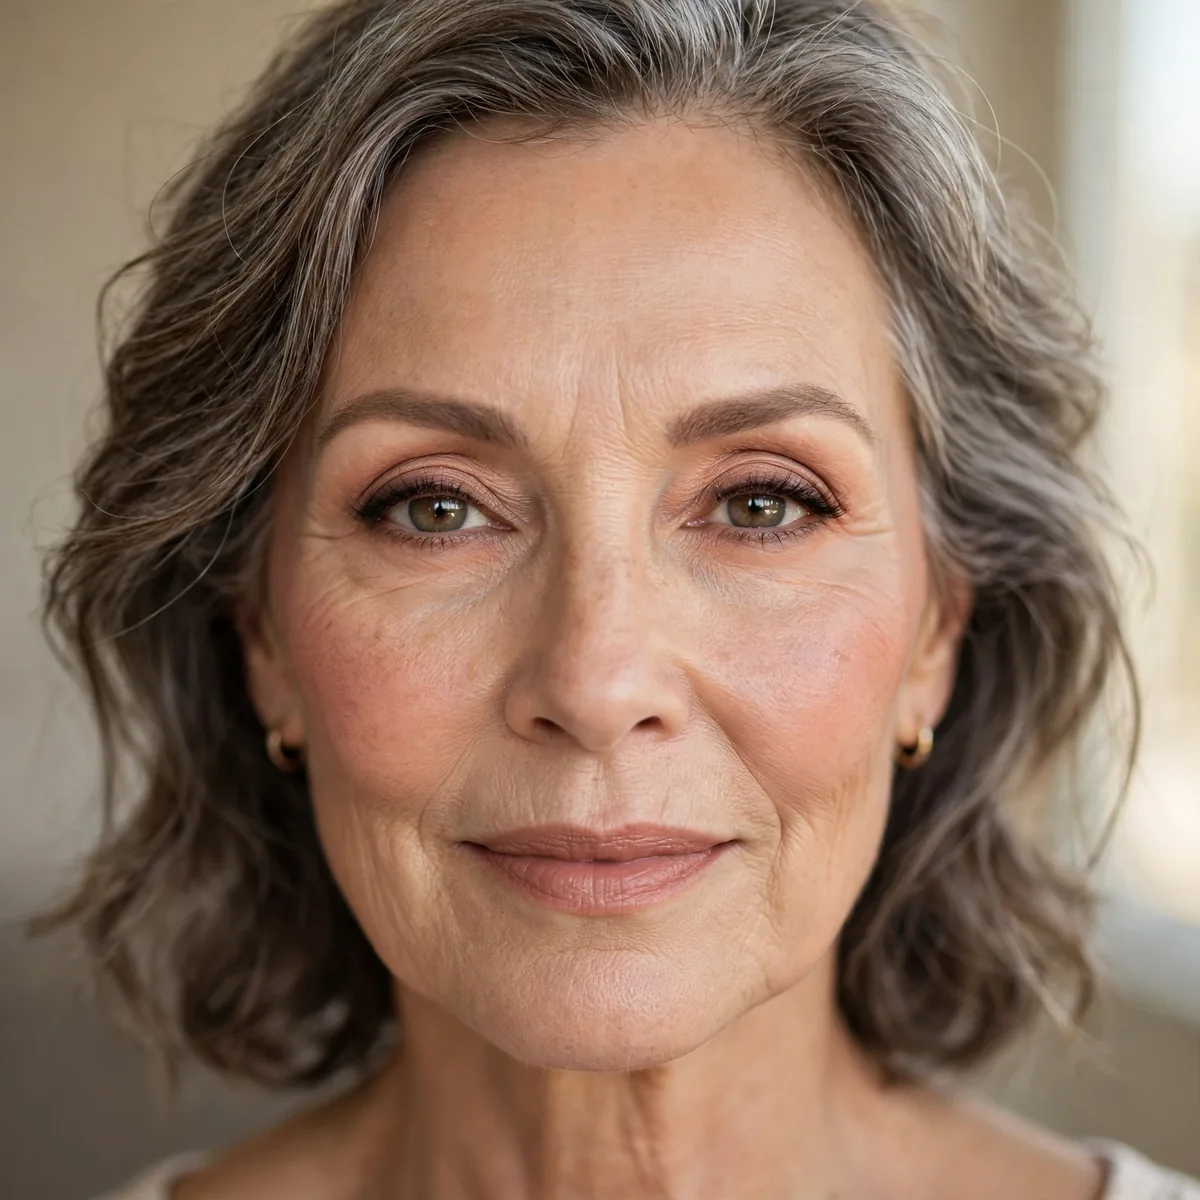
Cream correctors only on mature skin — dry formulas emphasize texture.
Our mature skin guide details why. Hydrating correctors are essential with age.
Prep the under-eye with a rich eye cream and let it absorb for two minutes, which plumps fine lines so corrector cannot settle into them. Press cream corrector on with your fingertip, since body warmth melts the formula into mature skin far better than a brush. Look for formulas with hyaluronic acid or peptides, which treat the delicate area while they correct it.
The biggest mistake on mature skin is setting corrector with too much powder, which instantly ages the under-eye by a decade. Use the absolute minimum powder, pressed only where creasing actually happens, or skip it for a setting spray instead. Pair hydrating correctors with a dewy, light-reflecting foundation, and the whole complexion reads fresh rather than made up.
The Natural Finish Check
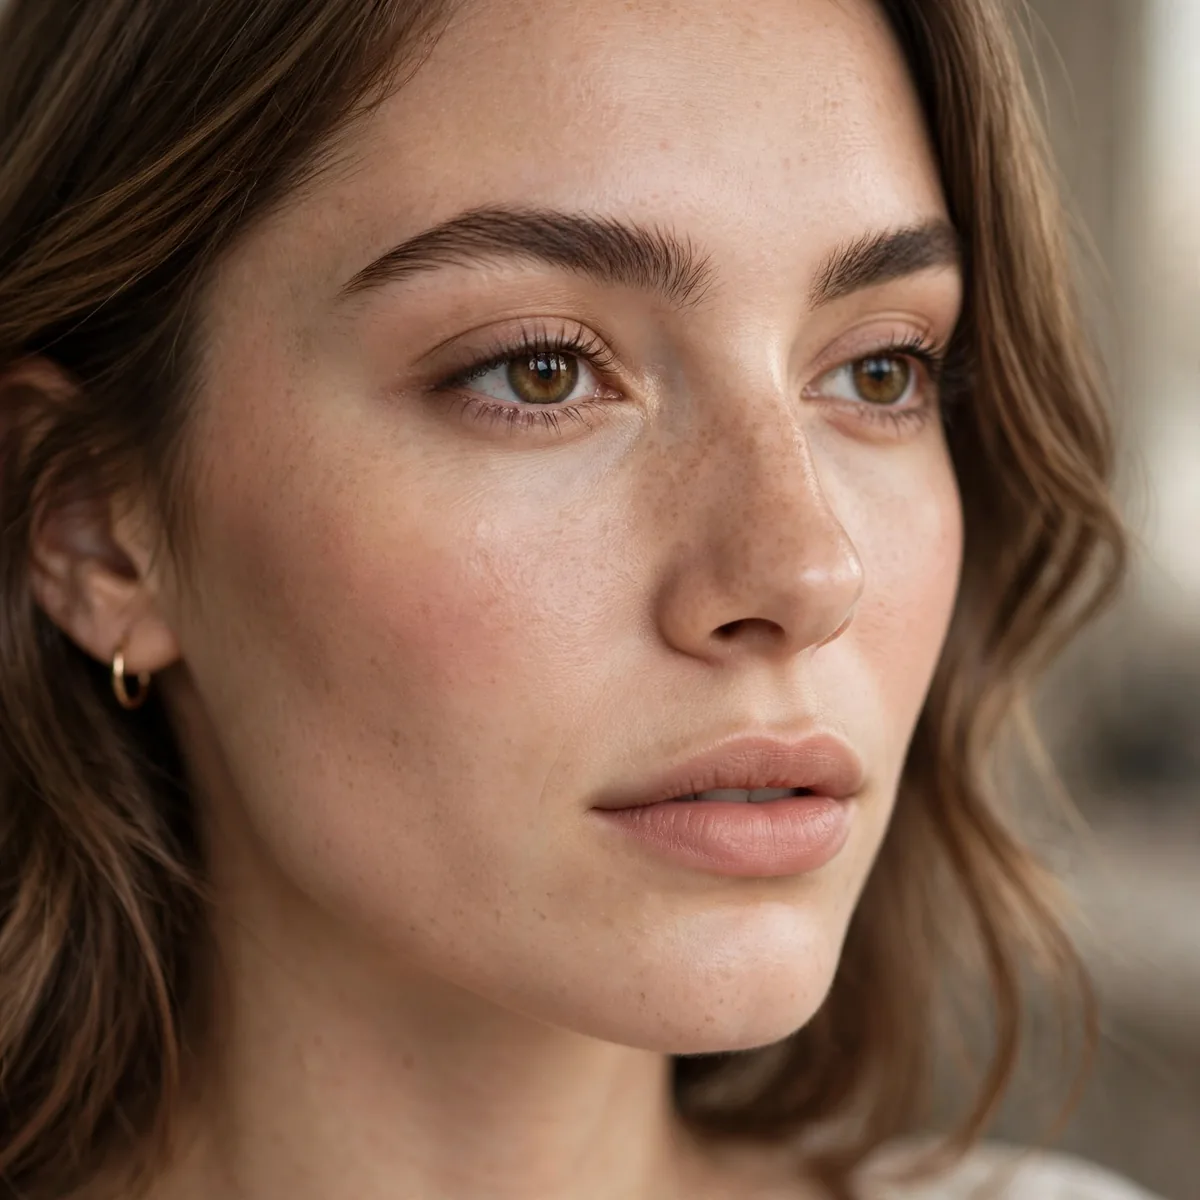
The goal: no visible discoloration, no visible corrector.
If you can’t tell corrector was used, you did it right. Invisibility is success.
Do the final check in natural daylight at arm's length, which is how the world actually sees your correction. Take a phone photo with the front camera, since the lens catches unblended edges and color casts your eyes gloss over. If you live with someone, ask them to look closely, because a fresh pair of eyes spots the corrector you have gone blind to.
If the check reveals a problem, blend the edge with a clean damp sponge or remove the excess rather than adding more product on top. The natural finish is a moving target through the day, so carry blotting papers to manage shine that can expose correction. When in doubt, sheer it out, because slightly visible darkness always looks better than visible corrector.
Correcting Confidence
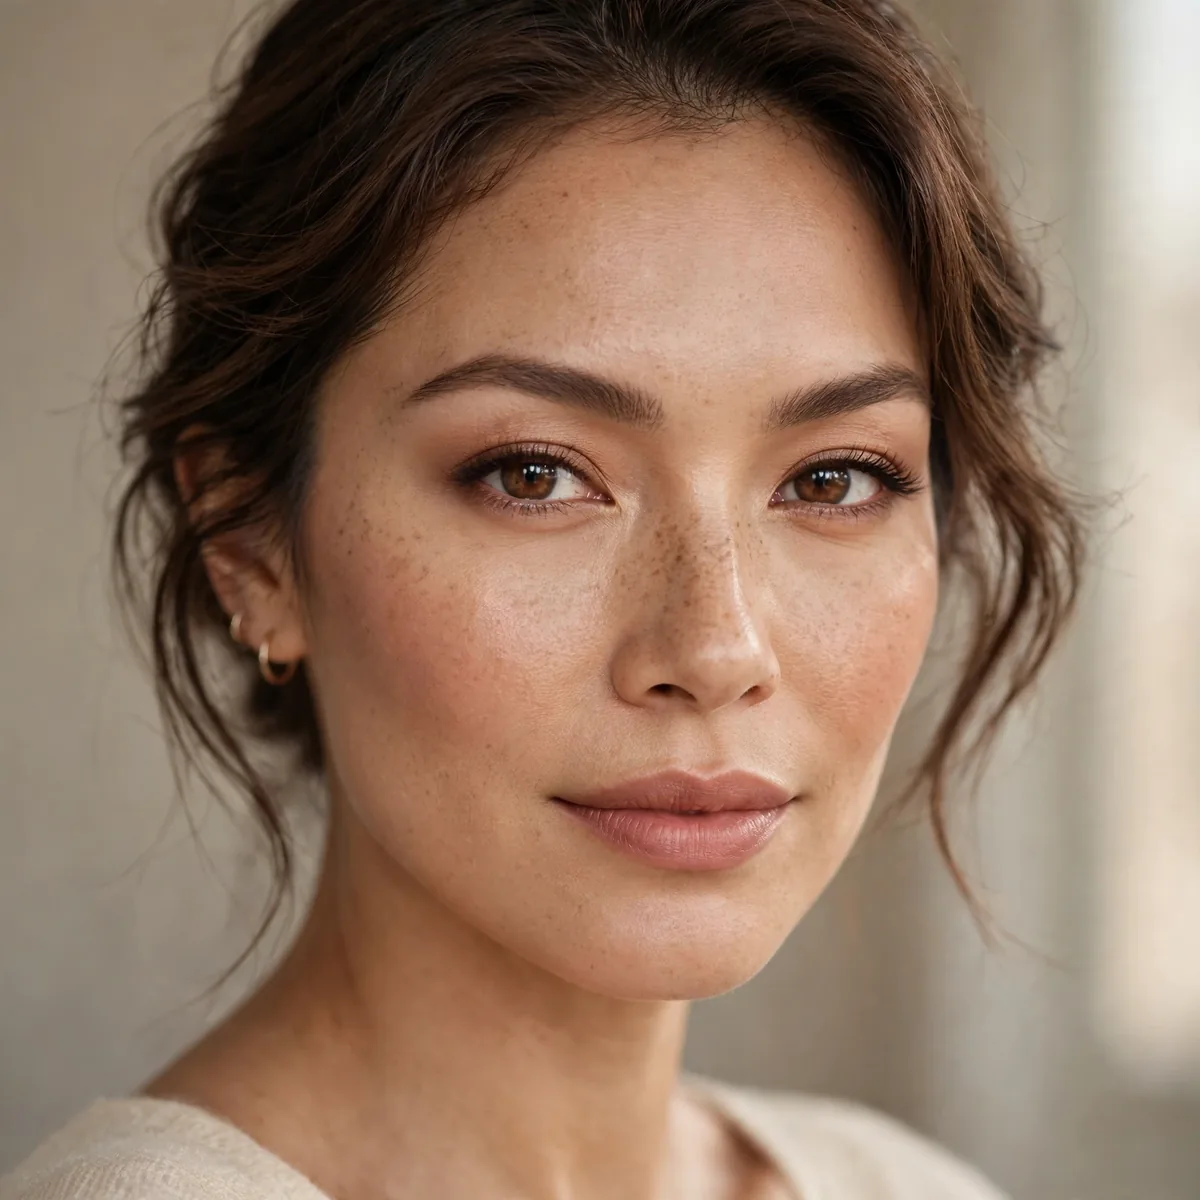
Master one corrector before collecting them all.
Start with your main concern — peach for most people. Master it, then expand.
Start your practice on a low-stakes weekend rather than a rushed workday, which removes the pressure that makes beginners over-apply. Master the peach corrector first, since under-eye darkness is the most universal concern and the skills transfer directly to other shades. Add one new corrector only after the first feels automatic, building your kit at the pace of your confidence.
Track your progress with weekly photos in the same lighting, which makes improvement visible even when the mirror feels discouraging. Watch one trusted tutorial per technique rather than bingeing dozens, since conflicting advice is the enemy of confidence. Within a month of consistent practice, color correcting shifts from a stressful step to the quiet reason your skin looks flawless.
Cancel, don’t cover — pin these tips. For under-eye mastery, see foundation for dry skin, or perfect your base with natural foundation looks.




